
Adventure Tray by Paula Cheney
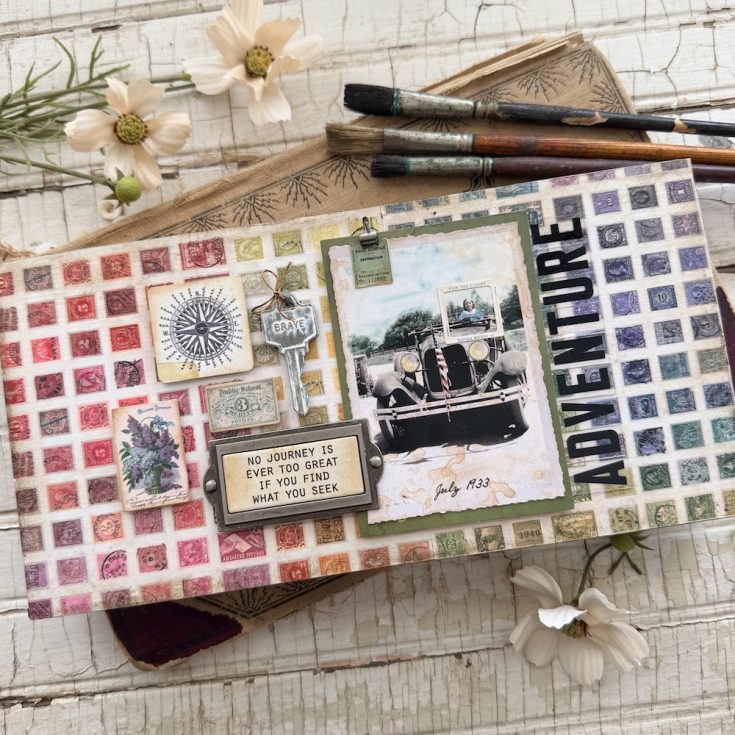
Hello friend! Thanks so much for stopping by our blog today, and please join me in welcoming back special guest Paula Cheney with this super gorgeous mixed media project! Read on and enjoy!
Tray
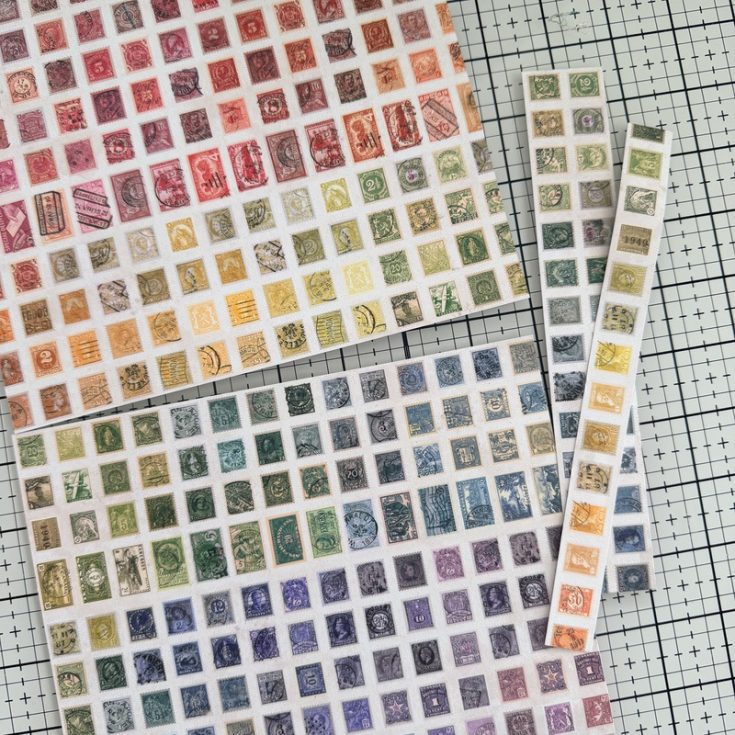
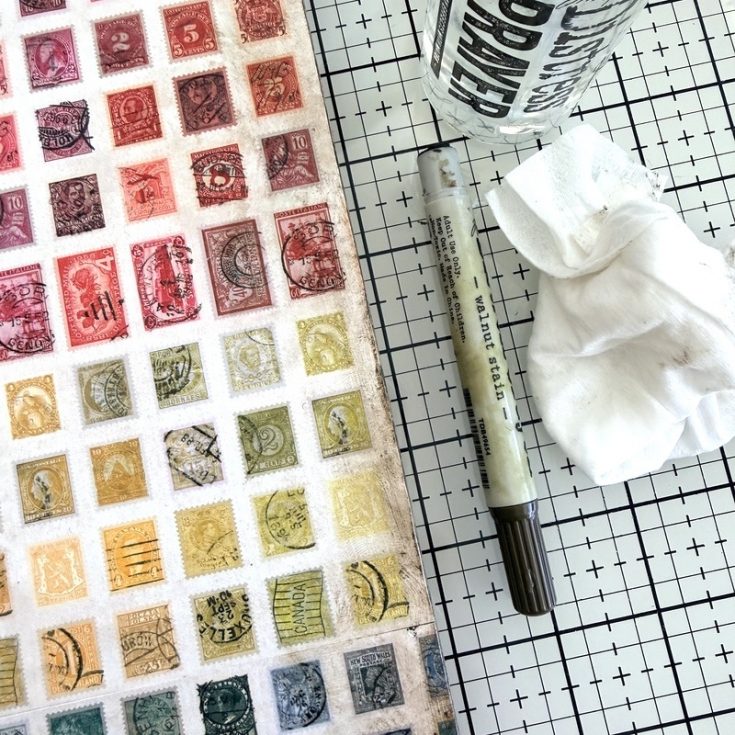
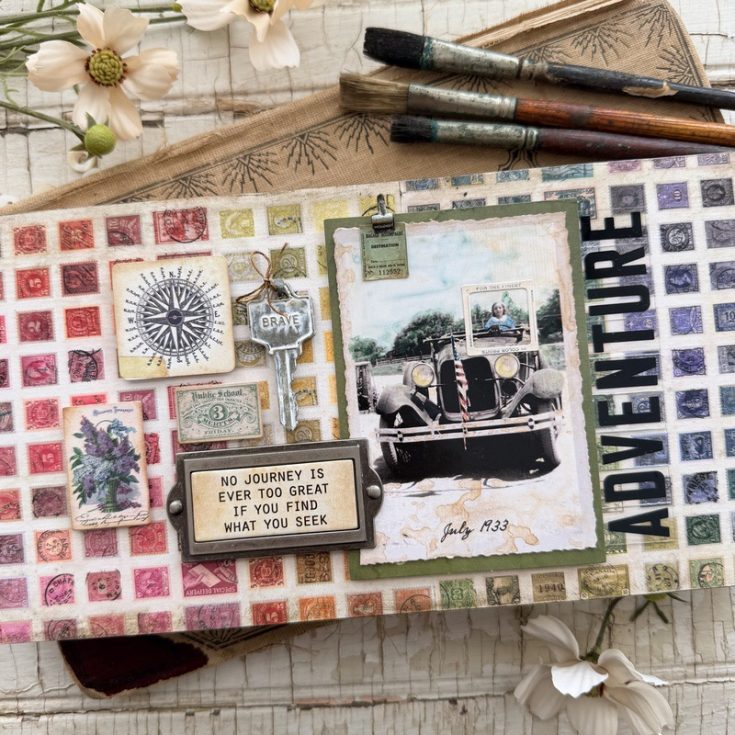
- The new Palette Multi pack has so many beautiful papers that it was hard to choose which one to use. I finally ended up with the stamp paper so I could form a rainbow of sorts across the width of and idea-ology Vignette Tray which is 12” long. I took two of the 8×8” sheets and cut away some of the stamps to get the best ROYGBV across the tray. There is no wrong way to this. It just depends on what colors you want to show more of.
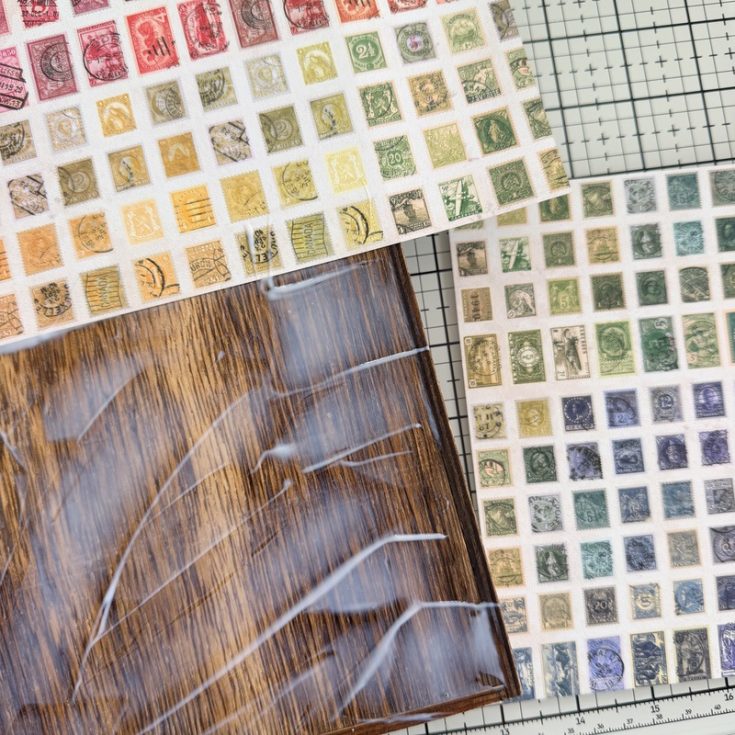
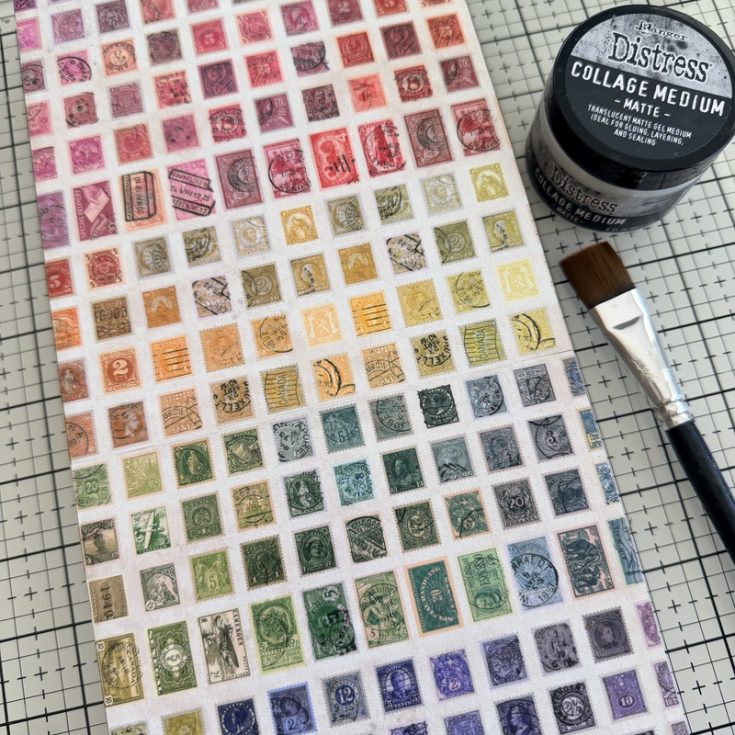
- Use Collage Medium to add the paper to the Vignette Tray. Once the paper is secure, turn the tray over to cut away any excess paper with a self-healing mat a cutting knife. NOTE: If you do not have the tools to do this, just use a paper trimmer to cut the paper to size before gluing to the tray.
- Add a layer of Collage Medium over the paper to seal. Let the Collage Medium dry completely.
- Scribble Walnut Stain Distress Crayon on the edges of the Tray. Use a Distress Sprayer to lightly mist over the tray then use your fingertip to rub the crayon along the edges. A damp wet wipe can help to disperse the crayon and create a mottled finish. If you wipe too much away, just add more. It really is a give and take process to the aging right. Set aside to dry.
Snapshot
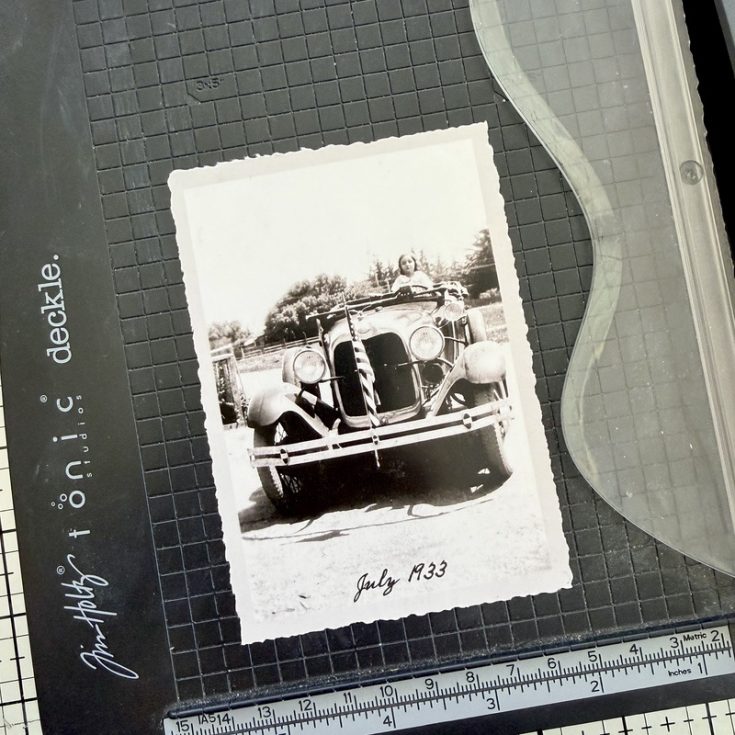
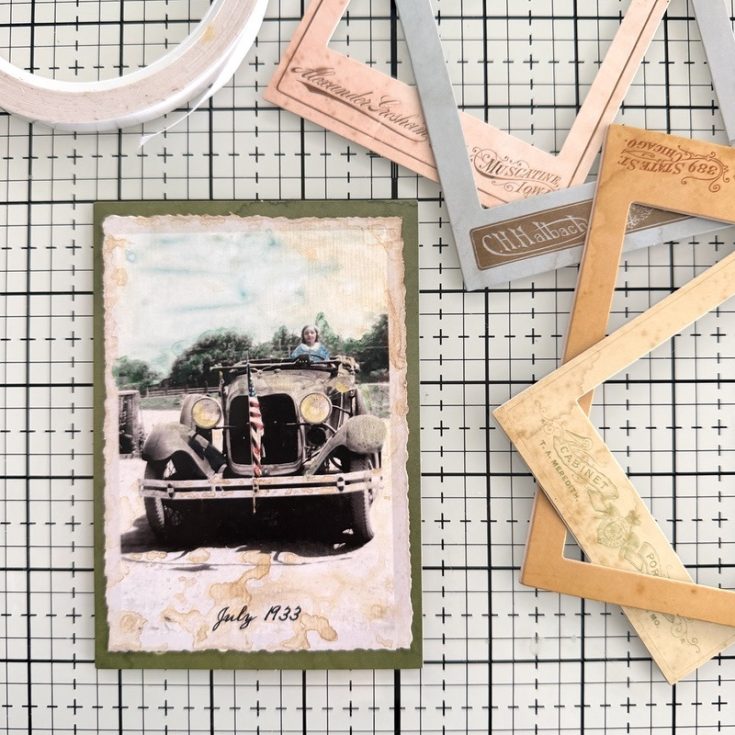
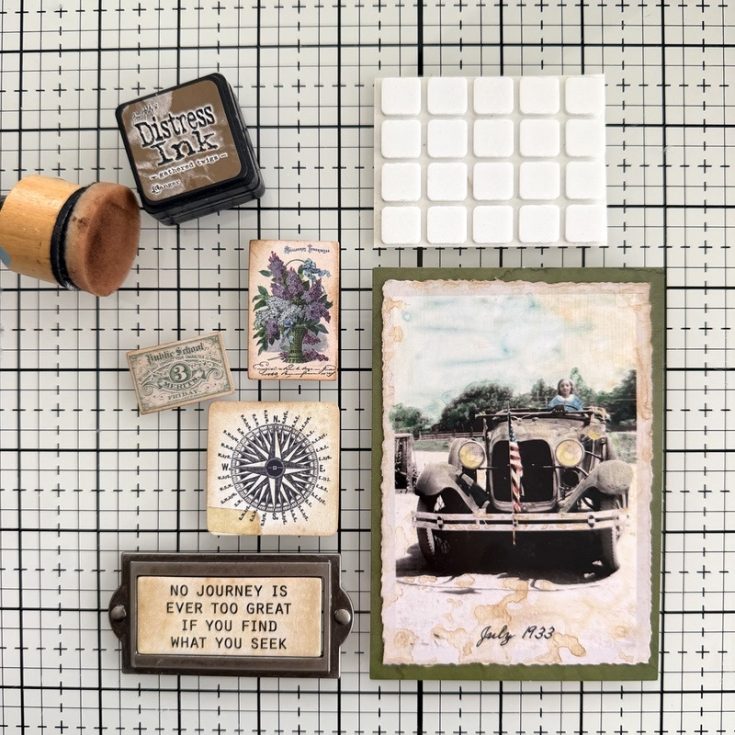
- Choose a Snapshot from the Vol 2 pack and use a Tonic Deckle Trimmer to add a deckle edge. I chose this photo because of the flag on the front of the car!
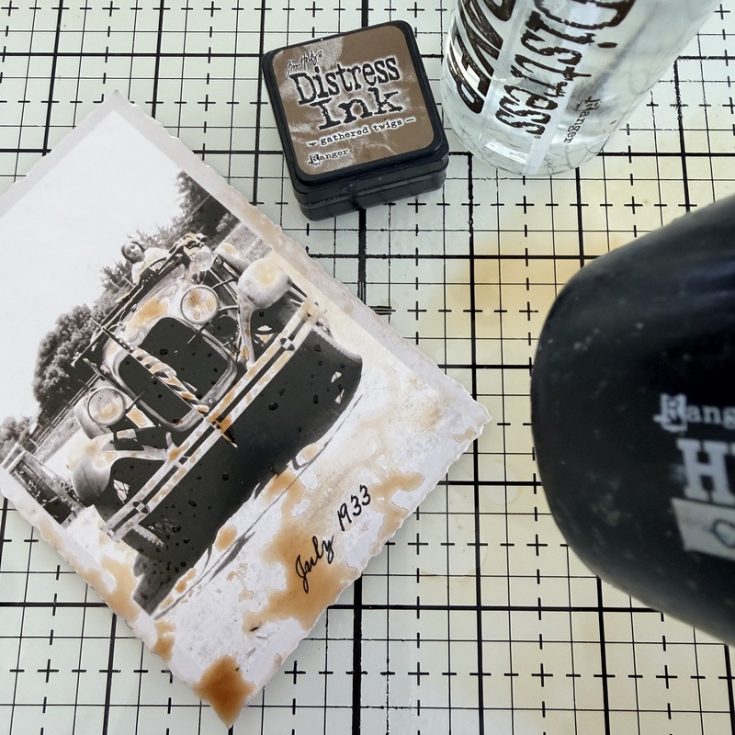
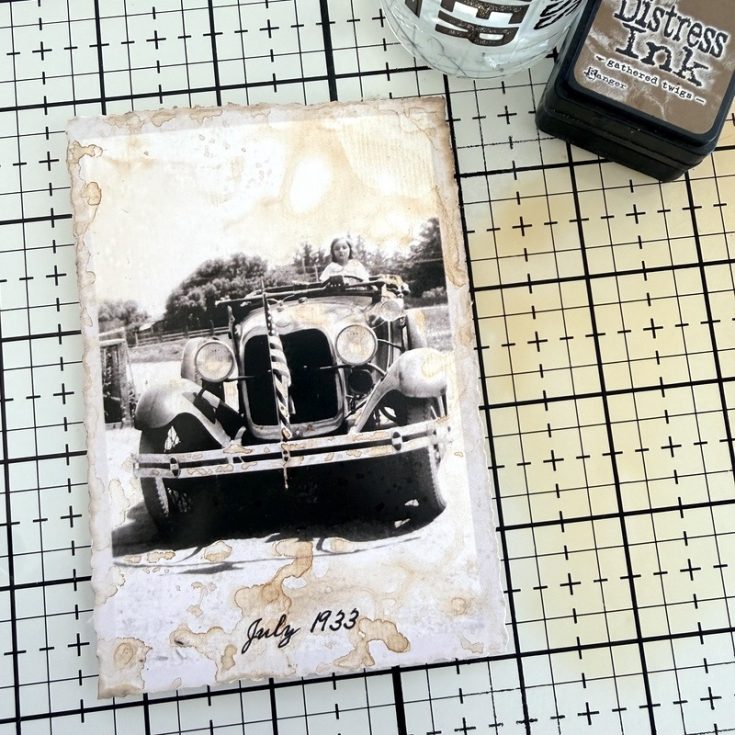
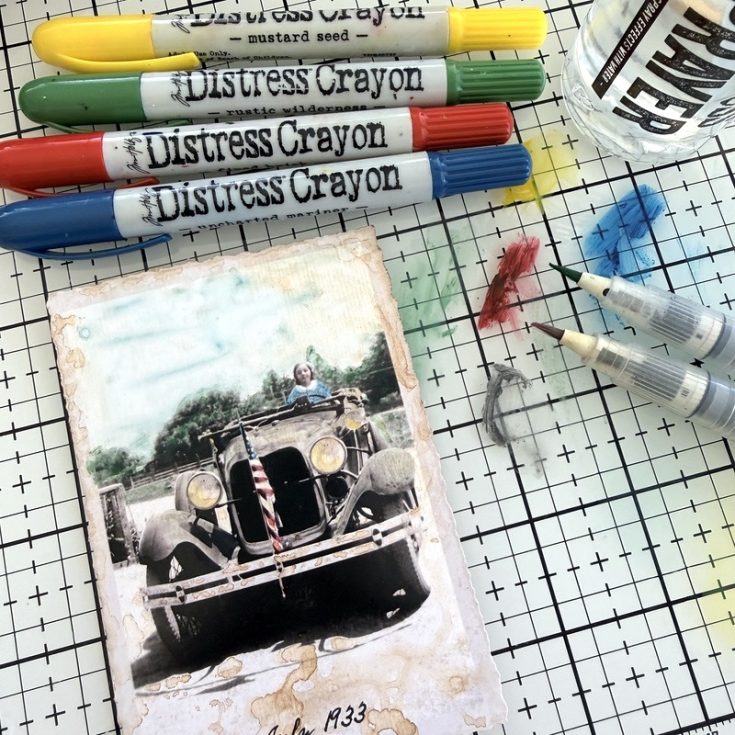
- An idea-ology Snapshot has a coated surface, which means that liquid on the surface will bead up for a time. You could add Distress Ink with a Blending tool but I like a more grungy organic look. This is my go-to technique for adding ink: Make a puddle of Gathered Twigs Distress Ink and water. Press the Snapshot into the puddle. Use a heat tool to dry the ink. It will take longer than you think and in the end you will still have to pat it dry, but the ink stain will remain (see next photo).
- Repeat the dip/dry technique until the card is covered. This technique works on all idea-ology ‘Layers” products, like Layers Ephemera, Paper Dolls, Photobooth, Photomatic, etc.
- Use Distress Crayons to tint the Snapshot. Scribble crayon colors onto a Tonic Glass Mat or craft sheet. Pick up the crayon with a damp Detailer Water Brush and color the image. I have used Uncharted Mariner, Fired Brick, Rustic Wilderness, and Mustard Seed. For larger areas like the sky, use a larger brush to mop the color across the card. It will mix with the Gathered Twigs ink, but that’s the fun of coloring a vintage inspired photo.
- Add a colored mat to the Snapshot. You could use cardstock, but I liked the olive green frame from the Photo Studio pack (and it fit the Snapshot perfectly!) I added 1/4” Simon Tear-rific Tape to the Snapshot, then added it to the frame.
Ephemera and Metals
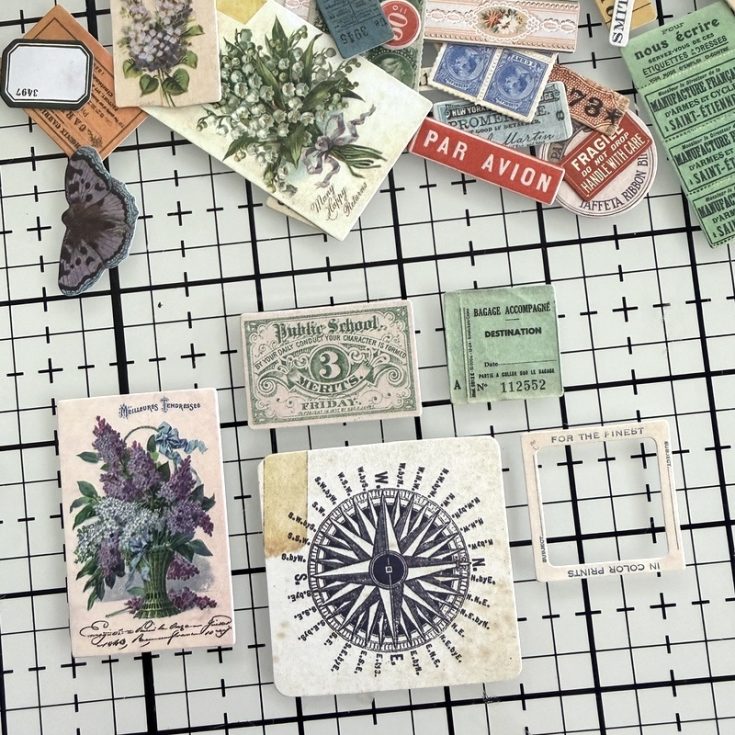
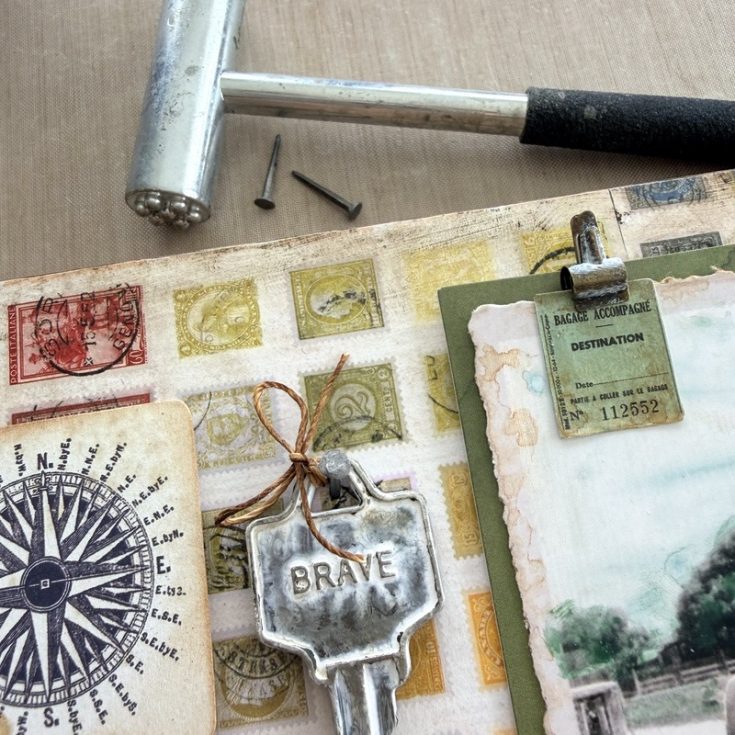
- A new snippets pack was released this month. It is a tiny version of our Palette Ephemera pack. I’m serious when I say you need to buy it just for the tiny slide frame. It literally fits on your fingertip! I’ve pulled 5 pieces from the pack to use on this project. Set these pieces aside for later.
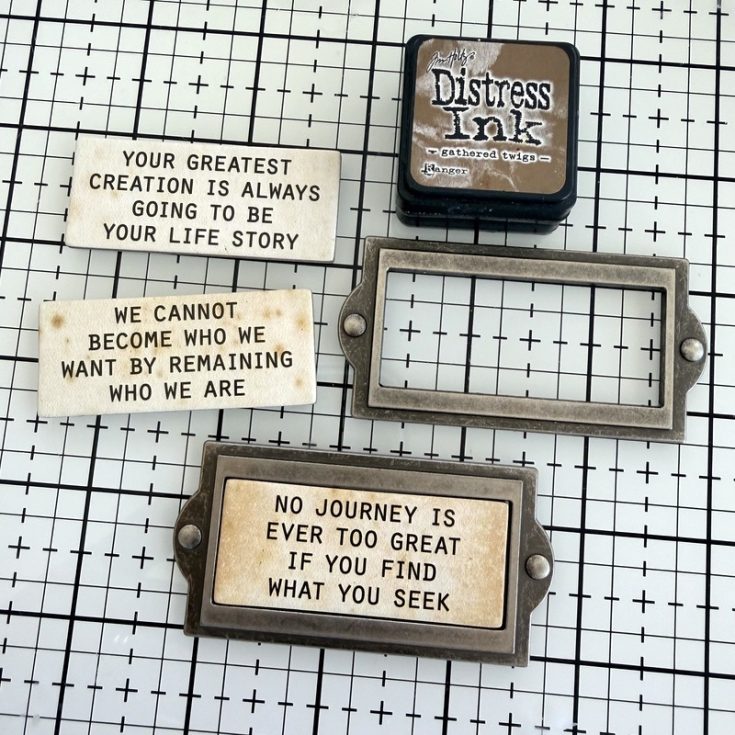
- I’ve also chosen a large quote chip from the Quote Chip Labels pack to add to a metal Label Frame. I inked the edges of the Quote Chip with Distress Ink, then added it to the the frame with tape on the back. I love that all the sizes the Quote Chips match one of the Label Frames!
- Ink the edges of the Palette Snippets Ephemera, then add 3D Foam Squares to the ephemera, Snapshot and the Label Frame to prepare to add them to the Vignette Tray.
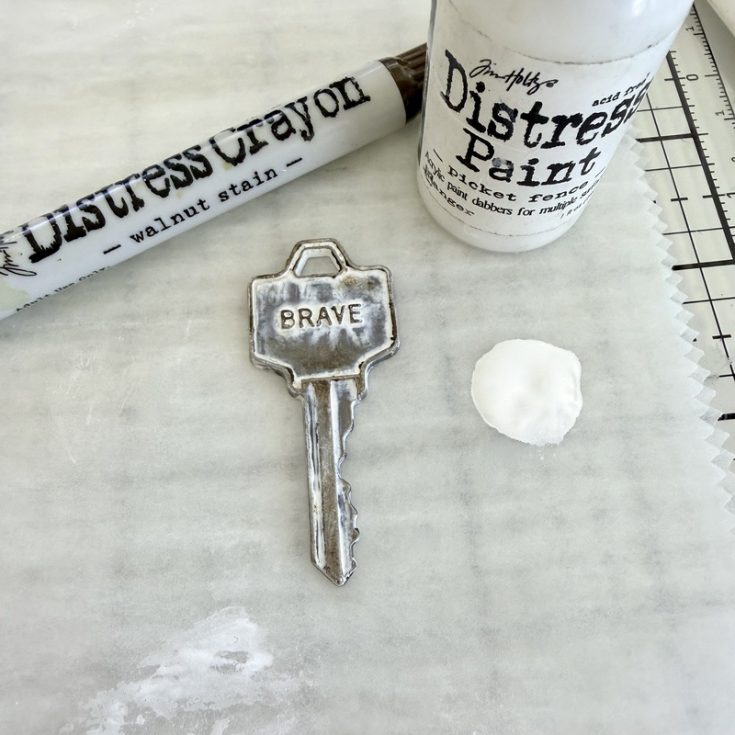
- I’ve chosen a key from the Word Key pack. I thought Brave was a good play on words that could reference either the flag or the girl on her adventure. Rub Picket Fence Distress Paint over the key and let dry. Once dry, scribble Walnut Stain Distress Crayon on the raised edges of the key.
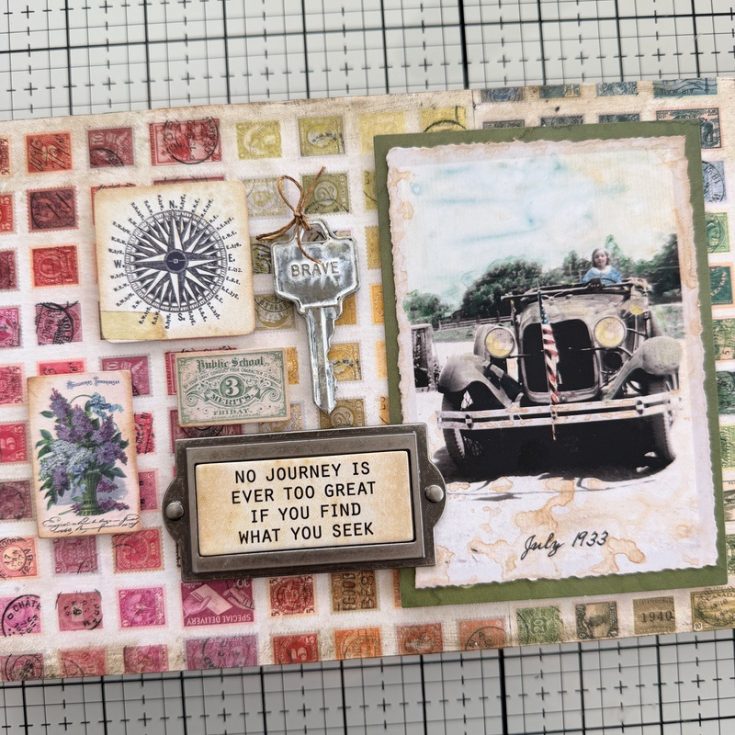
- Add all the pieces to the tray that you previously added 3D Foam Squares to. Tie a string bow at the top of the key and adhere to the board with a foam square.
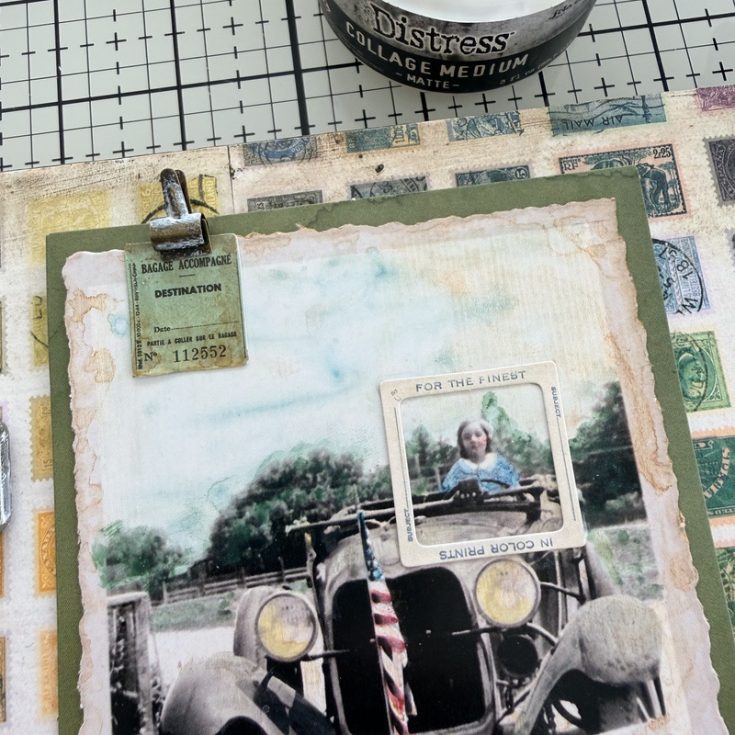
- Use Collage Medium to add the ever-so-tiny slide frame over the girl. Use a Tiny Clip to clip the small green ticket to the top of the Snapshot.
- Use a hammer to add a Tack Nail to the hole at the top of the key. Super easy to do since the Vignette Tray is made from wood!
Mini Marquee
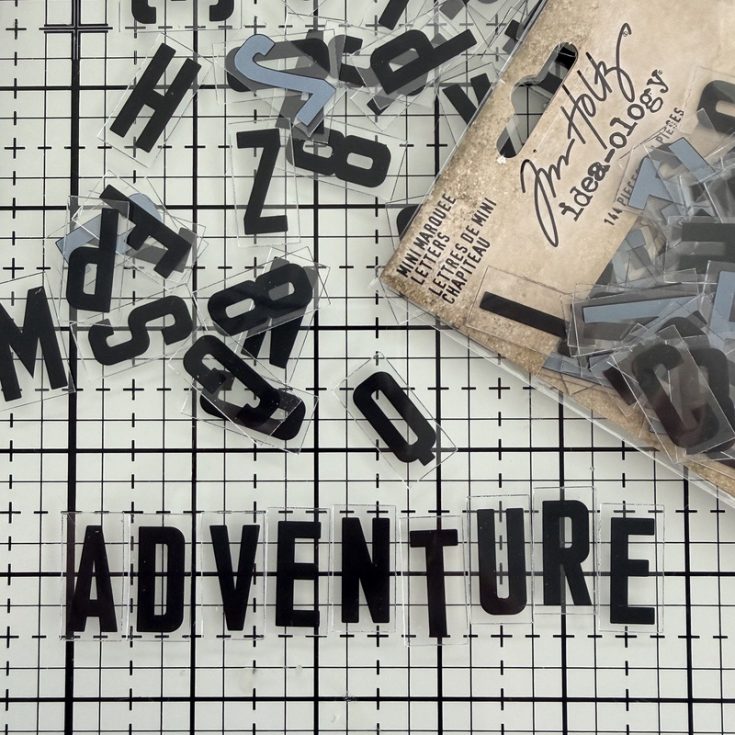
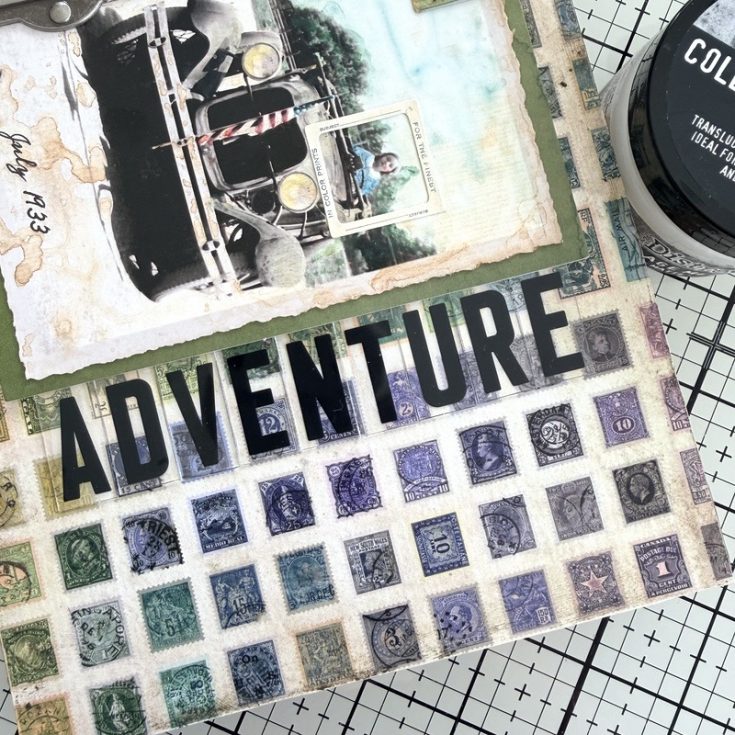
- Spell out your word of choice using Mini Marquee letters. I chose adventure, but you can spell anything with Mini Marquee. I love that the pack has multiple of each letter.
- Use a small paintbrush to add a thin coat of Collage Medium to the back of each letter. Lightly press each letter to the surface to adhere. Collage Medium dries clear so you will not see any glue residue. I also love that you can still see the stamp paper beneath each letter.
SUPPLIES:
|


Thanks so much to Paula for this gorgeous inspiration and to YOU our reader, for stopping by today!




There are no comments.
Leave the first?