Adorable Little Prima Book
Hi readers! Happy Wednesday, and please join me in wishing our returning guest designer Sharon Laakkonen a very HAPPY BIRTHDAY! I hope it’s full of fun, laughter, and of course a delicious treat of your choice! Sharon has started playing with a mixture of brand new, coming soon, and existing Prima products to make this very fun Prima book that I’m sure she’ll fill with great memories!
Would you like to make your own?
First off I just have to say THANK YOU to SSS for inviting me again! It is always a huge honor, but this time it’s extra special because TODAY is my birthday! Woohoo! Okay, on to the project! I sure hope you like it!
Planners and journals are all the rage right now and while I LOVE those out on the market I always like to make something unique for myself! When I received a sampling of Prima’s new summer releases I instantly fell in love with the Memory Hardware Tall Journal Book (Coming SOON to Simon Says Stamp!). It is the PERFECT size (about 5″x7″) for a journal or planner…and for slipping into my purse!
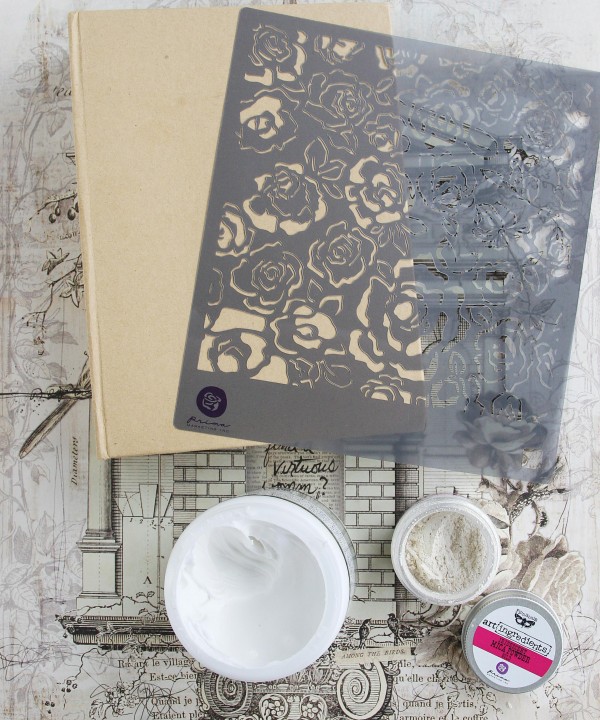
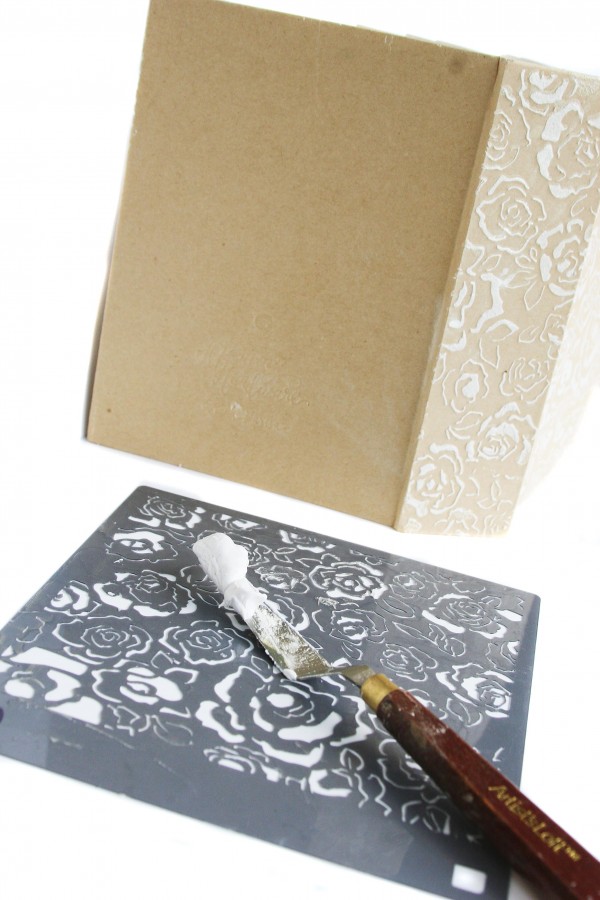
My vision for this project included a touch of mixed-media, but it also had to be fast and easy to do. (Hey, according to my schedule I just didn’t have ALL day to play like I wanted to!) So, I pulled out my favorite Art Basics product, Light Paste, and mixed in a touch of brand-new Art Ingredients Iridescent Mica Powder in GOLD! Who doesn’t love gold right now? Just mix it up until you love the color, then spread over the stencil with a palette knife.
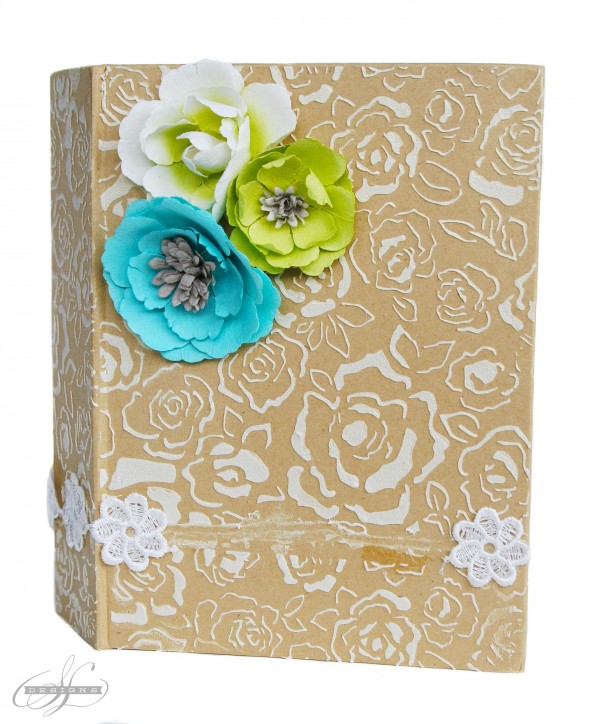
Loving this stencil? So am I! It’s a brand-new one filled with gorgeous roses. It is only 6×6 so I completed one layer on the book. Let it dry a bit. Then spread more colored paste over the stencil to completely cover the book. Now, if you mess up it’s okay! I have a pretty noticeable smudge line on the front. So the lesson of the day is…start on the BACK until you perfect your technique..then move to the front. Yours will be so much better than mine!
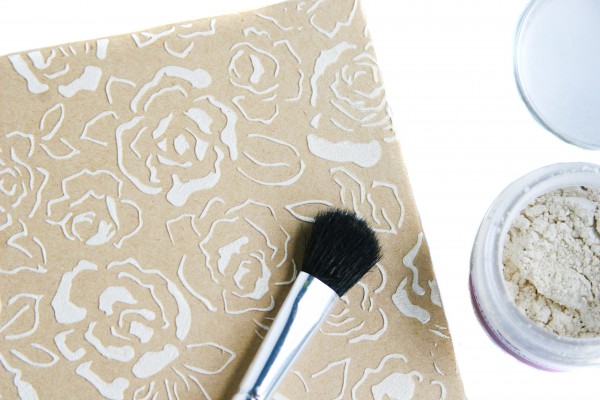
Once everything was ALMOST dry I dry-dusted a touch of Mica Powder all over the book. I love that the mica clings to the paste and makes it extra sparkly! (You could wait until it is totally dry to do this step so you don’t smudge the paste. Just seal with a matte spray sealer or hairspray afterwards. Yes, hairspray works as a sealer, and we ALL have some Aqua Net lying around, right?)
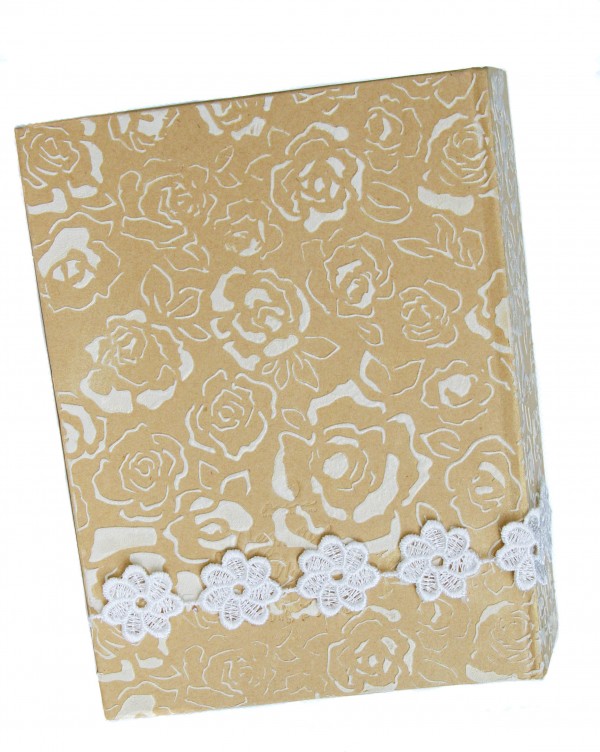
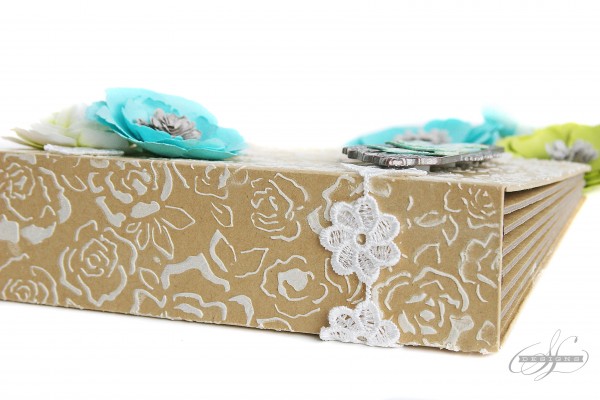
Next step: add a gorgeous new Prima trim along the paste seam. It will cover up all imperfections and add a gorgeous, shabby-chic touch to your project! (Back shown here.)
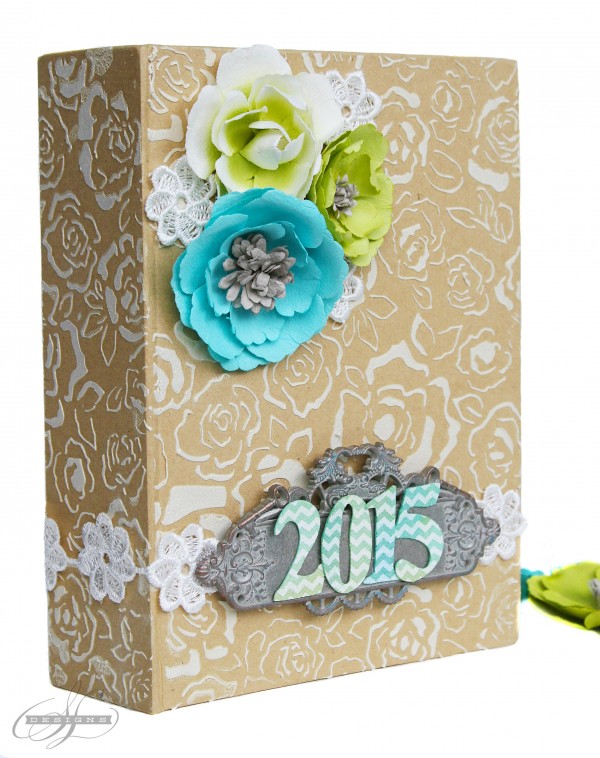
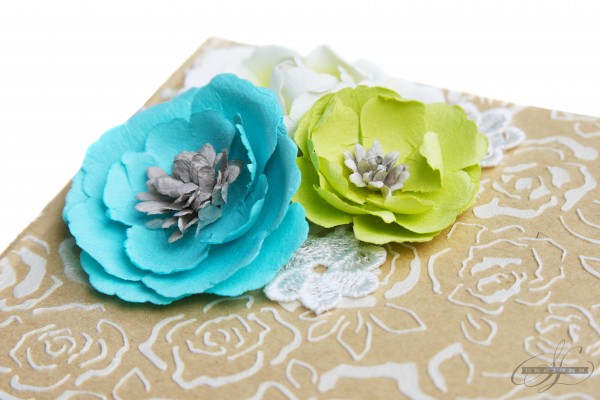
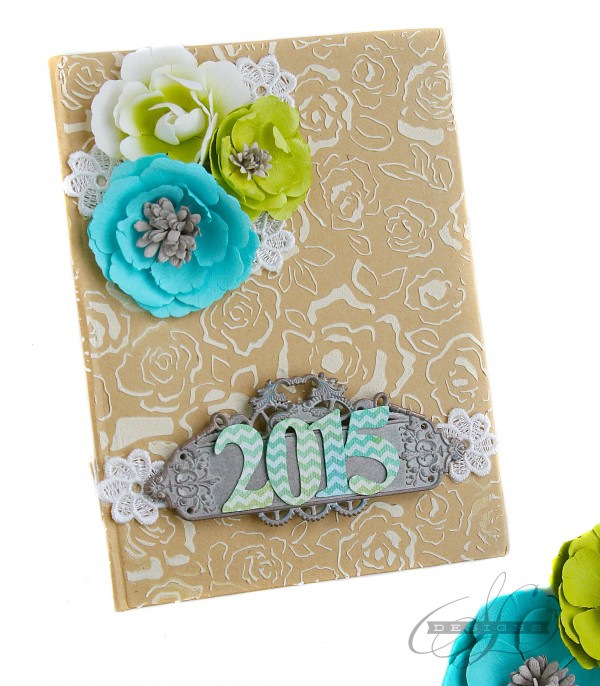
On the front I only added a few lace flowers as I knew I wanted a metal label as well! And find some gorgeous Prima flowers in your favorite colors and glue a cluster of them in the top left corner.
Cut three lace flowers off and add to the flower cluster for extra texture. I love how it adds cohesiveness by carrying the lace trim through-out the project as well.
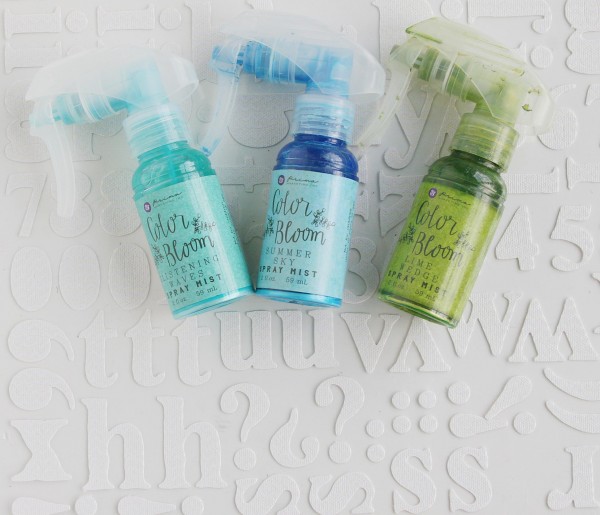
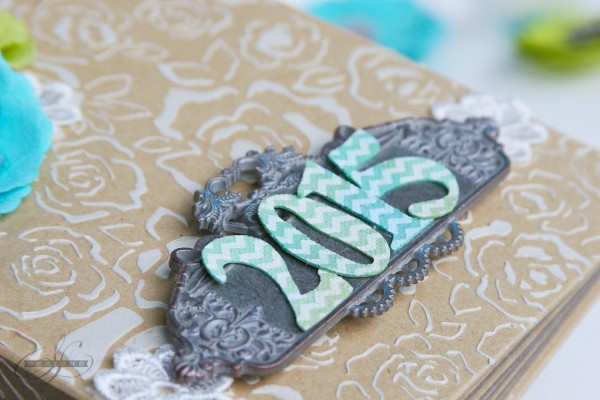
I struggled a bit with my title, but decided to go with “2015”…it’s perfect for a planner title…or I may just turn this little book into a highlight of my extra busy and crazy year! Prima’s resist canvas alphas added the perfect touch once I colored them to match my flowers. How? I pulled off the numbers I wanted to use; sprayed Lime Wedge, Glistening Waves, and Summer Sky here and there to cover the letters; wiped them gently with a wet wipe so the pattern showed through; then let them dry.
Pop on the new metal plate with foam squares and glue your numbers on top!
In about one hour I customized my own little book! Now all I need to do is add some photos and memories inside for a really fun year-in-review! Or should I make it a planner after all? I REALLY need one! Decisions. Decisions! What do you think I should do?
Thank you, SSS, for inviting me once again to join you! Your readers are the BEST! I just adore reading all the comments they leave! ~Sharon Laakkonen
SUPPLIES:
Thanks for reading today and thanks to the always awesome Sharon for being our guest!



That stencil is gorgeous and made a very lovely background for the card. Nice job!
Absolutely gorgeous! Love the texture, the background and the colour of the flowers! Thanks for sharing Karen
Wow, this is GORGEOUS!
so cute.
Really beautiful how this turned out. Can’t believe it only took an hour!
So very pretty!
Sharon, your book is beautiful! It’s always such a treat to see you featured here. I love the new flower stencil — so pretty! Oh, and … HAPPY BIRTHDAY!
LOVE this! THe texture is amazing!
It’s so pretty I love it
Very pretty and it looks fairly quick and easy to do. Thanks for sharing with us.
Aaah, Aqua Net. Wouldn’t have survived without it. ;-)
Kidding aside, that is a great technique!!!
So beautiful, love this! :)
So beautiful, love the pop of lime and blue flowers on this little book!
That stenciled cover is just gorgeous.
Adorable is the right word!
Beautiful. Great job on the stenciling and wonderfully embellished. So feminine and shabby chic:)
Very lovely. Oh, almost forgot to say Happy Birthday, Sharon!
i’m inspired
Beautiful project, have to get my stencils out and try it!
Ok you blew my mind yesterday with your new oil pastels now this I am going out of my creative mind! first the spencil is so gorgeous! I love the new spray bottles and all the cool art mediums I need an extra paycheck I’m telling you what!
Wow, that’s quite a project, but it is beautiful! Thanks for sharing.
Love the stenciling on your book! Thanks for sharing.
Happy Birthday Sharon and thank you for sharing your adorable album. I just love that stencil and the color bloom sprays. Your project is teeeerific! Hugs Lori
Beautiful book!!! Love that stencil!!
i really like the stencil and the white is a perfect choice to go with the background color.its a great way to start
Beautiful! I love the stencil. It is such a versatile piece to have in your kit.
Love the texture, the background, the color of the flowers, the stencil , oh all of it. I think using it as a planner would be most enjoyable. Thanks for sharing