Add a POP of Color! Magic Slider Card Idea: Crafty with Caly

Hi friends! Happy Tuesday! Have you ever tried making a Magic Slider card? Even after seeing them multiple times the result is such a fun and (for lack of a better word) magical effect I can totally see the draw to making and receiving these fun interactive cards! Please join me in welcoming back special guest Caly Person, and read on to learn more!

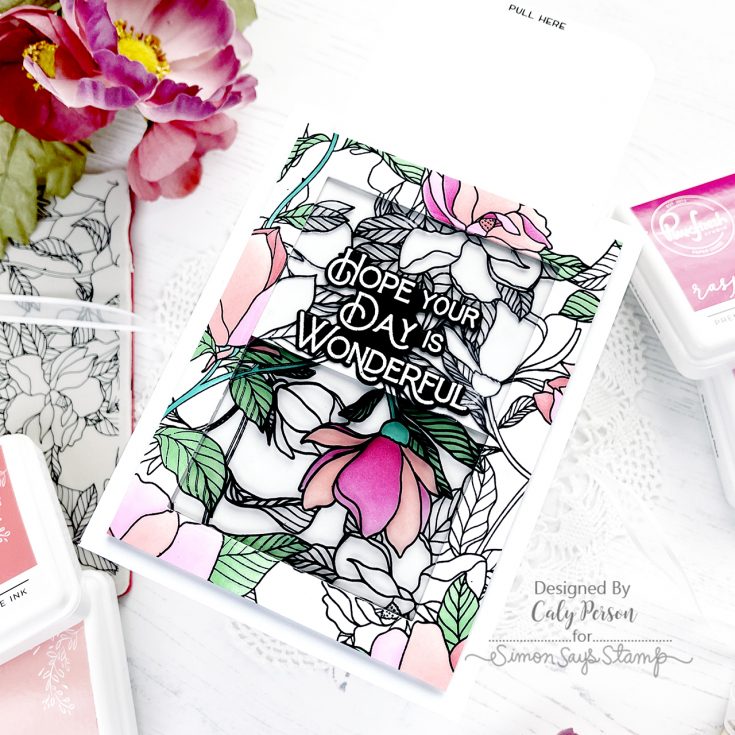
Hello there, friends! Today’s card is so much fun and is an interactive card that a lot of people love. You don’t see it often, but every few months, I’ll see it and it amazes me every time so I wanted to make one! Magic Slider cards can be made without fancy dies and can be made in so many ways! All you need is a slider panel that pulls away to reveal a colorful surprise!
Today’s card uses the Magnolia Pattern Stamp. I wanted a background cling that would carry the image over the entire card. I stamped first on white cardstock, and then again on acetate using StazOn Jet Black ink. StazOn is a permanent ink and is great for non-porous surfaces like acetate.
Be sure to check out the video to see how my card is made!
WATCH THE VIDEO:
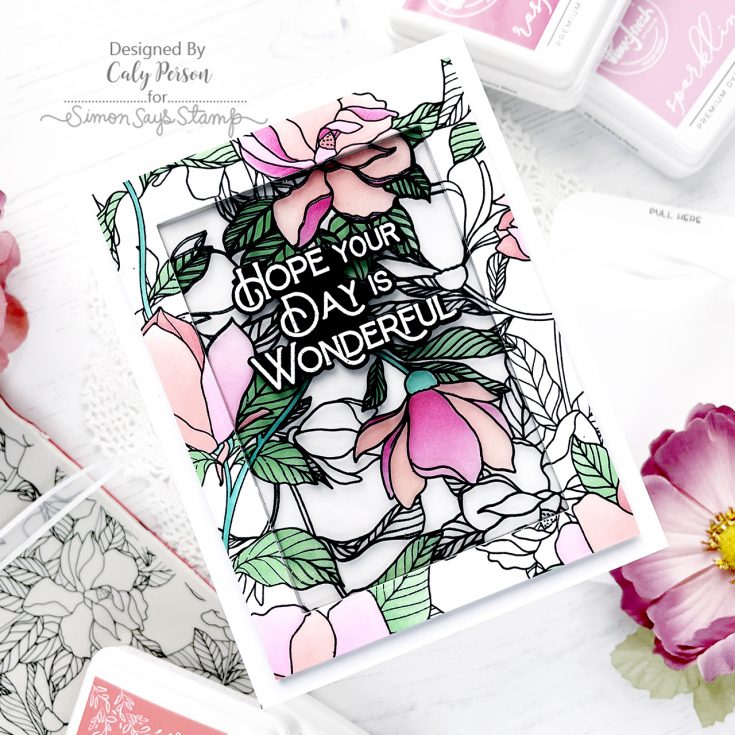
I ink-blended my image using the Magnolia Pattern Stencils and Pinkfresh Studio inks. After ink-blending, I used a Simple Rectangle die to cut a window through the panel. You get a rectangle border and a rectangle out of the ink-blended panel.
I used the inner rectangle to adhere to a card base. Then I adhered the acetate panel to the rectangle frame – like you’re creating a shaker window, except you leave the top open. I created a track system using 4 layers of cardstock stripes down the right, left, and bottom sides of the window panel that’s ¼” wide.
The slider panel is made using a white piece of cardstock. For my card, it’s 3” x 5”. I used a Corner Chomper to round the top and stamped a “push here” sentiment using the Push Here stamp set from Lawn Fawn. I finished my card with an embossed sentiment from the Pinkfresh Studio Wonderful Sentiments set.
I hope you like this card! Thanks so much for stopping by today! ~Caly
SUPPLIES:
|


Thanks so much for stopping by, and thanks to Caly for being our guest!


This is sooooo Gorgeous!!!! I love that you made this with no special dies!!
This is very pretty and it’s a fun interactive card as well.
So pretty. Loved this idea. Thanks for sharing your talents with us.
Great job, Caly! I always forget about this technique and I’m a little intimidated to do it without direct guidance. Maybe if I sit with your video (or Jennifer’s?) and create step by step w/ one of you? Anyhoo… your product is beautiful!
Lori S in PA
This is so beautiful! I’m especially happy that you don’t need special dies to create it. Magnolias are my favorite flowers. We have a lot of trees here in Georgia.
Love this card! I’ve never tried one of these before, so I can’t wait to try this! So cute!
This is just gorgeous