3D Embossing Folder Ideas for Every Skill Level: Yippee for Yana

Hi friend! Please join me in welcoming back the oh-so-talented and amazing Yana Smakula! (Please note: our dear friend Yana is Ukrainian. To show support to our brothers and sisters in Ukraine, please see Yana’s post HERE.)
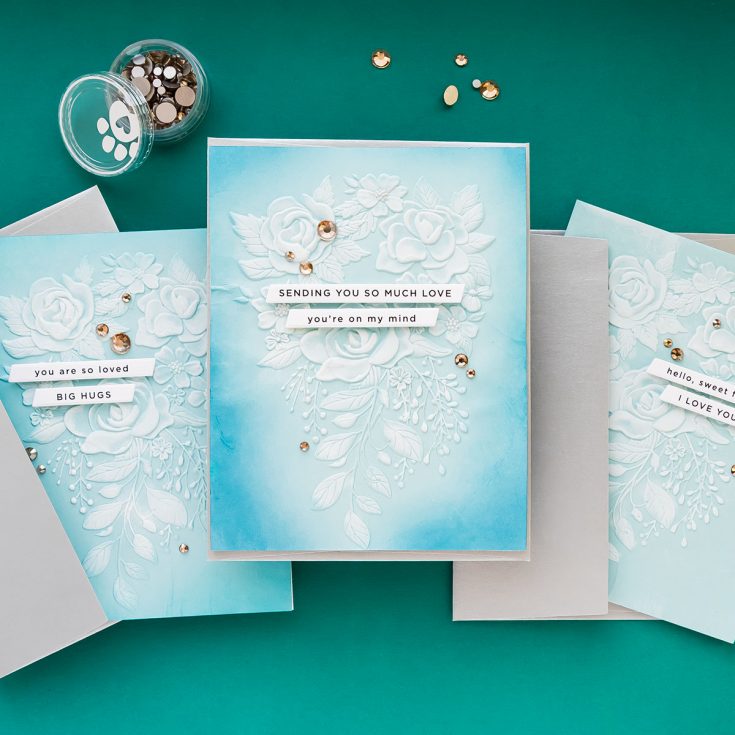
In this Yippee for Yana episode, I’m sharing how to create quick and easy cards using 3D embossing folders. If you have detailed embossing folders in your stash that you love but rarely use, this is a great way to bring them back into rotation. I’ll walk you through three versions of the same design, starting with a basic card and stepping it up with ink and subtle sparkle for more advanced looks.
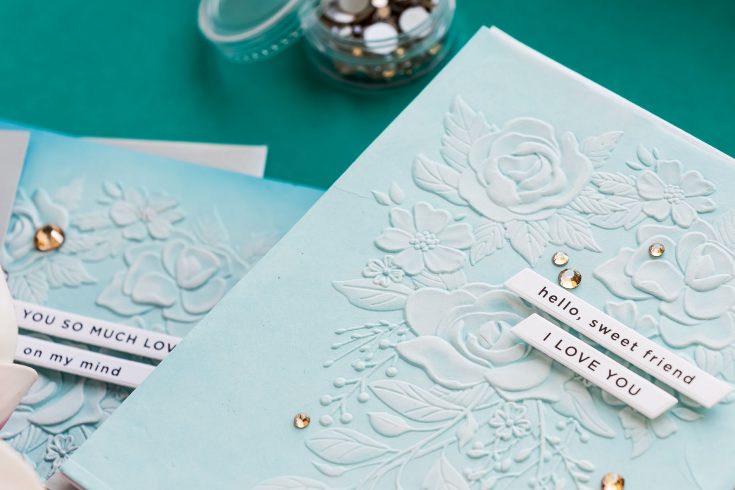
Today’s cards feature the Simon Says Stamp Fancy Rose Bouquet embossing folder. While this particular folder includes coordinating dies, I am only using the embossing folder itself. The techniques shown here can be applied to any embossing folder, regardless of brand.
Preparing Your Cardstock for Deep Embossing
When working with detailed 3D embossing folders, it’s important to lightly mist your cardstock with water before embossing. This helps soften the fibers and reduces the risk of cracking, especially when creating deep impressions. You can use a water mister or gently wipe the surface with a damp cloth or baby wipe. The paper should feel slightly damp but not soaked.
For these cards, I used Surf Blue cardstock and trimmed it to A2 size panels. Keep in mind that cardstock will shrink slightly during embossing because the paper fibers are being compressed and stretched to create dimension. If you need an exact finished size, consider starting with a slightly larger panel and trimming it down afterward.
Emboss the panel according to your die cutting machine’s sandwich instructions. Every machine is different, so check the manufacturer’s guidelines to ensure proper pressure. Once embossed, you’ll have a beautifully detailed floral background with deep dimension.
Reinforcing the Embossed Panels
Because 3D embossing creates significant texture and slightly thins the paper in raised areas, I like to adhere scrap cardstock to the back of the embossed panel. Gluing one or two layers of scrap cardstock behind the panel makes it sturdier and gives the finished card a more substantial feel.
At this stage, you already have a clean and elegant background that could be used as is. From here, we can keep it simple or step it up.
The most basic version uses the embossed panel alone as the focal point. Simply mount it onto a coordinating card base and add a sentiment. Even without additional techniques, the depth of a 3D embossing folder creates a striking result.
Version One: Highlight with White Pigment Ink
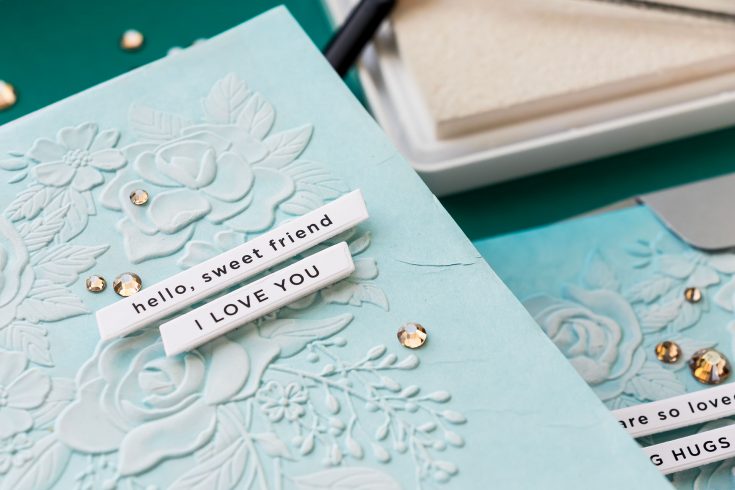
To enhance the detail, gently swipe a white pigment ink pad across the raised areas of the embossed design. Use a light hand and avoid pressing down too hard. Because the raised portions sit higher than the background, they will pick up the ink and instantly highlight the texture.
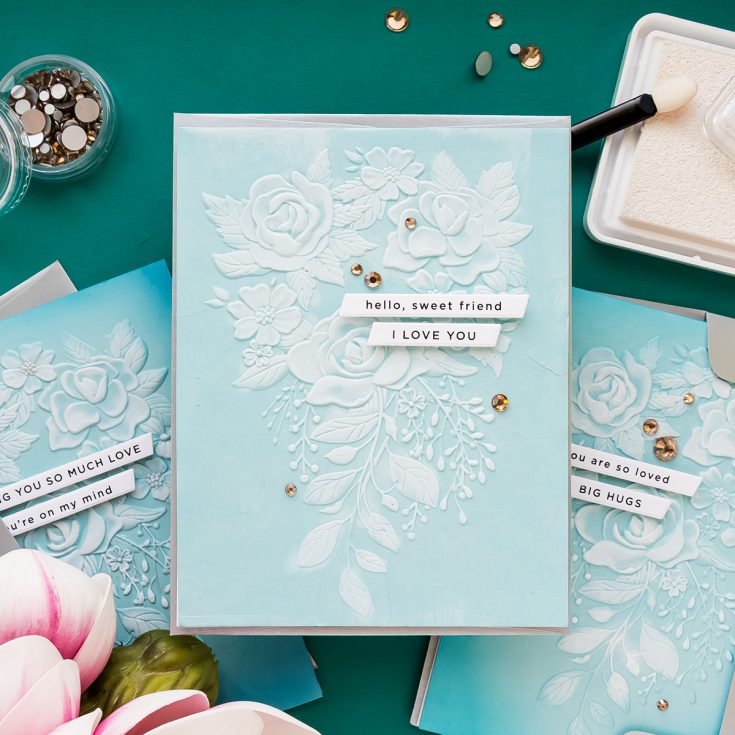
For more control, use a foam applicator or blending tool to tap pigment ink onto specific areas. Tapping allows you to build intensity gradually and emphasize the floral details without overwhelming the design. Remember that pigment ink takes longer to dry, so allow the panel to dry completely before handling.
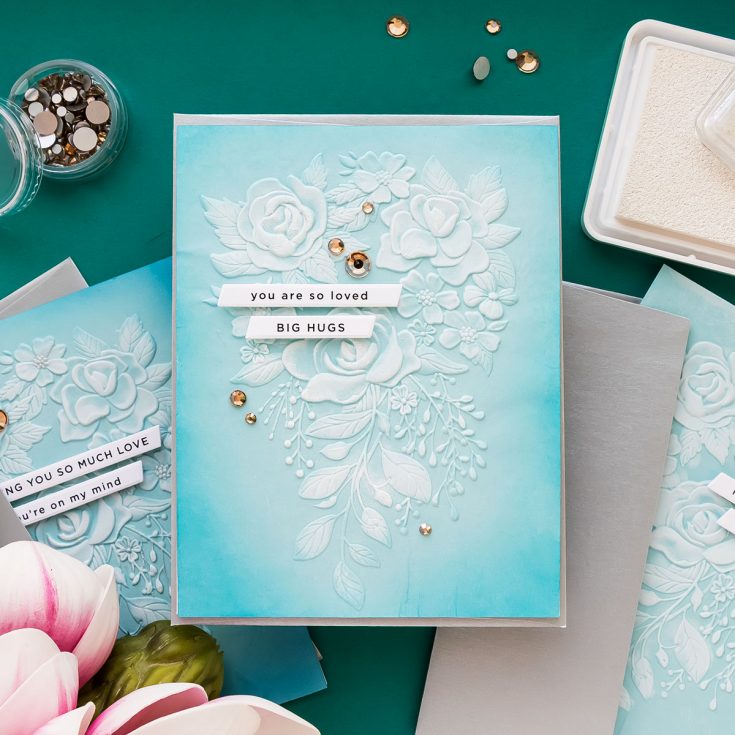
Version Two: Add Ink Blending and Subtle Sparkle
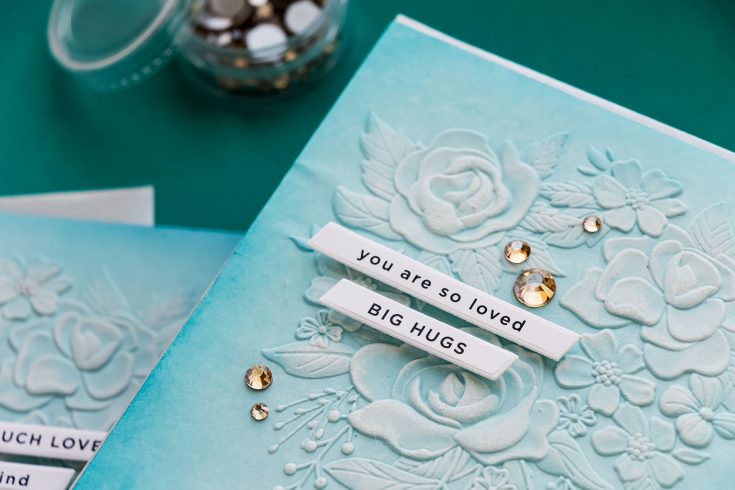
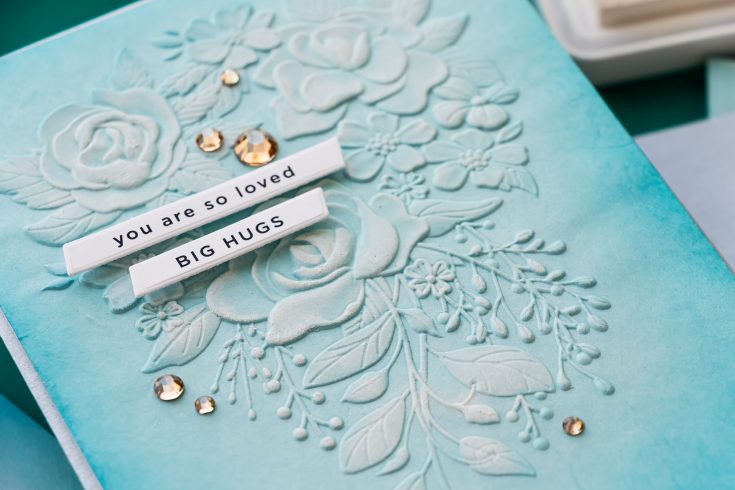
To further step up the design, add ink blending around the edges of the panel using a coordinating ink color. Blending around the perimeter draws the eye inward and adds depth. Keep the blending concentrated on the edges and avoid heavily covering the raised white-highlighted areas.
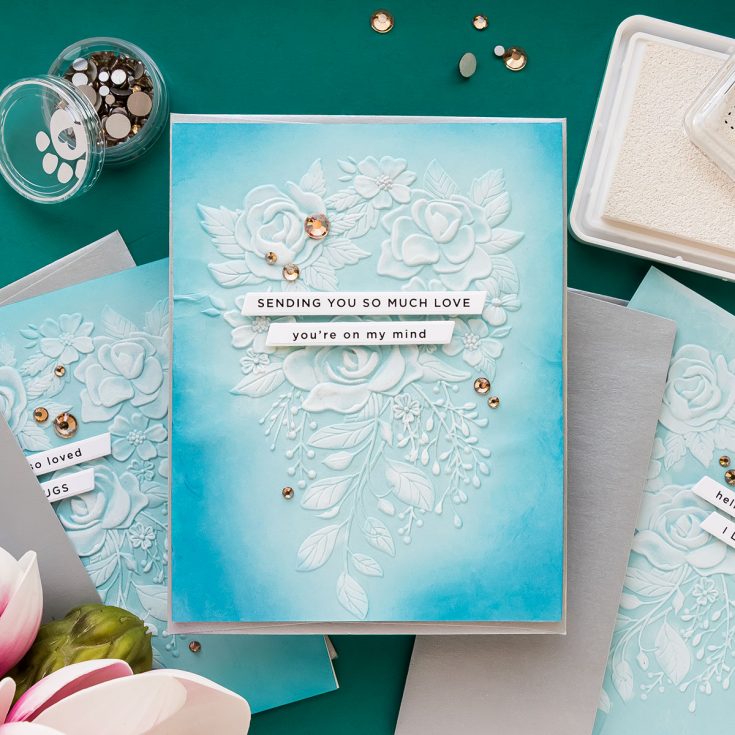
Version Three: Add Subtle Sparkle
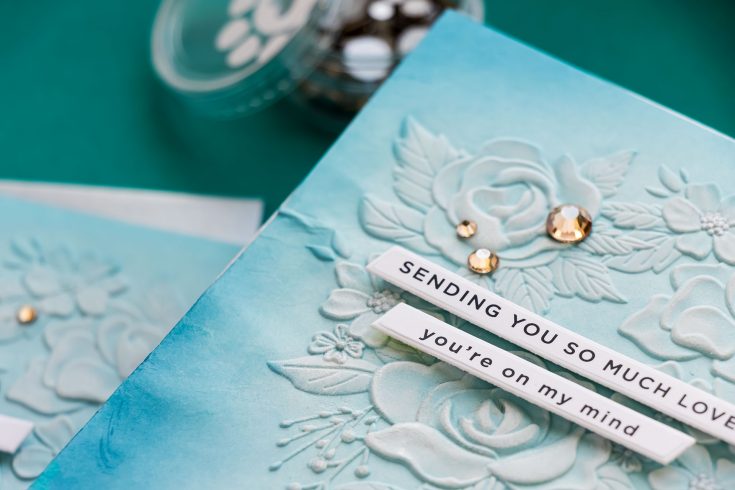
For an additional touch of elegance, apply a small amount of wax seal powder, metallic pigment, or similar shimmering product to the flower centers. Use a light tapping motion to add just a hint of sparkle. This creates dimension and visual interest without overpowering the embossed design.
Finishing the Cards
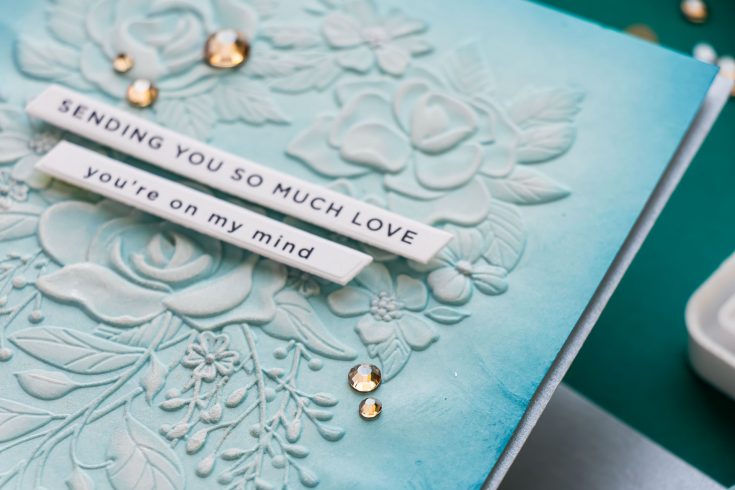
For sentiments, I used pre-printed sentiment strips. These are a fast and efficient way to finish multiple cards at once. The strips can be trimmed with scissors, a paper trimmer, or coordinating dies designed specifically for cutting them into clean, uniform labels. Foam adhesive adds dimension and helps the sentiments stand out against the textured background.
To complete the cards, I adhered the panels onto A2 top-folding card bases, trimming the bases slightly to accommodate the subtle shrinkage from embossing. A few coordinating gems add a final polished touch.
Why 3D Embossing Folders Are So Versatile
This project demonstrates how one embossing folder can produce multiple looks with minimal additional supplies. You can keep it clean and simple, highlight with pigment ink, blend color around the edges, or incorporate shimmer for a more advanced finish.
If you’ve been wanting to experiment more with your 3D embossing folders, I hope this inspires you to try highlighting, ink blending, or adding subtle sparkle to your next project.
Thanks so much for joining me for another Yippee for Yana episode, and I’ll see you again soon.
WATCH THE VIDEO:

SUPPLIES:
|


Ways to support Ukraine:
If you are looking for ways to support Ukraine, we encourage you to visit this page on Yana’s blog:

A big thank you to YOU, our reader — and to Yana for being our guest!


These cards are gorgeous! I love the tip of adding white pigment ink to the raised parts, and adding ink blending around the edges :)
These are so pretty
I really like how the “3D Embossing Folder Ideas for Every Skill Level” post shows creative ways to add depth and texture to cards using embossing techniques from simple clean designs to stepped-up looks with ink highlights and shimmer. It’s a great reminder that even small texture details can elevate a job card page or craft project, making it more visually engaging and professional.