Go with Your Heart Panel by Paula Cheney
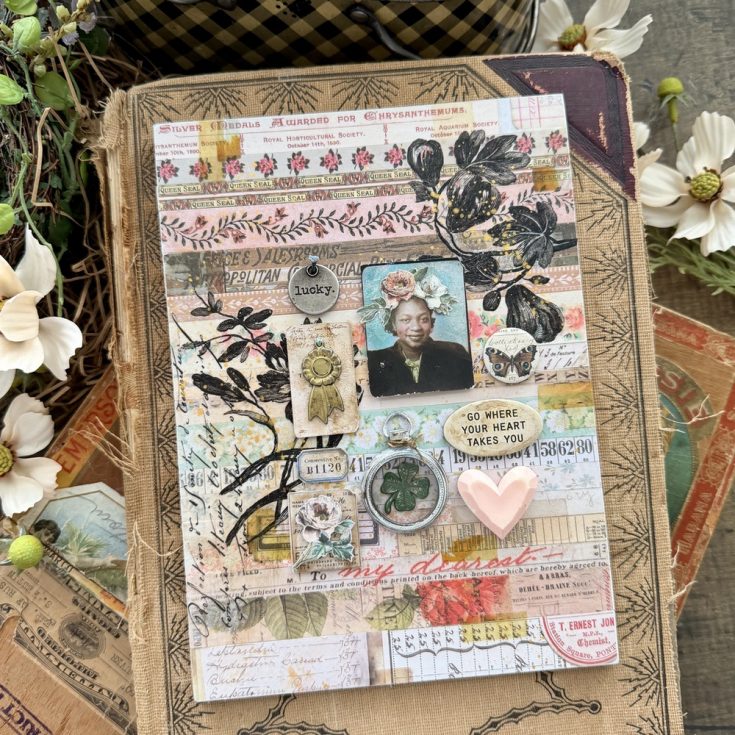
Hello friend! Thanks so much for stopping by our blog today, and please join me in welcoming back special guest Paula Cheney with this gorgeous and intricate panel design! Read on and enjoy!
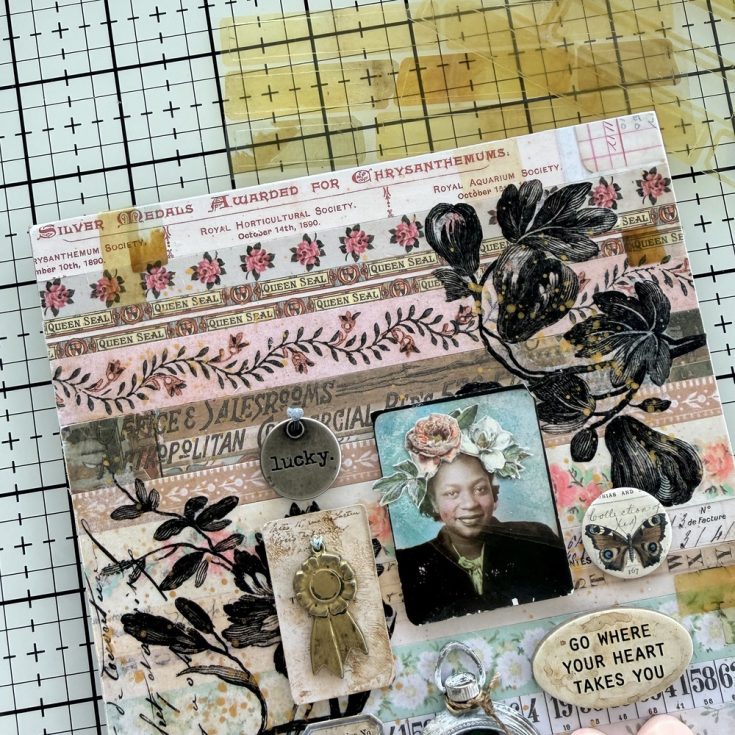
Etcetera Panel
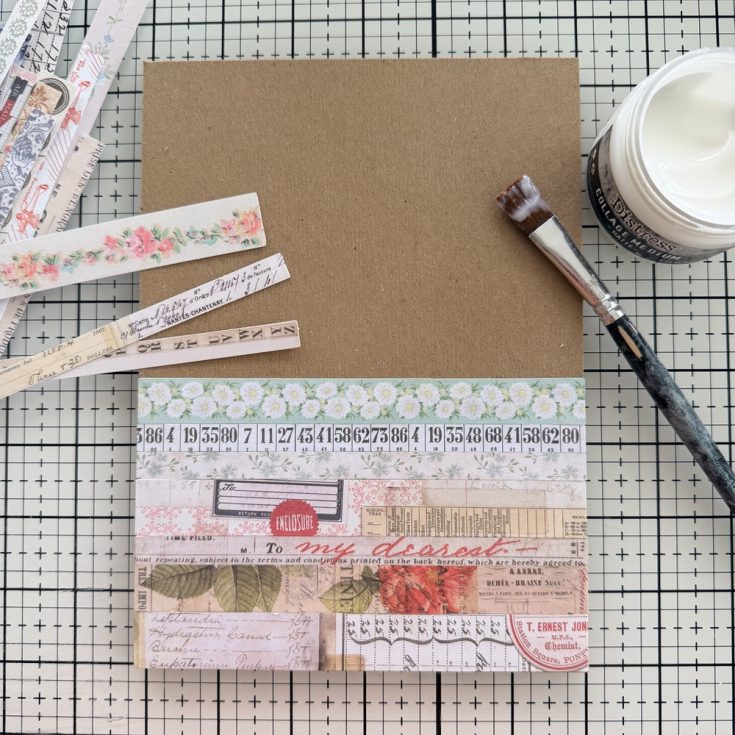
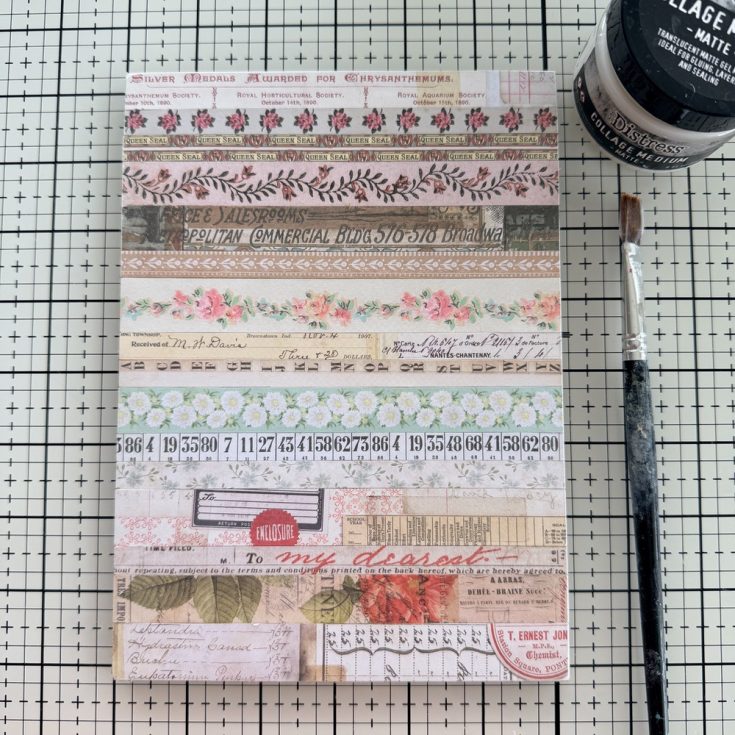
- Use Collage Medium to add idea-ology Paper Strips to a small Rectangle Etcetera Panel. Paper Strips are fun to use because there are so many patterns, colors and really, no wrong way to use them! Choose the strips you like best and adhere them to the panel with Collage Medium. Since Collage Medium dries quickly, I find it’s best to add Collage Medium to the back of each Paper Strip, rather than the panel itself.
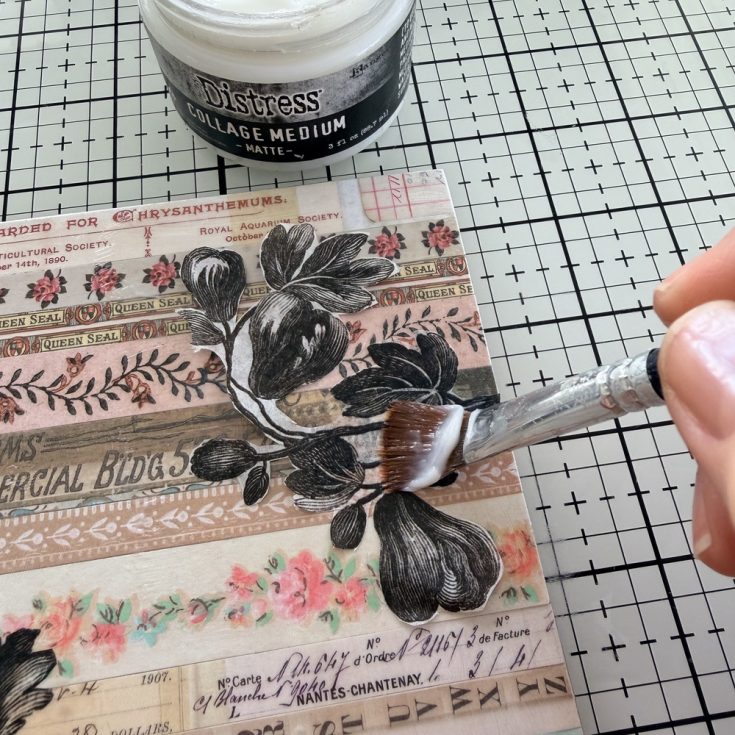
- Once the Etcetera Panel is covered with Paper Strips, add a thin coat of Collage Medium over the top. Again, Collage Medium dries quickly over paper so work quickly, then use your hand to rub the Collage Medium into the paper so you get a very thin coat over the top. Set aside to dry.
Collage Paper
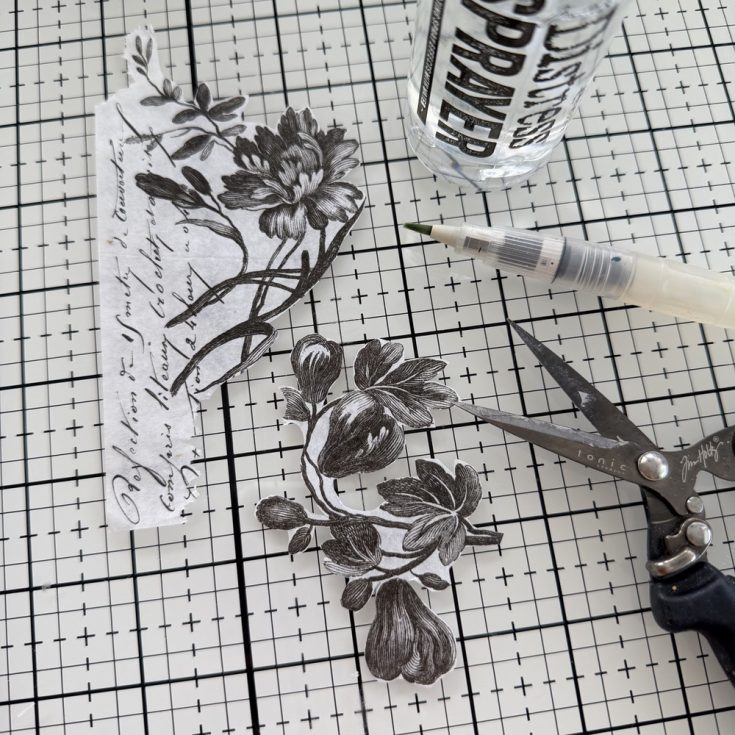
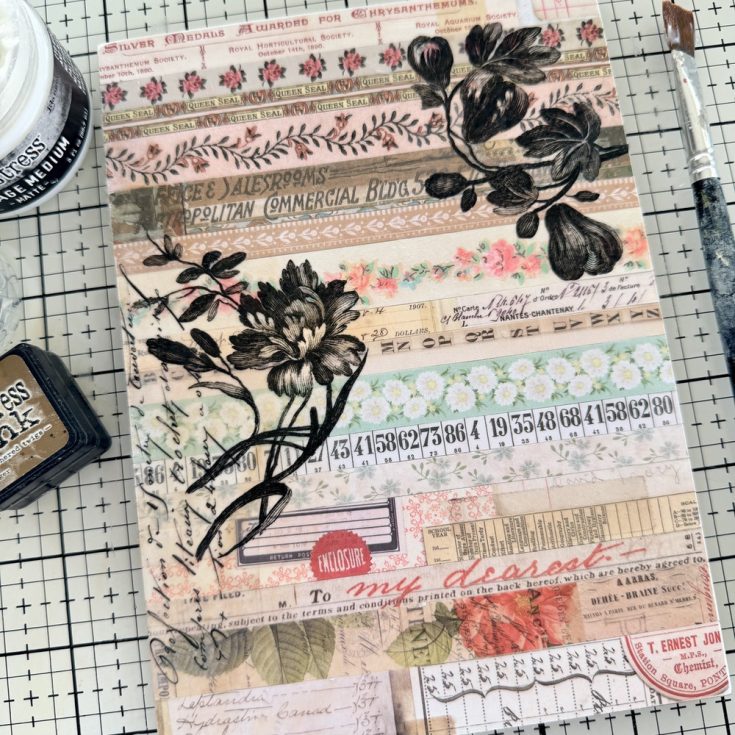
- idea-ology Collage Paper comes in small 5 x 6”sheets. Choose one or two designs to add to the panel. I went for a darker floral design that will easily show over the Paper Strips. I used two different methods for cutting out the designs: One piece is fussy cut and the second I used a combination of fussy cutting and a Detailer Water Brush to remove the unwanted portion of the paper.
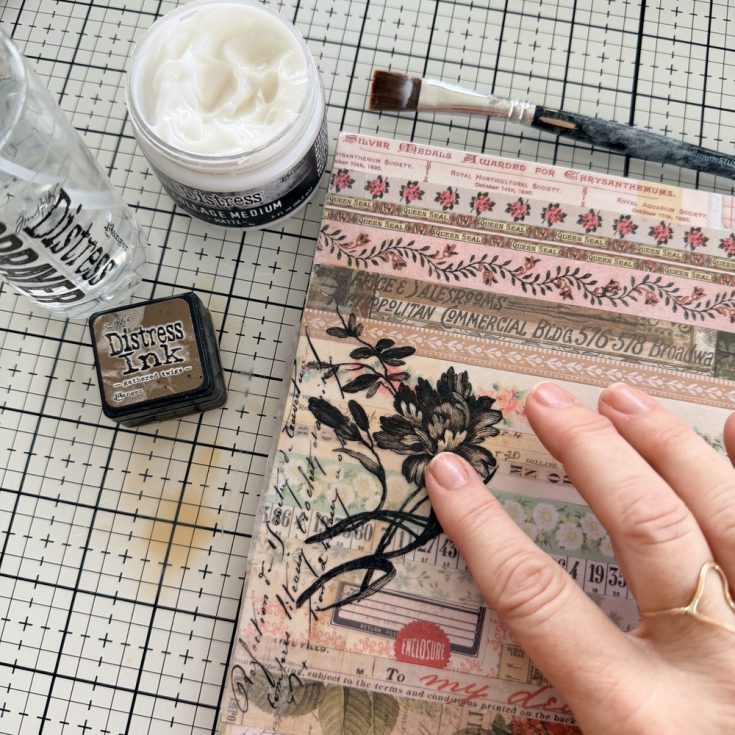
- On the right side I added the fussy cut Collage Paper by adding Collage Medium to the surface, pressing the image into it, then using a brush to add more Collage Medium over the top.
- On the left side, I repeated the same steps but added one more. I made a puddle of Gathered Twigs Distress Ink and water on my Studio Glass Mat. After I added the Collage Medium to the top of the image (and while the glue was still wet), I used my fingertip to dip into the puddle and lightly rub over the surface.
- Adding the ink over the surface of the wet glue makes the Collage Paper transparent over the Paper Strips. It’s like a magic trick!
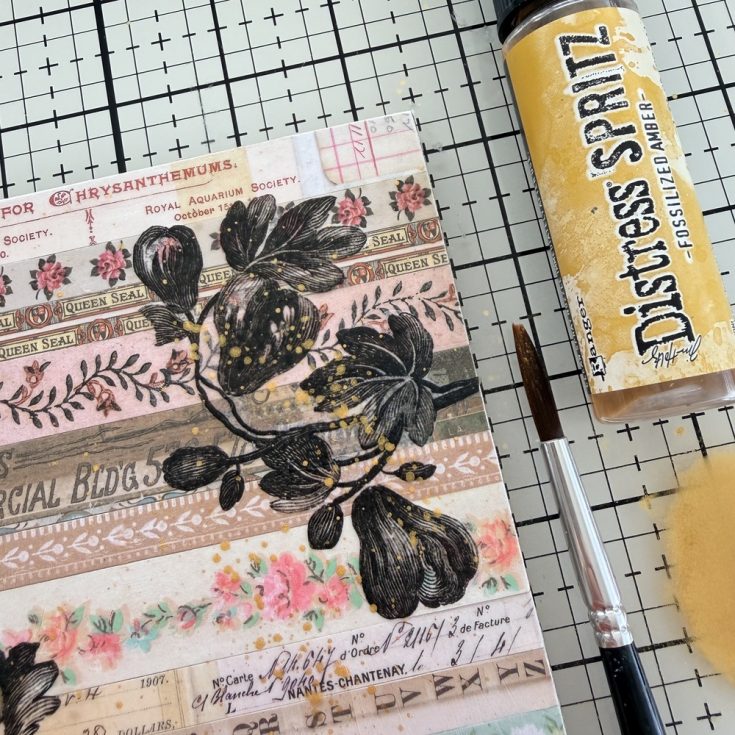
- If you work quickly and the glue is still tacky, use a brush to flick Distress Spritz in Fossilized Amber over the surface. I like the control of the using a brush, rather that spraying directly from the Spritz bottle, but either way will work. Set aside to dry completely.
Distress Paint
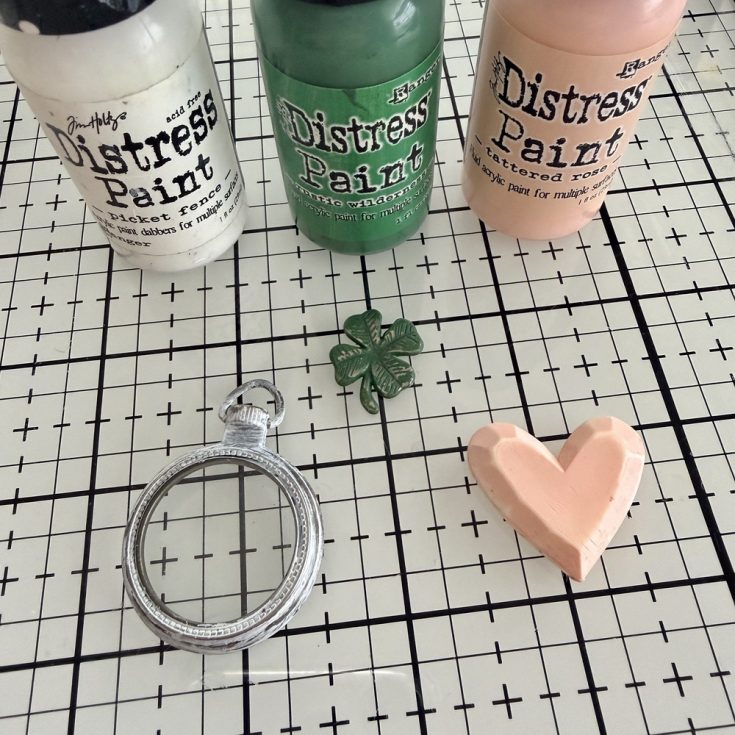
- Use Distress Paint to color embellishments. Picket Fence on the Mini Pocket Watch, Rustic Wilderness on the clover, and Tattered Rose on the Salvaged Heart. Note: Use needle nose pliers to remove the ring at the top of the clover before painting.
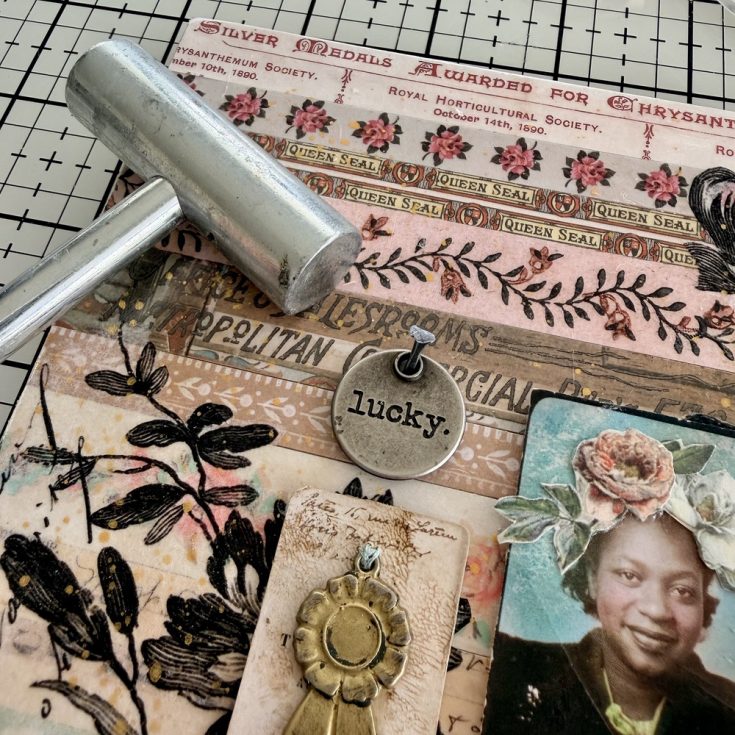
Foundry Wax
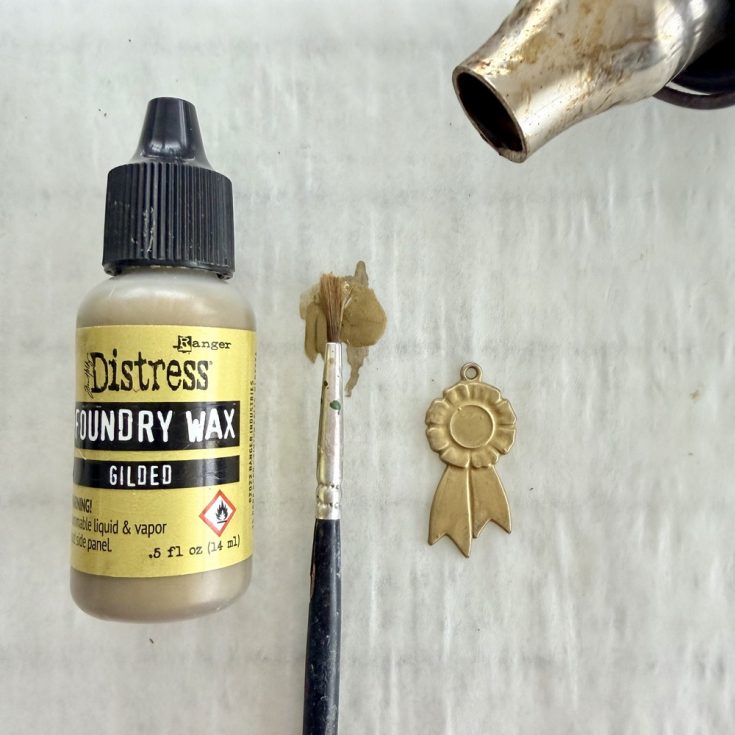
- Shake the Foundry Wax bottle till you hear the mixing ball. Squeeze a dime size puddle onto a disposable paper. Use a small paint brush to quickly paint the Foundry Wax over the metal prize ribbon (Lucky Adornments). Remove the Foundry Wax bottle and brush from the area, then heat the Foundry Wax with an embossing tool till the matte finish turns shiny gold. Note: For easy clean up, use Isopropyl Alcohol on paint brush and on work surface if using a glass mat or craft sheet.
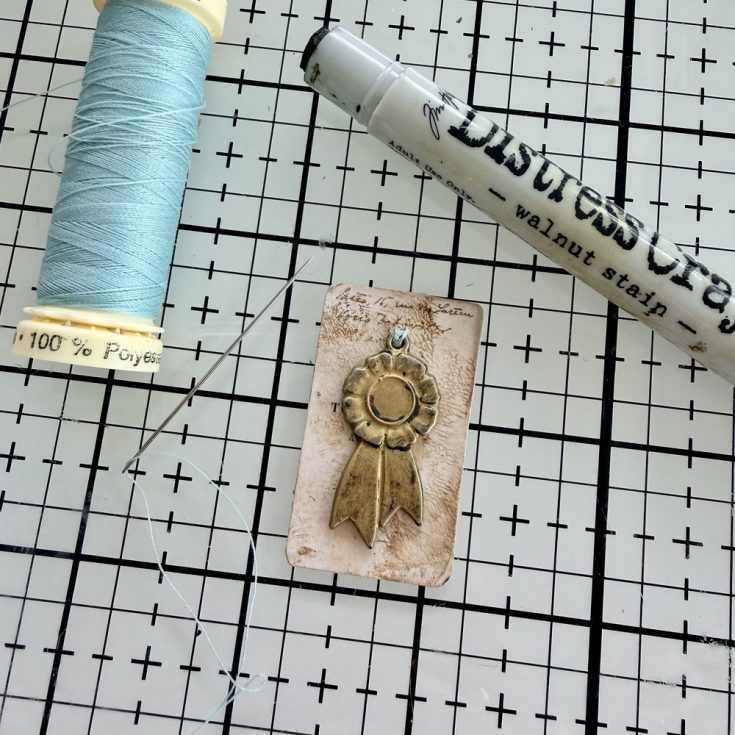
- Scribble over prize ribbon with a Walnut Stain Distress Crayon. Rub crayon with thumbs to disperse, giving it an aged appearance. Choose a piece of ephemera from the Snippets Field Notes pack and add the prize ribbon to the front with a spot of Collage Medium. Use a needle and thread to stitch the metal loop to the ephemera.
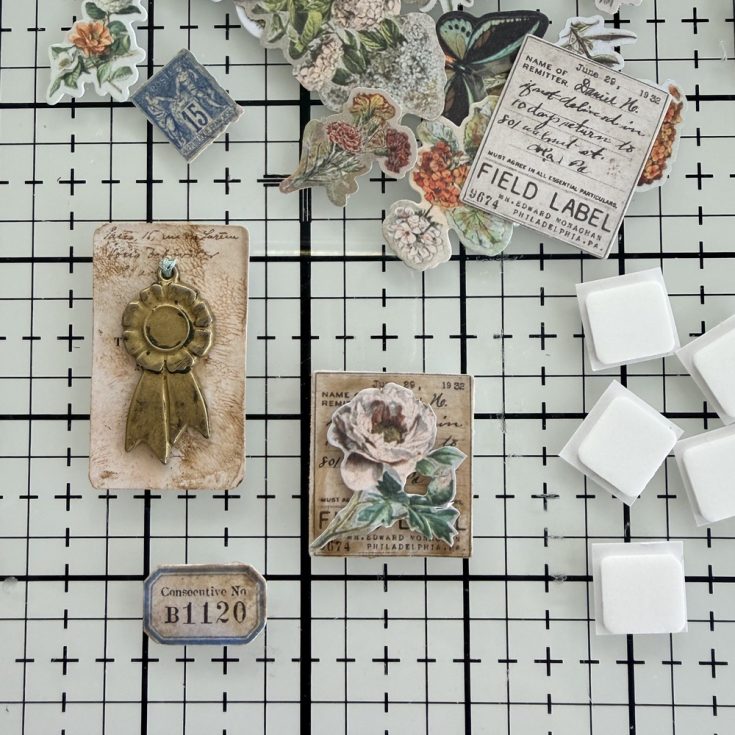
- Choose a few more pieces of Snippets ephemera to go into the collage. I fussy cut another flower and added it to an additional piece of ephemera with a Thin Foam Square.
Photobooth
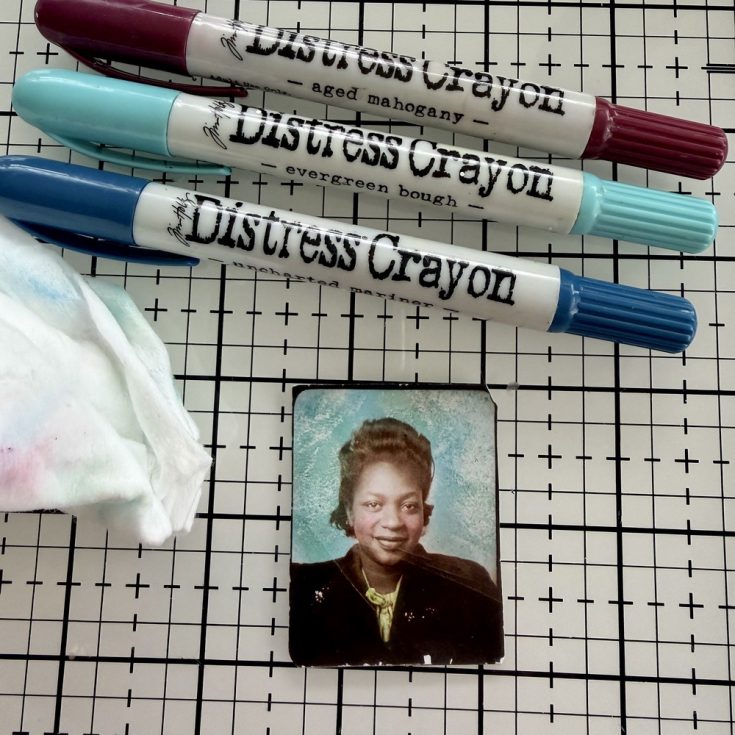
- Choose a Photobooth image to use (or a personal image 1.5 x 2”). If you are using an idea-ology Photobooth image, use Distress Crayons to tint the image by scribbling on a bit of crayon, then rubbing with your fingertip. The creamy crayon will tint the surface of the image. If you get too much color or you want to change the color, just wipe the crayon off with a wet wipe and dry with a heat tool before starting again. I used a cotton swab to tap the crayon color, Aged Mahogany over the cheeks. Optional: Use a wet wipe to muddle the crayon background to make it look more aged.
Embellishments
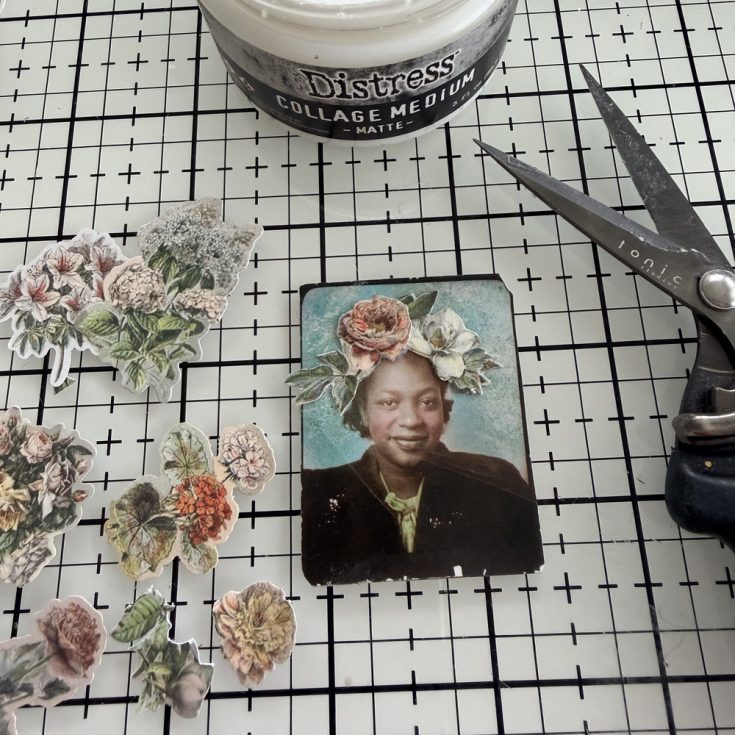
- Use Mini Recoil Scissors to fussy cut a few flowers from the Snippets Field Notes ephemera pack. Add Collage Medium to the flowers to make a layered floral crown over her head.
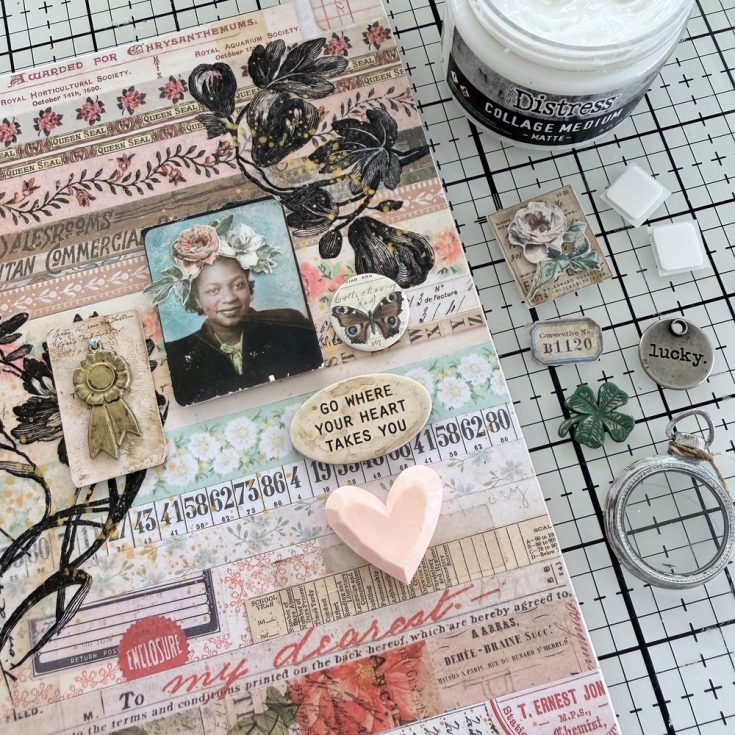
- Gather all the embellishments plus a few extra, like the Lucky token from the Adornments pack, a butterfly Mini Flair and a sentiment from the Quote Chip Labels. All pieces were added with Thin Foam Squares, with the exception of the Salvaged Heart, Mini Pocket Watch and Clover. They were adhered with Collage Medium.
- Just for fun, I added a Tack Nail to the Lucky token using my idea-ology Texture Hammer.
- The last step is to add Cello Tape Stickers to a few places on the panel. Cello Tape is the perfect way to make anything look aged over time.
SUPPLIES:
|


Thanks so much to Paula for this gorgeous inspiration and to YOU our reader, for stopping by today!


Love these ideas! Can’t wait to try them out.
Really Beautiful!!!!
Wonderful project with great instructions. Thanks Paula!!
This is beautiful – Paula’s projects are just so cool
It’s adorable, love all finishing touches.
So beautiful Paula! Thanks for sharing!❤️✌🏻🍀
so gorgeous
Selecting the right industrial Android all-in-one PC is crucial for maximizing efficiency and reliability in your business operations. A 10 inch android panel pc offers the perfect balance of compact design and powerful performance, making it ideal for space-constrained environments. When choosing a system, consider processing speed, memory capacity, connectivity options, and durability against dust, moisture, and temperature fluctuations. Look for models with easy installation, user-friendly interfaces, and robust customer support. Investing in a high-quality industrial Android PC ensures seamless workflow, reduces downtime, and enhances productivity, providing a long-term solution for modern industrial applications.