Clock tutorial with Sandra Mouwen

Sandra here with a tutorial how I decorated this clock. I used a few techniques I normally use on my cards, but are also suited for other surfaces and projects. As of lately I?m more and more getting into making home decor pieces and this week?s time challenge is perfect for that. Let?s get started!
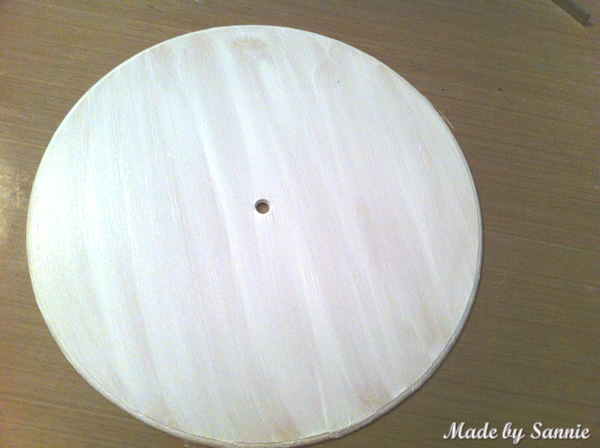
This clock frame is made from MDF (Medium-density fibreboard) and it?s porous which means that it sucks in the paint right in, so a primer coat of Gesso is needed.

Because I really want the surface to be white so the colors will stay true, I?ve put two coats of Gesso on it. Once that was dry I used some washi tape to create the areas. The tape will also mask off the white borders around the areas. So make sure the tape really is sticking to the surface and no paint will come under it.

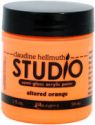
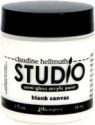
I love creating my own colors of paint, and for the first area I used Altered Orange a bit toned down with Blank Canvas. If you like these paints like me, you might like to know that the whole Claudia Hellmuth Studio line is discontinued. Stock them up while you can. But no worries, Ranger is coming out with a whole new line with paints and other stuff.

I?m not much of a precise person, so the washi tape is perfect for masking off the borders. As long as you stay on the washi tape your good to go.

For every area I toned down the paint a bit more. So I got lighter shades of the original paint color. This way you know the colors will match for sure.

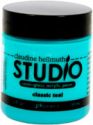
I chose to use two different colors for this clock. Two contrasting colors in fact. I love playing with colors. The Classic Teal I also toned down with some Blank Canvas.

This is how it looked like with all the areas painted. You don?t see the different shades of blue in this picture. The blue has lots of pigment in it, so you need really small amount of the blue in combination with the white.

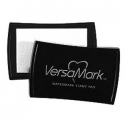
Now it?s time to decorate each area. For this area I used Versa Mark with the KaiserCraft Hummingsbird stampset and White Embossing Powder. When I heated it with my heat tool so the powder would melt, the paint also began to bubble. I love the extra texture.

I love stamping with paint. For this area I used the leftover paint I had toned down and applied it on to the Artful Border Stamp with a piece of Blending Foam. I repeated stamping until the area was completely covered. Don?t forget to mask off the surrounding areas.

I love Embossing Paste to create textures. This time I didn’t color it, but left it plain white. It?s so easy to use. Apply it with an old credit card or a palette knife, cover the area you want and carefully remove the stencil, and voila!

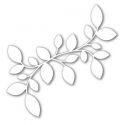
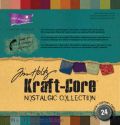
This exclusive Clustered Leaves die from Simon Says Stamp also comes in a mask and also a stencil. All three are the same size. I cut it out of Kraft Core Cardstock and sanded it with the Sanding Grip to expose the kraft core. To prevent it from wripping it, leave it inside the cardstock where it was cut out off, while sanding it.

The die cut is too big for the area, so mark the edges and cut them off. To make sure everything is in place, I adhered the center part down before marking. When everything is trimmed down, adhere it to the surface. I used Tacky Glue for it.

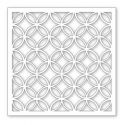
This is the exclusive Diamond Circles stencil fro Simon Says Stamp, and I used it with Altered Orange paint. I applied it with a piece of Blending Foam. It?s key to do a tapping motion, therefor no paint will come under the stencil.

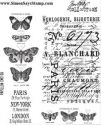
Well of course this project needed stamping with ink. I used one of my favorite script background stamps from the Papillon Stamp set with Archival Ink Rose Madder. I chose Archival Ink, because it stamps perfect on non-porous surfaces.

All the areas are finished now, so time to remove the washi tape. Such a different look! Love all the graphic patterns and the colors.

The numbers are cut out of adhesive cork and the exclusive Simple Numbers Die. I love the look of the cork.
Here are the products I used for my project:
 |
 |
 |
 |
 |
|
 |
 |
 |
 |
|
 |
 |
 |
 |
 |
 |
 |
 |
|
|
 |

Hope you liked this tutorial and has inspired you to try your techniques on all kind of surfaces and projects.

I love the idea of using tape to mask and creating a patchwork of sorts full of texture, stamps, and techniques! Thanks for the inspiration, Sandra!
Now it is your turn – join us this week in the challenge! For the full rules, read the “challenge rules” posted in the side-bar here on our blog, and be sure to enter the challenge in the post below this one.
Challenge Badge

Spotlight Badge


Gorgeous make Sandra and great techniques . Love your clock, very creative . Tracy x
It looks beautiful. Nice way to match it with any room.
gorgeous!!! and fab techniques!
Sandra, I love this clock and all the details! The masked sections add so much varied interest and the texture is wonderful! Love it!
well that’s pretty amazing and just in time for turn the clocks ahead on Sunday.
Gorgeous clock. love each pattern and colour. Thanks for sharing.
That’s so cool. I love what you did! TFS
Awesome clock! Love the masking and painting! Beautiful!
I love all the different ways the different areas were decorated! TFS!
Fabulous clock Sandra! Love all the techniques you combined! Thanks for sharing your creative process!
Gorgeous clock SAndra! Thanks for sharing your wonderful tutorial! BArbarayaya
amazing!!!
This is such a gorgeous clock and great tutorial, Sandra. Thank you so much for sharing. :)
So chic and stylish – and a great colour combination too. Thanks for the step-by-step!
Alison x
Love your color pallet.
Thanks for all your sweet comments! Much appreciated! Hugs, Sandra
Gorgeous clock, thank you for the tutorial!! Coco x
beautiful project and great tutorial!!!
Stunning project that is both energetic and modern! Love those colors together with the white stamped images. Great step-by-step and an inspiring idea!
Great project!! I love the color combination you came up with and the way you did different textures and techniques in the different quadrants :)
*mwah*
Steph
Simon Says Stamp!
Relax, you are endowment sentence better off with the thicker
Vibram soles. The late 1990s until the early 2000s saw a corresponding style.
Thhe south is hot and dry, with warm winters andd cold nights.
Don’t think you are going to be a millionaire in an instant.
We findd thee influence of rock groups and cultures
undergrounds.
Stop by my web page dofus géNérateur de kamas gratuit
I think the admun οf this weeb site іs ɑctually ԝorking hard iin favor οf his
site, ѕince Һere еѵery data iѕ quality based stuff.
Herre іs my web site :: modetøJ,