No-Line Watercoloring with Gelatos
Happy Saturday crafters, it’s Nina-Marie here with you! Today I have a no-line watercolor video to share, featuring products from Faber Castell.
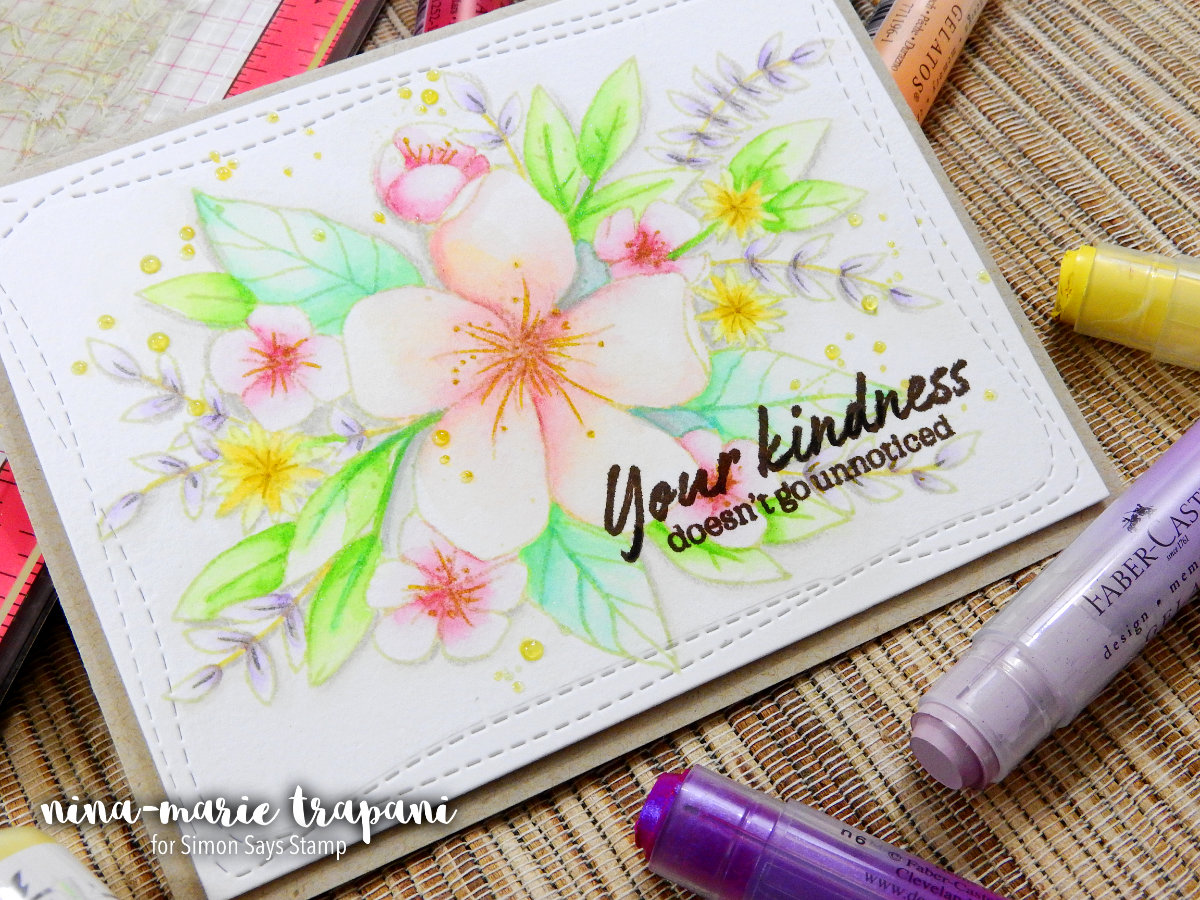
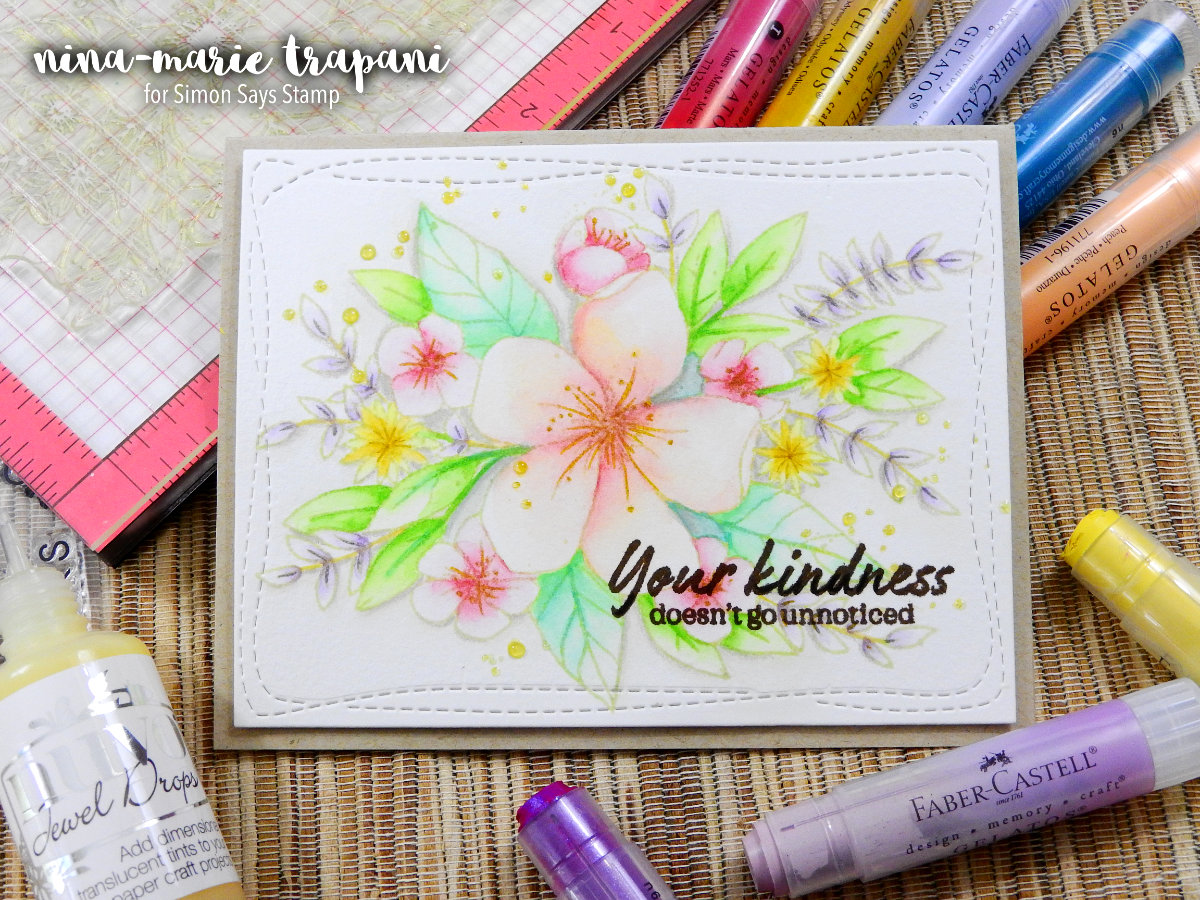
Did you know that Faber Castell is one of the oldest industrial companies in the world? Since 1761 they have been creating art products that we all love and enjoy using. Pretty cool, huh? In the card you see here, I’ve used their gelato pigment sticks to watercolor the floral images from Concord & 9th’s Hello Lovely stamp set.
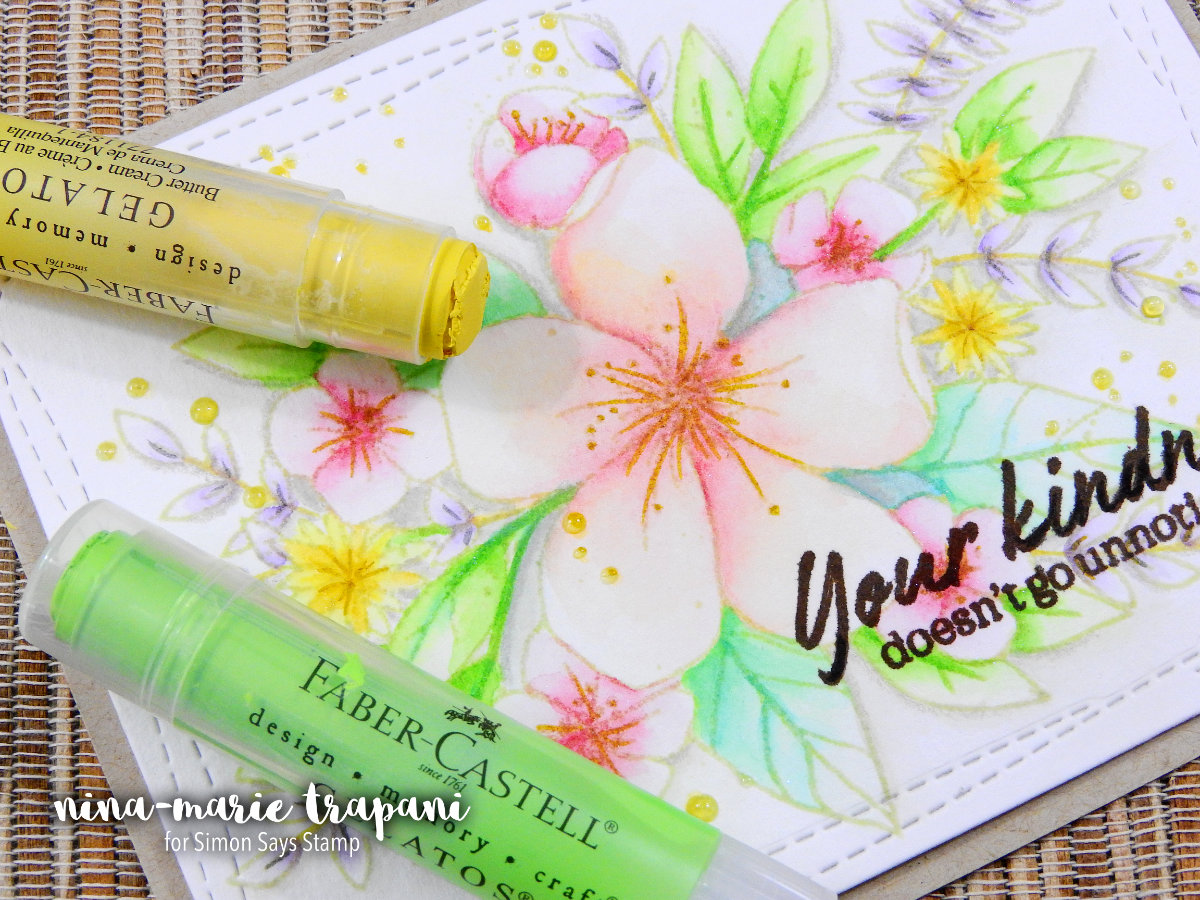
I did use the no-line coloring technique with this card, but remember that you can always use a darker ink color if you don’t feel comfortable with “no-line”. However, no-line watercoloring is really easy when you use the Barely Beige ink from Simon Says Stamp. This ink was intentionally created for this technique and it is a real game-changer.
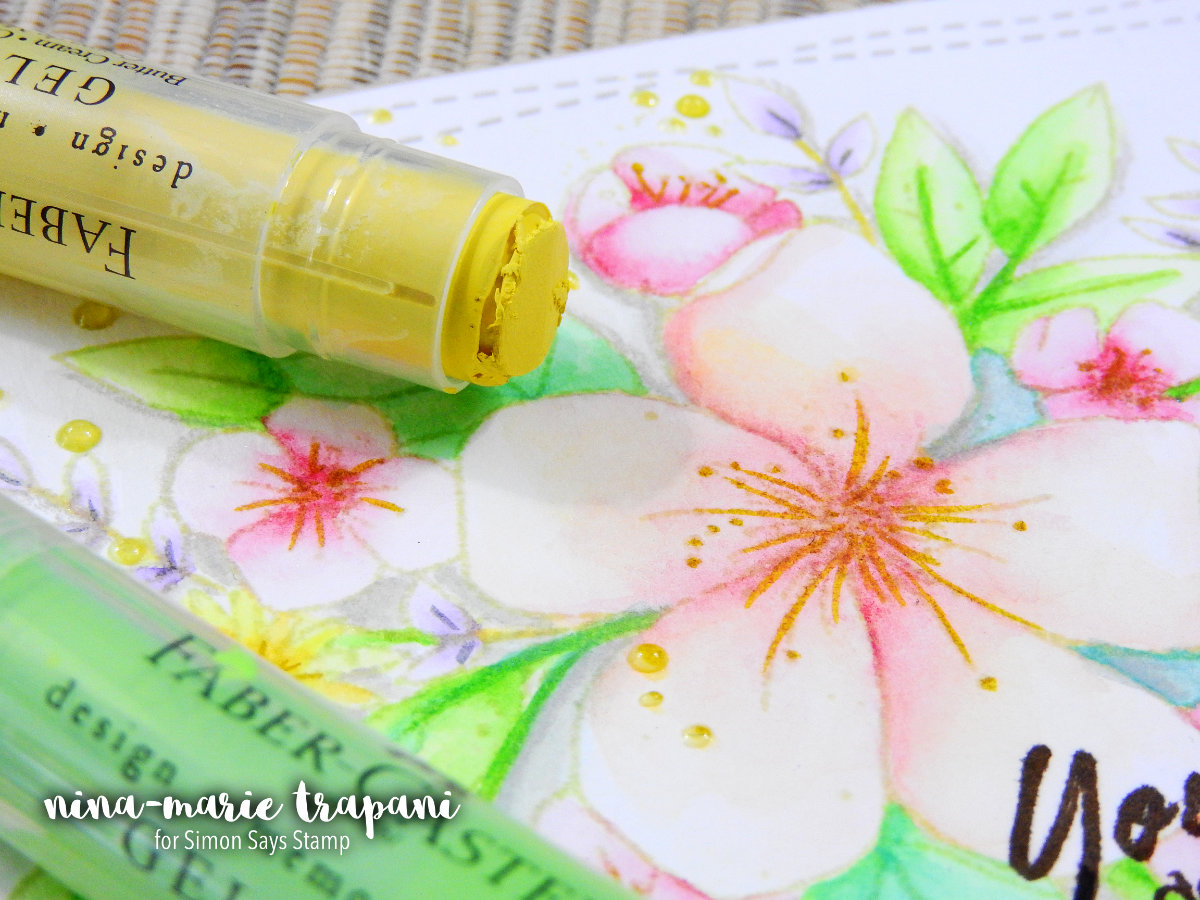
The way Simon’s inks are formulated, the lines do not disappear when a pigment is applied over top of them. Instead, the ink becomes a more darker version of the medium that was applied over it. So in the case of the leaves for instance: the lines were originally a light brown. After applying the gelato coloring over top, the lines of the leaves are now a darker tint of the green that was applied.
This same principle will be the same for no matter which type of wet coloring medium you choose to work with (such as markers or watercolors). Here’s a look at the watercoloring in progress; this photo was taken when I was about halfway done. Not all of the watercolor layers have been painted on yet and there is no background coloring.
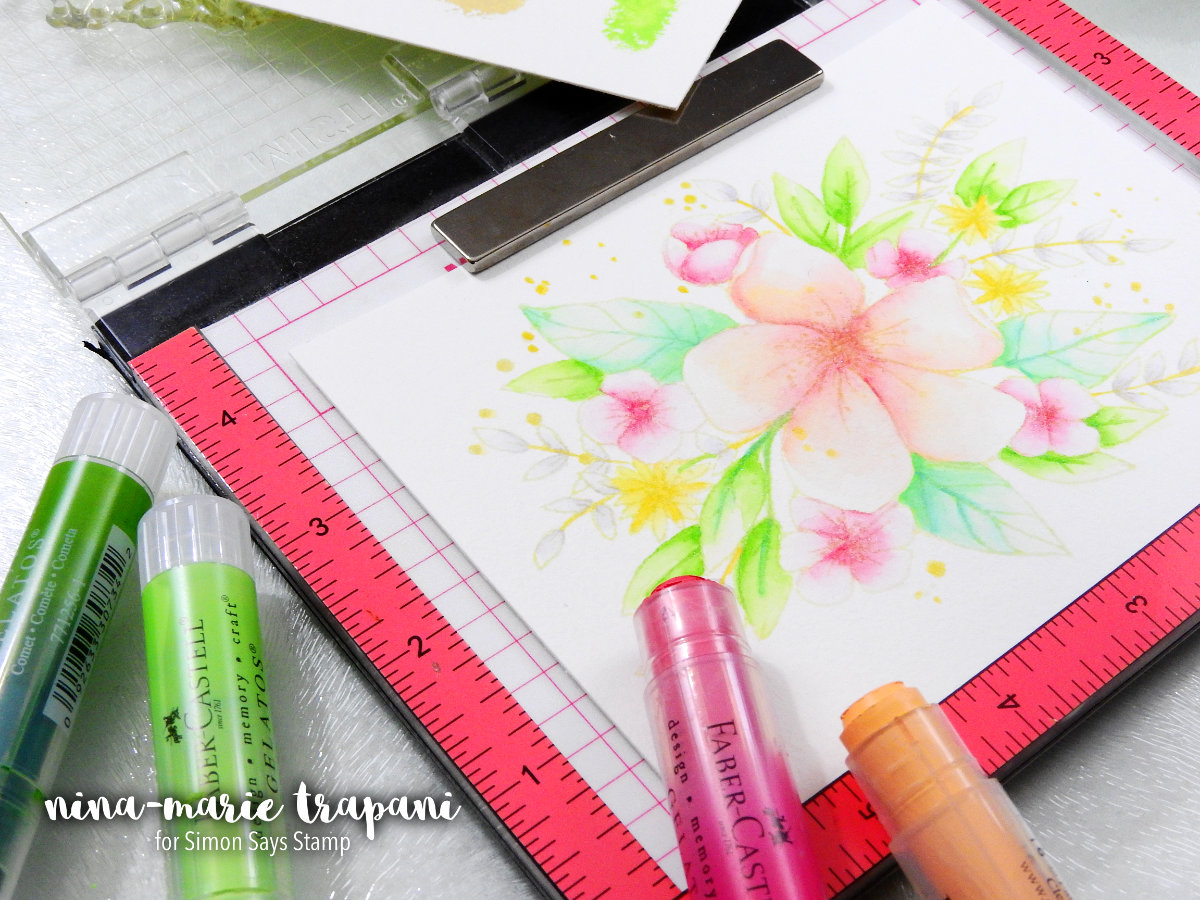
As I watercolored this entire image, I left the paper in my MISTI stamping tool. Normally for a piece like this, I would have taped it to a mini hard board. But because I wanted to be able to stamp back over top of the image later on, I did not remove the paper from the MISTI. The MISTI doubles nicely as a work surface!
Now you may be thinking, but how can I paint with the gelatos? Don’t let the stick of pigment deter you from giving them a try. There are many different ways you can use these pigment sticks for more than just swiping color across a paper. My favorite way to use them is by making my own little color swatches on paper and picking up the color from these swatches.
By simply scribbling a generous little spot of pigment onto some scraps of watercolor paper, you can take a damp brush and pick up as much or as little pigment as you’d like.
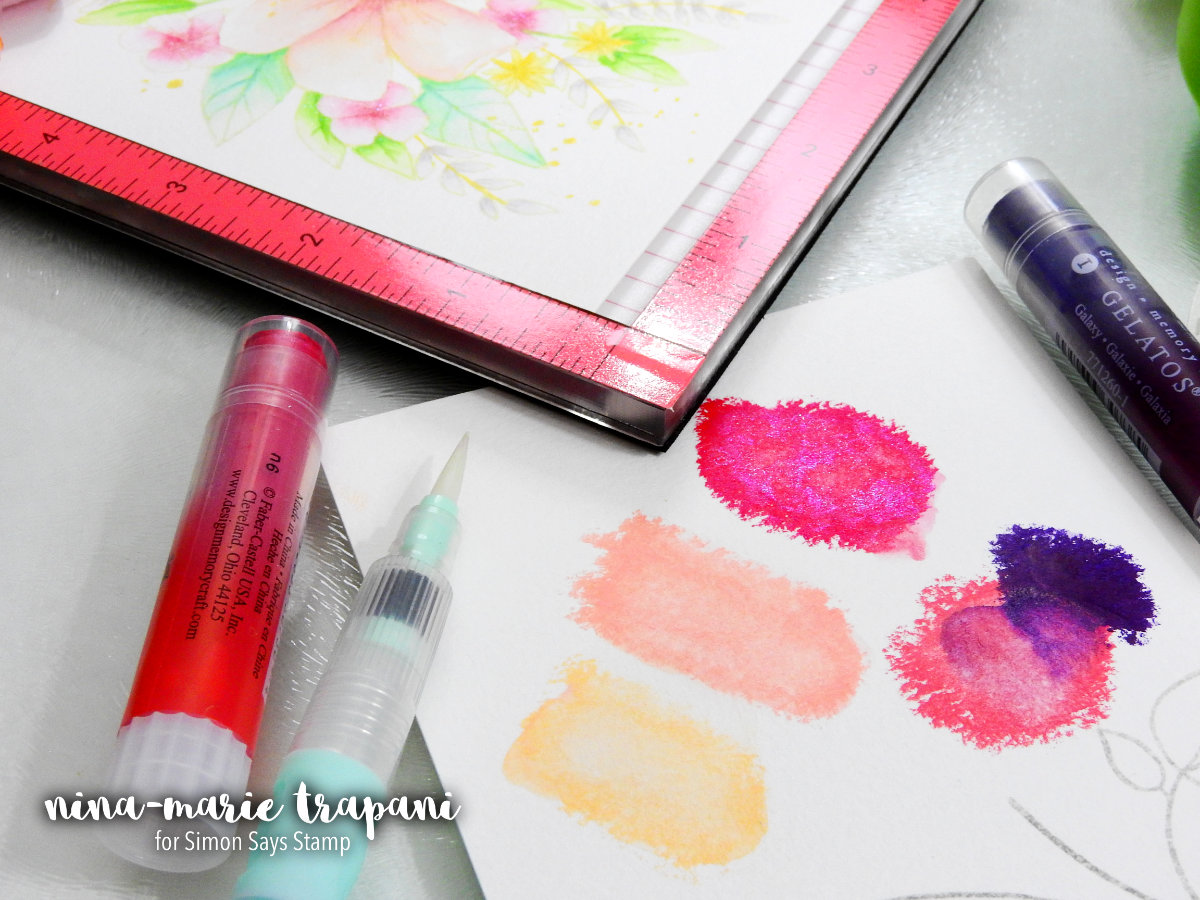
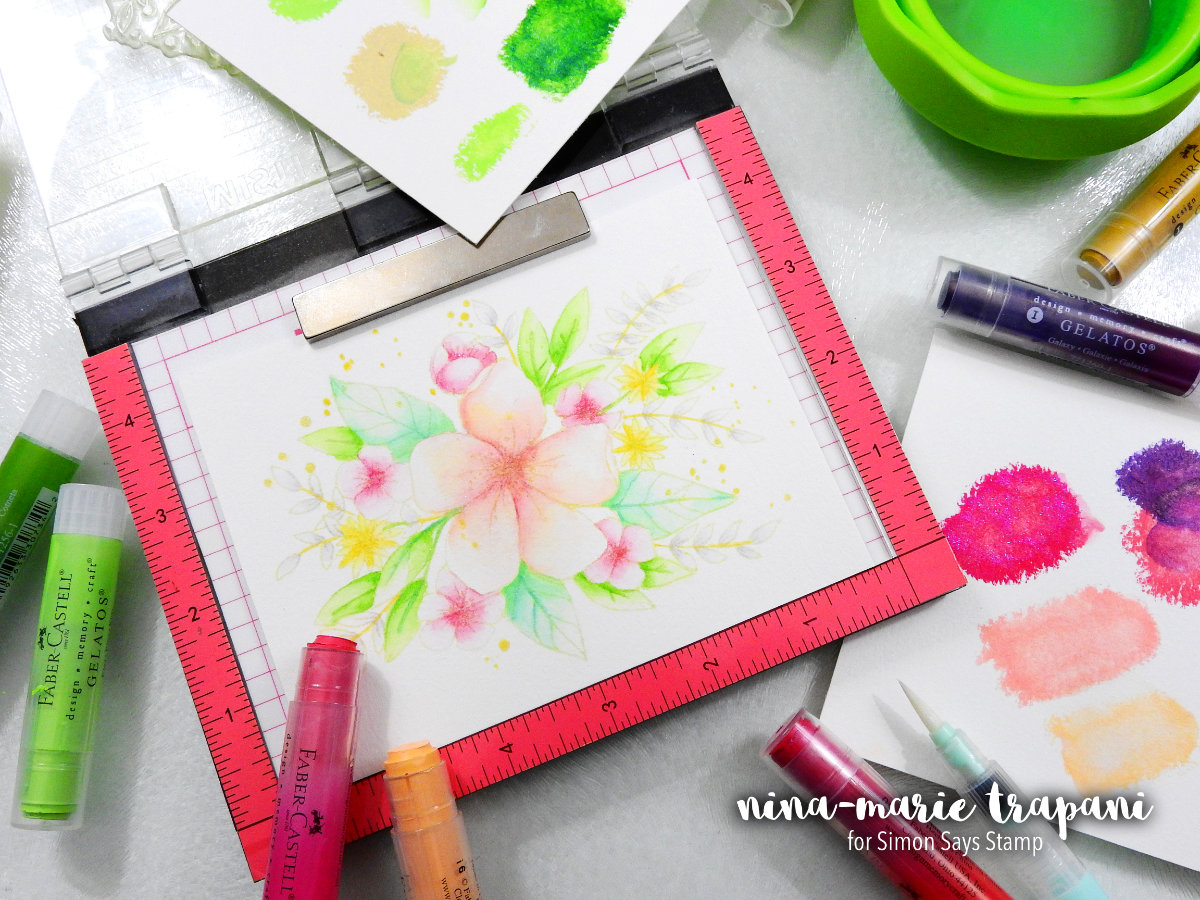
The gelatos reactivate beautifully with water, so you can get quite a bit of use out of these color spots. I was able to paint this entire card with the first scribbles of gelatos that I had put down and still had pigment left on the paper. I saved those to use for future projects.
Another way you could pick up the gelatos is by scribbling them onto a hard painting palette or piece of plastic packaging. But I find I get more concentrated amounts of pigment by scribbling onto watercolor paper.
All in all, I put a few layers of watercolor on each image, simply because I love the layered look. You can add as little or as many layers of gelato watercolor onto your images. Just remember – as with any watercolor paint – let the layers dry between applications. Otherwise you will end up with paper piling.
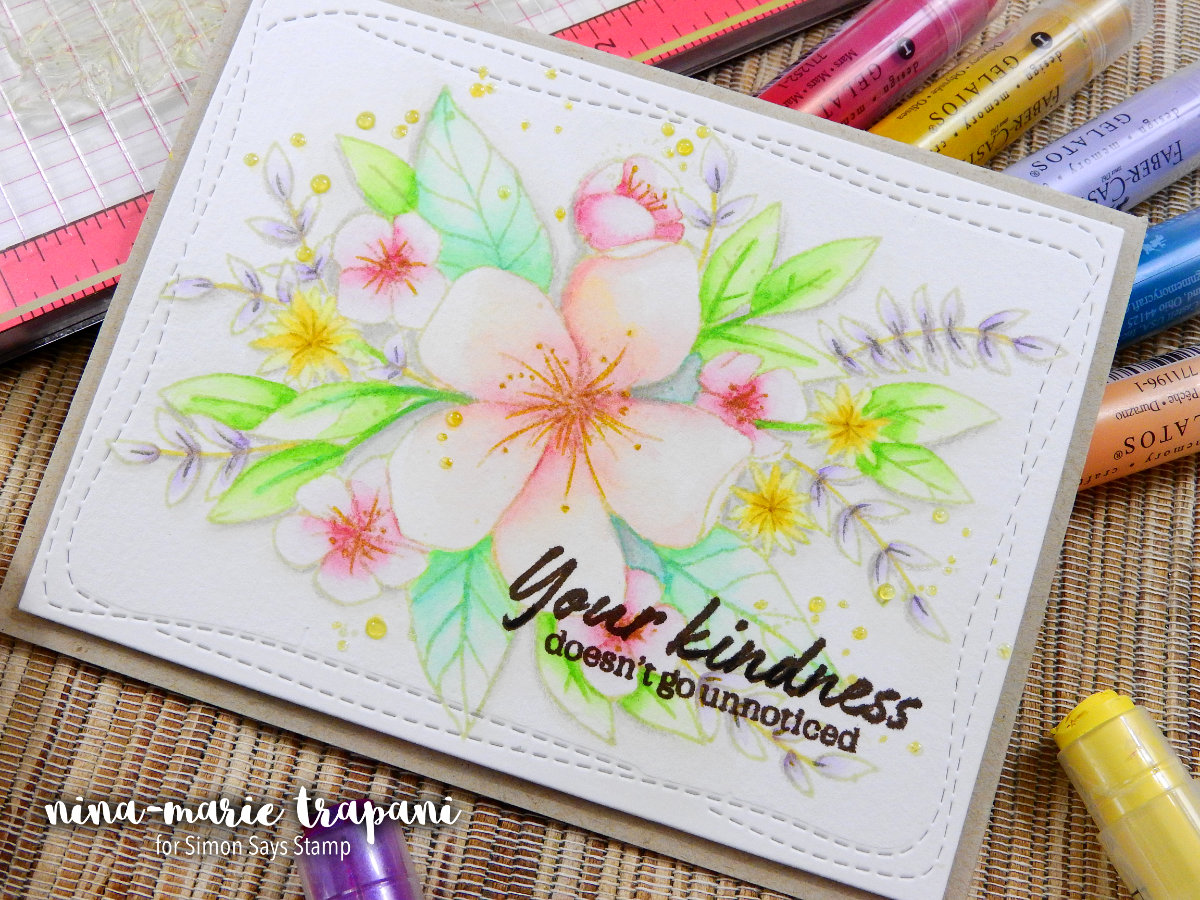
After the watercoloring was finished, I die cut the panel with one of our new Wonky Stitched Rectangles dies and stamped a sentiment from Hero Art’s You Are Loved stamp set. The sentiment was stamped in our Simon Dark Chocolate ink.
Since I planned on letting the watercoloring have the limelight, I mounted the panel onto a simple Neenah Desert Storm card base and then covered over the yellow splatters (part of the stamped Hello Lovely image) with Tonic Studios’ Limoncello Jewel Drops.
I hope today’s post and video proves helpful to you in doing some watercoloring with gelatos! Bear in mind that you can do many other techniques with this medium and I can’t wait to share more ideas with you using this product!
Thanks so much for visiting with me today, and be sure to stop back on Monday for more inspiration from me!
WATCH THE VIDEO
SUPPLIES


Blog Candy Alert!! Follow our blog via email and comment on this post for a chance to win grab bags and blog candy! Remember to tag your awesome projects with #simonsaysstamp on social media so we can see what you are creating!


Thanks for the tutorial. I’m always looking for new ways to use my Gelatos. And I had no idea that the beige ink worked that way! I am building my SSS ink collection and must add this to my next purchase.
Lovely work, Nina-Marie! Thanks for sharing another way to use my Gelatos. You are genius!
Thanks for the wonderful tutorial!!Love the flowers and pretty colors too!
Absolutely gorgeous!!
I have some gelato and hardly use them, thanks fir the idea, it is brilliant!
Great inspiration. Never heard of it done like this before
Thanks for sharing tips for watercoloring with gelatos. I have some, but haven’t tried to use thme yet. Now I can.
Gorgeous card!
I use my Gelatos as watercolor all the time, but I never thought of using a beige ink. Great idea!
lovely coloring . . .
A beautiful card. Love how you build up the layers and get the fantastic looking flowers. TFS
very etherial in look and feel, I never do no line coloring, but should give it a try probably
I enjoyed watching this all one alive with each product that was added to the piece, gorgeous!
Gorgeous! It makes me want to pull out my neglected gelatos and play.
This is fantastic! Love the coloring. I so love gelatos….so versatile ♥
This is absolutely beautiful! I have gelatos and don’t use them. Thanks for the push!!
I love, love your coloring! Thanks for sharing!
This is so, so pretty! I could watch Nina-Marie paint all day long. She makes it look so easy. Love this stunning card!
Gorgeous Nina, I love how you coloured the ‘Hello Lovely’ image! I have gelatos but have never used them, now I am tempted to get them out and give them a try. Thanks Nina for another awesome video tutorial.
Beautiful card! The coloring is just lovely :)
Seems to me I bought some gelatos several years ago. Wonder where I put them? Your video has inspired me to find them and use them! Your card is wonderful! Thanks for sharing!
Your card is fabulous! Thank you for all the details and tips you shared in your video.
Lovely card!…and that reminds me that I need to use my gelatos more often!Thank you for the inspiration :)
Thank you for sharing.
I like that the colors turn out soft but bright at the same time. Pretty.
Looks so pretty! and great technique, I love the semitransparent coloring.
Beautiful card.
Lovely card! Thanks for the great tutorial.
Beautiful coloring!!
WOW… Beautiful coloring using gelatos! Great idea
Bought gelatos, but have barely touched them for lack of ideas…NOW I know what to do with them! THANK YOU!!!
Many thanks for the extremely helpful tutorial! I adore the flowers, and the colors are so pretty too!