Using Oxide Ink & Distress Ink Together with Water
Hi all! Kristina Werner here. :)
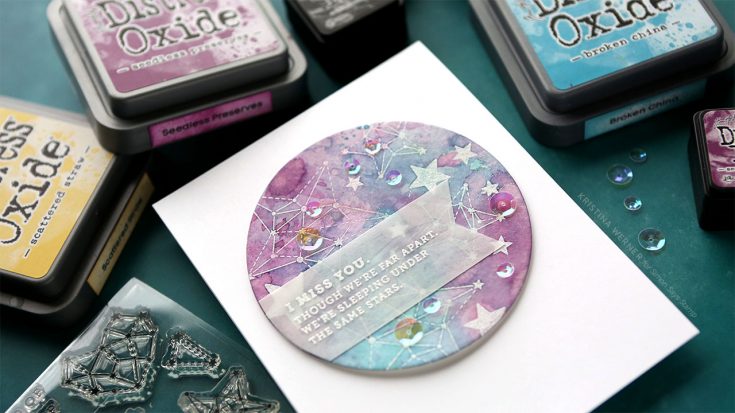
Today I have a video and card for you featuring the use of Distress Oxides Inks and the original Distress Inks with water. I’ve always loved creating backgrounds with the Distress Inks, so adding in the Oxides was a lot of fun!

When I first started this card, I planned to only use Distress Oxide Inks, but as you’ll see in the video, I wanted to intensify the colors a bit to let the embossed stamping stand out more. So I added layers of Distress Ink as well.
Speaking of the stamping, I used Simon’s Seeing Stars stamp set for the images and greeting on this card.
To create the greeting area, I stamped the sentiments from the stamp set on vellum and white heat embossed them. I adhered the stamped vellum piece to another sheet of vellum (to make the vellum be more opaque) using Connect Glue from Gina K. Then I ran the double-vellum piece through a Xyron Sticker Maker to apply adhesive to the entire surface. This allowed me to adhere the vellum to the card without adhesive showing.
Thanks for stopping by today! I hope you enjoy the card video. :)
Supplies
|


XOXO Layering Stamps 2 Ways with Waffle Flower!
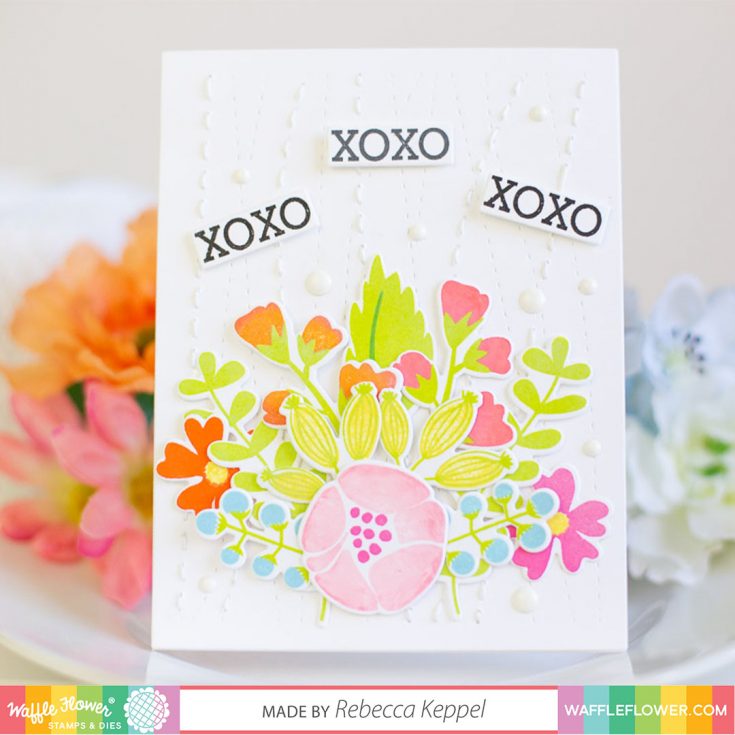
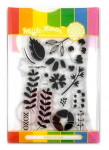
Hi friends! Happy Tuesday! We’re excited to welcome special guest Rebecca Keppel with Waffle Flower to our blog today to share two gorgeous cards using Waffle Flower’s brand new release
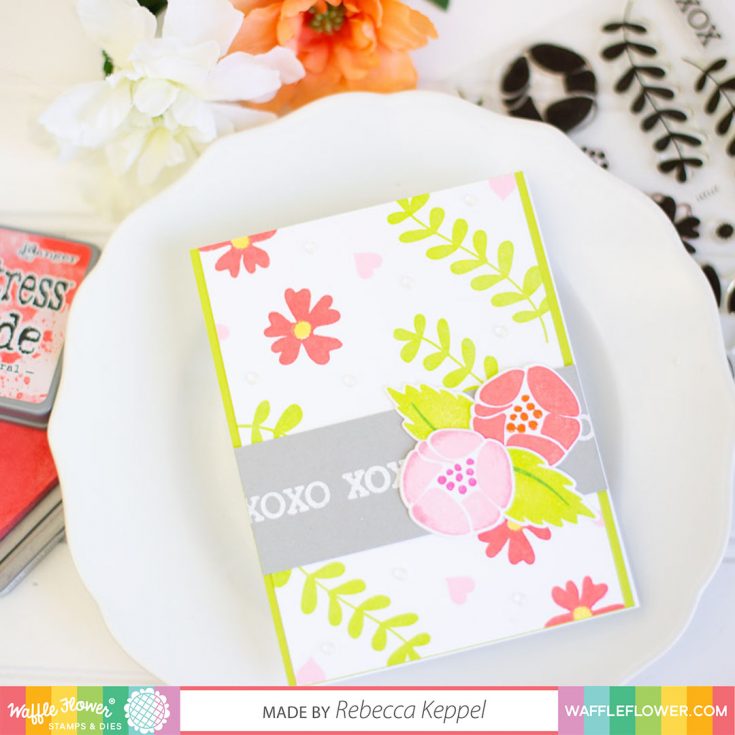
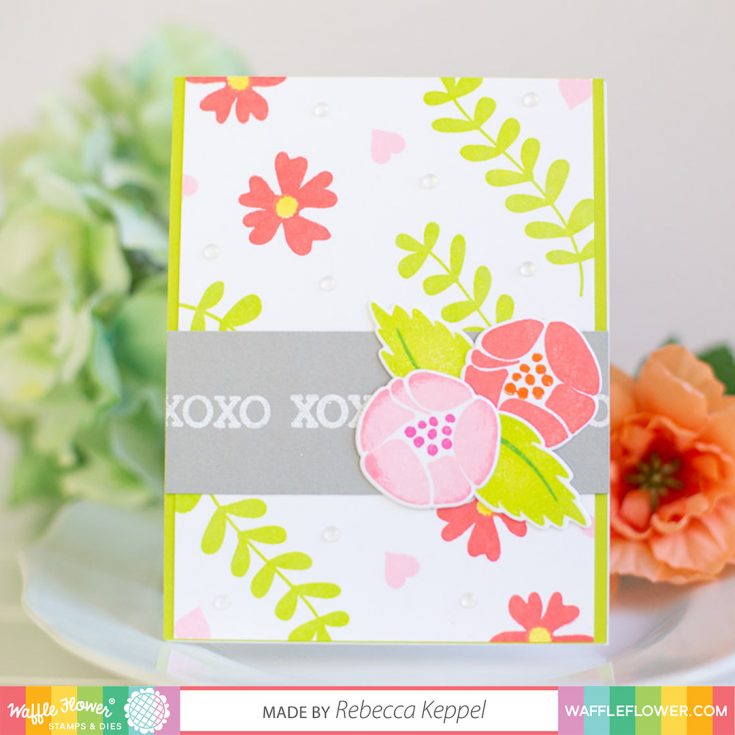
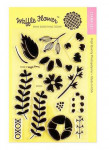
XOXO is a two-step, layering stamp set that makes it easy to create big, modern, colorful blooms. For one card, I used the stamps to create my own patterned background. By stamping on the corner of my cardstock and then flipping the panel around in my MISTI, I was able to quickly create a whimsical floral background.
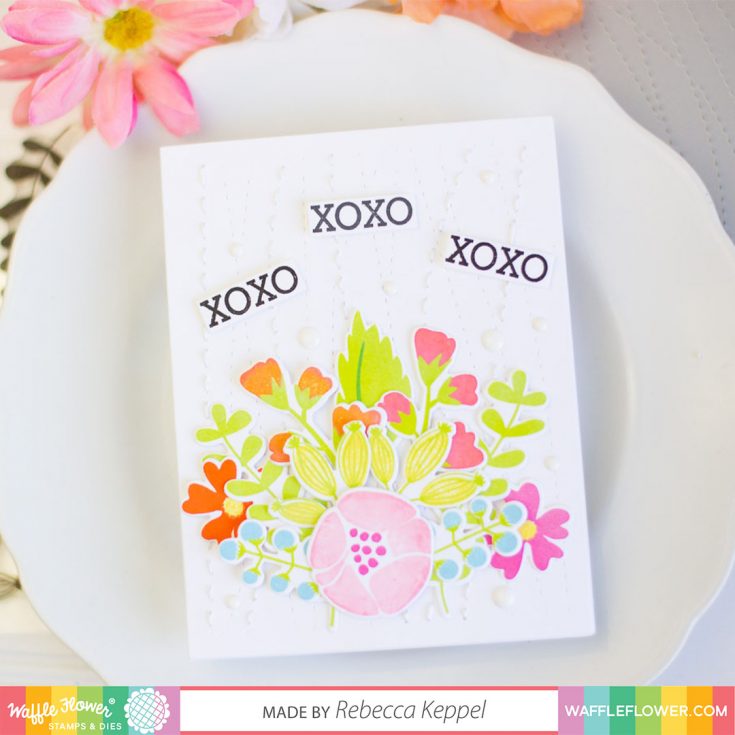
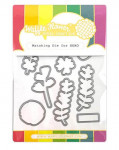
For the other card, I stamped and die cut serval color combinations of all of the stamps in the XOXO set. I love using Distress Oxide Inks for this type of stamping. I stamp all my images multiple times to get the creamiest and best impressions I can.
Once I had many die cut flowers, stems and leaves to play with I used the Waffle Flower Wave Texture Die (also from the March 2019 release), to die cut a stitched 4.25×5.5 panel. I used the stitched cut lines to add my own hand stitching to some of the lines. Then I had fun layering a bunch of the die cut pieces and creating a bouquet. I added a few Waffle Flower Clean and Clear Enamel Dots for a finishing touch.
And that’s it! I love how versatile this set is and how it can be used to create backgrounds and die cut bouquets. I will definitely try these techniques with new color combinations soon.
Thank you so much for stopping by!
SUPPLIES:
|


Thanks so much for stopping by, and thanks to Rebecca for being our guest! Don’t forget to check the entire new Waffle Flower release! It’s awesome! :D

Blog Candy Alert!! Follow our blog via email and comment on this post for a chance to win special blog candy!
Studio Monday with Nina-Marie: Background Stamping 3 Ways

Hello crafters, it’s Nina-Marie here with you today sharing 3 fun and unique ways to create with background cling stamps.
I’m sure all of us have at least a few background stamps in our stash. I always enjoy stretching my supplies and experimenting with new ways to use things.
WATERCOLOR STAMPING
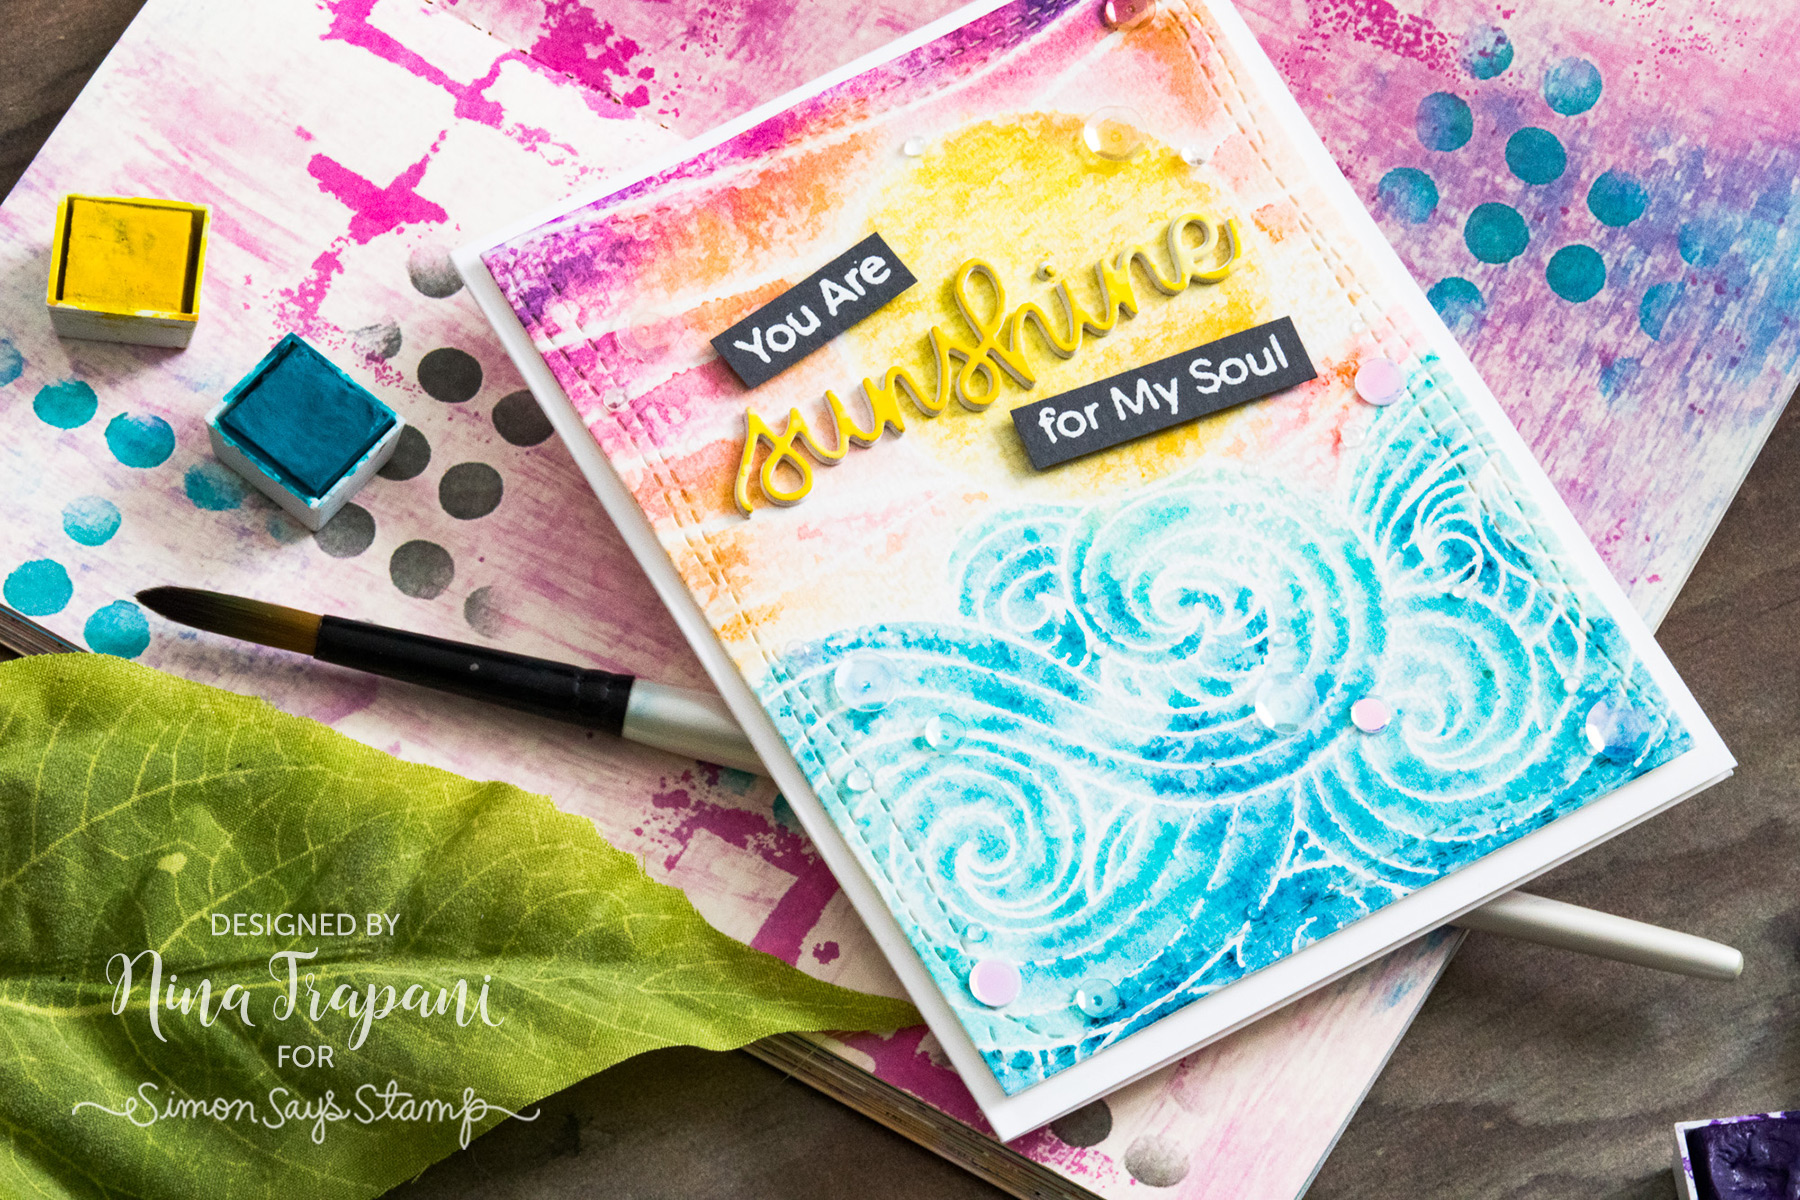
I think we’ve all done a rendition of watercolor stamping with water reactive inks to give ourselves a “faux watercolor” effect… but have you ever tried this technique with actual watercolors?? The results I find are even more realistic and you also have a lot more control. This technique works best when used with a background stamp that has a lot of solid areas, like our Simon exclusive Beachy Waves stamp.
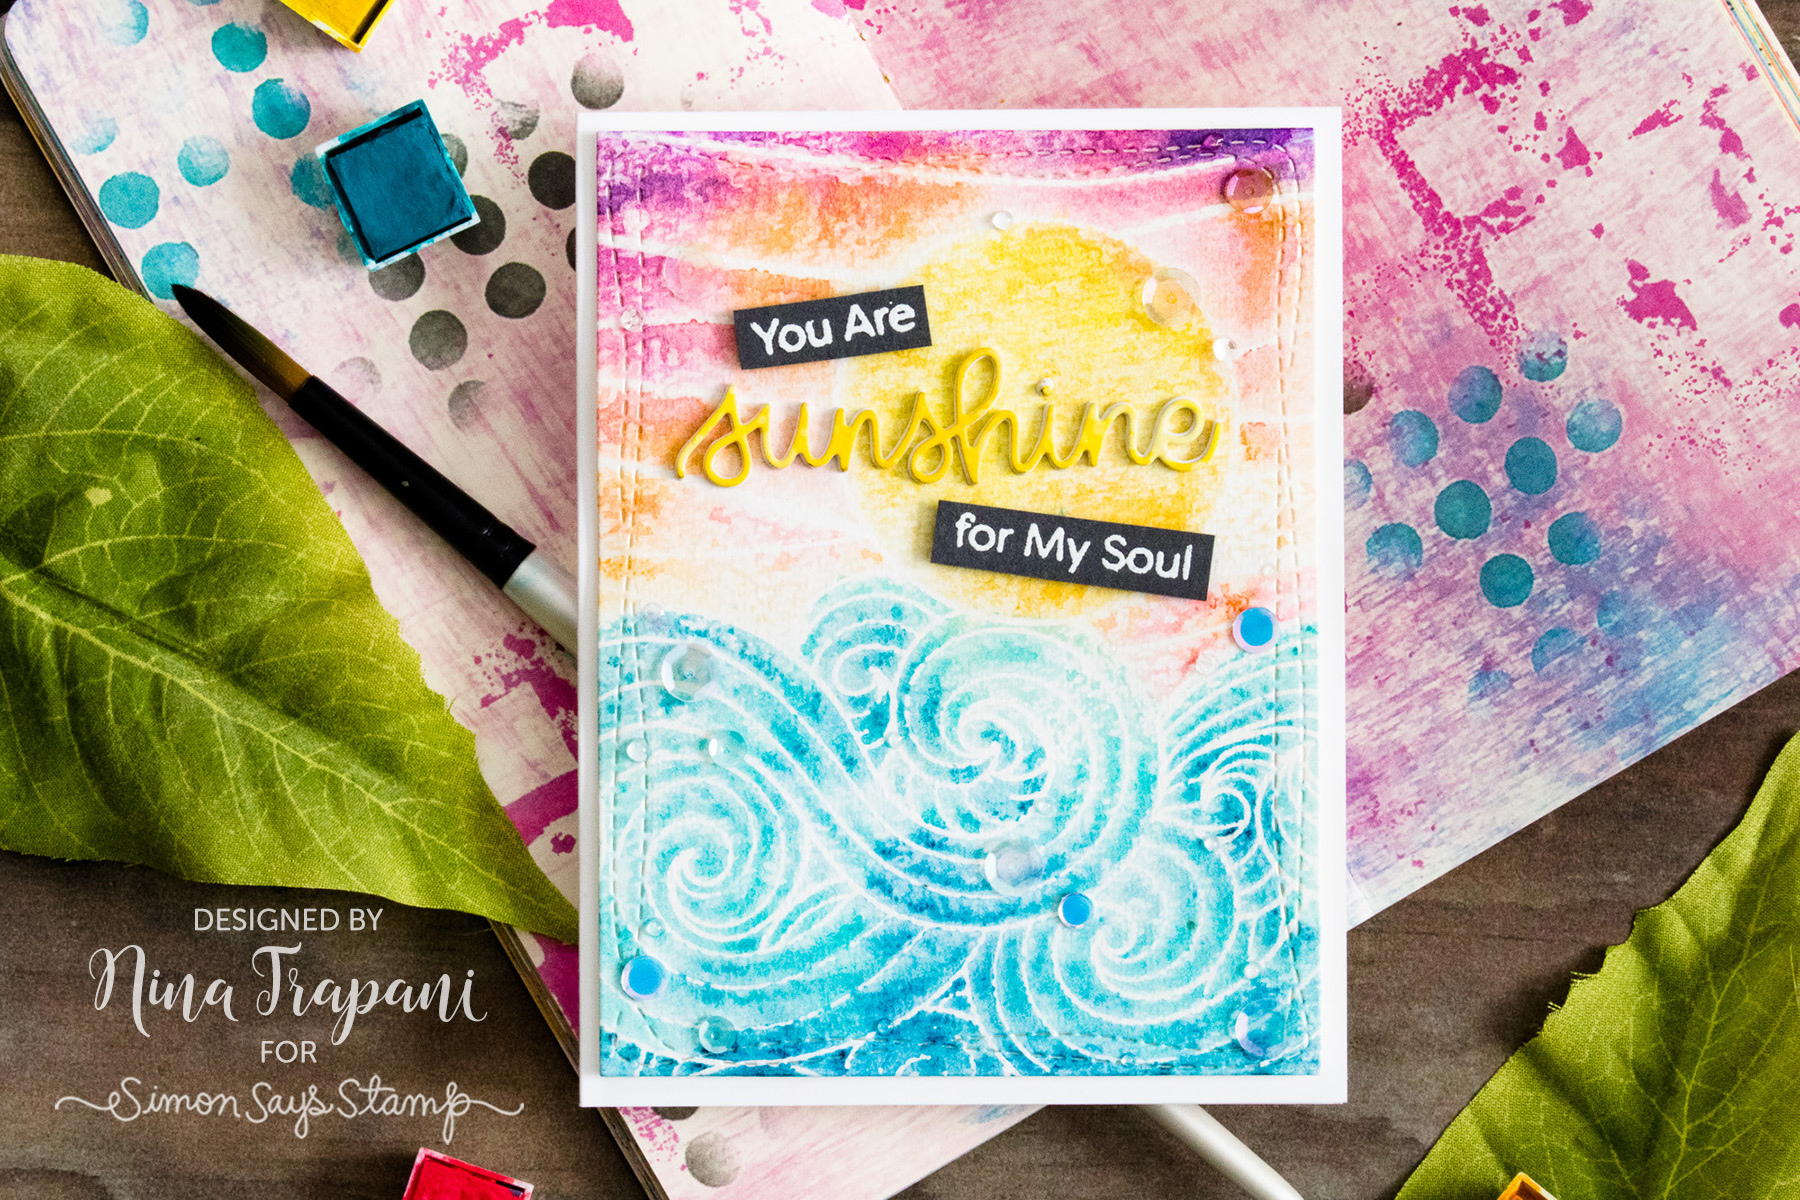
This card is decorated with sentiments from our You Are My Sunshine die and My Favorite Things’ Full of Sunshine stamps.
INK SMOOSHING + TONE ON TONE STAMPING
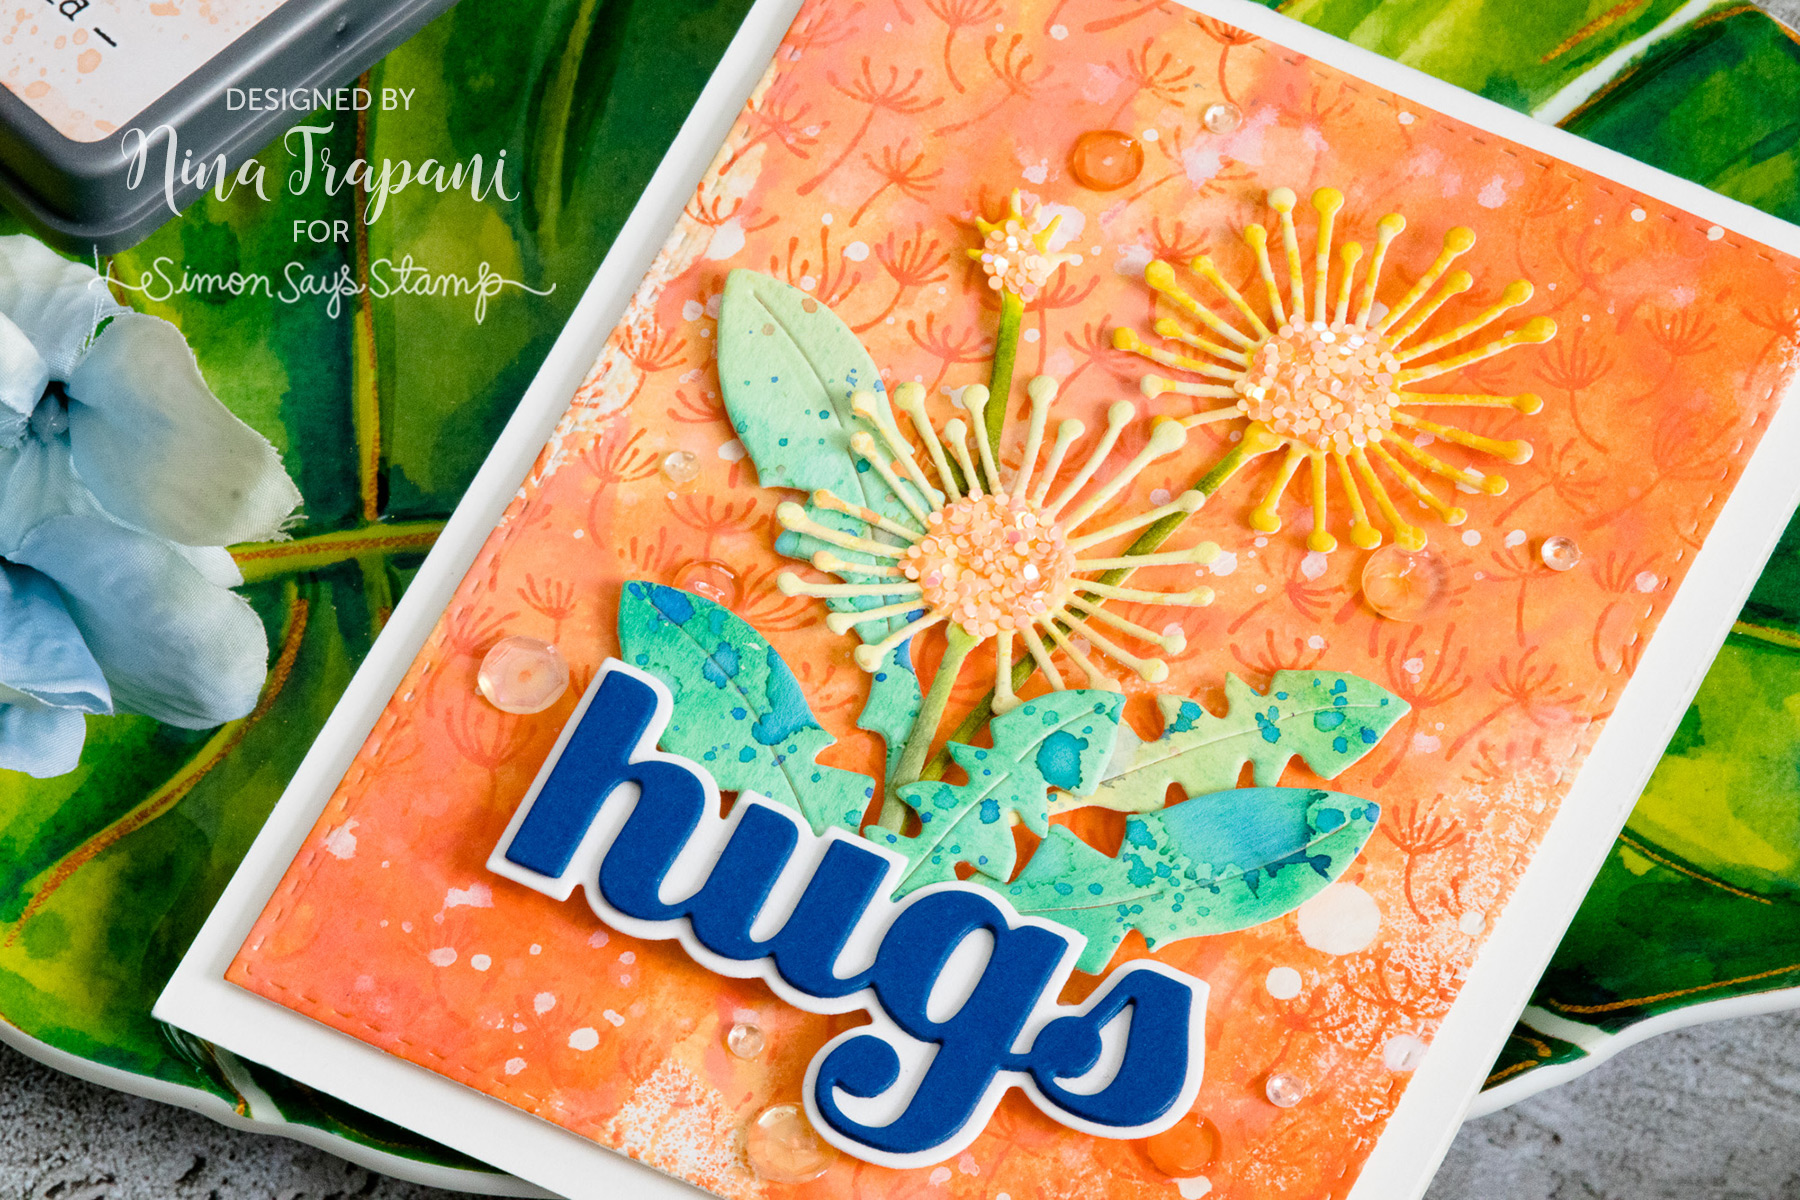
An ink smooshed background always provides a lot of organic texture and color variations. But when you add some organic, multicolor tone on tone stamping over the top, the subtle design adds the perfect amount of interest … and is really quick and easy to do! I love using Oxide inks for this effect. It looks especially pretty with the Hero Arts Blowing in the Wind stamp.
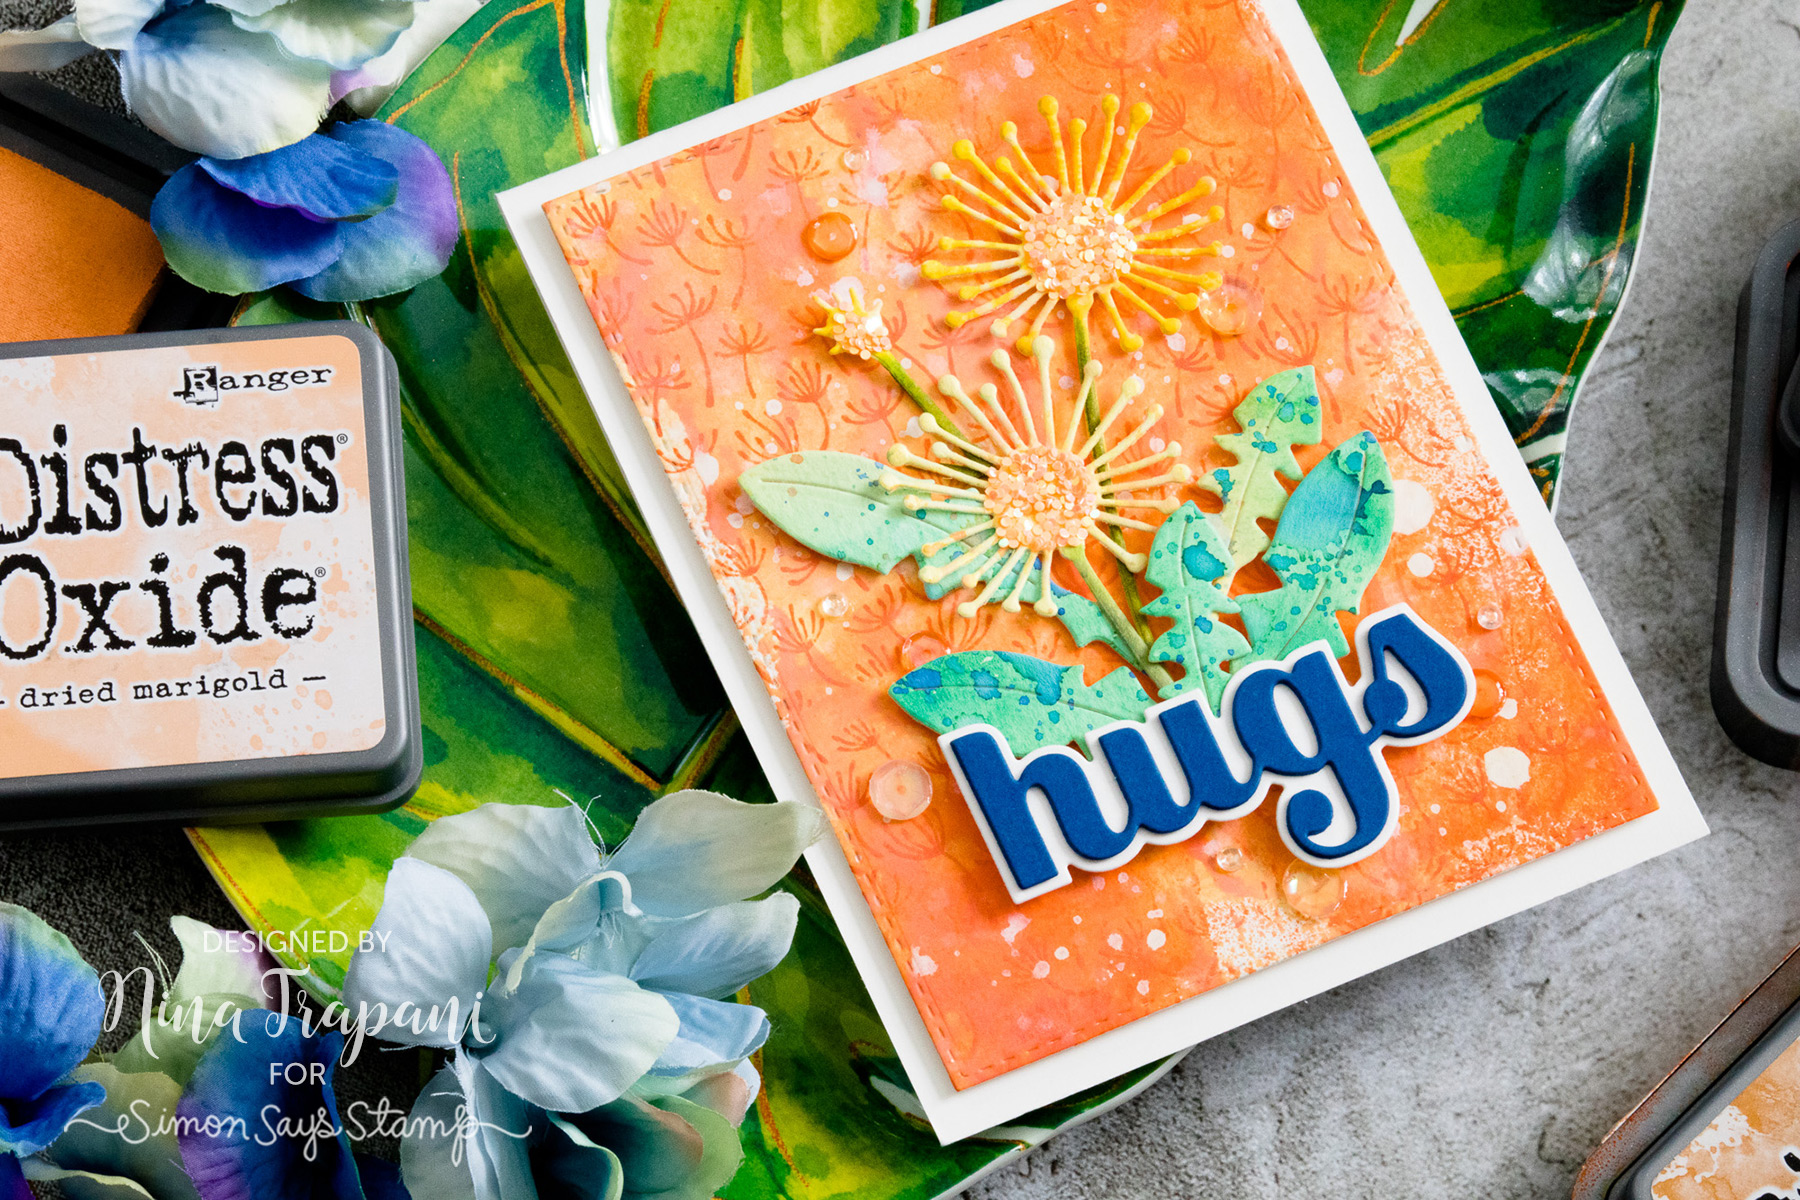
This card is embellished with die cut florals from Hero Arts’ Dandelion and Leaves set, plus a sentiment from the Big Hugs die by Birch Press Design.
INKED EMBOSS RESIST + MORE INKING
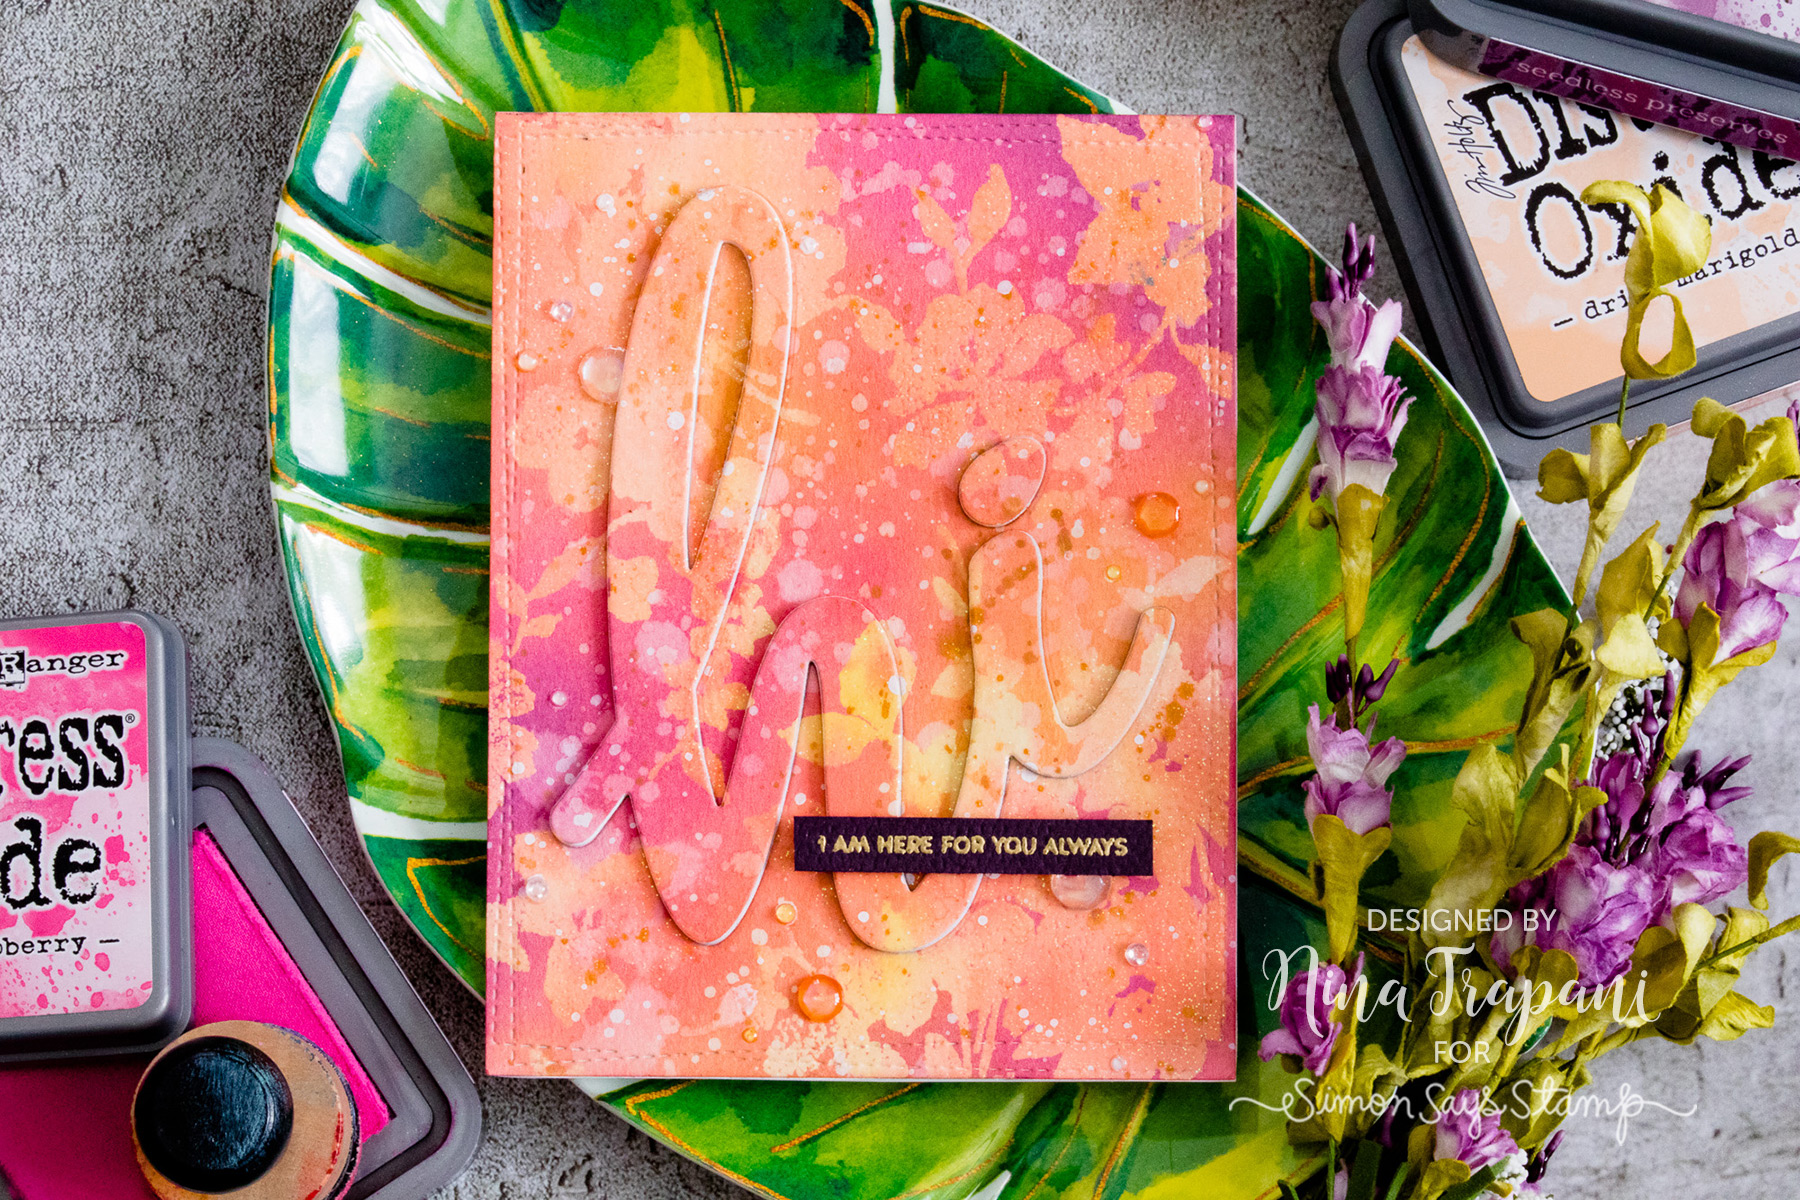
I feel like this double-whammy technique takes emboss resist to the next level! When you clear emboss (or clear glitter emboss in my case), you end up trapping the inking under the embossing powder. Then take MORE ink and blend over the entire panel once more. The embossing powder naturally resists the ink and leaves you with a truly unique color array.
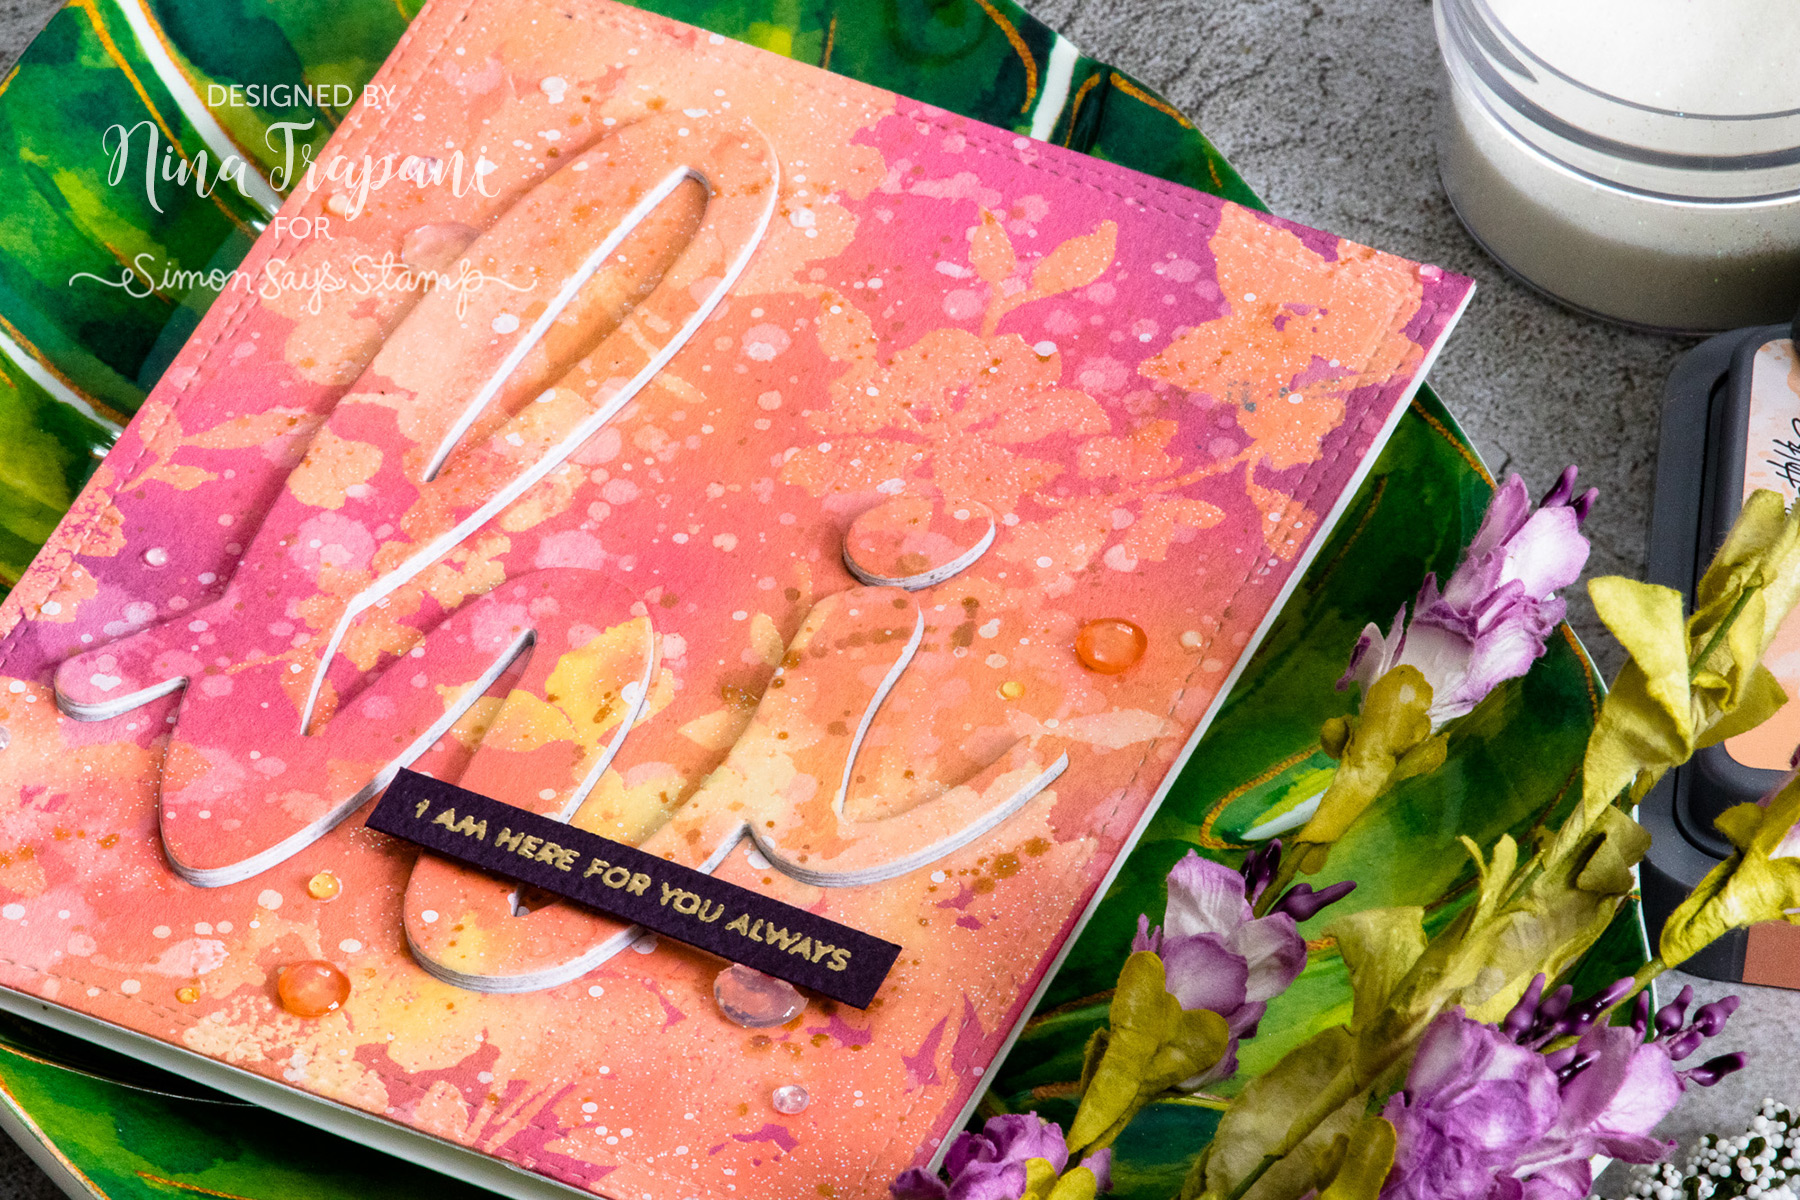
To keep the background the focus of this card, I went simple with decorating. I cut out the word “hi” from the Big Hi die by the Stamp Market and popped it up off the card with a supporting sentiment from our Moments of Grace stamp set. Sequins and paint splatters add embellishment.
Want to see all these background stamping techniques in action? Make sure you tune into the video below to see how I created each one!
Thanks for stopping by today and spending time with me. I will be back again very soon with more inspiration to share!
WATCH THE VIDEO
SUPPLIES
|


Blog Candy Alert!! Follow our blog via email and comment on this post for a chance to win special blog candy!
Blog Candy Winners!
Amore LauraFadora: Harvest Happy Birthday: carol ann!
Art Journal: Distressed Paint Technique: Sharon c!
Doodling with Debby: Blended Distress Oxide Background: Deepa Lakshman!
She Dreams of Adventure by Paula Cheney: marylouh!
One Stamp Five Ways: Cosmos Background: Jennifer Petersen!
Interactive Cards by Jess: Magnetic Slider Card: Lauryne Cunningham!
DIY Soothing Bath Salt and Sugar Scrubs: Teri S.!
Amore LauraFadora: Deco Heart Hello: Kelsey Thomas!
Come see BRAND NEW Lawn Fawn!: Marisela Delgado!
Yippee for Yana: Let’s Celebrate: Mandalj!
Wooly Lucky Sliding Window Interactive Card: Sabrina Radican!
Studio Monday with Nina-Marie: Art Impressions Wheelies Inspiration!: andrea murdock!
Please email [email protected] with the name of the blog you won from, your prize(s), and your address if applicable!


