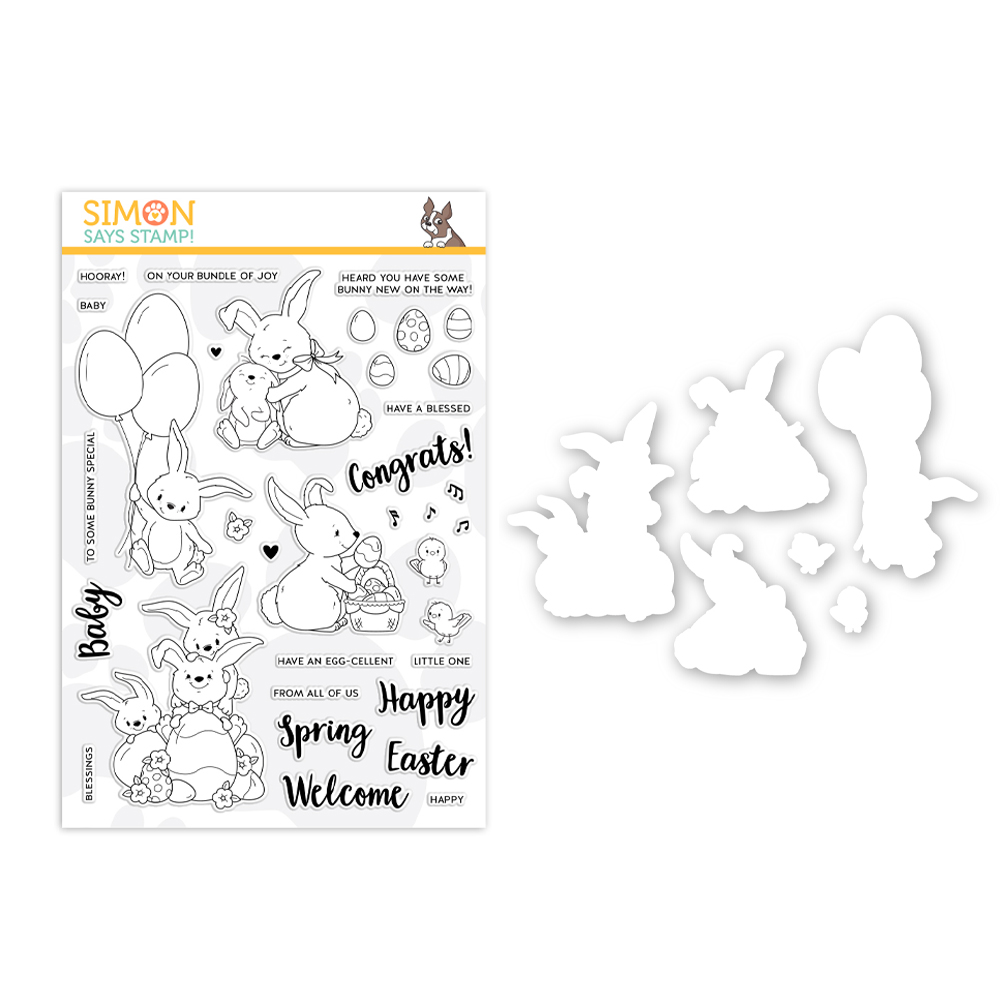
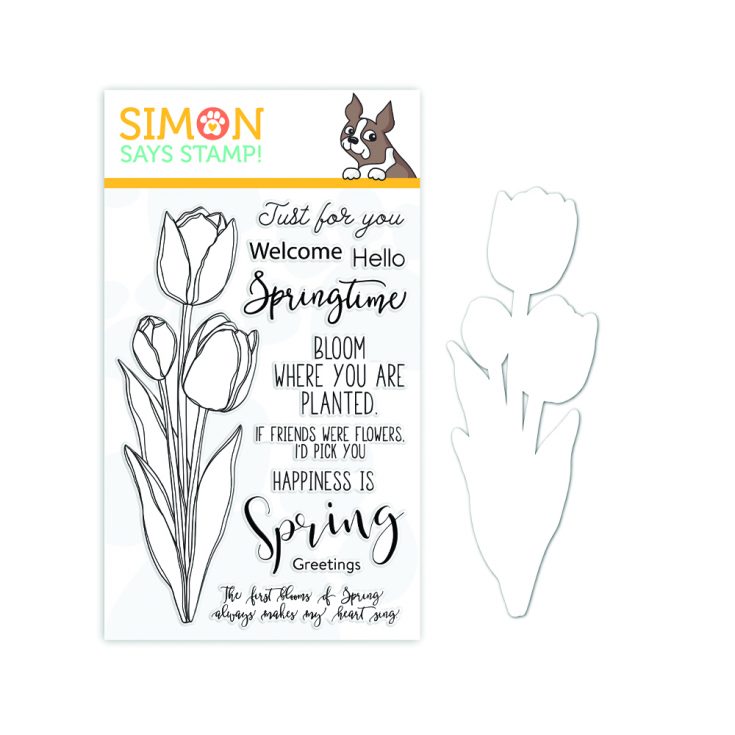
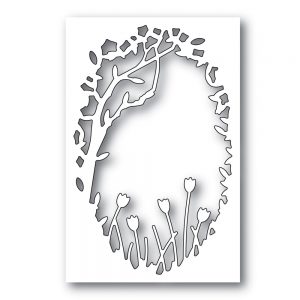
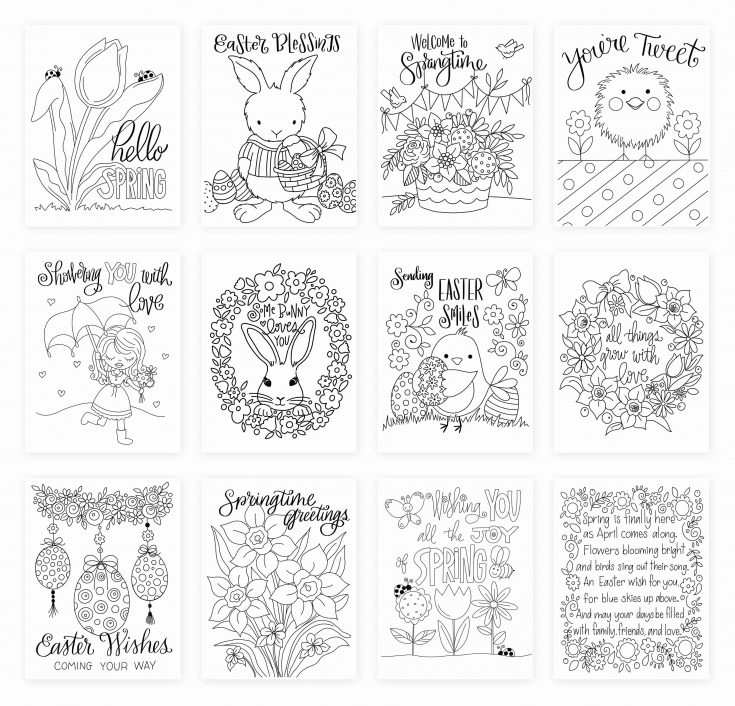
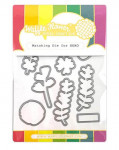
Our Brand New Spring Inspired “Fresh Bloom” Collection is here!
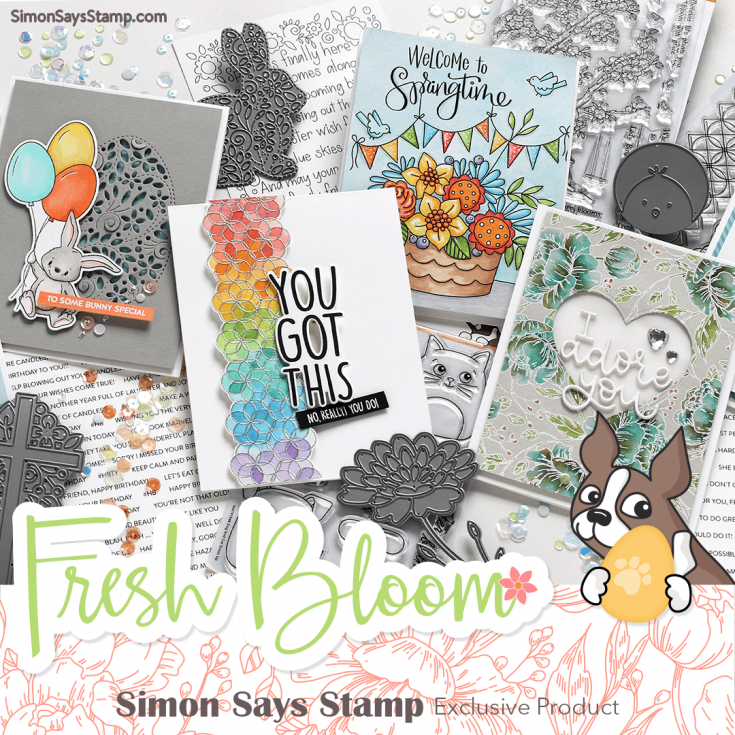
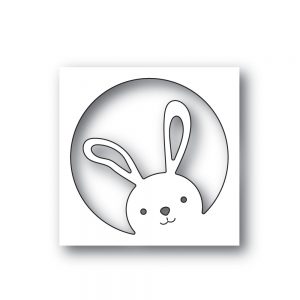
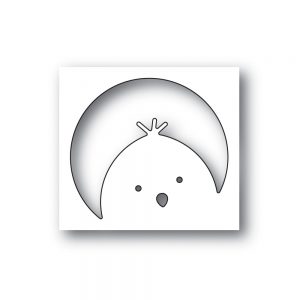
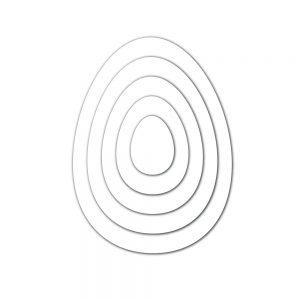
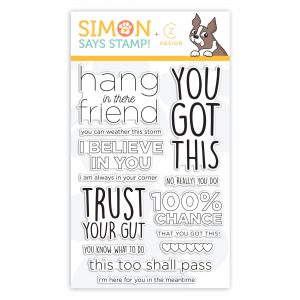
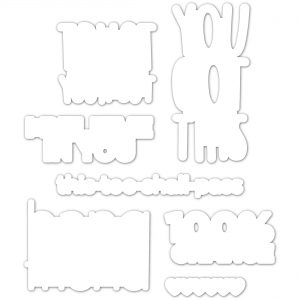
Hi friends! Are you as ready for Spring sunshine as we are? We’re so excited to introduce our brand new collection Fresh Bloom with you! We hope it puts a little SPRING in your step with inspirational stamps like CZ Design’s new “You Got This” stamp set, Bunny Wishes stamp and die set, Polka Dot Party stencil, Tulip Collage die, NEW You’re Tweet Suzy’s Watercolor cards, and so much more!
Want a touch of sparkle? We have two new exclusive combinations called Lucky Shamrock and You’re Peachy. Sentiments in a FLASH brought to you by our new Sentiment Strips laser printed on high-quality paper just waiting for you to color, foil, embellish, or keep clean!
The fabulous Laura Bassen has made an intro video to this collection to give you an up close and personal view of all the new goodies!! Check it out!
Peruse our new Fresh Bloom collection and see if something sparks your crafty mojo!


Stay tuned! 2 days of FRESH inspiration starting tomorrow at 8 AM ET right here on the blog! See you there!
Using Oxide Ink & Distress Ink Together with Water
Hi all! Kristina Werner here. :)
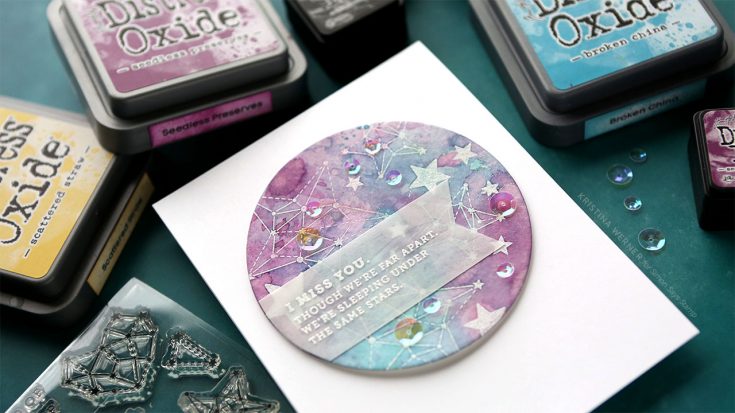
Today I have a video and card for you featuring the use of Distress Oxides Inks and the original Distress Inks with water. I’ve always loved creating backgrounds with the Distress Inks, so adding in the Oxides was a lot of fun!

When I first started this card, I planned to only use Distress Oxide Inks, but as you’ll see in the video, I wanted to intensify the colors a bit to let the embossed stamping stand out more. So I added layers of Distress Ink as well.
Speaking of the stamping, I used Simon’s Seeing Stars stamp set for the images and greeting on this card.
To create the greeting area, I stamped the sentiments from the stamp set on vellum and white heat embossed them. I adhered the stamped vellum piece to another sheet of vellum (to make the vellum be more opaque) using Connect Glue from Gina K. Then I ran the double-vellum piece through a Xyron Sticker Maker to apply adhesive to the entire surface. This allowed me to adhere the vellum to the card without adhesive showing.
Thanks for stopping by today! I hope you enjoy the card video. :)
Supplies
|


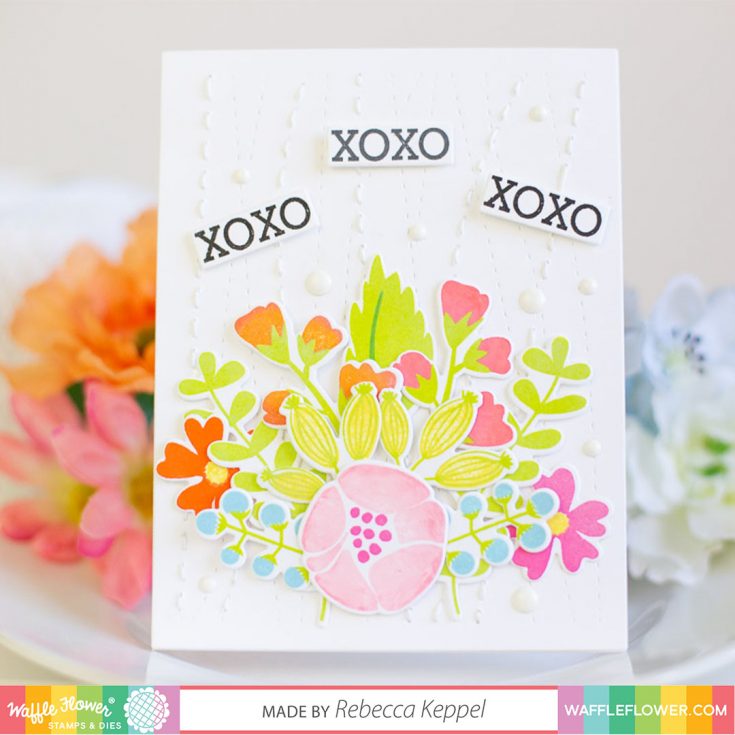
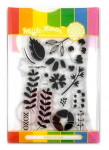
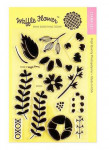
XOXO Layering Stamps 2 Ways with Waffle Flower!
Hi friends! Happy Tuesday! We’re excited to welcome special guest Rebecca Keppel with Waffle Flower to our blog today to share two gorgeous cards using Waffle Flower’s brand new release
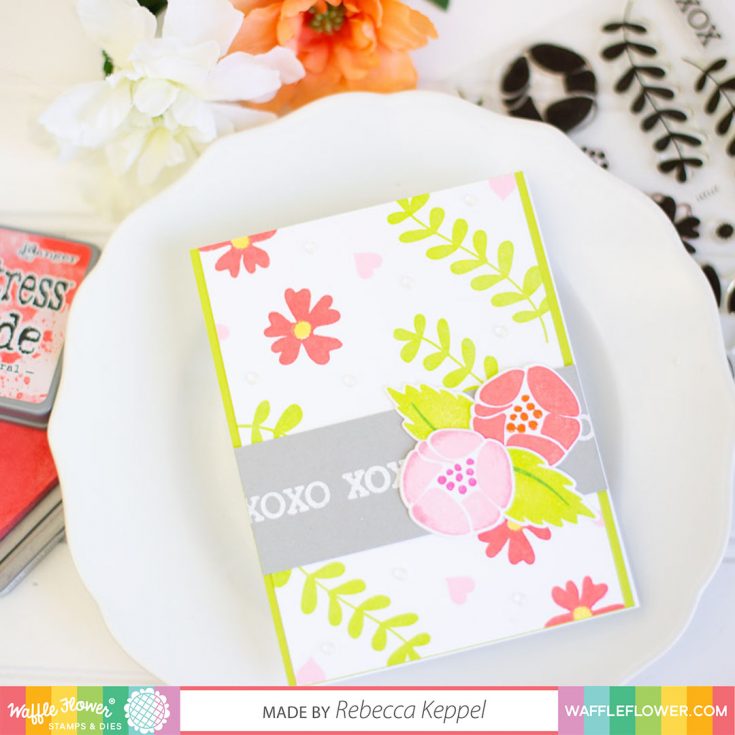
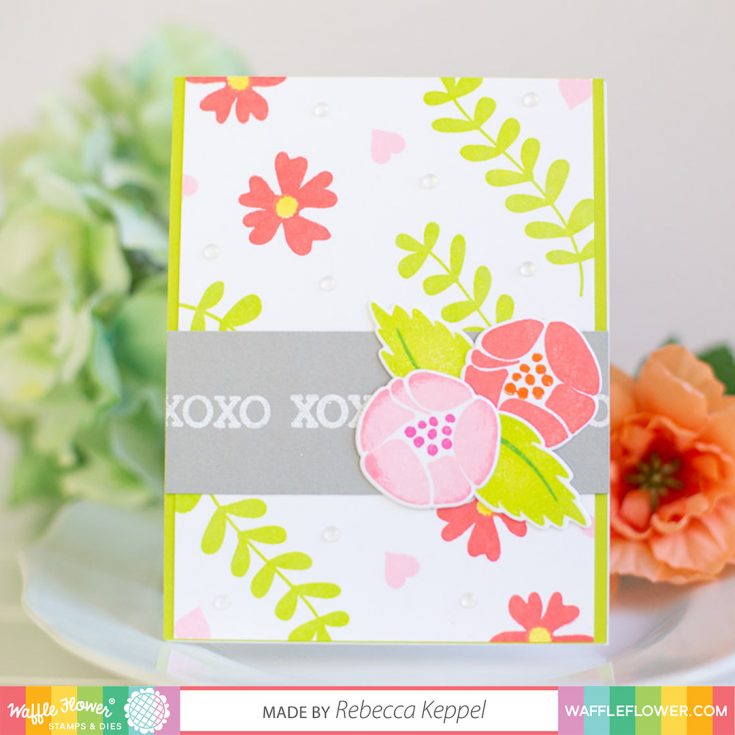
XOXO is a two-step, layering stamp set that makes it easy to create big, modern, colorful blooms. For one card, I used the stamps to create my own patterned background. By stamping on the corner of my cardstock and then flipping the panel around in my MISTI, I was able to quickly create a whimsical floral background.
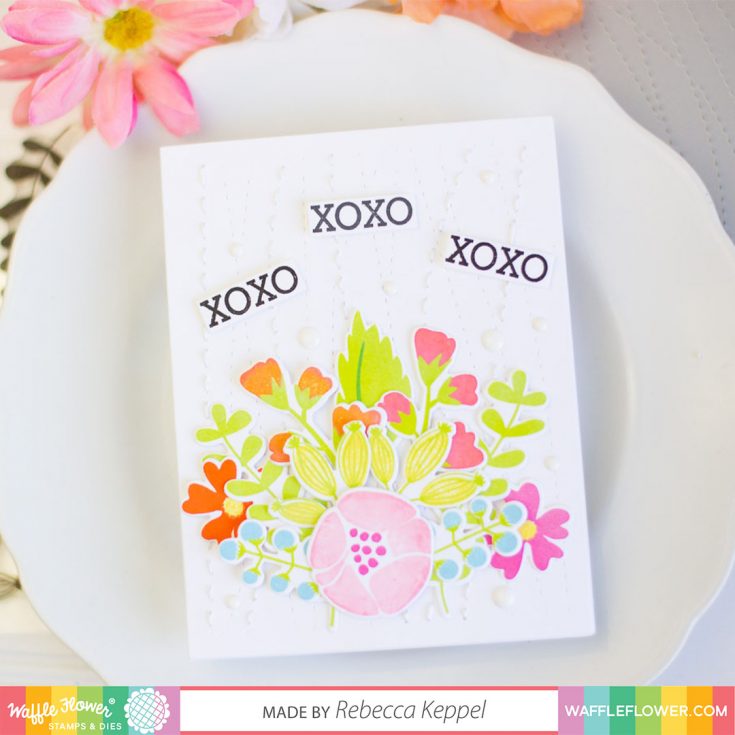
For the other card, I stamped and die cut serval color combinations of all of the stamps in the XOXO set. I love using Distress Oxide Inks for this type of stamping. I stamp all my images multiple times to get the creamiest and best impressions I can.
Once I had many die cut flowers, stems and leaves to play with I used the Waffle Flower Wave Texture Die (also from the March 2019 release), to die cut a stitched 4.25×5.5 panel. I used the stitched cut lines to add my own hand stitching to some of the lines. Then I had fun layering a bunch of the die cut pieces and creating a bouquet. I added a few Waffle Flower Clean and Clear Enamel Dots for a finishing touch.
And that’s it! I love how versatile this set is and how it can be used to create backgrounds and die cut bouquets. I will definitely try these techniques with new color combinations soon.
Thank you so much for stopping by!
SUPPLIES:
|


Thanks so much for stopping by, and thanks to Rebecca for being our guest! Don’t forget to check the entire new Waffle Flower release! It’s awesome! :D
Blog Candy Alert!! Follow our blog via email and comment on this post for a chance to win special blog candy!


