Psst… stay tuned…
Hi friends! Stay tuned! We’re starting a brand new monthly spotlight series on brands that we love! Tomorrow will reveal our April 2019 (and very first) brand of the month! More info to come soon!

One Stamp, Five Ways: Geometric Patterns
Hi friends, happy Sunday and happy last day of the month! Where have the first 3 months of 2019 gone?! Please join me in welcoming the always awesome Suzy Plantamura as a special guest on our blog today. Read on for all the details and enjoy!
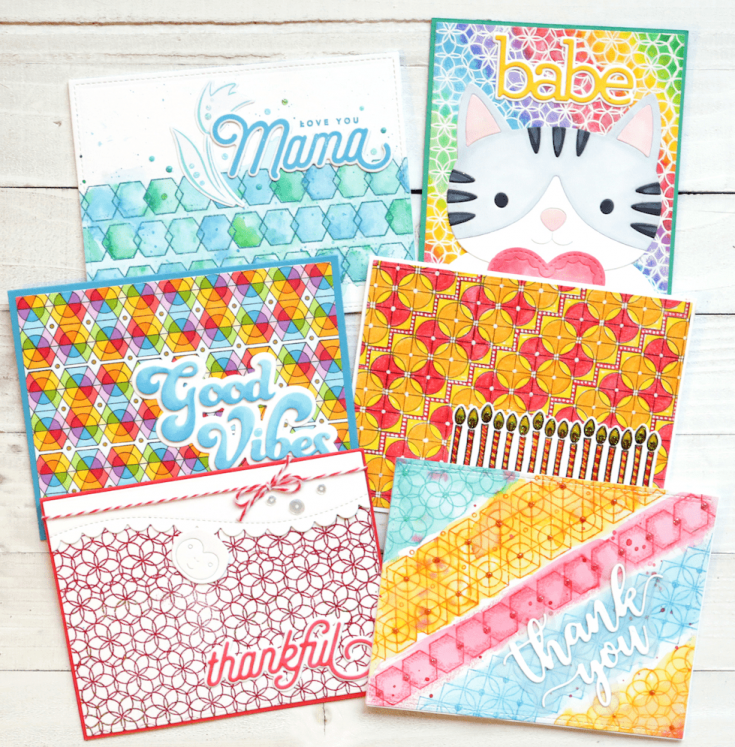
Hi, Simon Says Stamp friends! Today I have a “One Stamp, Five Ways” blog post to share with you using the brand new Geometric Pattern Builder. This is a 6 x 8 stamp and there are no dies that go with it. I’ve actually made 6cards with it to share with you today, but the possibilities for using this stamp set are endless!
As you can see, I’ve used this stamp set to build backgrounds for all of my cards. I’ve used some other SSS dies and sentiment stamps with it -all are listed in the supply list at the bottom of this post.
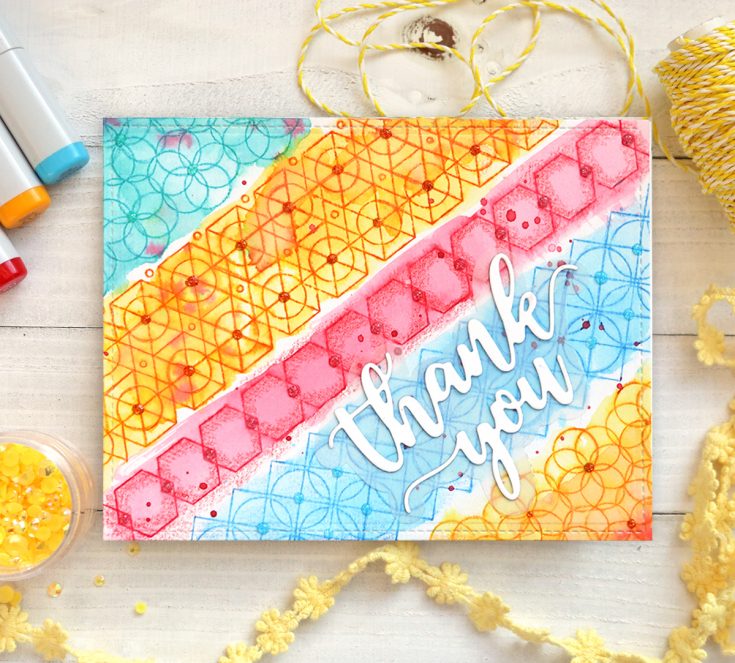
This card was made using Ranger Distress Inks on watercolor paper.I first die-cut a stitched rectangle from Ranger Watercolor Paper. I thenstamped each of the geometric patterned stamps going diagonally across thepaper using a different color of Distress Ink for each.
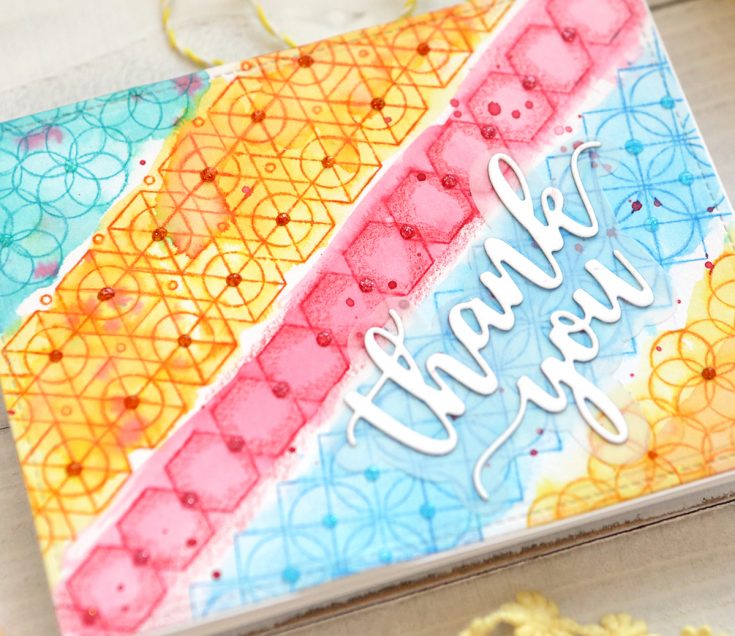
Immediately after I stamped the patterns, I ran a watercolor brush over the stamped images so they would slightly run. I also painted additional ink over each by pressing the pads on a shiny surface. I used the Thank You Script Die for the greeting die-cut from vellum and white cardstock.
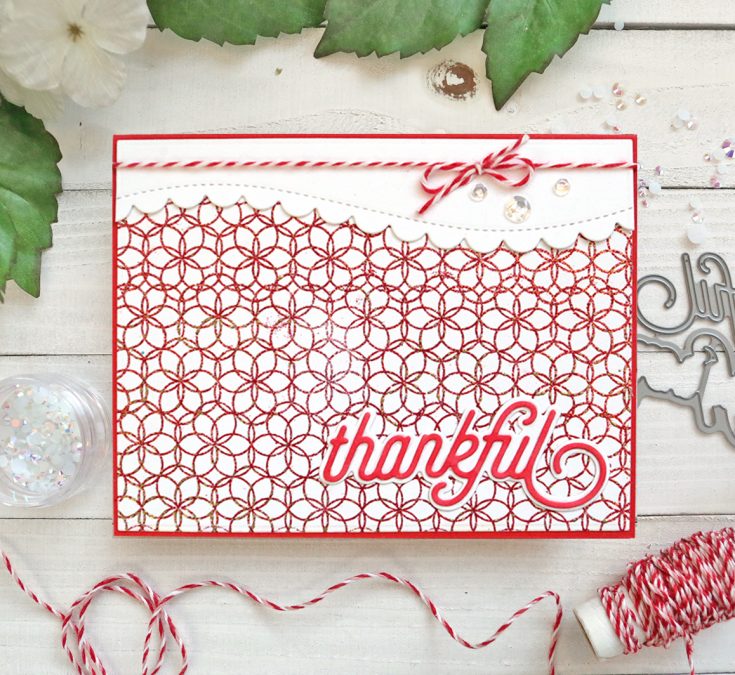
For this card, I stamped one of the border stamps overlapping them as I went to create a pattern. I embossed them with the WOW Embossing Glitter.
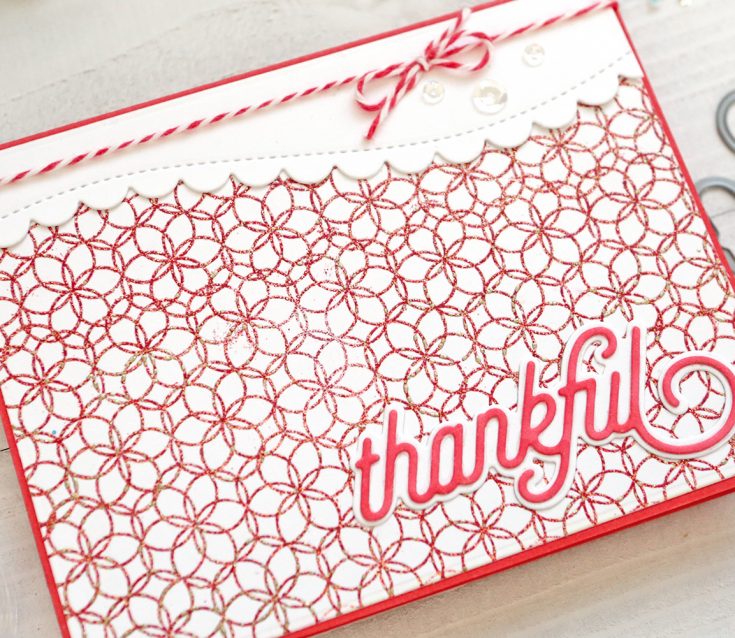
I die-cut a border using the SSS Wavy Scallop Stitches die out ofwhite cardstock for the top of the card. I tied some red/white twine around it.I die-cut the sentiment using the CZ Thankful 2 die on white cardstock. Icolored the word thankful with Copic markers. I used three PPP Sparkling ClearSequins on the top.
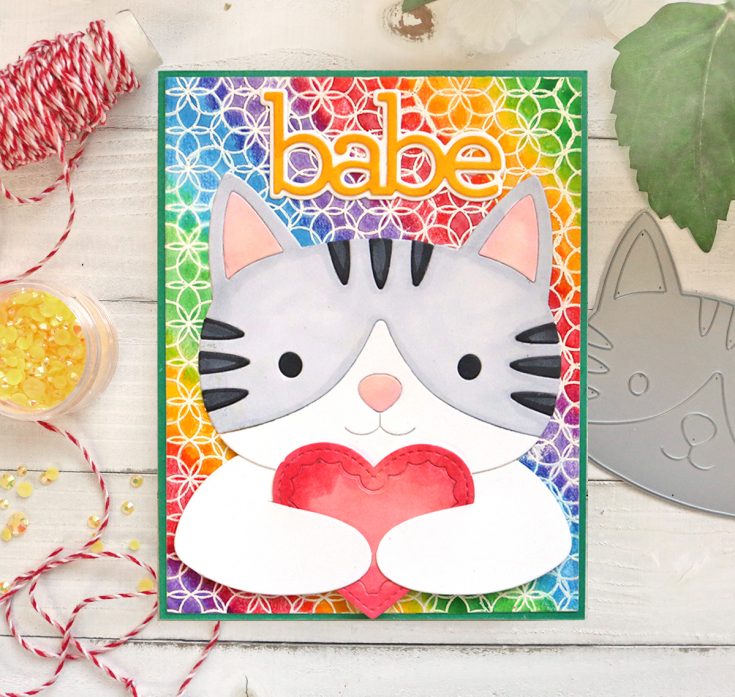
This was my most time consuming card! I definitely used the stampset as just a background for this one! I stamped one of the border stamps onwatercolor paper several times lining it up so it overlapped. I embossed them with white embossing powder.I then painted it with a rainbow of watercolors diagonally.
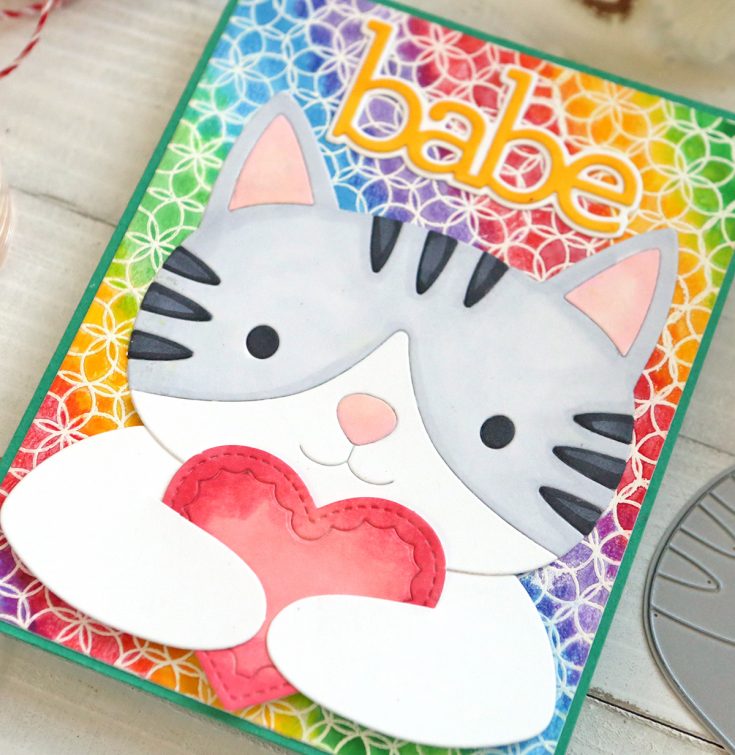
I die-cut the Big Picture Book Kitty and Hugs die from white cardstock. I colored the kitty in with Copic Markers. I also die-cut a PPP heart die from white cardstock and colored it with red Copic Markers to insert in his hands. I attached these over the background. I die-cut the sentimentusing the CZ Babe die. I colored the inside word with a yellow Copic marker and attached it to the top of the card.
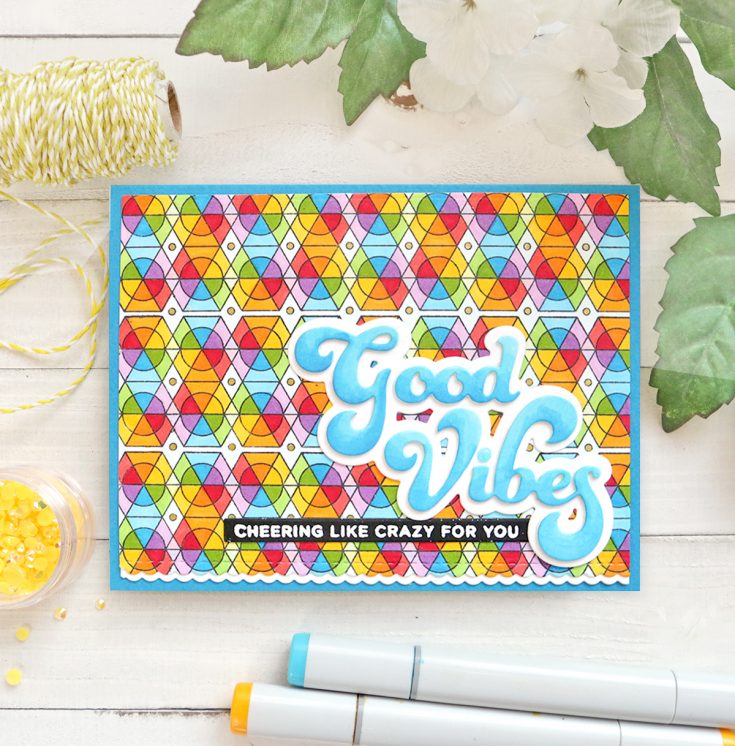
This card is my favorite as I love the colors! I stamped theborder die several times lining it up perfectly (I say this as I had to do ittwice because it didn’t look right not lined up!). Then I handed it to mydaughter to color with Copics as she loves coloring patterns – haha. Yep, Icheated! I die-cut the bottom edge with the SSS Scallop Stitches die and alsodie-cut one from white cardstock to layer on the card base.
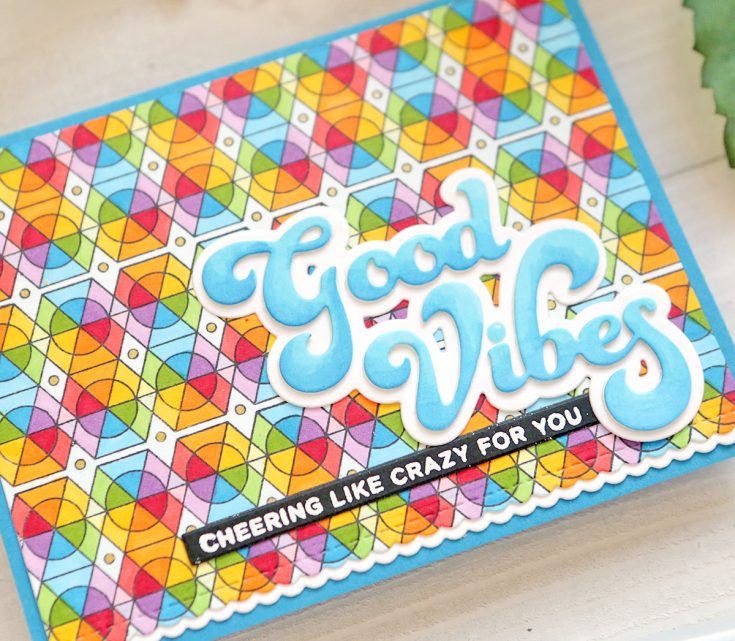
I die-cut the SSS Good Vibes die from white cardstock and colored the word with blue Copic markers. I used a Tonic Nuvo Drop for the top of the “i”. I stamped a sentiment from the CZ Great Things stamp set with white embossing powder on black cardstock using the SSS Sentiment Labels smallest die.
I stamped this geometric pattern over and over diagonally againwith black ink. I then colored it in with Copics and used a white Uniball toadd dots to lighten it up as I wasn’t liking my color choices too much!

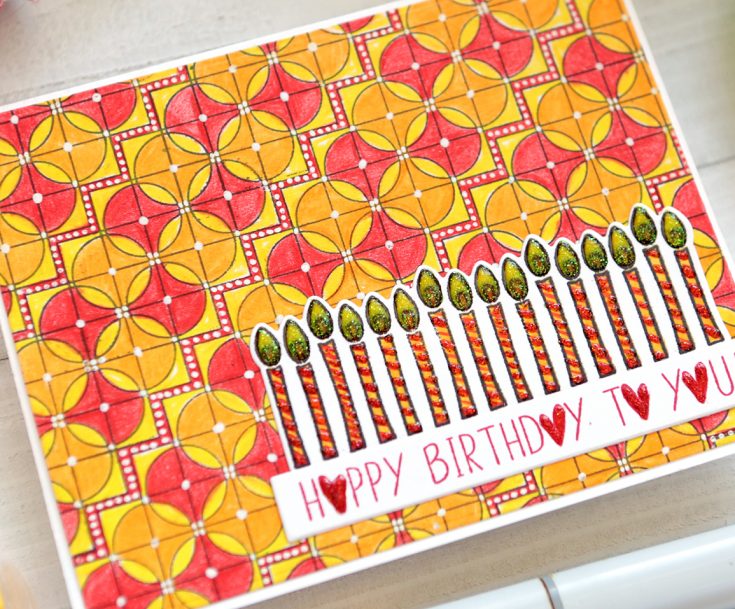
I used the SSS Birthday Borders stamp set. I stamped the candleswith black ink and then the insides with yellow ink. I added Tonic Glitter NuvoDrops over the candles and wicks. I attached these to the bottom of the cardand stamped one of the sentiments in the stamp set with red ink and used redglitter drops over the hearts.
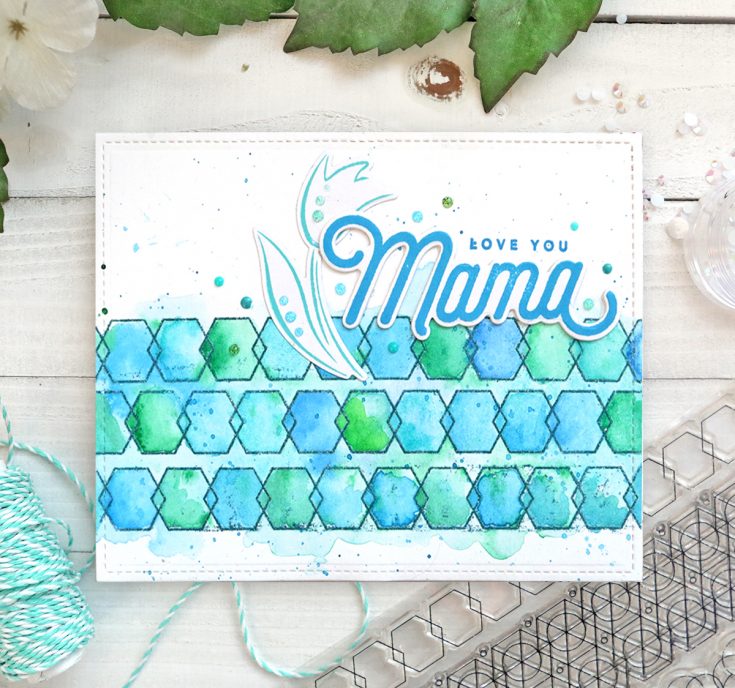
I stamped the smallest geometric shape stamp three times onwatercolor paper using Mermaid Blue embossing powder. I then painted over the design with Daniel Smith watercolors in blues and greens. I also flicked somepaint over the design.
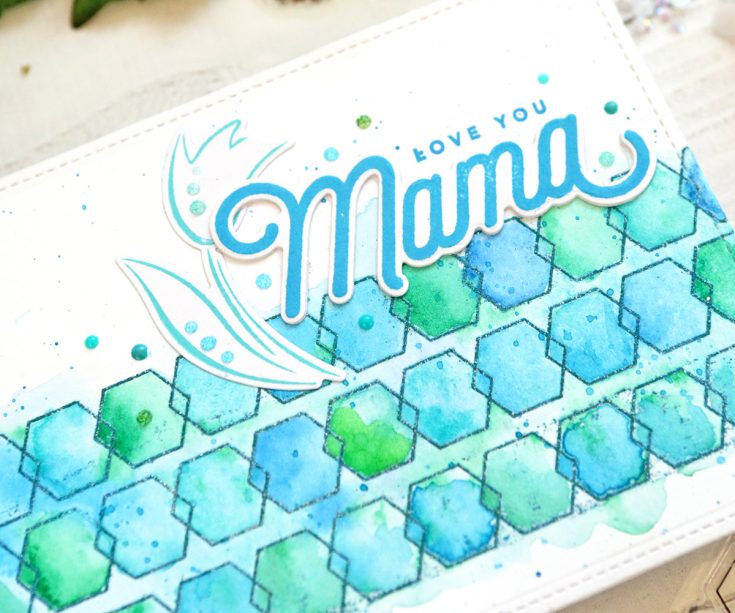
I used the CZ Love You Mama stamp set for the flower and thesentiment. I stamped the flower with SSS Island Blue ink and the sentiment withSSS Island Blue ink. I used some Tonic Nuvo Drops around the sentiment tofinish the card.
I hope you enjoyed this blog post showing you how to get more use out of your stamps. I think this demonstrates that by just changing the coloring medium and the pattern, you can do so many different things with this set. I hope you love it as much as I do – especially the coloring part! Have great week friends, and as always thank you so much for visiting the blog
SUPPLIES:
|


Thank you for stopping by and to Suzy for being our guest!

Blog Candy Alert!! Follow our blog via email and comment on this post for a chance to win special blog candy!
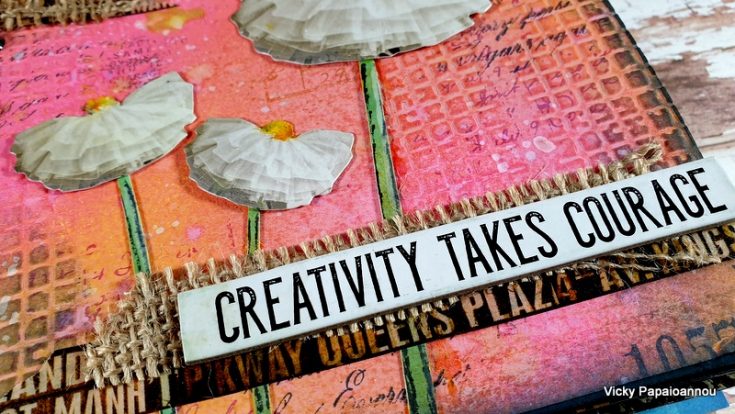
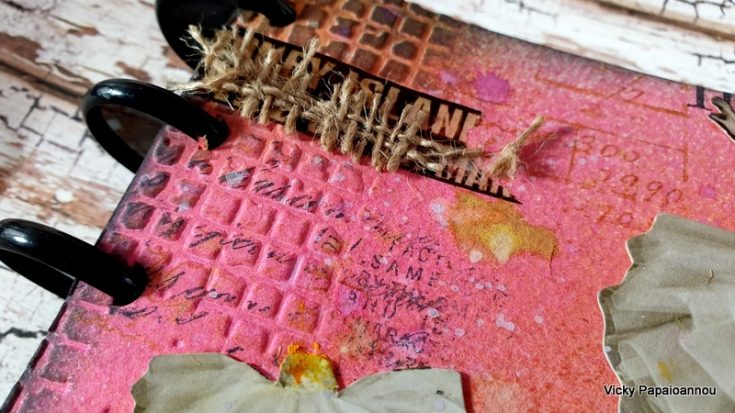
Art Journaling by Vicky Papaioannou: Creativity Takes Time
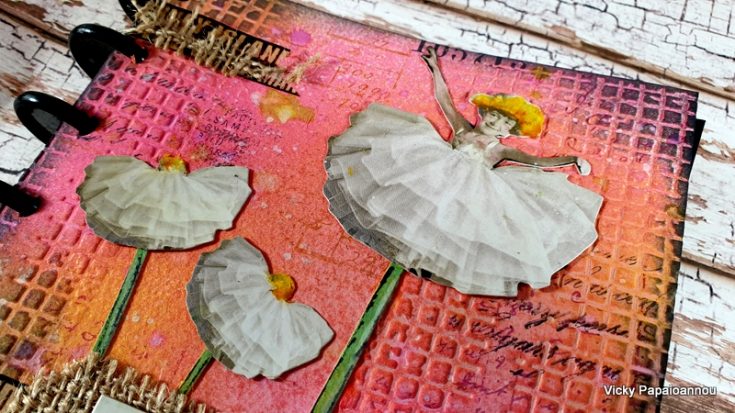
Hi friends! Happy Saturday! We are delighted to welcome back special guest Vicky Papaioannou back to our blog as a special guest with an absolutely beautiful and blooming art journal page! She used some of her favorite Distress Oxide Ink Sprays and the very popular little ballerina girl from the Paper Doll collection and added it to her Joggles Disc Bound journal!
Be sure to watch the video for the full tutorial, and enjoy!
SUPPLIES:
|


Thanks so much for stopping by and thanks to Vicky for being our guest!

Blog Candy Alert!! Follow our blog via email and comment on this post for a chance to win special blog candy!


