Color Coordinates: Summer House

Welcome everyone to another edition of my Color Coordinates series. I’m in the mood for Summer houses on the beach with this selection of colors. They are calming and the card is super easy!
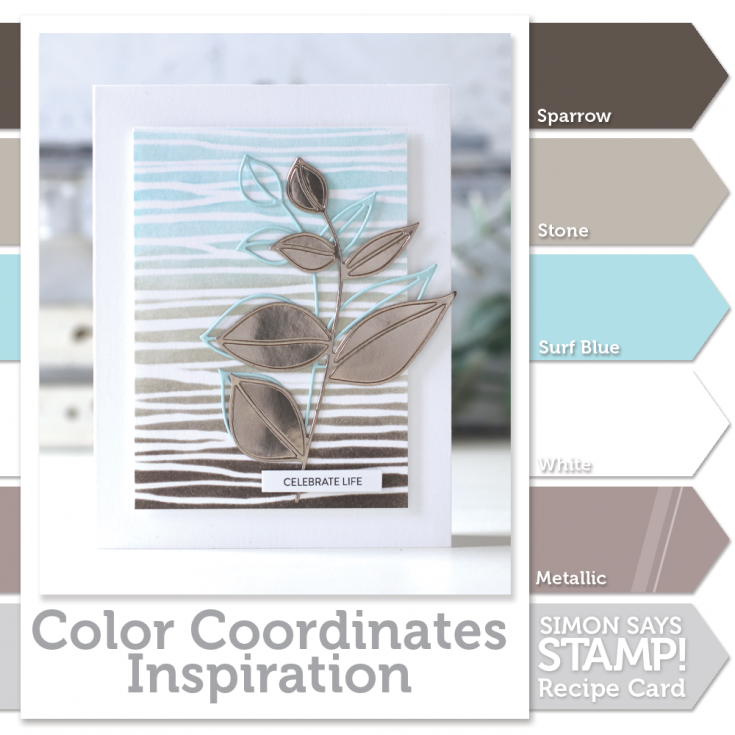
I’ve started out with some white Neenah cardstock, the Tim Holtz “String” Layering Stencil, and 3 delicious Simon Says Stamp colors of ink in Sparrow, Stone, and Surf Blue.
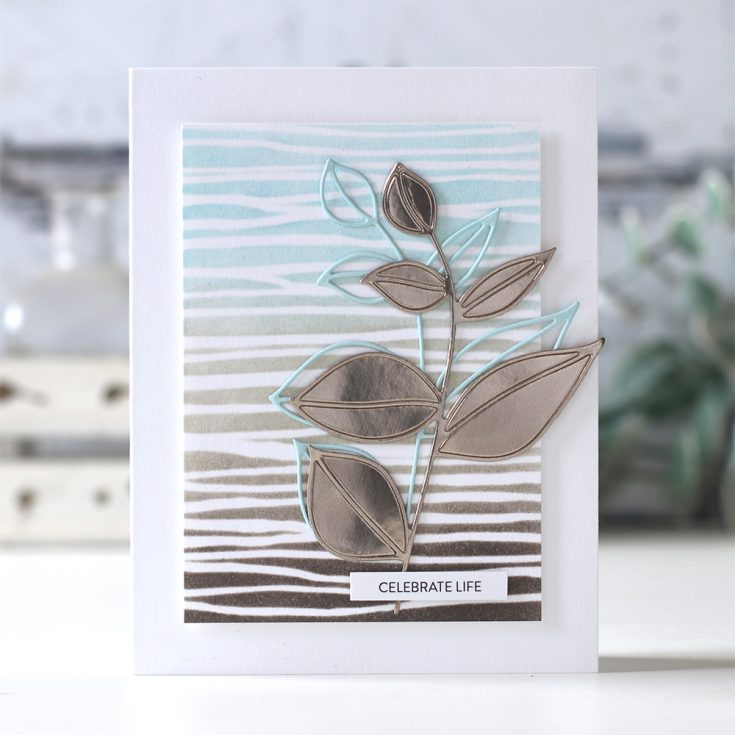
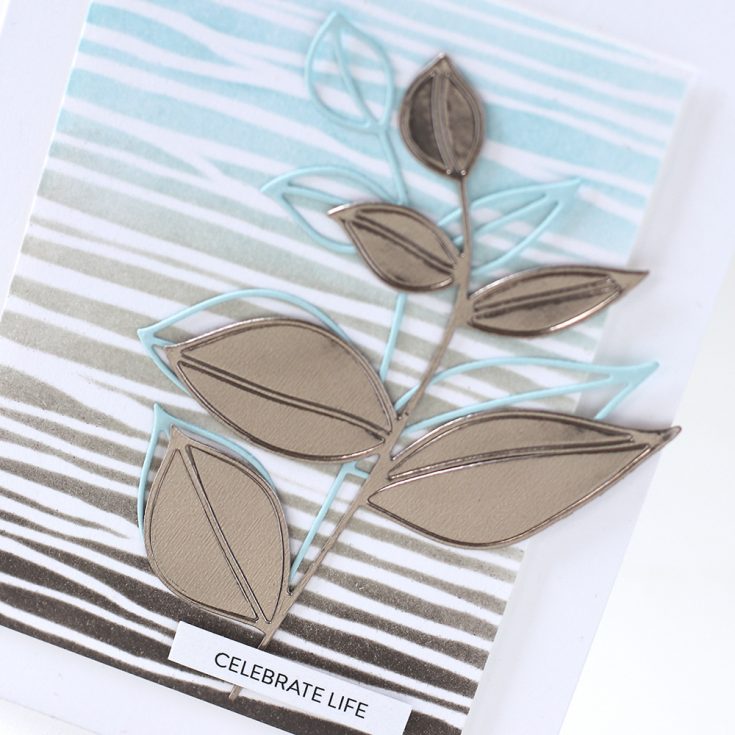
I’ve used the Stamp Market Botanilcal Beauty die to cut out the leaves from Simon Says Stamp Sea Glass and Tim Holtz Metallic Confections papers.
Be sure to watch the video for the tips and tricks used in the making of this card.
If you are interested in printing out the Color Coordinates and creating a swatch book, I have the downloadable templates available below.
- Book template and past Color Coordinates
- May 2018
- July 2018
- August 2018
- October 2018
- January 2019
- March 2019
- April 2019
- May 2019
- June 2019
- July 2019

Blog Candy Alert!! Follow our blog via email and comment on this post for a chance to win special blog candy!
|


Funny Friday: Puppies Flutters!
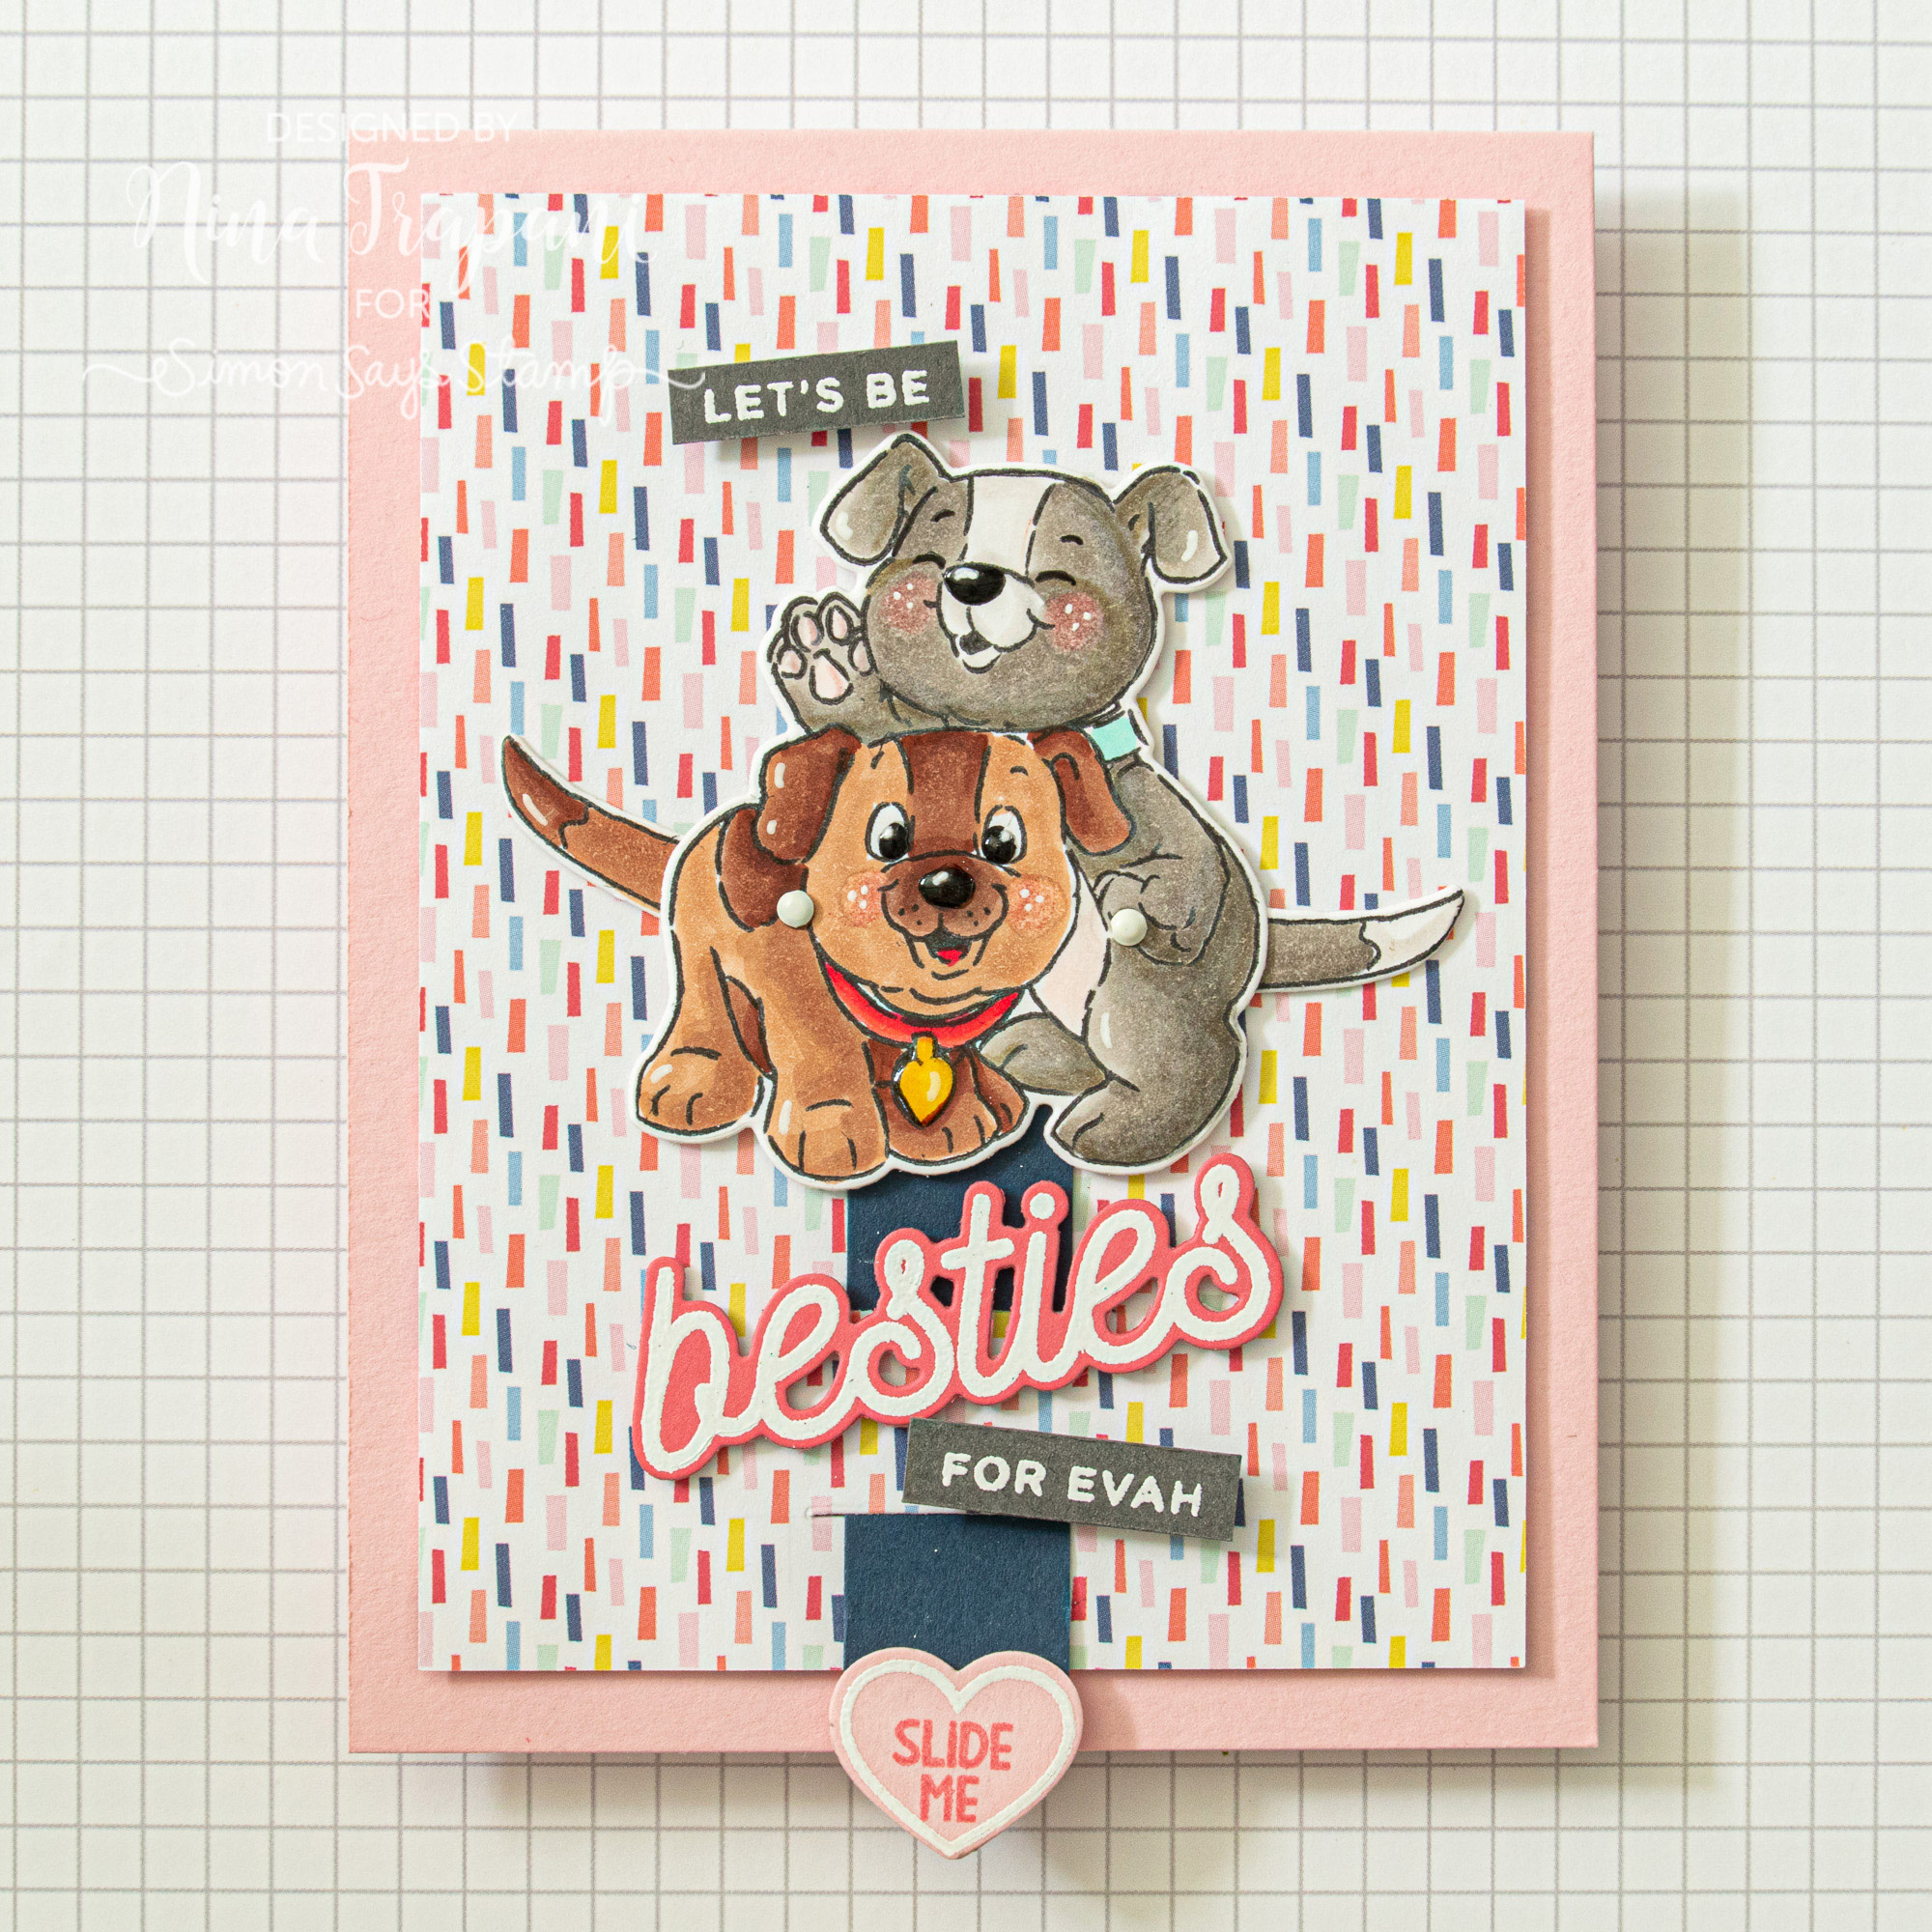
Hello friends, its Nina-Marie here, bringing you another edition of Funny Friday featuring Art Impressions! Today I am using the adorable, Puppies Flutters stamp and die set; this fun, interactive set creates a mechanism that allows the tails of the dogs to “wag”… doesn’t that just make you want to giggle???
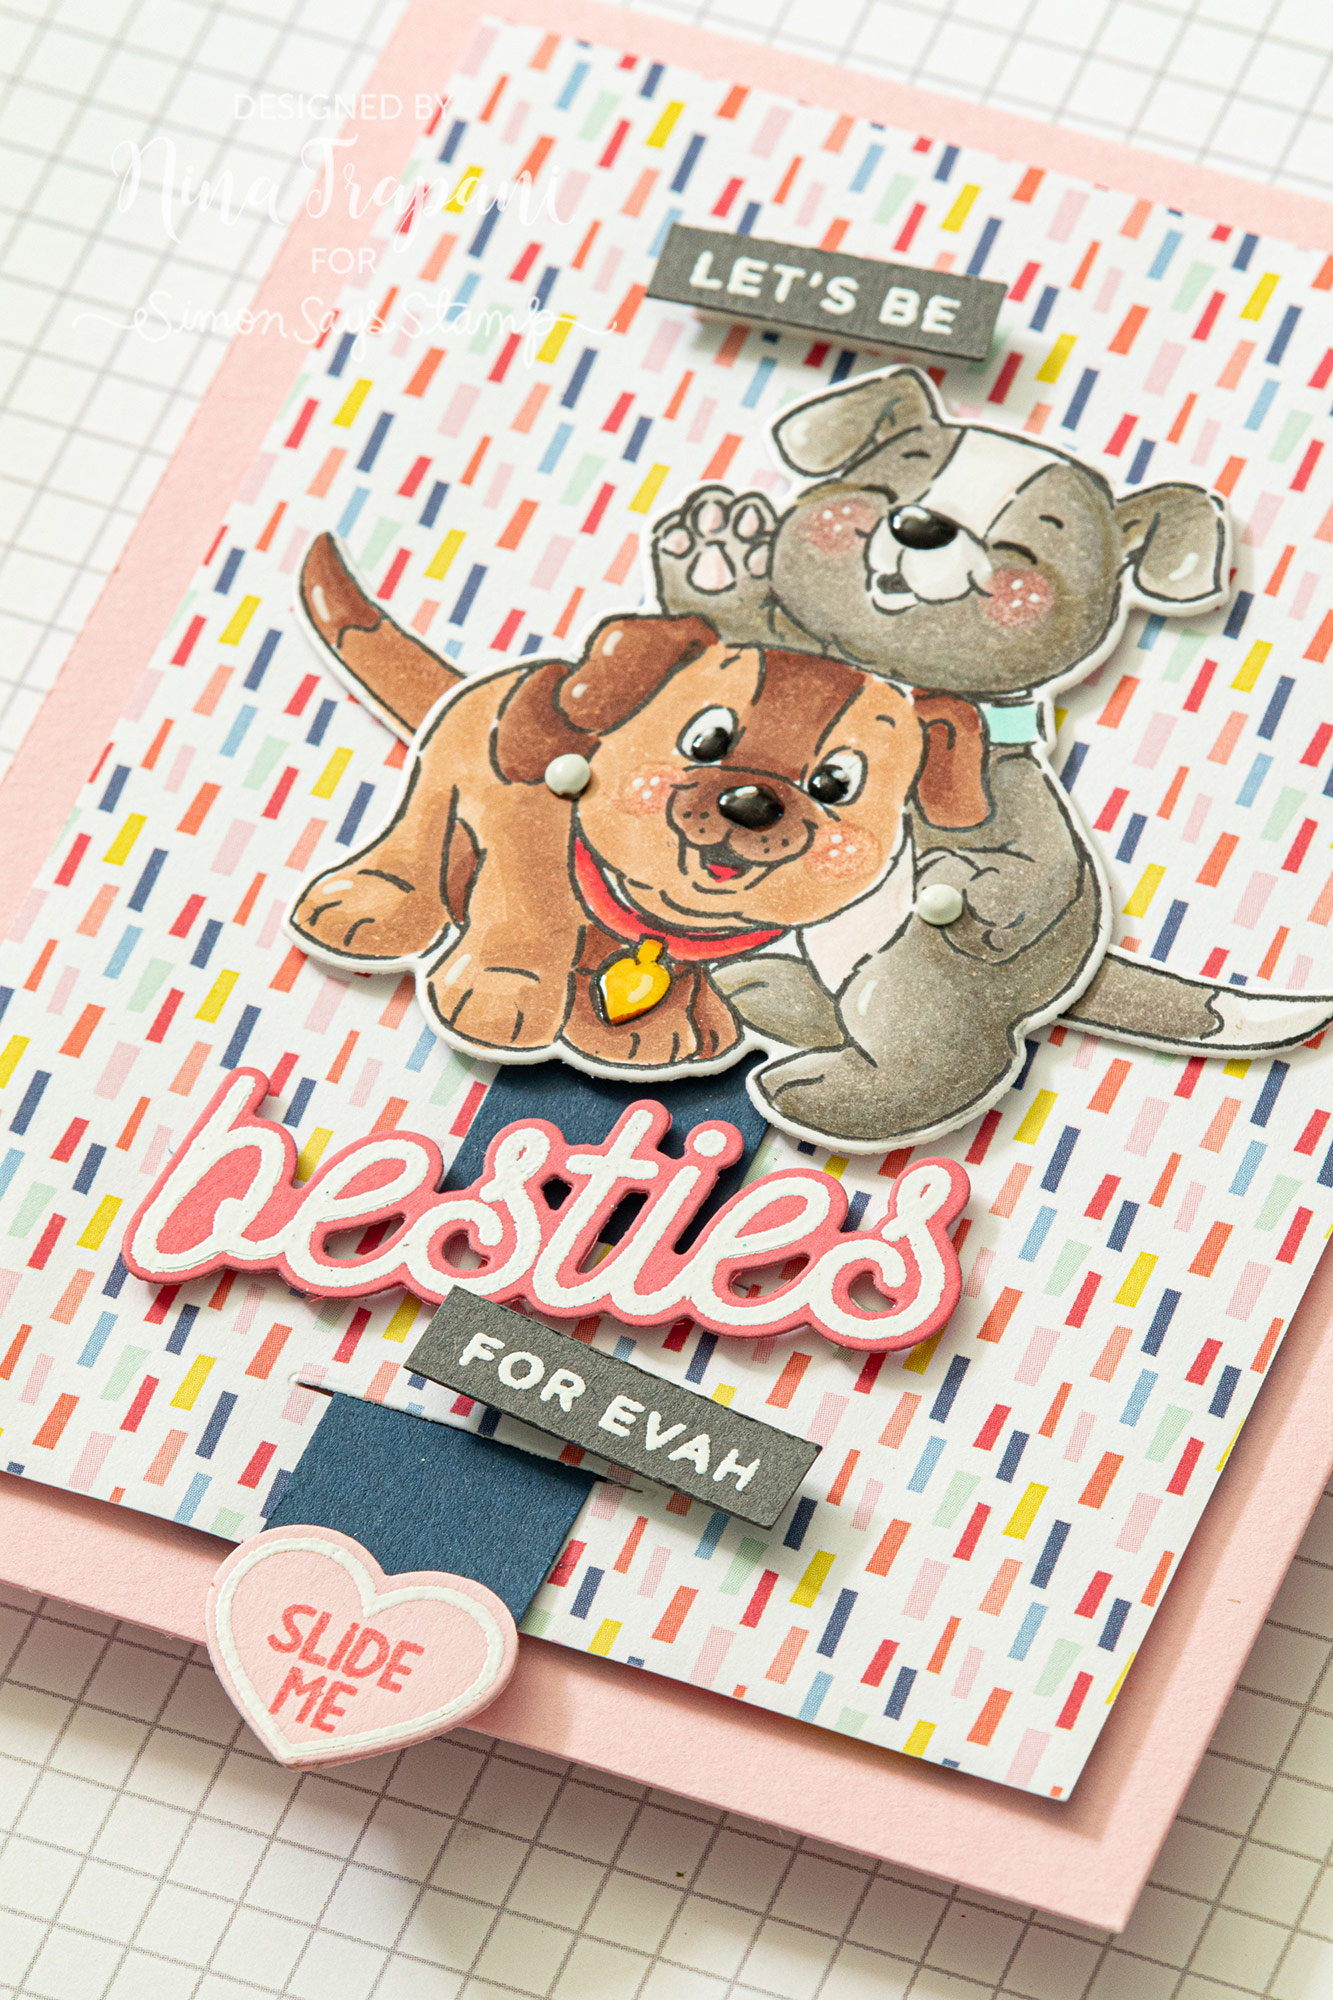
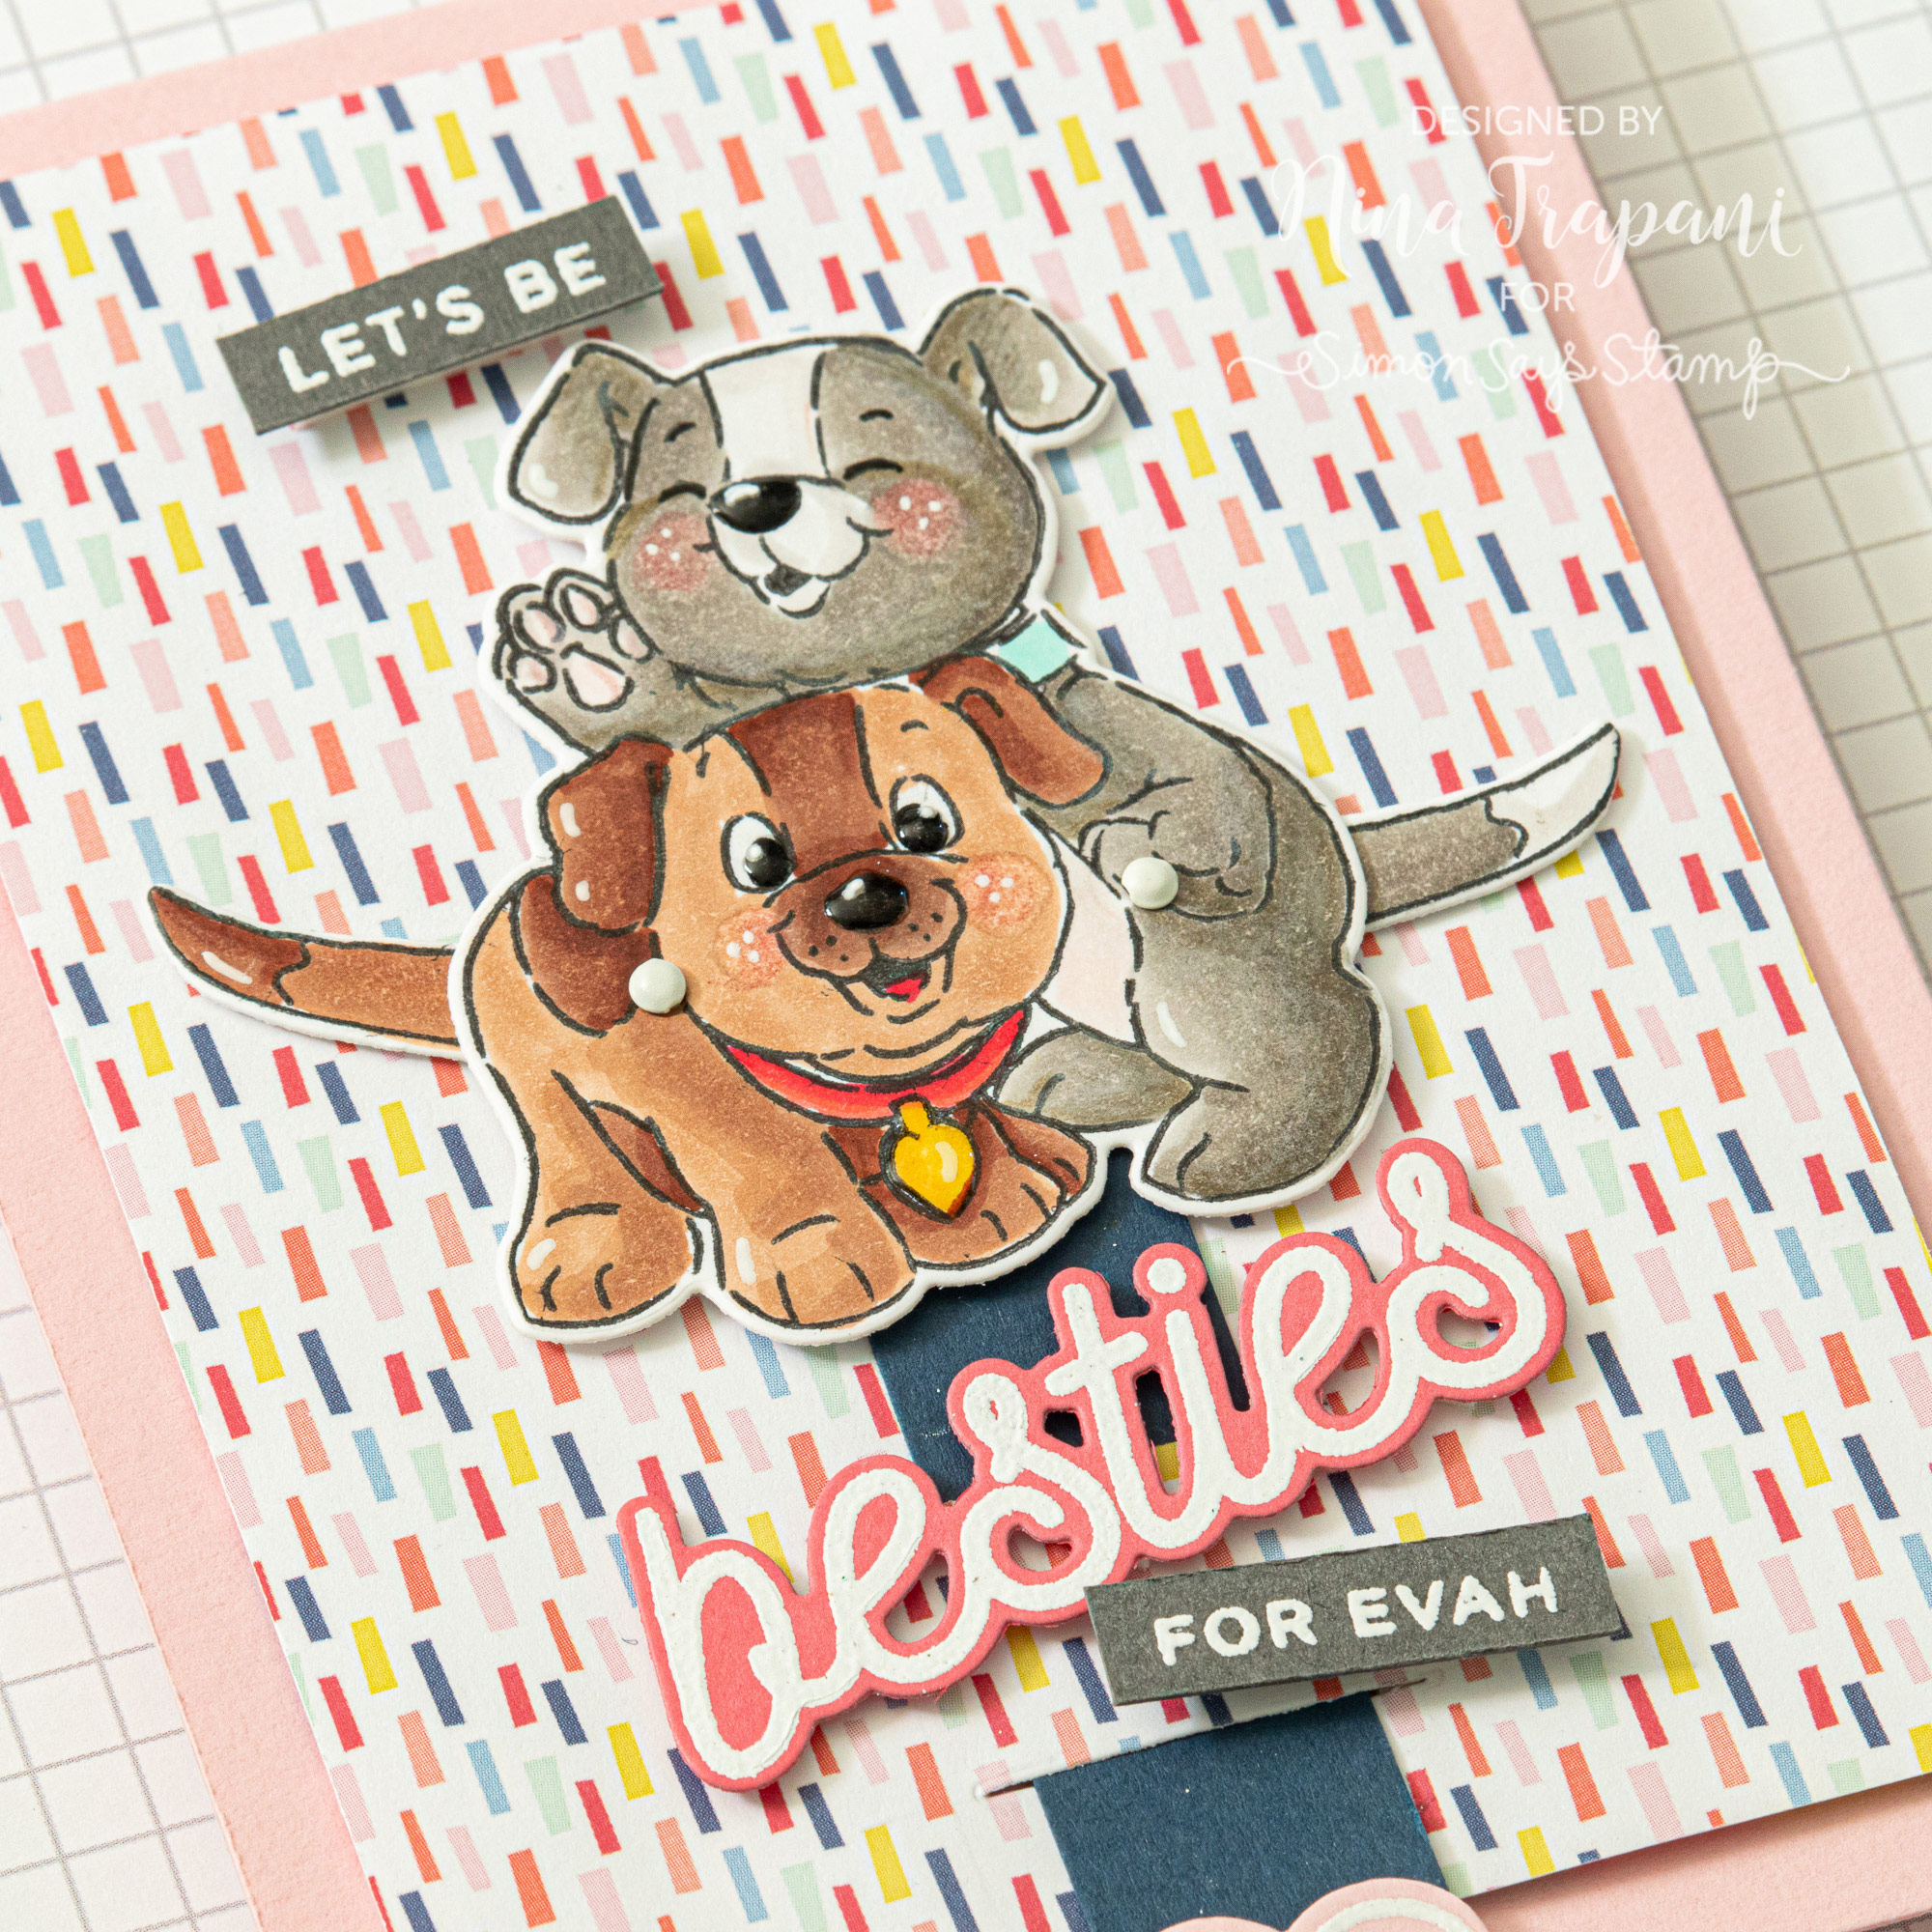
Be sure to watch the video below to see how to make this darling, interactive card!
WATCH THE VIDEO
SUPPLIES
|


Blog Candy Alert!! Follow our blog via email and comment on this post for a chance to win special blog candy!
Christmas in July SALE!

Happy Friday, crafty friends! Shop these special Holi-DEALS while supplies last!! Enjoy!


