Crafty Quintet: Five Ways to Use Watercolor Markers
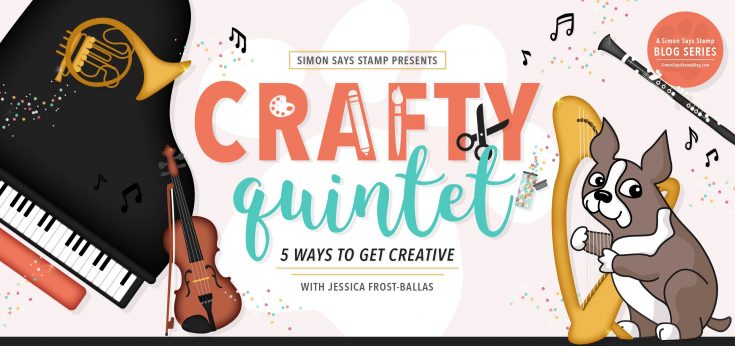
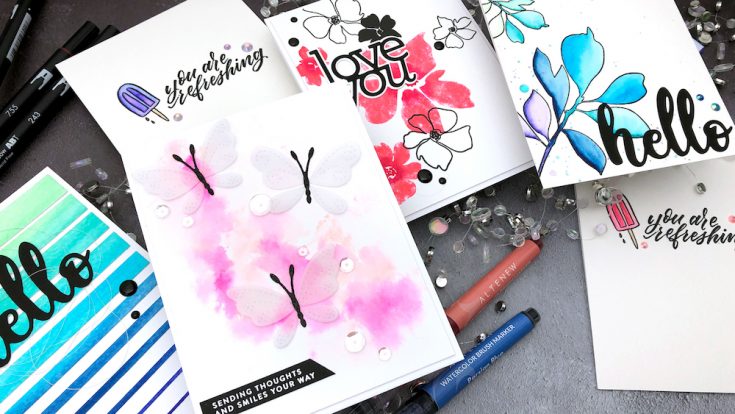
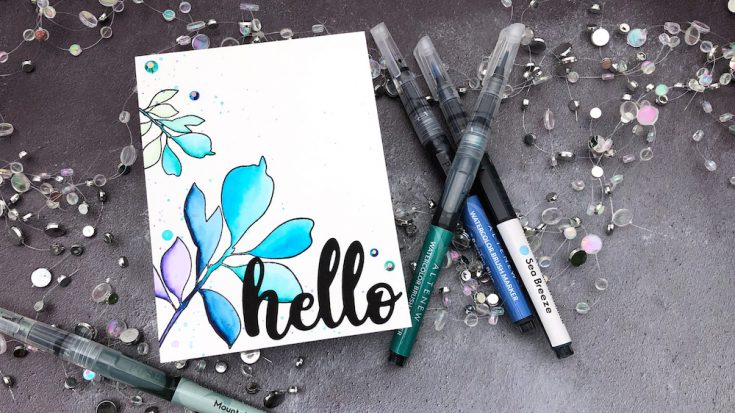
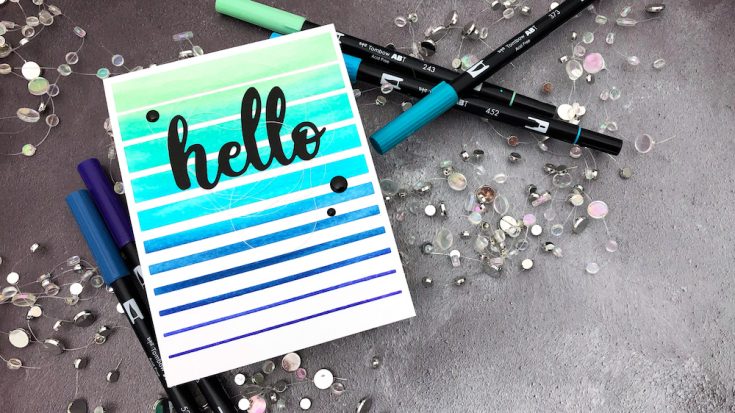
Hi friends! Happy Wednesday! Please join me in welcoming back special guest Jessica Frost-Ballas in her monthly edition of Crafty Quintet where each month she shares 5 ways to get creative! If you’ve missed any of them, be sure to click here to see past posts! This edition is sharing 5 ways to watercolor! Be sure to watch the video for even more tips and tricks and enjoy!

SUPPLIES:
|


Below is a list of the exact colors Jessica used when creating the cards above in case you’d like to recreate!
Zig Clean Color Markers: Light Carmine, Red, Turquoise Green, Persian Green, Violet, and Blue
Tombow Dual Brush Markers: 873, 755, 243, 373, 452, 528, 606
Altenew Watercolor Brush Markers: Rouge, Crimson, Mountain Mist, Lagoon, Sea Breeze, Desert Night, Persian Blue
Thanks so much for stopping by today and to Jess for being our guest!

Blog Candy Alert!! Follow our blog via email and comment on this post for a chance to win special blog candy!
Stencils 2 Ways: Adding Shimmer + New Gina K. Designs!
Hello friends, it’s Nina-Marie here with you today sharing 2 ways to add shimmer to your cards.
Each of the cards I’ve created feature a couple of the newest stencils from Gina K. Designs (Sun Spots and Thick Brush), which are truly fabulous for these techniques!
The first technique I used was foiling… I started by applying ThermoWeb Transfer Gel through the stencil; once dry, I ran the stenciled papers through my laminator with a sheet of foil on top (see the video below on how to do this).
I used the Sun Spots stencil with Shattered Rainbow foil and the Thick Brush stencil with Sparkling Silver foil. I then decorated each card with sentiments from both Simon Says Stamp and the Stamp Market.
The next technique I used was creating a DIY glitter paste effect. This technique is so much fun, because you start by blending some ink through the stencil in any combination you prefer. Next (without removing the stencil), you’ll put a layer of Transparent Texture paste over that ink blended pattern. Then (again without removing the stencil), add a sprinkling of your favorite glitter across the stencil. The glitter will adhere only to the paste-covered areas and leaves the rest of your card squeaky clean. Experiment with how much glitter you apply; sprinkling the glitter sporadically creates a fun effect, but of course it is also fun to add LOADS of sparkle too! :)
I decorated the cards again with more sentiments from the Stamp Market and Simon Says Stamp. The glitters on each card are a mix of Prisma and Chunky glitter from Lawn Fawn. Be sure to watch the video and see how exactly how this technique works!
If you are interested in the color combos I used for the ink blending, these are the Distress Oxide inks I chose:
- Green friendship card: Peacock Feathers, Twisted Citron, Lucky Clover
- Orange hi card: Abandoned Coral, Dried Marigold, Wild Honey
- Rainbow hello card: Wilted Violet, Picked Raspberry, Mustard Seed, Peacock Feathers.
I hope today’s shimmery cards have inspired you to try the techniques out for yourself and to create with these stencils from Gina K. Designs!
WATCH THE VIDEO
SUPPLIES
|


Blog Candy Alert!! Follow our blog via email and comment on this post for a chance to win special blog candy!
July 2019 Brand of the Month: Tim Holtz!!
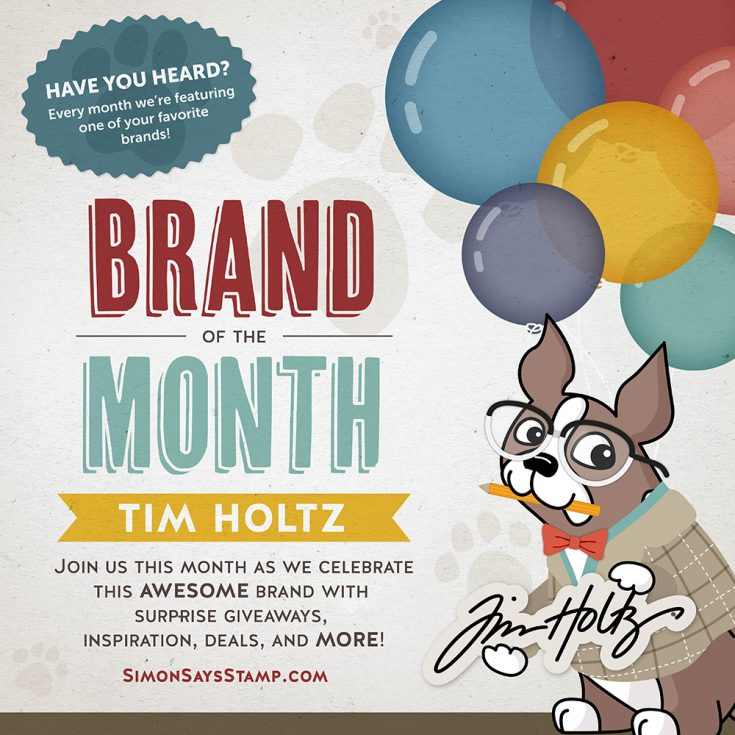
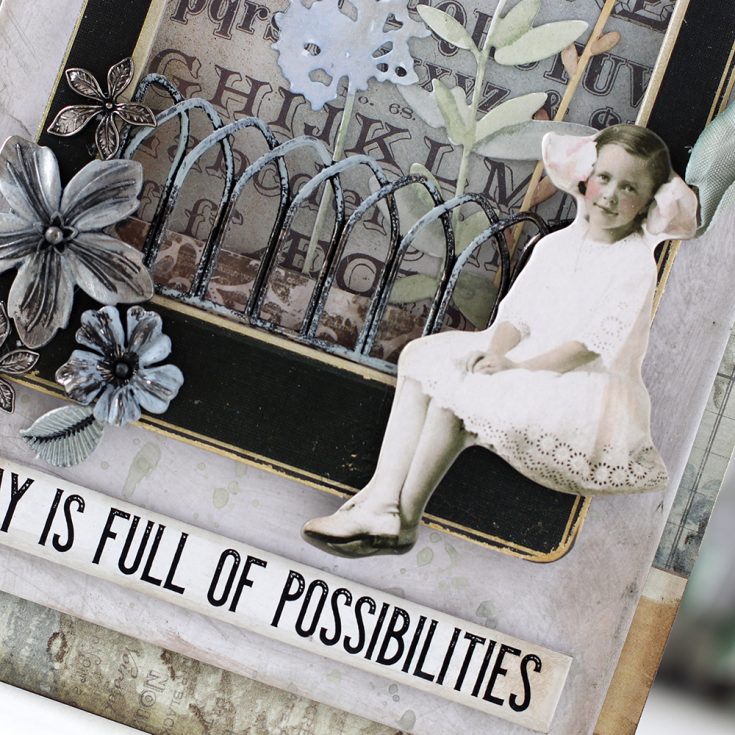
SURPRISE!!! Our 4th Brand of the Month is none other than TIM HOLTZ!! Tim has a HUGE product line that covers everything you could ever want or need for your crafting. I’m a huge fan and find it really easy to pull items together for a memorable project.
I’ve created a Thickboards Tag with some mighty fine goodies! To start, I collaged papers on top and then started adding Collage Frames as a base for my design.
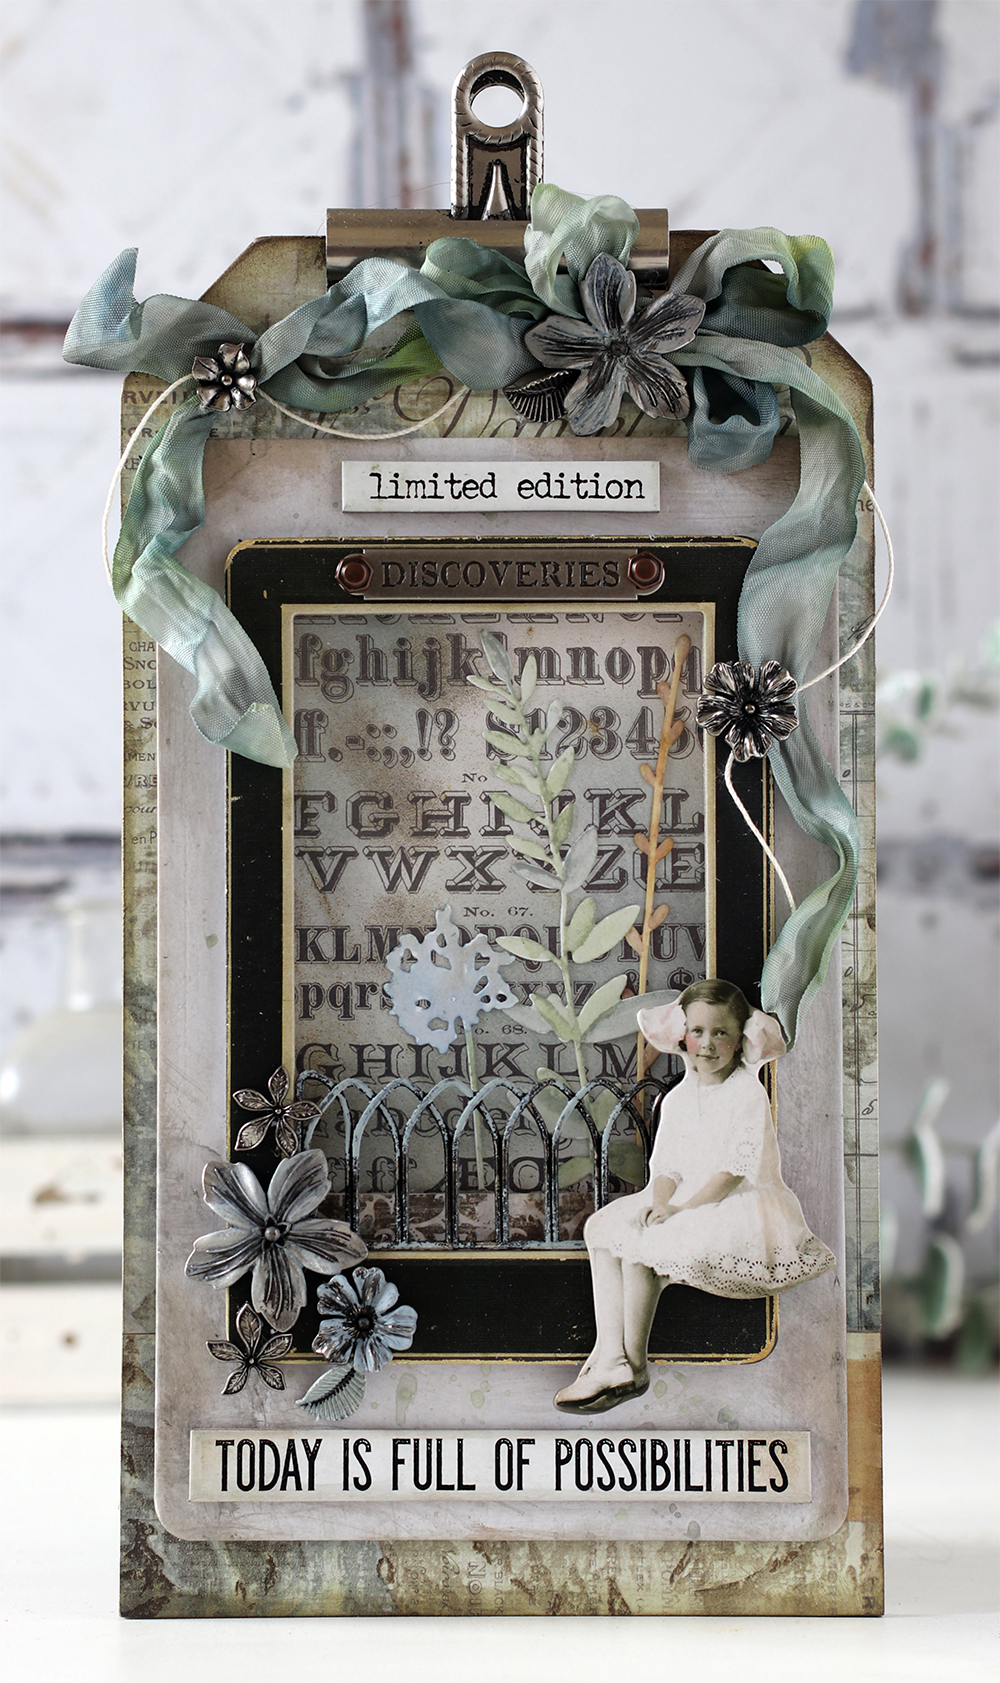
The top of the tag features a large Vintage clip surrounded by some ribbon from my stash with Floral Adornments mixed in.
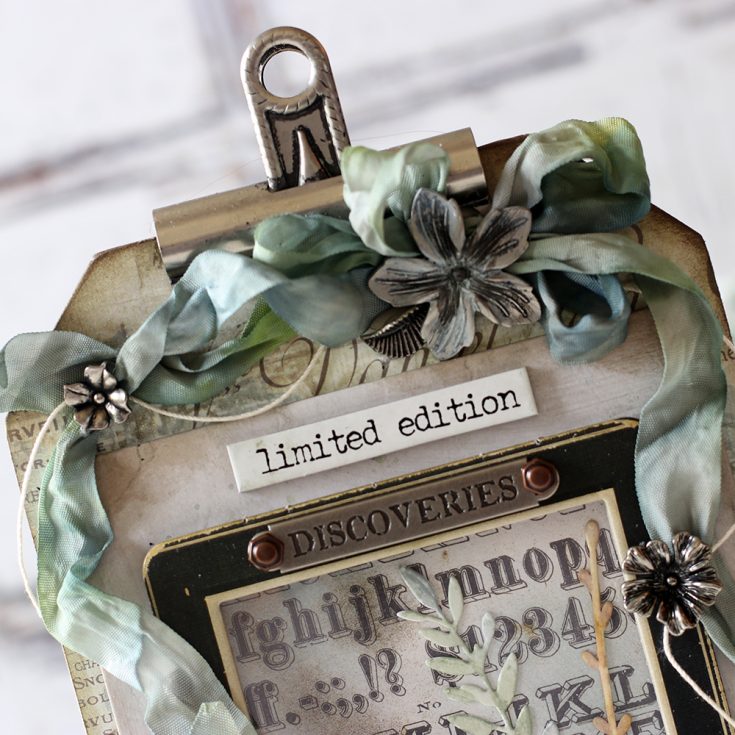
I created a window from one of the frames using a piece of acetate. Underneath are a few die cut and watercolored flowers.
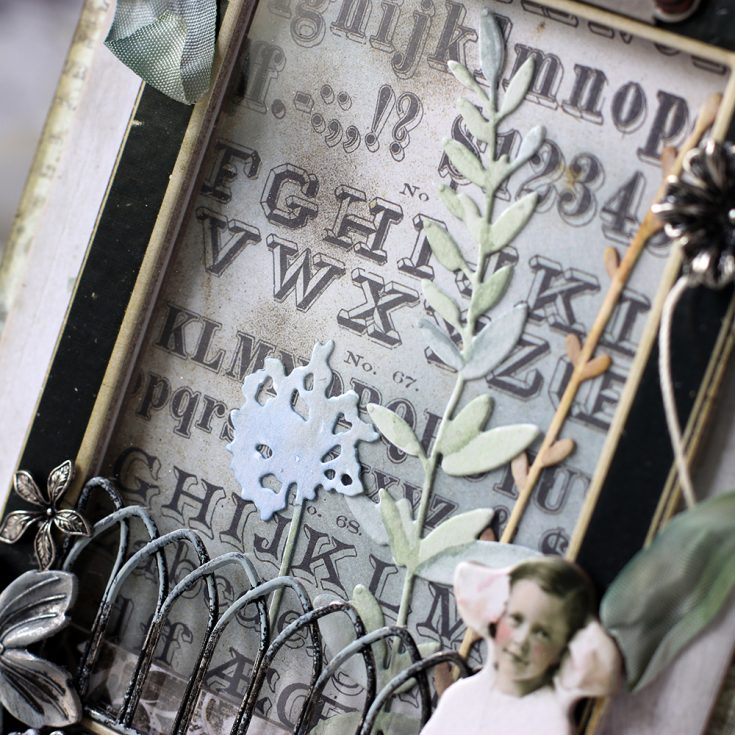
The Metal Gate and flowers were painted quickly with Distress Paints and a Round Mini Blending Tool.
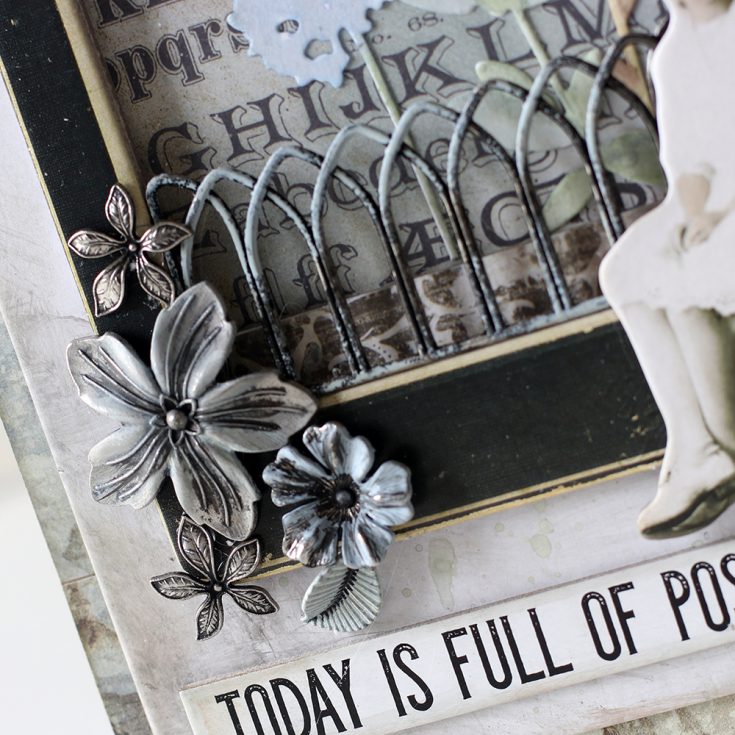
I added a sweet young lady doll to the right as if she is proud of her work in the garden.

Blog Candy Alert!! Follow our blog via email and comment on this post for a chance to win special blog candy!
Thanks for stopping by. I hope I’ve inspired you with some of my favorite Tim Holtz products!!
|


