Emma Williams + BOTM Tim Holtz!
Hi friends, happy Sunday! Have you seen the amazing work of Emma Williams?! She takes mixed media projects to the next level with an added detail and charm that is uniquely her and always breathtaking. Be sure to stop by her blog for continued inspiration!
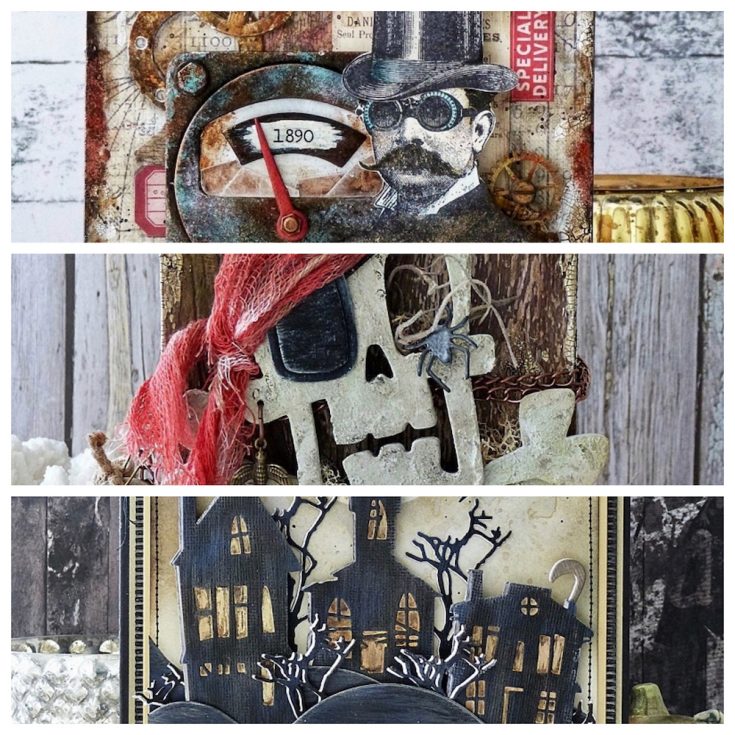
We thought it would be super fun to share some projects she made with new and existing Tim Holtz products who is our celebrated Brand of the Month for July! Be sure to keep following our blog and social media channels for fun surprises, sales, features, and giveaways all month long!

To see more information on Emma’s Wander Tag click or tap HERE.

To see more information on Emma’s The Tale of the Black Pearl project click or tap HERE.

To see more information on Emma’s Ghost Town project, click or tap HERE.
For even MORE inspiration and a new piece of inspiration weekly from Emma, be sure to follow along in our Monday Challenge and join the challenge for a chance to win $50!
Thanks for stopping by today!

Blog Candy Alert!! Follow our blog via email and comment on this post for a chance to win special blog candy!
Doodling with Debby: Simple Paint Striped Backgrounds
Hi friends! Happy Friday! Welcome to our July 2019 edition of Doodling with Debby with the always fabulous Debby Hughes! I love watching Debby’s whole process of inspiration to execution in her projects and think you will too! Be sure to watch the video and enjoy!

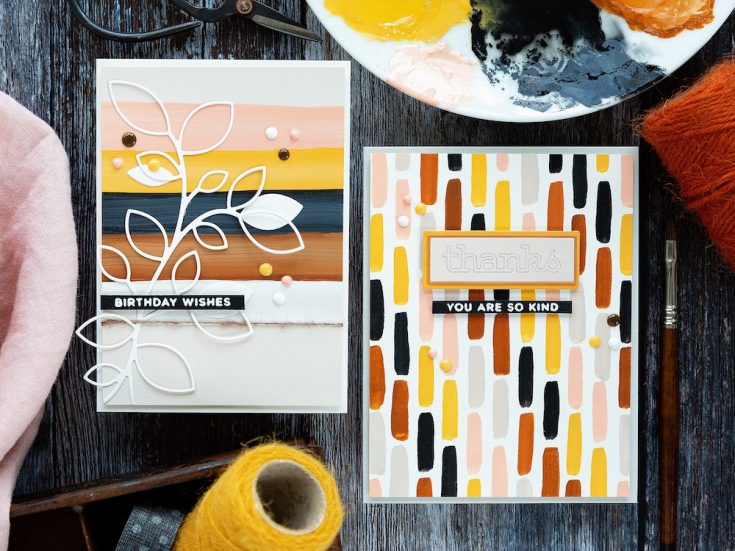
Hi, it’s Debby here, and for my Doodling With Debby video feature this month I have two cards to share with you that use simple striped backgrounds as the key feature. I think the important thing with backgrounds such as these is to get a cracking color scheme to work with. I was browsing stripes on Pinterest the other day when I came across a sweater with an oatmeal background and bold stripes in mustard, black, terracotta and white. I continued browsing and came across multiple examples of similar jumpers all sporting lovely stripes but I did notice dusky pinks making an appearance too. So I set about using Winsor & Newton Permanent White Gouache along with the American Crafts/Paper Fashion gouache sets. I recently took a closer look at these gouache media and you’ll find that video on my blog and YouTube channel. I mixed a dusky pink, mustard, black, terracotta and oatmeal colors on a side plate as my palette and I love seeing these colors together. They reminded me of a lot of Instagram accounts I follow which are using these warm autumn tones in the homes and also from illustrators for branding.

I used Arches hot pressed watercolor card as its smooth surface is ideal for getting smooth washes of color when using gouache. I am terrible for being able to paint, draw or cut a straight line and so I marked the painter’s tape I’d used to adhere the card to a board at regular intervals in an attempt to keep my lines straight. Having said that I’m not too worried as I think one of the key elements of stripes such as this is their hand-painted look. A little imperfection works in your favor here giving that quirky hand-drawn look that’s so popular. I then painted the Arches card with a layer of the oatmeal mix. I kept the paint of a creamy consistency without using too much water to get the best coverage. I then dried this layer and set about painting a stripe of each color from my test swatch, drying each layer before moving on to the next. Gouache is a watercolor medium and as I brushed the stripes across the page, the stiff brush and moisture from the new layer reactivated the layer below. At first, I thought I’d have to repeat the process but then when I looked at it I really liked the variation in color – again that quirky hand-painted look. Once I’d dried the panel for the last time I removed the painter’s tape and trimmed the piece down to 3.5 by 5 inches in line with a 4 bar sized card.
I used my gouache paints today, but a simple striped background such as this could be recreated with a multitude of different options. You could use traditional watercolors or ink blend each area using masking paper to get clean lines between each stripe or color each stripe with Copic markers or cut strips of colored card. Whichever method you have the supplies for is the perfect method to give a lovely striped background a go.
For my second background, I wanted to create a repeat pattern using the five colors from the test swatch. Again there are numerous examples of this type of pattern on social media. The example I showed in the video is from Sara Boccaccini Meadows and I loved the look of it but it was a little too loose and random for my brain and so I based my pattern more on that of Kirsten Sevig. When I paint with gouache I find that the most time-consuming aspect is washing my brush in between each color – that gouache sure does like to get in among the bristles and when you think your brush is clean it often isn’t. So with the prospect of changing color so many times for a pattern such as this, I thought it easier to map out blocks on my card in pencil and then I could paint one color at a time. All I had to do was paint the first block then count four spaces for the other colors then paint the next block. I dried the panel and then went in with a small Tombow mono eraser to remove the last of the pencil lines.
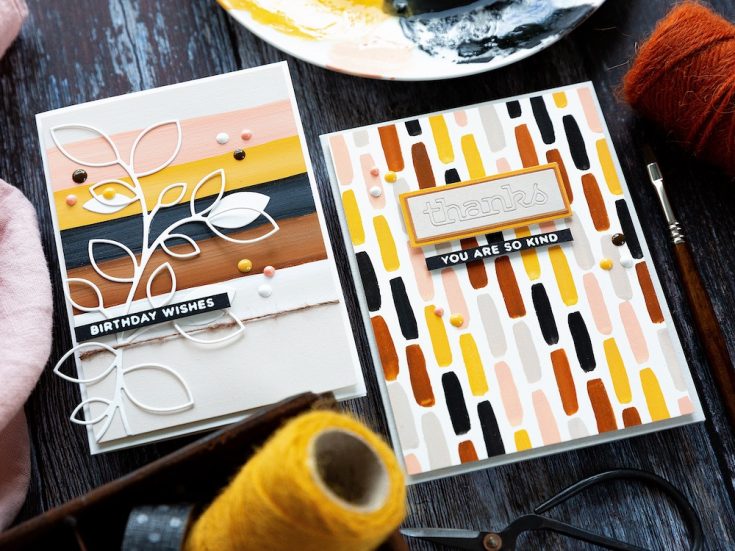
Ok, it’s now time to turn these two backgrounds into cards. For the first wide striped panel, I took the Outline Clustered Leaves die and cut it from Ivory card. I added Gina K Connect glue to key points and adhered the die-cut to the panel. I then wrapped a piece of twine around the card and tied on the back and I think this adds a nice touch of texture to the card. I added three of the leaves from the Outline Clustered Leaves die offset and kept in place with more Gina K Connect glue. I added the panel to an Ivory card base and then all that was left to do was the sentiment. I like simple sentiment strips and also felt this went well with the theme of the card so I took a birthday greeting from the Simple Sentiments 02 set from Cathy Zielske in collaboration with Simon Says Stamp and stamped it in clear embossing ink on black card, sprinkled over white embossing powder and then heat set before trimming to a skinny banner and adding over the leaf die cut with foam adhesive.
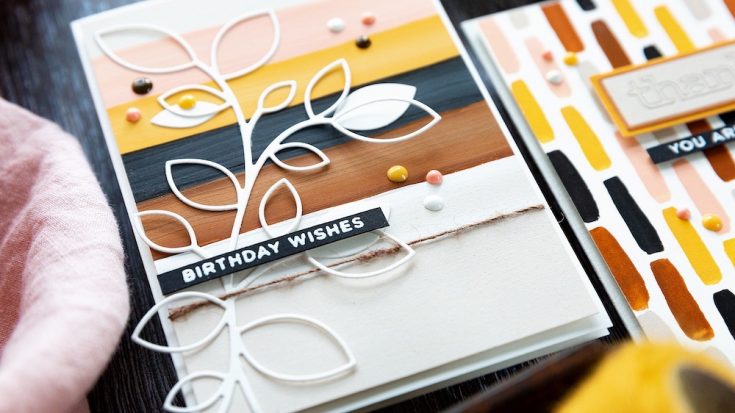
To embellish that card I used Nuvo droplets (Sugared Almond, Bubblegum Blush, Dark Walnut and Simply White) and here’s a top tip for you. I often squeeze out favorite colors onto a craft mat and leave to dry overnight. Then you can simply peel the droplets of the mat the next day. This way the droplets are dry and you can fiddle around with their placement until you are happy before adhering them and to do this I used a dab of Gina K Connect glue to keep them in place.
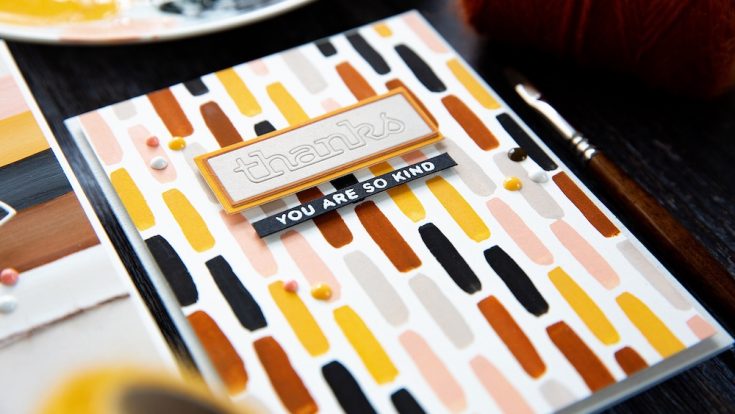
For the second background, I used the Thanks Frame die. I painted swatches of some of the colors and dried them before running the die through for each color. I played around with different combinations of ways to adhere the frame elements but in the end, decided I liked the tone on tone effect of the main part of the die-cut from the oatmeal painted card with a mustard back panel and skinny terracotta frame. I stamped and white heat embossed another sentiment from the Simple Sentiments 02 set that went with the thanks Frame die cut and trimmed the piece to a skinny banner. Then I added foam adhesive to the back of all of the elements and mounted the panel onto a Fog card base before aligning the Thanks die cut top and center with the coordinating sentiment strip underneath. I then used the same combination of Nuvo droplets – Sugared Almond, Bubblegum Blush, Dark Walnut and Simply White.
And there you go, two simple painted striped backgrounds with die-cut elements, skinny sentiment strips, and Nuvo droplets to coordinate. I hope you give stripes a go too. Thanks for joining me today and I hope you’ll join me next time for Doodling With Debby.
SUPPLIES:
|


Thanks so much for stopping by and thanks to Debby for being our guest!
Blog Candy Alert!! Follow our blog via email and comment on this post for a chance to win special blog candy!
Did You Know? Fun Facts and Crafty Tips! July 2019 Edition

Hello, friends! Its Nina-Marie here, bringing you the July 2019 edition of our Did You Know series!
If it’s your first time seeing this feature, each month we bring you fun facts, creative tips and even crafty hacks about your favorite supplies and brands; you can then use these awesome tips that you learn in your next crafting projects! Are you ready to learn some fun tricks? Keep on reading!
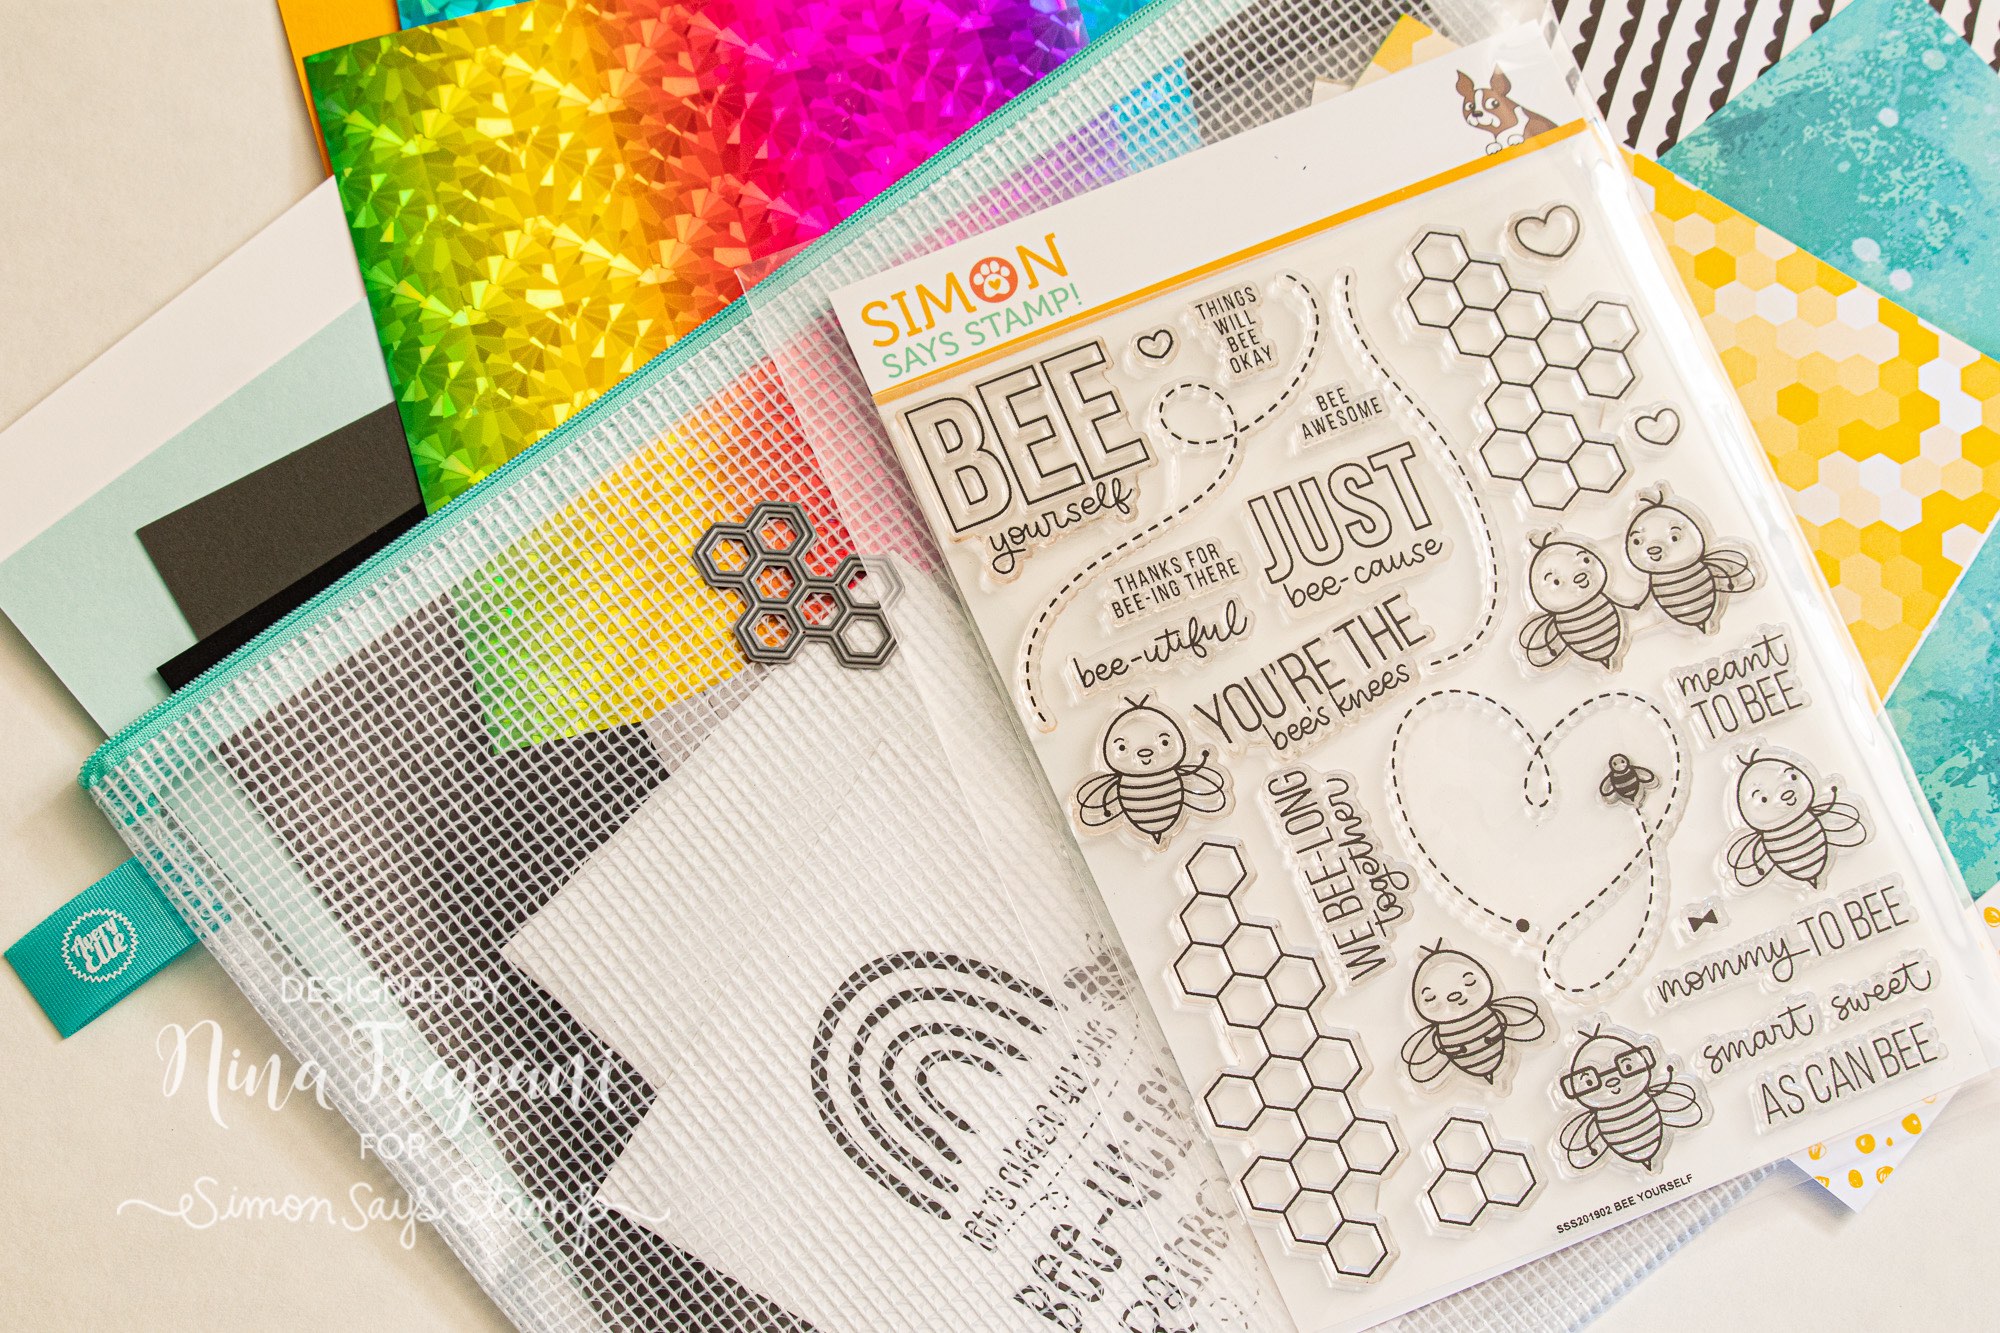
AVERY ELLE ZIPPER STORAGE POUCHES
Staying organized is such an important part of my crafty-life! When I know where things are, I can create more efficiently… which means I have more fun!
One of my favorite ways to stay organized is to use zippered pouches, like the ones from Avery Elle! These heavy duty mesh pouches are clear, allowing you to see inside (I also like to label mine with my Label Maker). I use them most often for holding all the contents of the latest Simon Says Stamp Card Kits, new products I’ve yet to create with, projects that are not complete… the uses are endless!
WE R MEMORY KEEPERS STICKY PIERCER
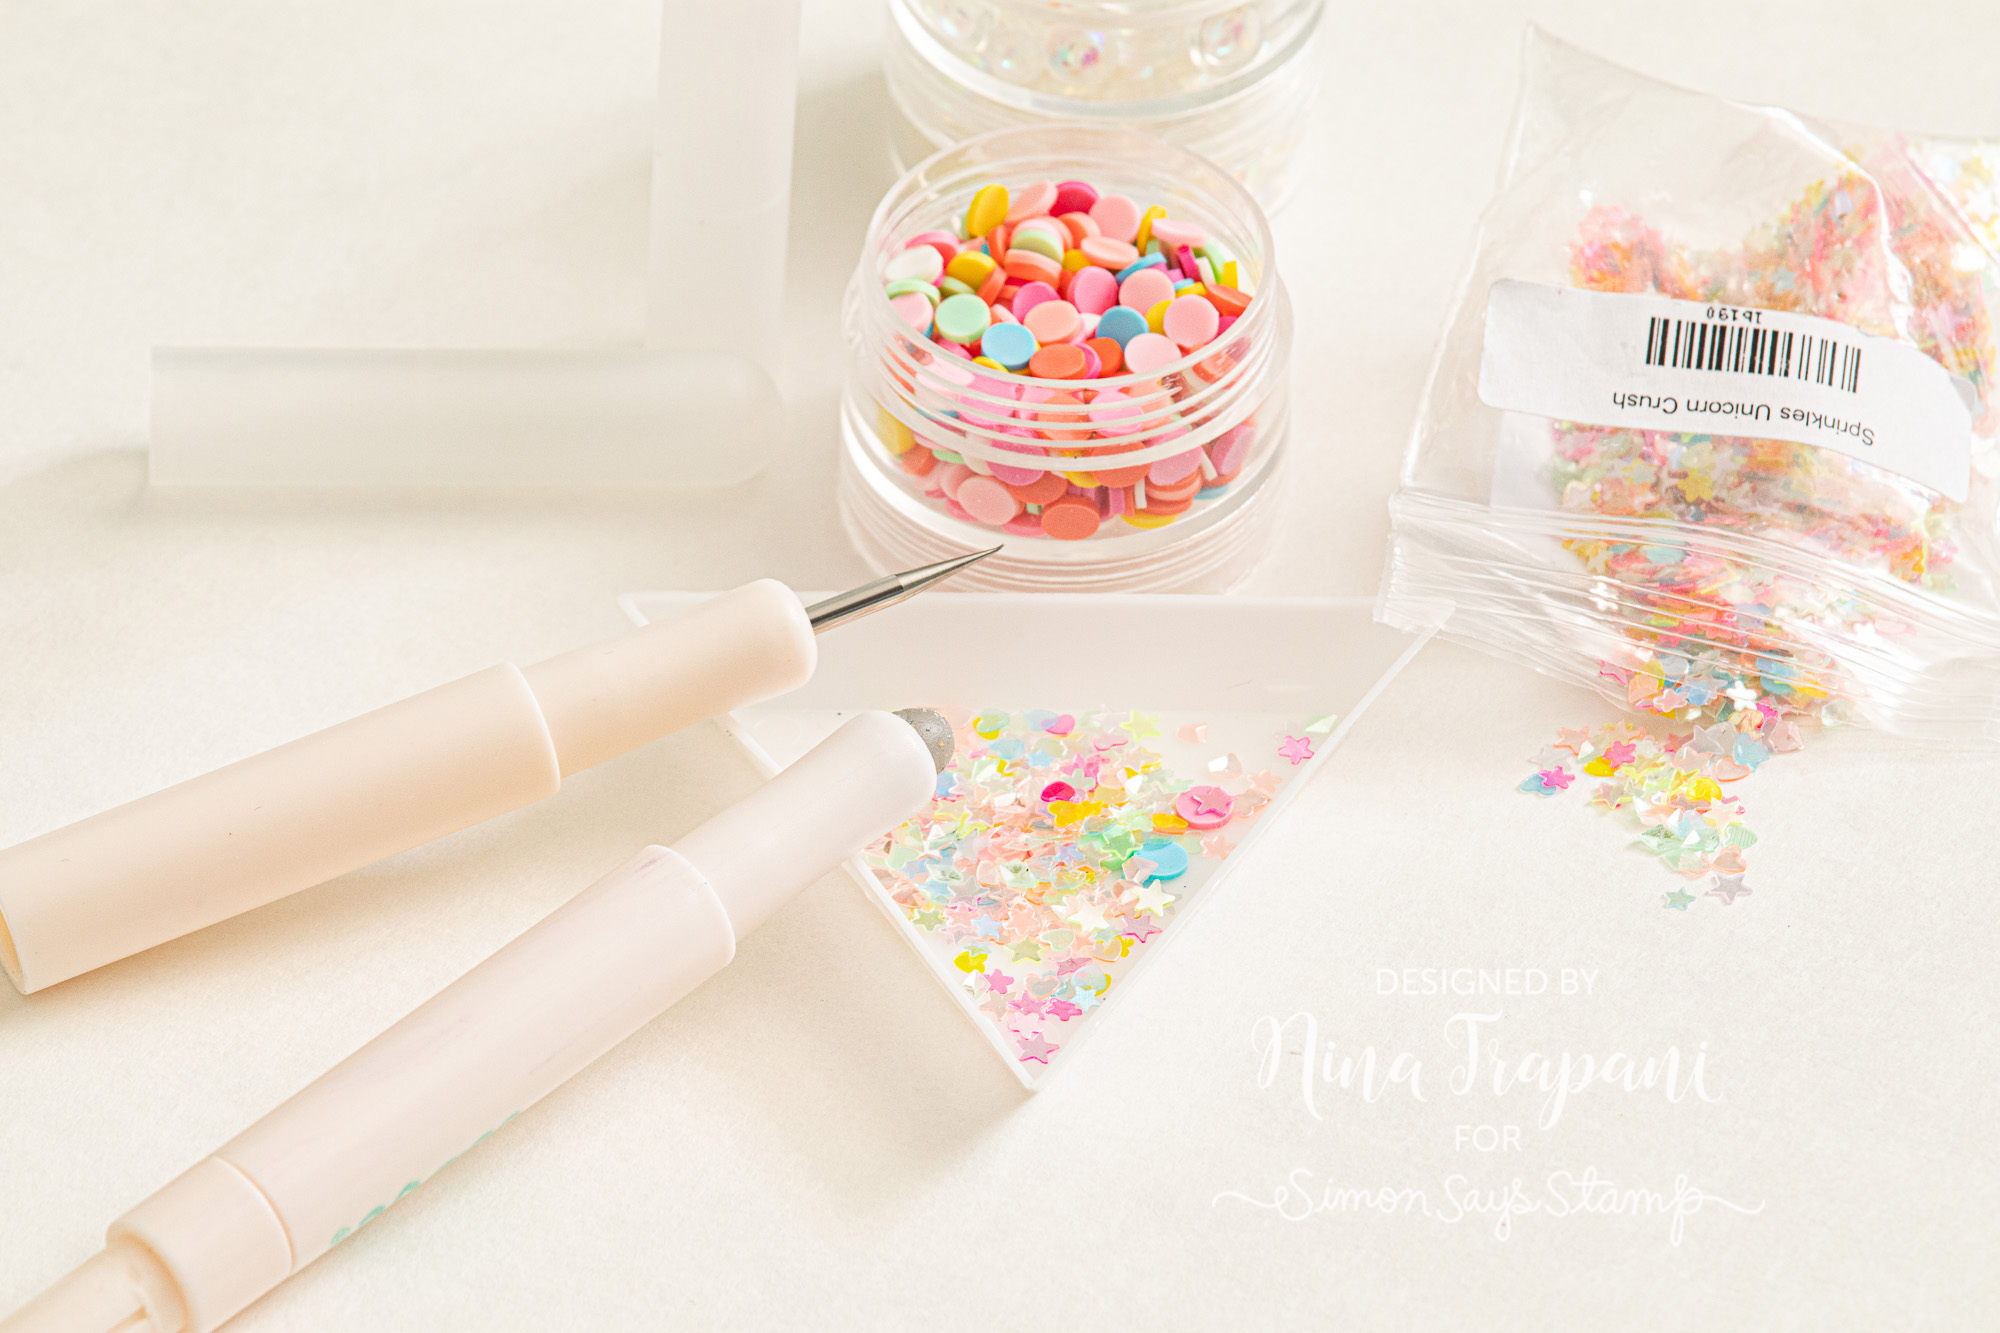
If you love sequins and fun embellishments like I do, I can’t tell you how much I have been enjoying the We R Memory Keepers Sticky Piercer tool.
Did you know that this dual-ended tool can be pulled apart to have both a tacky end for picking up those hard-to-hold embellishments, and a piercer for applying them into your adhesive? So handy!
STUDIO KATIA TRIANGLE TRAY
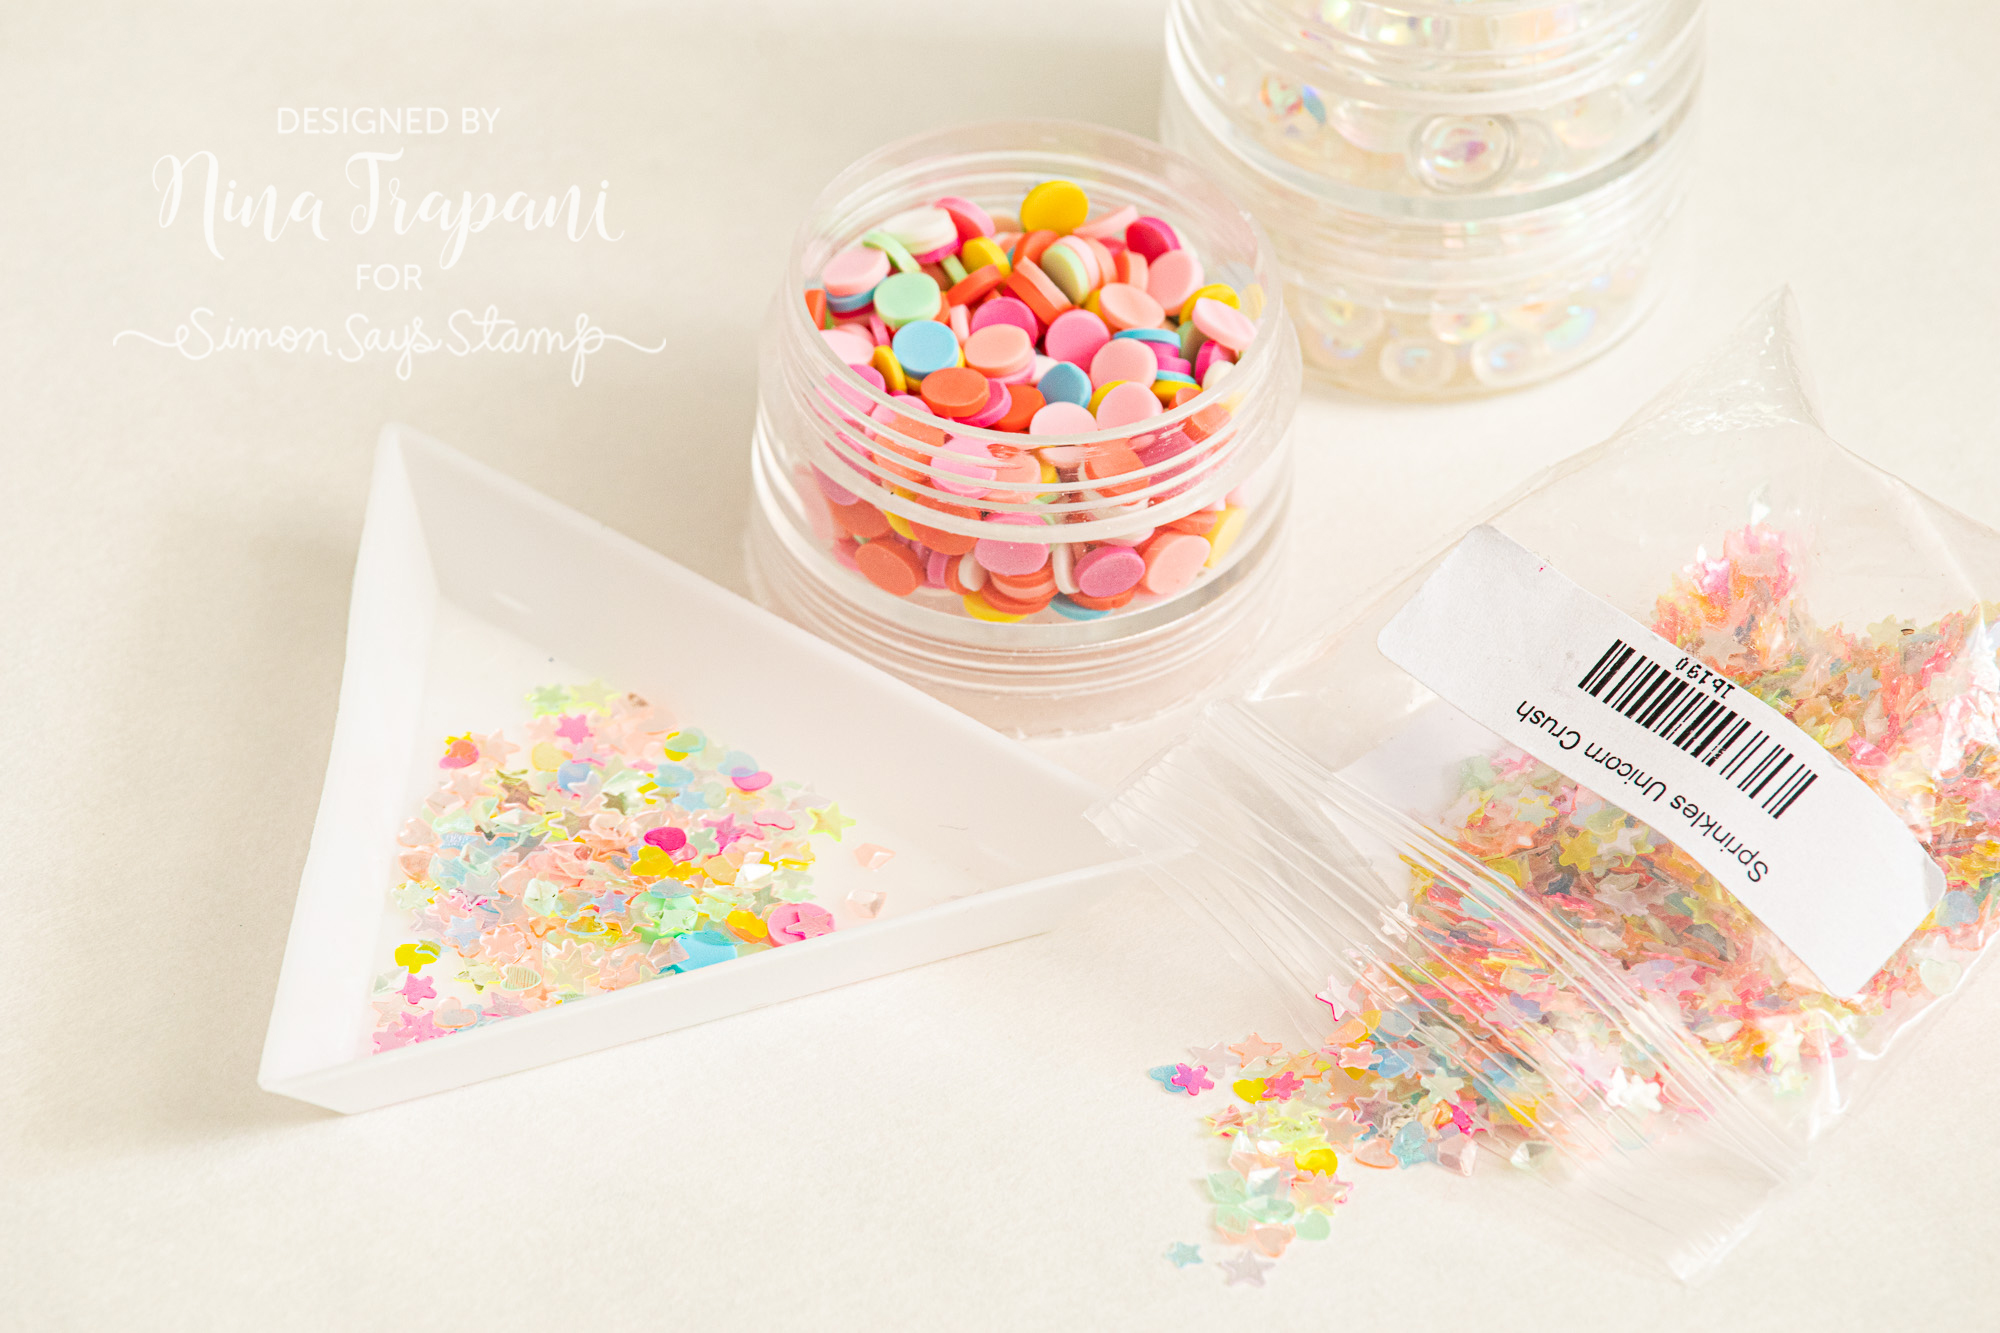
Speaking of embellishments, I also can’t go without the Studio Katia Triangle Tray! Simply pour your embellishments into the tray for sorting and selecting! When you are done, the convenient triangular shape of this tray puts the sequins back into their original container for super-easy cleanup. No more sequins all over your craft table (or worse, the floor!).
DISTRESS MICRO GLAZE
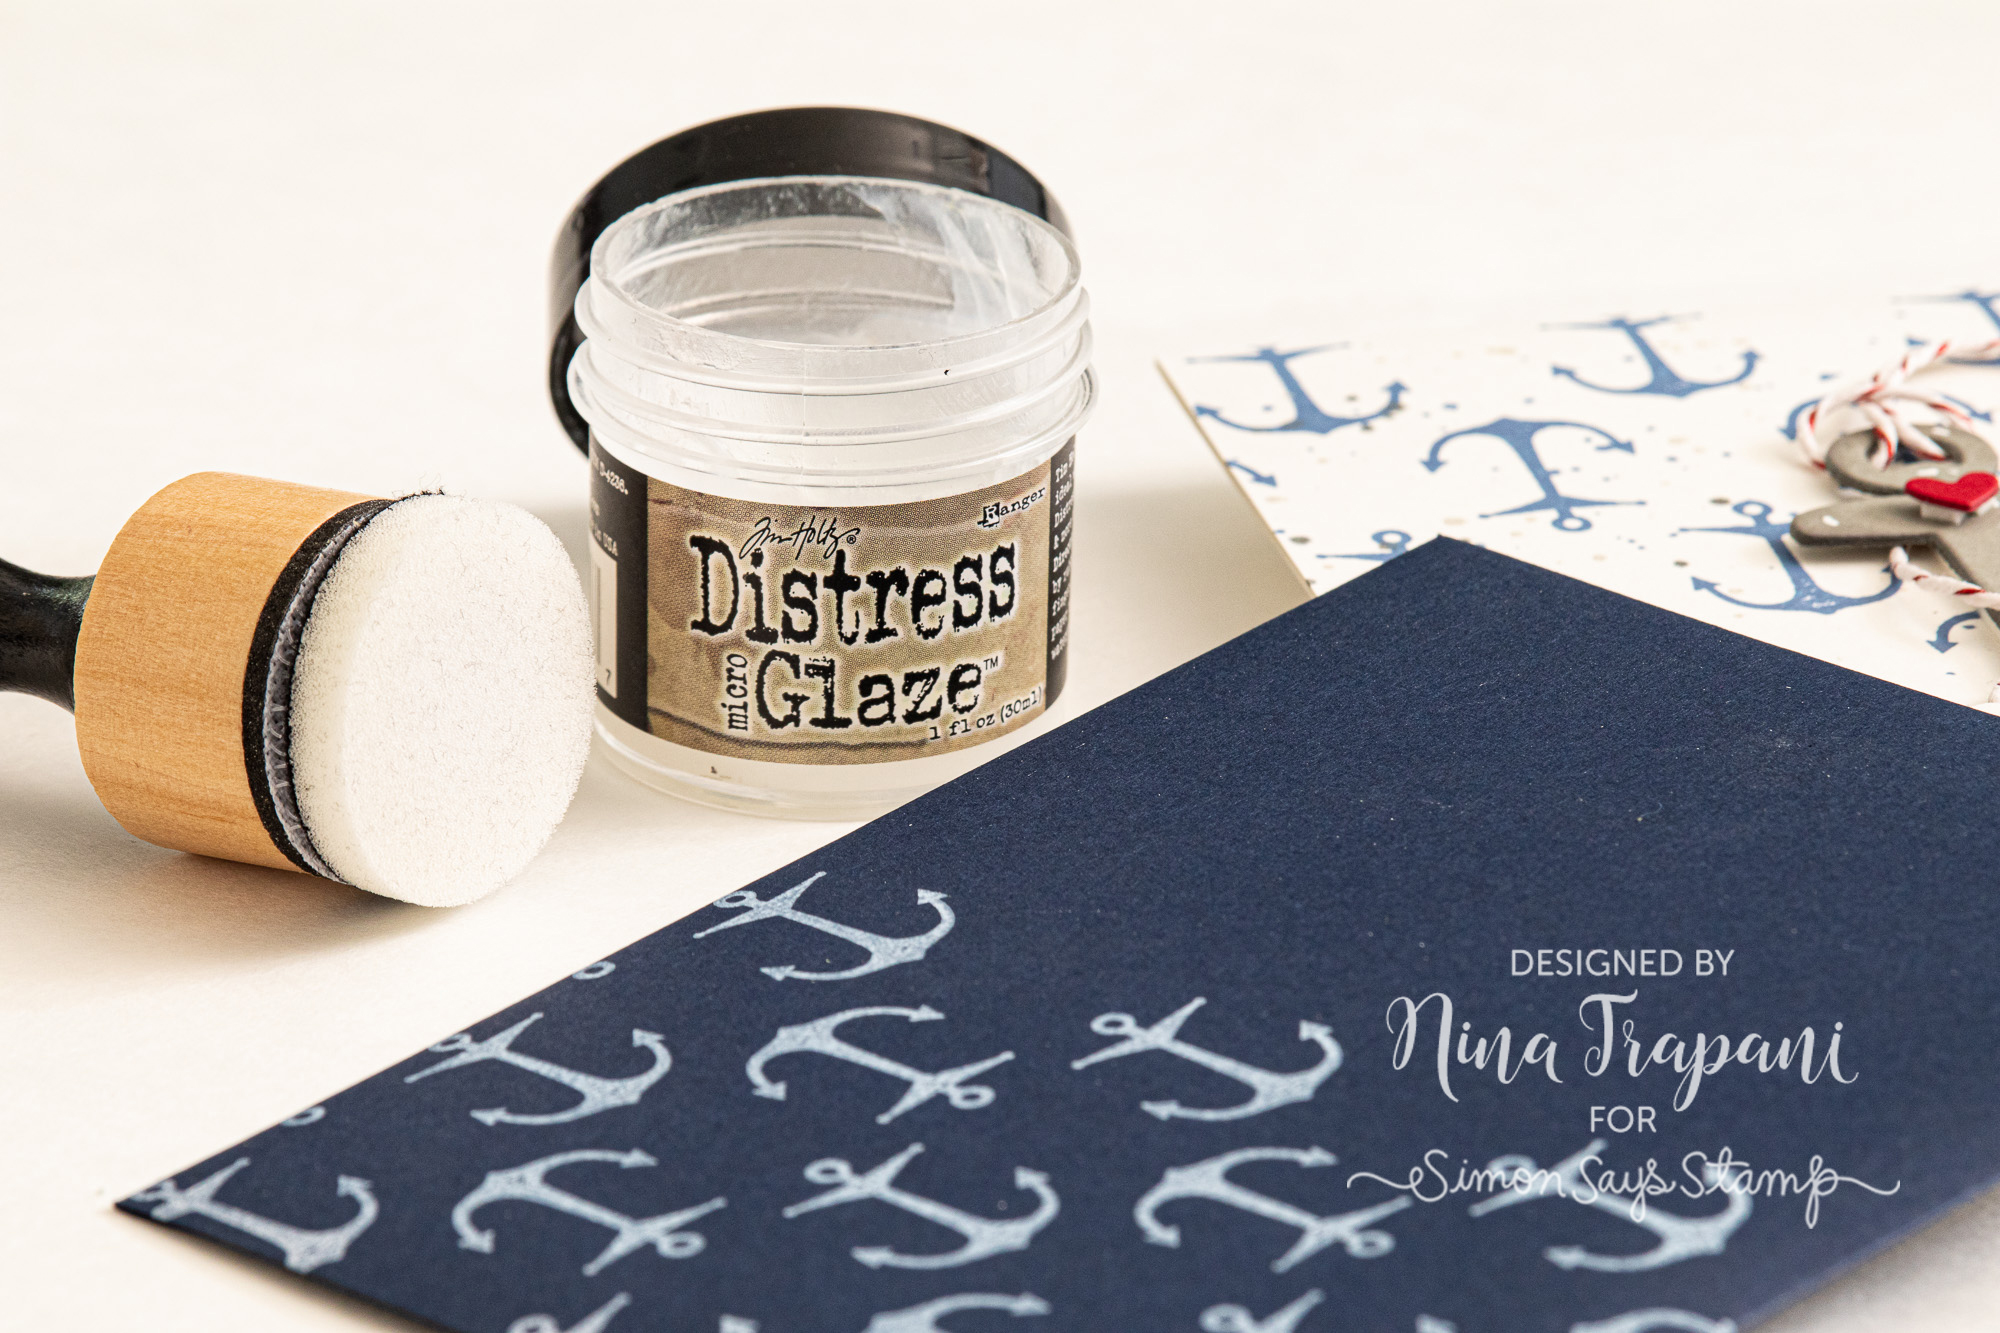
There are a lot of uses for this little jar of glaze, but one of my favorites is for protecting envelope art! When we mail our cards, the envelopes brave all of Nature’s elements on their journey from mailbox to mailbox… and if the envelope is decorated, its hard to help but wonder if it will still look beautiful by the time it gets to the recipient.
Did you know that a thin coat of Micro Glaze helps protect your envelope art? It won’t be a permanent seal if your envelope were to fall into a puddle, but from light moisture, dirty fingers and the like, your envelope will fare the elements far better than if left uncoated! I love to apply the glaze with a mini ink blending tool (which happens to fit inside the jar PERFECTLY!).
METAL DIE SNIPS
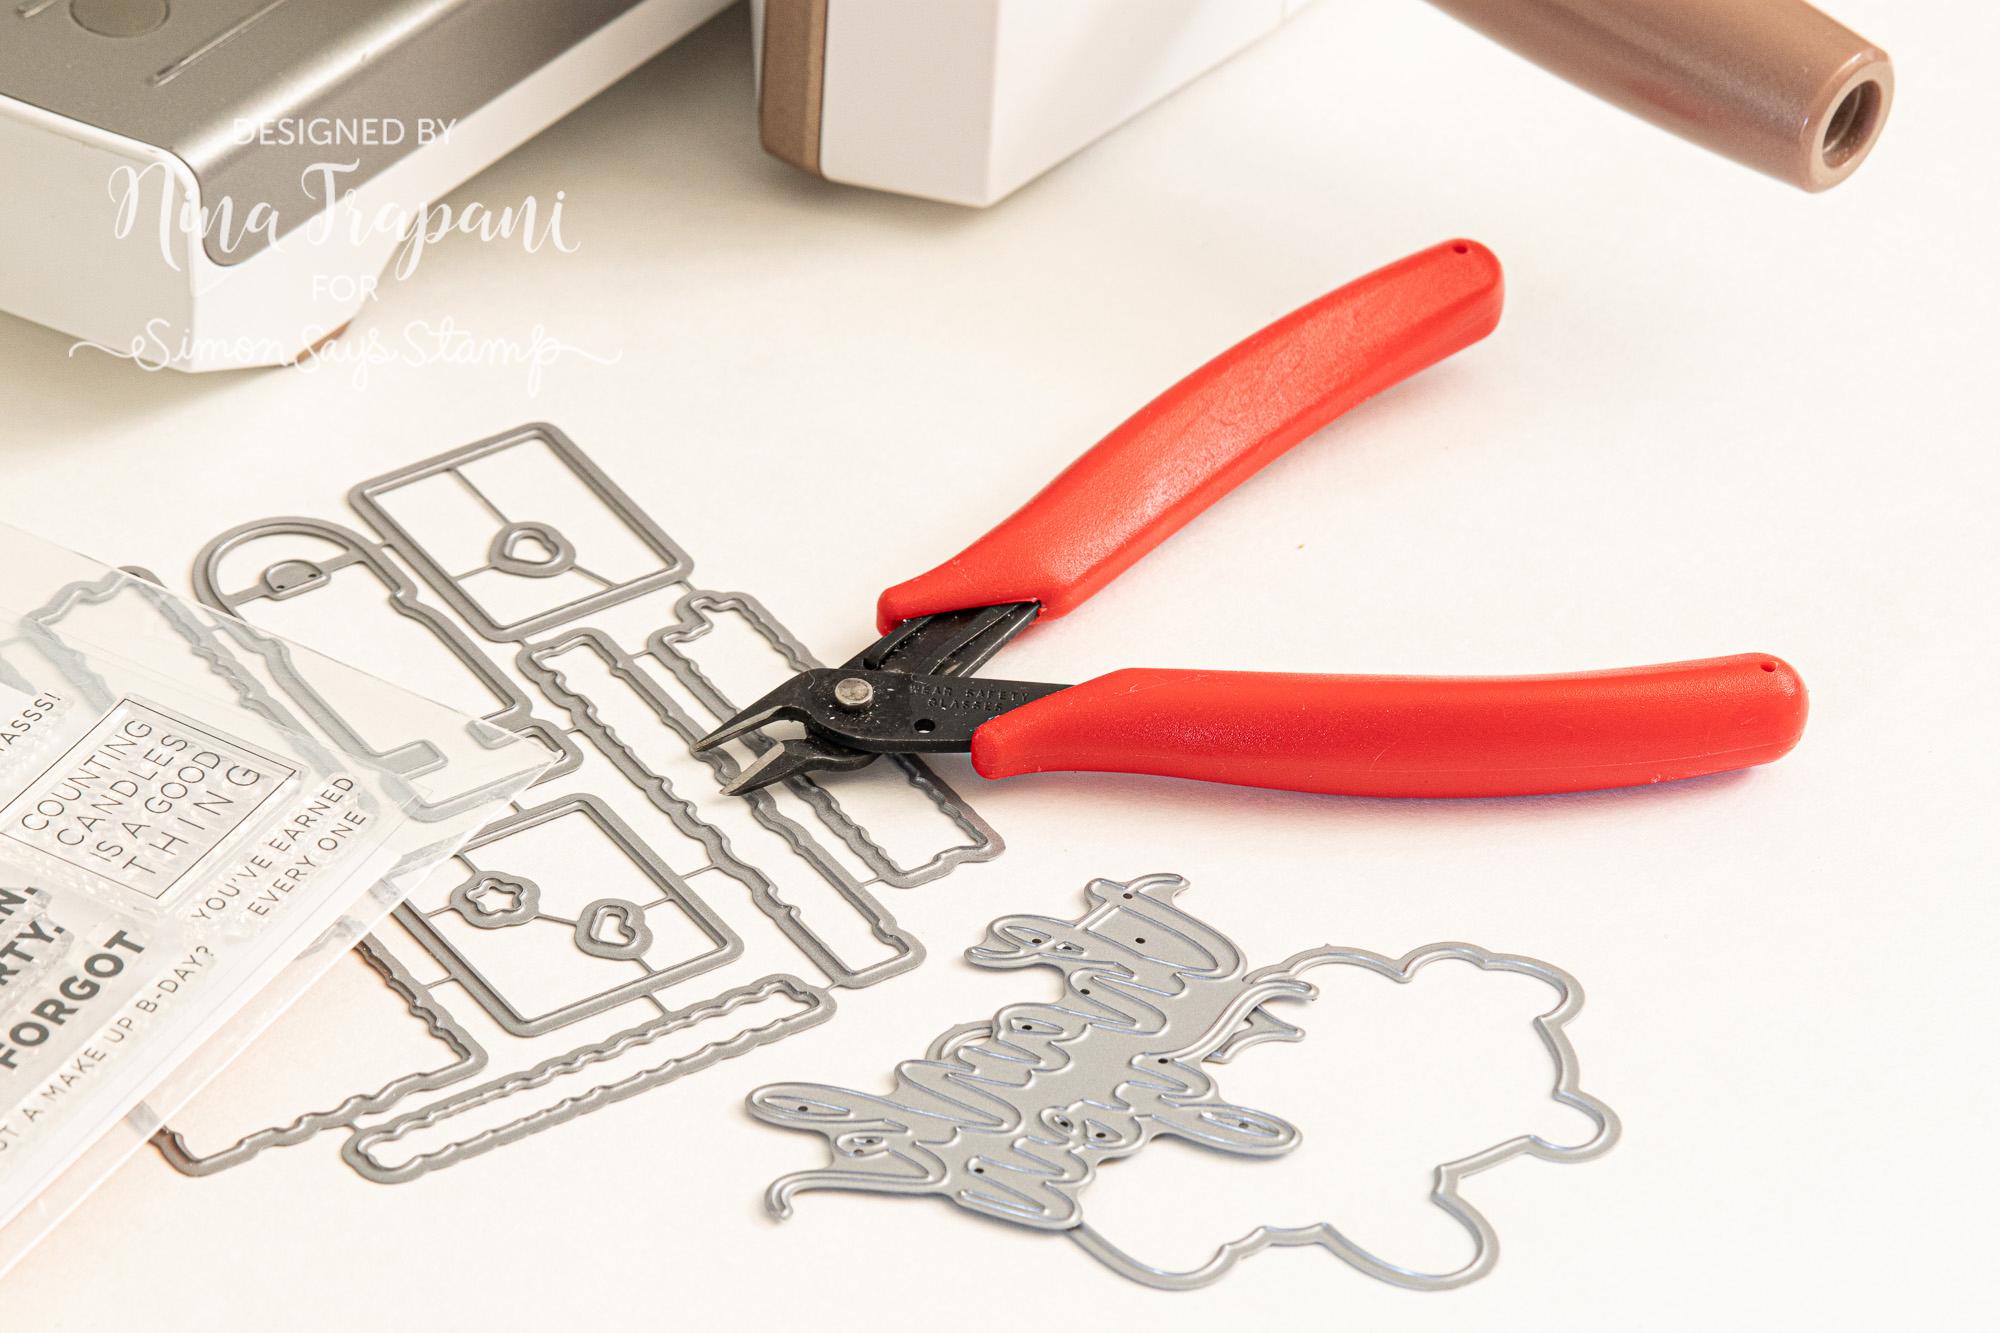
Sharp edges on a die are painful! For all my multi-die sets, I love to use a pair of metal die snips to trim them apart and cut off the little pieces of steel that may be left behind. Definitely a must-have tool if you love to use dies!
I hope these tips have helped you learn a few tricks for your upcoming crafting projects… Thanks for tuning in today and spending some time with me!
SUPPLIES
|


Blog Candy Alert!! Follow our blog via email and comment on this post for a chance to win special blog candy!


