Did You Know October 2019: 5 Essentials for Holiday Card Making!

Hello crafters, it’s Nina-Marie Trapani here with you! Today I have a very special, holiday edition of our popular Did You Know series! With the holiday season fast approaching, we thought this would be the perfect time to share our 5 essentials for Holiday card making!
If it’s your first time seeing this feature, each month we bring you fun facts, creative tips and even crafty hacks about your favorite supplies and brands; you can then use these awesome tips that you learn in your next crafting projects! Are you ready to learn some fun tricks? Keep on reading!
Simon Says Stamp Inks
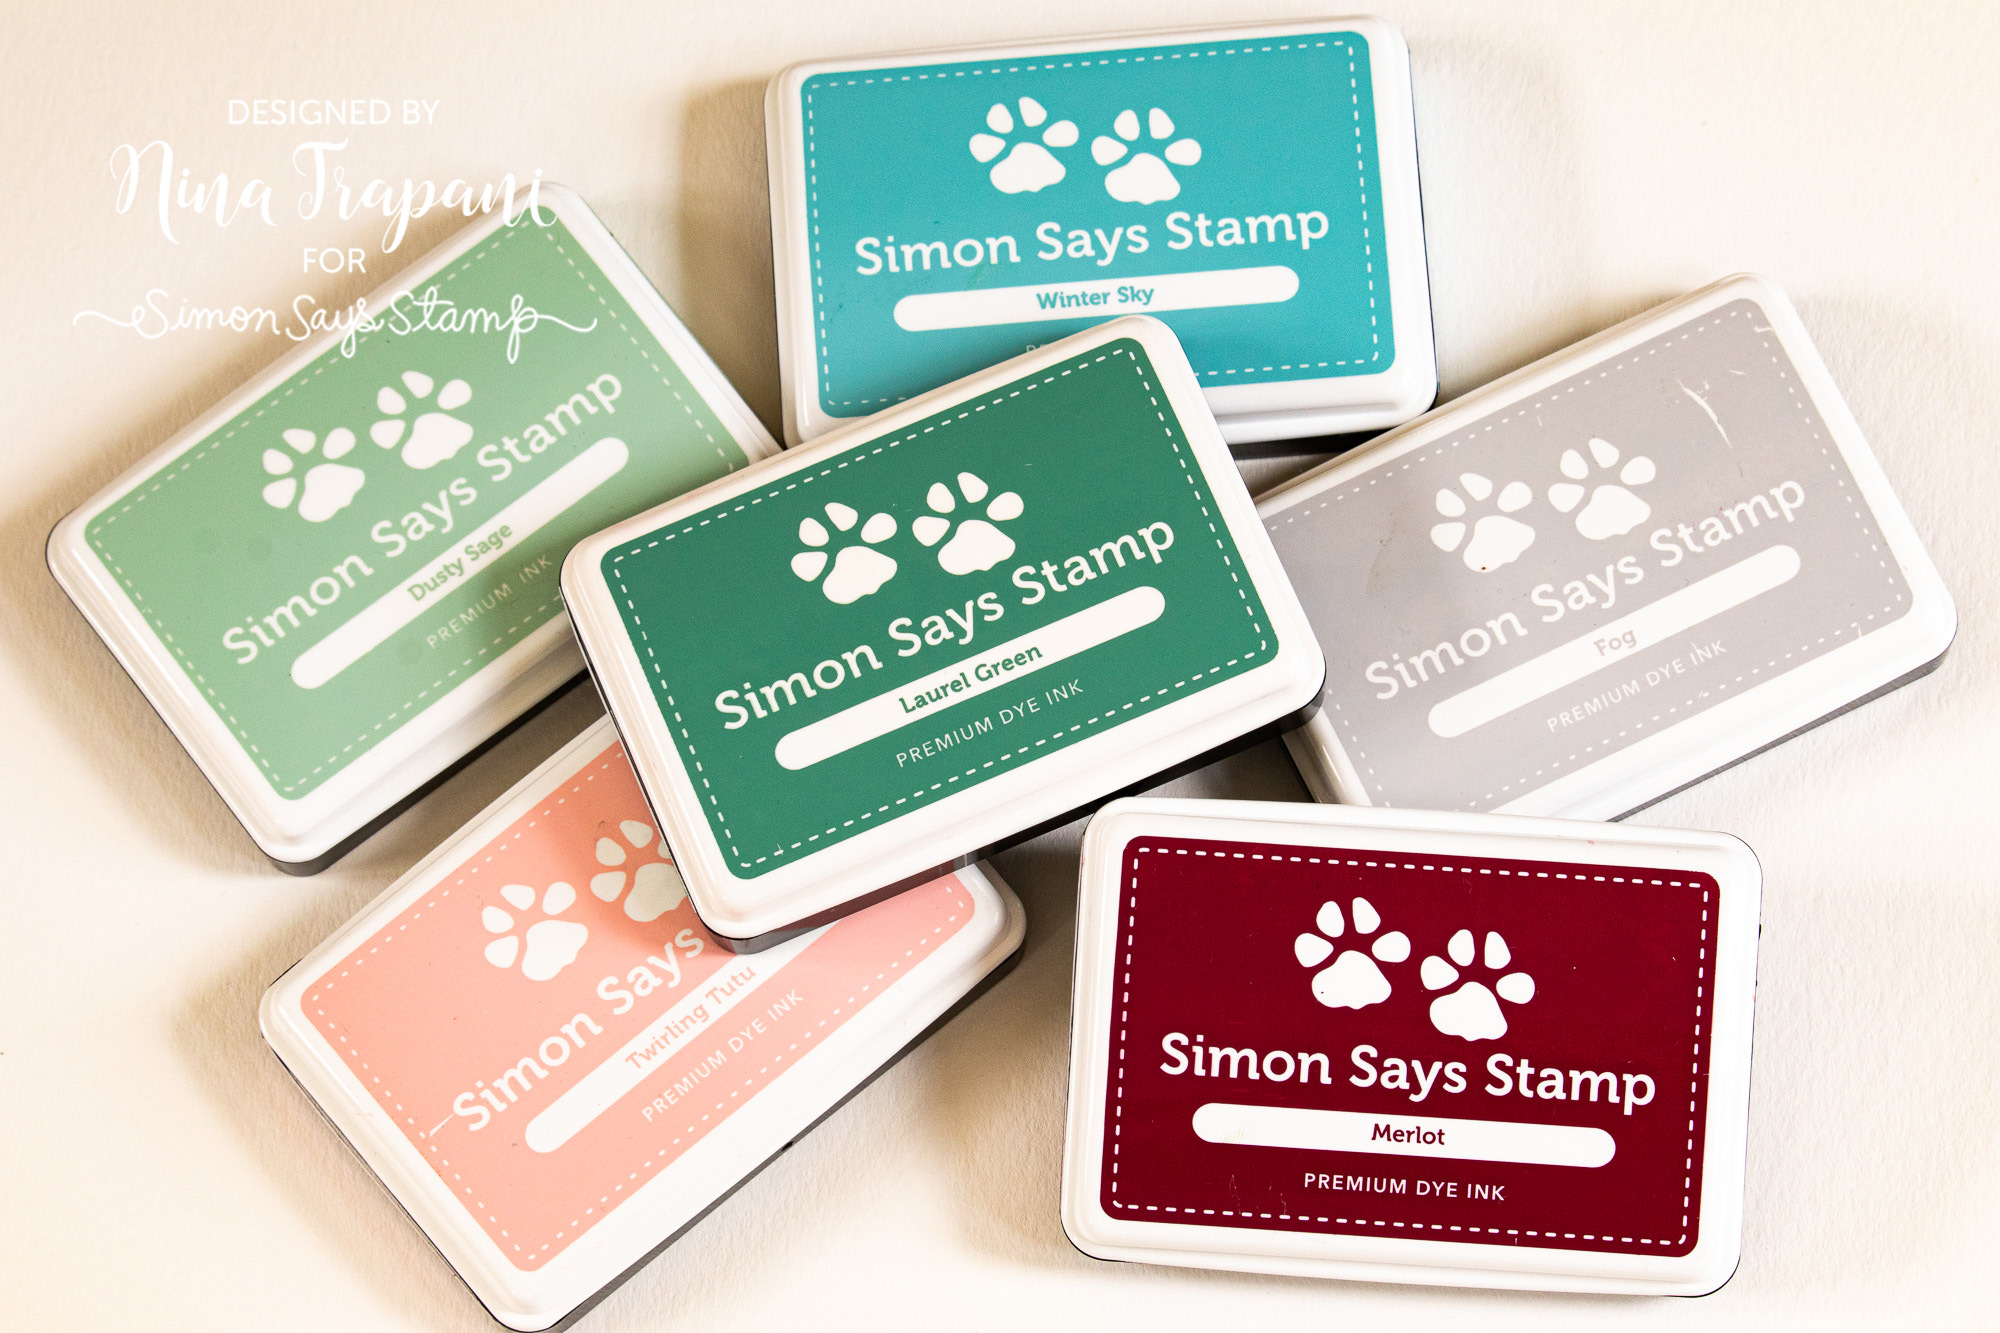
Our Simon exclusive ink collection has all the colors you need for creating gorgeous color combos! Of course, the traditional Schoolhouse Red and Evergreen are classics for Christmas, but how about a more trendy palette?
Try combining Twirling Tutu, Merlot, Fog, Winter Sky, Dusty Sage and Laurel Green in your holiday cards this year! This toned combination is a popular color palette and will look amazing on your projects!
Simon Says Stamp Holiday Greetings Mix stamp set
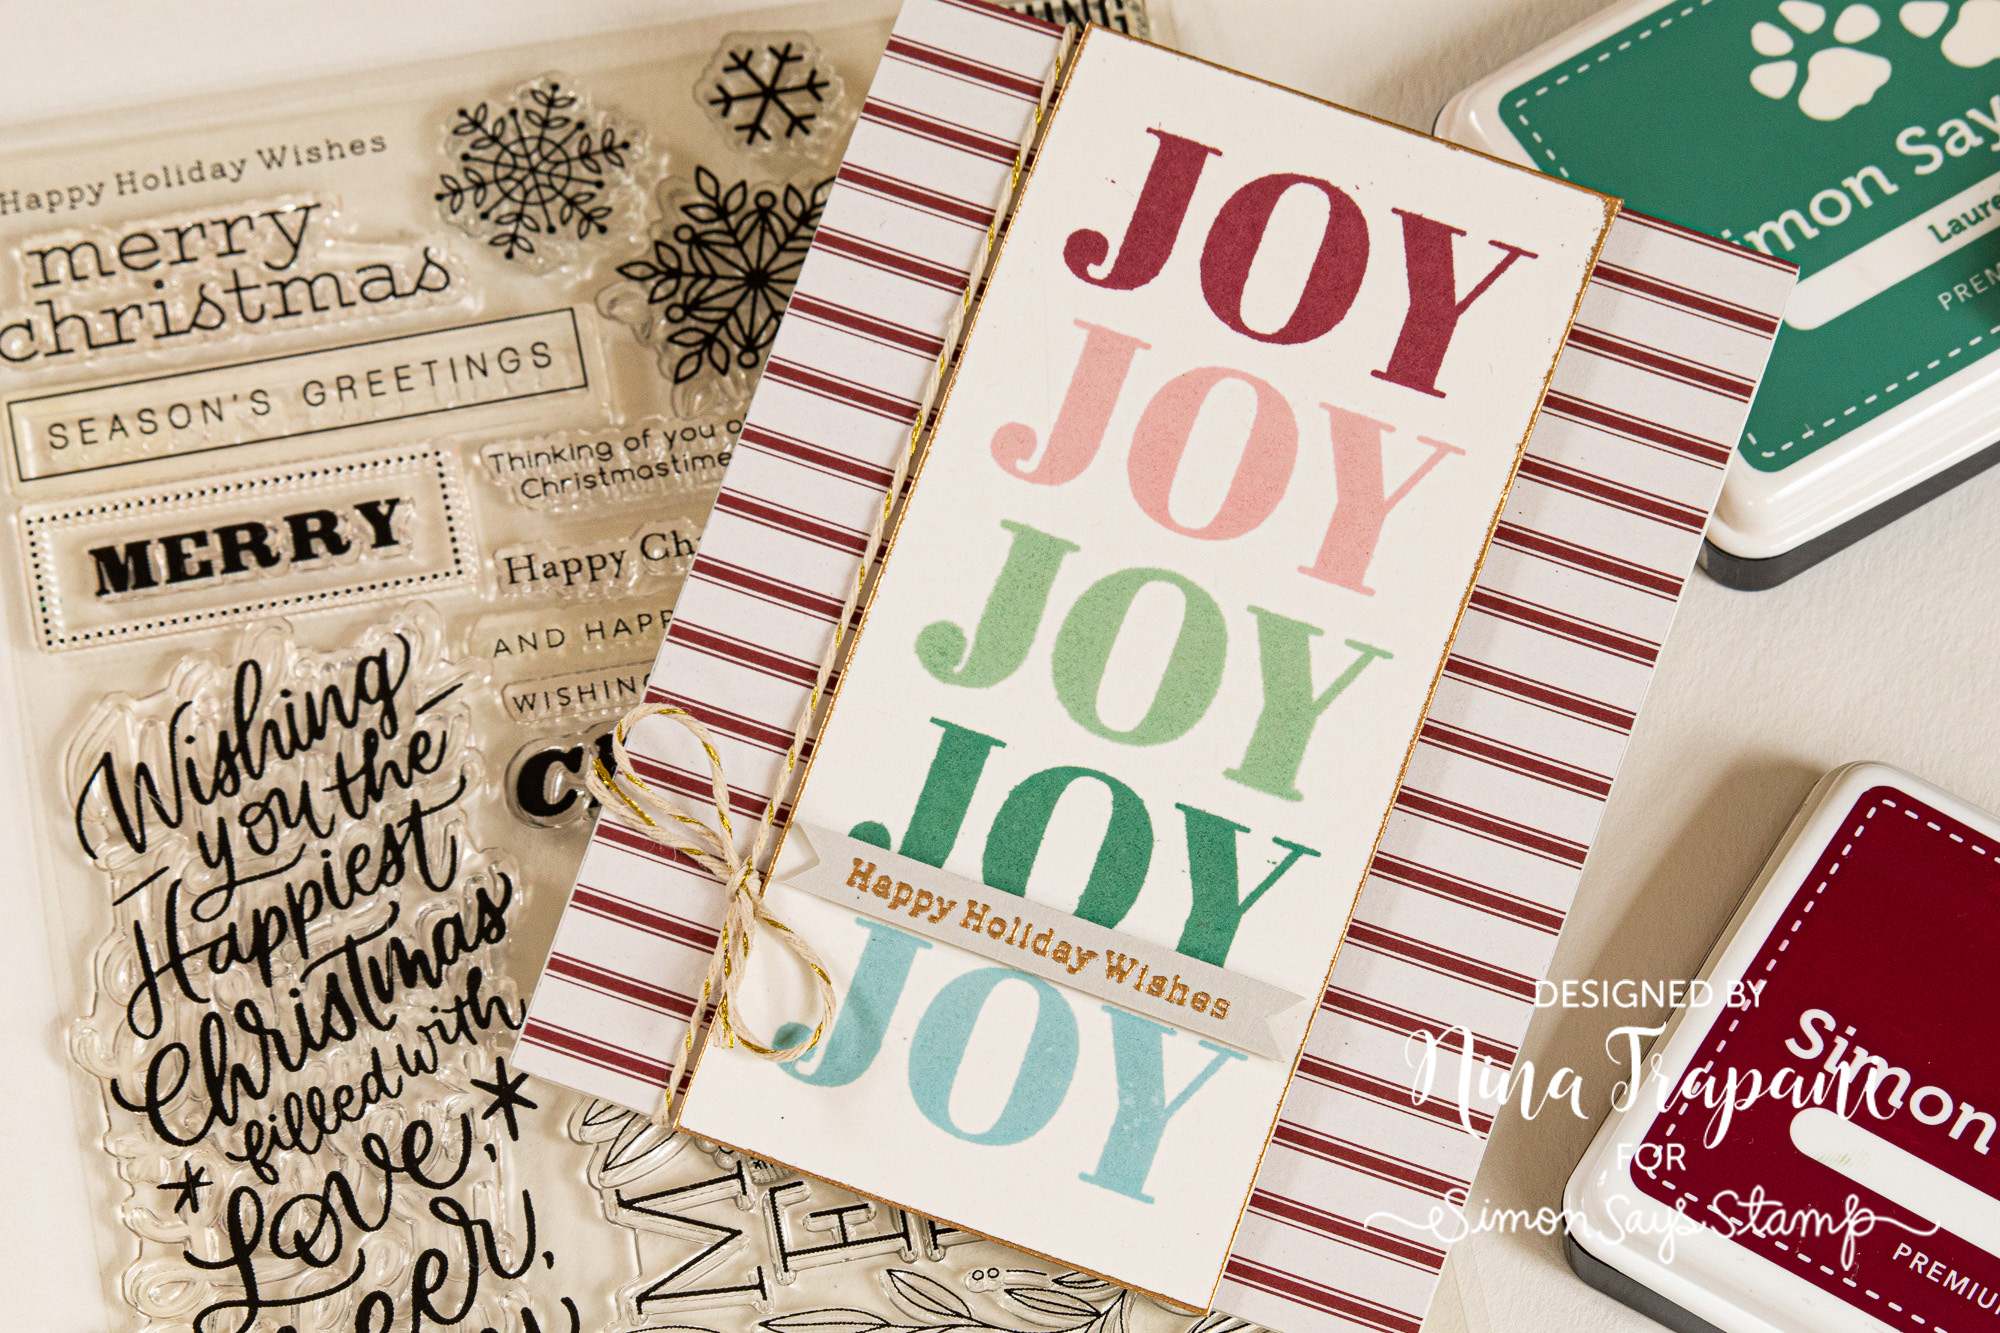
The Holiday Greetings Mix 1 set is a true must-have for your Holiday cards this year! We’ve covered all the bases with fun and festive greetings, to elegant wishes of good tidings. This set is so gorgeous, you could even make simple Christmas and Holiday cards using JUST the sentiments!
Simon Says Stamp Petal Envelope die
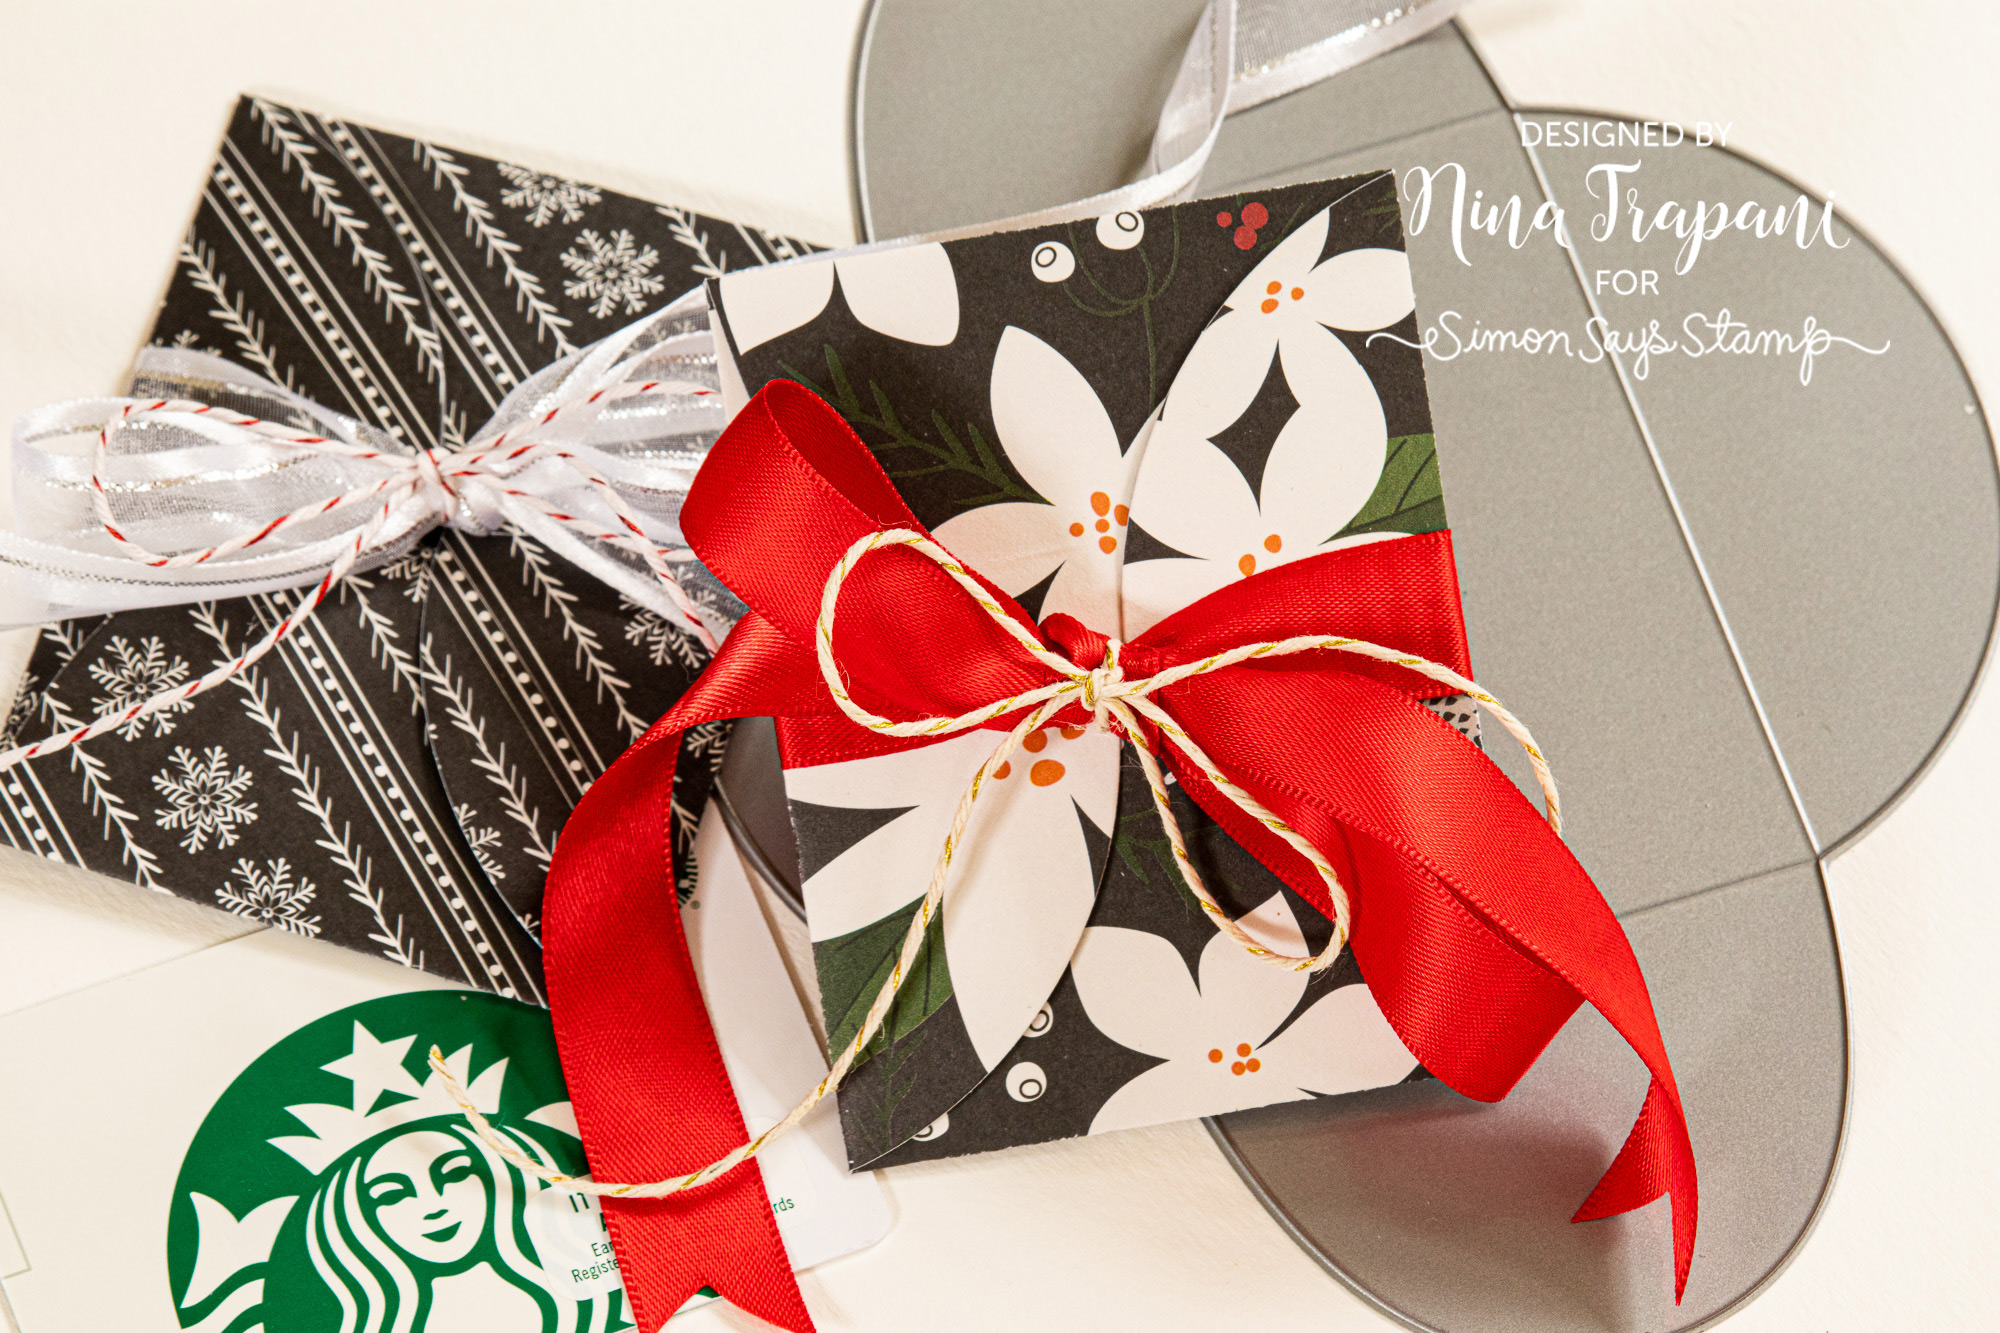
If you don’t have this Petal Envelope die, I highly recommend adding this to your crafty stash – I use mine all the time! One of my favorite ways to use this die is to make easy packaging for gift cards. Gift cards are one of the most popular gifts to give during the holidays, and what better way to give one than to place it in a handmade envelope?! Once you’ve decorated the envelope, you can simply tuck the flaps into each other and wrap it all up with a pretty bow!
Simon Says Stamp Schoolhouse Red Envelopes
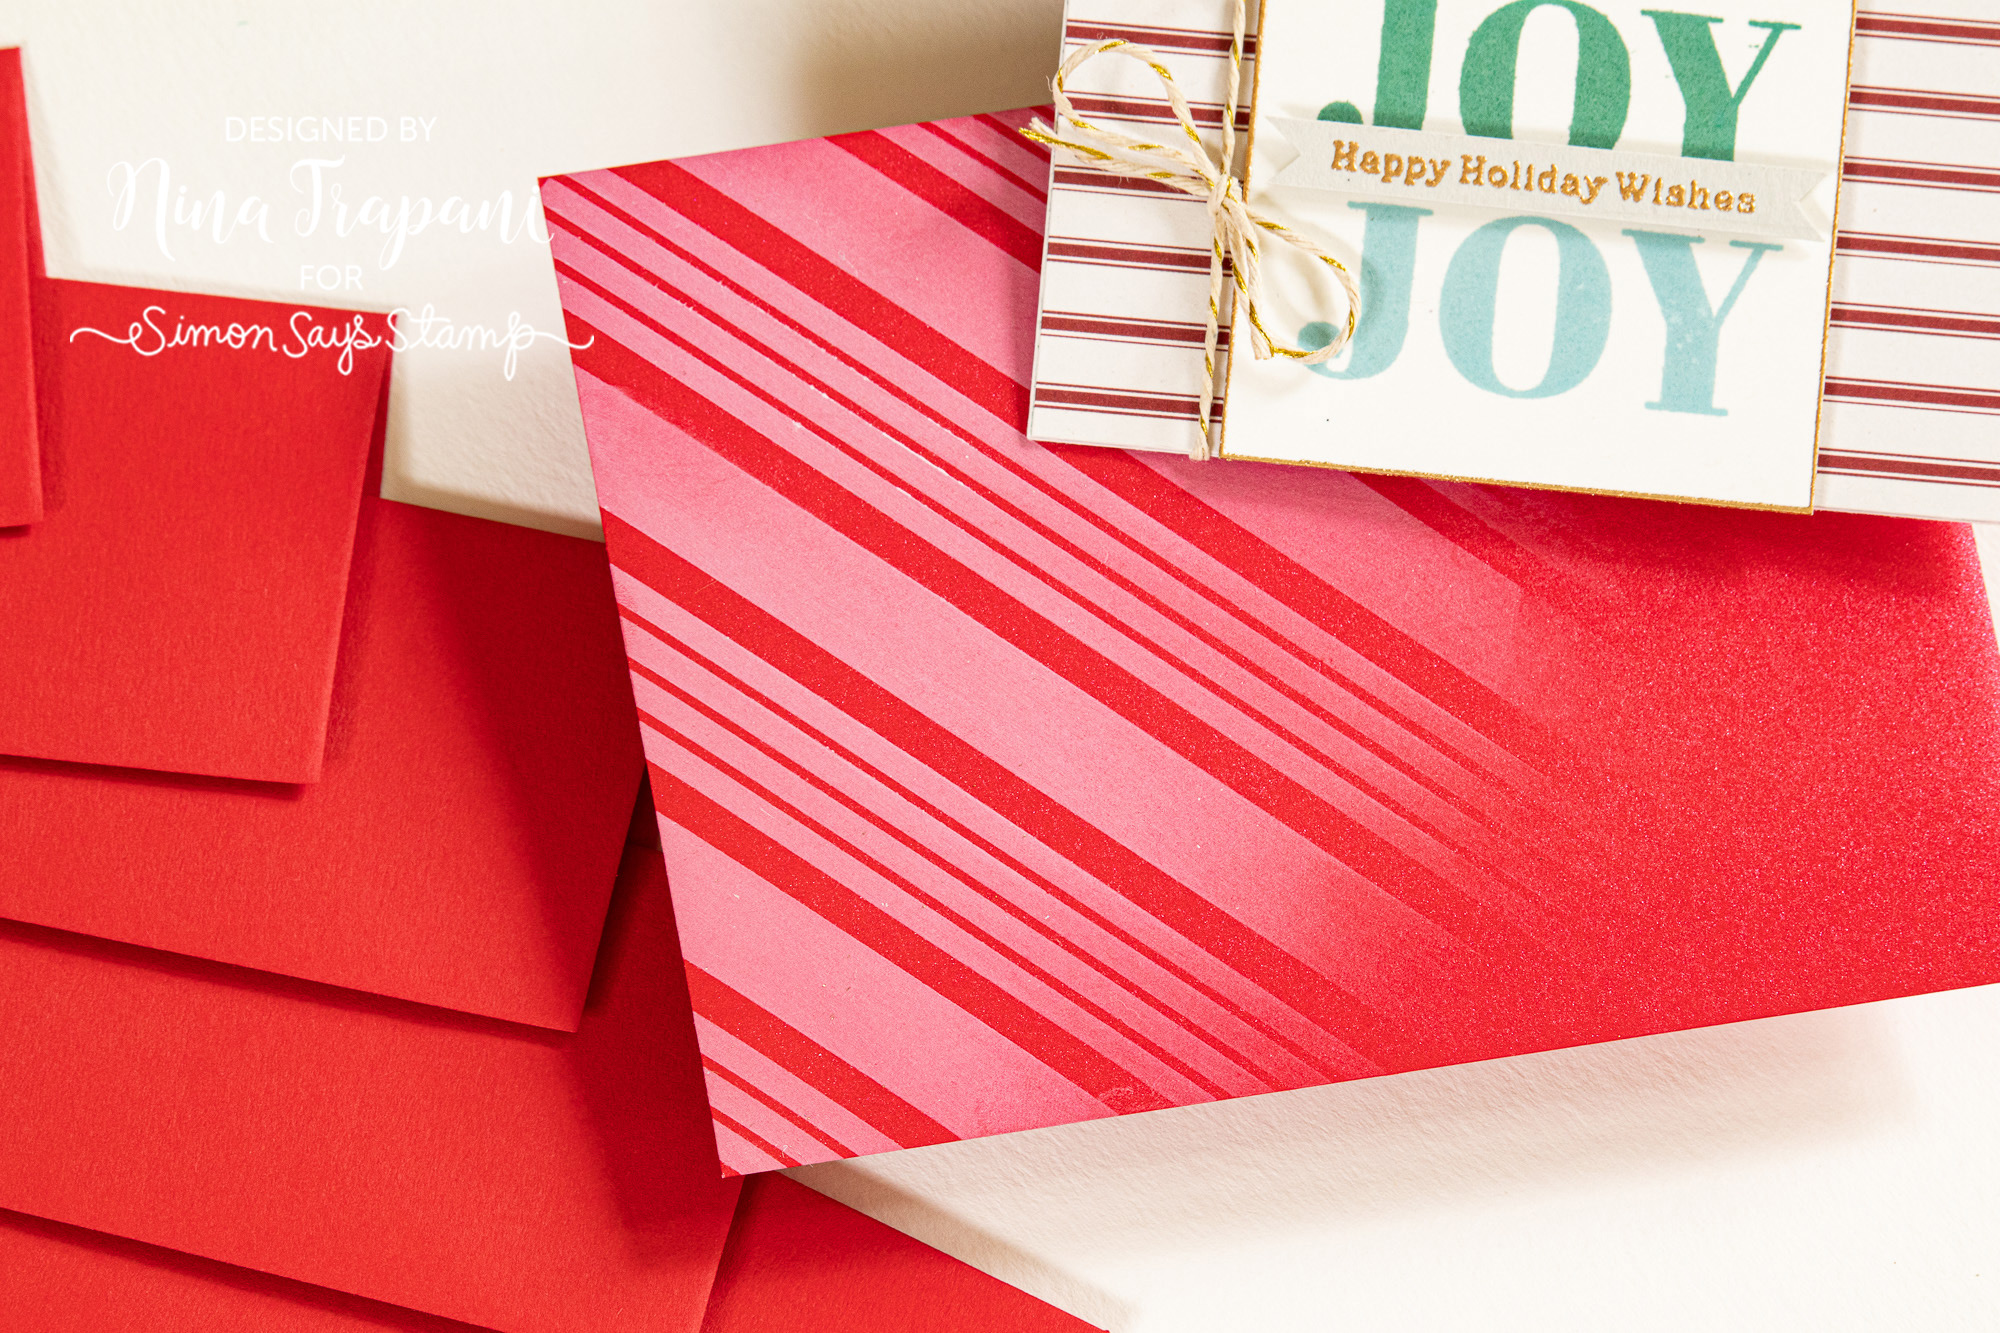
Once you have created those gorgeous, Holiday cards you will need to put them in an envelope! You can never go wrong with our classic, Schoolhouse Red envelopes; featuring that rich red tone, these beauties can be left plain, or you can add some pretty decoration to them in the form of stamping, stenciling or even foiling!
Simon Says Stamp Snowflake Tag Die
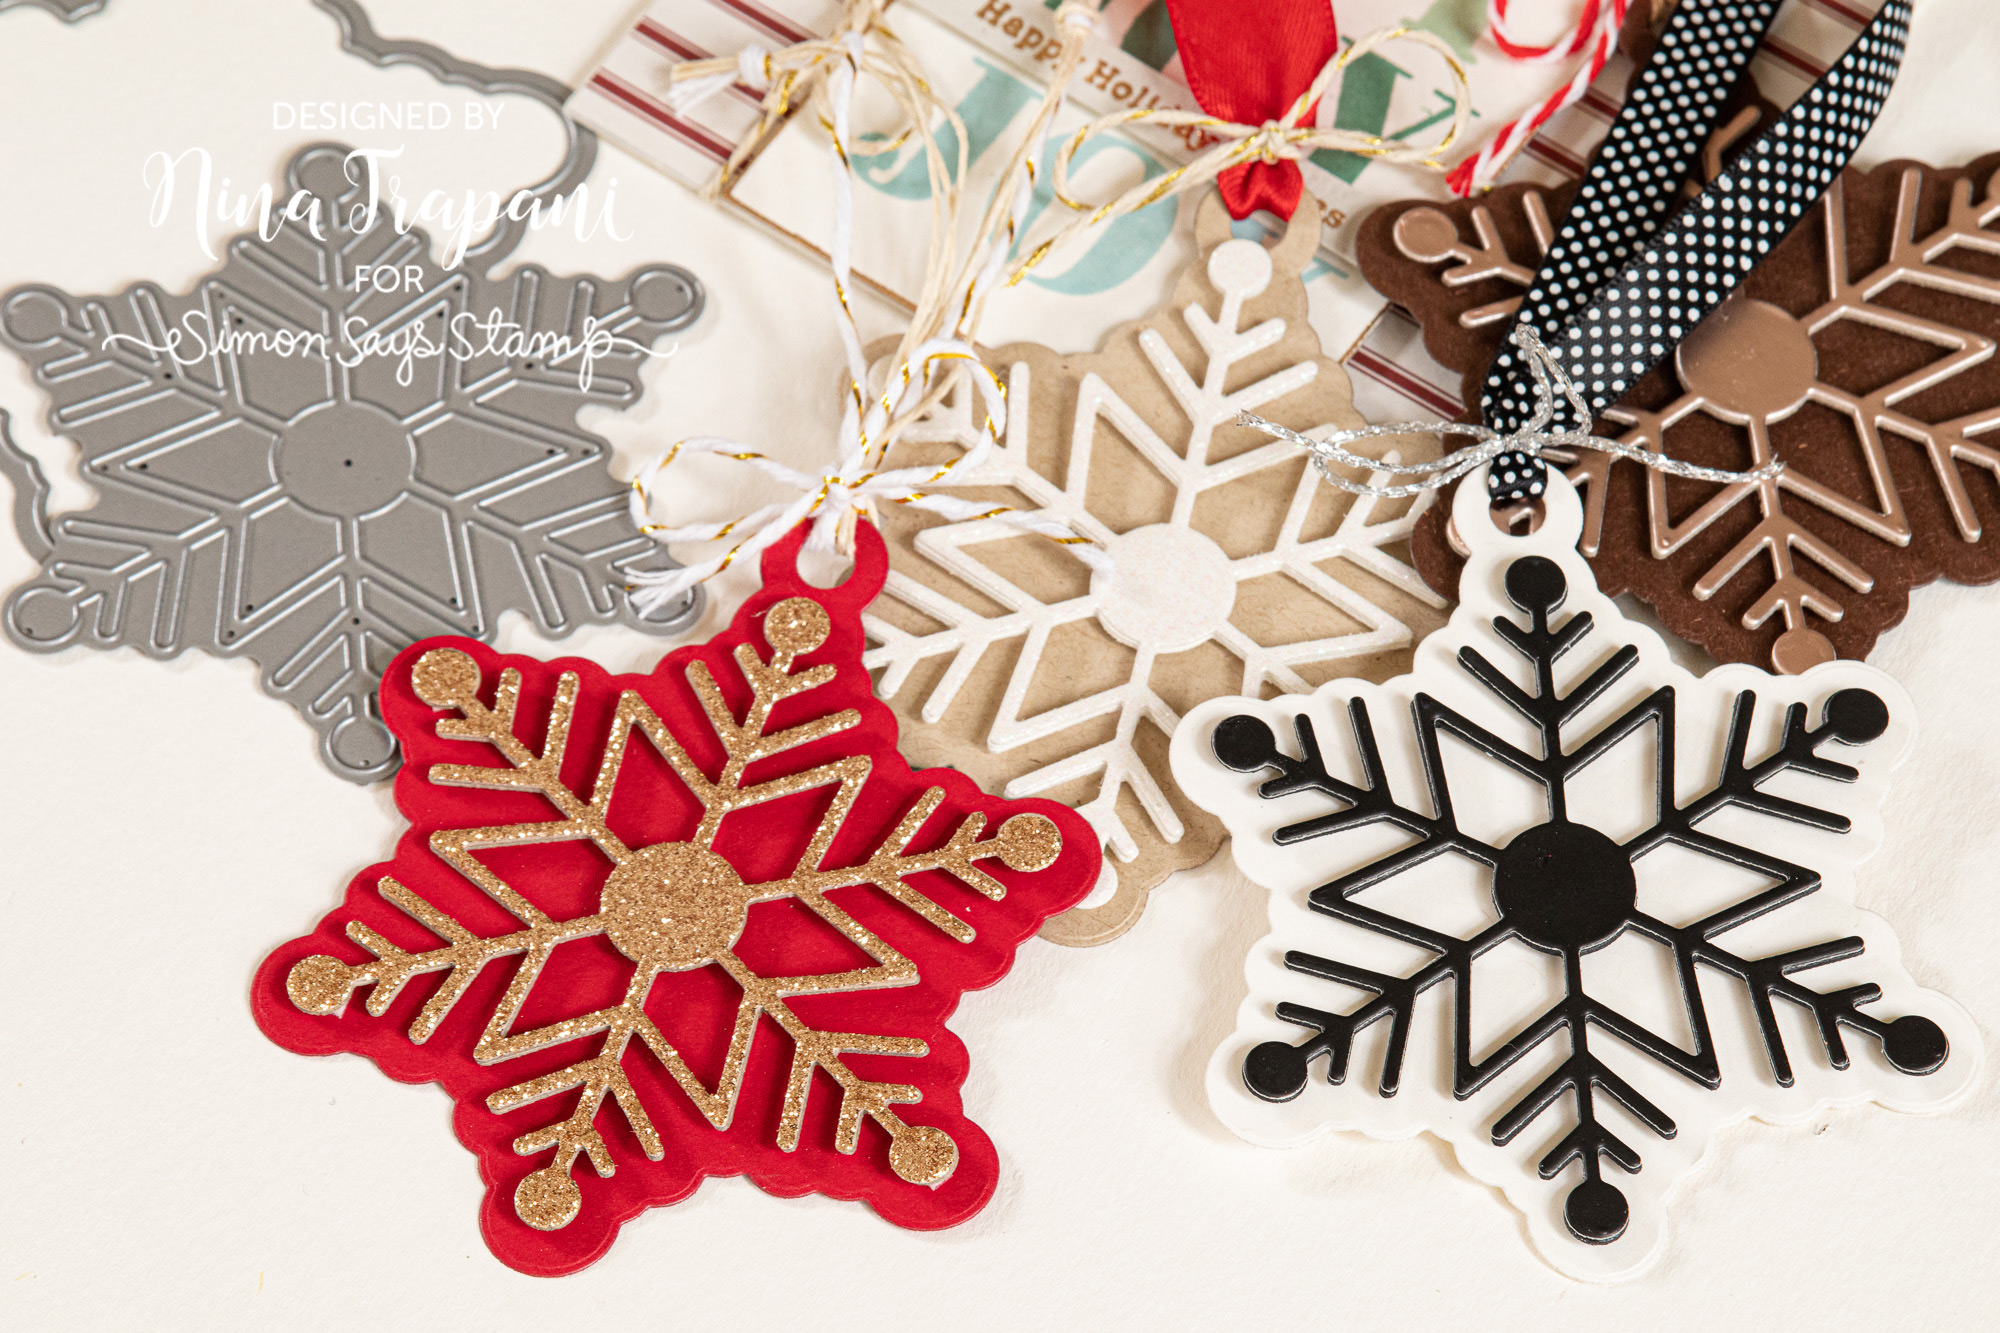
Finally, we cannot forget those presents underneath the tree! Often, tags for the gifts are one of the last things we think about making and to make it easy on ourselves, we like to go the more simpler route and find a tag die that does all the hard work for us! ;) Our Simon exclusive, Snowflake Tag die is one of those perfect tag sets that doesn’t need much to look gorgeous. Cut the tag from some pretty papers, tie on a pretty bow or length of twine and just write on the backside… voila! You could make multiples in minutes!
I hope this month’s edition of Did You Know was inspiring and helpful as you plan and prep for your Holiday crafting this season! Thanks for stopping by and spending some time with me today!
SUPPLIES
|


Blog Candy Alert!! Follow our blog via email and comment on this post for a chance to win special blog candy!
Studio Monday with Nina-Marie: Flocking with Die Cuts

Hello crafters, it’s Nina-Marie Trapani! Today I am bringing you some flocked die cut inspiration using the gorgeous, new Flock Sheets from Therm O Web!
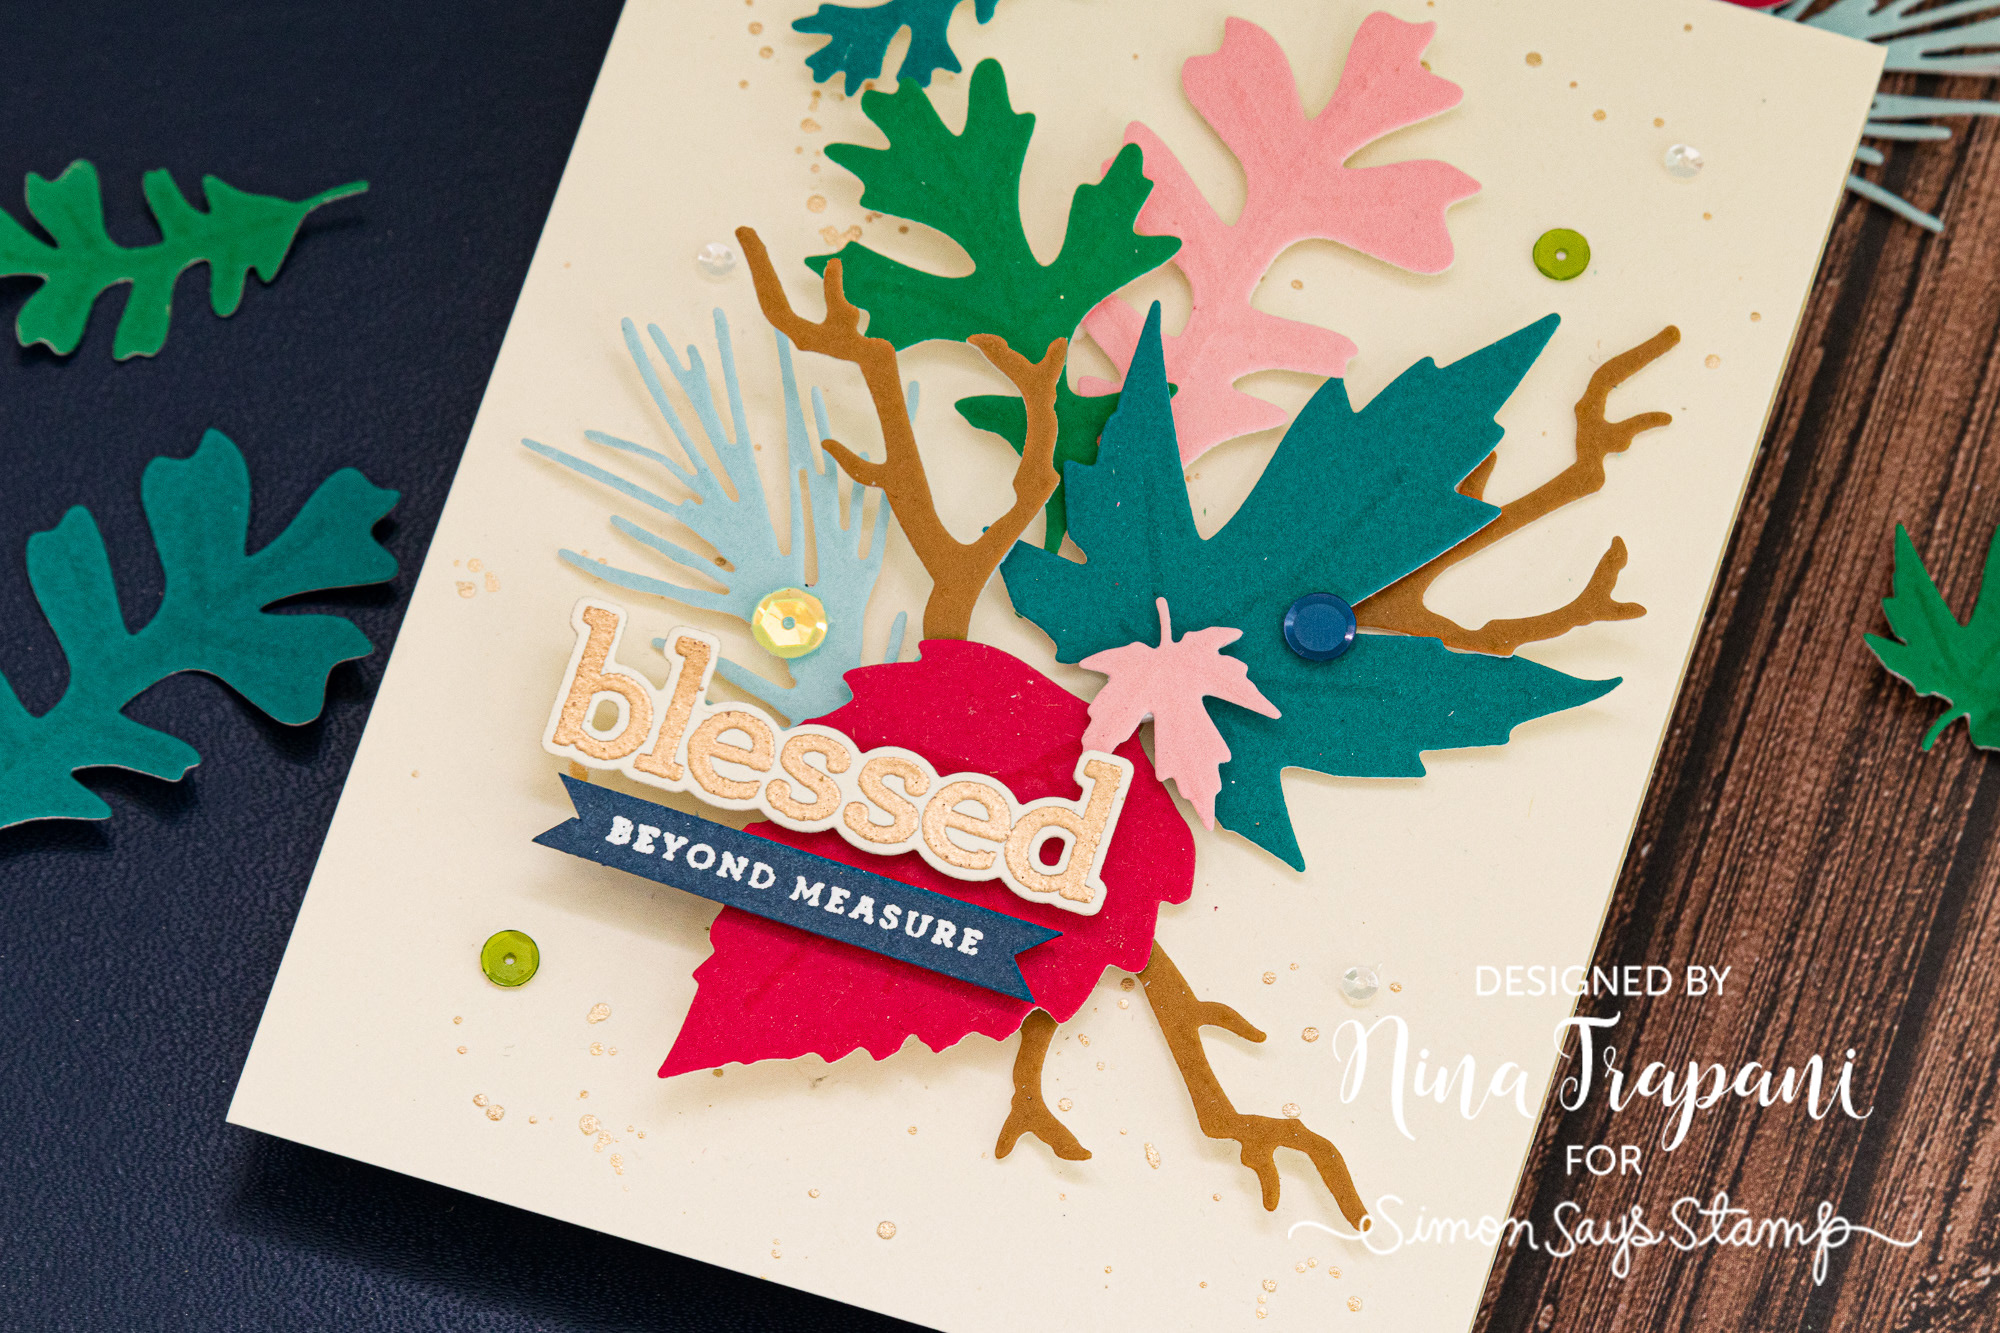
The soft texture of Flock Sheets creates such a unique look on your cards and I couldn’t wait to start die cutting them! The colors in this new release are very toned, which I thought would be so much fun to use as a trendy, Fall color palette.
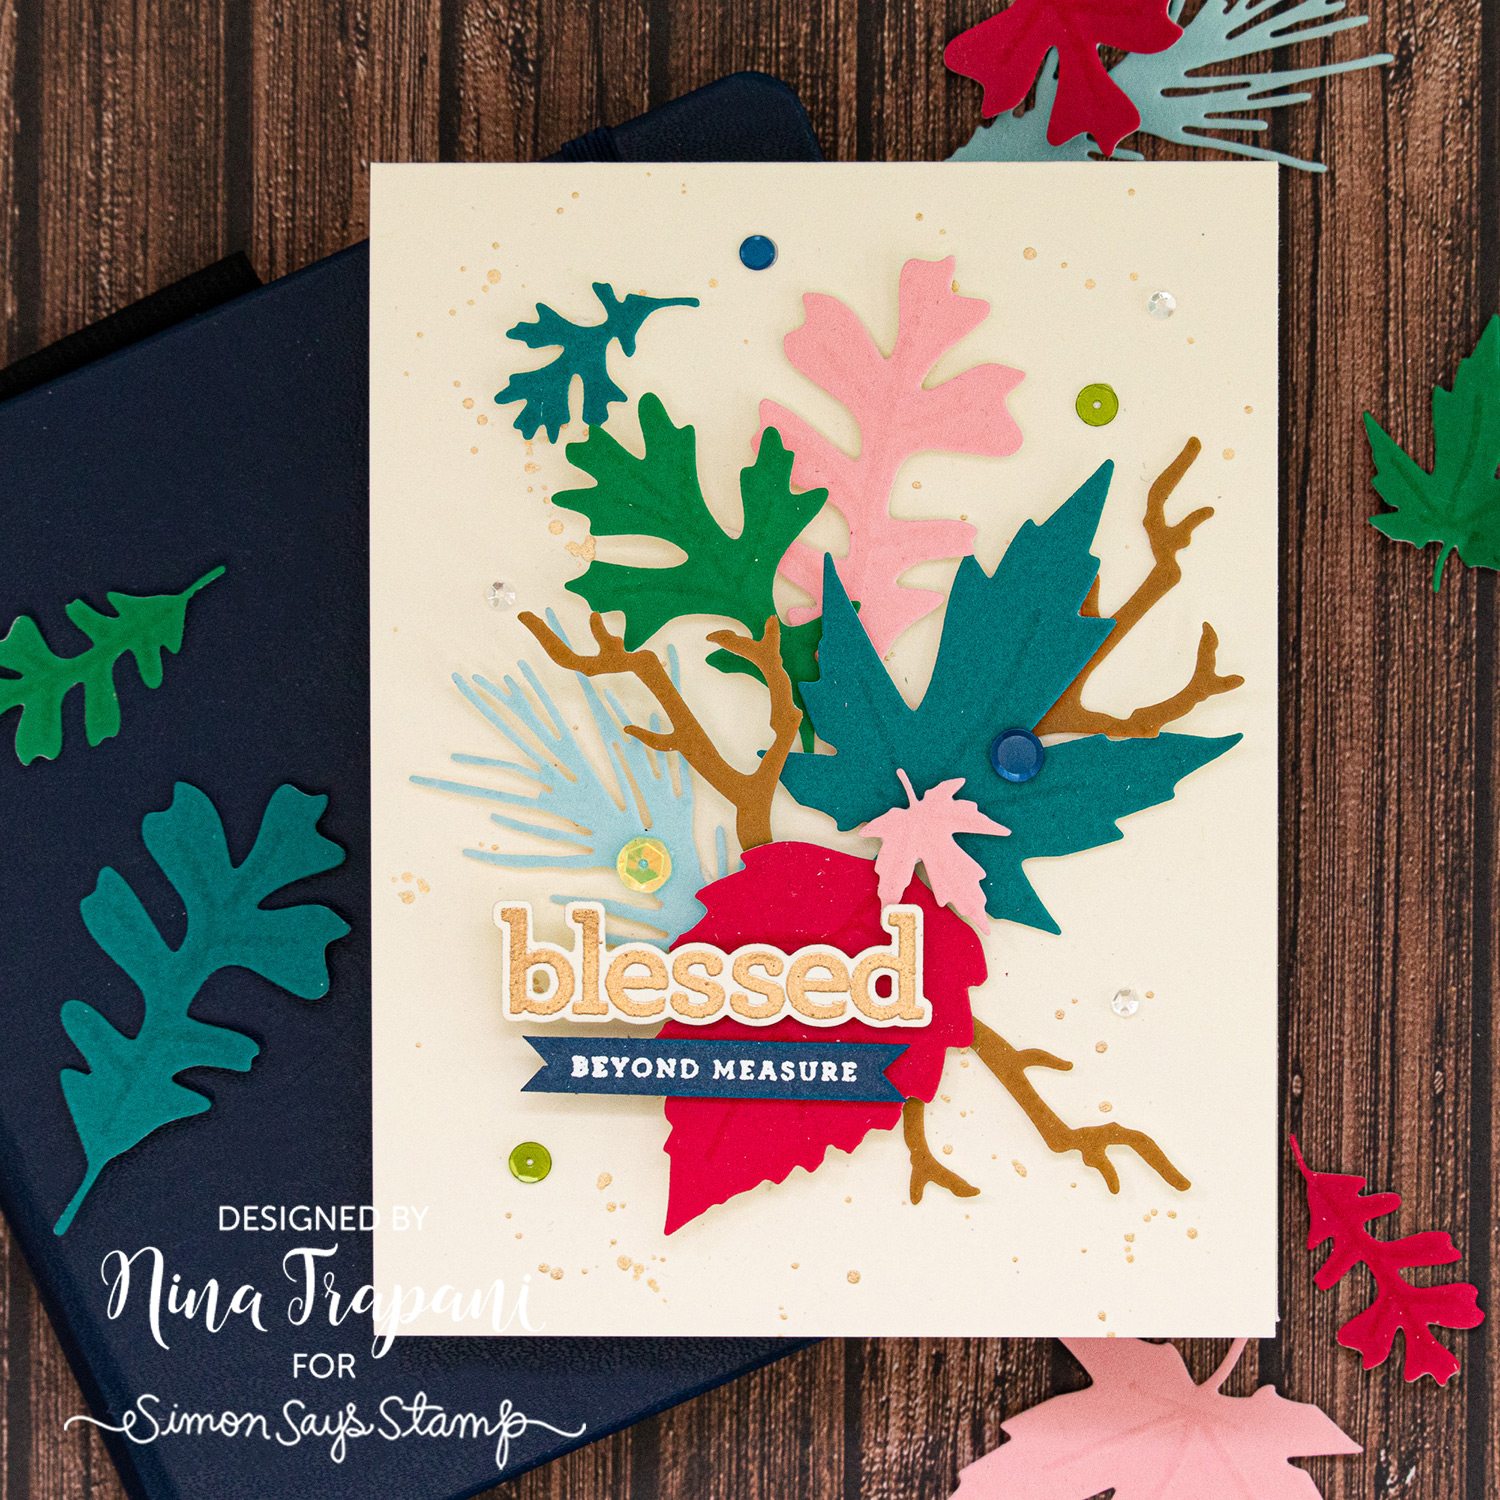
I paired the Flock with dies from Tim Holtz’s Fall Foliage leaf collection. If you have one of his other die collections – such as Funky Festive, Holiday Greens, Skeleton Leaves, or Funky Foliage – all of these would look spectacular cut from the Flock!
Before attaching the leaves, I splattered on some gold paint and I then added some fun sequins, and a sentiment from the CZ Design 2018 30 Days of Thankful stamp set.
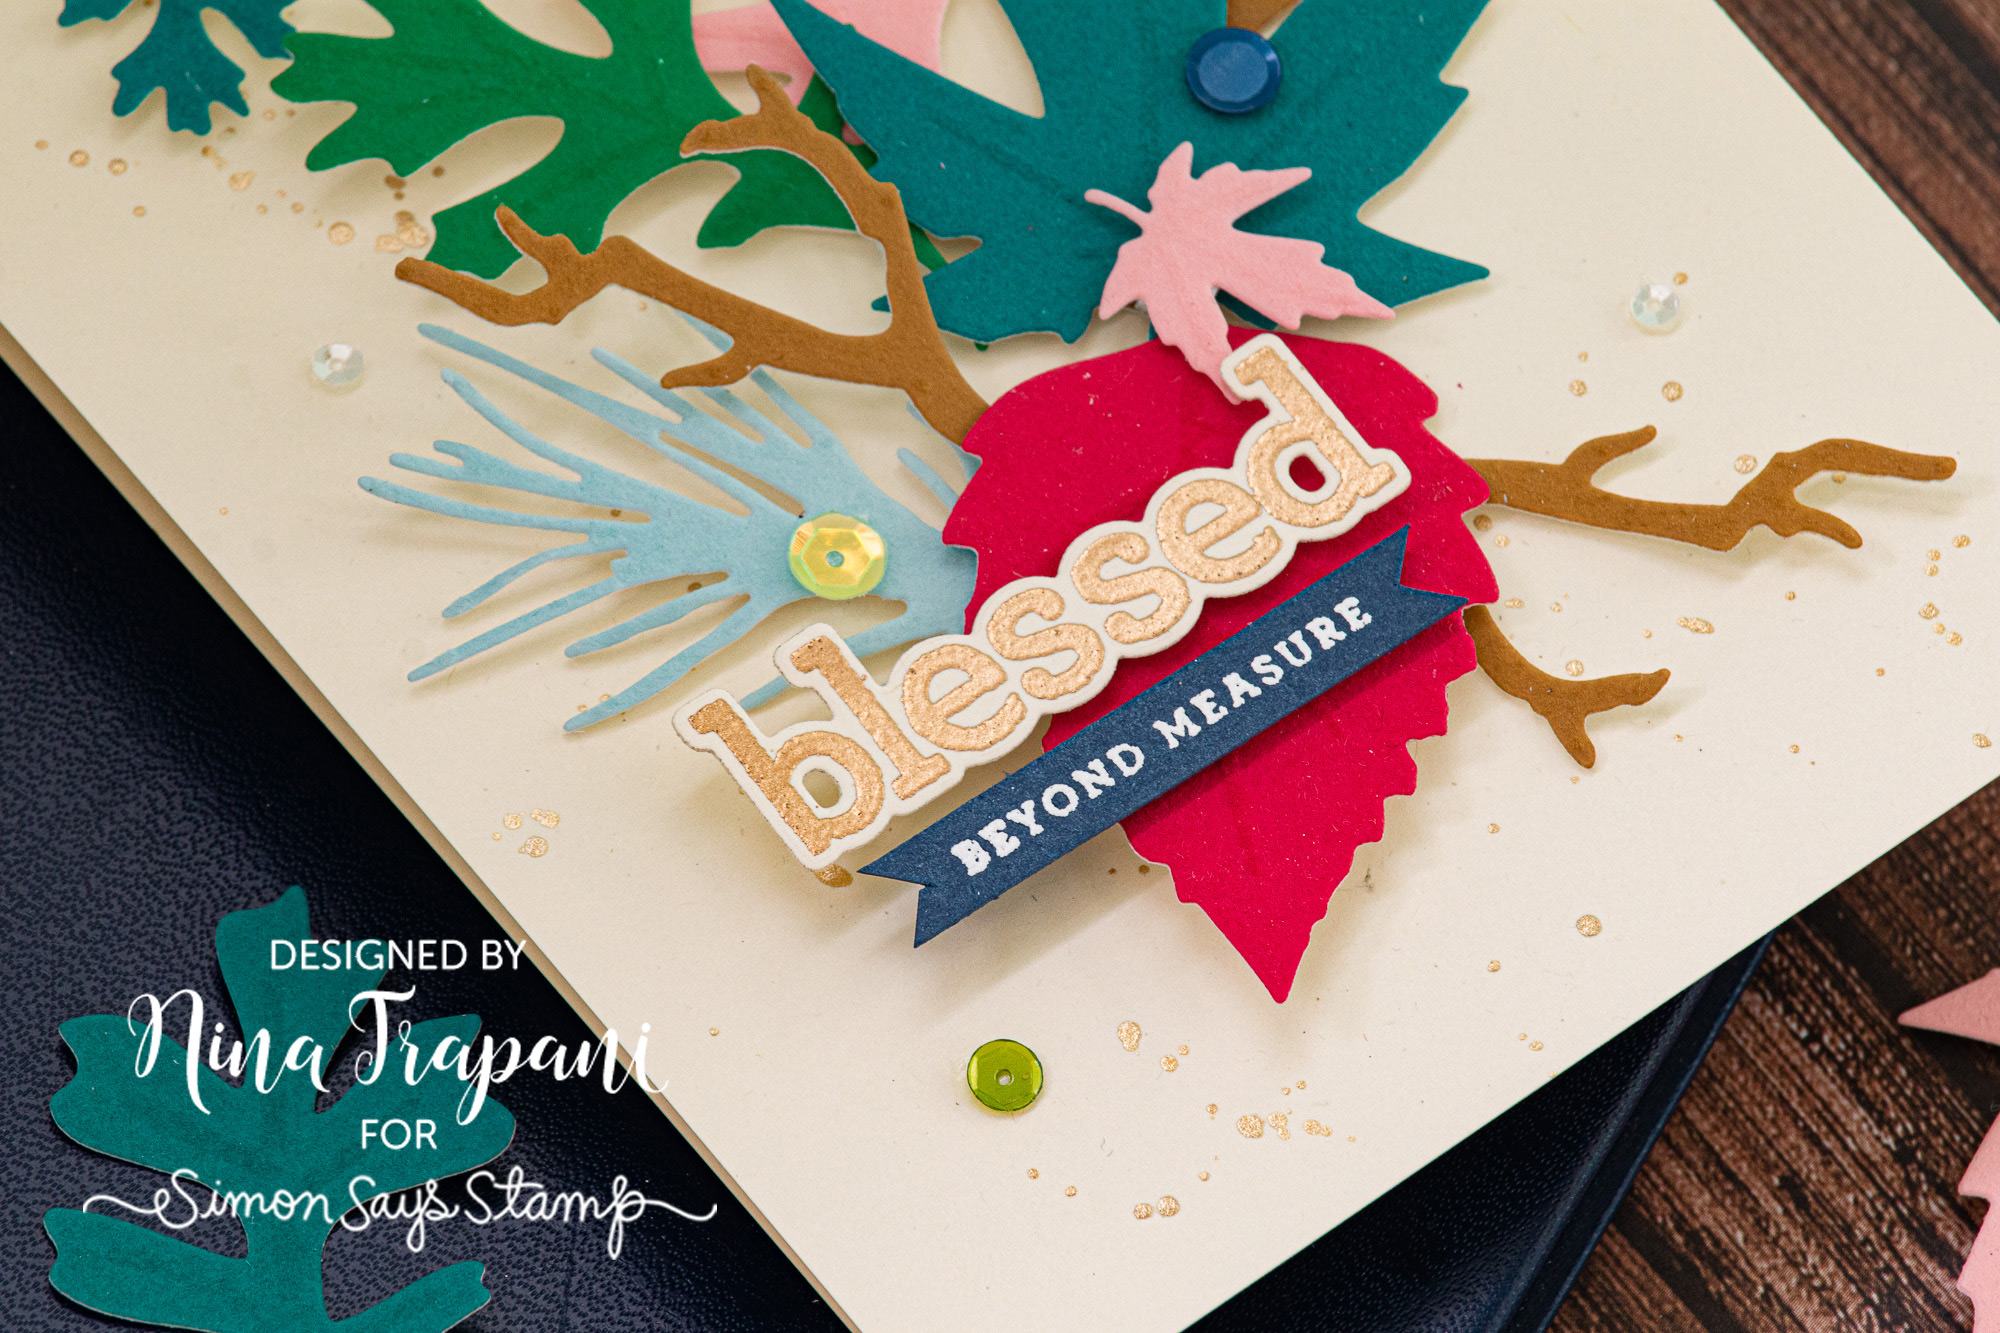
I love how these items paired together in this trendy, Fall card! I hope you will watch the video below to see how I made it and that it inspires you to try this technique for yourself!
WATCH THE VIDEO
SUPPLIES
|


Blog Candy Alert!! Follow our blog via email and comment on this post for a chance to win special blog candy!
Blog Candy Winners!
DIY: Paper Pumpkins with Shari Carroll: Juliette Steinbach!
May Your Holidays Be Sweet: Patt H.!
Amore Laurafadora: Thankful for You: Jen Petersen!
Yippee for Yana: Pinecone Background Autumn Card: Rebecca RamirezBarnes!
Ho Ho Deer Shaker Cards: NatQuebec!
Studio Monday with Nina-Marie: Doodlebug Halloween Envelope!: Lisa Byers!
Please email [email protected] with the name of the blog you won from, your prize(s), and your address if applicable!
DIY: Paper Pumpkins with Shari Carroll

Ready for some Fall table decorating? I’ve pulled together some common supplies to make Paper Pumpkins complete with flameless candles.
Nothing feels better to me than creating something substantial from paper. I’ve made two styles, the first being traditional Autumn and Thanksgiving colors using Neenah Desert Storm cardstock paired with Prima Falling Leaves Flowers.
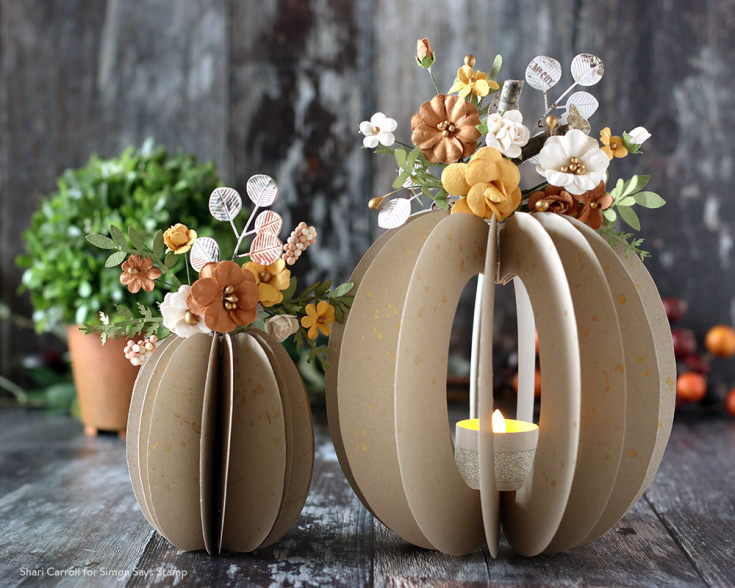
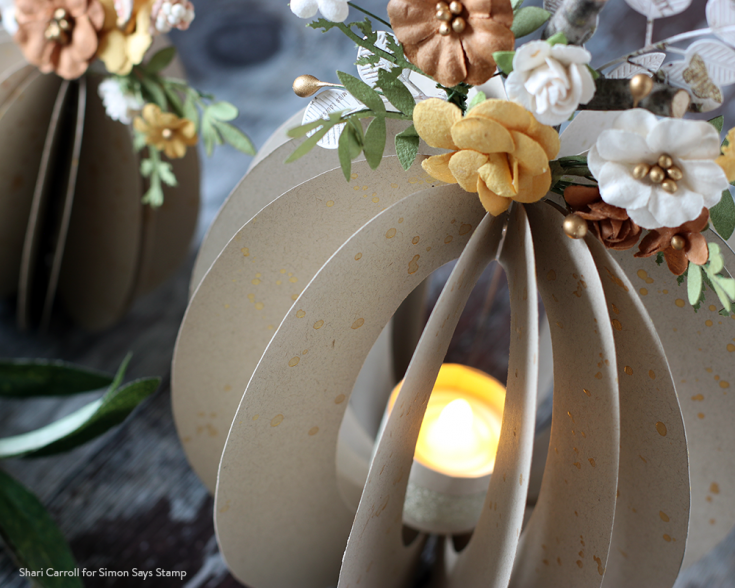
As part of the template, I’ve created a flat place inside to hold a flameless candle. The small pumpkins shown are leftover pieces from cutting out the large pumpkin, it’s a two for one!!!
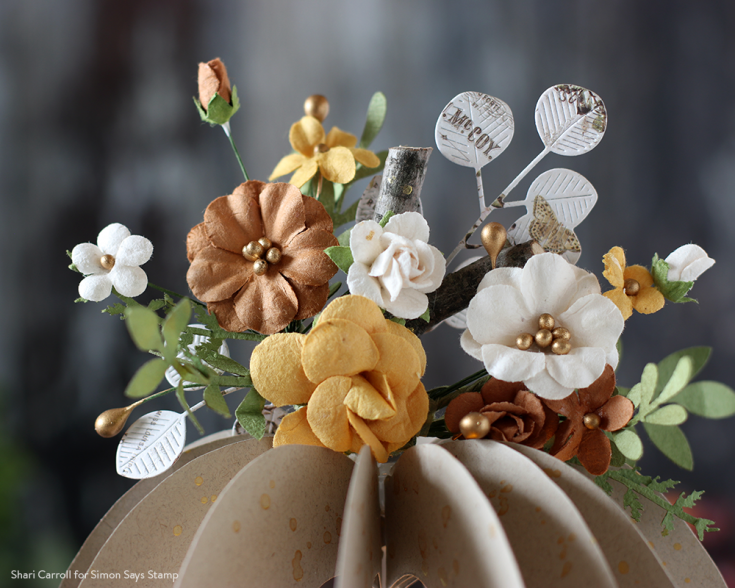
The Prima Falling Leaves flowers are one-piece, really easy to glue in place. All you need to do is fluff them up!! Oh, and there are two pieces in the package.
The next set is using the Tim Holtz Paper Stash Abandoned. Oh my, this paper is GORGEOUS!! The best part about it is that each “page” of the pumpkin is different.
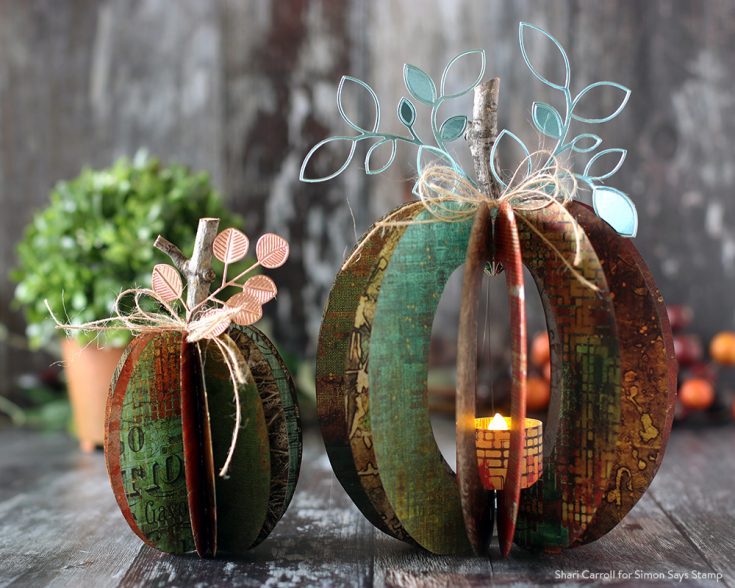
There is a rustic and homespun feel to this set but with a splash of shine!
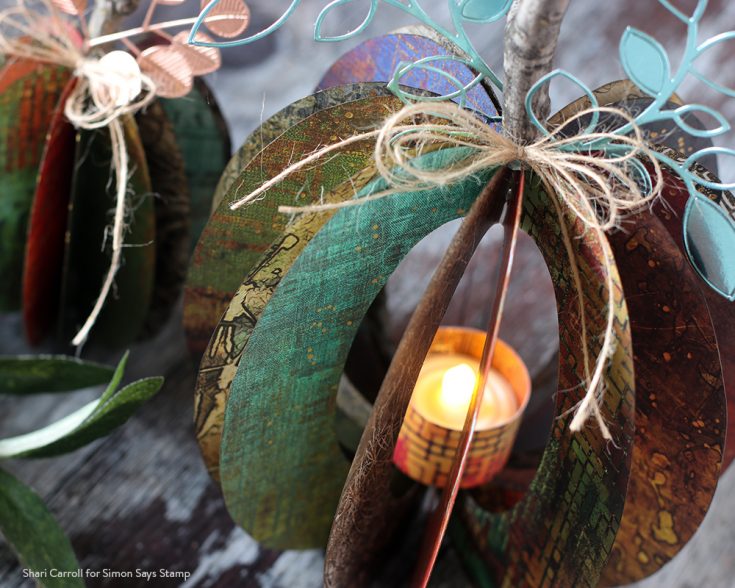
To create the stems, I went out back and cut up some branches that had fallen from my trees. I used the Simon Says Stamp Outline Clustered Leaves die with some Tim Holtz Metallic Kraft cardstock to finish this one.

Are you interested in making your own? HERE is the downloadable template for you to use. I can’t wait to see what you make!!
Blog Candy Alert!! Follow our blog via email and comment on this post for a chance to win special blog candy!
|


