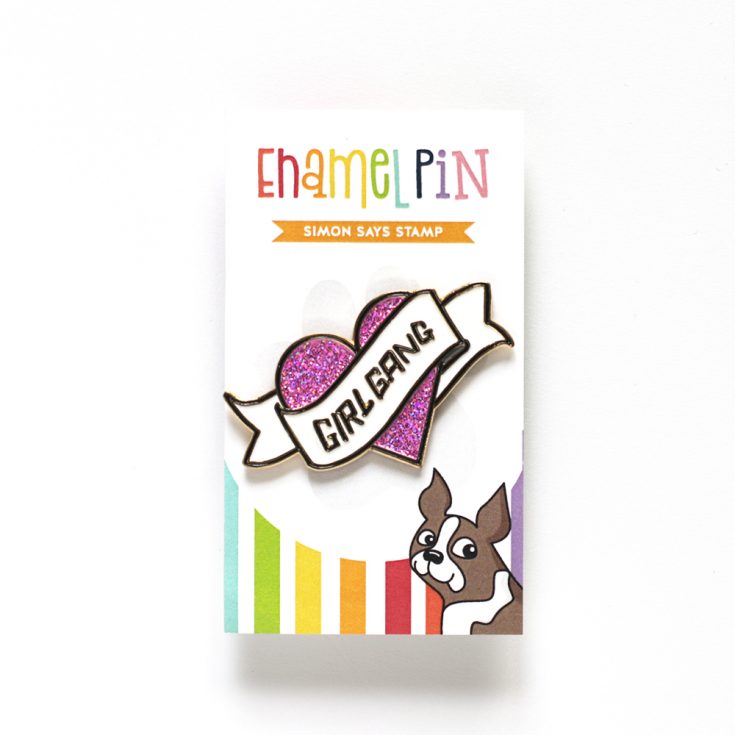
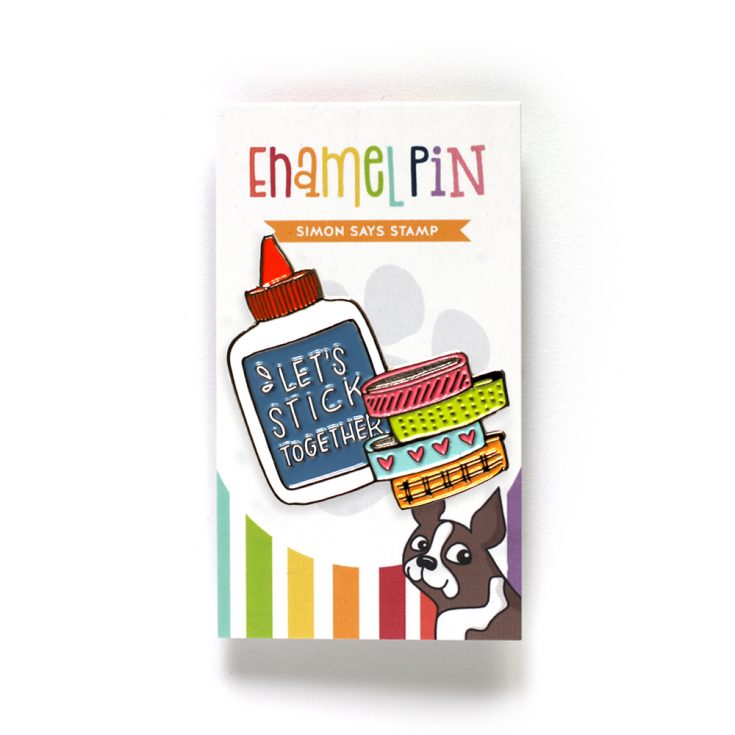
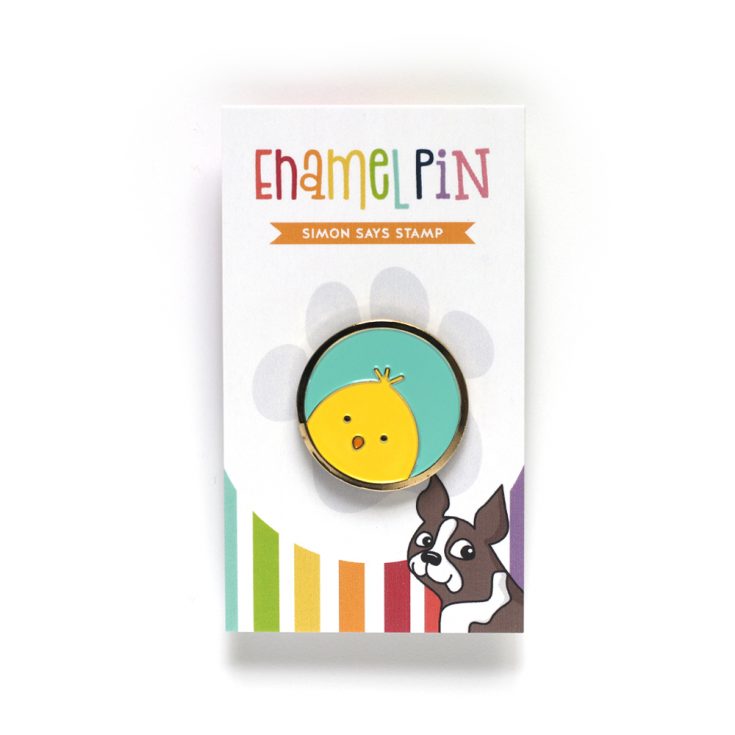
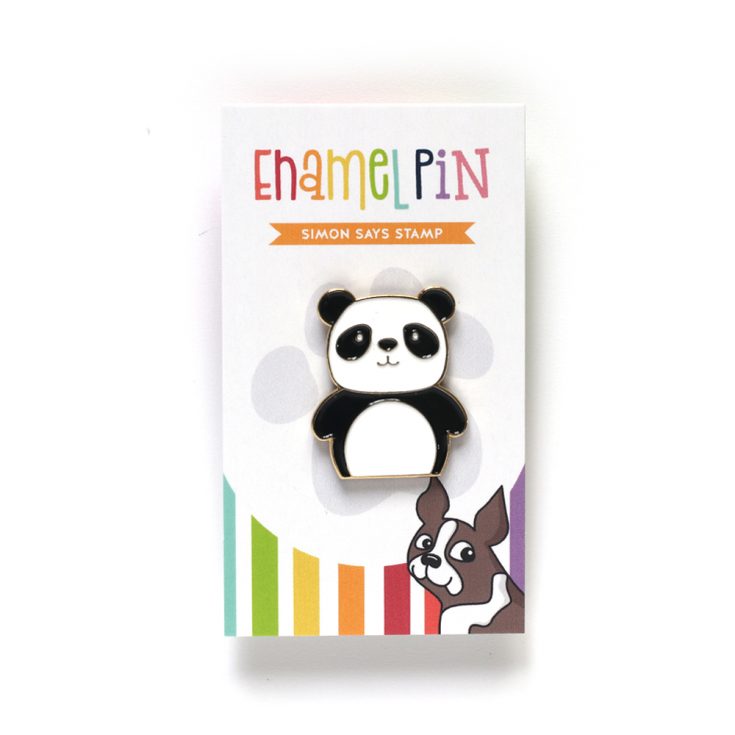
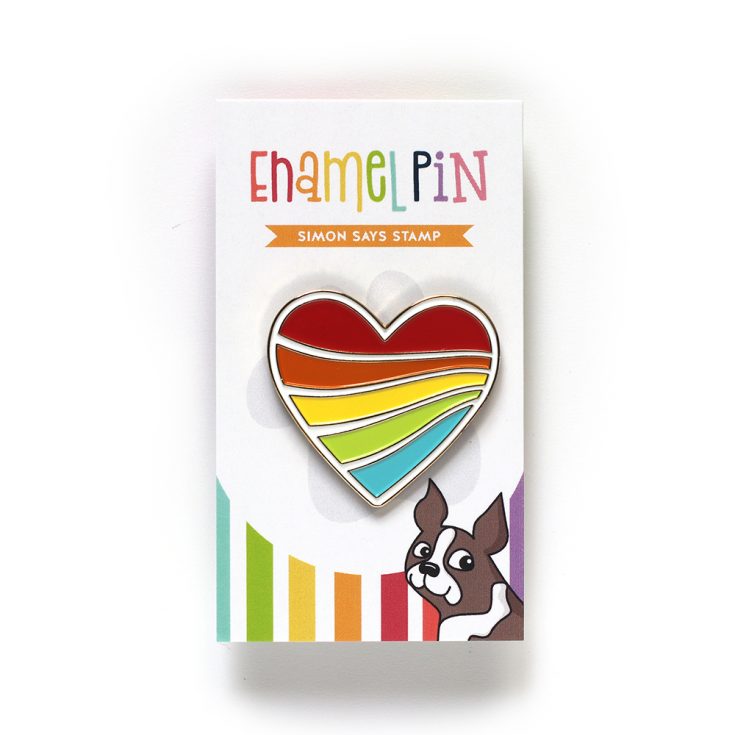
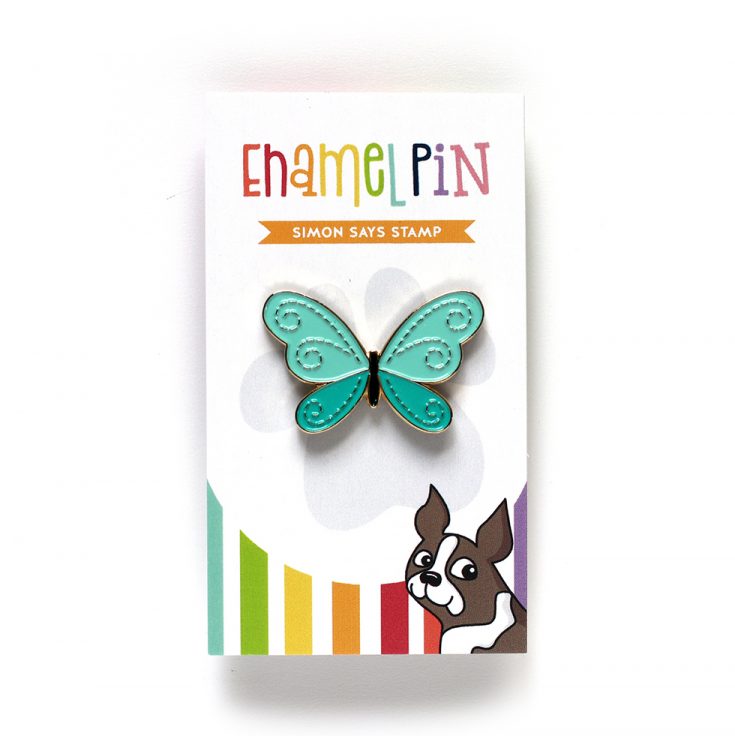
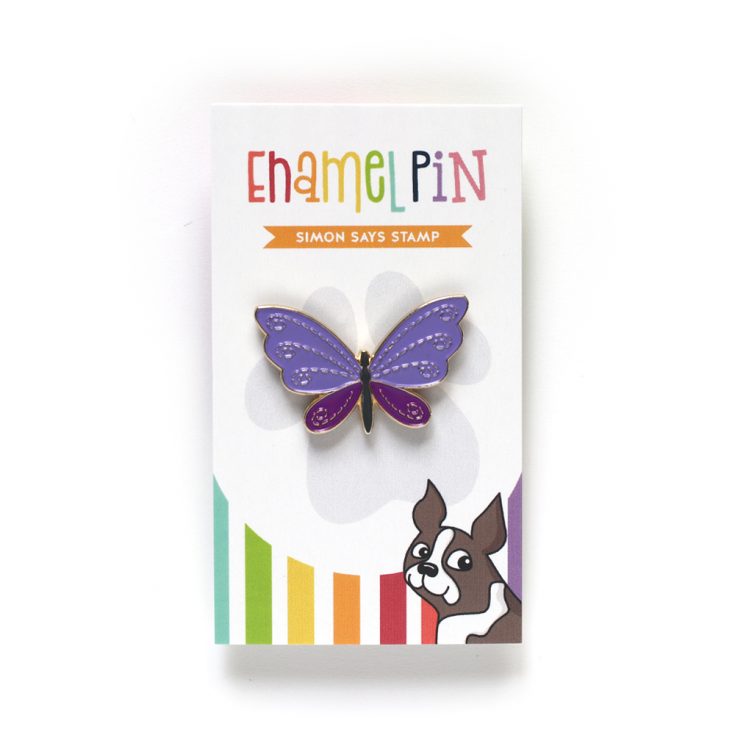
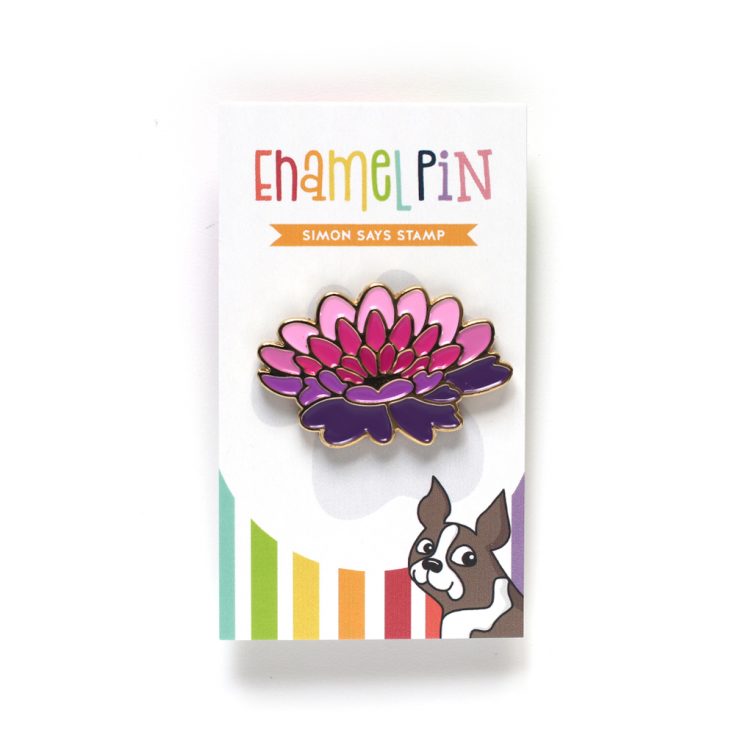
An EXCLUSIVE Enamel Pin Collection to LOVE!
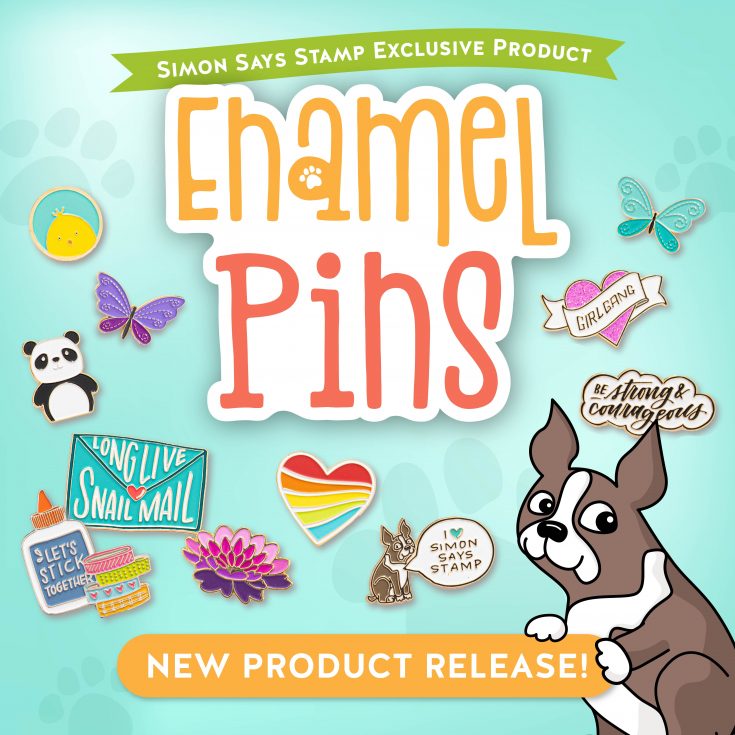
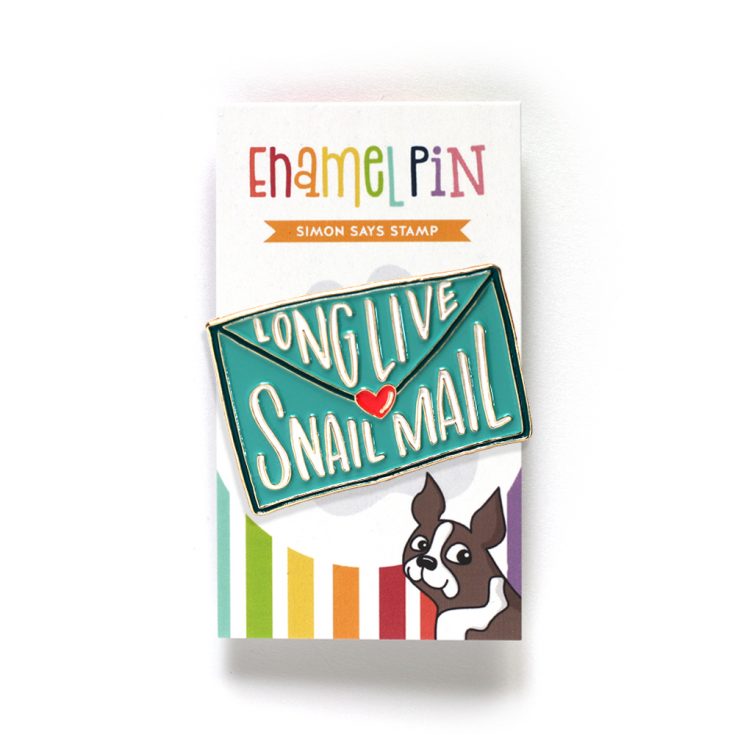
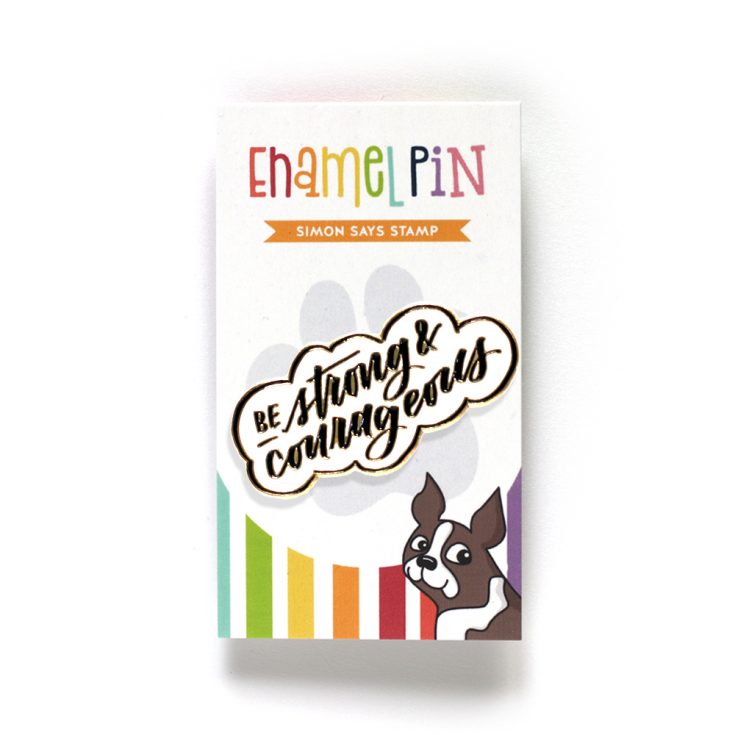
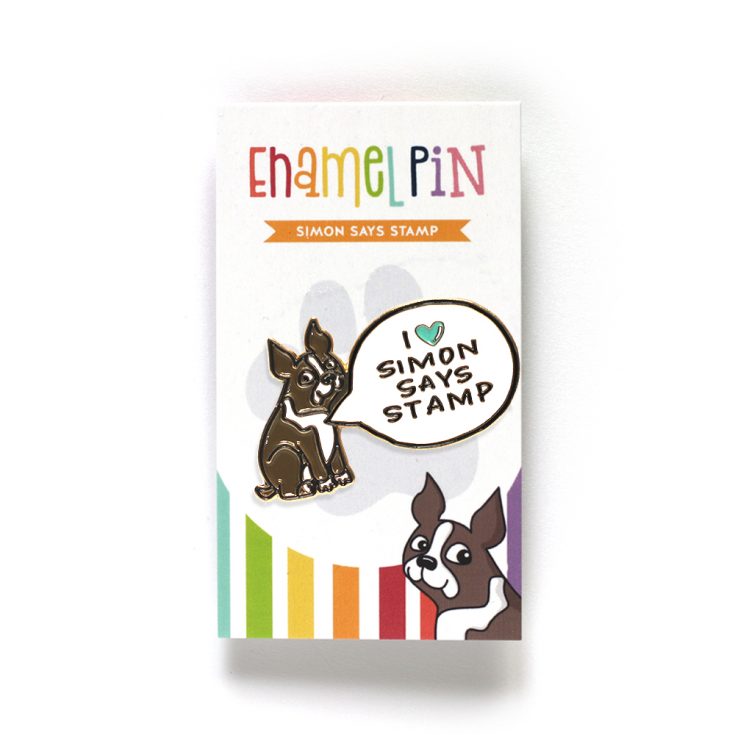
Hi friends! Exciting news! We are thrilled to release our first 11 exclusive Simon Says Stamp branded enamel pins! Give ’em a peruse and see if one sings to you! We have many enamel pin collectors in our office. Some like to keep them on a corkboard, some on their book bag, and I personally have been keeping mine on my jean jacket pockets! How do you display your collections? We hope you love our new selection! :D
Thanks for stopping by the blog today! We’d love to know your favorite pin!

Comment on this post for a chance to win blog candy!
Watercoloring with Karin Brushmarker Pro Markers
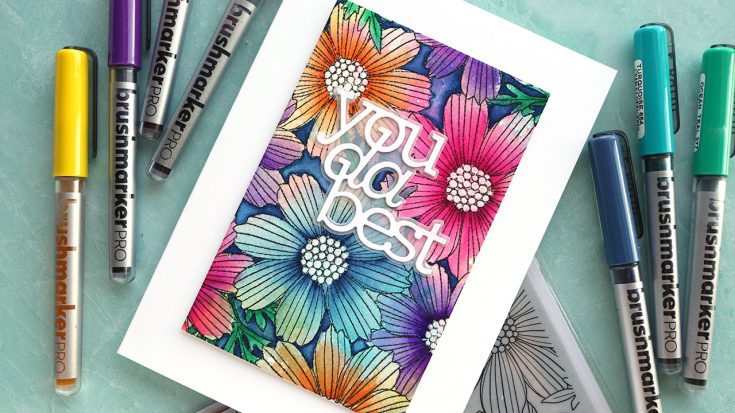
Hello, all! Kristina Werner here. You might have noticed some new markers in the Simon store recently. Brushmarker PRO markers from Karin are dye-based liquid ink markers and work beautifully for watercolor! Today I’m sharing with you a card made using various colors of markers and the new Cosmos Bloom Background stamp.

I used two techniques for watercoloring with the Karin Markers. First, I scribbled three different colors on a slick surface, sprayed the ink with water to liquify it more, and then smooshed the watercolor paper into the ink. The colors mixed and melded and created a beautiful, organic background.
For the second technique, I took the markers and colored directly onto the watercolor paper. Then I spread the ink with a water brush. The ink spread out so easily and seamlessly! Practically effortless.
I finished off the card by cutting the watercolor panel with an A7 Layers die from Waffle Flower, and diecut a greeting from CZ Design’s You Da Best die set.
Thanks for stopping by today! You can check out all of the Karin Markers in the Simon store HERE.
Supplies
|


Yippee for Yana: One Layer Masked Floral Card
Hi friends! Happy Wednesday and welcome to another edition of our bi-monthly blog series, Yippee for Yana, featuring fresh projects from the fabulous Yana Smakula! Read on and be sure to catch the video! Enjoy!

Hello and welcome back for another Yippee For Yana video! In this episode, I will show you how to create a modern one-layer greeting card using a background stamp and an easy masking technique.
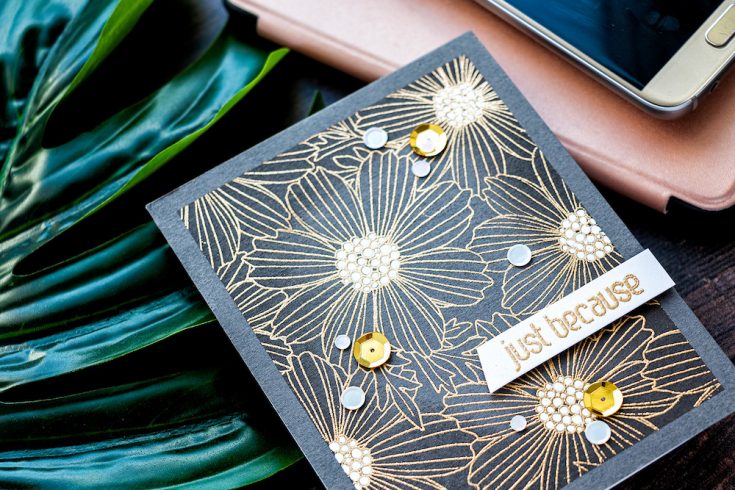
I started with a piece of cardstock, Slate, cut to 4 1/4 x 5 1/2″. Next, I masked 1/4” off on each side using low tack tape and placed it inside my MISTI tool. The tape actually does double duty here – it not only does it mask the edges but also holds the paper in place inside the MISTI. I heat embossed a Cosmos Blooms background, it’s a new 6×6 cling stamp from Simon. It is a beautiful one for coloring, you have nice large flowers, but it’s also a great one to do these simple heat embossed cards. I am all for simple and quick so this background is simply perfect for the idea I have in mind.
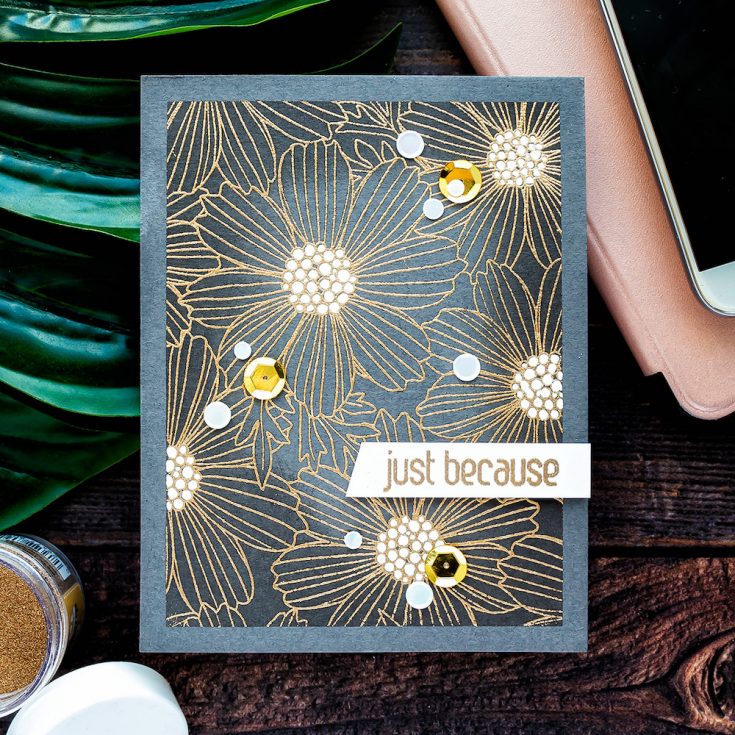
I used Antique Gold embossing powder here. Next, with the masking tape still in place, I ink blended the edges with Sparrow ink. This helped the embossing powder pop even more and it also helped to frame the design. Next, I peeled the tape and adhered this panel onto the A2 white side folding card base.

To create a sentiment I heat embossed “Just Because” from Simon’s new Greetings Mix 1 set in same Antique Gold embossing powder, but on white cardstock this time. Finally, I am used a white Sakura pen to color the flower centers white. I debated doing this, I am always afraid to mess up my cards like this, but I figured why not give it a try. I colored one of the flower centers, I liked it and so I colored the rest. I also used sequins to decorate this card – a few from the Raindrops set and a couple from the Gala set.
SUPPLIES:
|


Thanks so much for stopping by and thanks to Yana for being our guest!
Blog Candy Alert!! Follow our blog via email and comment on this post for a chance to win special blog candy!


