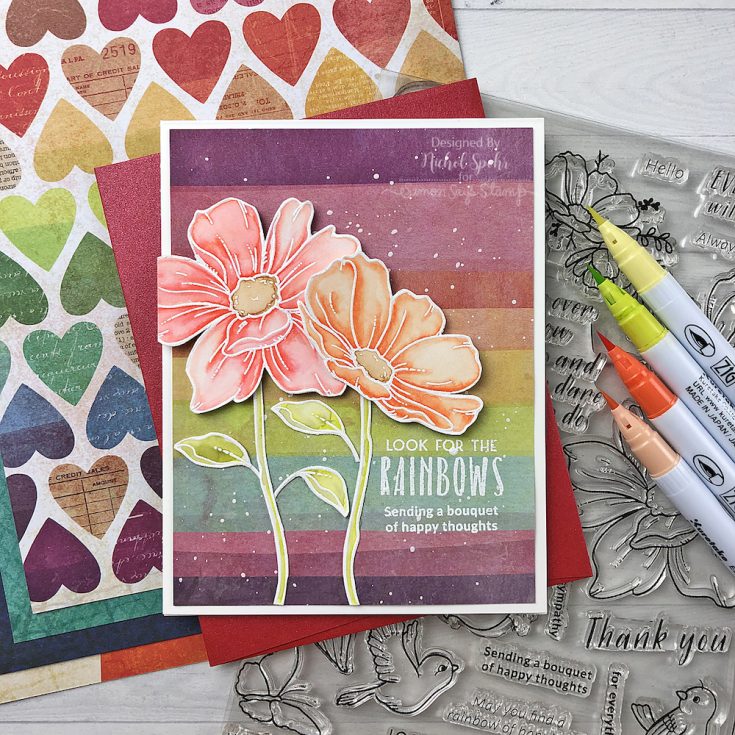
Look for the Rainbows Flowers
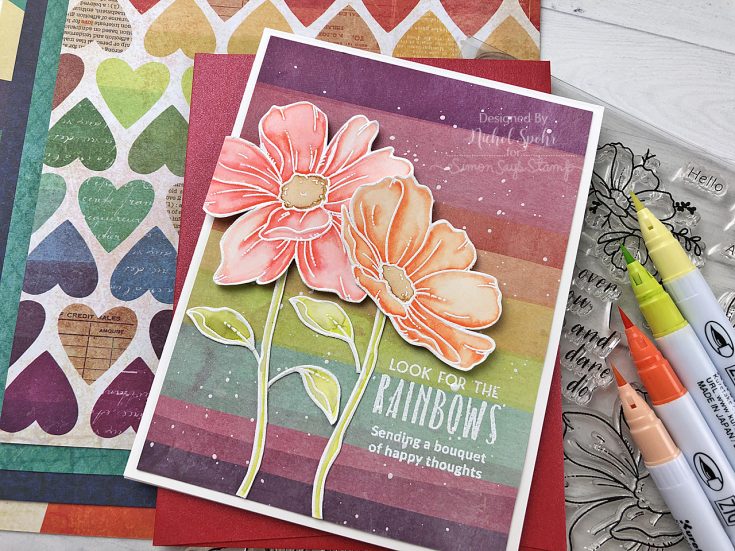
Hi friends! Happy Wednesday! Please join me in welcoming back special guest Nichol Spohr as our special monthly guest to give us some fresh and awesome ideas on ways to use our monthly card kit! This month, she’s spotlighting our September 2019, Look for the Rainbows card kit with this beautiful floral card! Be sure to watch the video for more information, and enjoy!
WATCH THE VIDEO:
SUPPLIES:
|


Thanks so much for stopping by and thanks to Nichol for being our guest!

Blog Candy Alert!! Follow our blog via email and comment on this post for a chance to win special blog candy!
Yippee for Yana: Faceted Stencil
Hi friends! Happy Tuesday! Please join me in

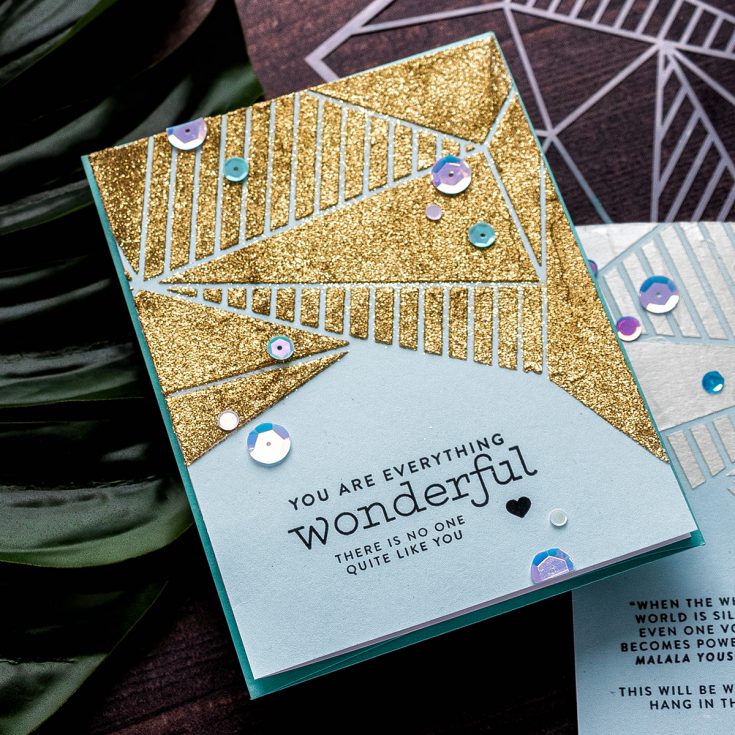
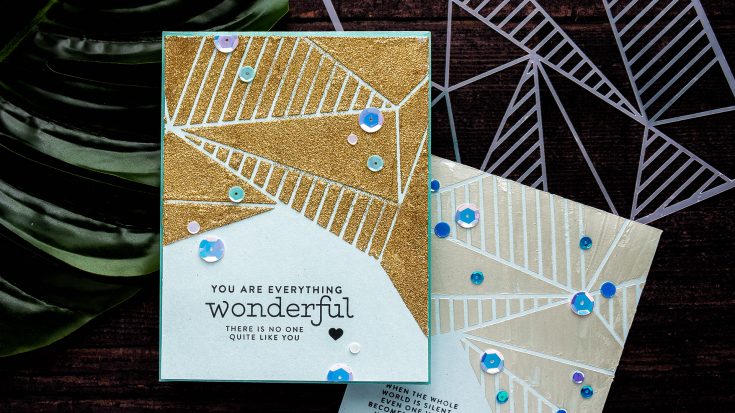
Hello and welcome back for another Yippee For Yana video! In this episode, I will show you how to create a modern one-layer greeting card using Simon’s new Faceted Stripes Stencil.
I started with a piece of sea glass cardstock cut to 4 1/4 x 5 1/2” to make the front of my card. I attached the stencil over it masking a part of it. I wanted to use the upper portion of the stencil and reserve the bottom portion of the panel for a pretty sentiment. I used washi tape from my stash to attach and mask stencil.
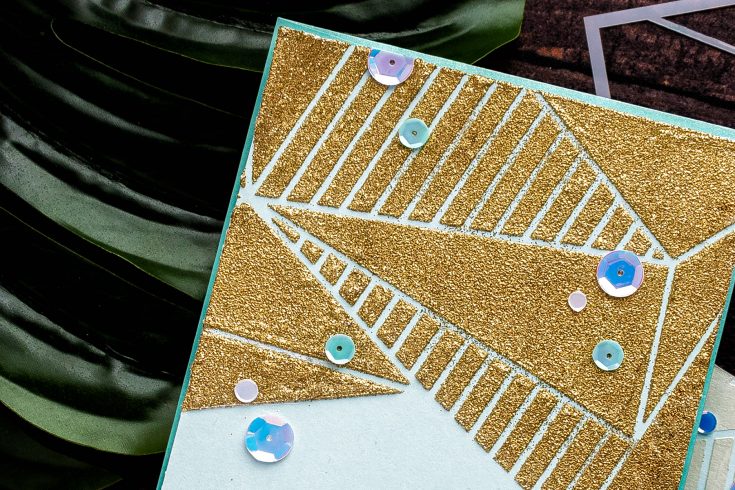
Once you’ve masked off the areas you want to preserve it’s time to apply the product over the stencil to create a background. Truth be told there are so many different products on the market these days – you can create any sort of background you can possibly imagine. I am going with a rather simple and basic look here and using Modeling paste as a base and glitter embossing powder as a topcoat.
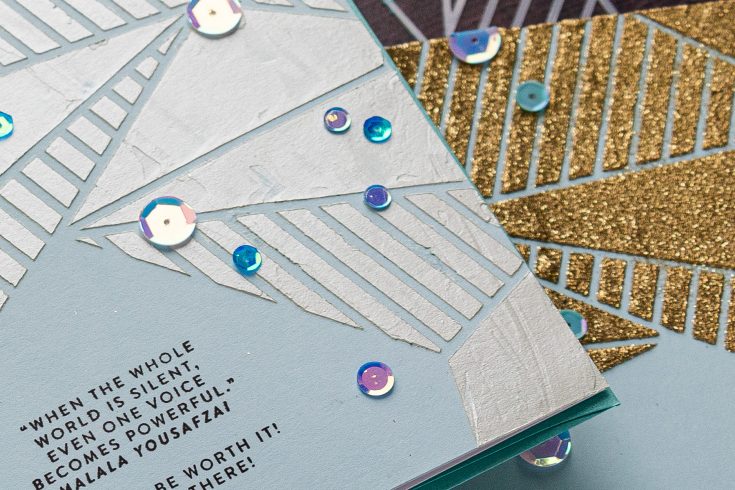
First I applied a generous amount of Modeling paste in white from the Crafters Workshop – I love this product, it is a pleasure to work with when combined with stencils. Next, I carefully removed the stencil (and washed it immediately).
To add the glitter topcoat I used Hero Arts Gold Glitter embossing powder. This is a wonderful product – think gorgeous gold embossing powder and lots of pretty gold glitter added to the mix.
The powder sticks nicely to the wet paste and you don’t even need to use embossing ink here. The next step is to heat set the design.
Often it’s best to wait for the paste to dry on its own as it can bubble up, this paste seems to react okay to the heat. If you use a different product and don’t want it to bubble up, set your background aside to dry naturally and then, once the paste, is dry use your heat tool to melt the powder.
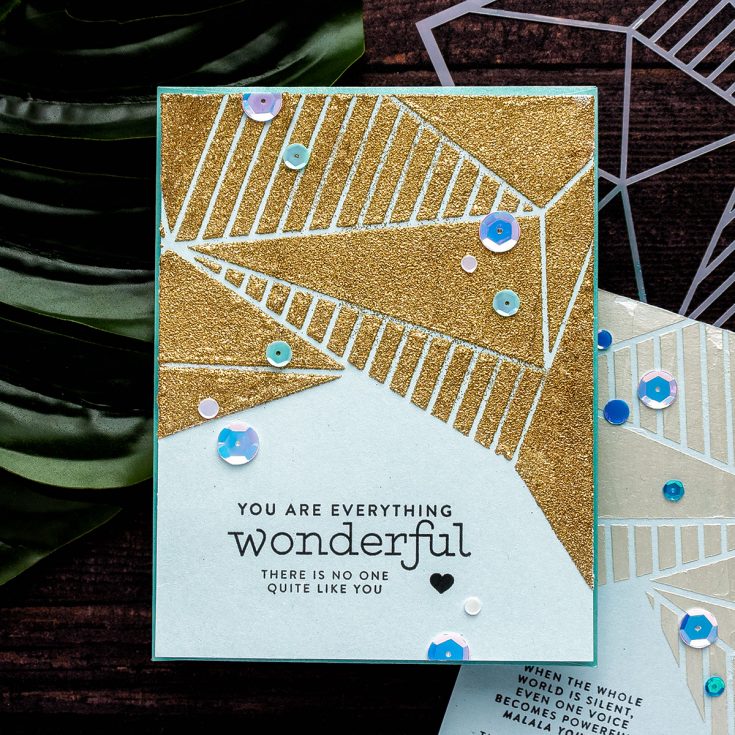
With the background done we need to add a sentiment. For this, I combined messages from Greetings Mix 1 and Tiny Words Encouragement sets to create a sentiment that reads: “You Are Everything Wonderful. There’s no one quite like you”. I stamped both plus a little heart in black ink.
After adhering this panel to A2 white side folding card base I added sequins from the Star Spangled set to decorate the card.
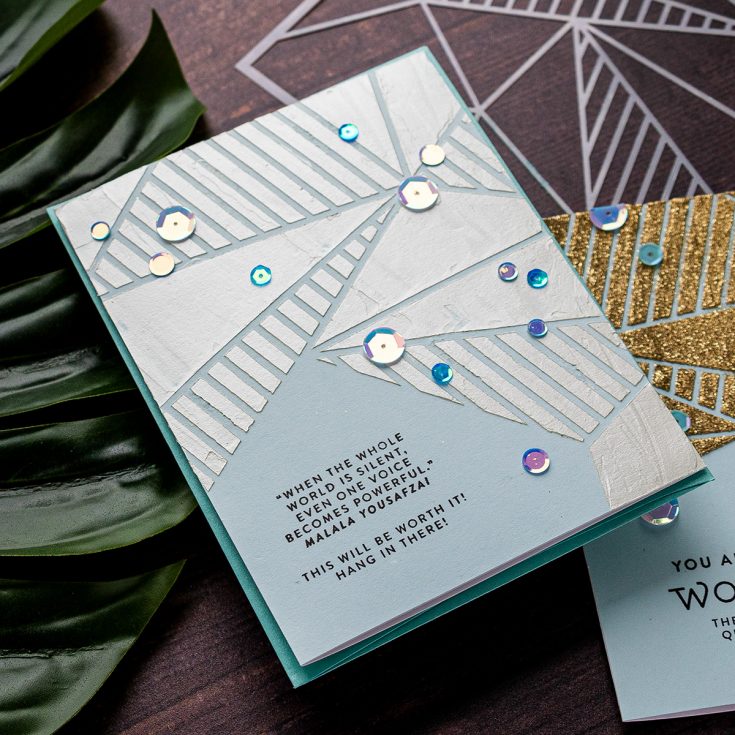
Here’s another take on the same idea but using a different product to make a background – this was done using Tonic Studios Nuvo Mousse in Honeydew color.
I hope you will give this idea a try. If you do make a card inspired by this video, we’d love it if you shared your project and tagged us on social media – we love seeing what you make!
Have fun stamping!
SUPPLIES:
|


Thanks so much for stopping by, and thanks to Yana for being our guest!
Blog Candy Alert!! Follow our blog via email and comment on this post for a chance to win special blog candy!
Studio Monday with Nina-Marie: 3 Ways to Display Enamel Pins

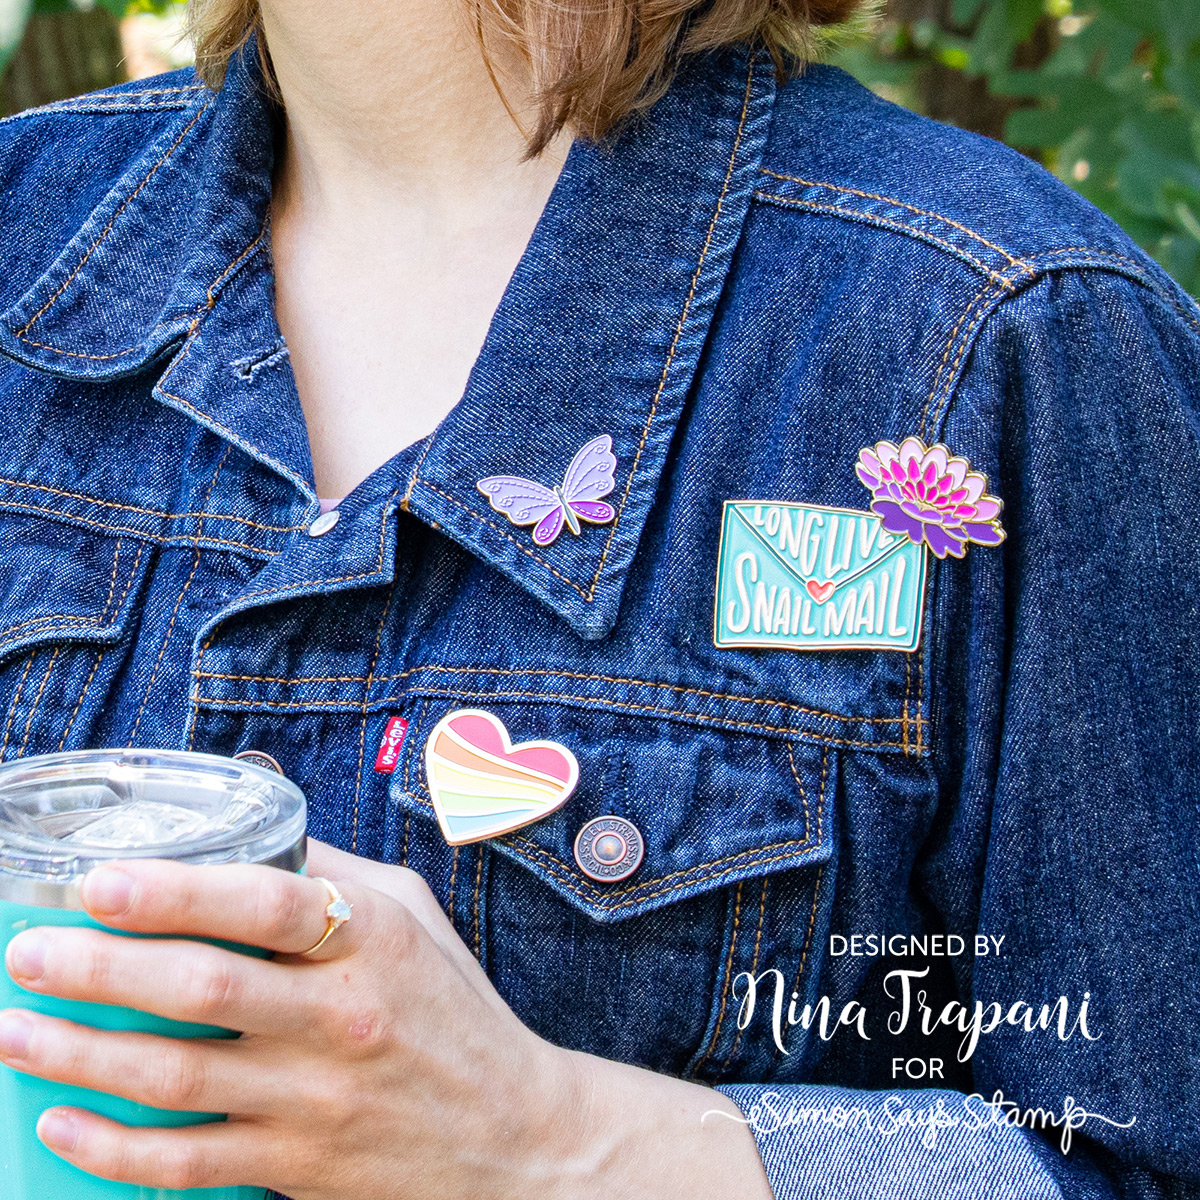
Hello crafters, it’s Nina-Marie here with you, sharing 3 unique ways to display your enamel pins! Enamel pins are extremely popular these days and you may be wondering how to use them. Did you know we recently released a series of our very own, Simon brand pins?! Check them all out here!
If you love to wear pins, they look great on a jacket; it’s like wearing your creativity on your sleeve, so to speak! ;) Wear one to coordinate with your outfit, or more for a true statement! My favorite denim jacket is a great place to wear them for a fun, crafty accessory.
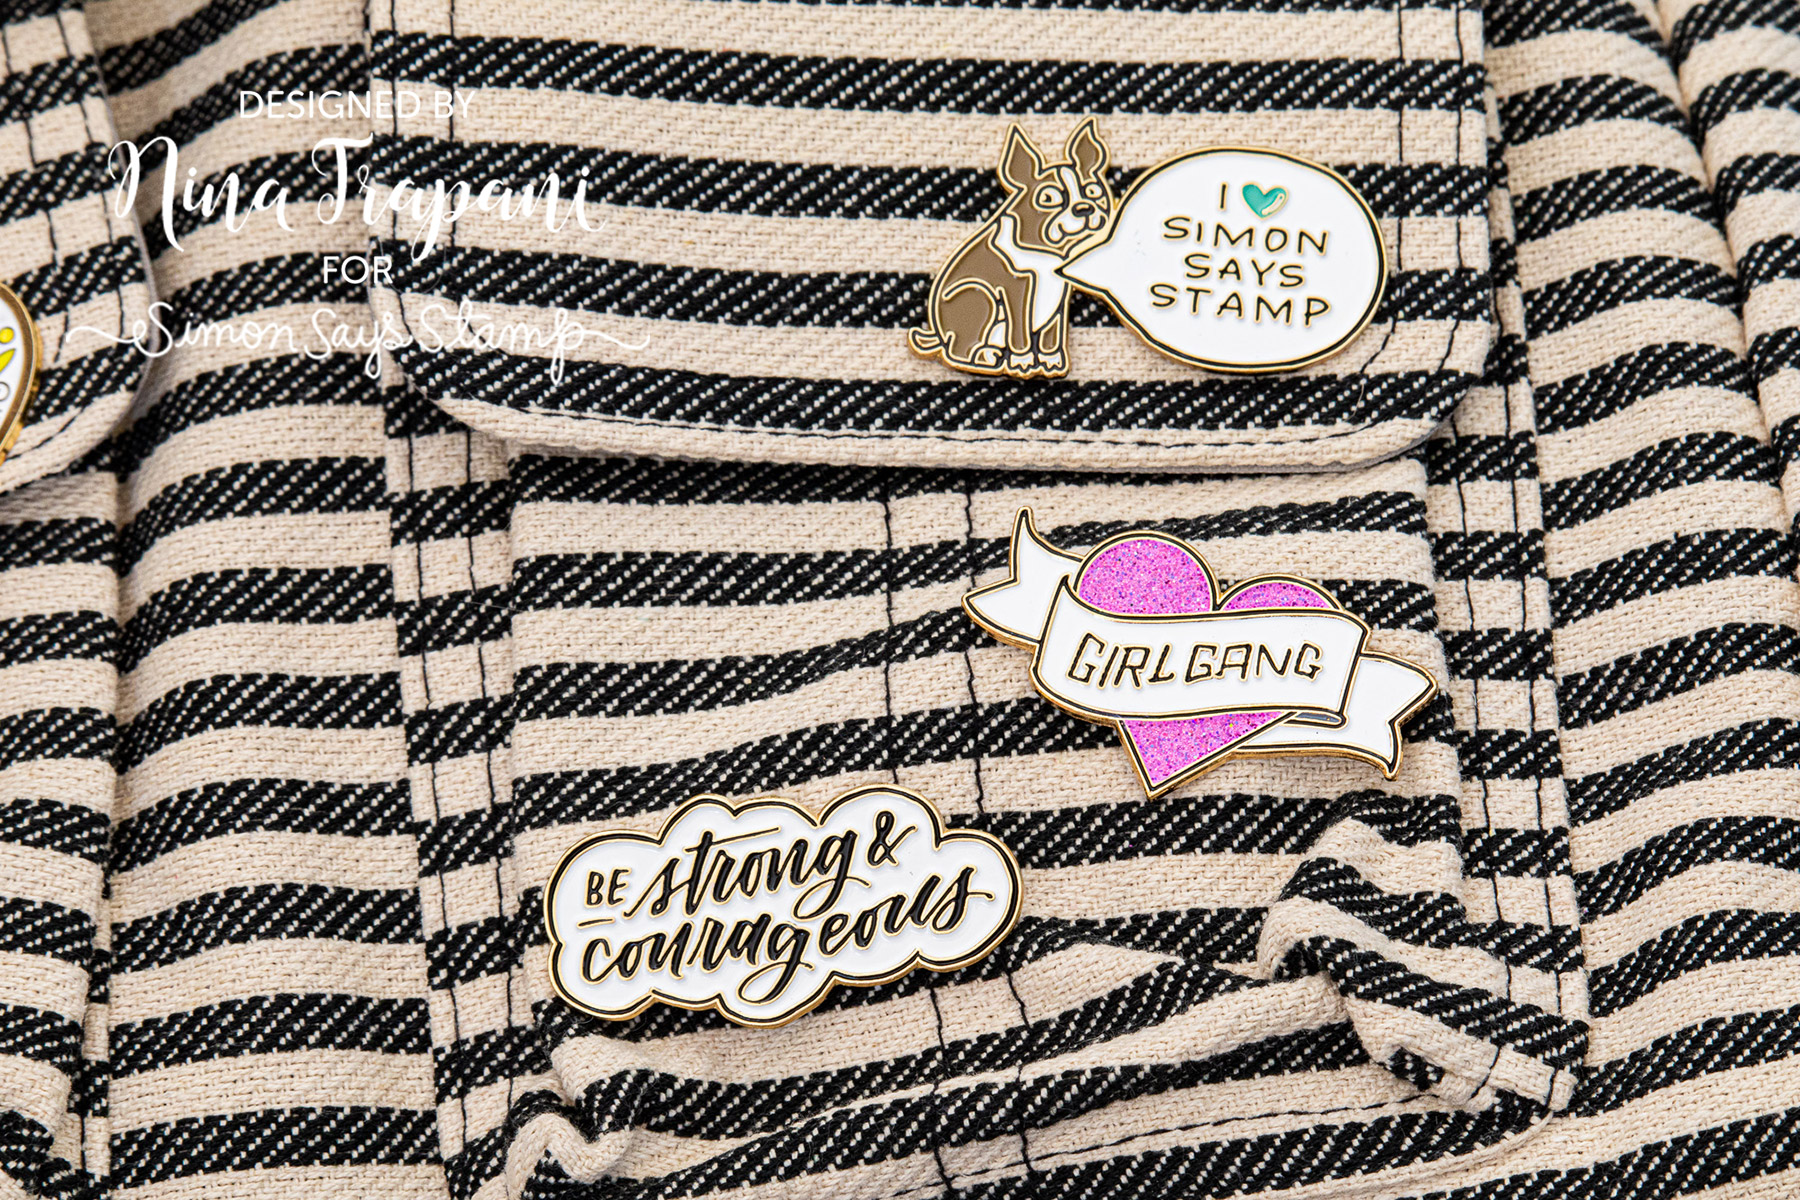
A bag is a great place to display your pins for all to see. I love putting a few on my laptop bag when I am taking my computer with me someplace! They look gorgeous on the pockets and are great reminders of things I love, or inspiration!
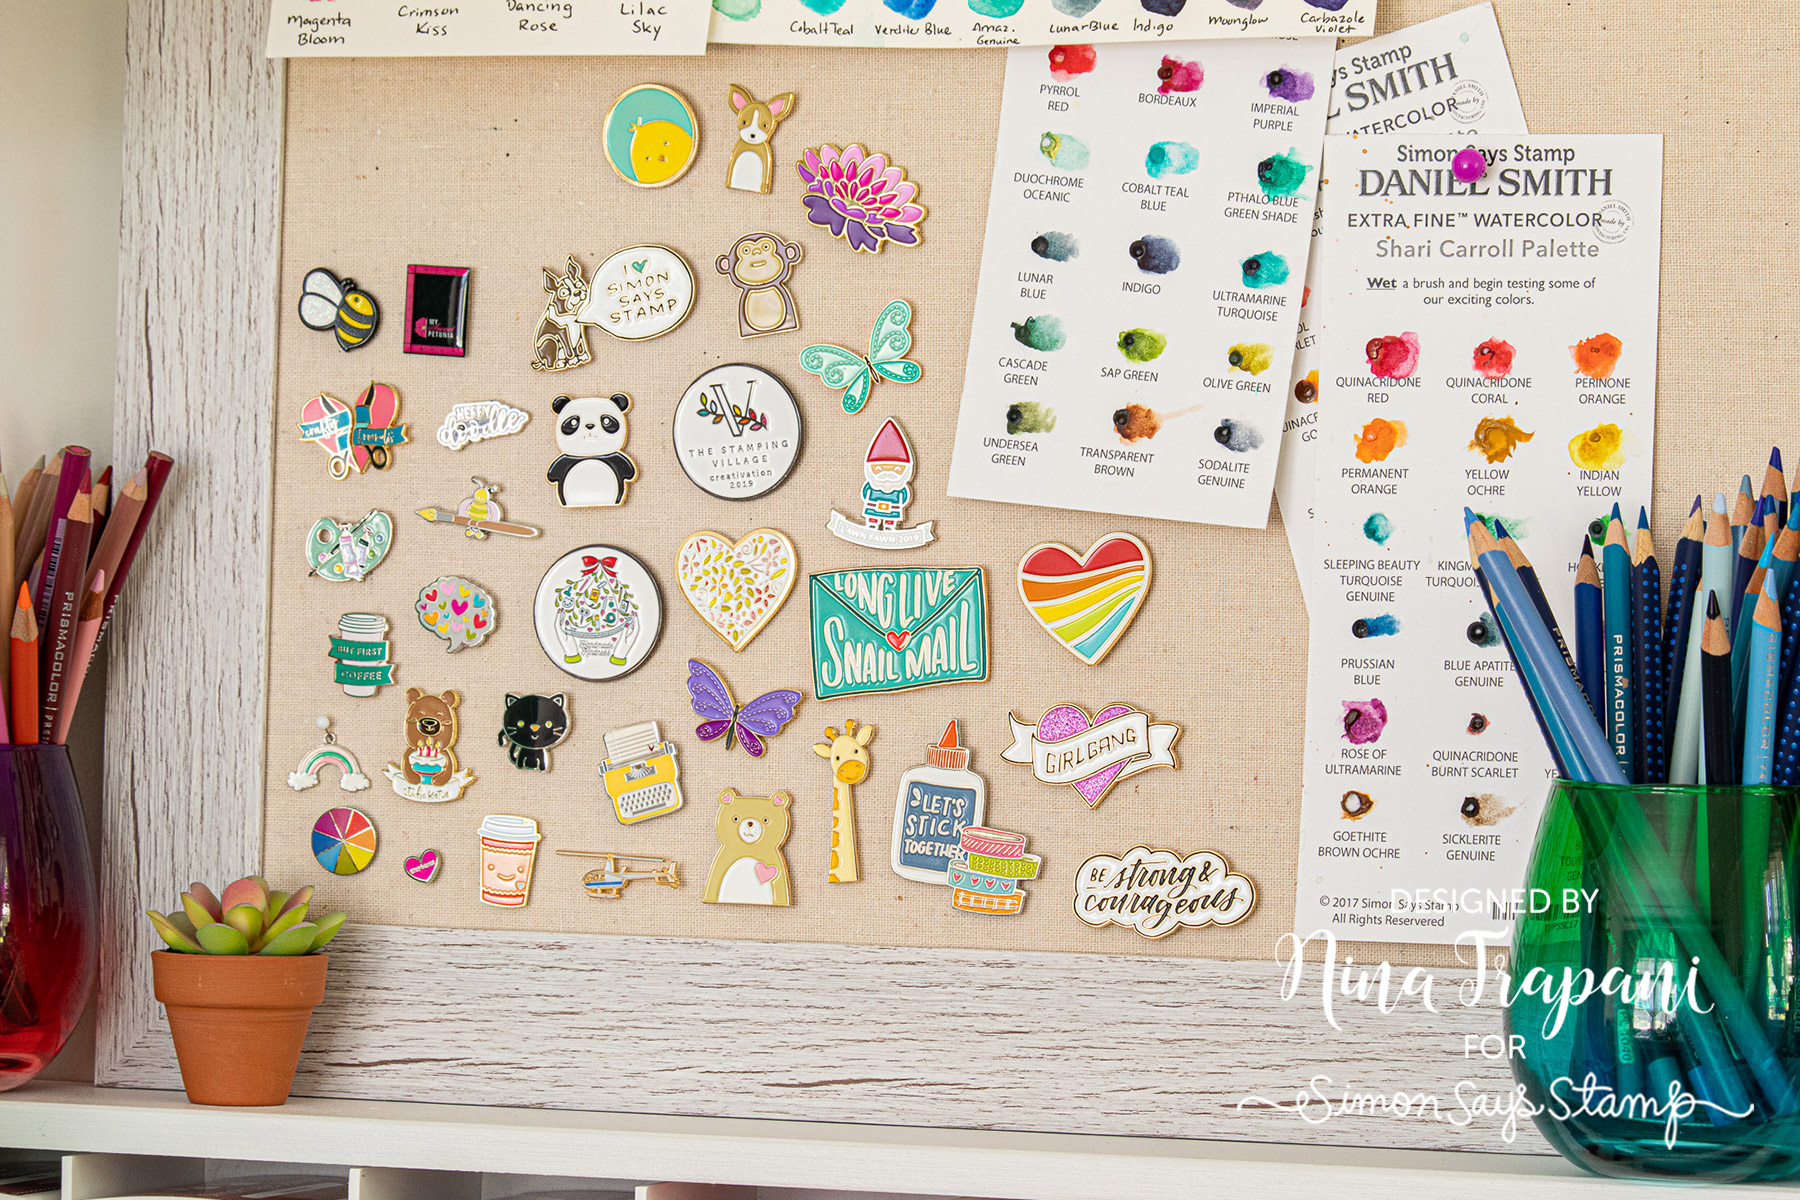
Another fun way to display enamel pins is on a pin board or bulletin board in your crafty space! I have a board in my studio that I use to display color swatches and my growing collection of pins. They also make great “push pins”, too!
How do YOU display your enamel pins? We’d love to hear what you do with your pins in the comments below!
SUPPLIES
|


Blog Candy Alert!! Follow our blog via email and comment on this post for a chance to win special blog candy!
Blog Candy Winners!!
Butterfly Tag by Anna-Karin Evaldsson: Jacqueline Hedlund!
Funny Friday: Creating a Box Card: Mel H!
Doodling with Debby: Making The Most Of Watercolor Prints: Cheriese H!
Studio Monday with Nina-Marie: Therm O Web Flock Sheets!: Lindar C!
Please email [email protected] with the name of the blog you won from, your prize(s), and your address if applicable!


