Funny Friday: Hidden Zinger
Welcome everyone!! It’s Shari here with an installment of our Funny Friday feature!
I’m playing with the Art Impressions Crazy Antics stamp set for this light-hearted card. All looks well at first glance…
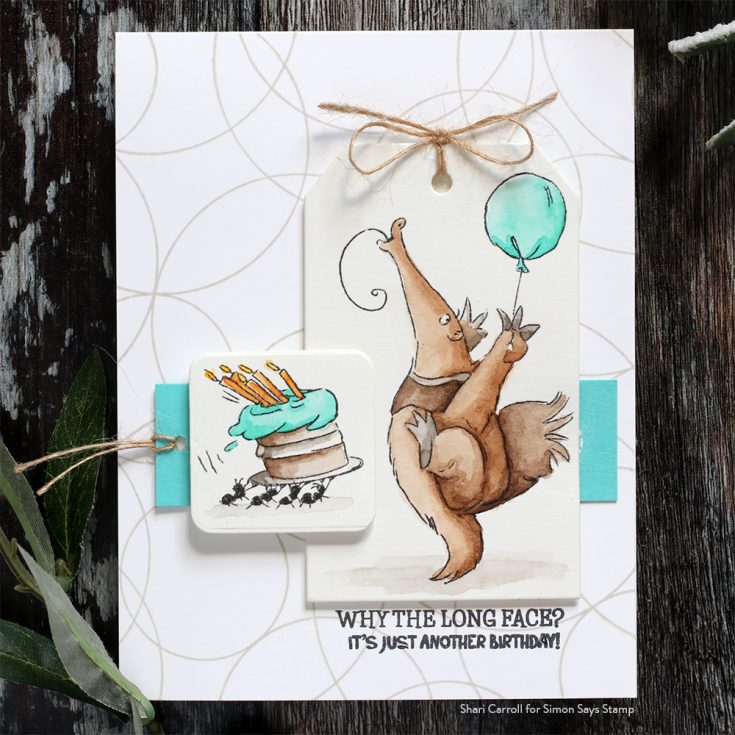
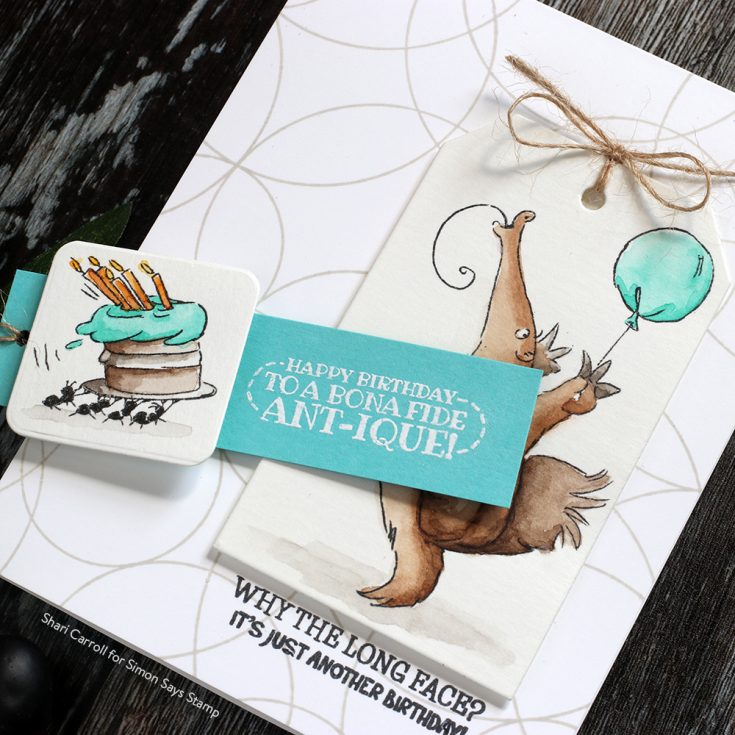
… until you slide the cake out to expose a zinger of a message. This super cute Anteater was colored using watercolors and a balloon was added by doing a little masking.
Do you have a favorite funny stamp set? I’d love to hear about it! Thanks for stopping by and I hope you have a great end to your week.
|


Blog Candy Alert!! Follow our blog via email and comment on this post for a chance to win special blog candy!
Geometric Trees Circle with Kristina Werner – CZ Design Clean Line Christmas

Hello all! Kristina Werner here! Today I have a fun card for you made with the Clean Line Christmas stamp set from CZ Design. I thought it would be fun to stamp the trees in the stamp set in a circular pattern! Be sure to watch the video below for tips on getting the trees spaced just right. :)
I stamped the trees in Copic-friendly Intense Black ink from Simon. Then I colored the trees and the background using Copic markers.

The greeting was stamped and white heat embossed over the the pattern. However, the greeting was getting “lost” with the busy tree pattern behind it. To remedy the situation, I used a small blender brush and Black Soot Distress ink to darken up the area around the white greeting. Because the heat embossed greeting has a slick surface, I was able to buff off any ink on top of the greeting, leaving behind a bright white sentiment.
To finish off the card, I drew a white dashed line around the entire area.
Thanks for stopping by today! You can pick up the Clean Line Christmas stamp set HERE.
Supplies
|


Yippee for Yana: Crafting with Coordinating Stamps & Stencils
Hi friends! Happy Wednesday and welcome to the latest edition of Yippee for Yana with the always amazing Yana Smakula! Read on to learn more and enjoy!

Hi everyone, this is Yana Smakula, welcome back for another Yippee For Yana video! In this episode, I will show you how to create a stunning Christmas card using a background stamp and a coordinating stencil for an effortless yet beautiful background.

I love how Simon Says Stamp now has not only background stamps and not only stencils, but stencils that coordinate with those background stamps. That opens up a lot of creative possibilities and really stretches the use of our supplies.
I am using the beautiful Outline Winter Floral background stamp. I’ve heat embossed it in Antique Gold embossing powder on a sheet of Adriatic cardstock from Hero Arts. Of course, other colors can be used for this technique, I happen to love this color of paper and so I’m using it for nearly every project I make these days.
This background stamp is very beautiful and it works really well for the Holiday cards. I think it looks both stunning just simply embossed in a pretty color of embossing powder or stamped in black and colored using watercolors or markers. I, for example, don’t always feel like coloring, so I appreciate it when images look fantastic even without the coloring.

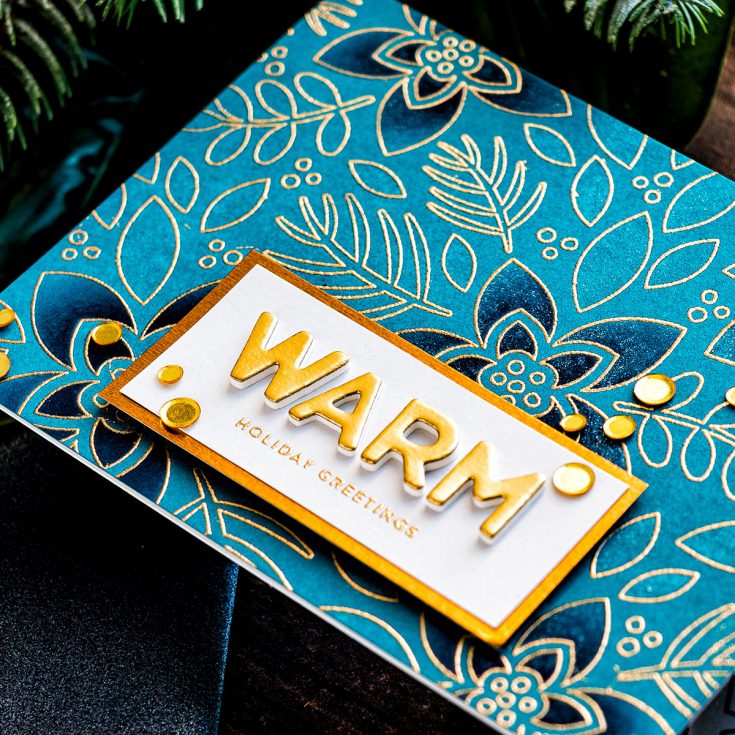
Next, I used a set of stencils from Simon, the Winter Floral Layering set. I used just one stencil from here, the one with the flowers. When using all 4 you can add color to every section of this stamped image. After positioning the stencil on the background and aligning it with the flower I used using my ink blending tool and dark blue ink to add shading and color to the flowers.
Having colored or rather ink blended the background I trimmed it to 4 1/4 x 5 1/2”, this will make the front of my card. Next, I used Tonic Studios Aqua shimmer pen and added shimmer over the ink blended sections and also onto the leaves. This adds a really nice touch of shimmer and sparkle to this card and makes festive.
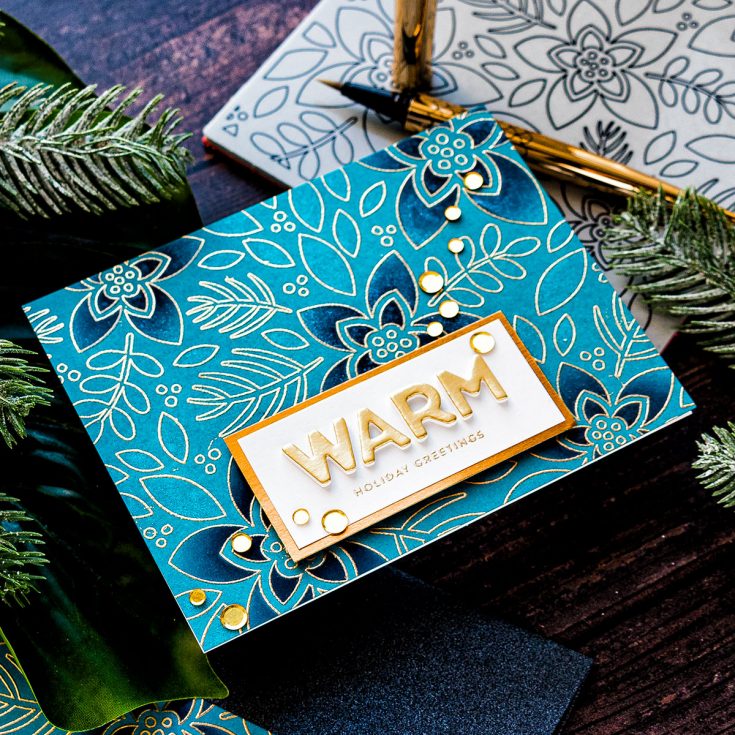
To create a sentiment I’ve decided to combine stamping with stickers. I want to spell the first word of the sentiment using puffy letter stickers and heat emboss the rest in the same Antique Gold embossing powder. The sentiment I picked reads “Warm Holiday Greetings”. I heat embossed “Holiday Greetings” and added “Warm” using stickers. This sentiment comes from the Tiny Words Christmas stamp set.
After trimming the sentiment panel to size I adhered it onto a piece of mirror cardstock from Tim Holtz to give it a bit of a frame.
Next, I added the background to the A2 white top folding card base and used foam adhesive squares to foam mount the sentiment panel on top. Finally, I used gold confetti from Simon and scattered them around the card going diagonally from the top right to the bottom left corners.
If you like to add additional accents you can also use a white pen, for example, and color the berries white.
Have fun stamping!
SUPPLIES:
|


Thanks so much for stopping by, and thanks to Yana for being our guest!

Blog Candy Alert!! Follow our blog via email and comment on this post for a chance to win special blog candy!


