Our Limited Edition Easter 2020 Card Kit is HERE!
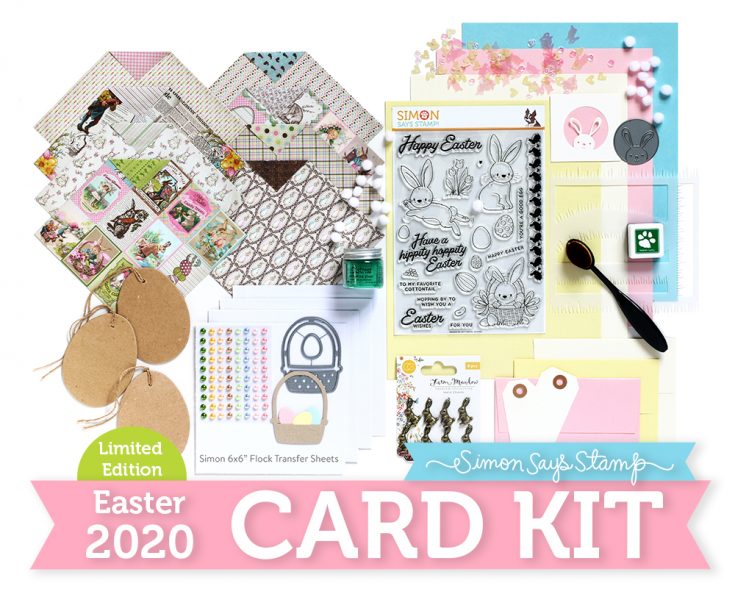
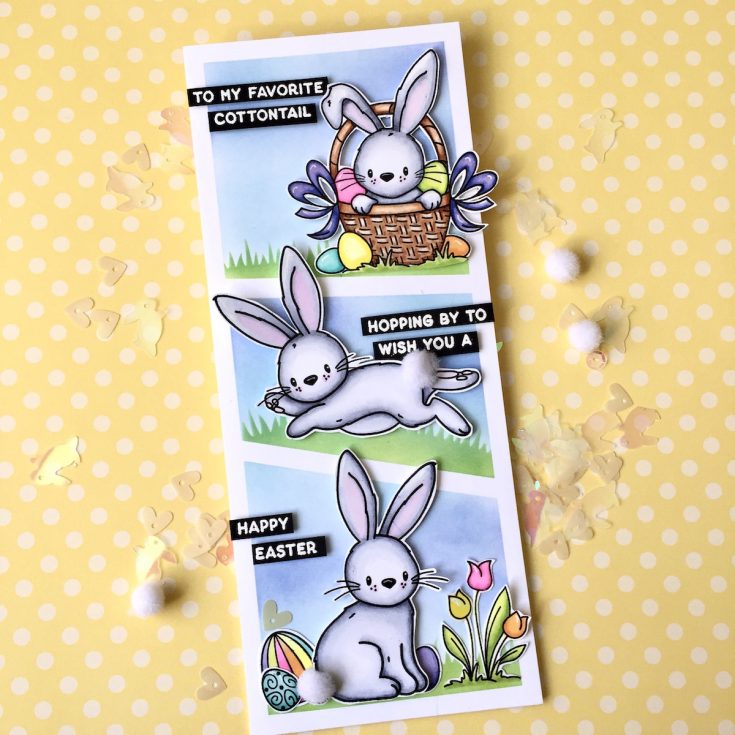
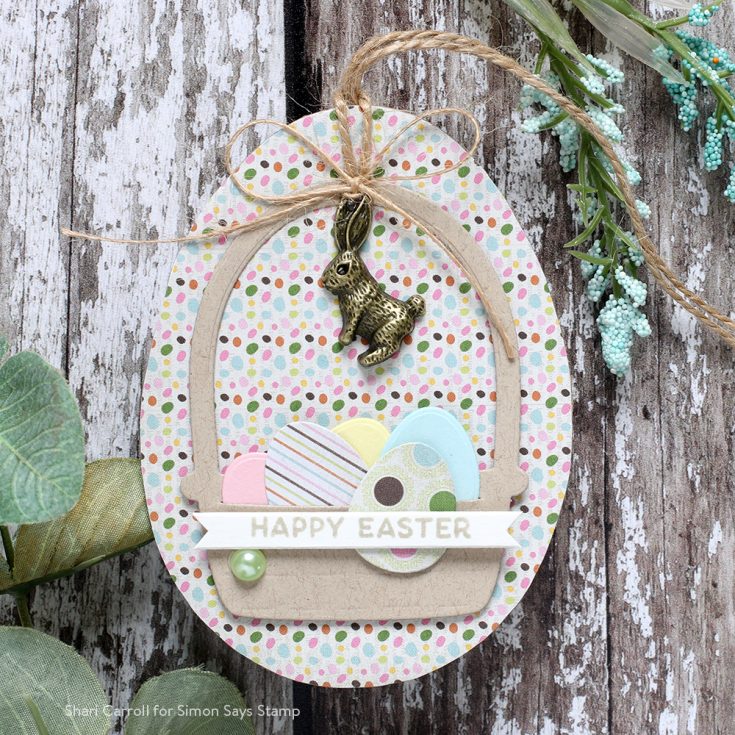
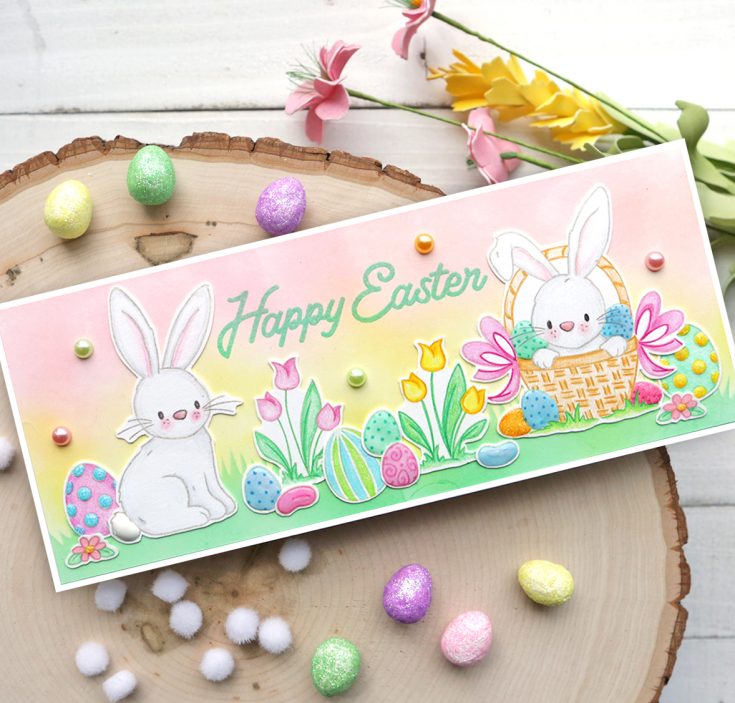
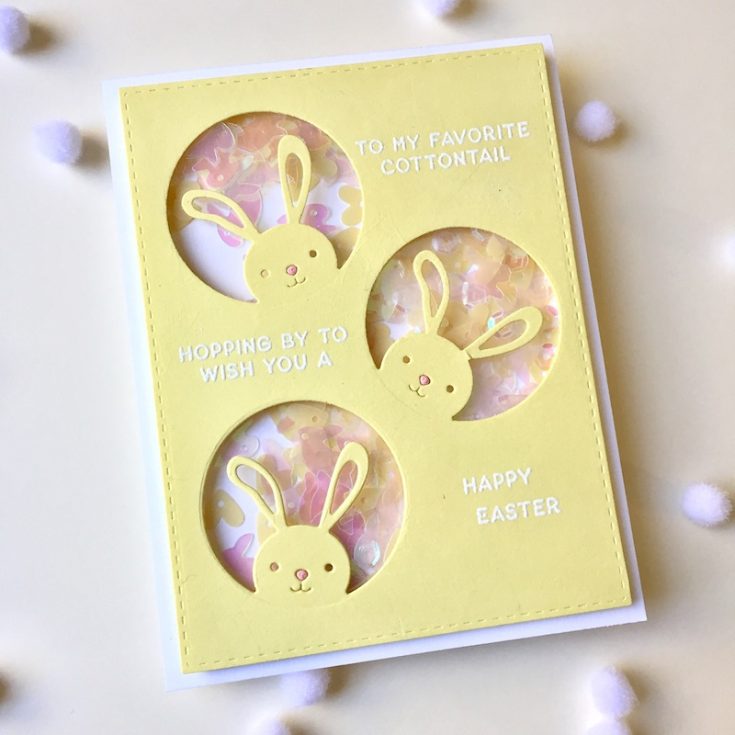
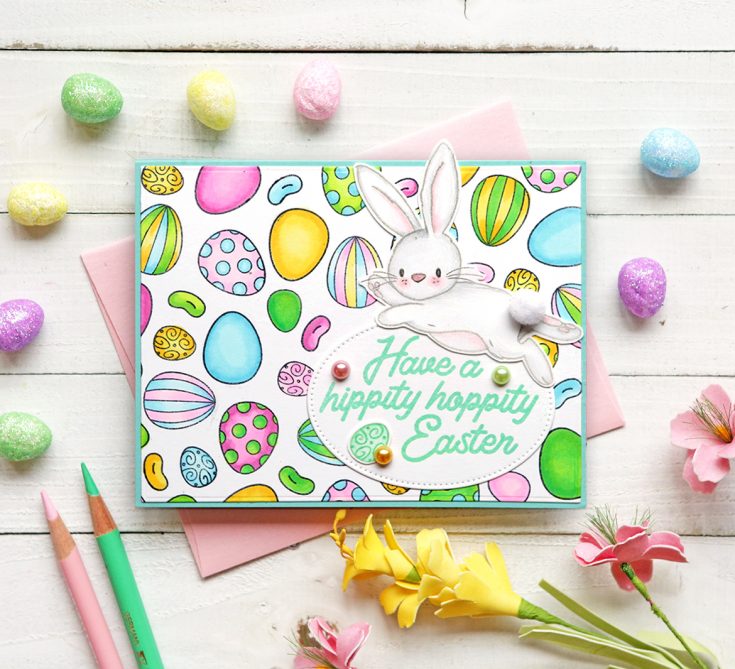
Hi friends! We are EGGstra excited to share with you our BRAND NEW Easter 2020 Cottontail Wishes Limited Edition card kit! This kit will keep you Spring crafting for hours with our new exclusive Cottontail Wishes 6×8 clear stamp set, Easter Basket Die, Authentique Cottontail 6×6 Papers, and fun elements like the NEW Cracked Pistachio embossing glaze, Rabbit Charms, Paper Mache Egg Tags, Bunnies & Hearts Sequins, and SO MUCH MORE!
Please note that while many components of this kit are available to purchase separately, this kit is loaded with goodies valued at over $85 (much more than the cost of the kit)! This limited edition kit is not part of our monthly subscription and must be purchased separately. If you love it, HOP on it!
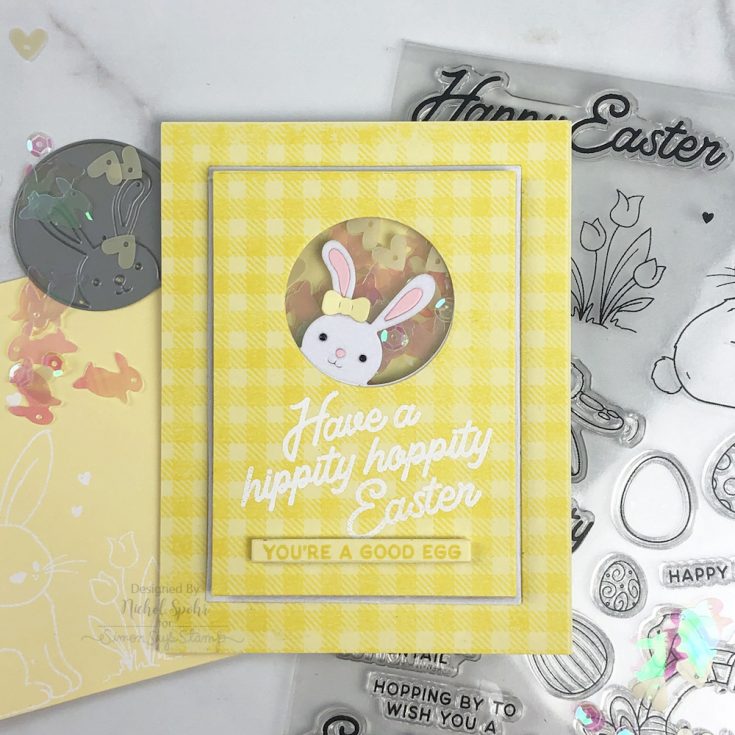
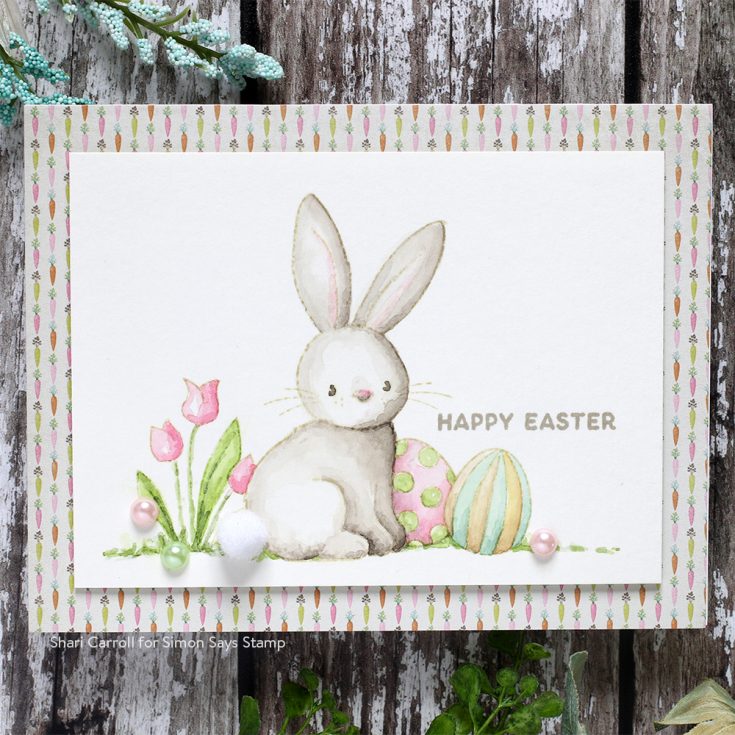
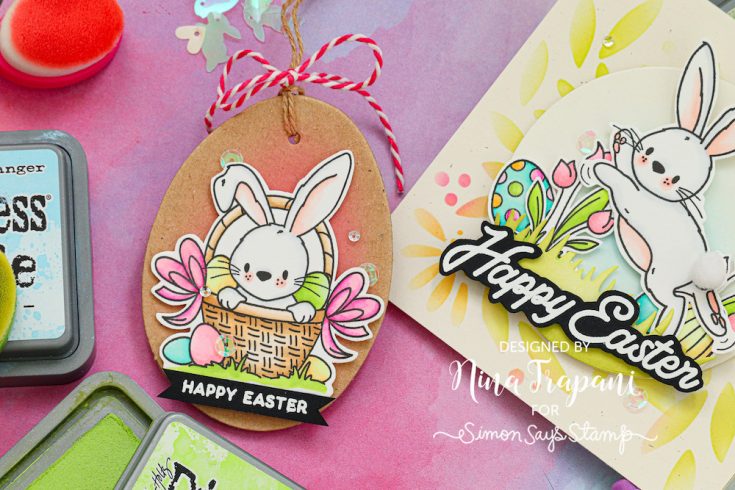
HUGE thanks to Nichol Spohr, Nina-Marie Trapani, Cindy Norberg, Shari Carroll, and Suzy Plantamura who provided the BEAUTIFUL inspiration below!

Thanks so much for stopping by today!

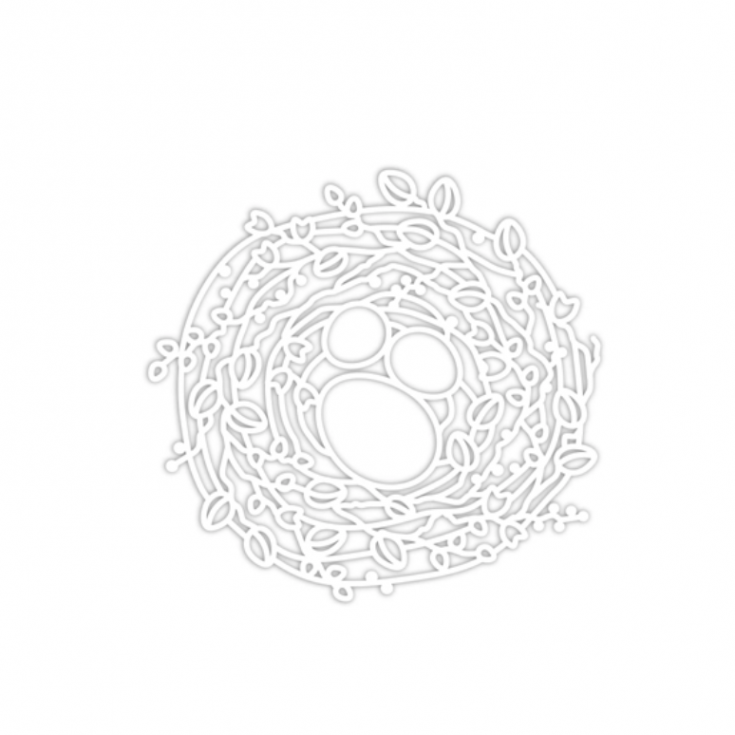
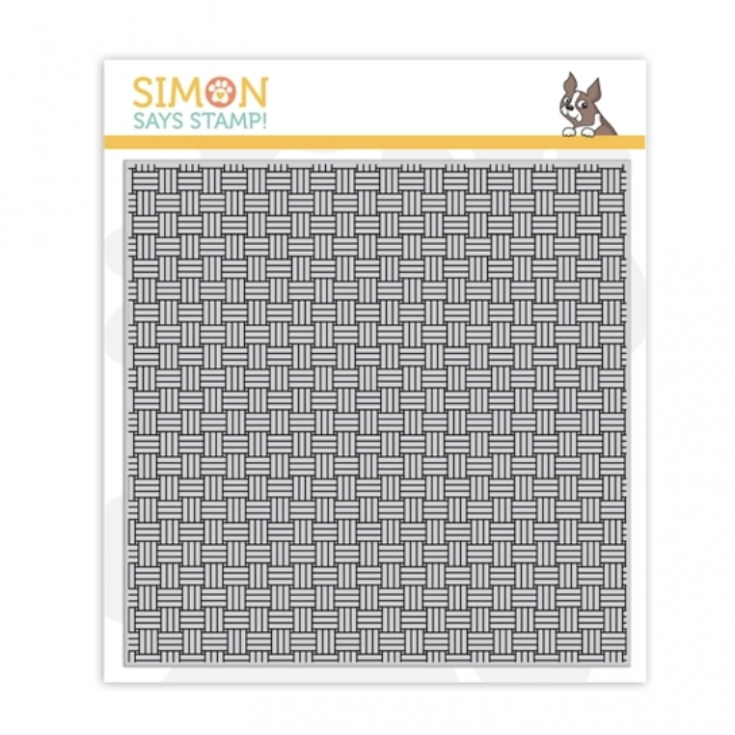
Say HELLO to 2 BRAND NEW exclusive products that are perfect additions to your Spring crafting “must-have” list! Introducing the intricate and beautiful Spring Nest die and the Basket Weave background cling stamp that is versatile for crafting all-year-round!
Lucky to Know You Blog Hop WINNERS!
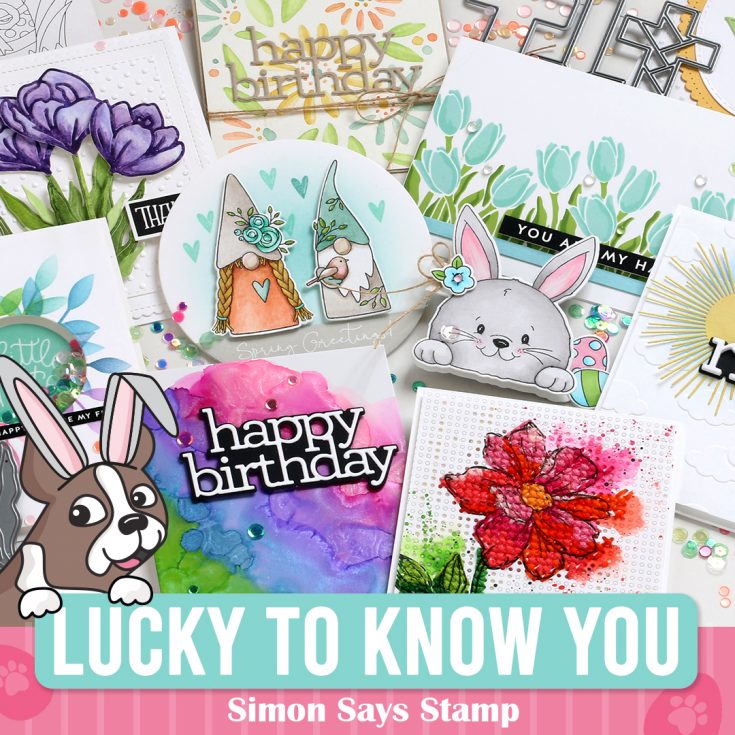
Hello, friends! Have you seen our Simon exclusive Lucky to Know You release? Our Simon Says Stamp exclusive Lucky to Know You product lineup is full of adorable charm and lots of inspiring ways to celebrate spring, Easter, and the return of flowers! Included you’ll find gorgeous Easter products ranging from cute to traditional to sacred, new members of our cute and trendy Simon gnome family, and an array of pretty spring florals! There are some fun new products from CZ Design and a brand new spring-themed set of Suzy’s watercolor cards! We are so excited for you to play with all of these awesome new products!
To celebrate both of these phenomenal releases, we hosted two amazing blog hops! The hops featured many talented designers and each one created wonderful projects to inspire you. If you missed either of the hops, you can find the direct links here: DAY ONE and DAY TWO.
A BIG thank you to all of YOU who joined us for the hops! We enjoy hearing from each of you, and your words of encouragement and appreciation to each of the designers mean so much to us here at Simon and to them. It’s our tradition to give away gift certificates to random commenters on each blog stop, and today we are revealing all of the winners! So without further ado, I present to you our winners!
DAY ONE HOP WINNERS:
from Simon Says Stamp’s blog: Andrea H!
from Cathy Zielske’s blog: Shawn Wenrich!
from Nina-Marie Trapani’s blog: Beth Buss!
from Nichol Spohr’s blog: Becca Yahrling!
from Lisa Addesa’s blog: Pam Weiss!
from Heather Ruwe’s blog: Anne McColley!
from Suzy Plantamura’s blog: Joanne Travis!
from Barb Engler’s blog: Wendy!
from Cheiron Brandon’s blog: Bonnie McClure!
from Lea Lawson’s blog: Stampin2Day!
from Betty Wright’s blog: Henriëtte!
from Bobbi Lemanski’s blog: Beth Fralix!
from Lin Brandyberry’s blog: Kathy Ferguson!
DAY TWO HOP WINNERS:
from Simon Says Stamp’s blog: Michelle Hackett!
from Debby Hughes’s blog: Stephanie Nelson!
from Laura Bassen’s blog: Barbara Chmura!
from Yoonsun Hur’s blog: Aya Elsheshtawy!
from Amanda Korotkova’s blog: Judy Price!
from Yana Smakula’s blog: Scraporcraft!
from Amy Rysavy’s blog: Lieve St!
from Bibi Cameron’s blog: Bri Kay!
from Gayatri Murali’s blog: Mira!
from Vicky Papaioannou’s blog: Carrie Carver!
from Emma Williams’s blog: Donnalee Boisseau!
from Karin Åkesdotter’s blog: Sunshine HoneyBee!
from Preeti Chandran’s blog: Paola Sing!
from Sidnie Des Jardin’s blog: Holly Mahoney!
from JD Collins’s blog: June Sefscik!
from Anna-Karin Evaldsson’s blog: Judy Inukai!
If you see your name listed above, CONGRATULATIONS! Please email [email protected] and let him know that you are one of our Lucky to Know You Blog Hop winners! You’ll receive a $25 Gift Card. ???
Thanks again for hopping along with us! We hope you enjoy our fantastic Lucky to Know You release and that they give you creative enjoyment for months to come!
Winning ROCKS, and so do you!
Lettered Greeting Card + Stenciling with Kristina Werner
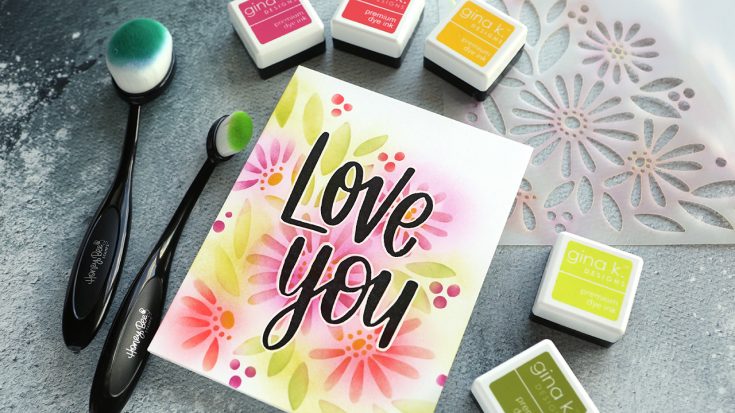
Hello, all! Kristina Werner here! Today I have a fun card made using the new Lettered Greeting Cards pack from the newest release! (See the entire release HERE). The pack has four different designs that are the perfect starting point for fun, custom card fronts!
I chose to use the “Love You” card, and I ink blended colorful Gina K Designs inks over the new Daisy Bouquet stencil. I used Key Lime, Jelly Bean Green, Wild Dandelion, Lipstick, and Passionate Pink.
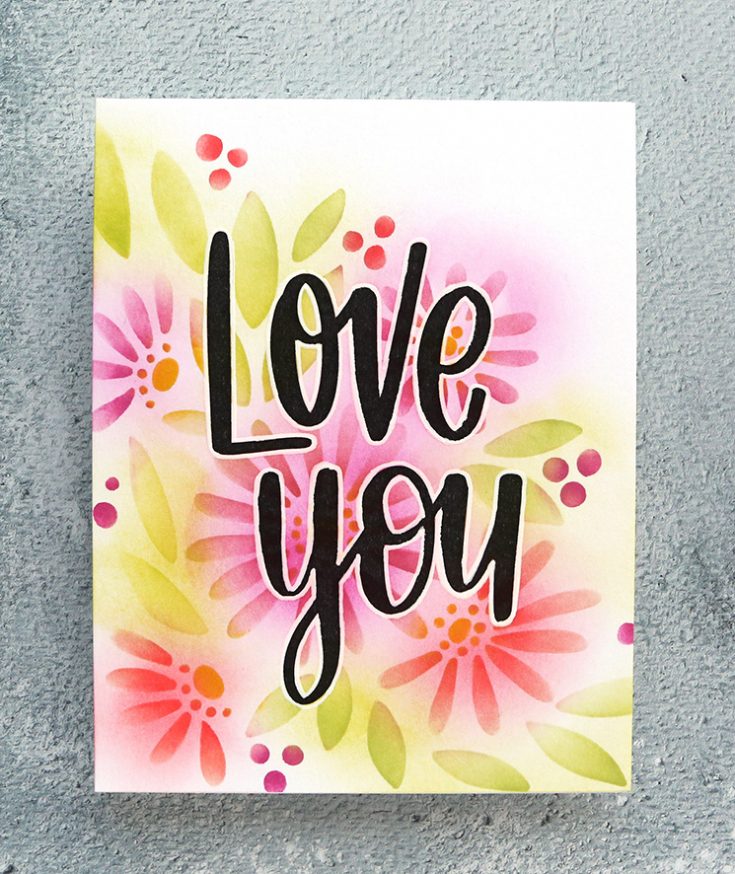
To help the greeting stand out even more, I carefully outlined the black printed lettering with a white Gelly Roll pen. This helps the words pop!
The final step was to create a card base out of white cardstock and adhere the ink blended piece to the front.
Thanks for stopping by! You can get all the supplies I used on today’s card in the Simon shop!
Supplies
|


