3 Cheers for Mom! Limited Edition Celebrating Mothers Kit
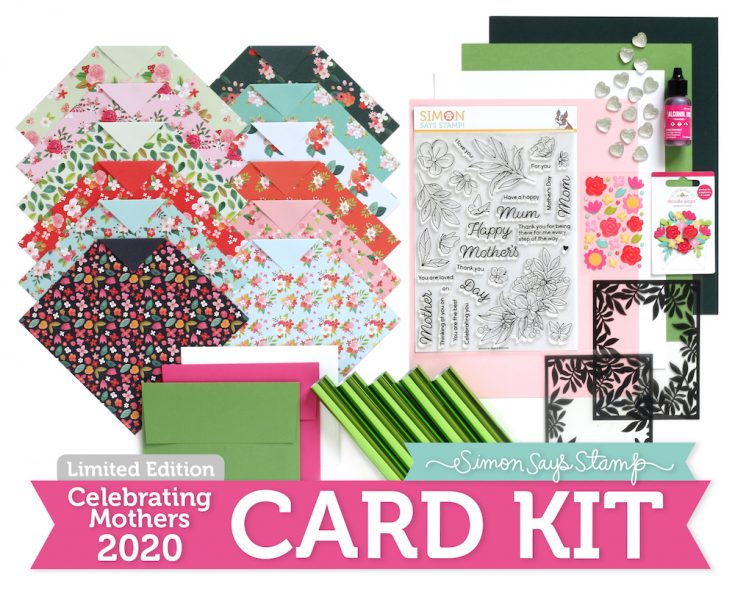
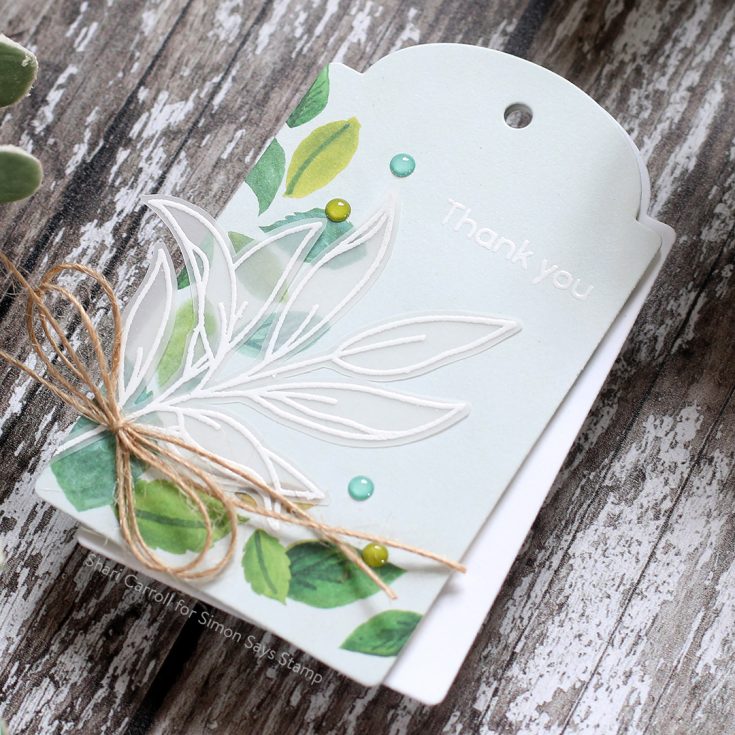
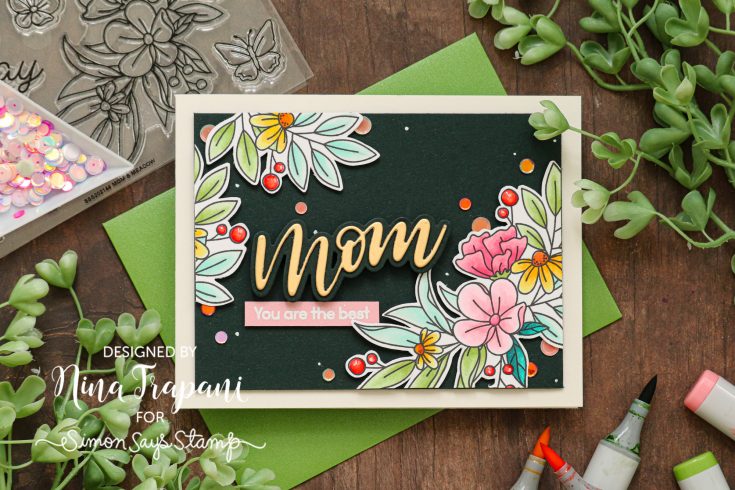
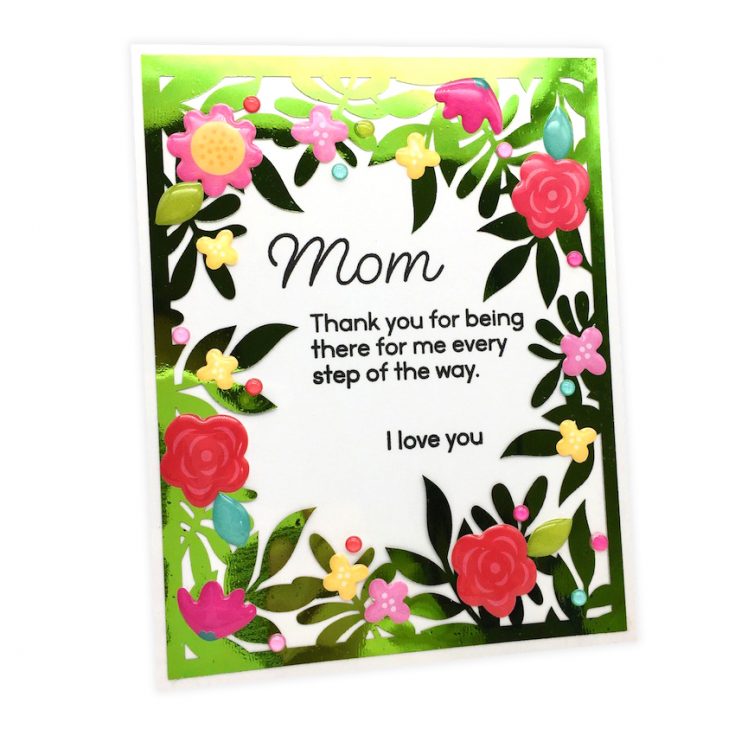
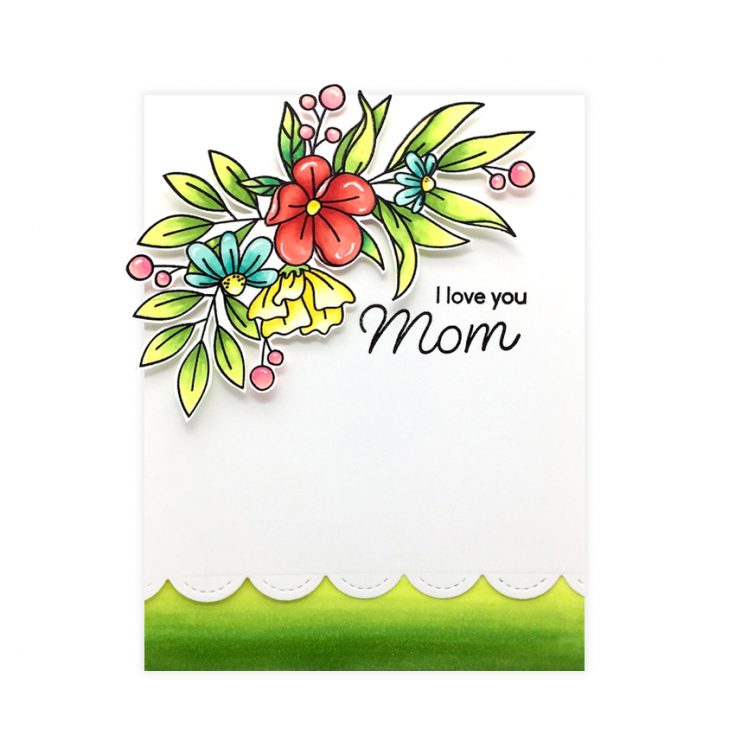
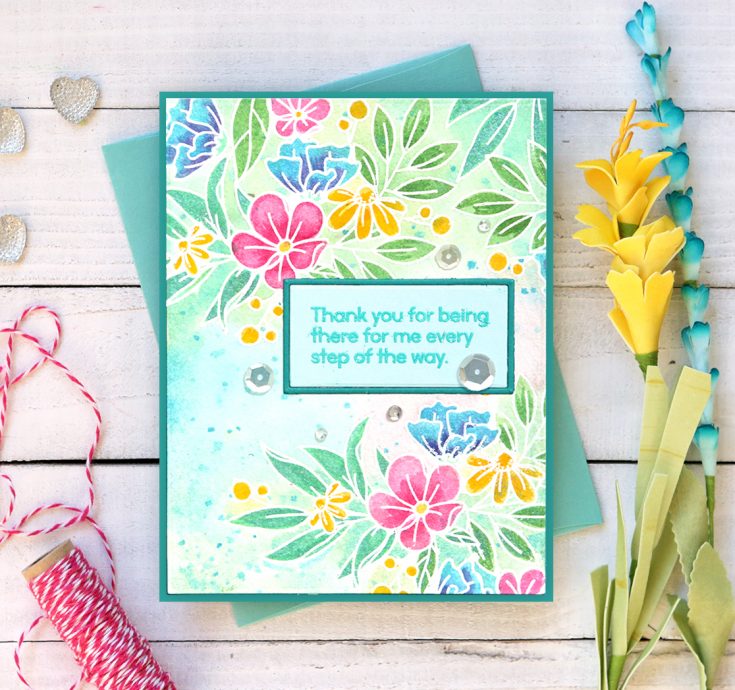
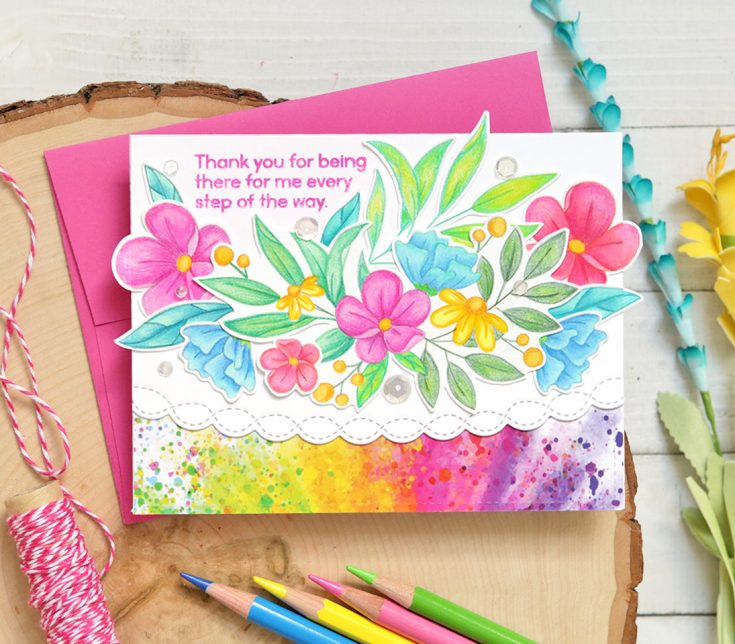
Hi friends! We’re excited to introduce to you our latest Limited Edition card kit, Celebrating Mothers. We were super inspired by the gorgeous floral patterns in Memory Box’s Cottage Meadow 6×6 inch paper pad, and are unveiling the brand new exclusive Mom’s Meadow 6×8 inch stamp set to coordinate with it! Also included are Tim Holtz Idea-ology Gumdrop Hearts, Gum ball alcohol ink to color your hearts, Roses are Red enamel sprinkles and a 3D Sending Love sticker from Doodlebug. To top it off we have a brand new A2 sized toner sheets in Leafy Prints with Spring Green DecoFoil from Therm O Web to use with it! Coordinating exclusive cardstock and envelopes complete this fun kit!
This limited edition kit is not part of our monthly subscription and must be purchased separately. If you love it, purchase it quickly!
WATCH THE VIDEO:
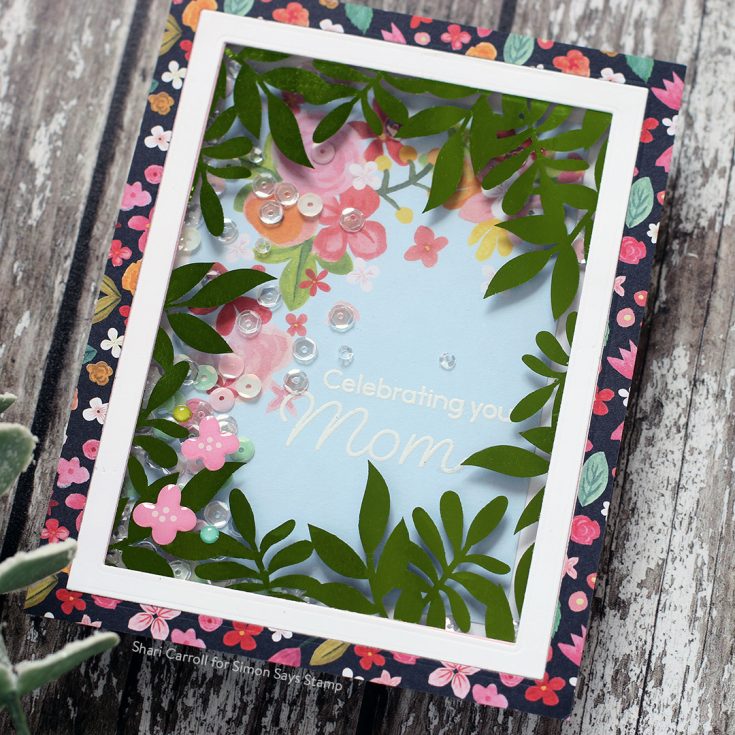
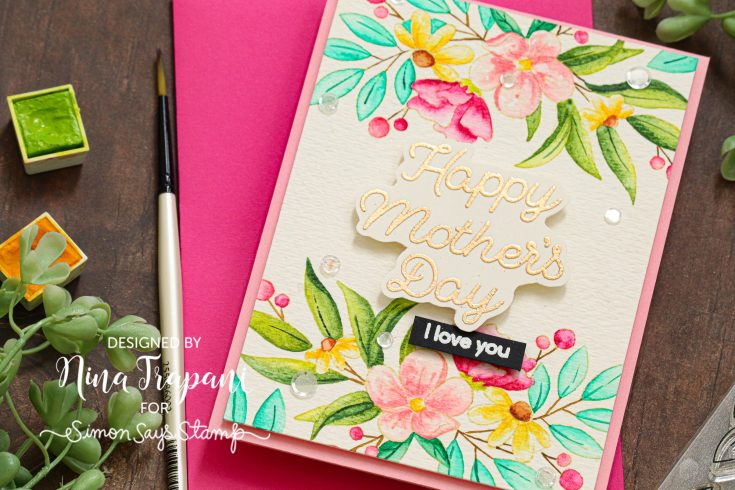
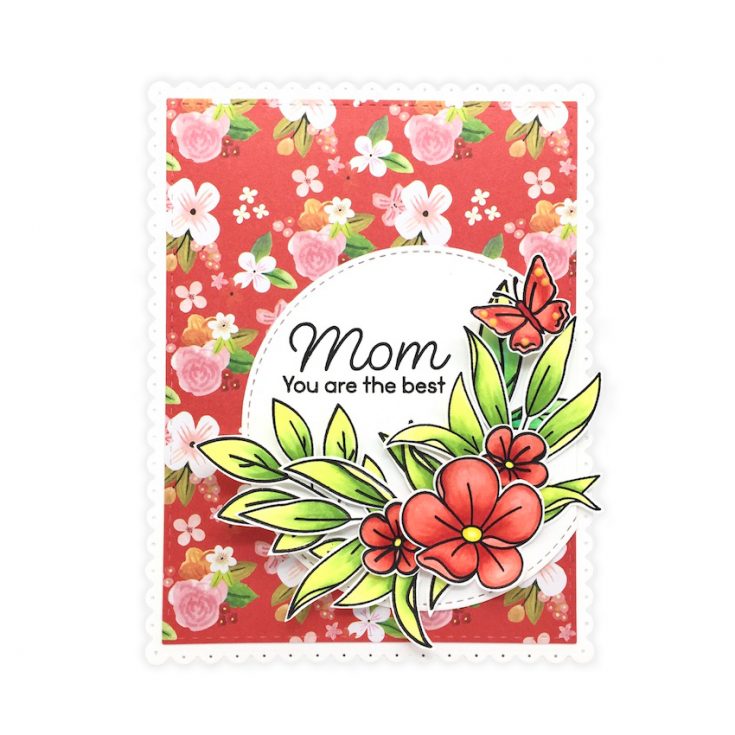
Scroll on to see MORE gorgeous inspiration from Shari Carroll, Nina-Marie Trapani, Cindy Norberg, and Suzy Plantamura!

Thanks so much for stopping by today! We hope you love our Limited Edition kit put together with the thought in mind of celebrating the amazing and strong women in our lives! Remember this is a limited edition kit, so if you love it ACT FAST, once it’s gone, it’s gone!
For even MORE inspiration, don’t forget to stop by our gallery!
Studio Monday with Nina-Marie: Fun Fold Card Featuring Newton’s Nook

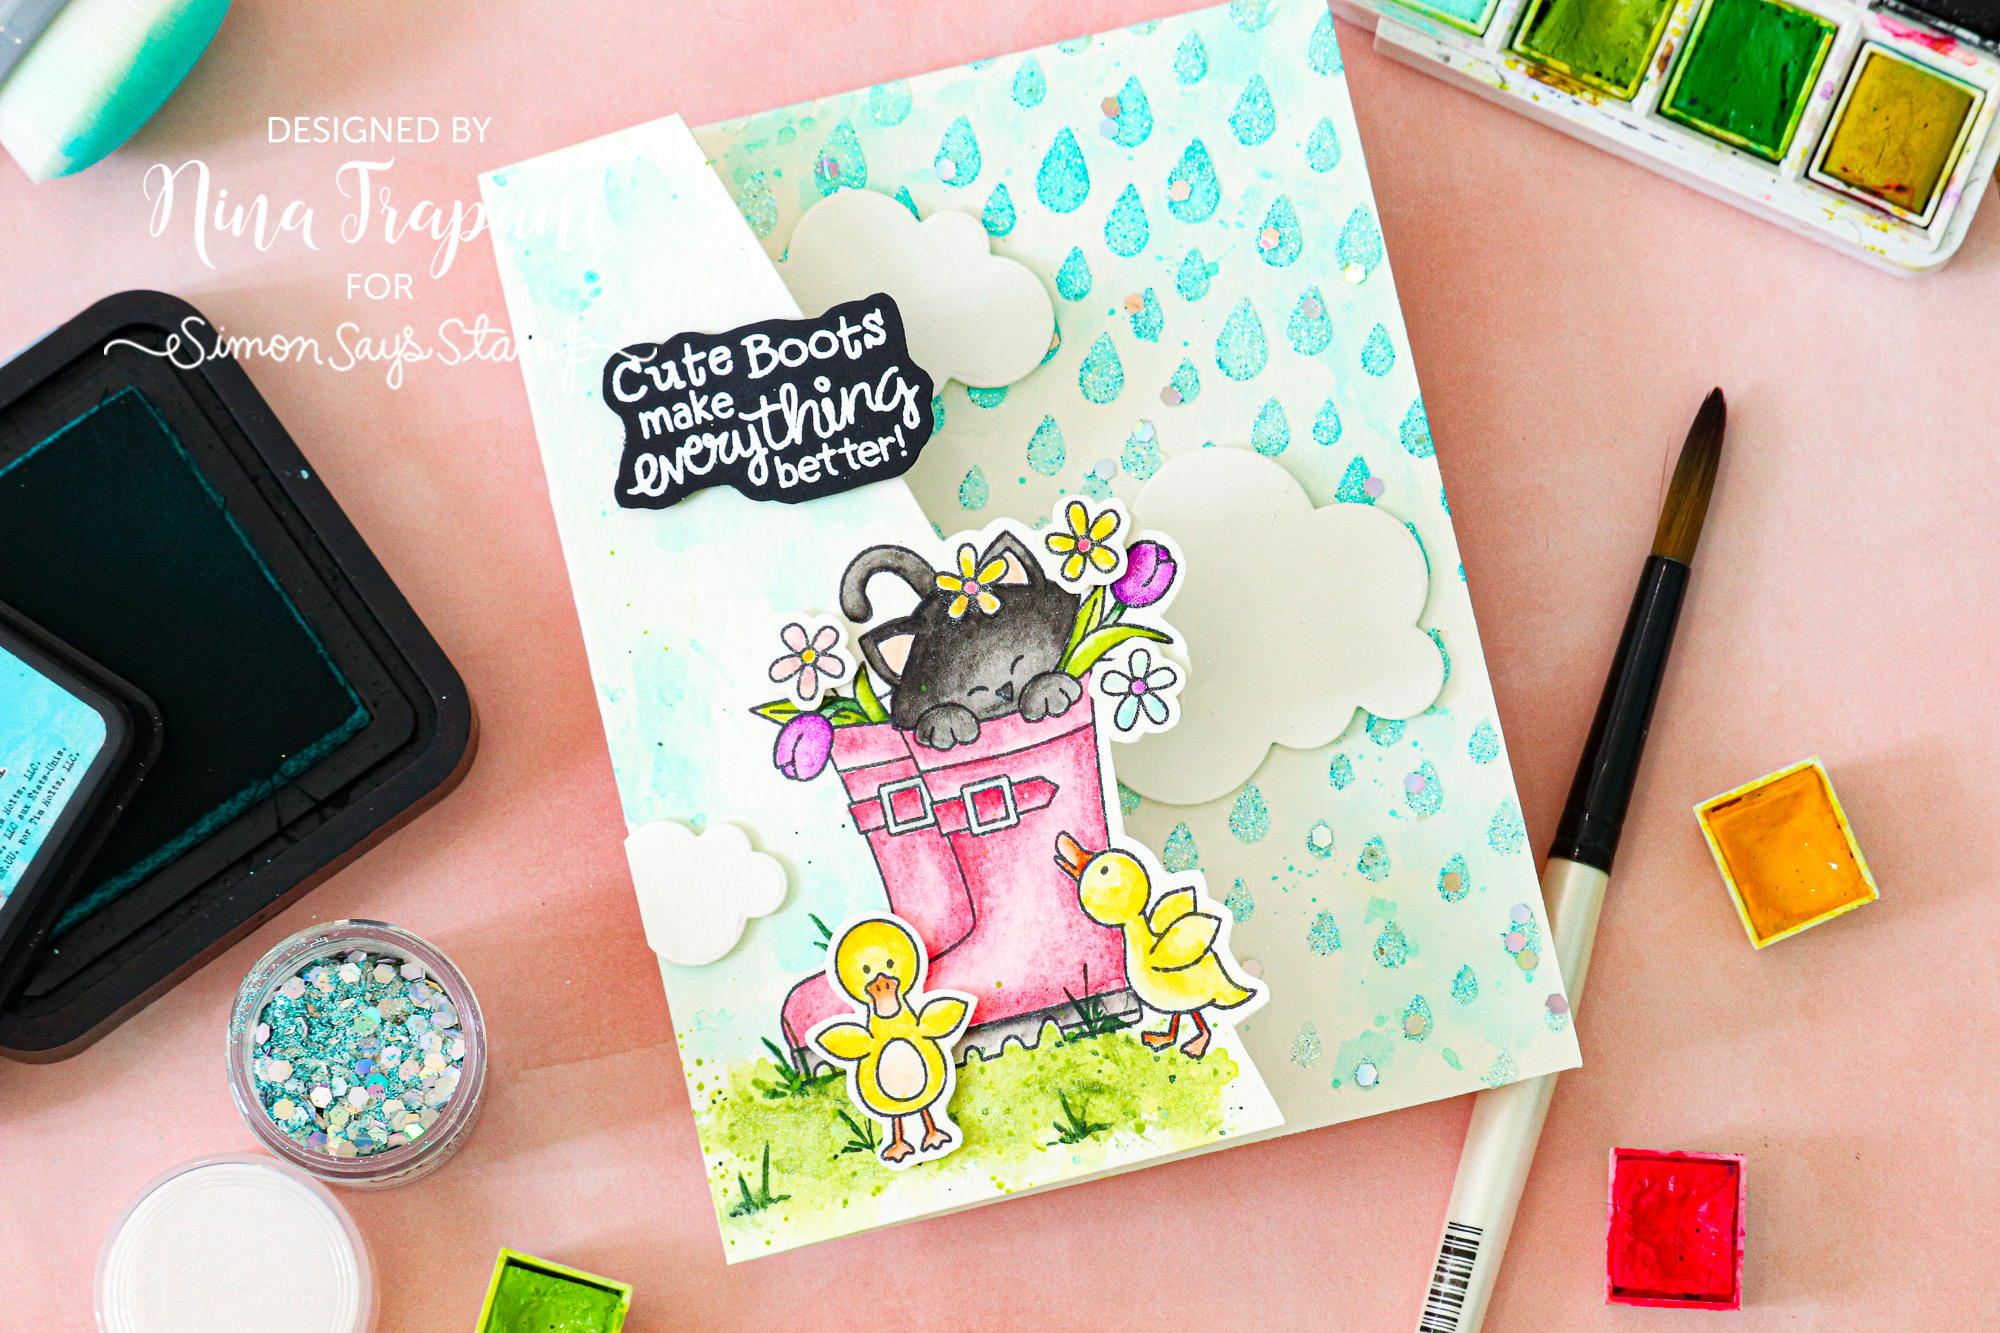
Hello crafters! It is Nina-Marie Trapani with you today, sharing a fun fold card design featuring the Newton’s Rain Boots and Raindrops sets from Newton’s Nook Designs!
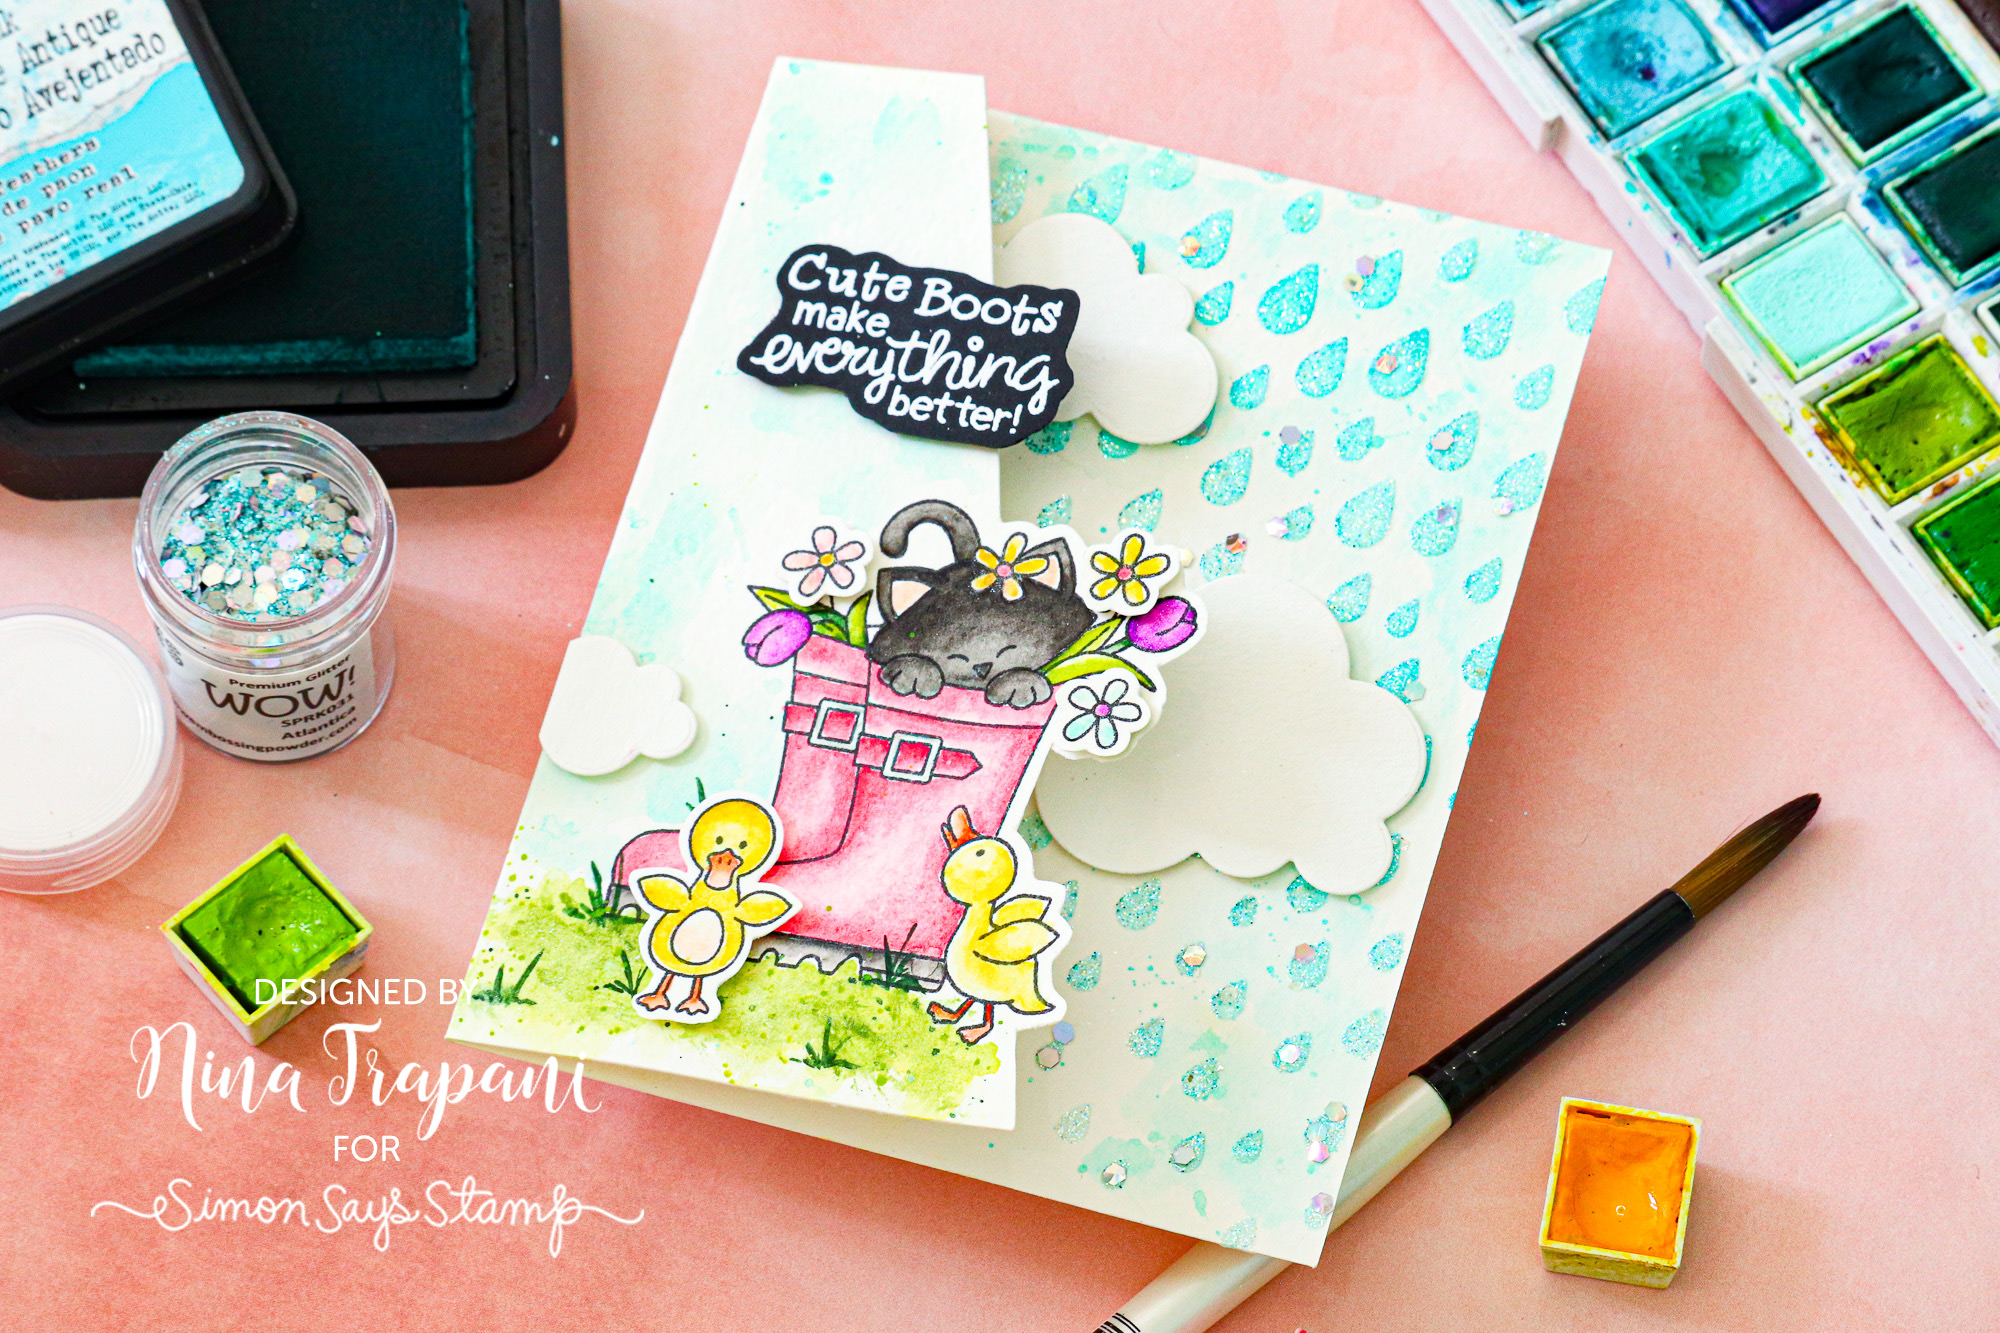
I adore this Spring-y image and it inspired me to create an “April showers bring May flowers” scene!
With a some simple cutting tricks, I created a partial panel for the front of my card and the rest of the scene peeks out from the inside!
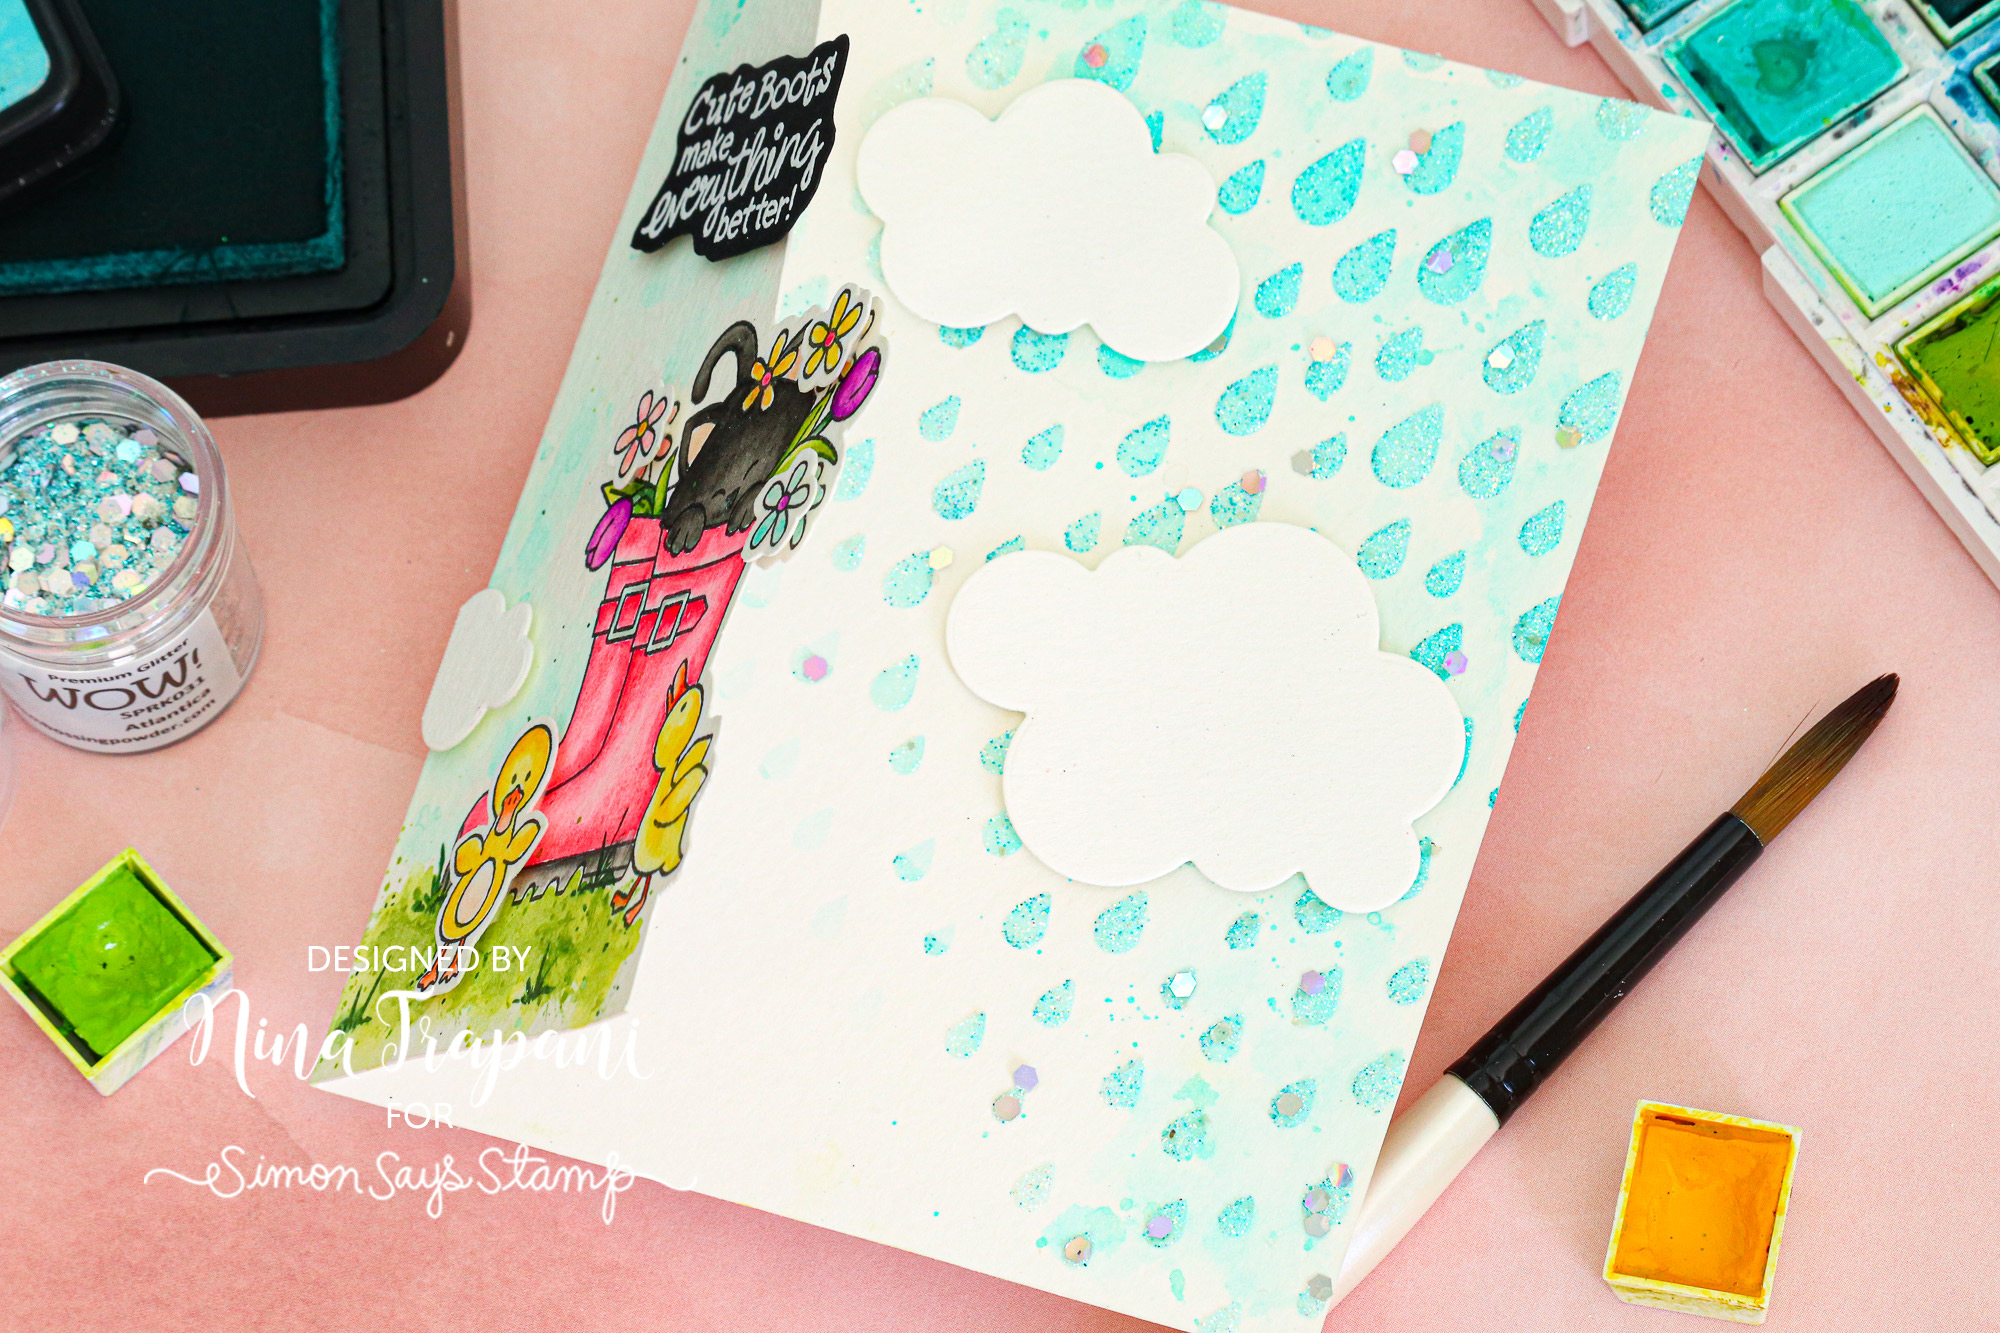
The sparkly rain on the inside were so much fun to make! With a little Distress Ink blending and Transparent Texture Paste applied overtop gave me some shiny raindrops! While the paste was still wet, I sprinkled WOW Atlantica and Simon’s Unicorn Dust glitters over top.
Want to see how I made the entire card from start to finish? Be sure to check out the video below!
WATCH THE VIDEO
SUPPLIES
|


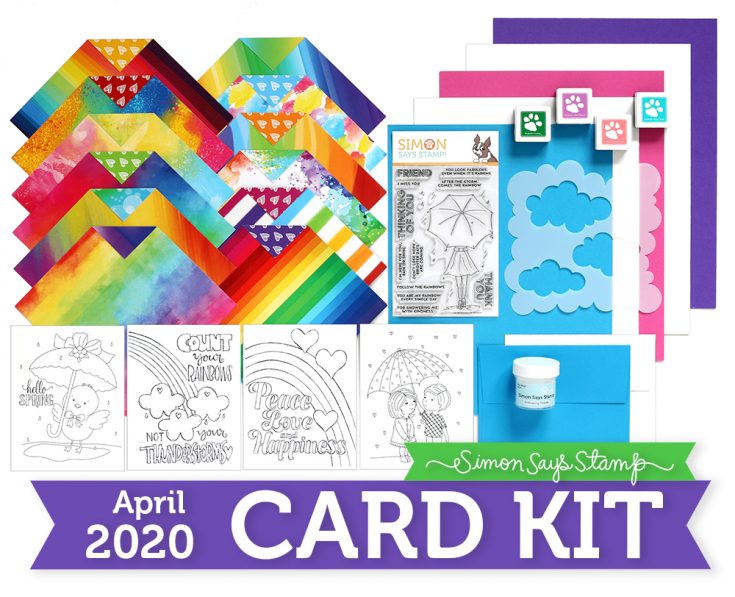
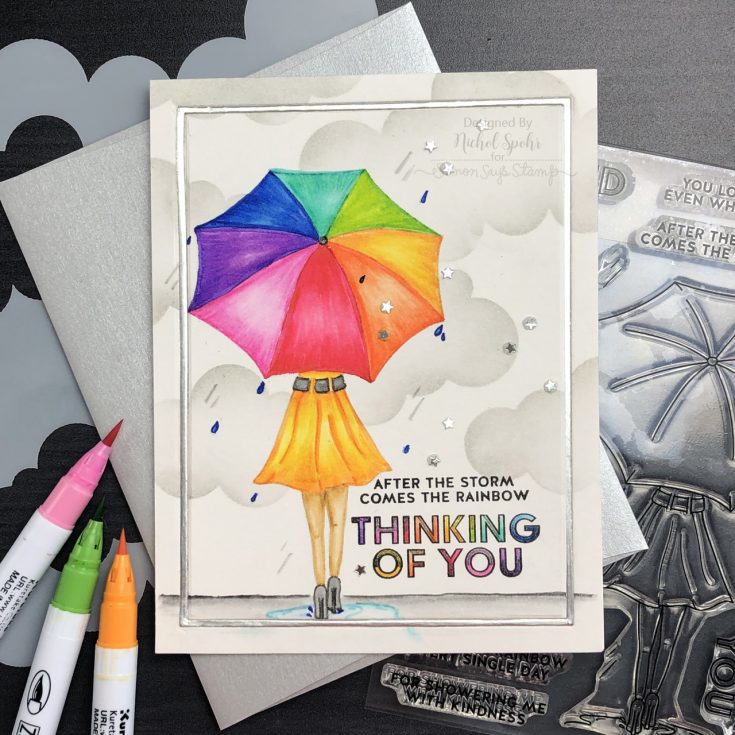
Rainbow No Line Coloring featuring the April 2020 Card Kit!
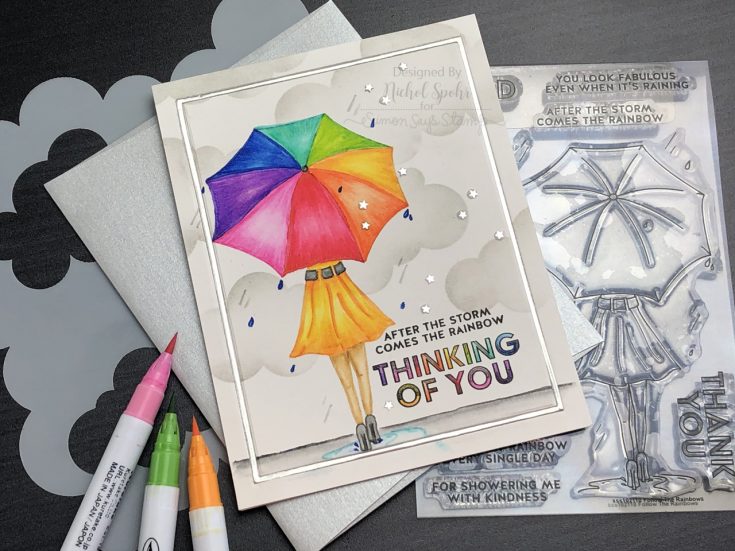
Hi friends! Happy Sunday and please join me in welcoming Nichol Spohr back as a special guest today where she is showcasing a beautiful card idea using our April 2020 card kit. Be sure to watch the video for more information, and enjoy!
WATCH THE VIDEO:
SUPPLIES:
|


Thanks so much for stopping by, and thanks to Nichol for being our guest!


