From Palette to Project: Tim Holtz Fabric Artistry with Paula Cheney
Hi friends! Happy Monday! Please join me in welcoming special guest Paula Cheney to our blog to show a really fun mixed media piece featuring new Tim Holtz Neutral Palette Fabric! Read on to learn more! Enjoy!

Hello! This is my first time sharing a make here on the Simon Says Stamp blog using fabric – Palette Fabric that is! I love the Palette Collection from Tim Holtz because it reflects all the things we all love about idea-ology, but in fabric form! We are showcasing the Neutral Palette collection during the month of April, so I was able to create a project with a more masculine vibe. I did use my sewing machine, but if you are not a sewer you can still make this project using fabric glue or Collage Medium. Let’s get started!


Fabric Panel
- Use Black Soot Distress Paint to paint the edges of a Etcetera Square Panel.
- Cut 9 x 9” pieces of both Pallet Neutral Collage fabric and cotton batting. Place the fabric over the batting. Tip: You can use a bit of glue stick to keep the two pieces together before sewing.


- My piece of Palette Collage fabric had the same photographic image twice but I only wanted it to appear once. The simple solution was to cut a patch using a scrap. Collage Medium works perfectly to adhere the patch over the top. You could use this method to cover any area of the collage.
- Once the patch is dry, you are ready to go to the sewing machine to stitch the fabric and batting together. You can use any pattern of stitching you wish.


- I chose to stitch around the boxes that make up the collage. If you are not a sewer, just skip this step. You will still need to adhere the fabric to the cotton batting with either fabric spray glue or Collage Medium. Once quilted, use a rotary cutter to square up your panel to 8 1/4 x 8 1/4”. The fabric square will be slightly smaller than the Etcetera Square Panel so you will have a painted black edge as a ‘frame’.
- Go back to the machine and add stitching around the outside edge of the Collage panel.
- Adhere the quilted panel to the Etcetera Panel with Collage Medium. Press down to secure.
While the glue is drying, work on the pieces that will make up the collage.


Ruler
- Choose a ruler from the Ruler Pieces pack. 1. Rub a Gathered Twigs Distress Ink pad directly over the ruler. 2. Using the tip of your finger rub Collage Medium over the ink. The ink will wick to make create a rich finish. 3. Once dry, use the small hole on a Crop-A-Dile to punch a hole on each end of the ruler.
- Use a clear Tonic Media Ruler to center and level the wood ruler on the fabric panel. I love being able get a clear visual so I know the wood ruler is straight. Drive a Tack Nail into each end of the Ruler Piece with the Tonic Texture Hammer. Using the textured end of the hammer, purposefully bend the nail up, so it does not go all the way through the board.

Window Frame
- The Baseboard Window Frame is great from the package, but to up the ante I wanted to create an easy painted finish. The first step was to paint it with Black Soot Distress Paint.


- Once dry, sand away some of the paint and surface with steel wool.
- Scribble over the surface with a Walnut Stain Distress Crayon, then rub the crayon with your fingertip to disperse. Pounce with a wet wipe to remove some the crayon.


- Use a dot runner to add a Transparent Layer to the back of the Window Frame.
- Drip Gunmetal Mixative over 2-3 Screw Heads (remember to shake up before use). Once dry, color surface with crayon to add some grunge to the metal.
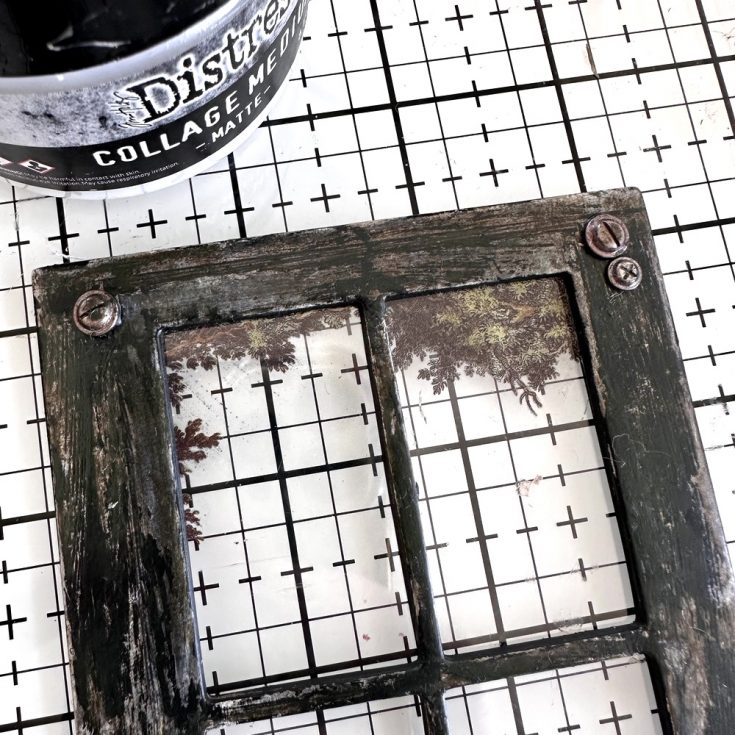

- Add Screw Heads to the window frame with Collage Medium. Let dry before standing the window up.
- Add four 3D Foam Squares to the back of the Window Frame so it will sit above the fabric backing. Add a bit of Collage Medium to the 3D Foam Squares to secure them to the fabric below. Let dry.

Pocket Watch
- Add a Gauge Dial to the back of a large Pocket Watch. The pack comes with so many choices it will be hard to decide which to choose! You may need to trim just a bit around the edge to make it fit comfortably in the back of the watch. Secure Gauge Dial with Collage Medium.


- Use Gold Mixative to color both the small bird from the Adornments Sweetheart pack and a large arrow from the Quill and Arrow pack. Once shaken, I like to drip the Gold Mixative over the metal, then soak up any excess with a felt pad, leaving a slightly aged appearance.
- Adhere the tiny bird to the center of the of Pocket Watch with Collage Medium. Add a Clipping sentiment to the watch.
- Adhere the back of the Pocket Watch to the front with Collage Medium. Let the two pieces dry before adding it to the panel.

Paper Dolls
- I wanted to add an image from the Paper Doll Groups pack. I chose these boys and colored them with Distress Crayons. It does not matter what colors you use (anything goes) but I do like to use rich, dark colors when the clothing is dark. I color directly over the clothing, then rub the crayon with my fingertip to smooth it out. The final step is to use a cotton swab to thin it out so the clothing details come through the crayon. If you take too much off, just add more crayon and start again.

- Adhere the paper dolls to the Window Frame with 3D Foam Squares + Collage Medium. The Pocket Watch was also added with Collage Medium. I like how you can make the boys arm look like he his leaning on the big Pocket Watch.


Bringing it all Together
- Now the main sentiment. I picked one from the Quote Chips Labels pack. I colored it with Walnut Stain crayon, then added Stormy Sky on the edges and rubbed it in. I also rubbed a bit of white paint on Tiny Clip that will appear to hold it in place.
- Add the Tiny Clip to the end of the Quote Chip Label, then add a double stack of 3D Foam Squares on the left side. Add Collage Medium to secure it directly to the Window Frame. Add a few small 3D Foam Squares to the back of the arrow. Tie a string around the neck of the arrow and added it to the collage so it is pointing to the quote above.


- One last thing. Cut out a group of stamps (9-12) from the Palette Neutral Stamps fabric. Stitch around a few of them (I did better on some than others so I decided to give myself a selection to choose from). While the stamps are still in a group, paint the back with Collage Medium and dry with a heat tool. Once dry, cut the stamps out (so easy to cut small things with this method).
- Add some string to the back of the stamps with Collage Medium so they hang in a row. Add a Mini Pin to the top stamp.
- Use Collage Medium to add the stamps to the right of the Window Frame so they appear pinned on.

SUPPLIES:
|
Thanks so much for stopping by, and thanks to Paula for being our guest!
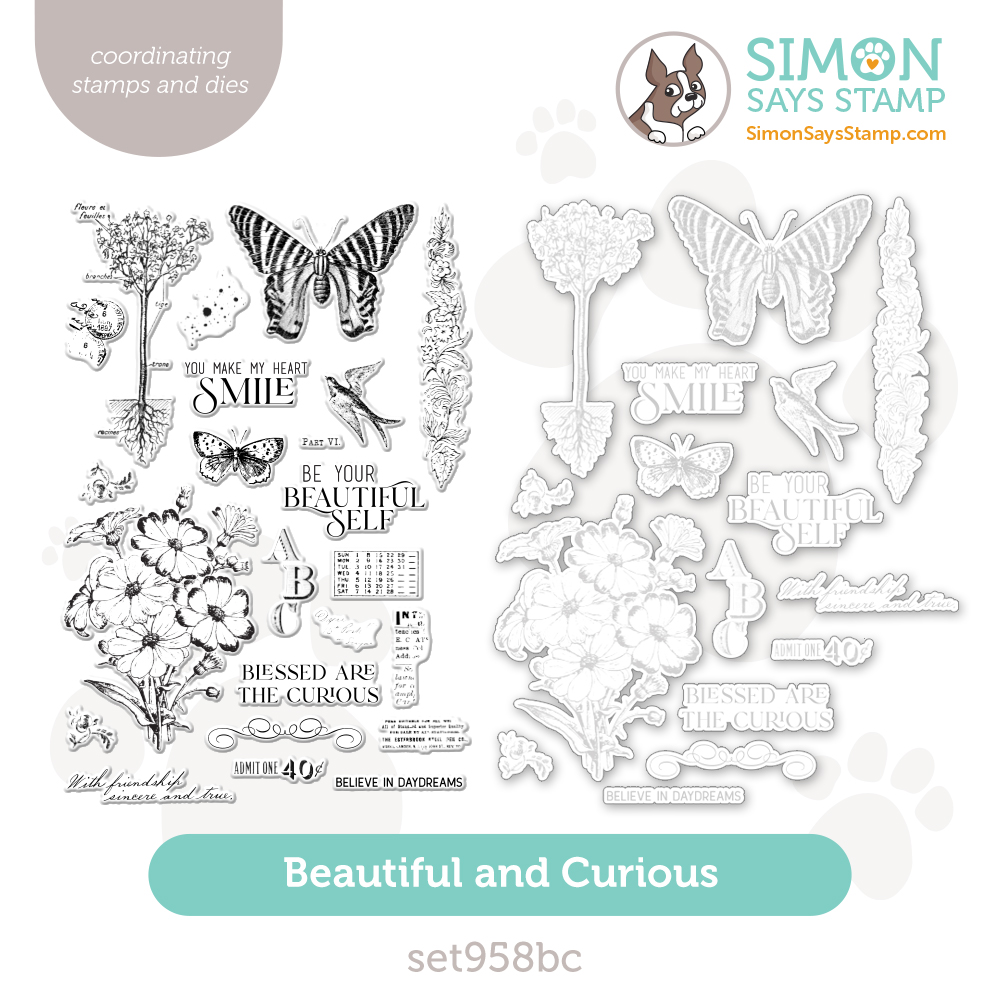
Getting Curious with Color—Distress Crayons in Action: featuring our May 2025 Card Kit!

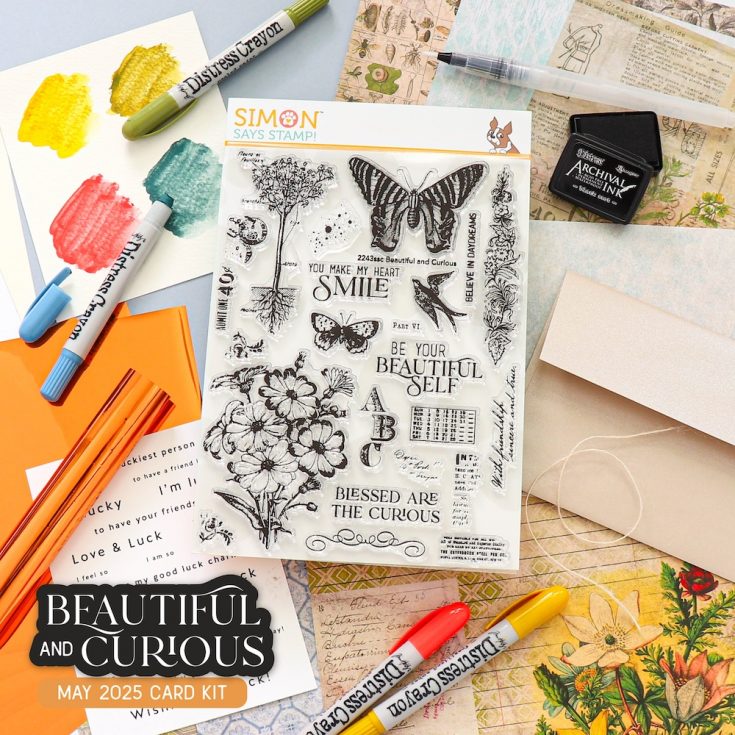
Hi friends! Happy Wednesday! We’re delighted to welcome back special guest Laura Bassen as a guest on our blog today to share some new and gorgeous card kit inspiration showcasing our May 2025 Card Kit Beautiful and Curious! Be sure to watch the video for all the details, and enjoy!

WATCH THE VIDEO:

SUPPLIES:
|
Thanks so much for stopping by, and thanks to Laura for being our guest!
Did you know?! We’ve made our card kit subscription BETTER THAN EVER!
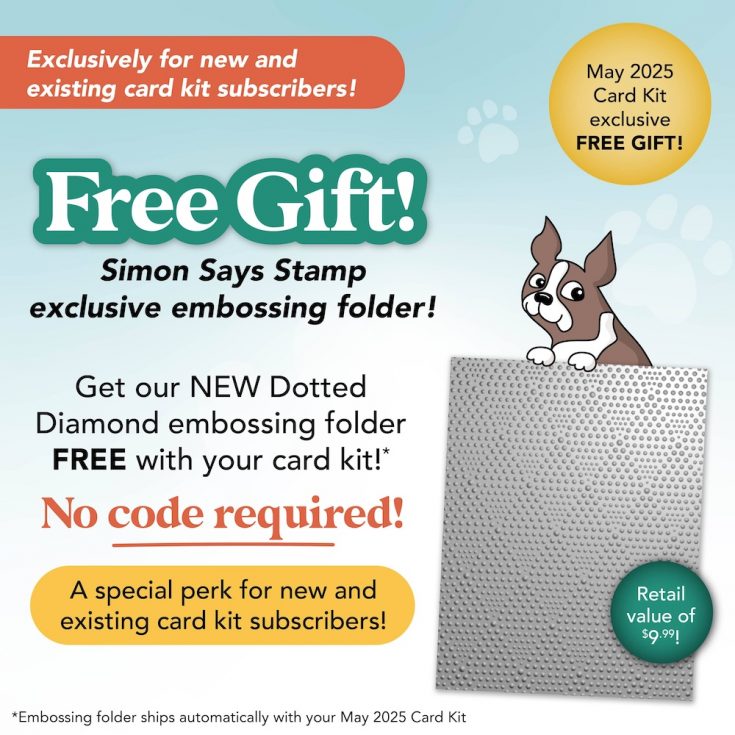
Special May 2025 Subscriber PERK!
Learn more:
Here’s what makes our new service a crafting paradise:
Exclusive Access: As a subscriber, you get first dibs! Each month, you’ll get an exclusive sneak peek at our new kit, with the option to add more coordinating items to your cart, including handy replenishable supplies, all shipped together for your convenience.
Hassle-Free Payments: Say goodbye to monthly billings! Our automated system smoothly charges your preferred card, ensuring an uninterrupted flow of crafty goodness – unless you decide to pause, of course!
$5 Off Magic: Enjoy a special $5 discount off our kit’s retail price, exclusive to our beloved subscribers – no codes needed, just automatic savings!
Crafting Inspirations: Dive into a sea of creative ideas monthly, all tailored around your kit, to keep your inspiration flowing endlessly.
Flexibility First: Fear of commitment? Not here! Our subscription is as flexible as it gets – pause or cancel anytime, no strings attached.
Why wait? Step into the realm of our NEW Simon Says Stamp Monthly Card Kit service. Welcome a box full of crafting marvels, right to your doorstep. Craft with ease and let creativity come to you!
Ready to elevate your craft? Subscribe Now and open the doors to boundless creativity!
We’re thrilled to have you in our crafting community and can’t wait to embark on this renewed creative adventure together!
Simon Says Stamp You Are My Favorite Release Blog Hop 2!

Hello, friends, and welcome to day two of our You Are My Favorite release blog hops! If you missed yesterday’s hop, be sure to circle back and check it out HERE.
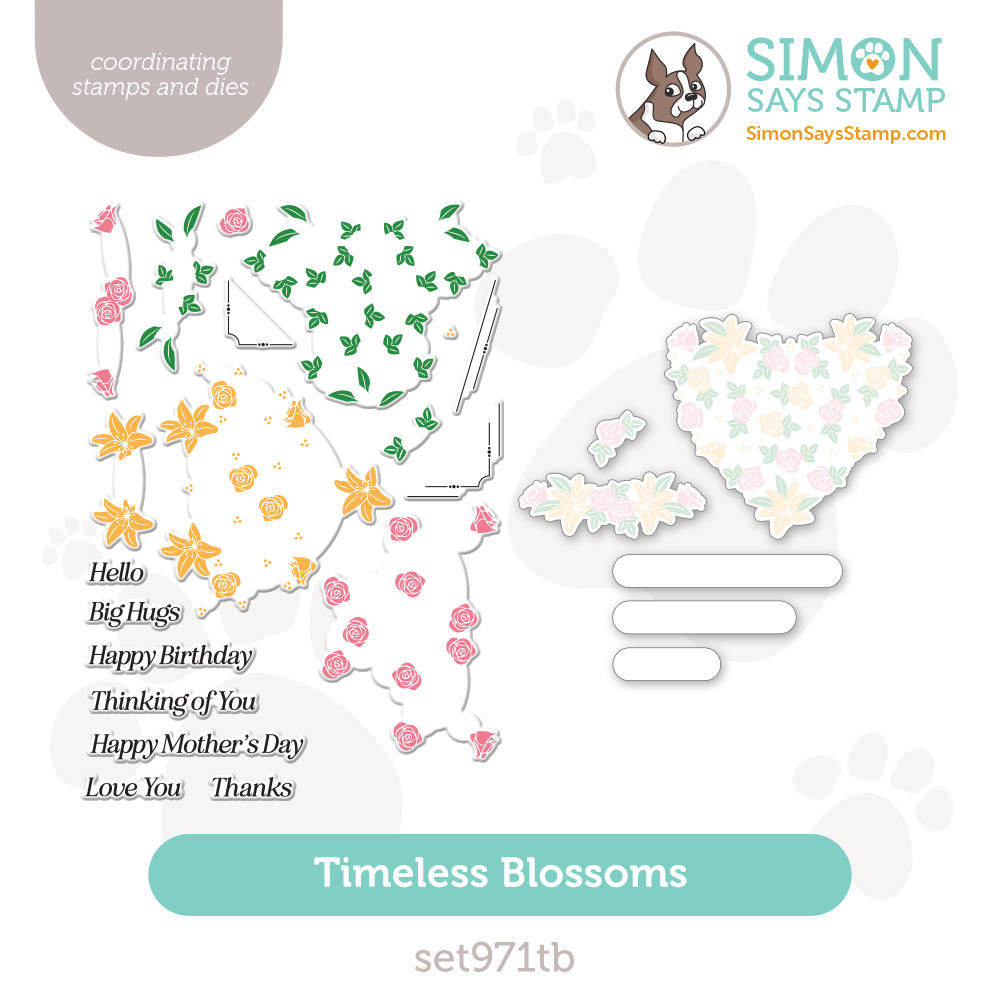
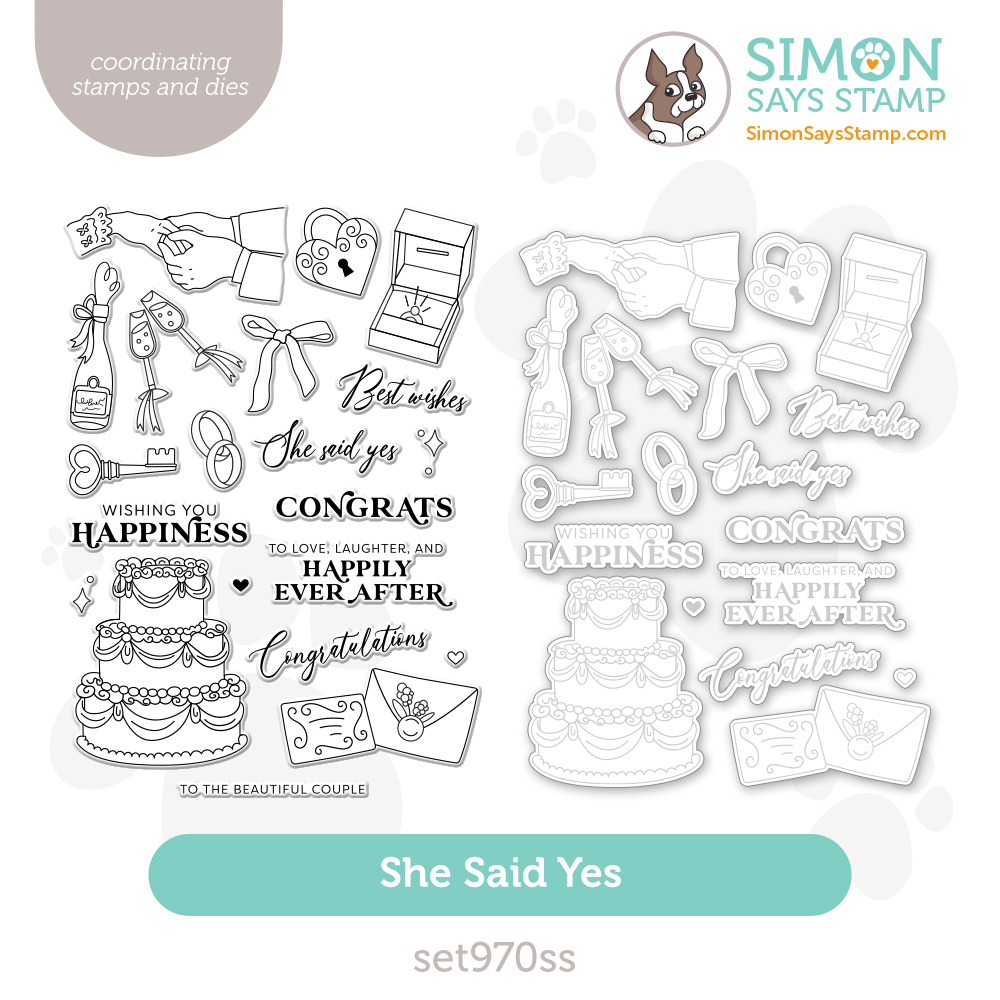
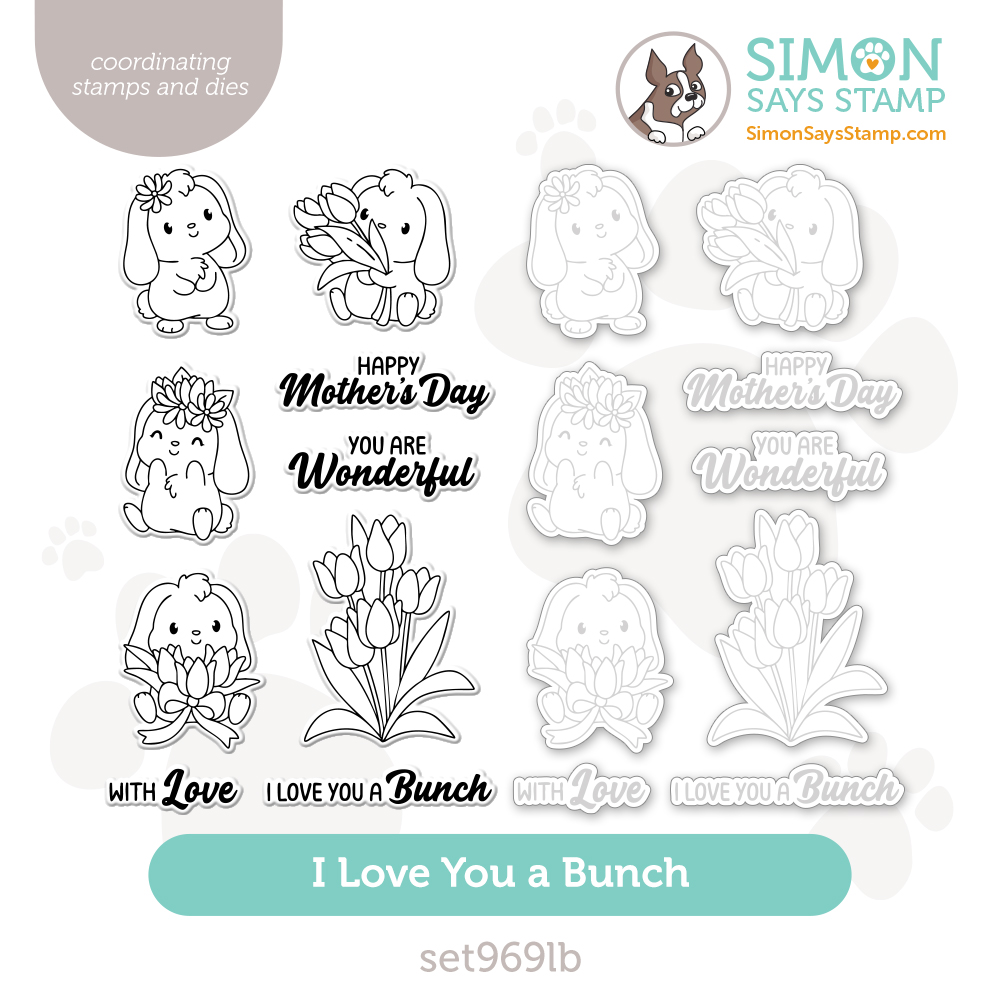
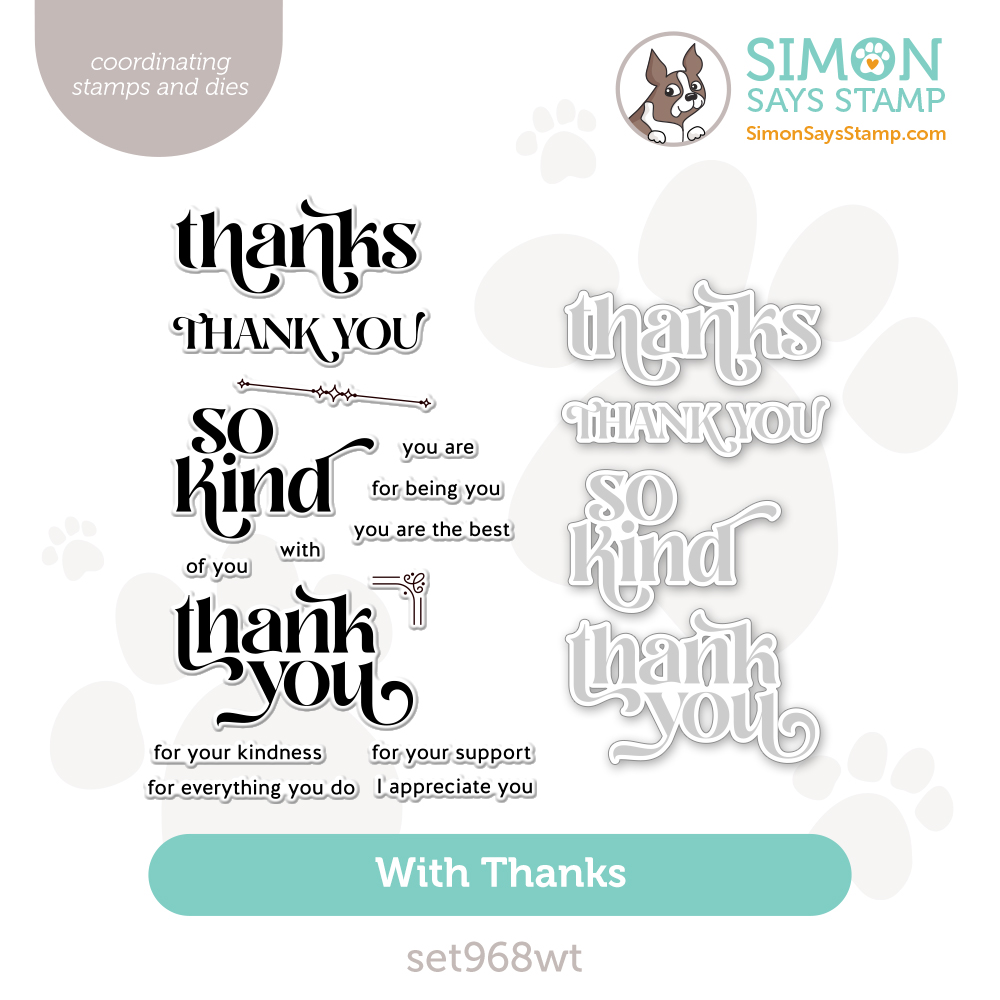
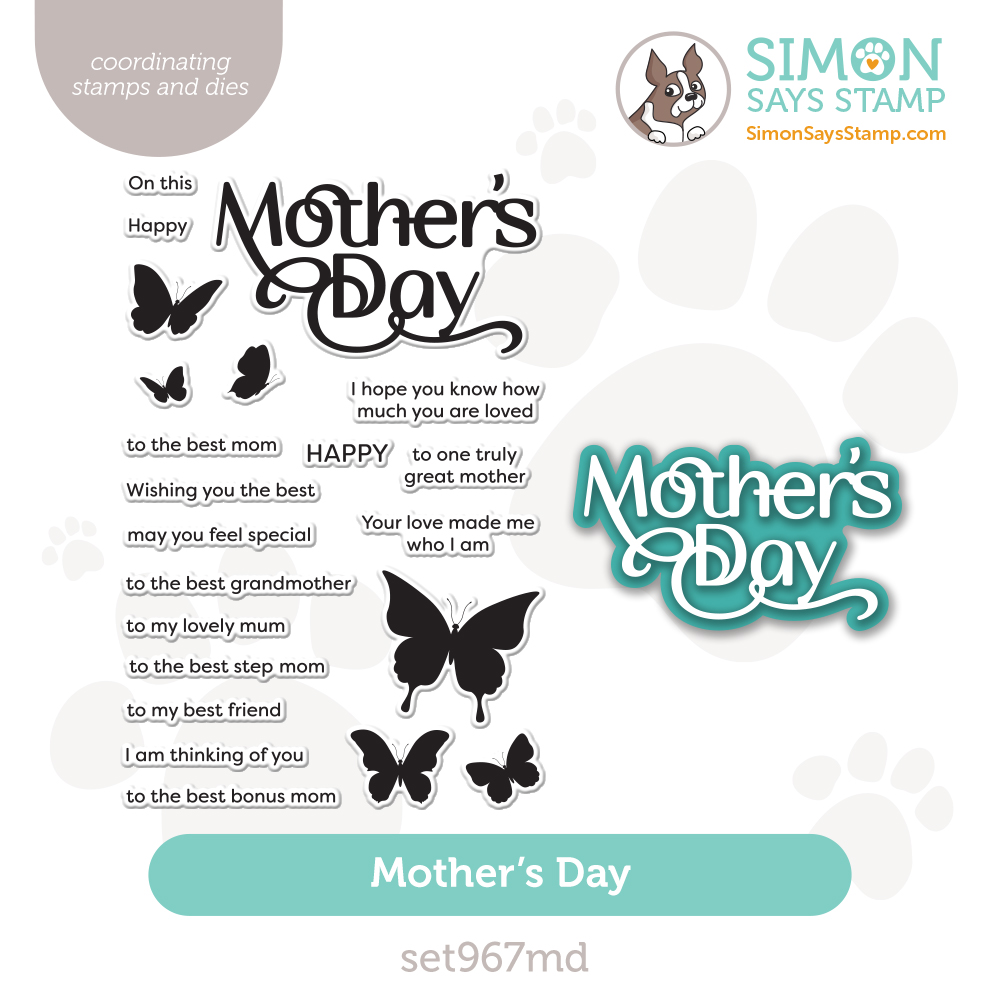
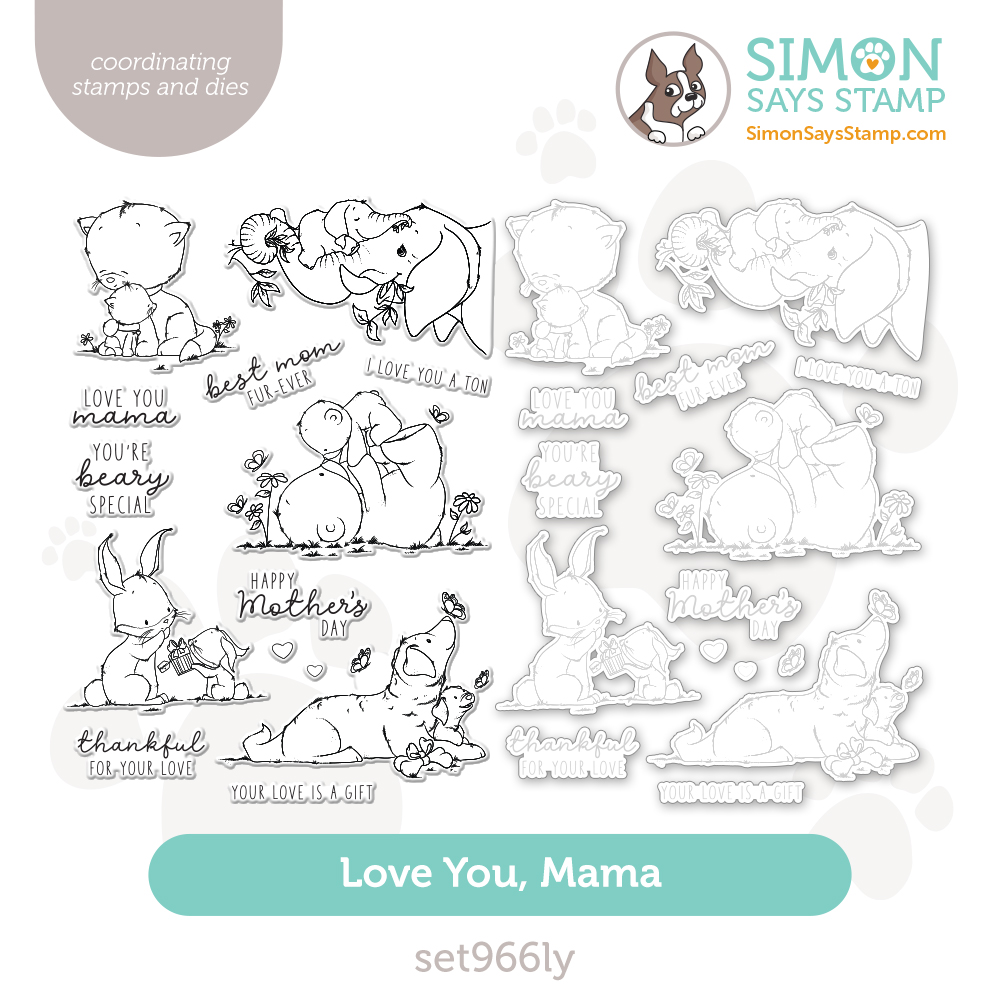
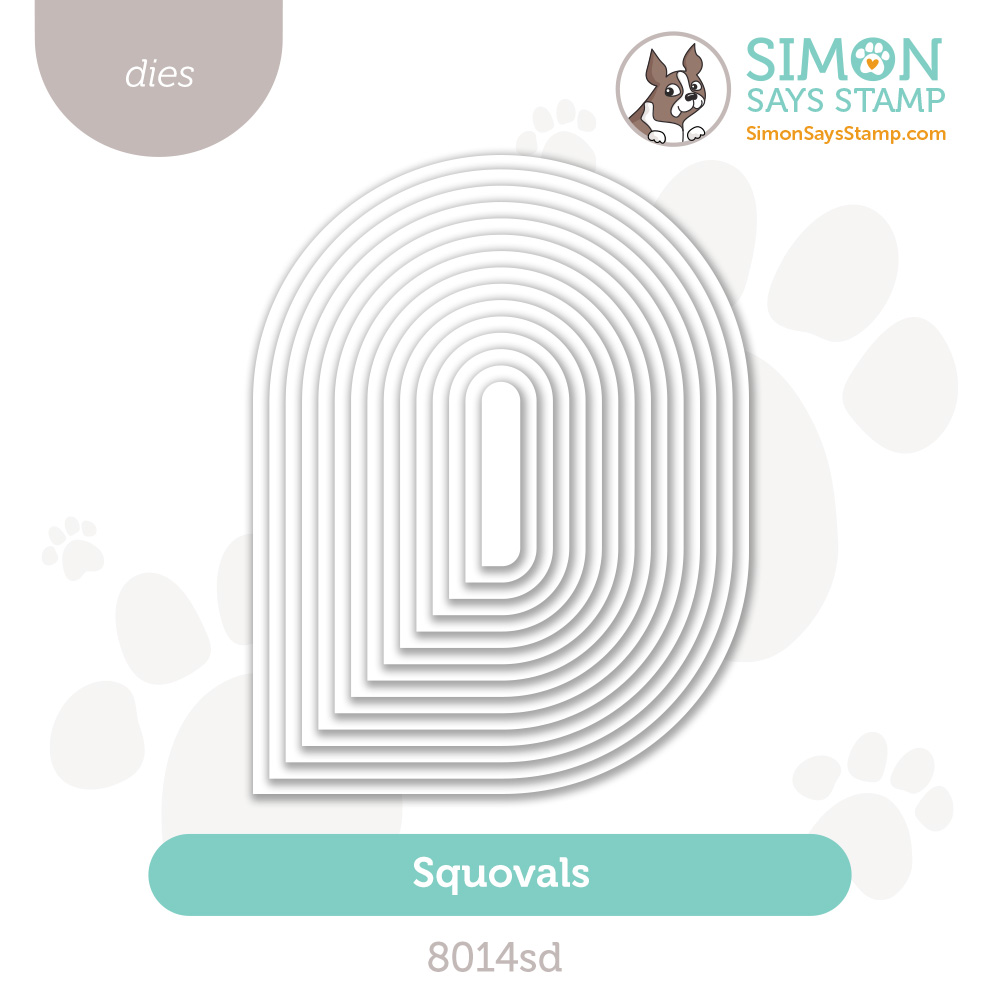
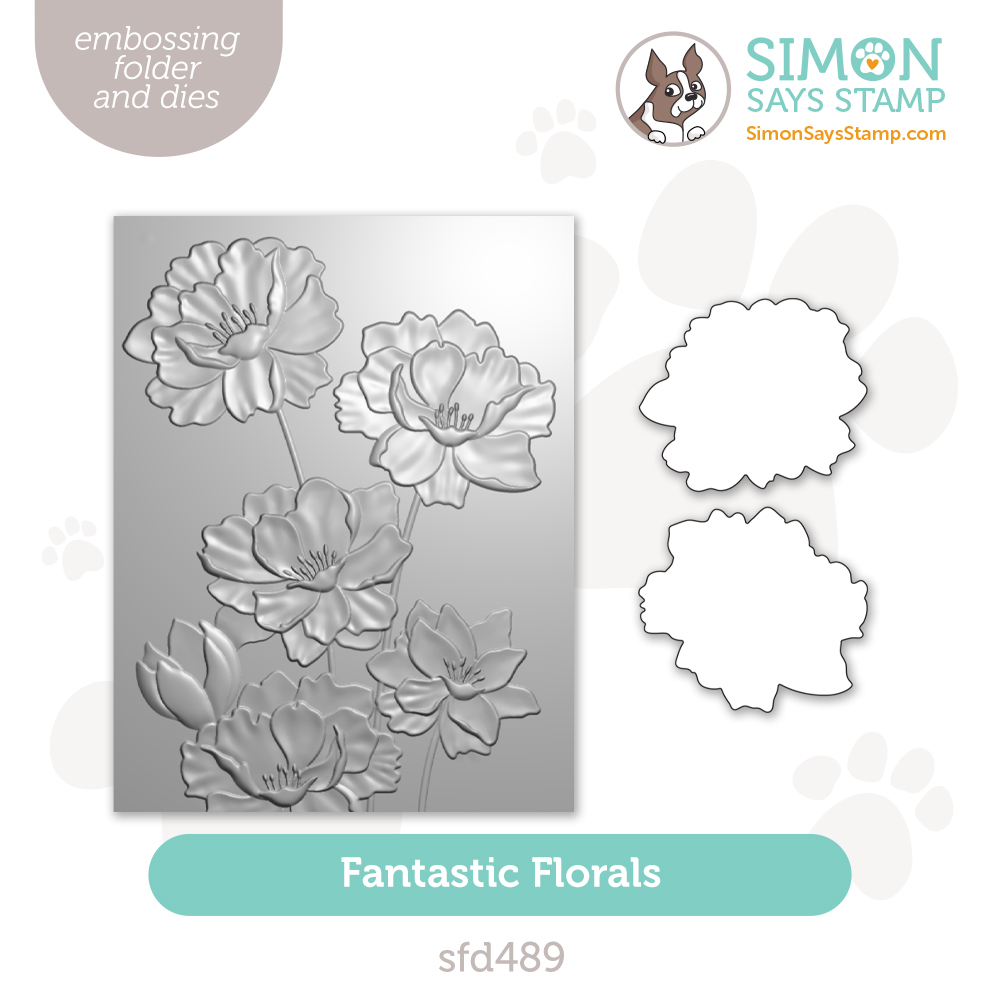
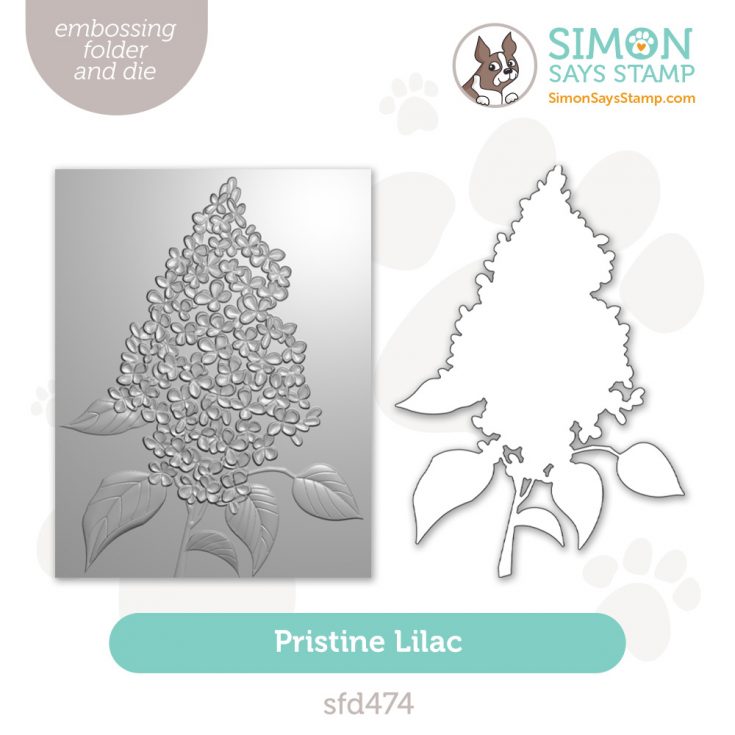
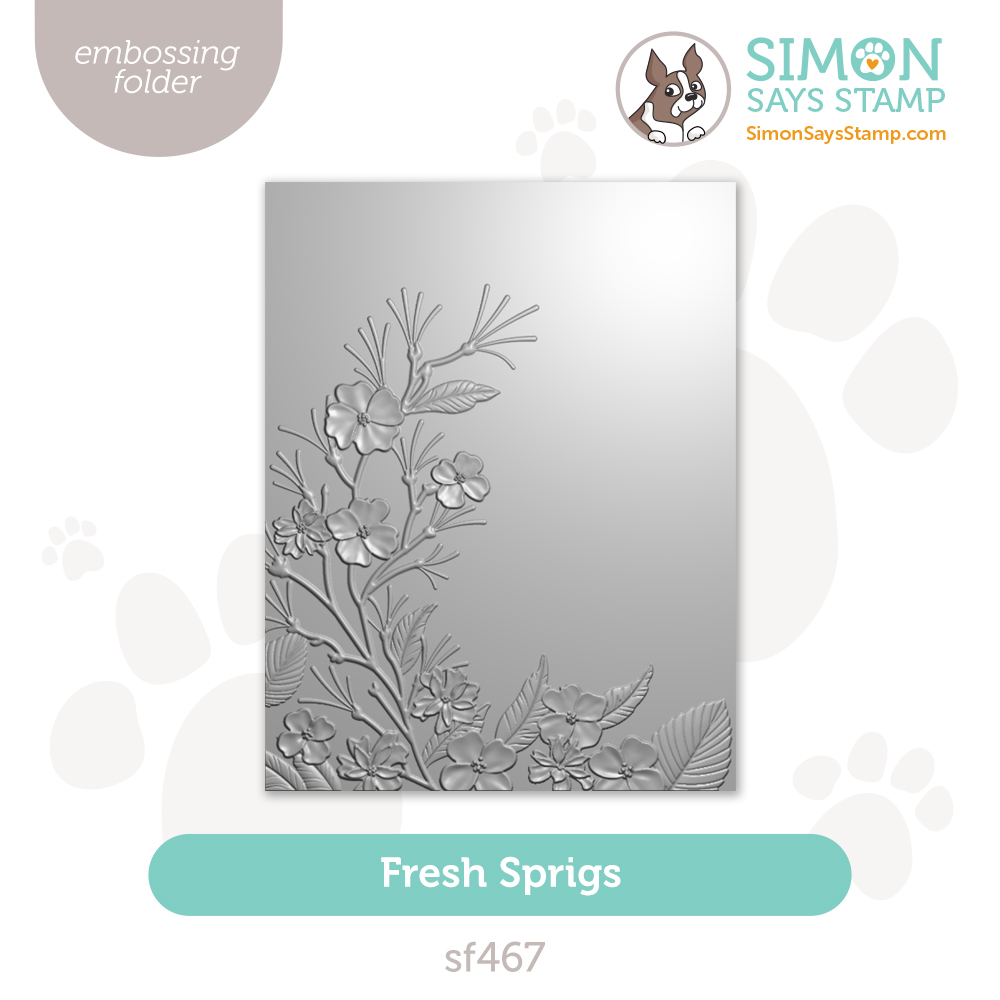
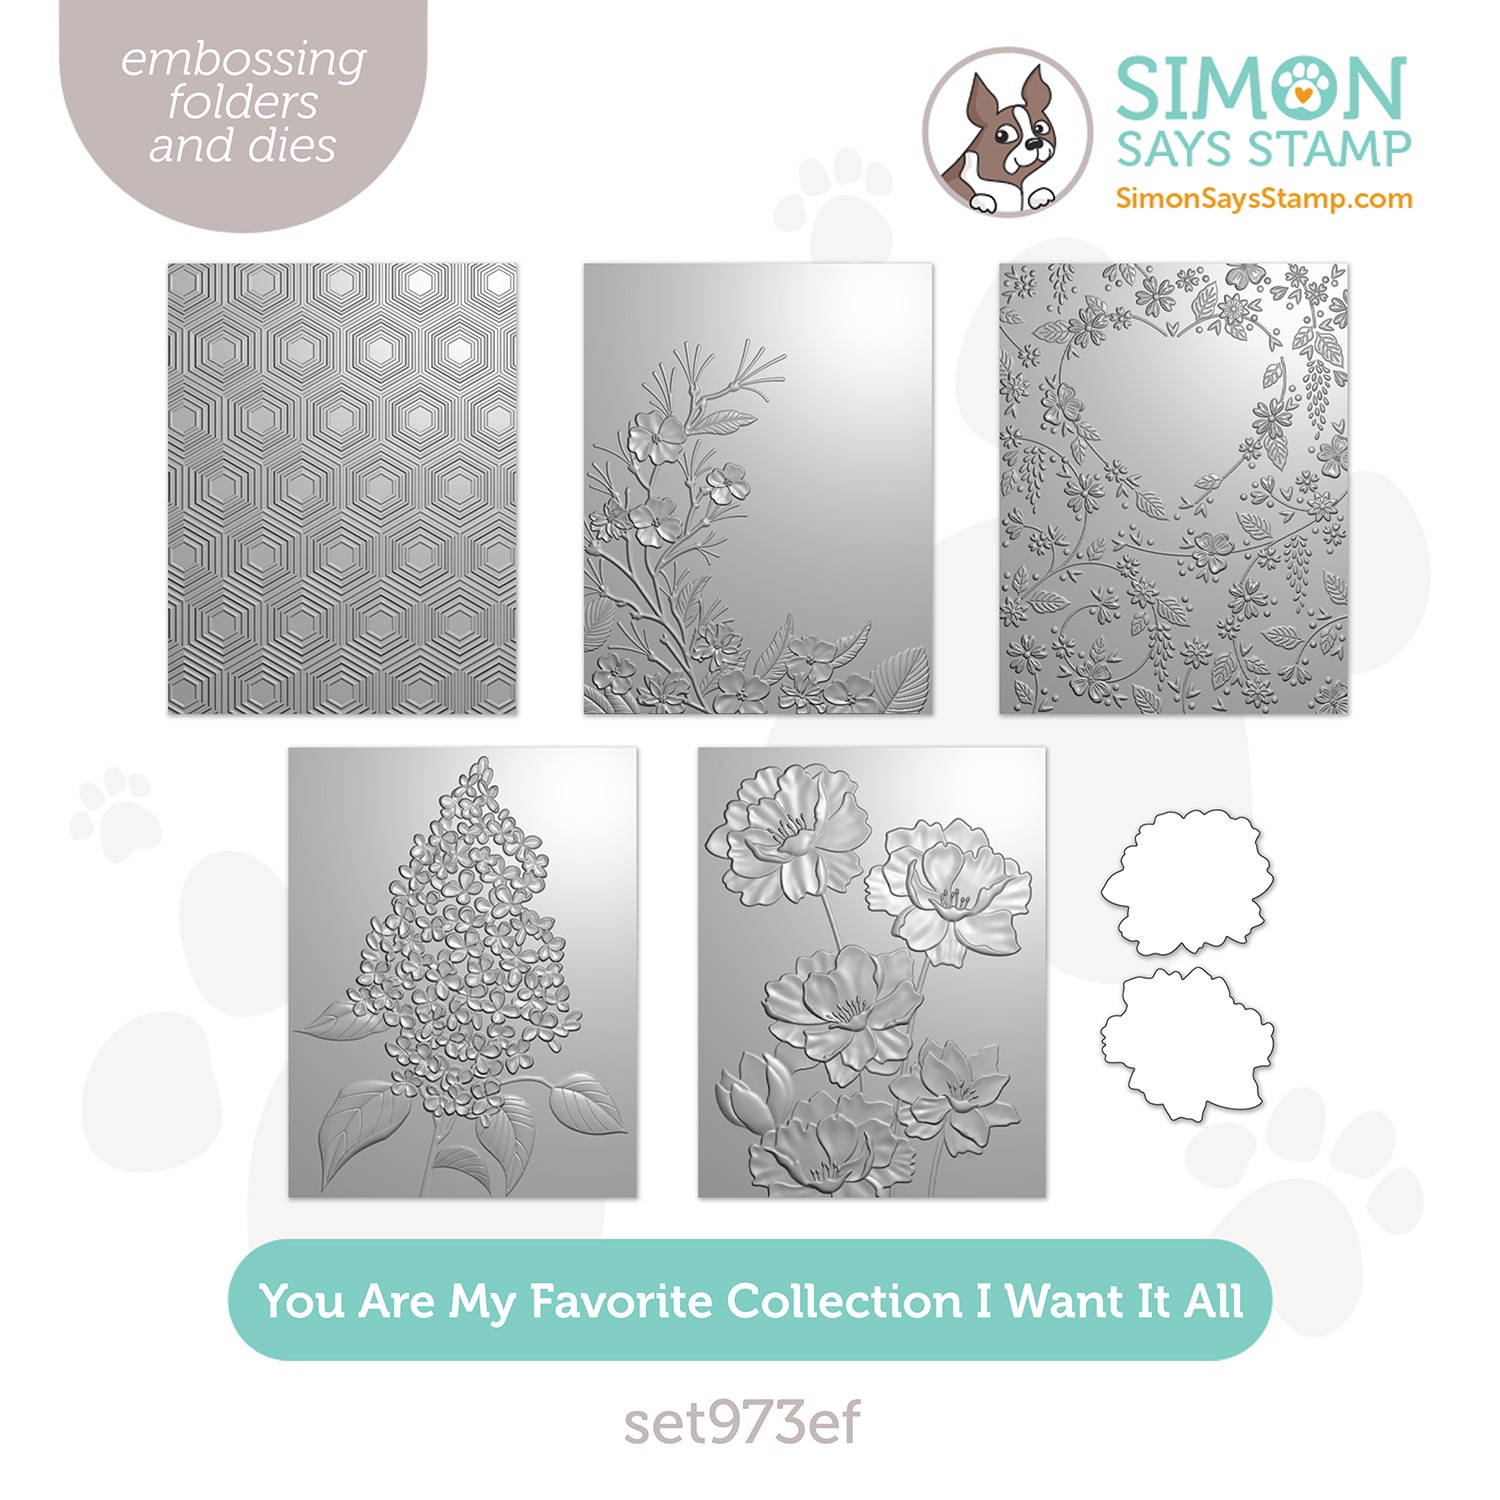
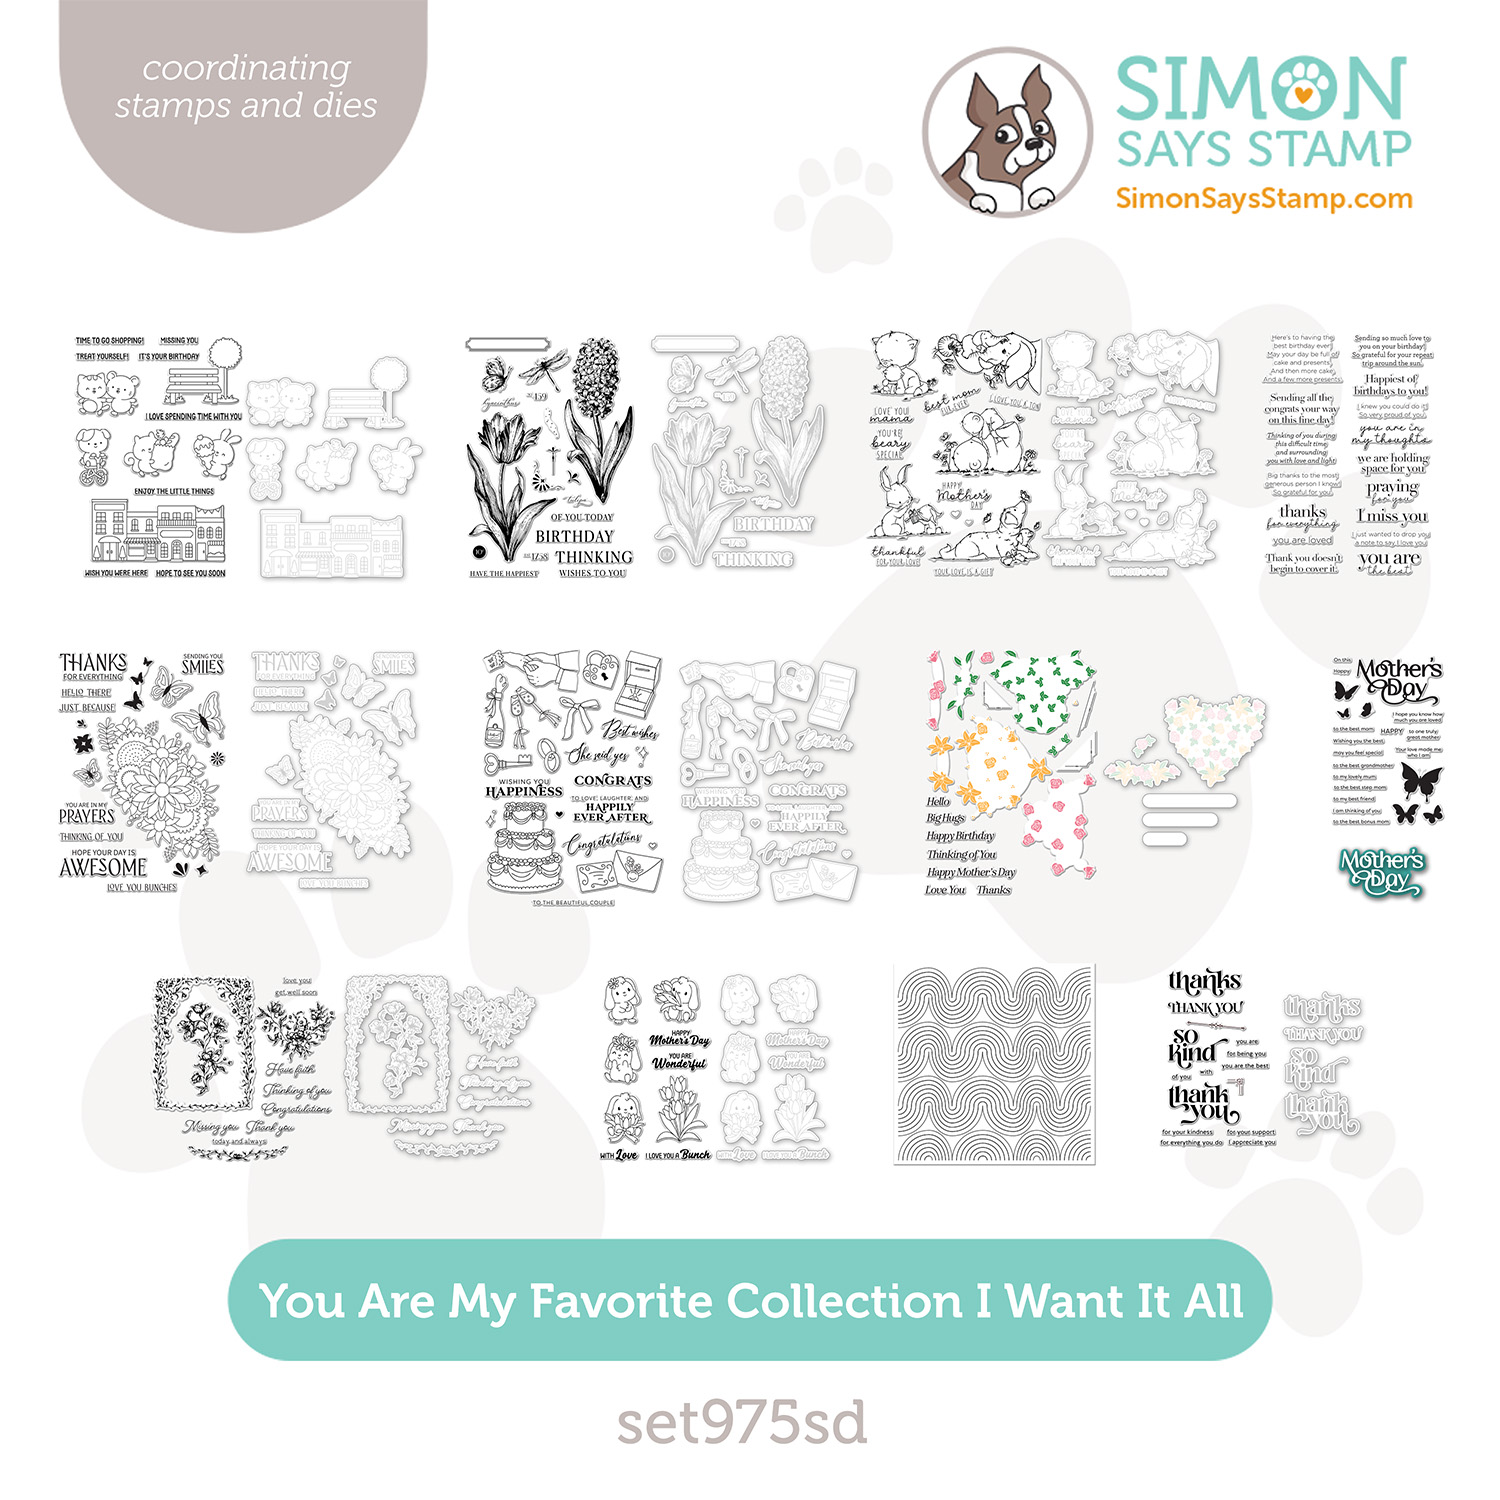
In case you were wondering, You Are My Favorite! Our latest collection abounds with must-haves like versatile nesting dies A2 Rectangles, Petal-Tipped Labels, and Squovals; mom-themed sets like Mother’s Day and Love You, Mama; and flowery goodness like our Fantastic Florals and Pristine Lilac embossing folders.
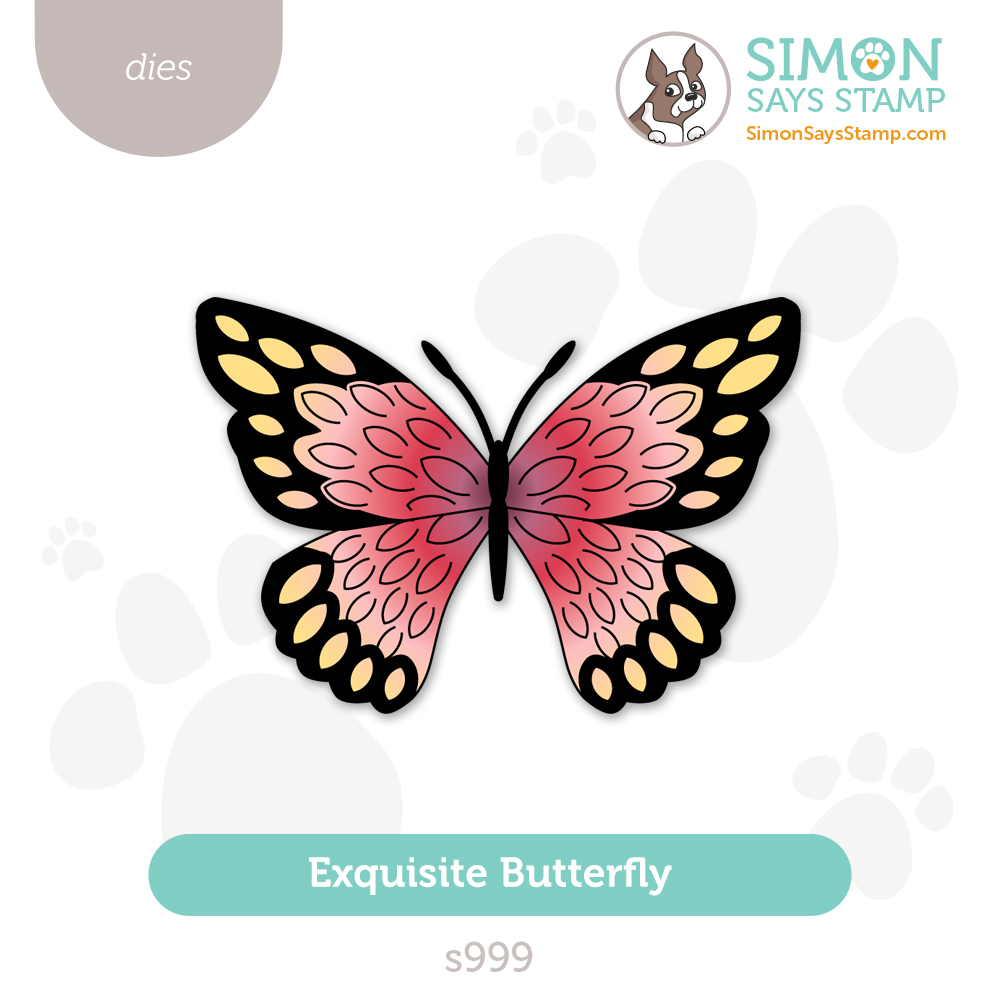
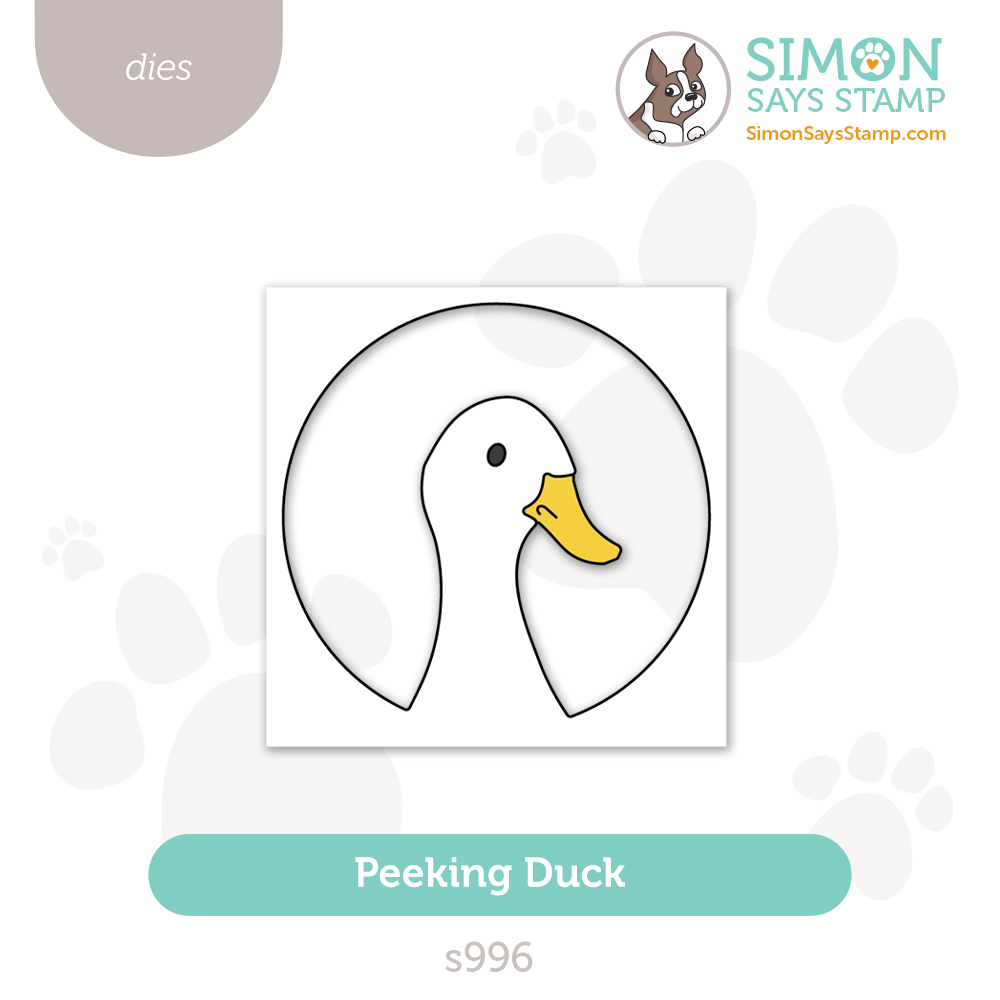
And don’t miss the cutest Duck Trio, an Exquisite Butterfly and several new shimmery vellum packs. We think you’ll discover some sure-to-be favorites in this release!
Before we hop, let’s take a look at some fabulous inspiration from Caly Person and Shari Carroll:


We love our customers! And we love your enthusiasm for our exclusive releases and blog hops. To celebrate, Simon has set aside a free gift just for you! Our exclusive Sunny Fern emboss and cut folder is automatically added to your cart that contains $30 or more of You Are My Favorite release products! This gift with purchase will expire 4/27 at 11:59 pm EDT or while supplies last. Check out the details on the graphic at the top of this post for information about claiming your gift.
Ready for even more You Are My Favorite inspiration? Hop along with these talented designers! You’ll be inspired AND for every comment you leave on each blog, you’ll earn a chance to win a $25 Simon Says Stamp store shopping spree. YAY!
- Simon Says Stamp Blog <<YOU ARE HERE!
- Nina-Marie Trapani
- Suzy Plantamura
- Laura Bassen
- Cathy Zielske
- Nichol Spohr
- Amy Rysavy
- Debby Hughes
- Heather Ruwe
- Bibi Cameron
- Sandi MacIver
- Alberto Gava
- Caryn Davies
- Kath Stewart
- Revati Panickar
- Carol Hintermeier
Please share some feedback with these creative artists who work hard to inspire and excite us! Your comments mean so much to them.
Thanks again for joining us today!

We hope you will join us on Instagram on Thursday, May 1, for an Instagram Hop featuring our You Are My Favorite release! We are excited to share awesome ideas from several creative minds using these fantastic products.
You’ll love browsing our You Are My Favorite gallery on our blog for loads of additional inspiration, and you can add your projects to these galleries as well!
Shop the new collection:
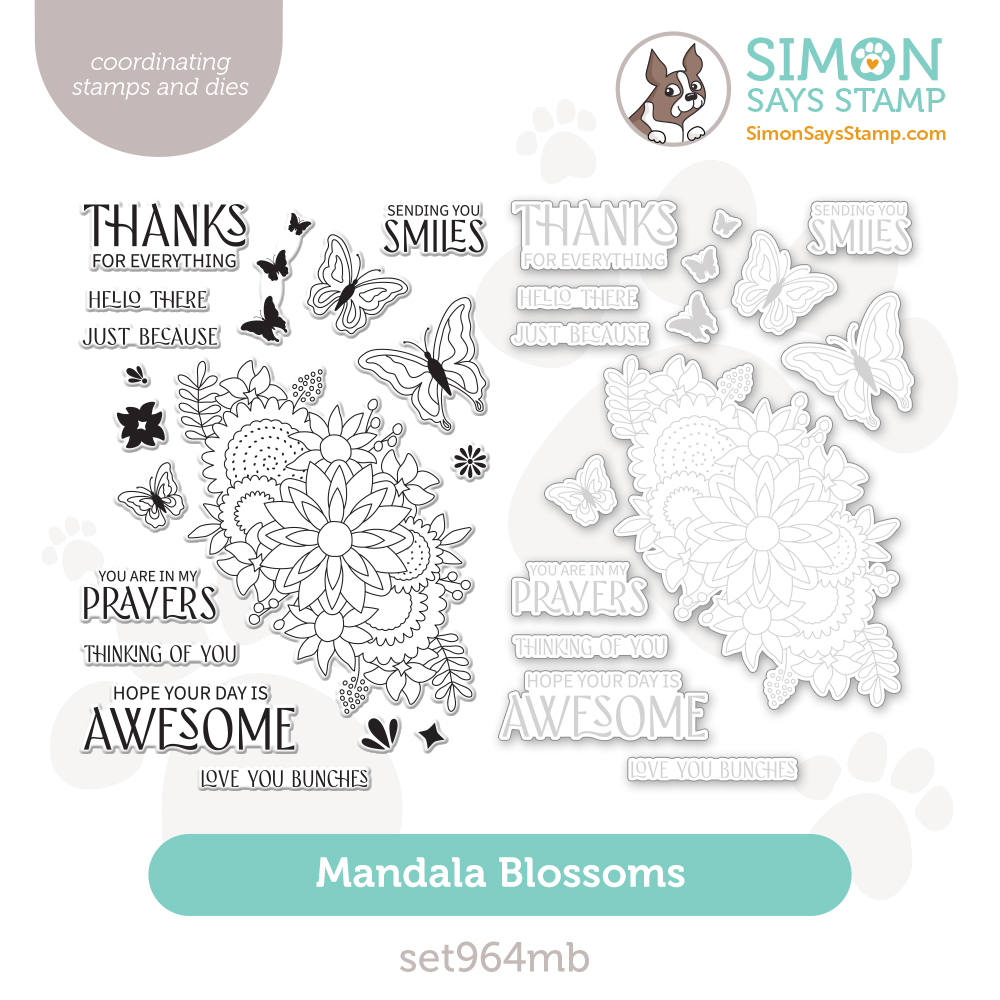
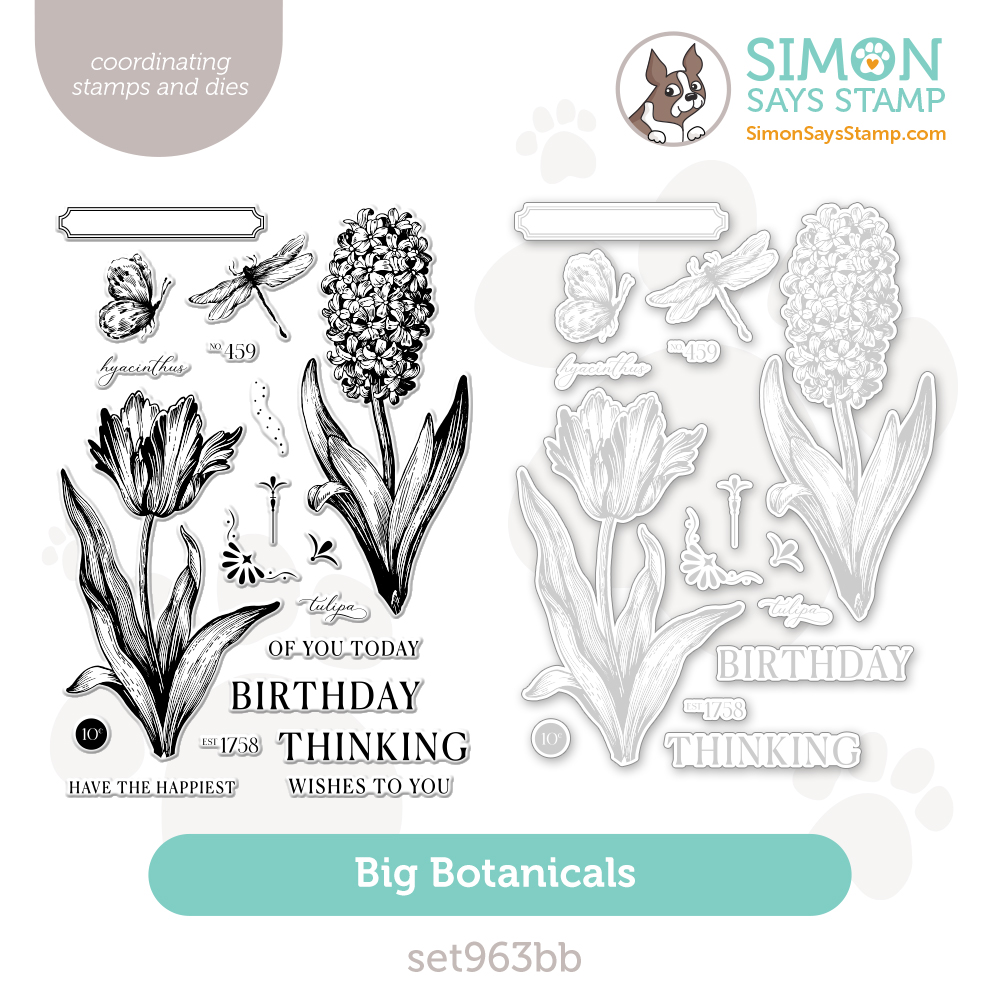
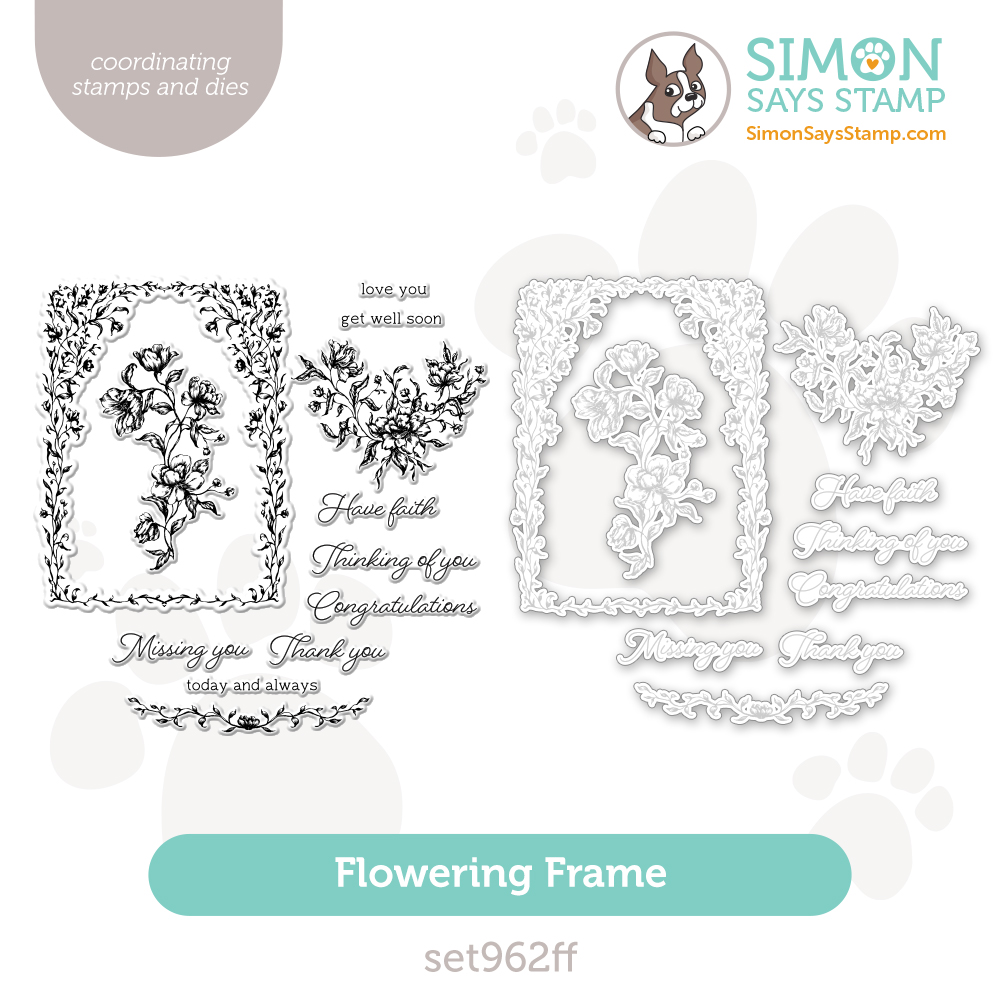
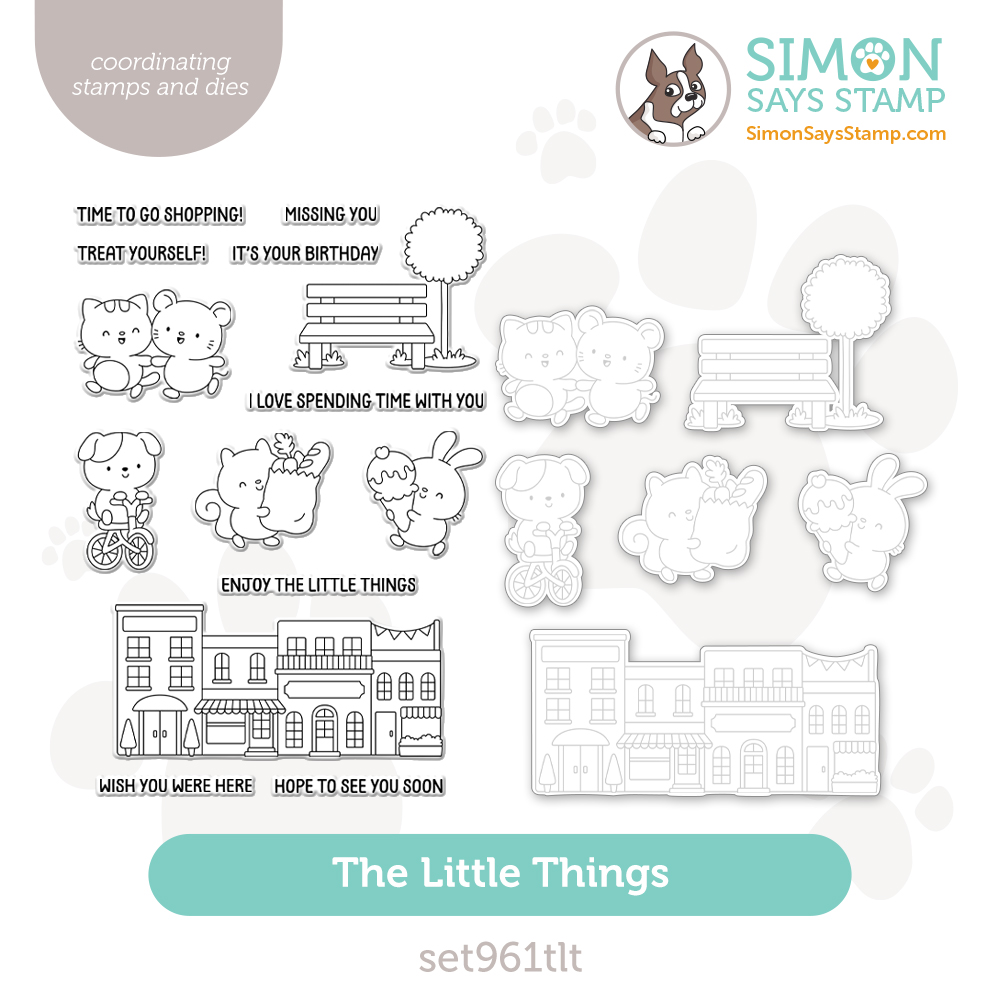
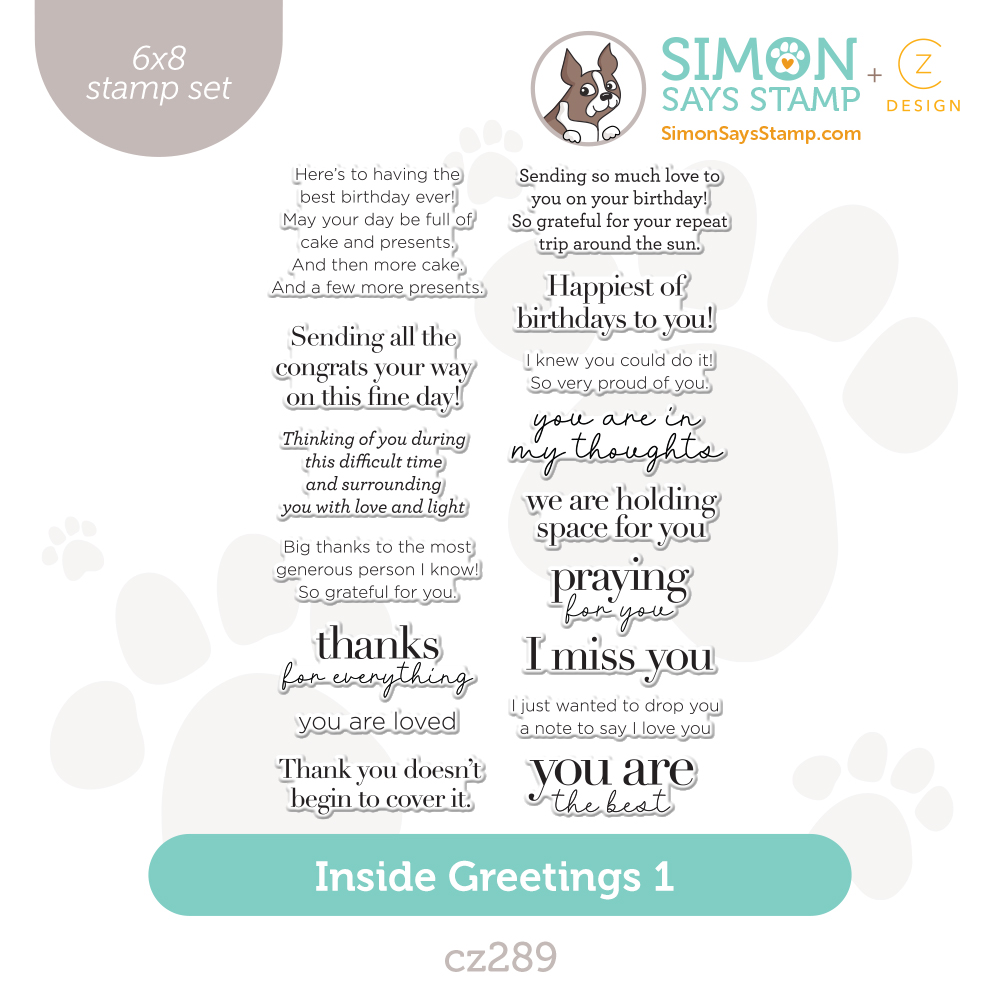
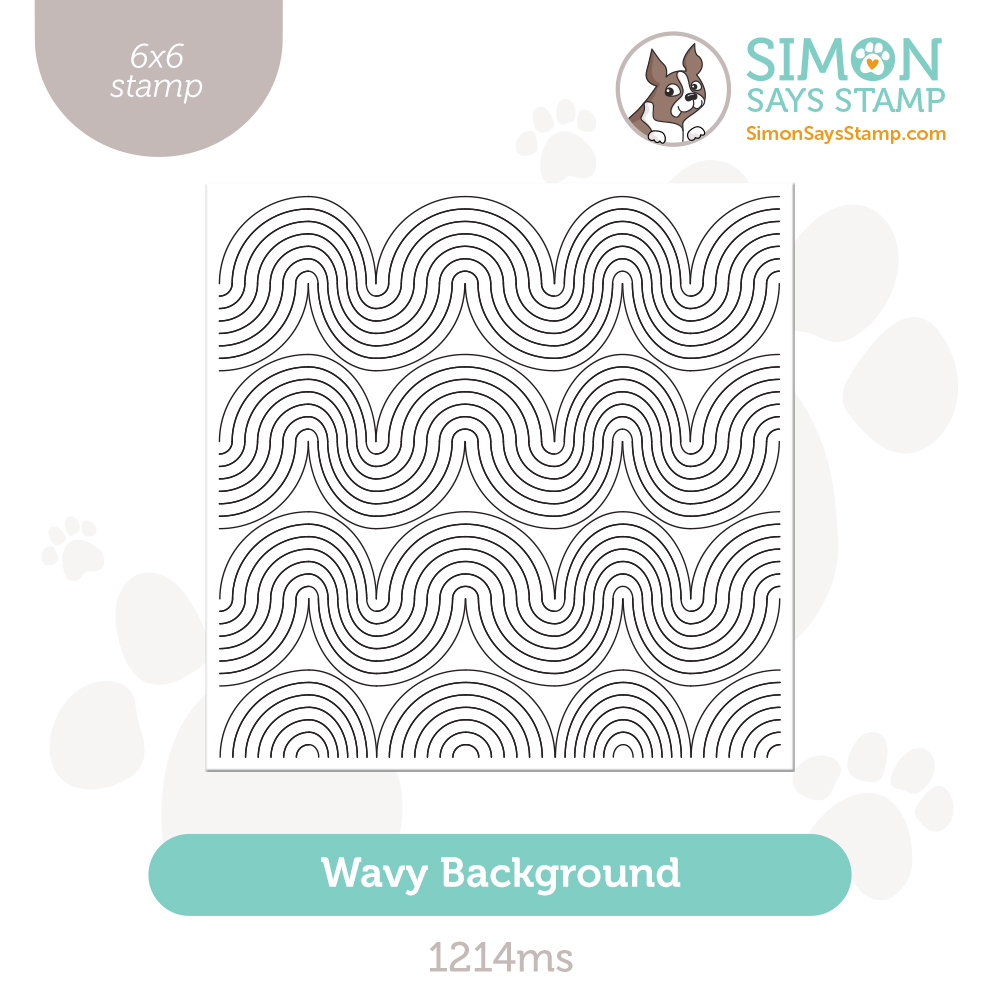

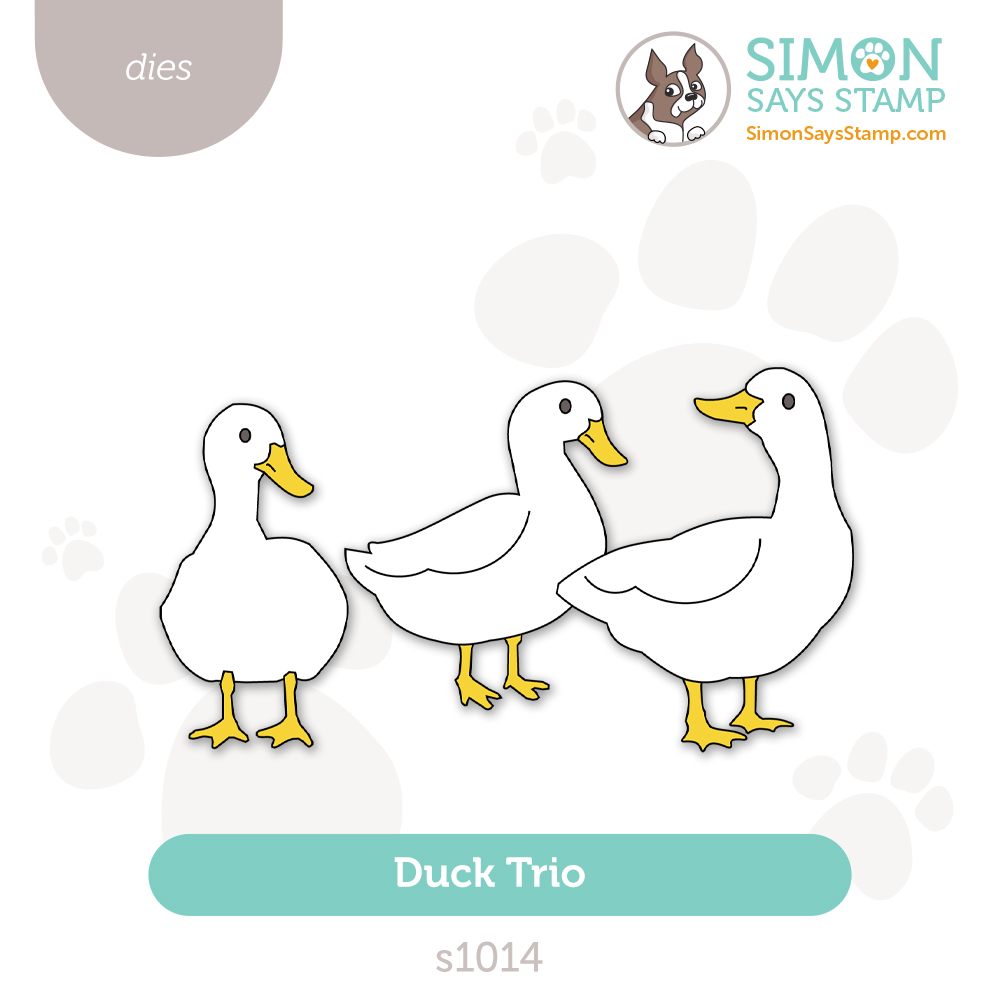
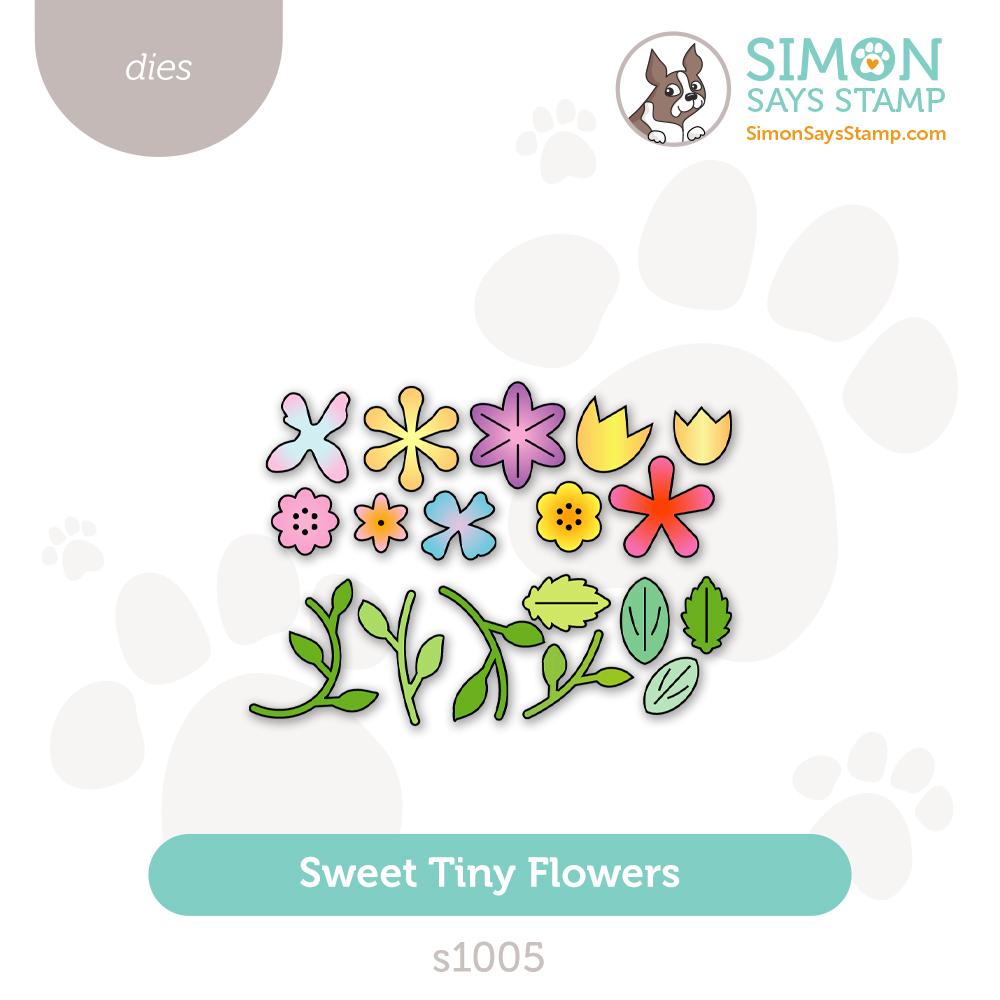
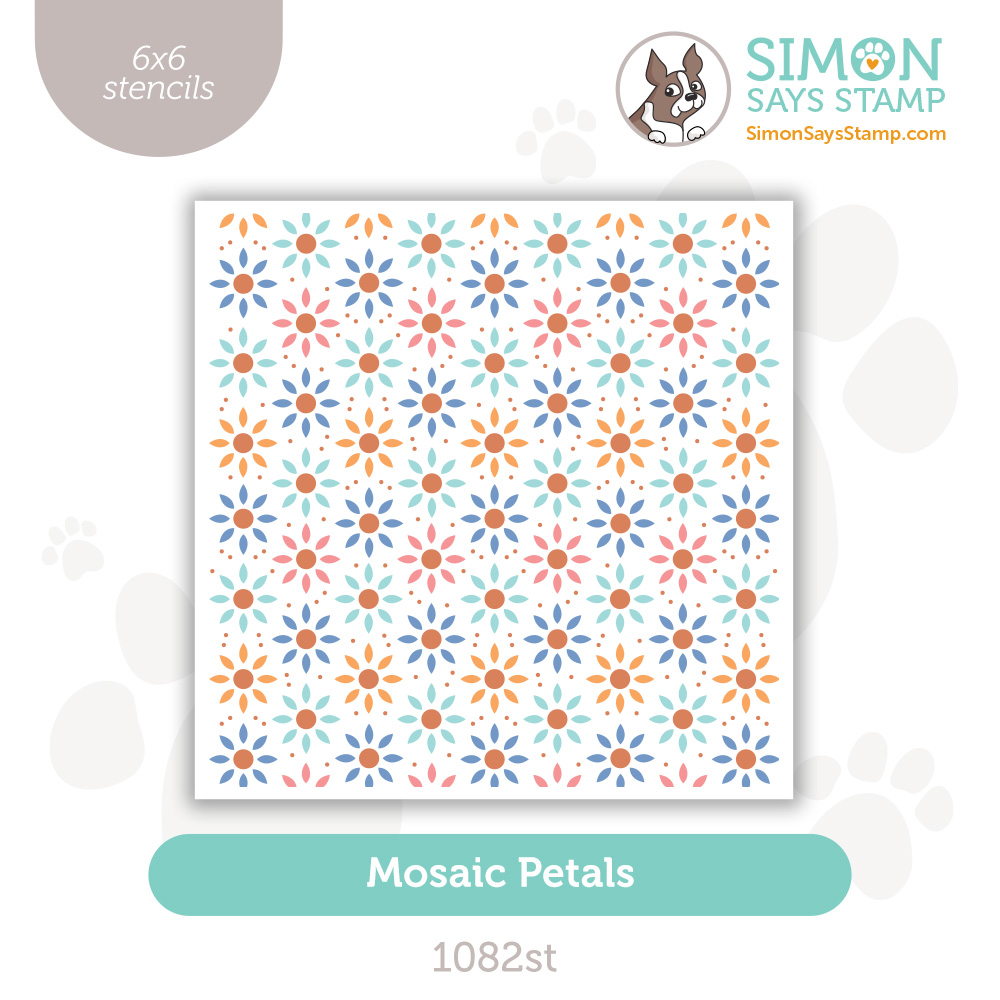
Can’t pick a favorite? Shop our NEW Bundles:
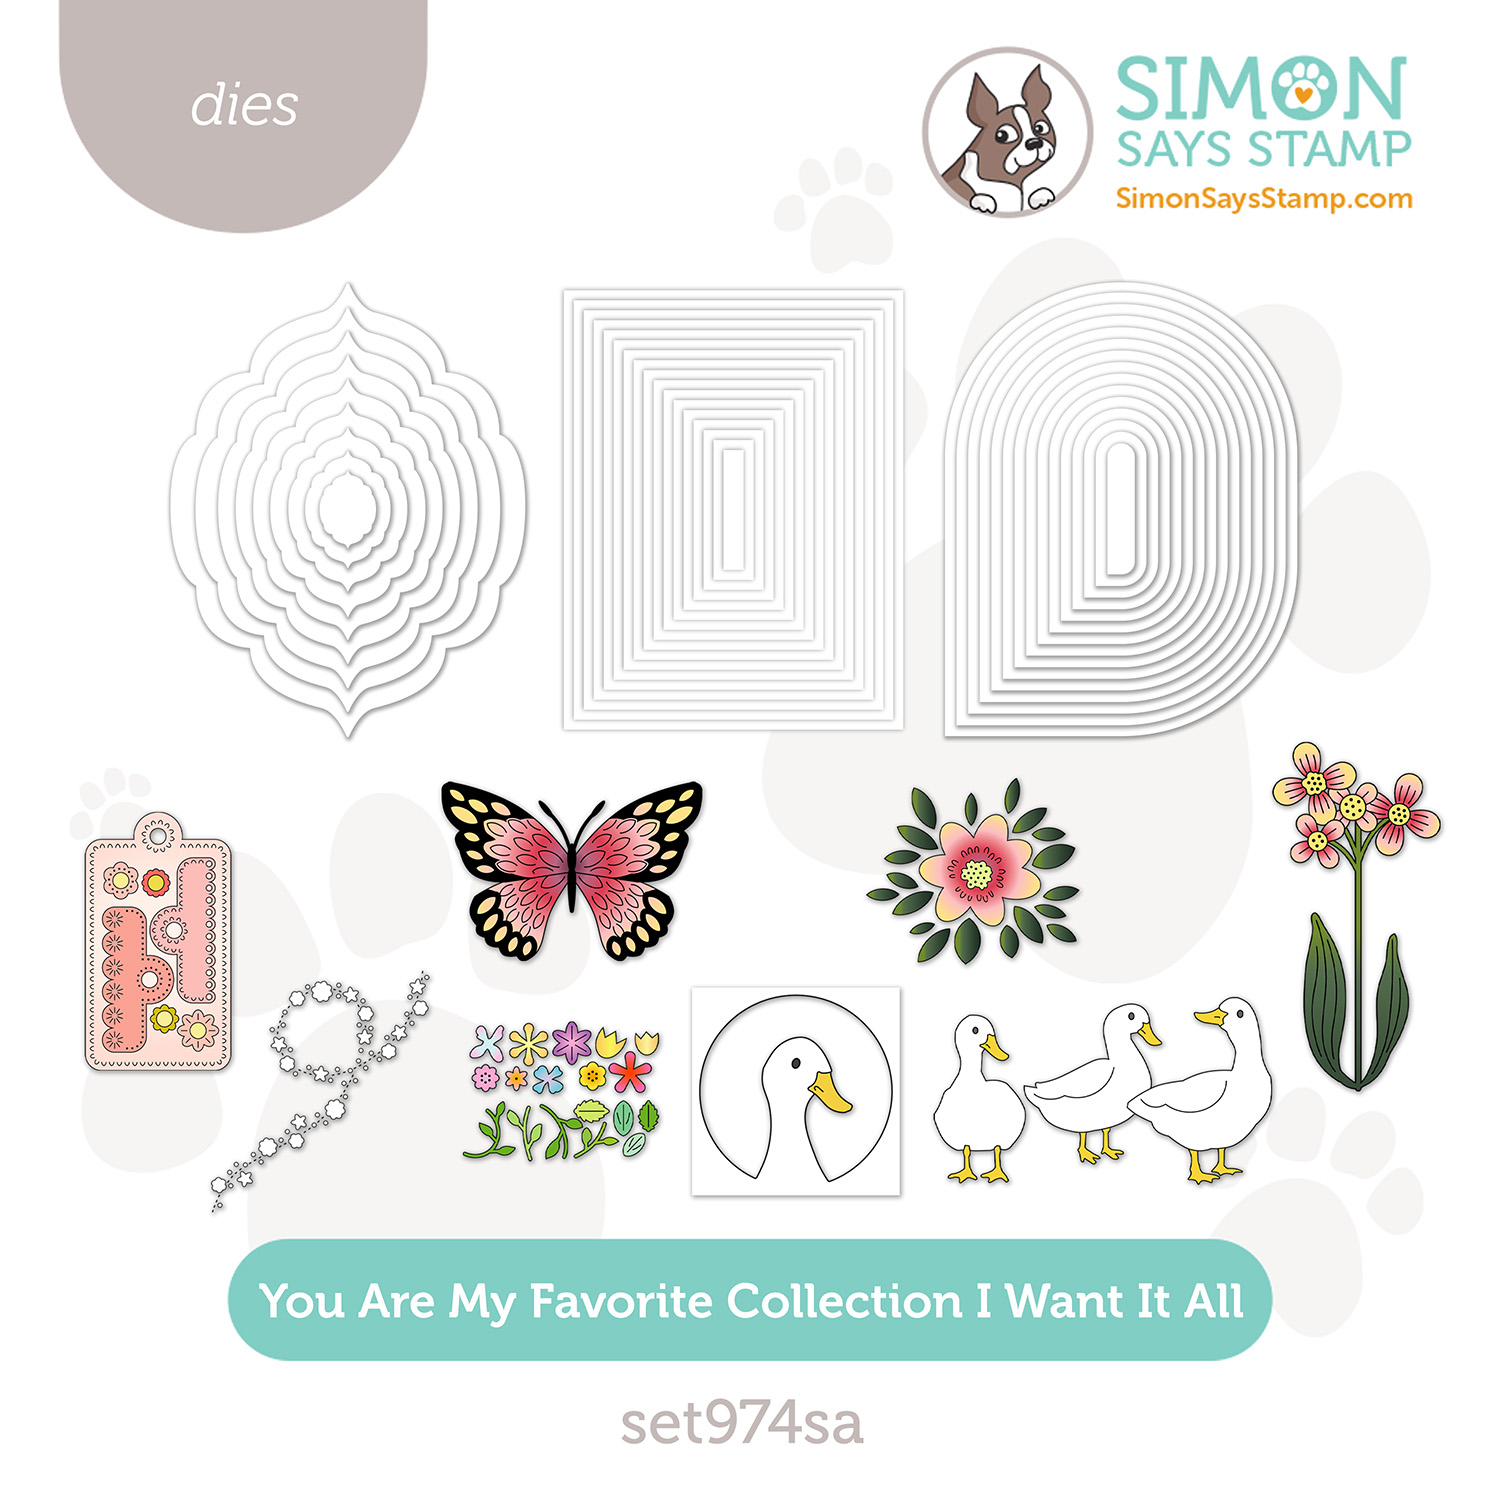
Did you miss us live showcasing our NEW You Are My Favorite Collection? Catch the rewatch!


