Lettered Greeting Card + Stenciling with Kristina Werner
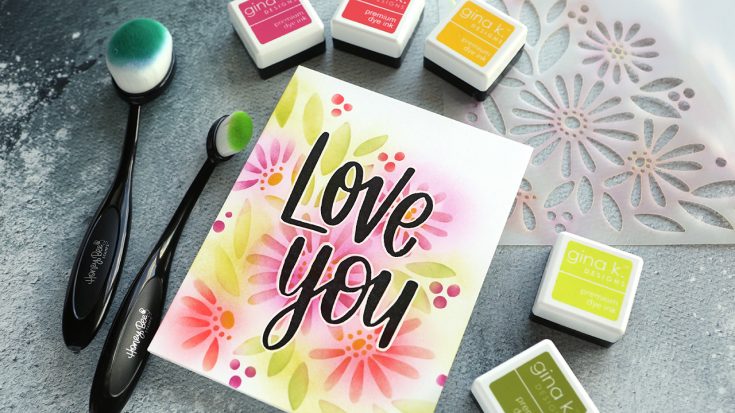
Hello, all! Kristina Werner here! Today I have a fun card made using the new Lettered Greeting Cards pack from the newest release! (See the entire release HERE). The pack has four different designs that are the perfect starting point for fun, custom card fronts!
I chose to use the “Love You” card, and I ink blended colorful Gina K Designs inks over the new Daisy Bouquet stencil. I used Key Lime, Jelly Bean Green, Wild Dandelion, Lipstick, and Passionate Pink.
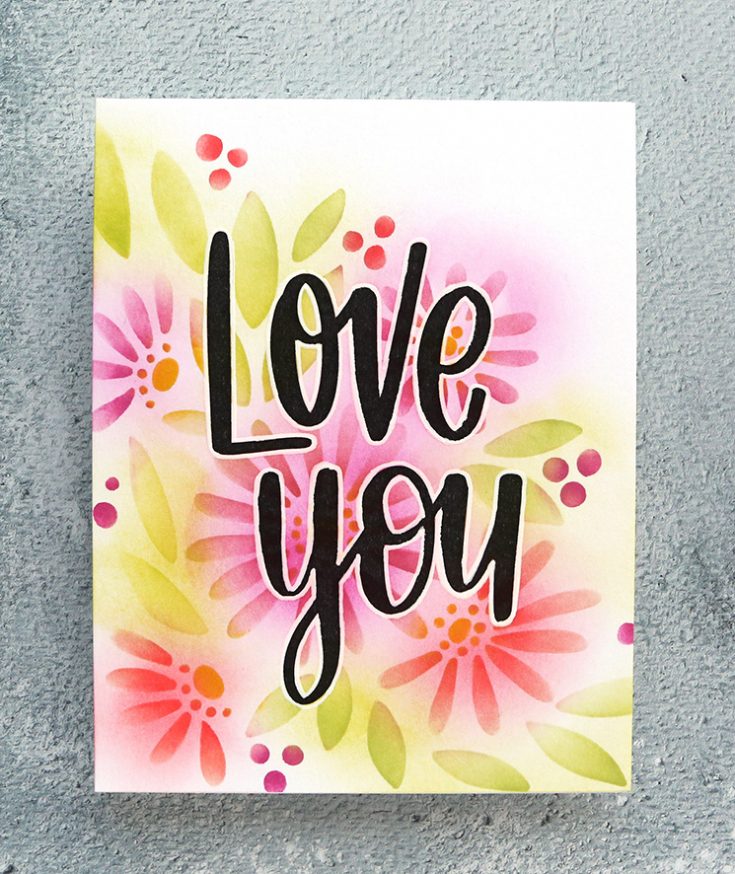
To help the greeting stand out even more, I carefully outlined the black printed lettering with a white Gelly Roll pen. This helps the words pop!
The final step was to create a card base out of white cardstock and adhere the ink blended piece to the front.
Thanks for stopping by! You can get all the supplies I used on today’s card in the Simon shop!
Supplies
|


Yippee for Yana: Background Stamping with Thankful Flowers
Hi friends! Happy Tuesday! I’m so thrilled to welcome back special guest Yana Smakula to our blog for the bi-monthly installment of Yippee for Yana! I instantly smiled when I saw this bright & happy card, and hope you will to! Read on and be sure to watch the video for all the details!

Hi everyone, this is Yana Smakula, welcome back for another Yippee For Yana video! It’s been a long time since I did any pattern or background stamping using non background stamps; and since pattern stamping is one of my favorite ways to make backgrounds for my handmade cards I challenged myself to find a floral stamp I like and use it to create a pretty background for card.

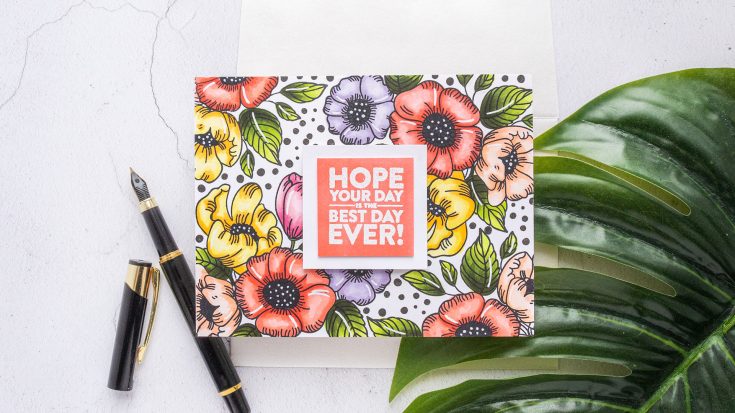
I picked the floral cluster from the Thankful Flowers stamp set. I pulled out my MISTI stamping tool, Simon’s Intense Black ink and Neenah Solar White 80 lb cardstock and stamped my heart out. It only took 4 impressions to cover the panel for an A2 card and I made sure to rotate the floral cluster so that my stamping didn’t look identical. I would like to make this card again, but use a gray ink pad instead of black for stamping the flower outline, or perhaps even do some heat embossing in gold or like gold color for a softer look.
Having stamped the background I picked several colors, I settled on a color combo, and from there I picked my Copic markers to do the coloring. I started by coloring the leaves for the panel. I used YG01, YG03, G94 and G99 markers to color the leaves. Next, I used R20, R22 and R22 markers to color some of the flowers red; Y35, Y13 and Y11 markers to color some flowers yellow; RV34, RV11 and RV00 to color some flowers pink; and finally the last flower was colored using violets, BV11, BV00 and BV000.
The flower centers were colored using a C9 marker to look almost black. I wish i had picked a lighter color, maybe a C7 marker or a C5, I think that would have looked a bit better.
The stamp set, the Thankful Flowers includes small dot clusters and so I used those dots to fill in the gaps in between the images. I stamped them in black ink and I used Versafine Onyx Black for this.
To create a sentiment I used an R22 marker and colored a piece of white cardstock to create a custom color paper. Next, I waited for the paper to dry and then heat embossed a simple sentiment that reads “Hope Your Day is the Best Day Ever” in white embossing powder; the sentiment comes from the Birthday Word Mix 1 set from Simon Says Stamp.

I cut the sentiment out using my paper trimmer and adhered 3 pieces of scrap cardstock to the back of the panel to create dimension. I wanted to add some dimension, but I didn’t want to use foam adhesive squares as that would have added too much dimension, so I added just a little bit to dimension by adhering 3 panels of cardstock. Then I used foam adhesive to adhere the sentiment panel to the card.
I also used a white pen and added white dot details to the flower center and added highlights to some of the flower petals.
I hope you like this card idea!
Have fun stamping!
SUPPLIES:
|


Thanks so much for stopping by, and thanks to Yana for being our guest!
Studio Monday with Nina-Marie: Foiling with New Spellbinders

Hello, it’s Nina-Marie Trapani here with you for a brand new, Studio Monday tutorial!
Today I am featuring some hot foil stamping with some of the newest Glimmer Plates from Spellbinders. I love mixing foil plate sets together for a totally custom effect, which is what I did here on this card!
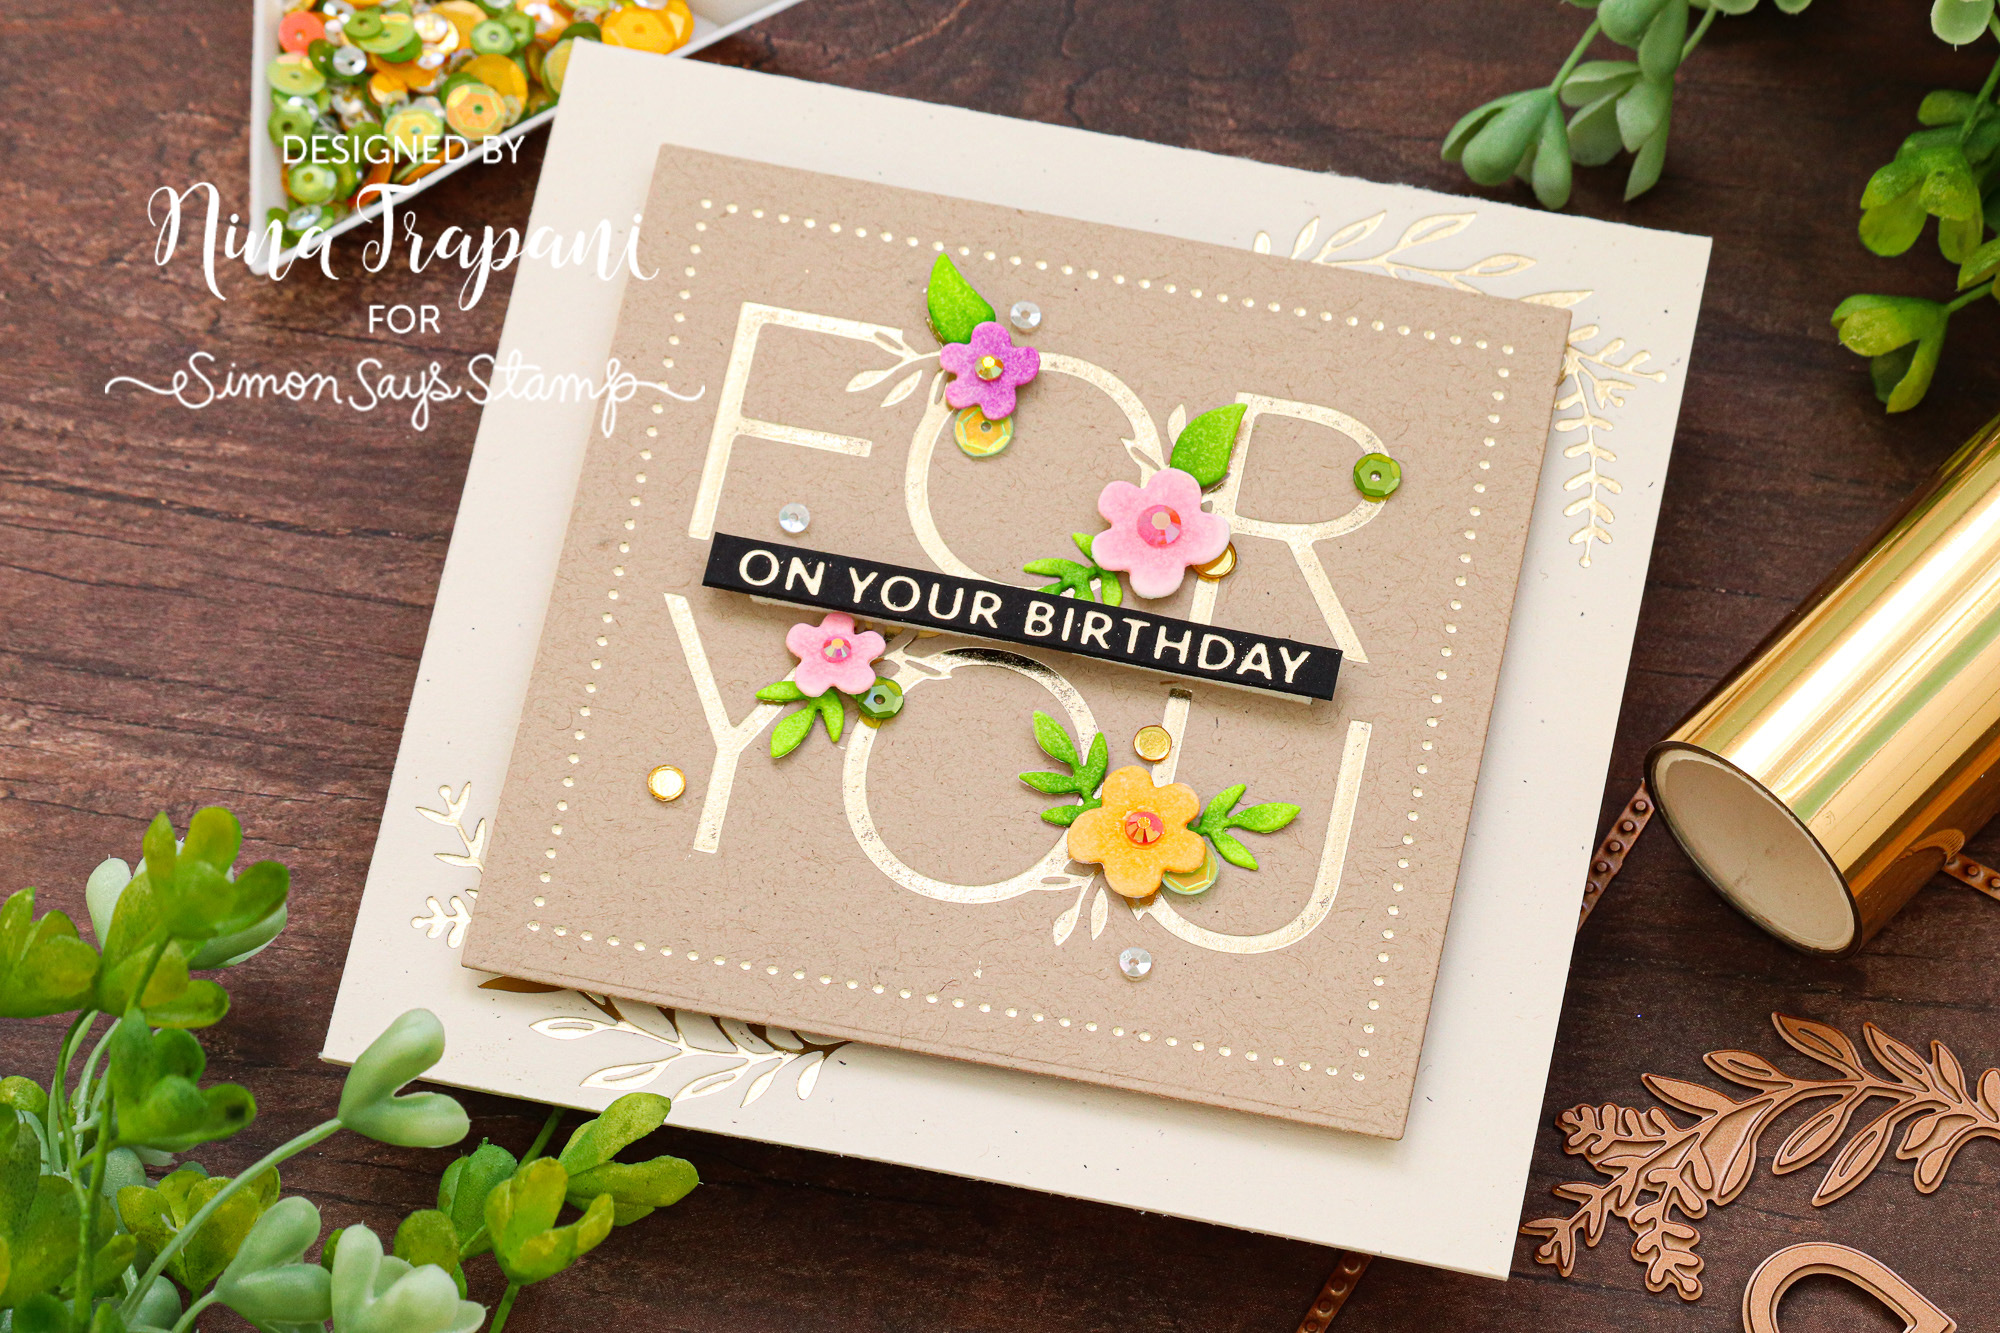
On my card I used the Especially For You plate and dies, paired with the Geometric Floral and Essential Squares plates and dies. Everything is foiled with Polished Brass Glimmer Foil.
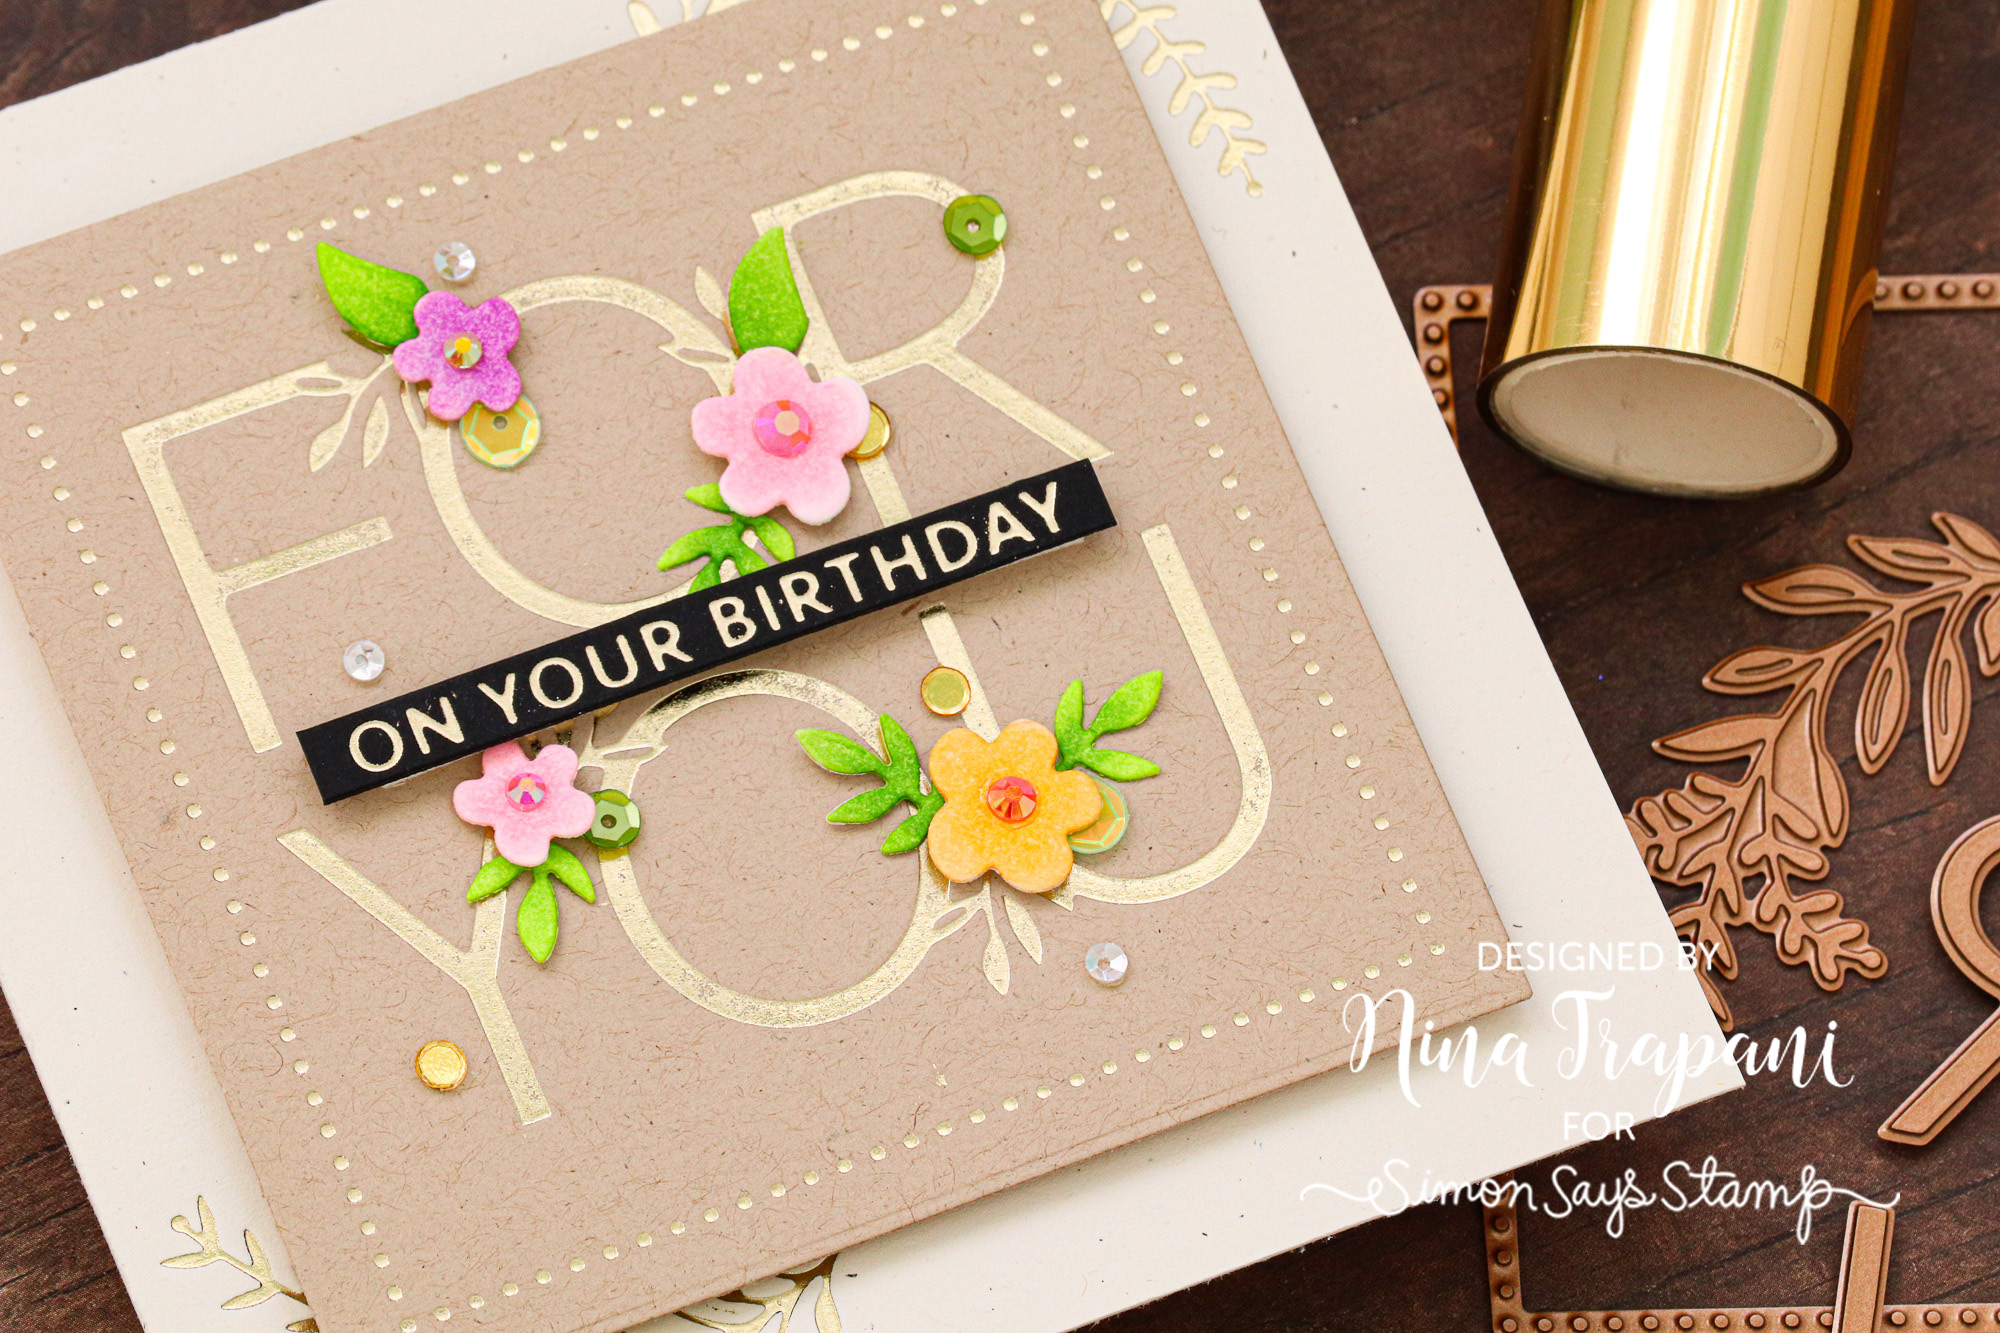
There are cute florals included in the Especially for You set, which I cut from white cardstock and colored with Copics. This method of cutting and coloring let me add shading to the simple flowers and leaves.
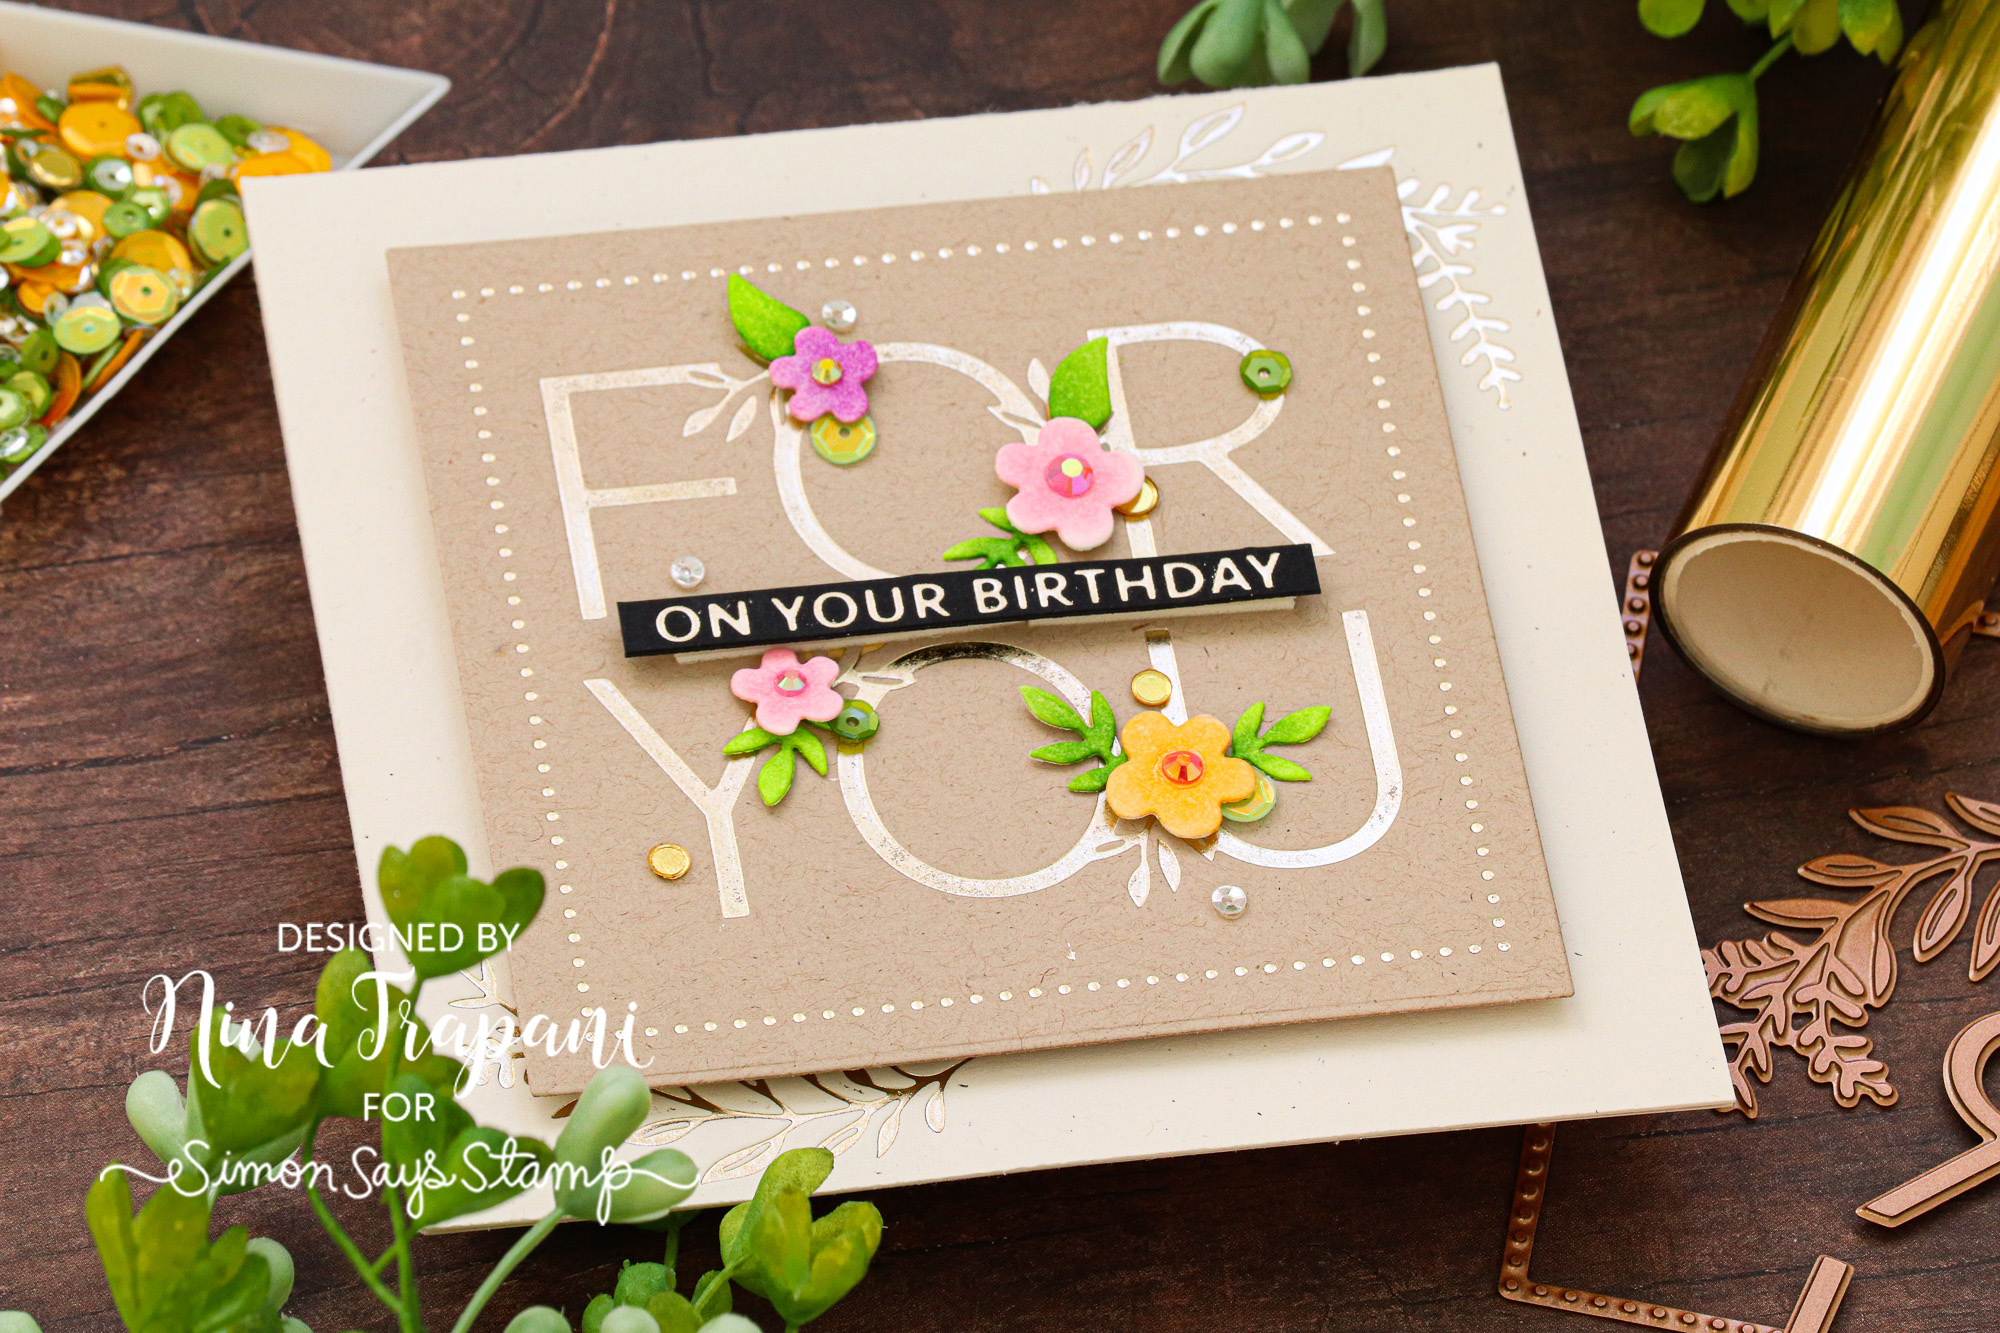
There are sequins and gems added to the florals for additional sparkle. I love how the gold foil paired so perfectly with the Neenah Desert Storm cardstock; this gives the card a soft, elegant feel.
Hope today’s card inspires you to create with these new foil plates from Spellbinders! AND that you will try the “mix and match” effect that I did – it’s a really great way to stretch your plates and dies!
SUPPLIES
|


