Doodling with Debby: Karin Brushmarker Review
Hi friends! Happy Monday and thanks for stopping by our blog today! We are so excited to share this GORGEOUS card Debby Hughes created with our Cottontail Wishes clear stamp set! As a special bonus, in this video she is also reviewing the Karin Brushmarkers! Be sure to watch and enjoy!

Hi, it’s Debby here. For my Doodling With Debby series this month I wanted to look at some new to me watercolour supplies. Watercolouring has turned into a long term passion, and over time I have honed in on products that I love. However, I don’t want to get stuck in a rut. So for this video, I’m taking a look at a 5×7 block of Fabriano Artistico Extra White Cold-Pressed watercolour card and the watercolour markers from Karin.
Starting with the watercolour card, the Fabriano cold-pressed paper is 140lb weight and gummed around the edges. One corner of the block is left without gum so that you can remove it from the block and I show you how I do that in the video.
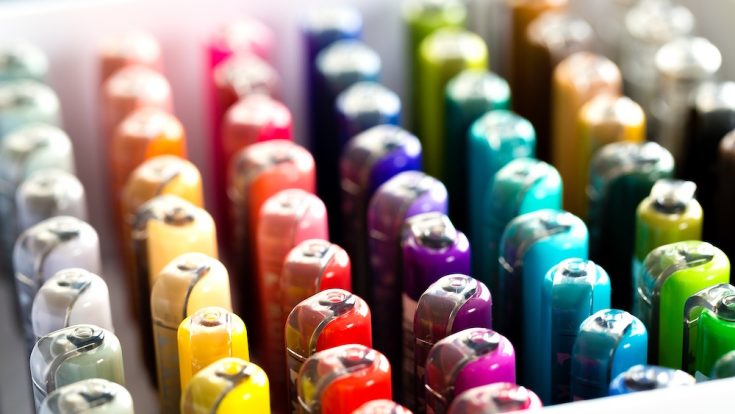
Next is this Karin Brushmarker Pro set. The packaging of this set needs a mention, as it is so lovely to look at and well designed. These particular markers need to be kept upright, and so the packaging caters for that with a cardboard insert with holes for each marker to keep them supported upright. There are various sets of these markers you can buy, I don’t tend to be a whole set person, but I did opt for the 60 markers set as I felt I wanted to give these a try and the range of colours in this set suited me. The brushmarkers consist of a body with 2.4ml of liquid ink in each, a cap indicating the shade and a flexible nylon brush tip. Regarding design, if I had any quibbles, it is the labelling of the pens. I’d prefer if the colour information were printed on the cap rather than a label which I’m sure over time will get worn.
I use the Swatch Tag set from Waffle Flower to swatch all my watercolour media. I have cut the stamp into two parts, the top part of which I stamp on a 2×2 piece of watercolour card in Versafine Onyx Black ink. I stamped the rest of the image with details for pigment colours, granulation, lightfastness etc. on the back. I then paint with the media and when dry place in Simple Stories 2×2 stamp pockets. I swatched out all of the 60 brushmarkers, and I find these references invaluable when choosing colours.
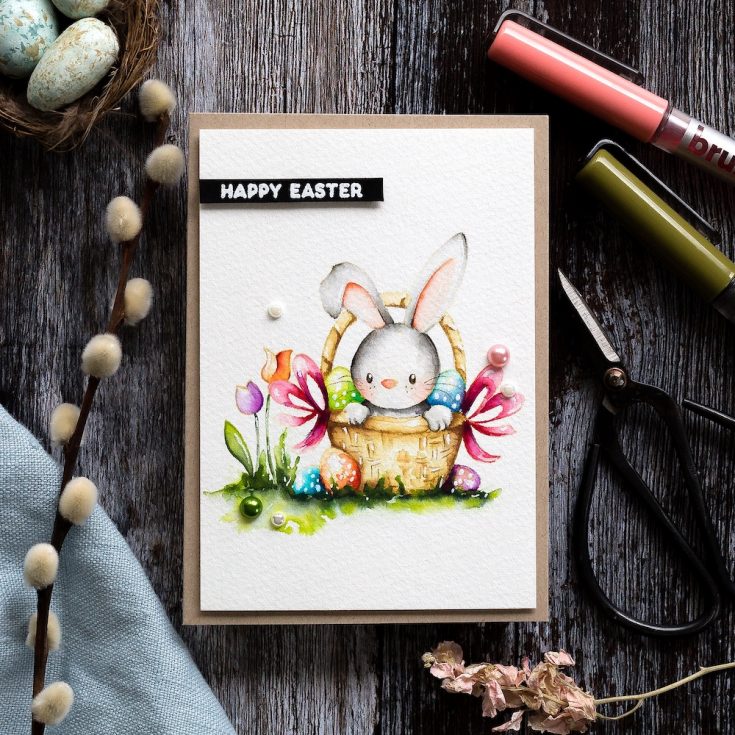
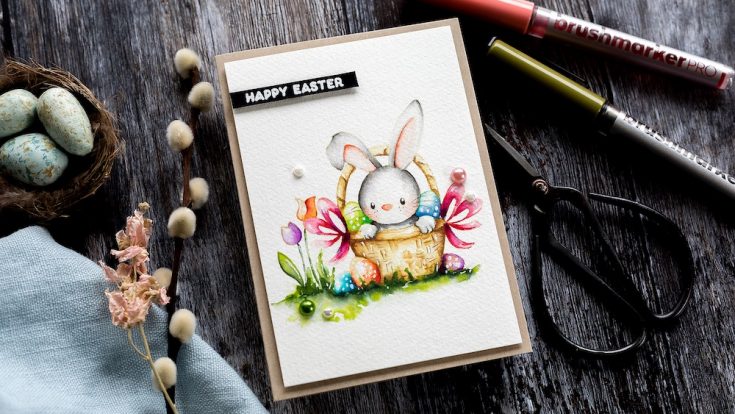
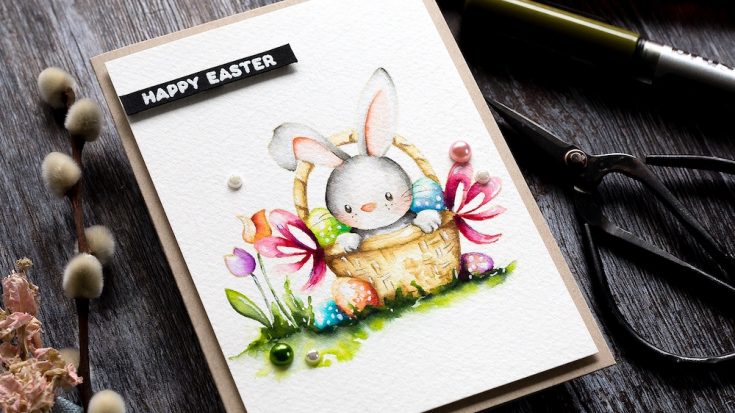
To take these new supplies for a test run, I used the cute Cottontail Wishes set from Simon Says Stamp which was released as part of their Easter Limited Edition kit. The kit sold out quickly, but the stamp set is available separately. I was particularly taken with the cute bunny in the basket, so using my swatches, I picked out a few markers to use.
The gummed edges to the Fabriano block means that you can paint directly to the paper without having to tape it down to prevent it warping. However, as I want to stamp on this card in a Misti, I took the top piece of card off using a palette knife from Ranger. I slid the palette knife under the corner without gum and gently eased the paper away from the rest of the block. This is a 5×7 piece, but I knew I would need a smaller piece than this, so I cut it down to be 5×3.5, giving me two pieces. I took one and placed it in the Misti and stamped with Antique Linen Distress ink. I do like the look of no-line watercolouring, and this ink is excellent for this as it is light in colour and water-soluble to it blends in as you paint. However, I do like to have a very light application and so used an old cloth do dap off some of the ink. I want to have the barest of outlines to colour – just enough for me to see what I’m doing but not so much that the ink will be visible afterwards. If need be I stamp again to get a more defined impression. I also stamped a couple of tulips beside the basket arrangement.
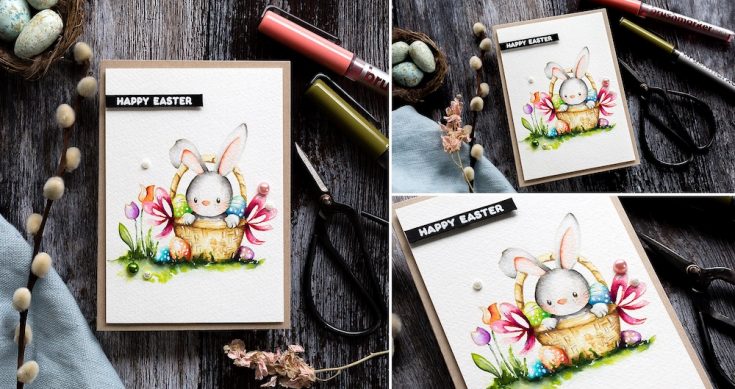
The Fabriano watercolour card did a lovely job. It is described as extra white, and it is a shade lighter than my usual Arches card. However, there isn’t a massive difference in colour. I think if you want a decent quality watercolour card, then the majority are creamy in colour and I’ve learnt to accept that. Once you’ve painted your project then, to be honest, you aren’t looking at whether the background is white enough. So would I use this card again? Definitely. I like that the card is on a block which makes it particularly useful for travelling. I took this block away with me recently, and it was great to paint on the card knowing that I didn’t have to fuss with taking painter’s tape and a board with me. It also behaved as I hoped a quality watercolour card should. Would I reach for it over my usual Arches card? I think I’d be happy reaching for either, to be honest, I don’t think one over the other has my preference.
So moving onto the pens and I had such fun with these pens! I used them both to add colour to dry card and then blended out with a damp brush and also in a wet on wet technique way of adding water to an area first and then touching the tip of the pen to the wet area and letting the colour spread through the water. Let me say that the ink in these pens is intense! You only need the tiniest amount of ink to get full-on vibrant colour. I was particularly impressed with the nib of the pen too as it allowed for drawing fine lines of colour that could then be blended out. However, you don’t have to blend the colour out; in places, I used the ink as it was to draw in fine lines.
So what do I like about these pens? As mentioned, I think the fine nib has to be right up there along with the intensity of colour in the pens. Although each pen has only 2.4ml of ink, I can see that lasting a very long time as you only need the smallest amount when painting. The convenience of having colour at your fingertips too is very appealing, just grab a pen and go. The pens are perhaps also more attractive to those that are nervous of watercolour pans and tubes. I genuinely hope supplies like these make watercolouring more accessible to everyone.
This is my first look at these pens, and I’m very impressed. However, I am far from being an expert with them and seeing the information leaflet that comes in the box I realise I have lots of fun ahead of me trying different techniques with these pens. You can touch the pen’s tip to tip and in doing so transfer ink from one to another then as you colour with that pen the colour will transition from one to another. There are also blender pens with these markers. The set I bought has three blender pens, and I’m excited to try these pens and see how they compare to blending out with water. You can also do the tip to tip technique with the blender pen too. Also, you can mix and blend the colours, and I think this is possibly the next thing I am going to try with these markers. The markers are very vibrant, which is not my usual colour palette. It suited this cute Easter bunny image perfectly, but for some of my other projects, I would look to mix the colours to tone them down. However, I don’t count this as a negative. In any watercolour media, I prefer things to be overly concentrated or more vibrant because you can always dilute or tone things down. However, It is tough to go the other way.
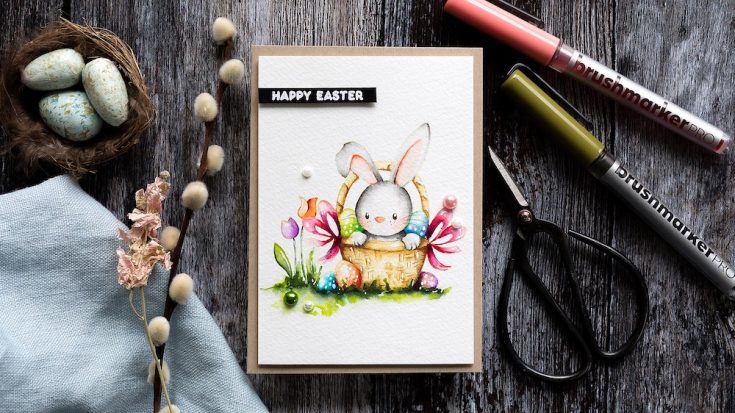
Once I’d finished painting, I pulled out my Faber Castell Polychromos and sharpened the pencils to a nice point before adding a few more details. I’d saved the eyes and whiskers of the bunny to last knowing that those would work well with the pencils and then I carried on adding in a little more shading and some details to the basket weave. Finally, as far as the colouring was concerned, I added highlight details with a white gel pen – polka dots to the Easter eggs and a few hints of light in other areas.
I cut and scored a card base from Neenah 100lb weight which makes a sturdy base. I then added foam adhesive to the back of the watercolour piece which I’d trimmed slightly to fit the base. I accented the watercolour with a couple of Craft Consortium Farm Meadow Adhesive Pearls and some Glossy Eggshell Pearls from Little Things From Lucy’s Cards which I kept in place with GinaK Connect Glue.
For the sentiment, I picked a simple greeting from the Cottontail Wishes stamp set and stamped it in Simon Says Stamp clear embossing ink on a Black card before sprinkling with Simon Says Stamp white embossing powder and heat setting. I trimmed the piece to a skinny banner and added foam adhesive to the back before using a T-square ruler to keep it in place.
Thanks for joining me today and I hope you join me next time for Doodling With Debby.
Watch below or in HD on YouTube.
SUPPLIES:
|


Thanks so much for stopping by, and thanks to Debby for being our guest!
Masked Critter Party from My Favorite Things!
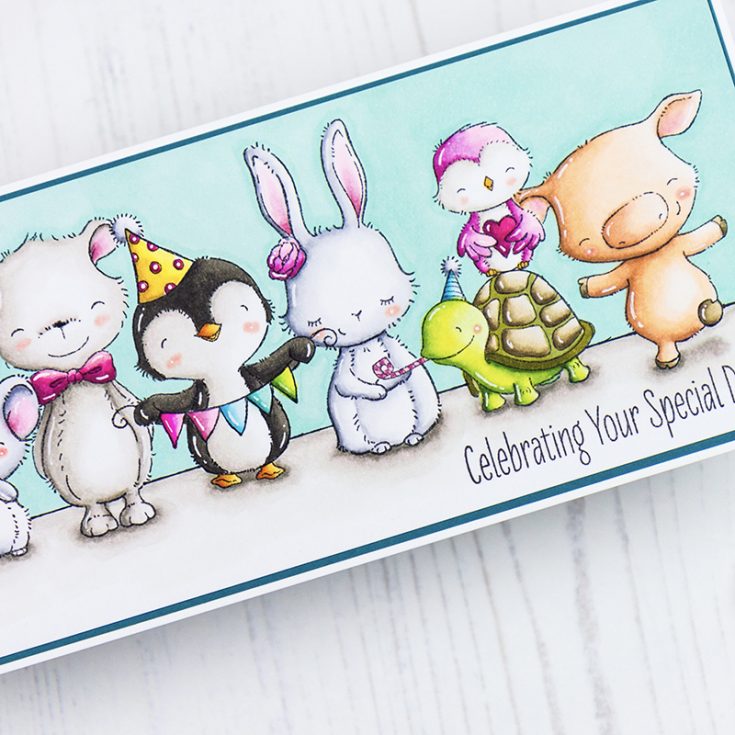
Hi friends! Happy Sunday! Please join me in welcoming special guest Rachel Alvarado! She has masked a variety of critters to make this SUPER cute landscape card! Isn’t it adorable?! Specifically, she used a combination of critters from the following sets: Sending Sweet Celebration Wishes, Kissing Booth, Tweet Friends, Pile of Fun, and Piggy Pebbles. Read on to learn a couple of tips and tricks!
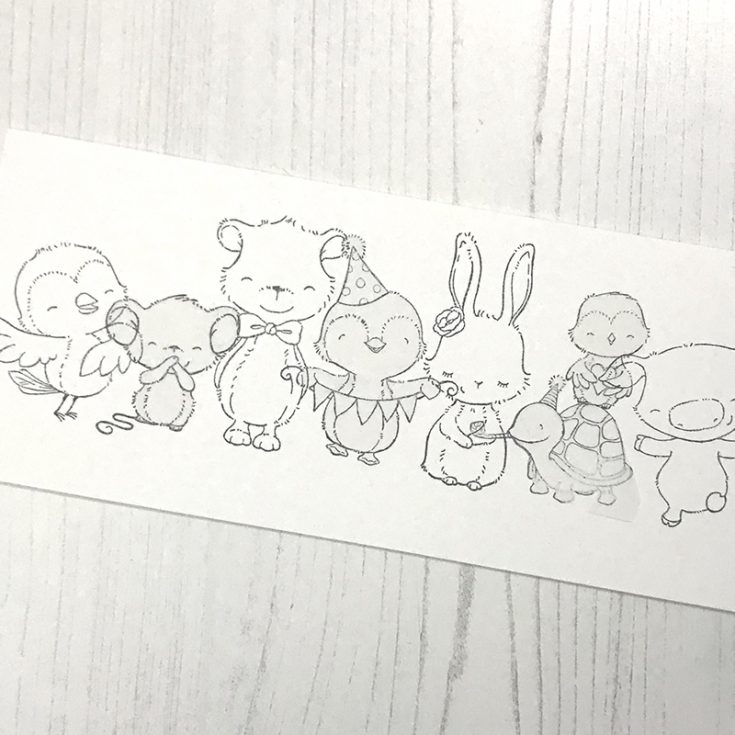

I used my Misti Stamping Tool to stamp all of my images onto a piece of 8.25″ x 3.25″ piece of Neenah Classic Crest 110lb Solar White Cardstock with Memento Tuxedo Black Ink. I also used the Therm O Web Gina K Designs Masking Magic Paper to mask some of my images to allow them to look like they are all standing together as a large group. I then colored all of my images with Copic Markers. (for specific direction of which colors were used where, see below)
Once dry, I stamped my sentiment onto the lower right corner of my card with Black Ink and then added some layers with some teal and white card stock.
Sky: BG10, BG11
Ground: W00, W0, W2, W4
Black: W5, W7, W9
Warm Grays: W00, W1, W4
Cool Grays: 0, C00, C2, C4
Greens: YG00, YG01, YG06, YG13, YG17
Browns: E41, E42, E43, E44
Yellows: Y00, Y08, Y15, YR23
Rosy Pink: RV00, RV52, RV55, RV66
Hot Pink: RV00, RV02, RV04, RV06
Blues: B000, B01, B05

SUPPLIES:
|


Thanks so much for stopping by, and thanks to Rachel for being our guest!

Don’t forget! Going on now! Use code MFTF33 with any purchase of an in-stock My Favorite Things branded product to get a FREE “You Have The Biggest Heart” stamp set! Offer valid while supplies last!
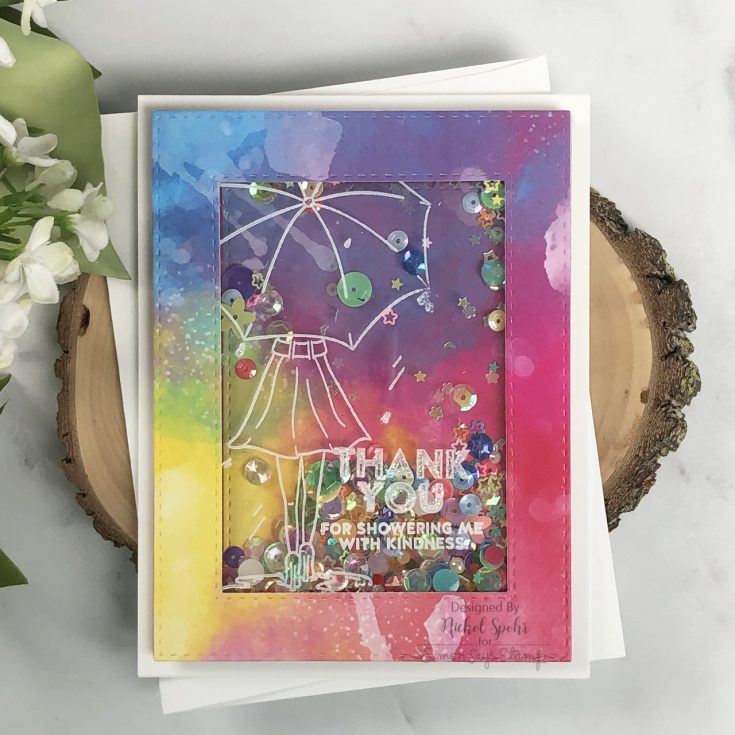
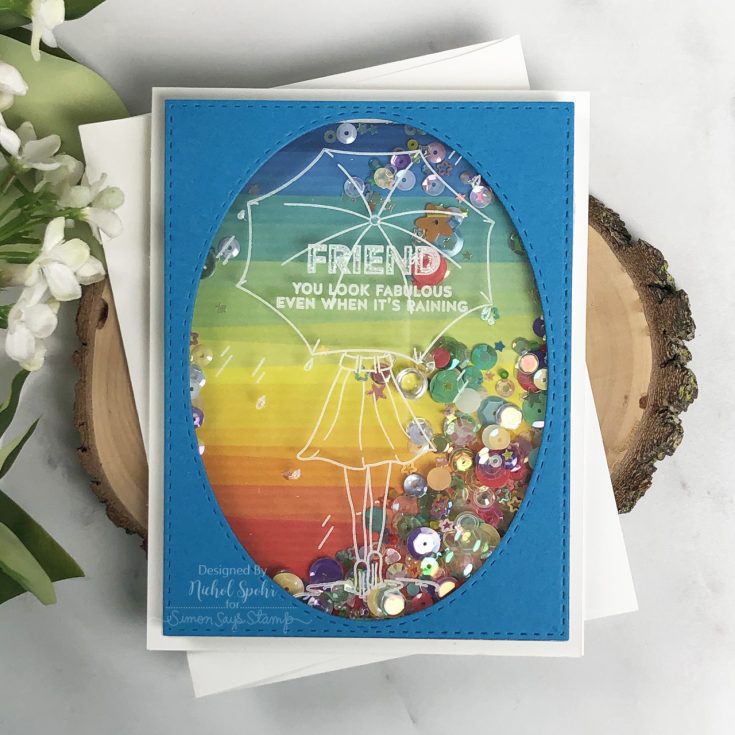
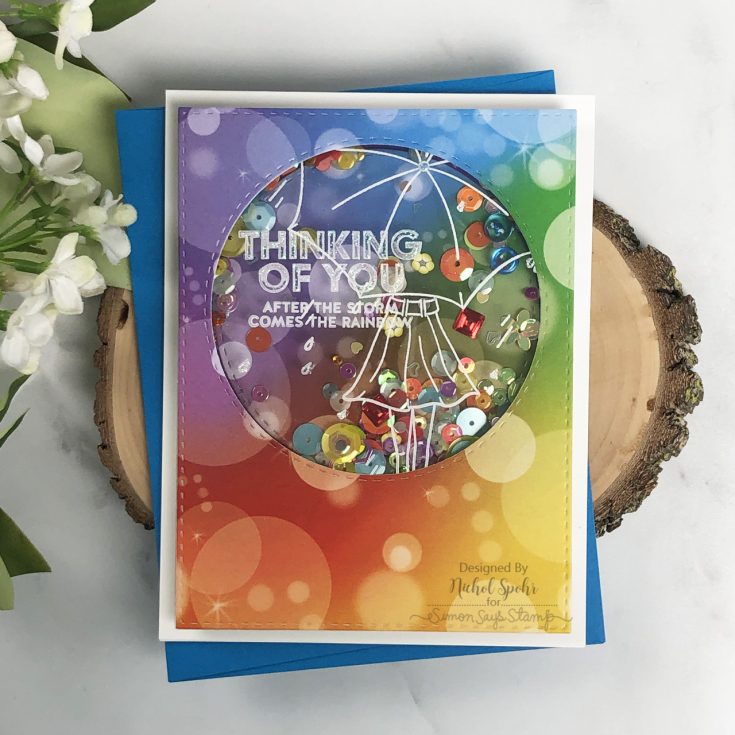
Follow the Rainbow Shaker Cards
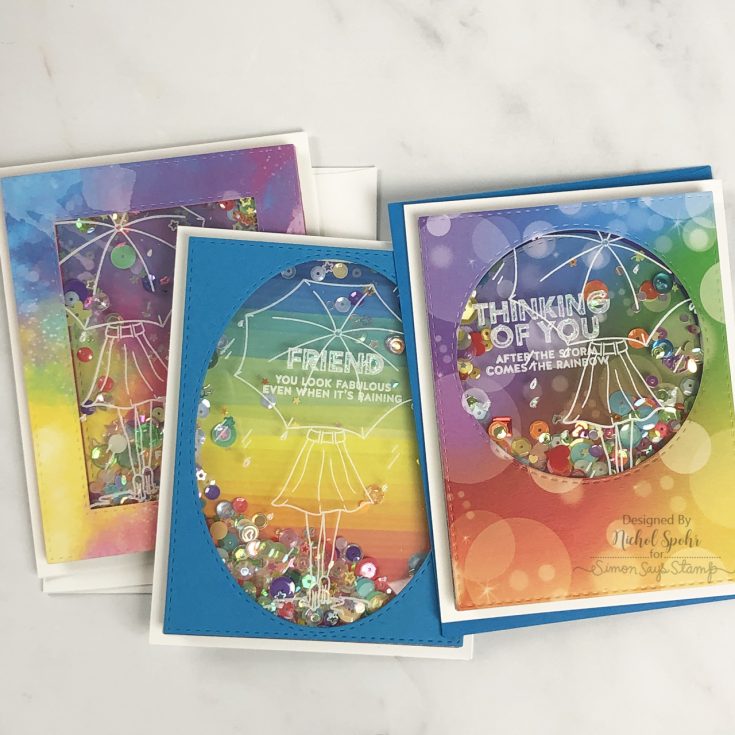
Hi friends! Happy Saturday! Take a look at these 3 gorgeous shaker cards by Nichol Spohr using components of our April 2020 card kit, Follow the Rainbows! In addition, she also used our stitched oval, circle, and rectangle dies and Lucy’s Cards Paintbox Sparkly Shaker Mix of sequins. Be sure to watch the video for more details!
SUPPLIES:
|


Thanks so much for stopping by and thanks to Nichol for being our guest!


