Yippee for Yana: Floral Background with Masking
Hi friends! Happy Tuesday! Please join me in welcoming the super talented Yana Smakula in our bi-monthly Yippee for Yana blog series! Read on for more info and enjoy!

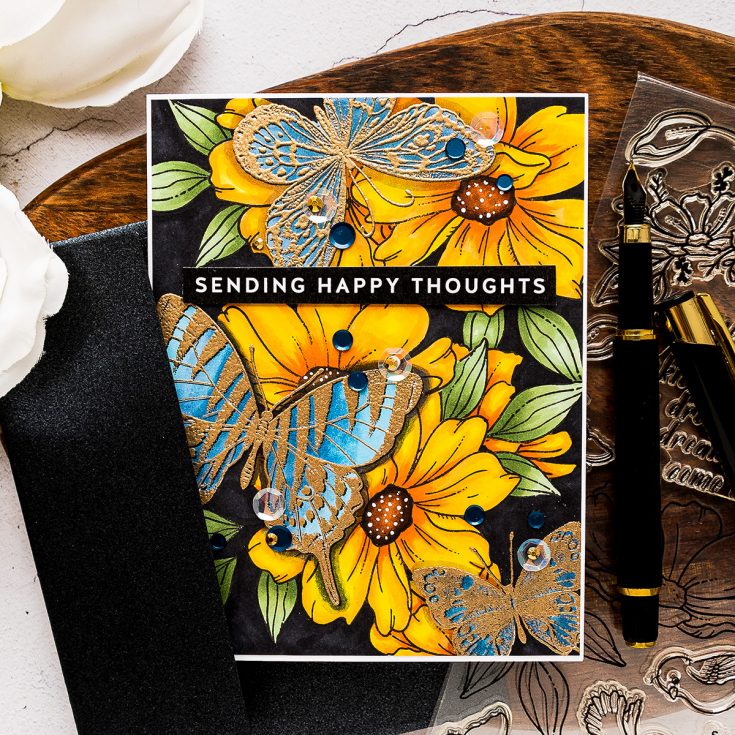
Hi everyone, this is Yana Smakula, welcome back for another Yippee For Yana video! In this episode, I’ll show you how to combine images from different stamp sets to create a beautiful stamped pattern. I’ll also show you how you can make the colors pop on your card by simply changing the color of the background.
You’ll need the following products to make this card: Look For the Rainbows stamp set or any other stamp set with large outline flowers and leaves; we will use these images to build the background floral pattern. Another set we will need is the Beautiful Butterflies. Or again, any other set with large outline butterflies. We will also need masking paper as we will be doing quite a bit of masking to create the background. Of course, you’ll need a good pair of scissors you are comfortable using to cut the masks out. I like to use Spring-Cut scissors from Tonic Studios. You will also need an ink pad that works with your coloring medium of choice. I will be coloring today’s background with Copic markers and so I picked Simon’s Intense Black ink pad as this ink is Copic Marker friendly. Lastly, you’ll need a coloring medium. I prefer Copic markers these days, so this is the medium I’ll be using.
Be sure to watch my video tutorial to learn how to stamp this pattern and also for tips regarding Copic coloring and heat embossing.
I used the following Copic marker colors:
G21, YG63, G94 to color leaves
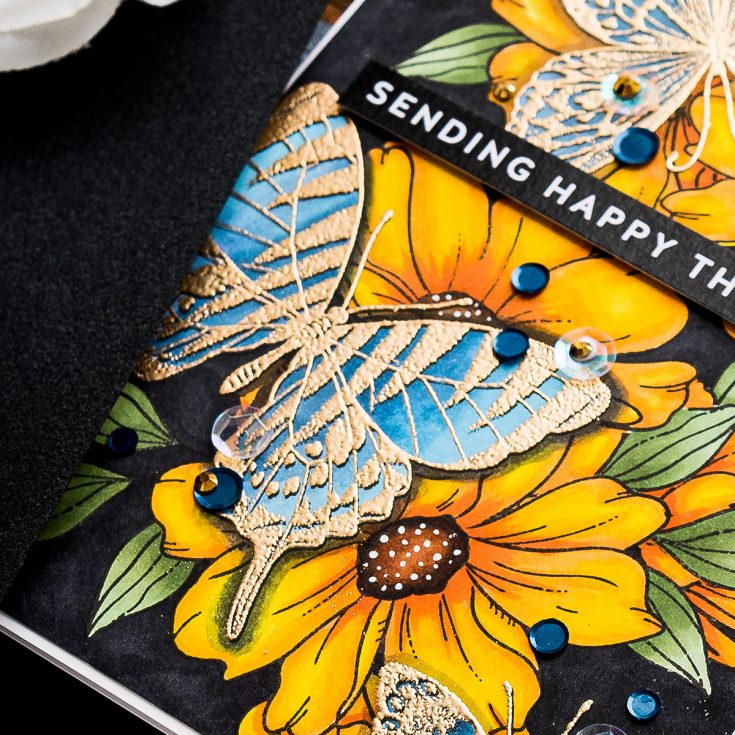
YR18, YR14, Y38, Y15, Y08 to color flowers
E79, E37, E33 to color flower centers
C9 to color the background
B97, B34 to color the butterflies
C5, C7 to create the butterfly shadows
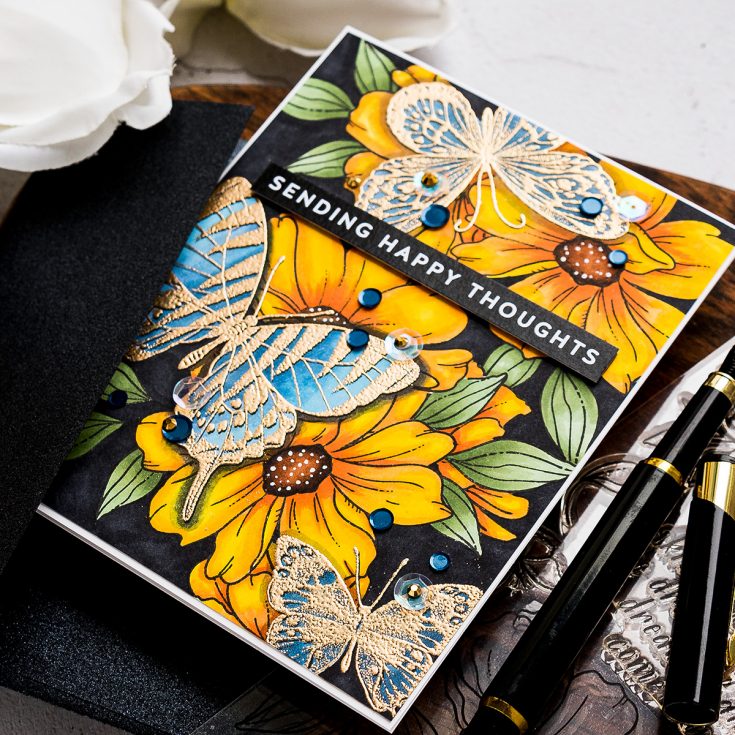
I added a simple Sending Happy Thoughts sentiment to this card, this comes from Simon’s All Things Happy Sentiment strips. I also trimmed my panel down just slightly and adhered to the A2 white side folding card base.
I quite like the way it turned out, but I’m curious if you like it as well. Let me know in the comments below.
WATCH THE VIDEO:
SUPPLIES:
|


Thanks so much for stopping by, and to Yana for being our guest!
Design Team Call!

Would YOU like to join the Simon Says Stamp Wednesday Challenge Design Team? If so you may be just the person we’re looking for!
- Are you fun loving?
- Do you have a blog or are you active on Instagram?
- Are you a team player and ready to help your fellow teammates?
- Are you drama free?
- Are you active on social media, or ready to join in on Facebook, Instagram, Pinterest, etc?
- As a Simon Says Stamp Design Team member you would be required to create a project for our weekly challenges and promote the Simon Says Stamp Store wherever possible. Would you be able to commit to that?
If the answer is YES to the above questions then please go ahead and apply to join the team! Click or tap HERE to learn more! Our call will remain open for two weeks (from today) for all that would like to apply!
Studio Monday with Nina-Marie: Interactive Picture Slider!

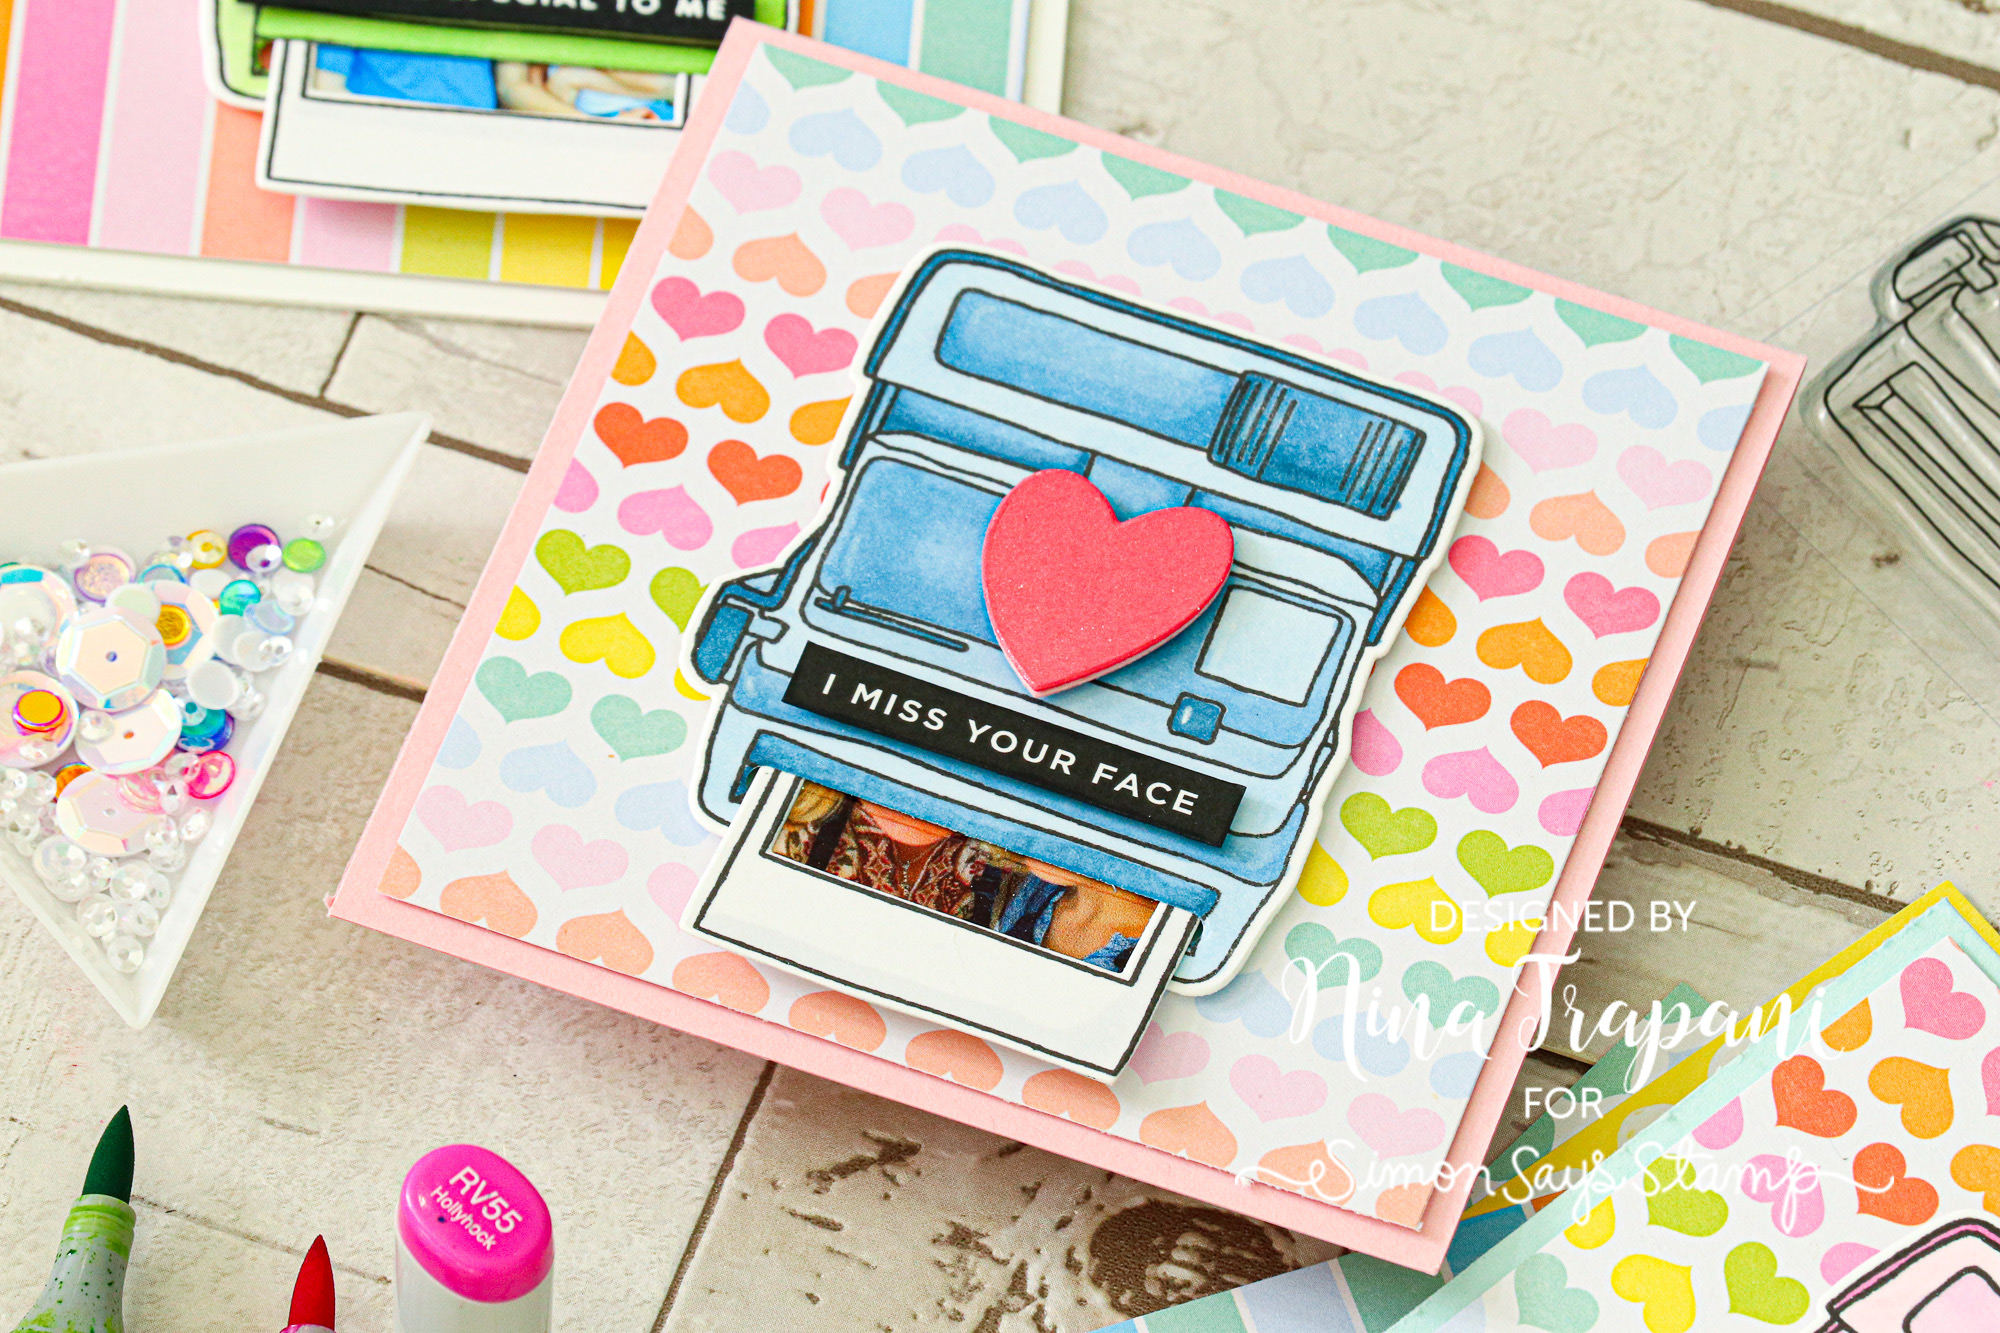
Hi friends, it’s Nina-Marie Trapani here with you and I have an exciting project to share that features the Concord & 9th, Oh Snap stamp and die set!
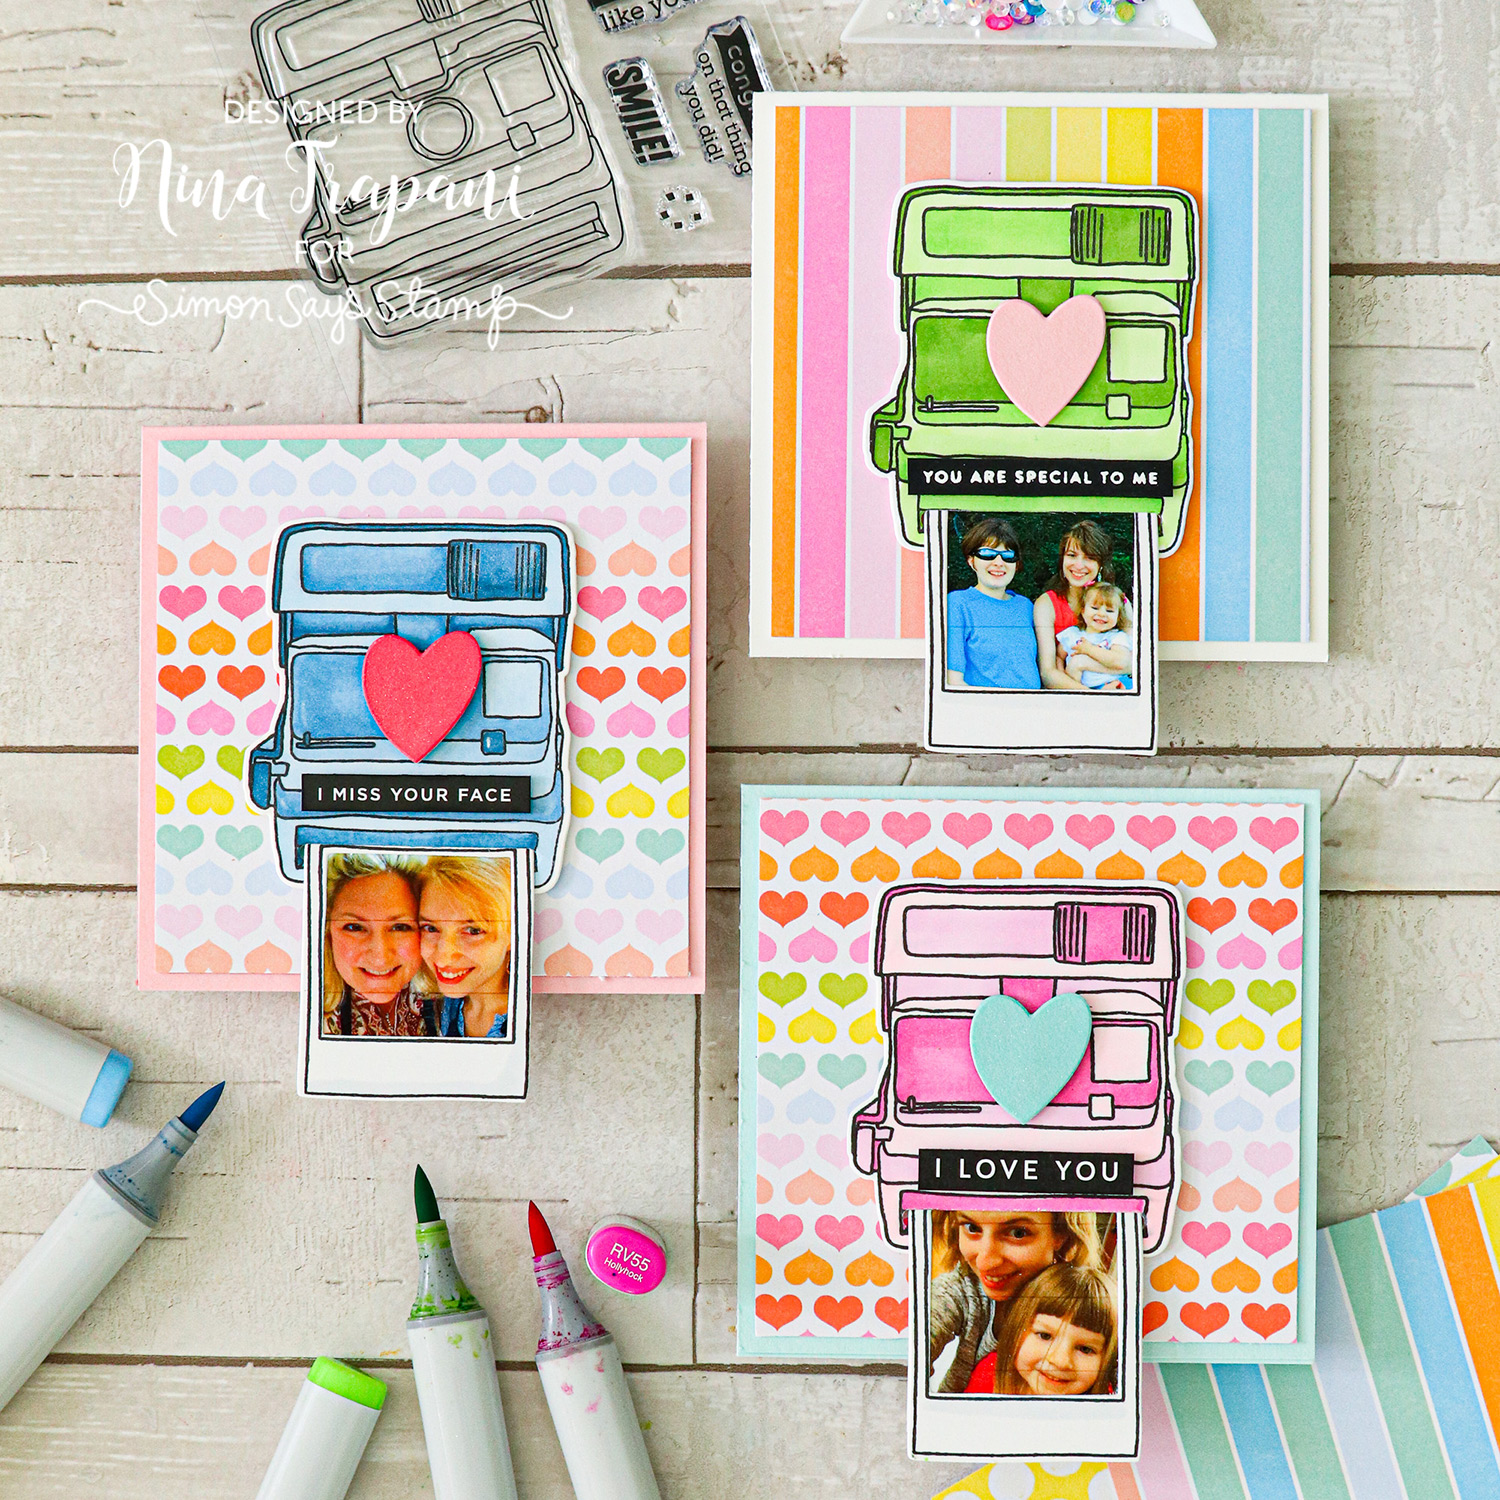
I love creating interactive cards, and the ability to make a slider element with this set really appealed to me. My thought was to print out some photos and create “polaroids” that I can send to some of my favorite people!
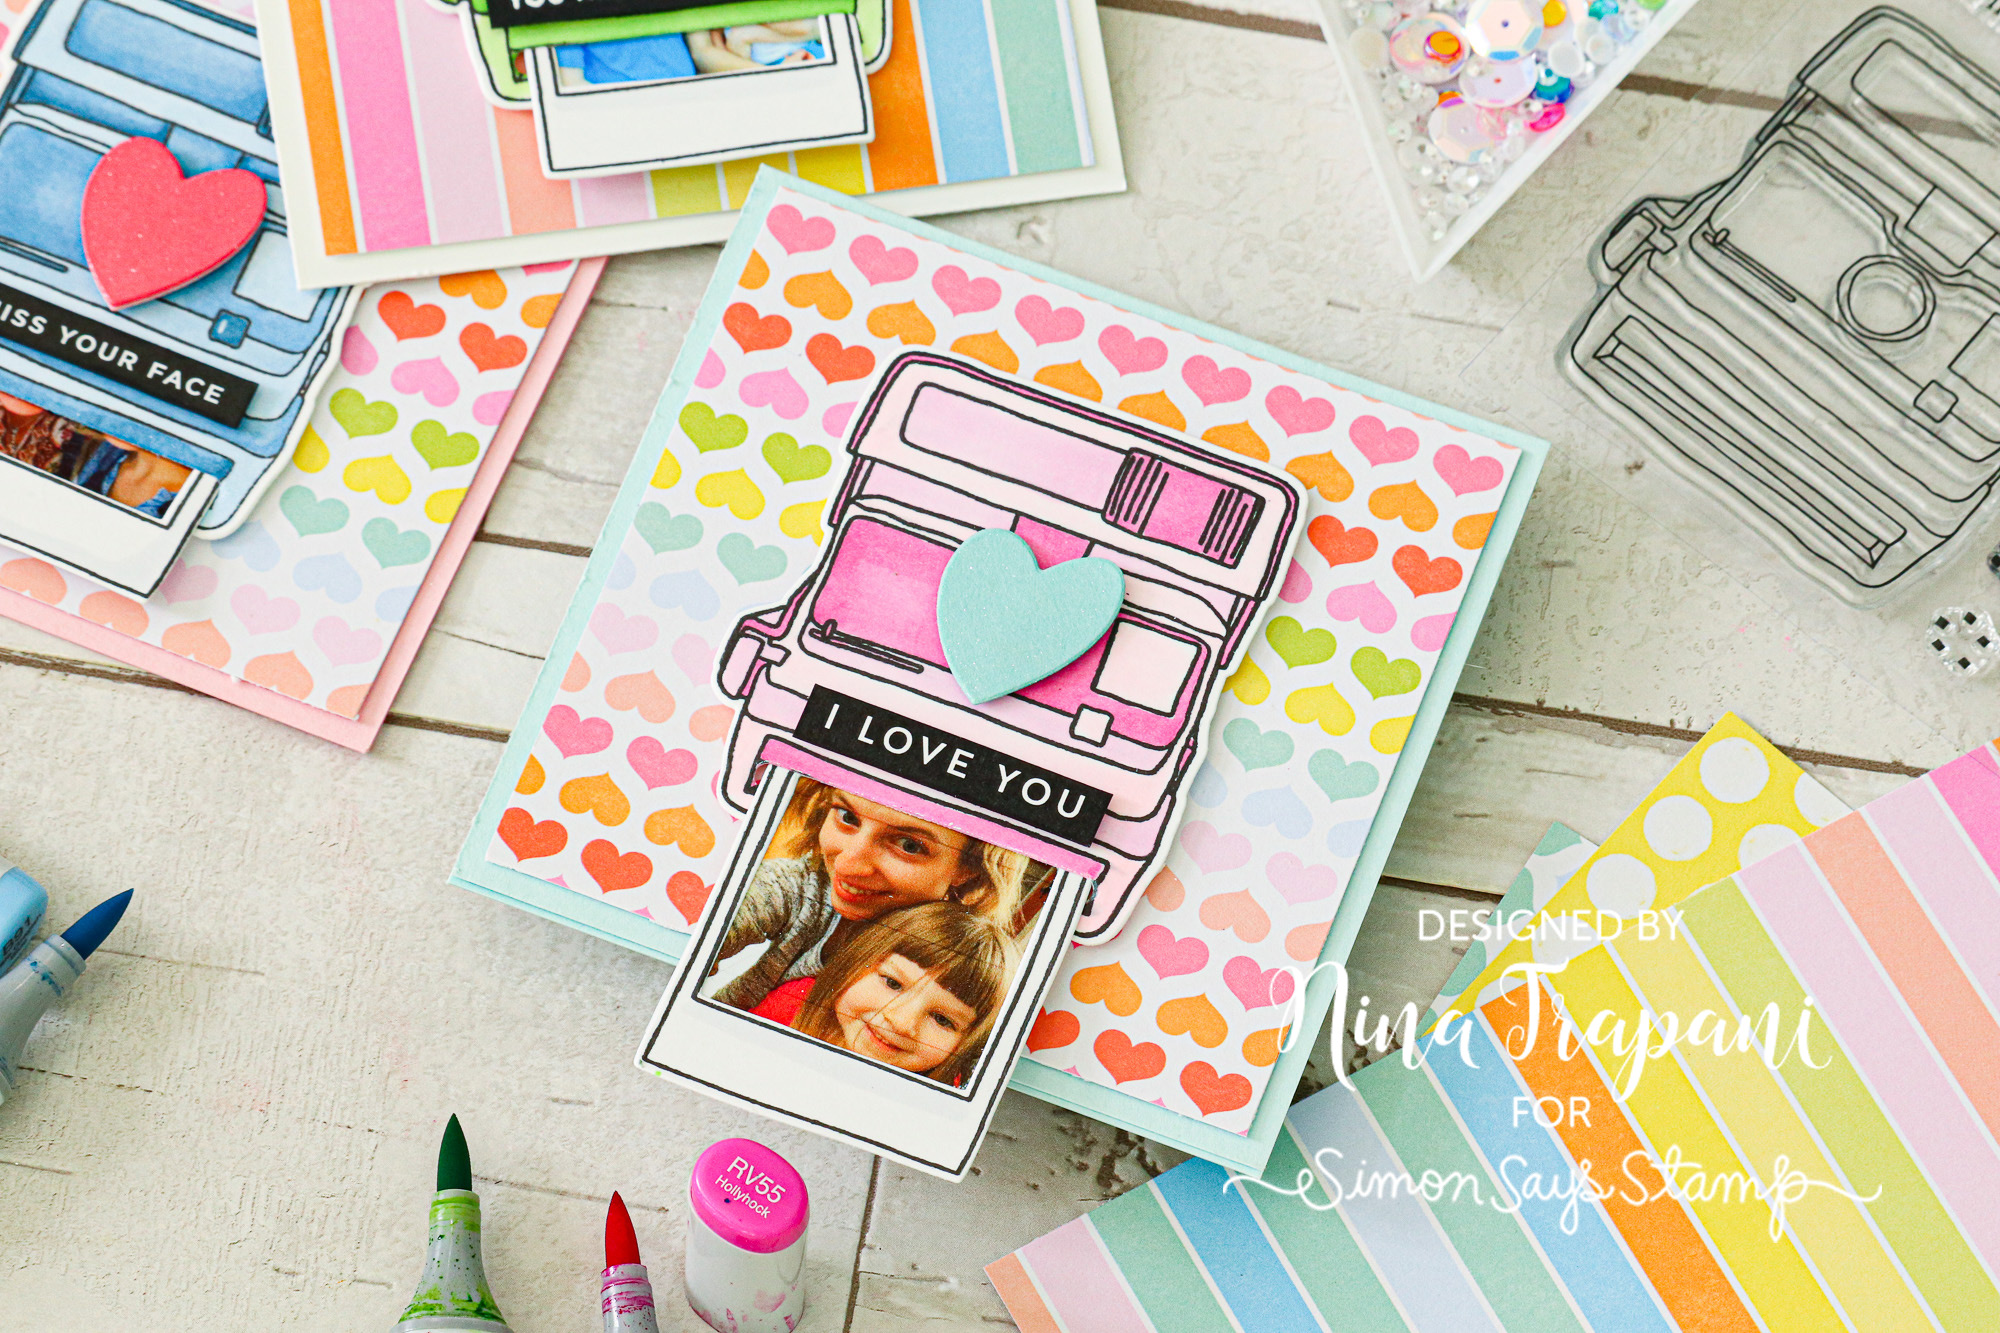
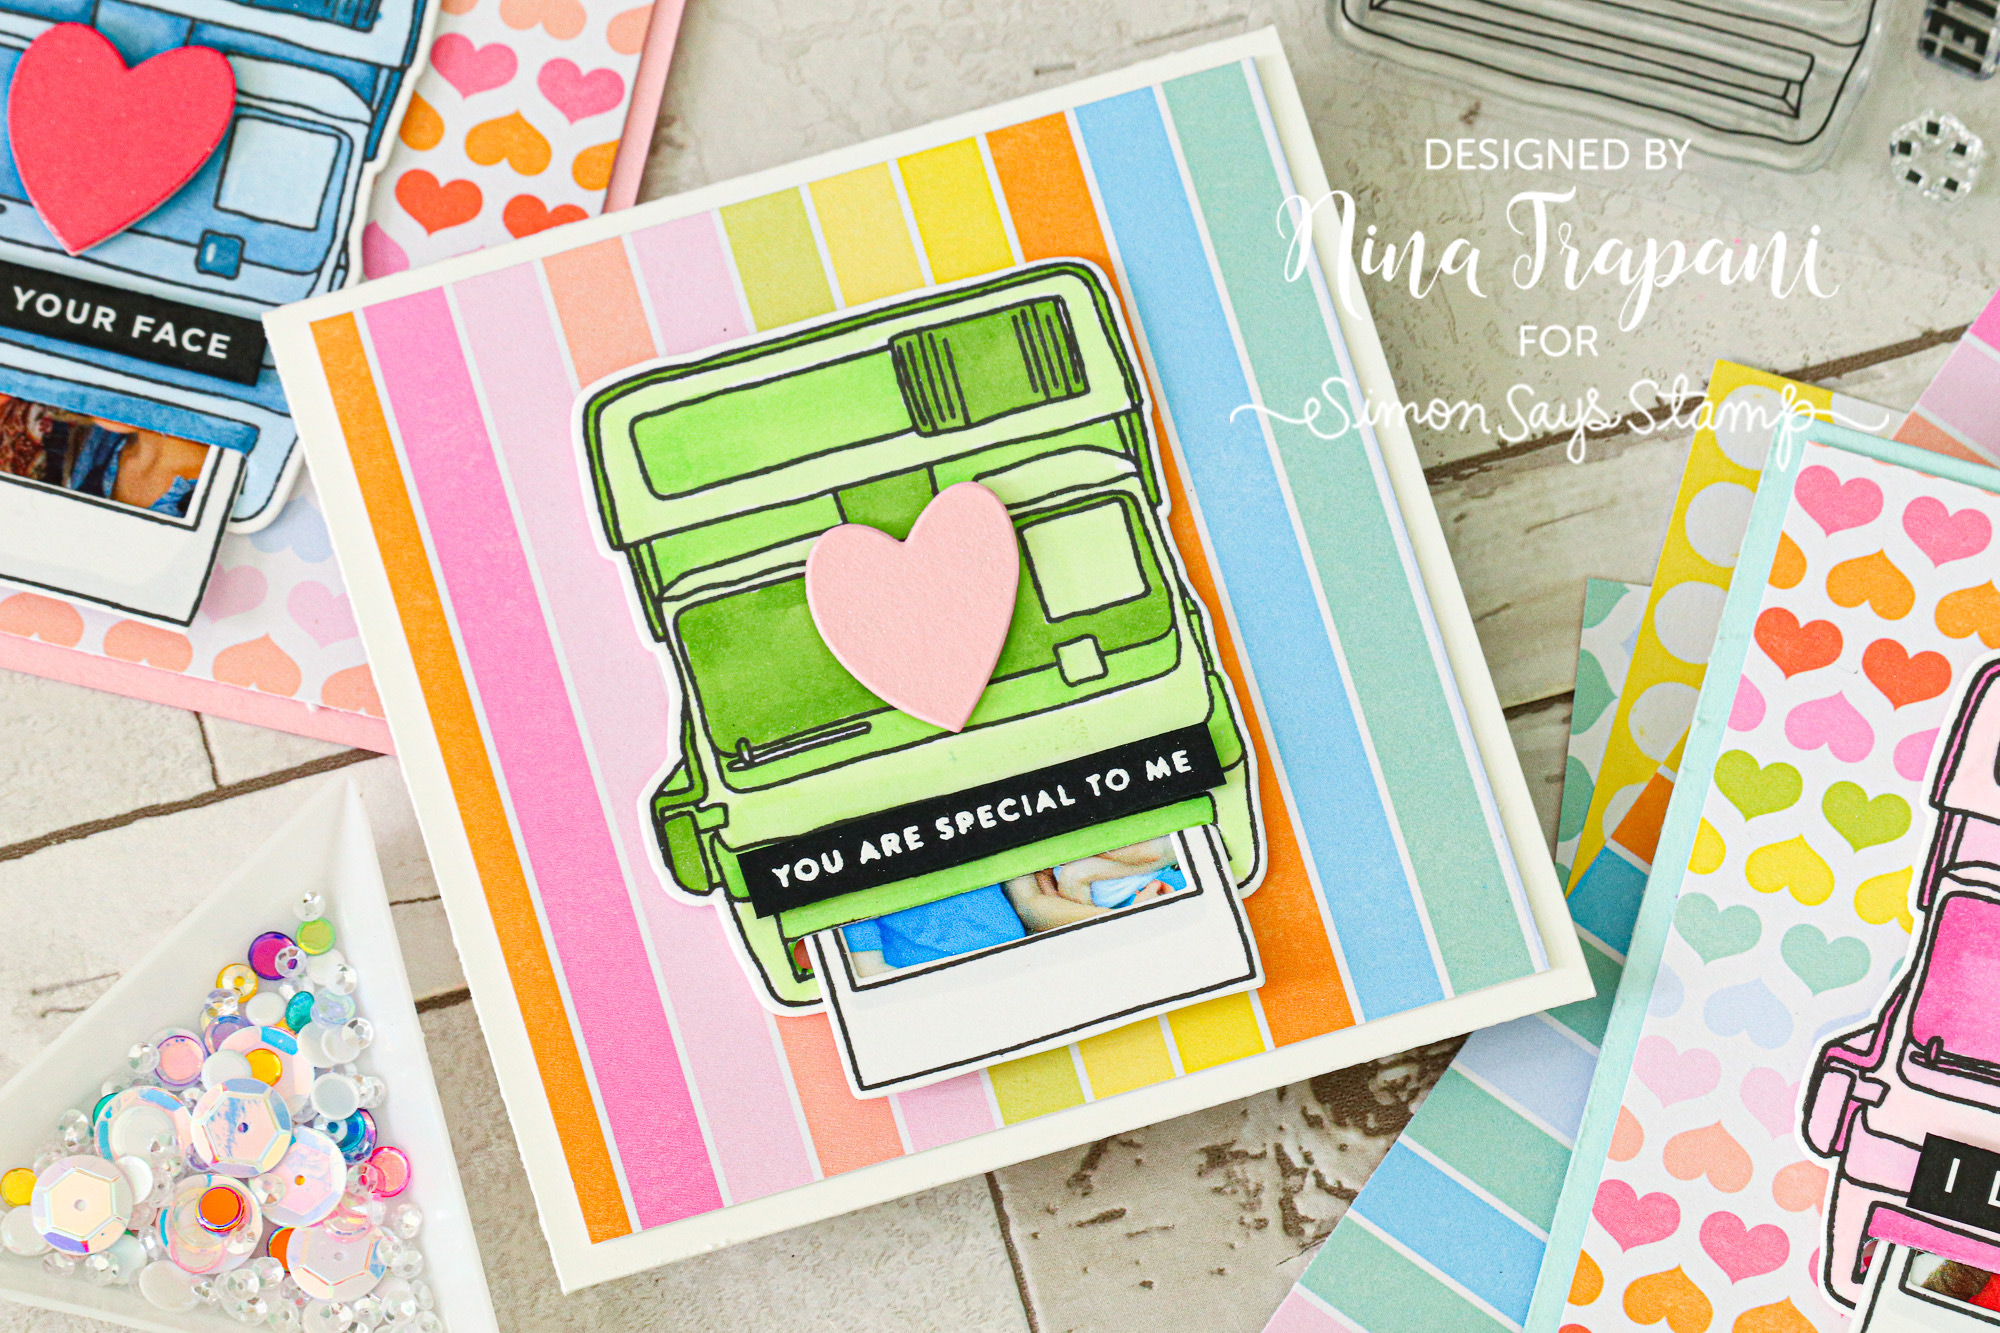
The little polaroid tucks up into the camera, which is a great way to surprise the recipient with the interactive fun of revealing the picture inside!
Want to see how I created this card? Be sure to watch the video below for all the details!
WATCH THE VIDEO
SUPPLIES
|


