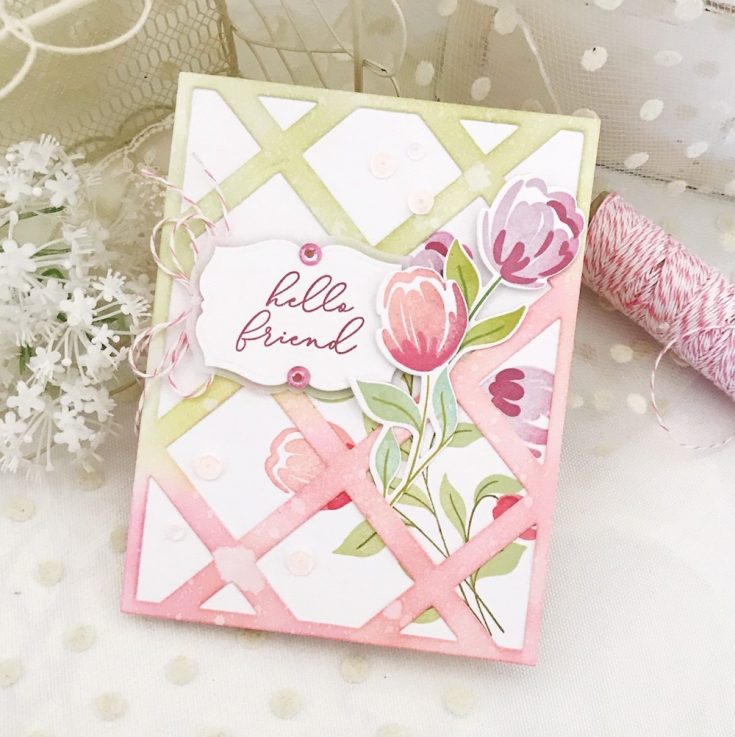
Hello Friend Trellis Pinkfresh Studio Card
Hi friends! Happy Saturday! Please join me in welcoming special guest Melissa Phillips to our blog! She made this gorgeous floral card! Read on to learn more and enjoy!
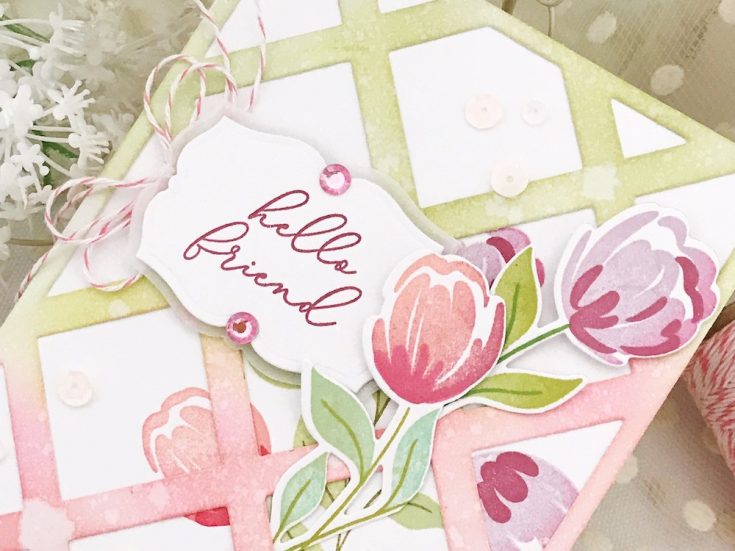
The beautiful Simply Diamonds Die reminded me of a garden trellis, and that was the inspiration as I began my card. I stamped my florals on a solid block of cardstock behind my trellis.
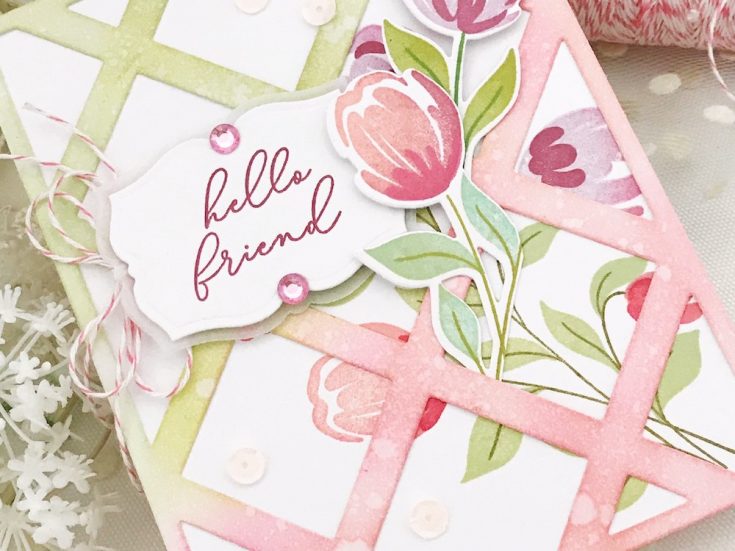
Then after sponging ink over my diamonds die cut, I added stamped and die cut flowers on top, clipping them apart from each other and arranging them to climb my trellis.
SUPPLIES:
|


Thanks so much for stopping by, and thanks to Melissa for being our guest!
Amore Laurafadora: CZ Chunky Flower 3 Ways

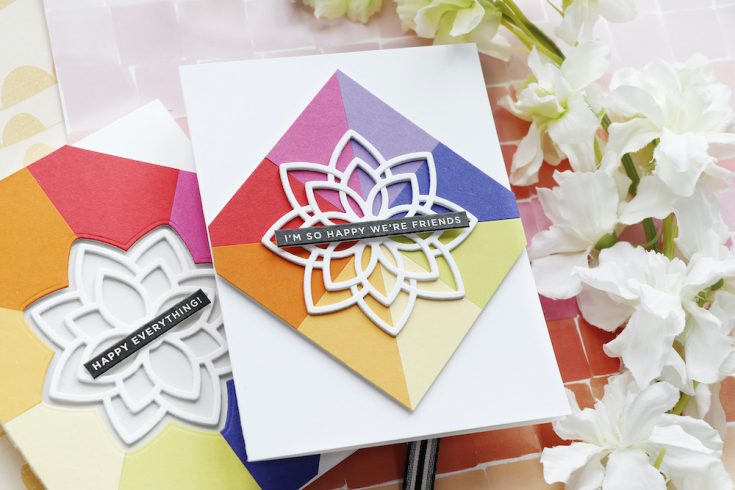
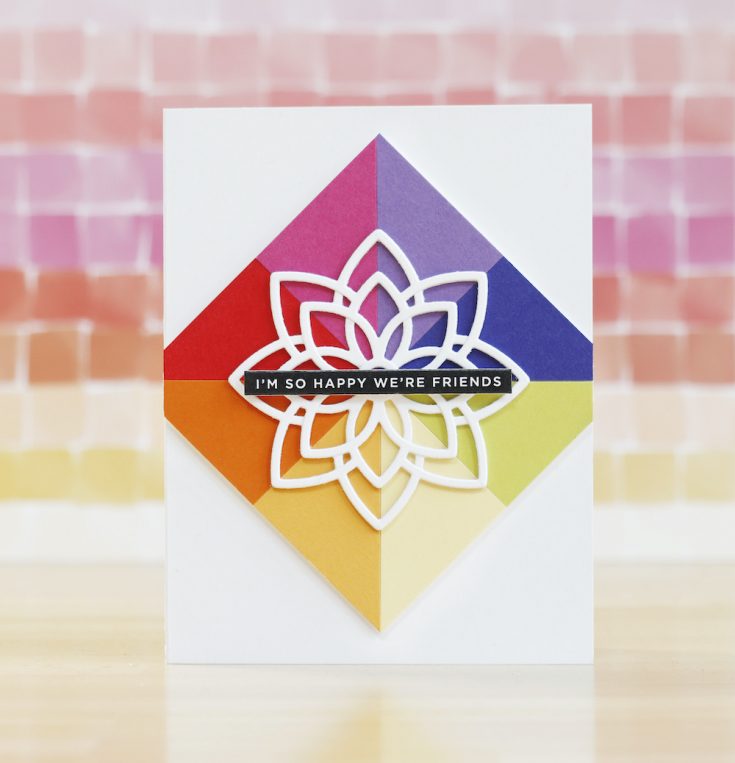
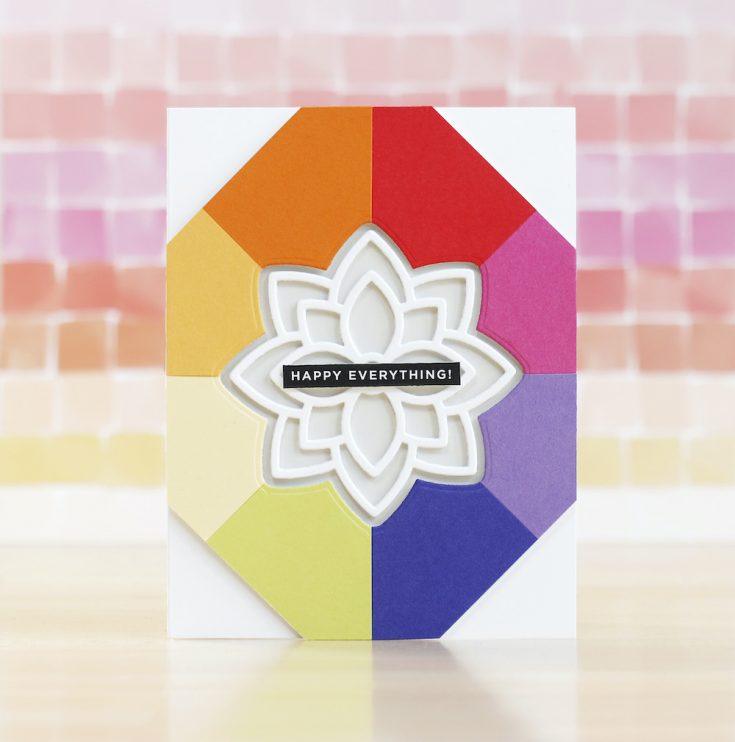
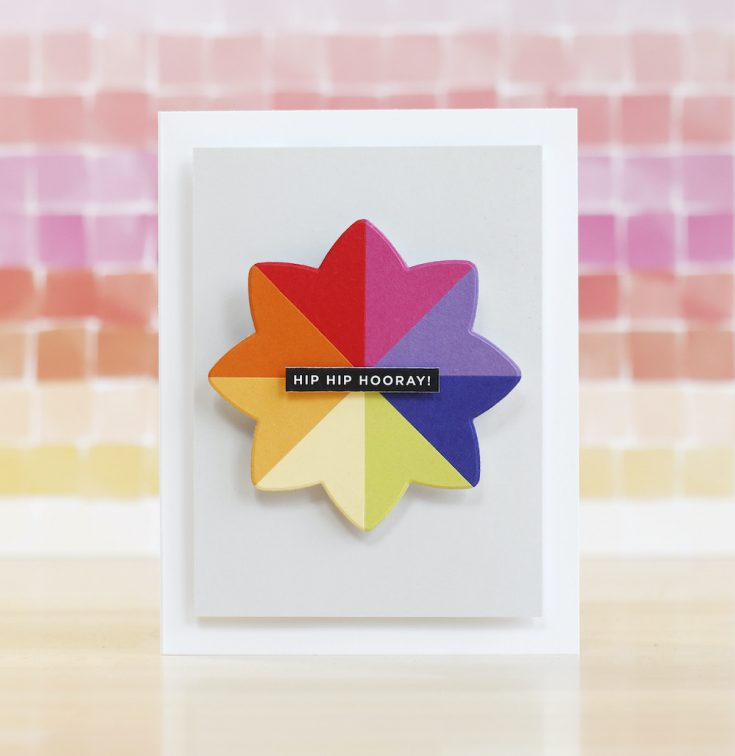
Hi friends! TGIF! Welcome to the latest installment of our bi-monthly Amore Laurafadora blog series by Laura Bassen! You won’t want to miss this GORGEOUS trio of cards showcasing the brand new Chunky Flower die by CZ Design, Simon Says Stamp Cardstock in a lovely rainbow assortment of colors, all topped off with the CZ Reverse Happy Sentiment strips and trimmed to perfection with our Sentiment Labels dies! Be sure to watch the video for more information and enjoy!
WATCH THE VIDEO:
SUPPLIES:
|


Thanks so much for stopping by, and thanks to Laura (as always! :)) for being our guest!
Hero Arts Peek-a-boo Photo Card
Hi friends! Happy Thursday! Please join me in welcoming special guest Channin Pelletier sharing a really fun Peek-A-Boo photo card using newer released stamps from Hero Arts! Read on and be sure to watch the video for more information and enjoy!
Hello everyone! This is Channin here and I’m so excited to be joining you all here at Simon Says Stamp!! Today I have a video and an interactive card to share featuring some new products from Hero Art’s Summer Release!
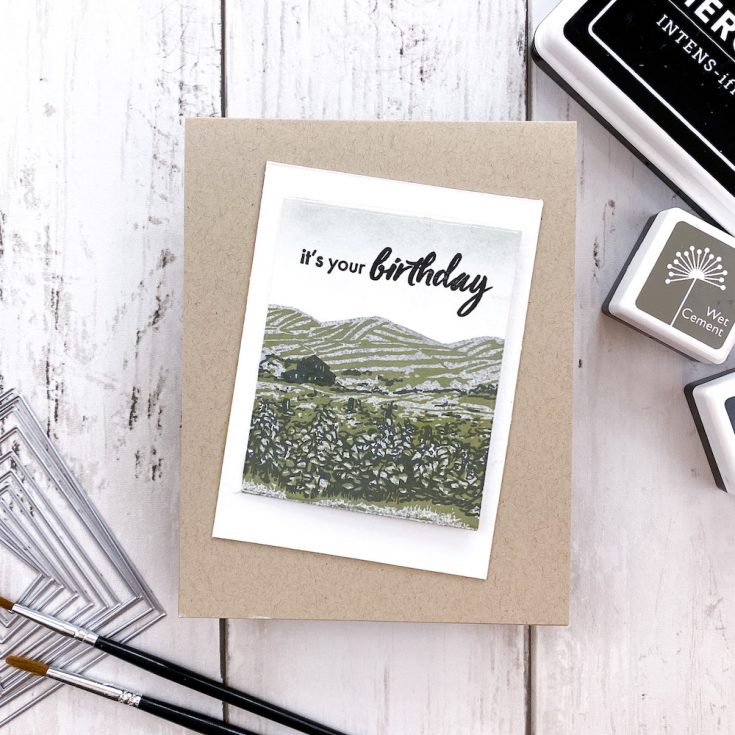
Today’s card combines the new Vineyard HeroScape Stamp Set and the Rectangle Peek-a-Boo Doors Mini Infinity Dies. All the new Peek-a-Boo Doors Dies are so cool, they make adding a fun interactive element to your card so easy and the new Vineyard set builds the most beautifully layered winery scene!
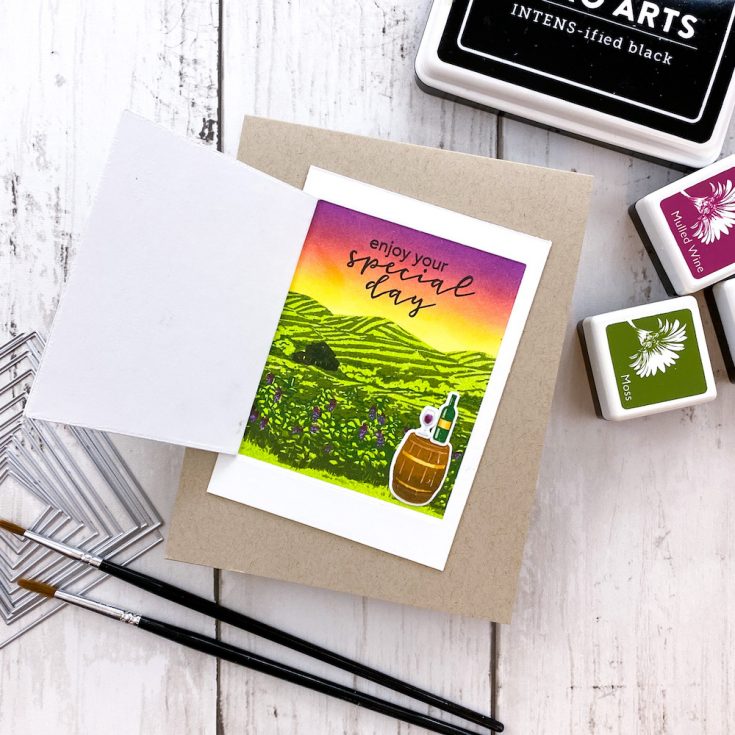
To create this card I first trimmed white cardstock down to create three 3” x 4 1/8” panels. I then positioned the largest Rectangle Peek-a-Boo Doors Mini Infinity Die on one of the panels and traced it. Next, I positioned the first layer from the Vineyard HeroScape Stamp Set in my MISTI, inked it up in Fog Reactive Ink and then stamped the first panel. I then removed the panel, grabbed a second one, and stamped it with the first layer in Key Lime Fizz Reactive Ink. I then positioned the second layer for the Vineyard, inked it in Wet Cement and stamped my first panel. Next, I popped my second panel into my MISTI and stamped it with the second layer inked in Moss. I repeated this process for the third layer using Charcoal on the first panel and a combination of Pine and Cup O’ Joe for the second. I then finished the second panel by stamping the grapes in Thistle Reactive Ink and Mulled Wine.
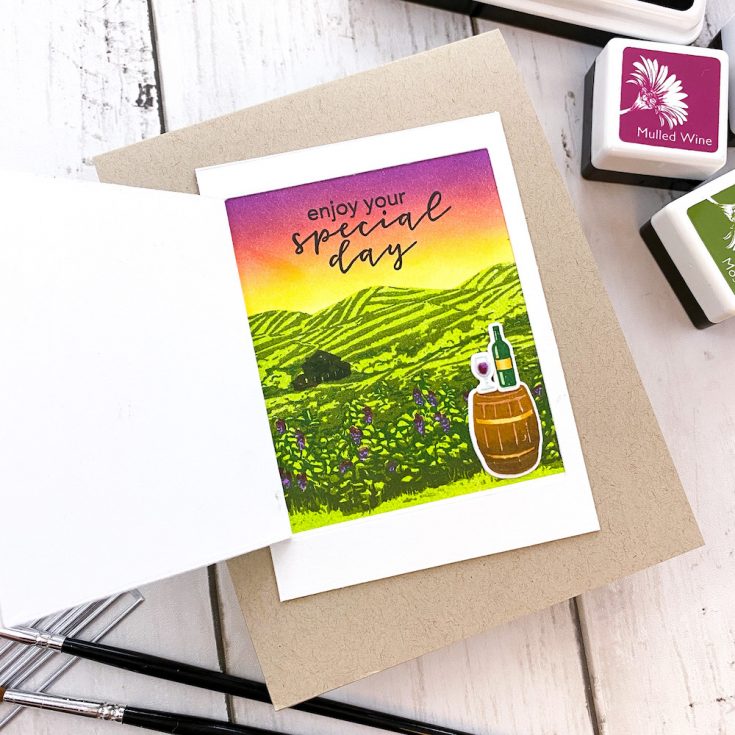
Next, I made two quick masks by stamping the second and third layers on scrap paper and fussy cutting them out. I then positioned the third layer mask on my first panel and then stamped a house in Charcoal. I then positioned the mask on the second panel and stamped the house again but this time in Cup O’ Joe. Next, I masked off the hills and then ink blended the sky for both panels.
Once I finished the blending the skies, I then stamped some additional images from the set onto white cardstock. I stamped the barrel in Caramel and Cup O’Joe ink, a wine bottle in Pine, and a wine glass in Soft Pool. Once the images were stamped I then Copic colored them to fill in the negative spaces and add wine to the wine glass. When I finished with the images I then die cut them out with the matching dies and set them aside.
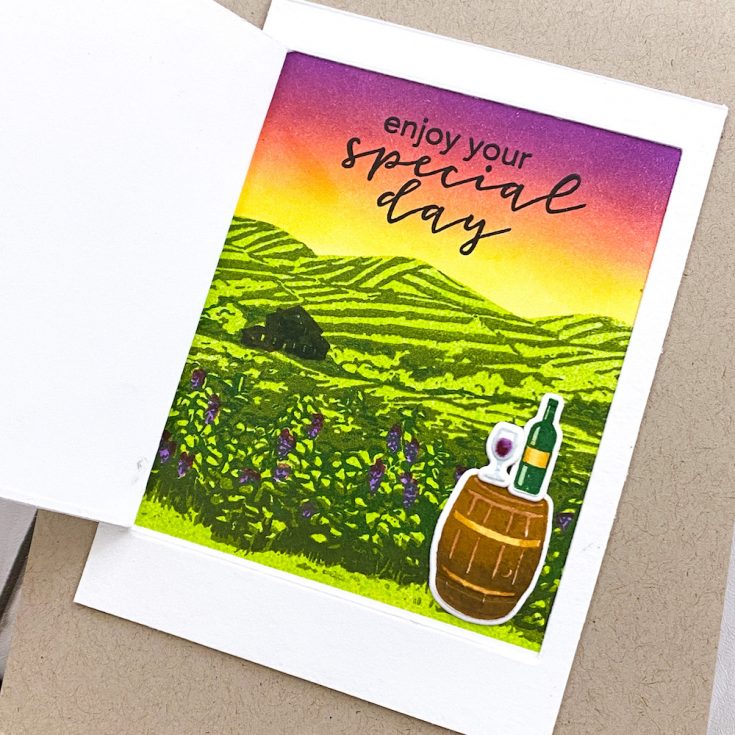
Next, I die cut the first panel with the largest Rectangles Peek-a-Boo Doors Die. Then with a craft knife I cut the door off at the fold and then used the remaining frame as a guide to help me position the die and then die the third panel. I then stamped a sentiment onto the two stamped panels in INTENS-ified Black Ink and adhered the first panel onto the front of the third. Next, I die cut a second door with the Rectangle Peek-a-Boo Die and some scrap cardstock and adhered it to the back of the third panel to add some strength and lift to make it easier to grab. I then adhered this stack door over my second stamped panel. I then finished my card by adhering the door onto an A2 top-folding Sand card base.
I hope you enjoyed my card and video!! Thank you so much for stopping by!
~Channin
WATCH THE VIDEO:
SUPPLIES:
|


Thanks so much for stopping by, and a big thanks to Channin for being our special guest!


