Our 13th Annual DieCember®!
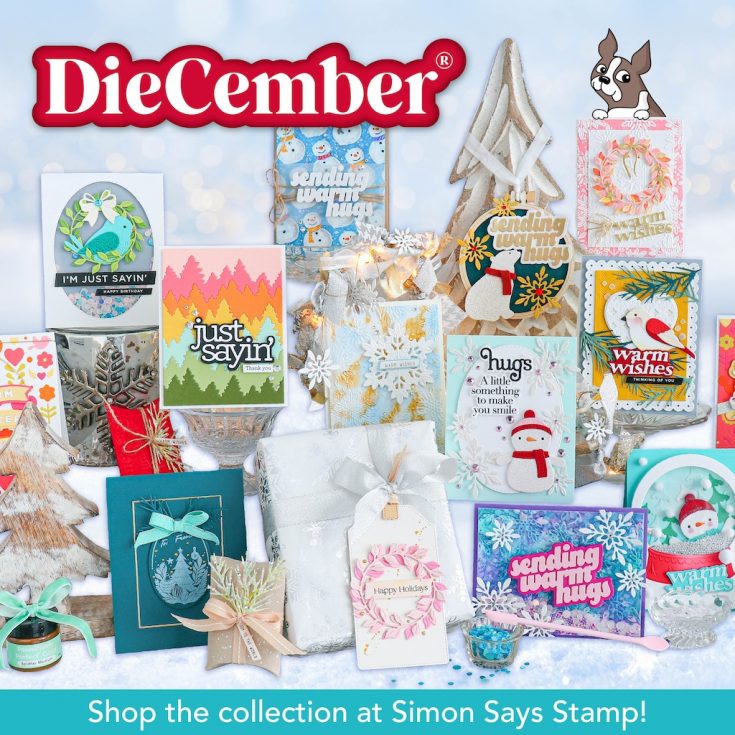
Happy DieCember®! Our very first DieCember® was in December 2013, and the team is a bit in awe that it’s been 12 years already!! We’re not exactly or precisely sure when die cutting became a hot trend in crafting. It’s hard to pinpoint. However, we do know that die cutting has changed the way that we create. Cutting out beautiful and often intricate images is a delightfully fun part of paper crafting. Die cutting embellishes our art in interesting ways. People that aren’t paper crafters are often mystified when they receive a card that has anything die cut involved in the design. If you haven’t experienced this wonderment and awe, be sure to spread some handmade joy this season! (check out these videos for cool tips, tricks, and ideas in die cutting)
To celebrate dies as one of our most favorite crafty products (after stamps, of course), we are hosting a month-long DieCember® celebration. Throughout the month you will see special features, sales, education, and inspiration that focus on die cutting.
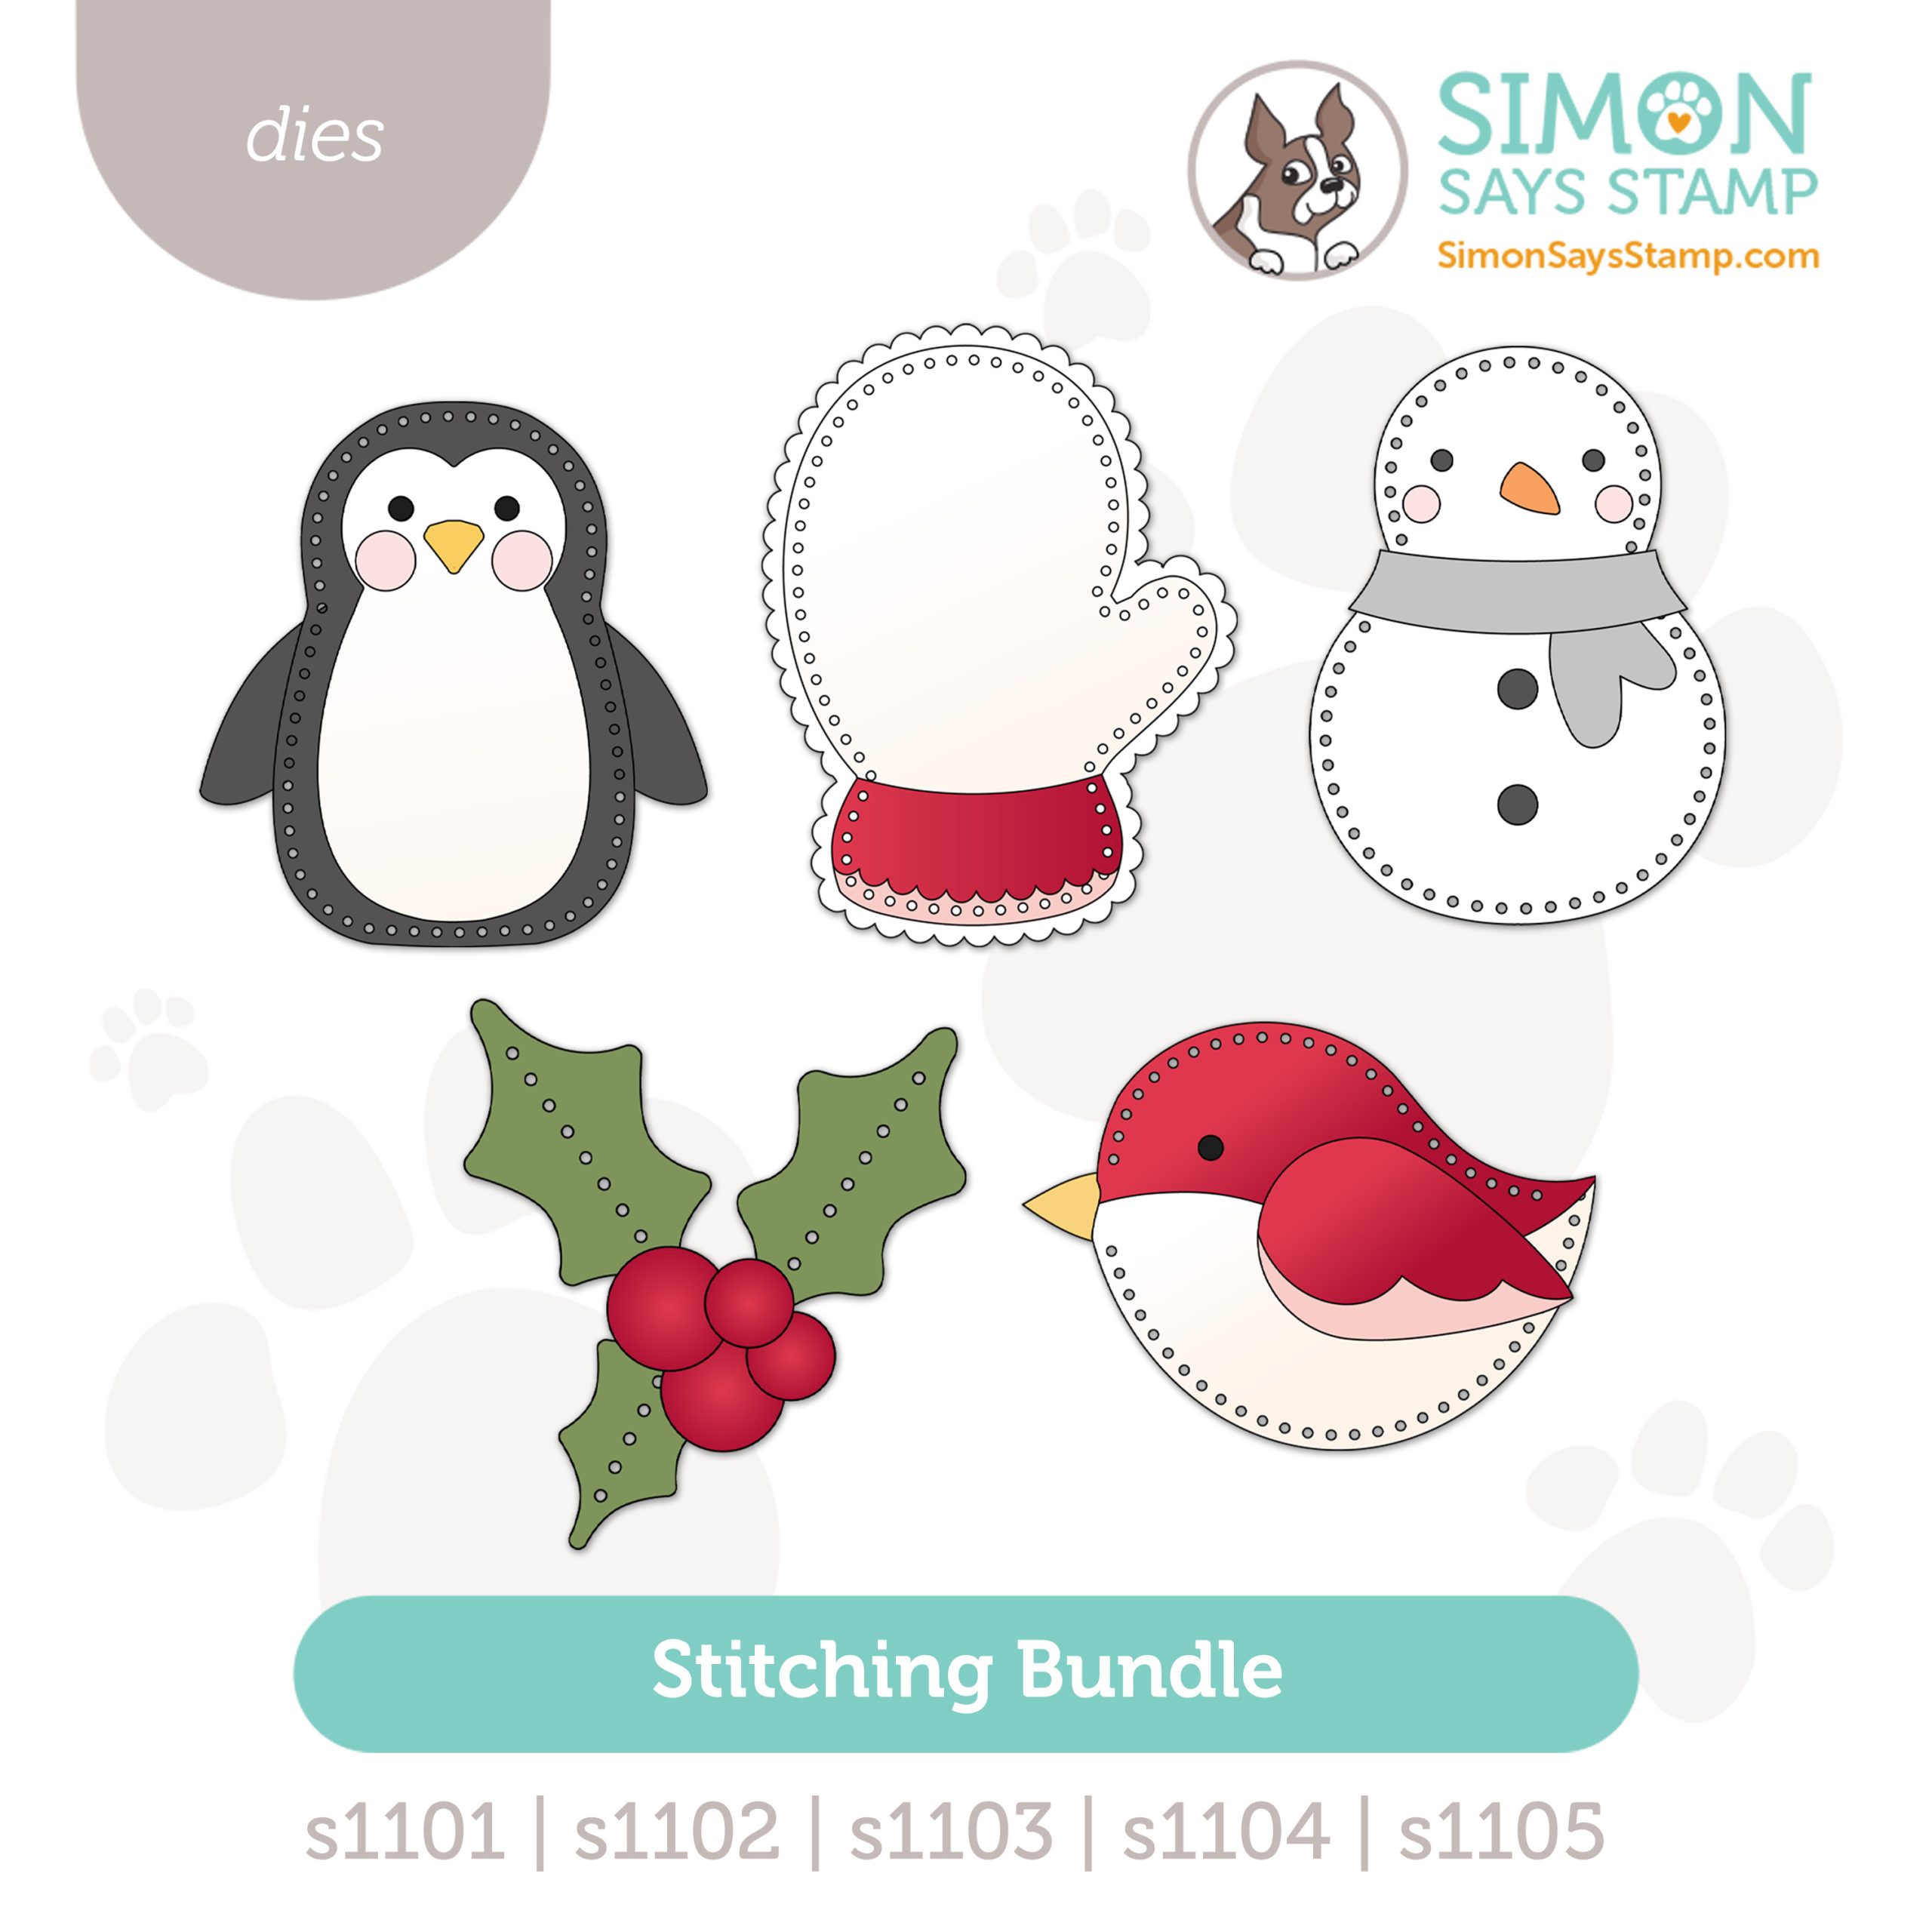
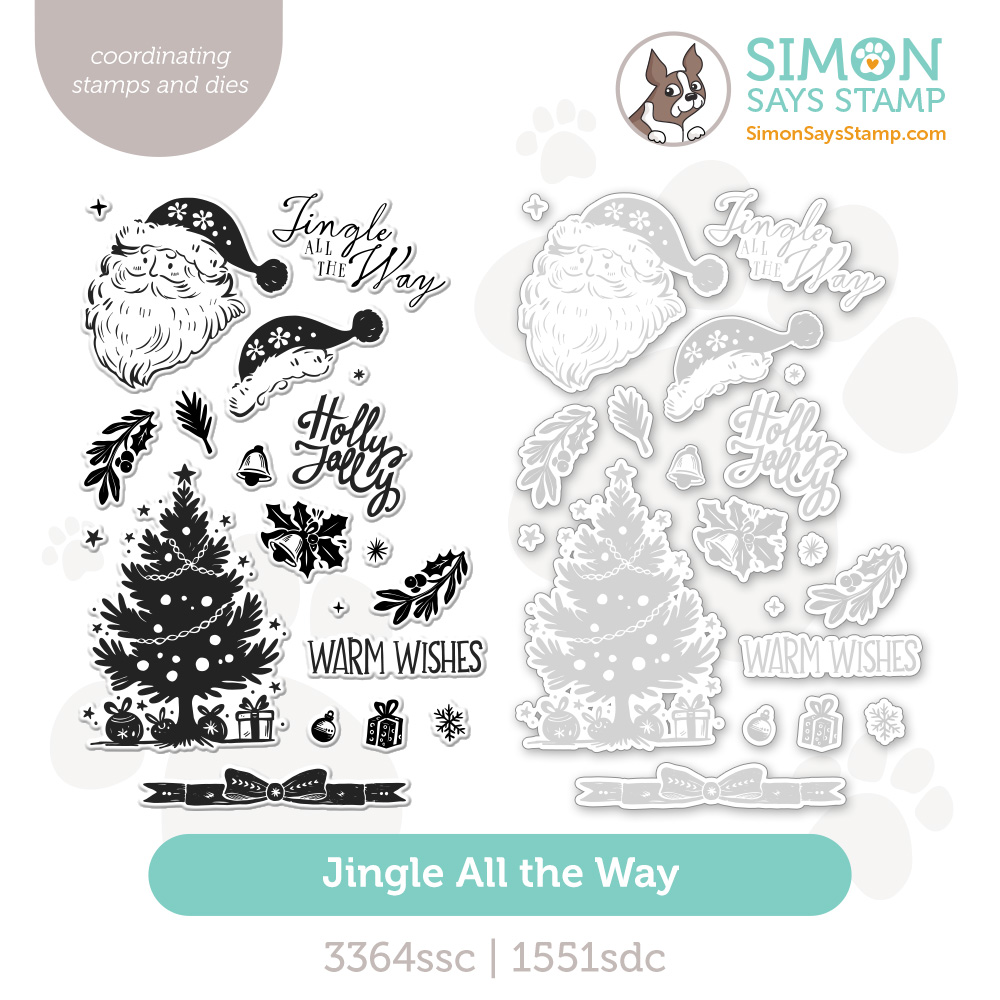
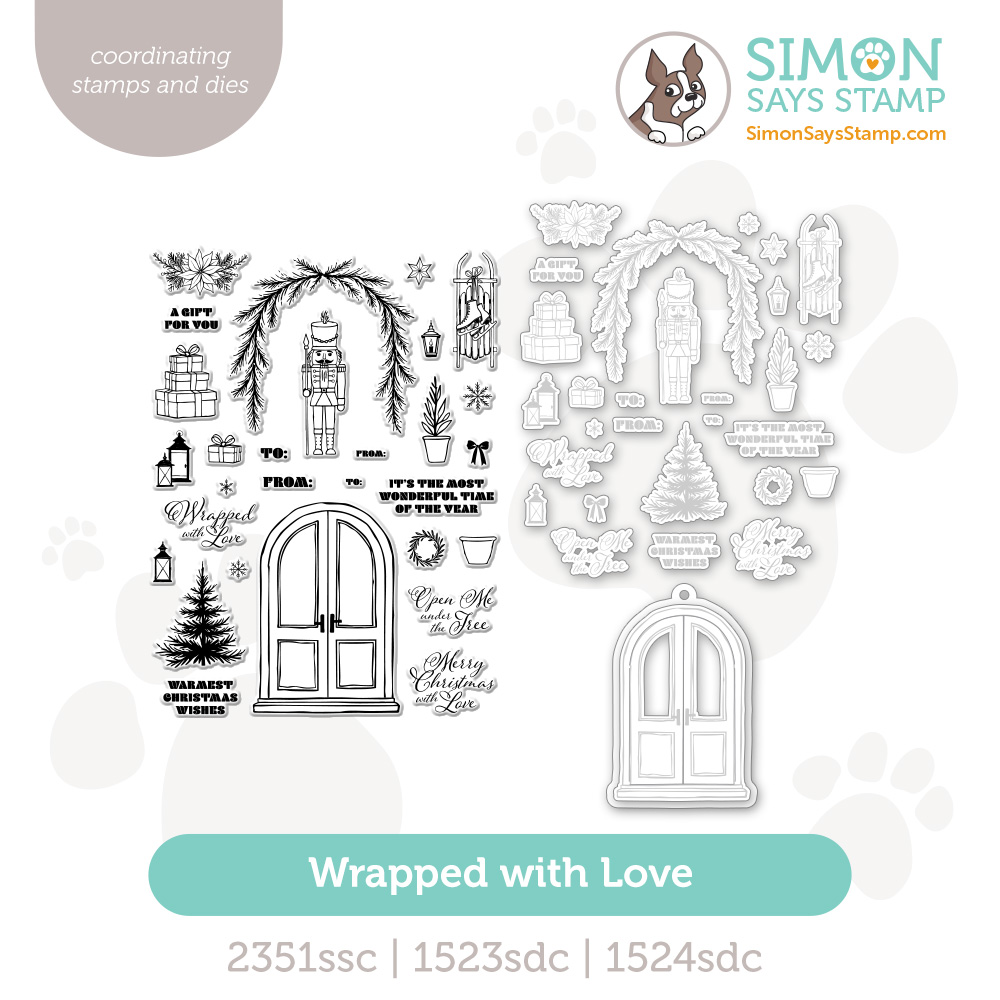
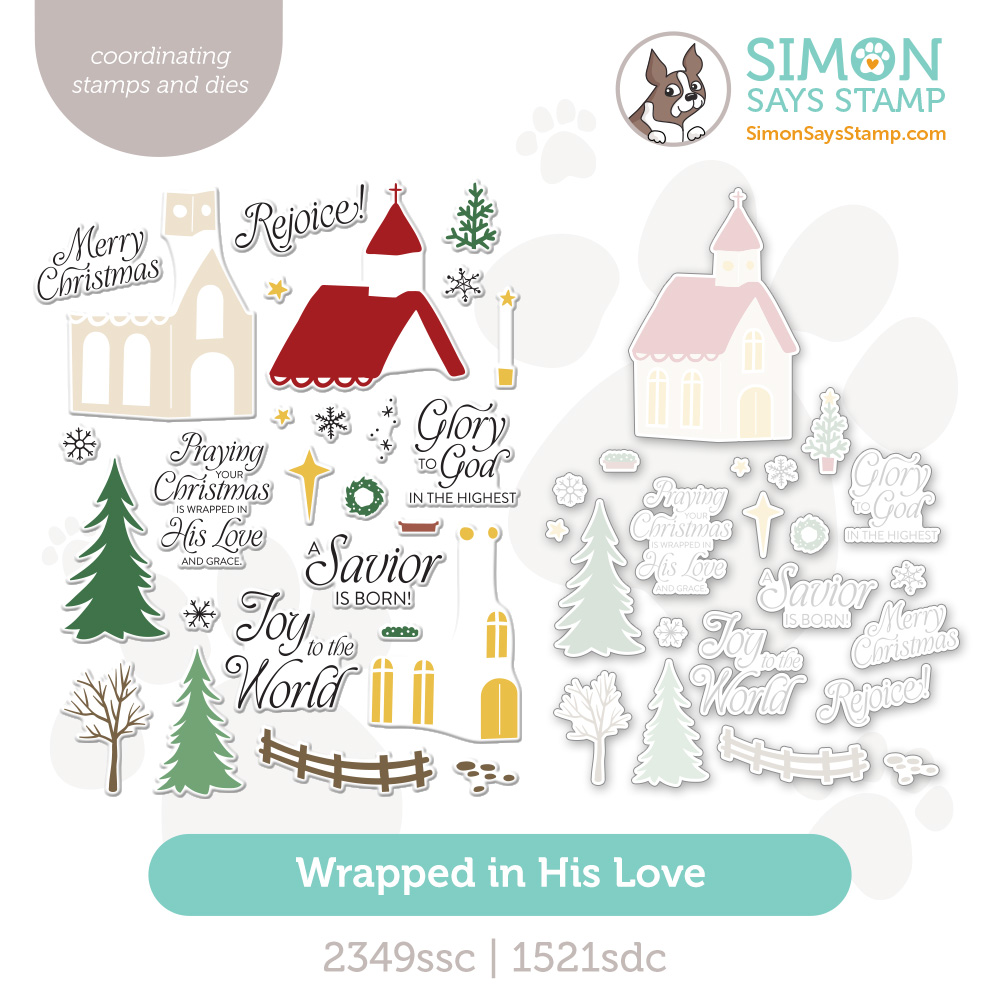
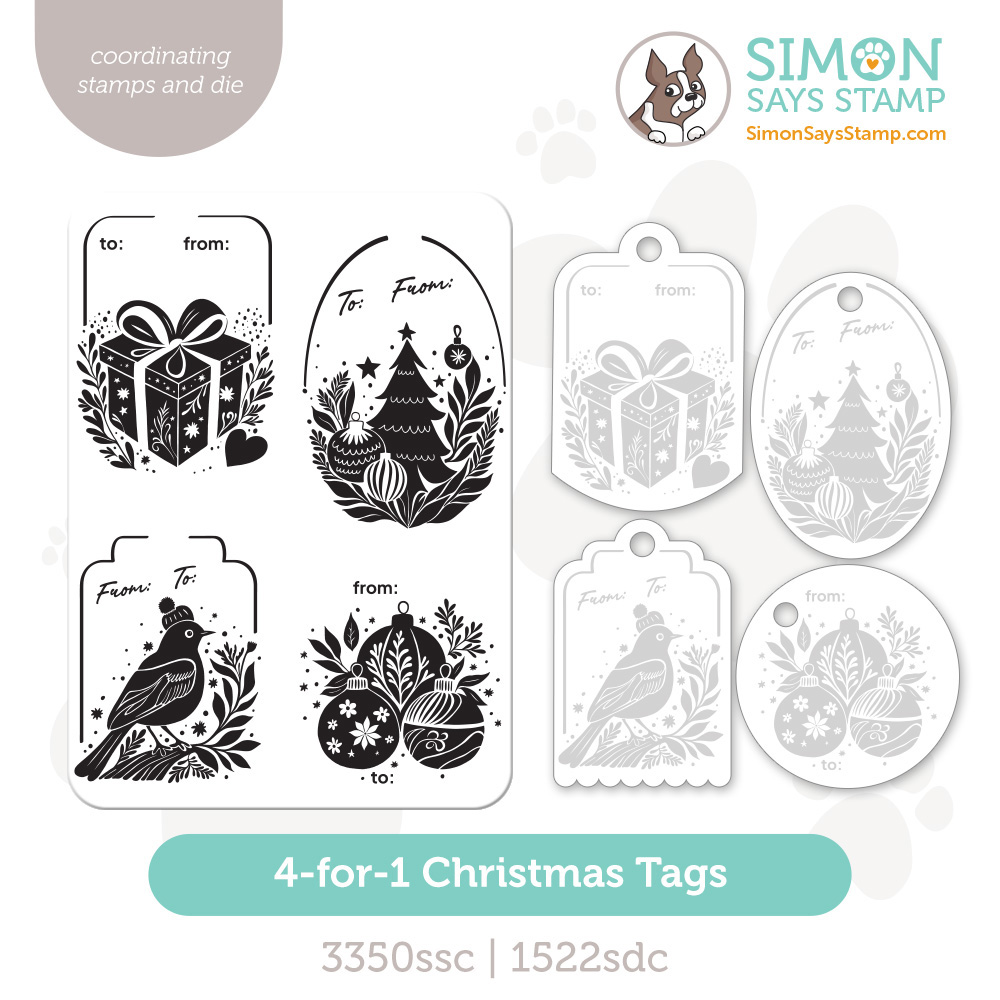
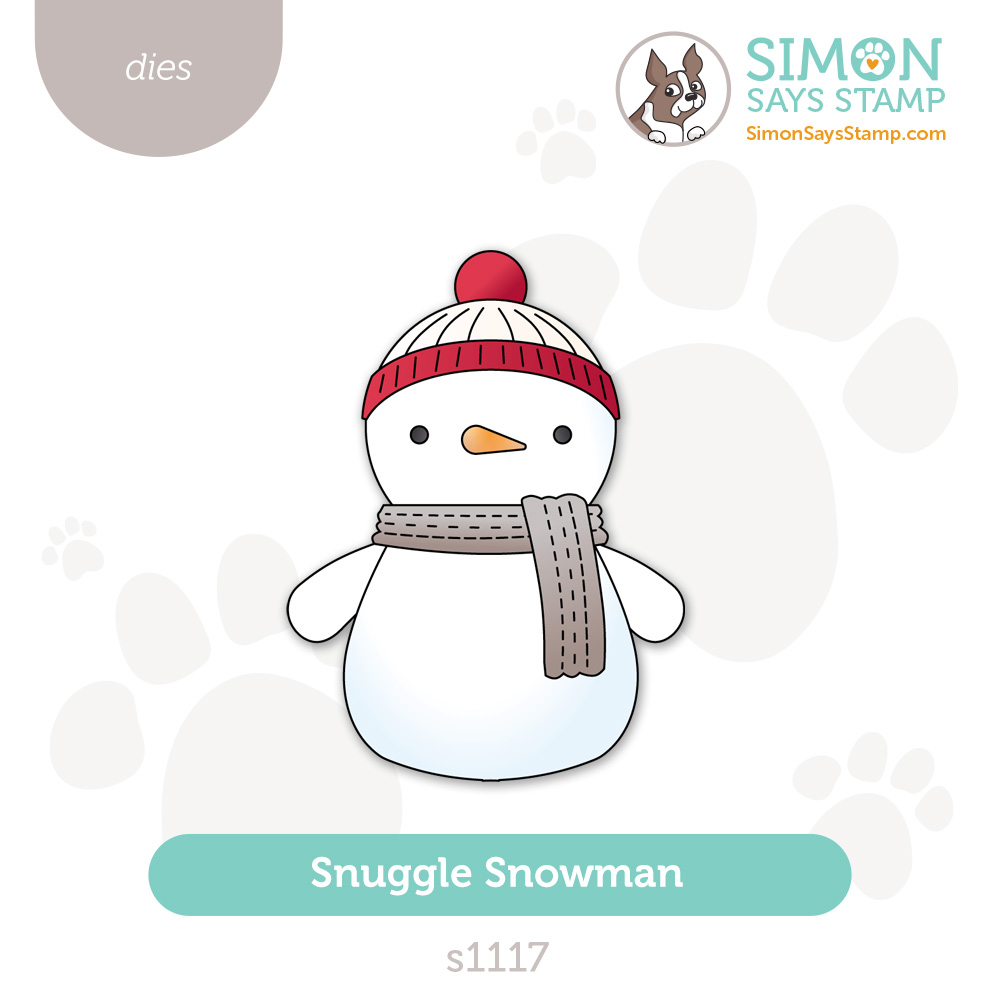
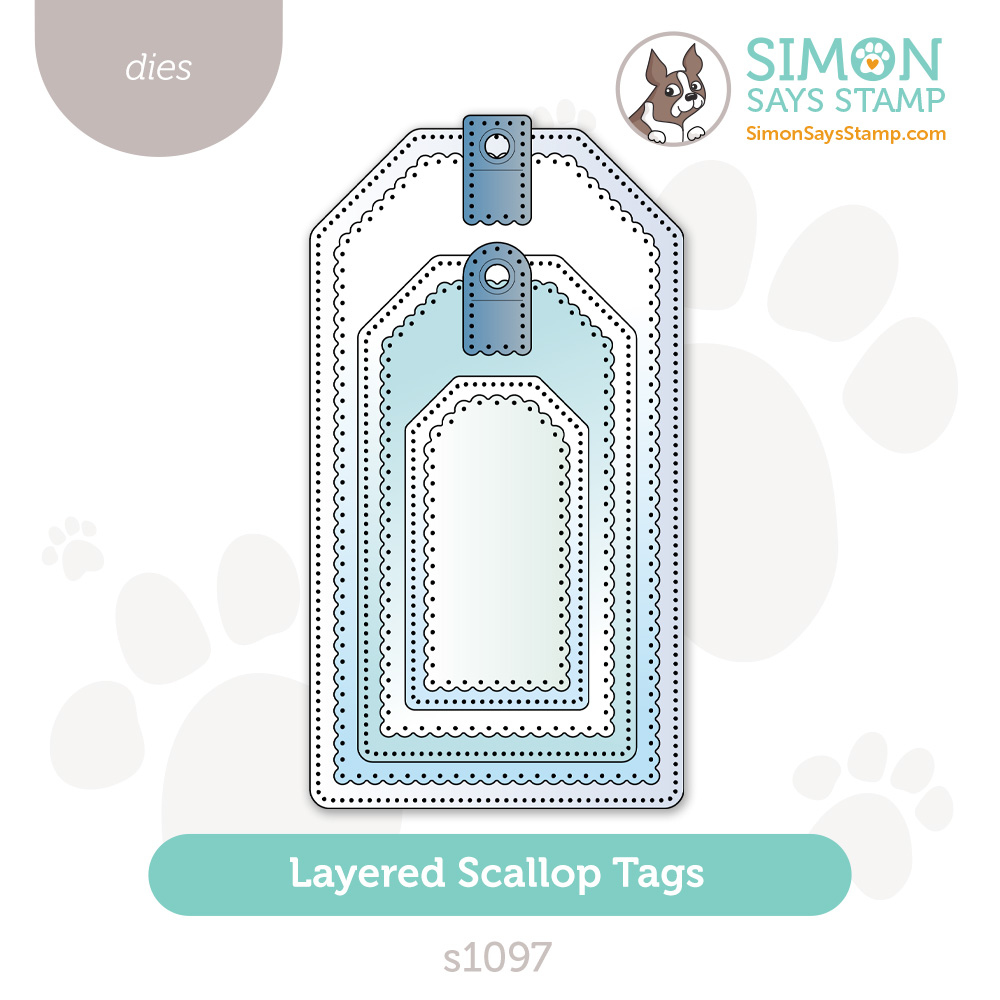
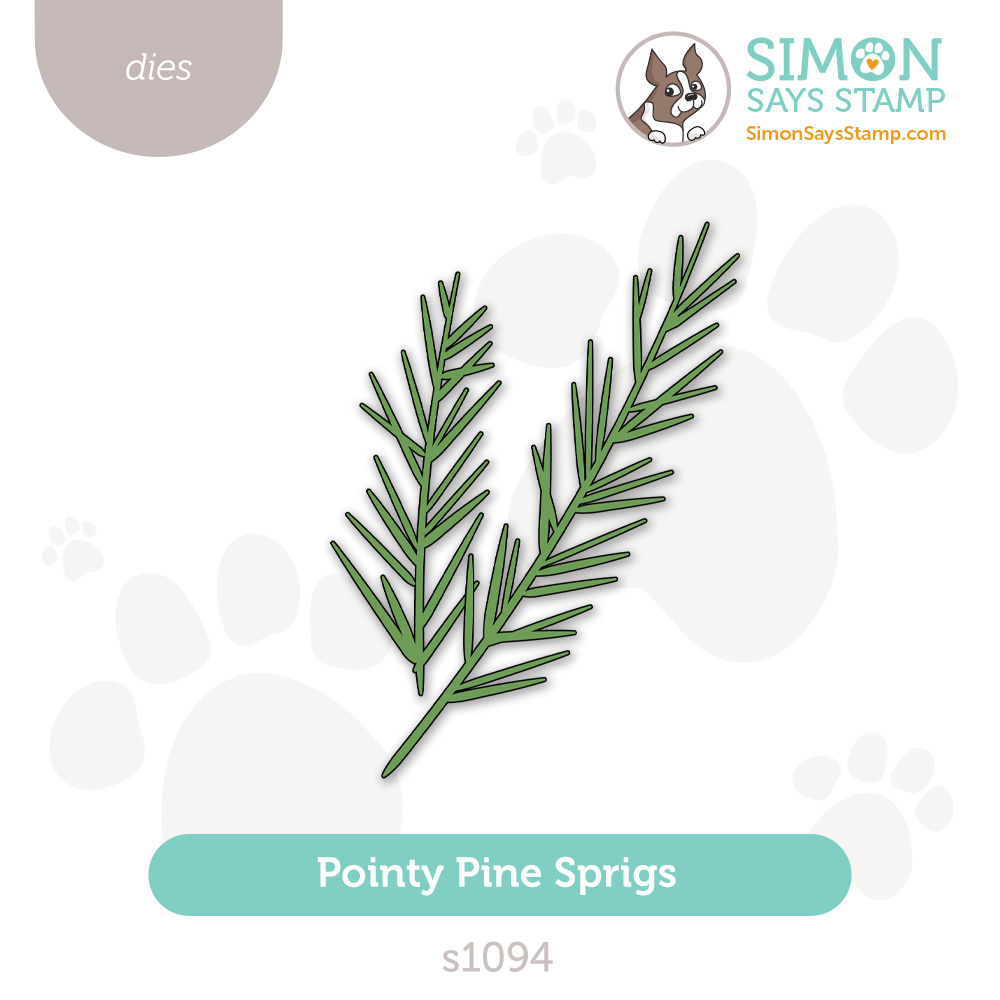
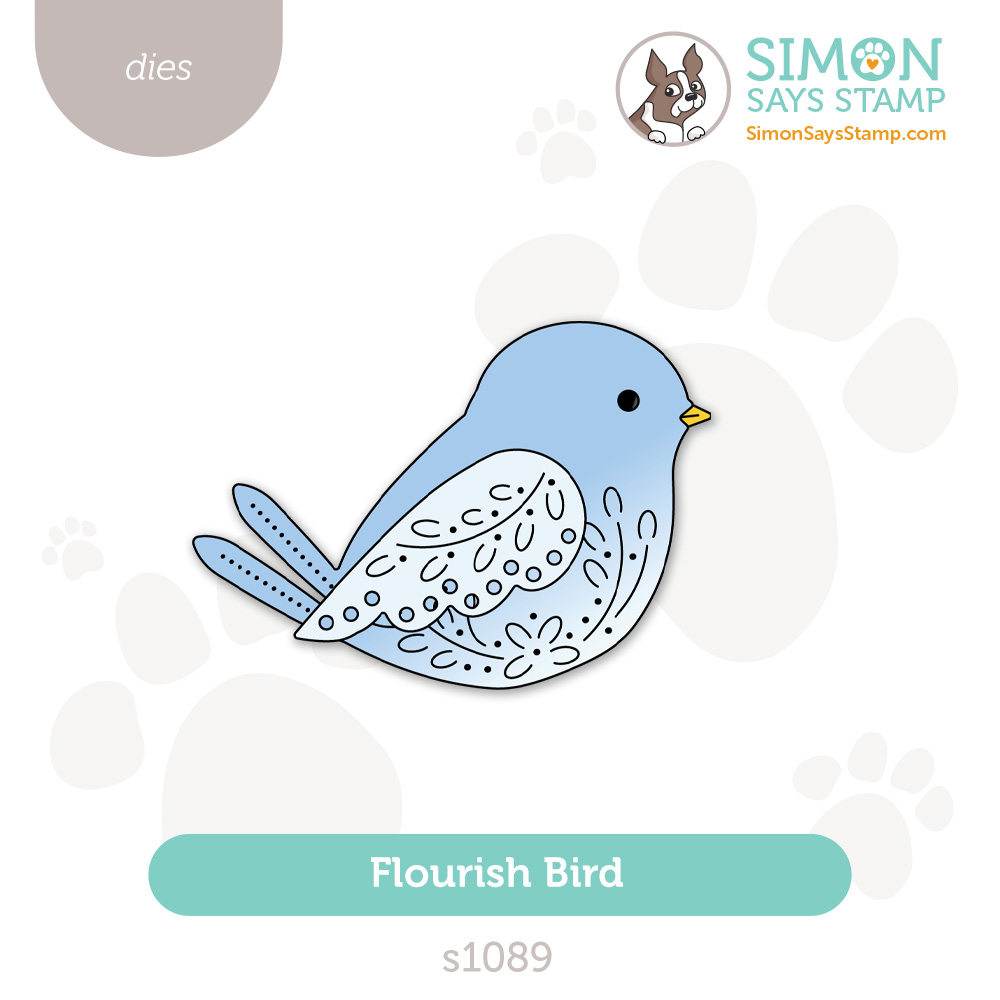
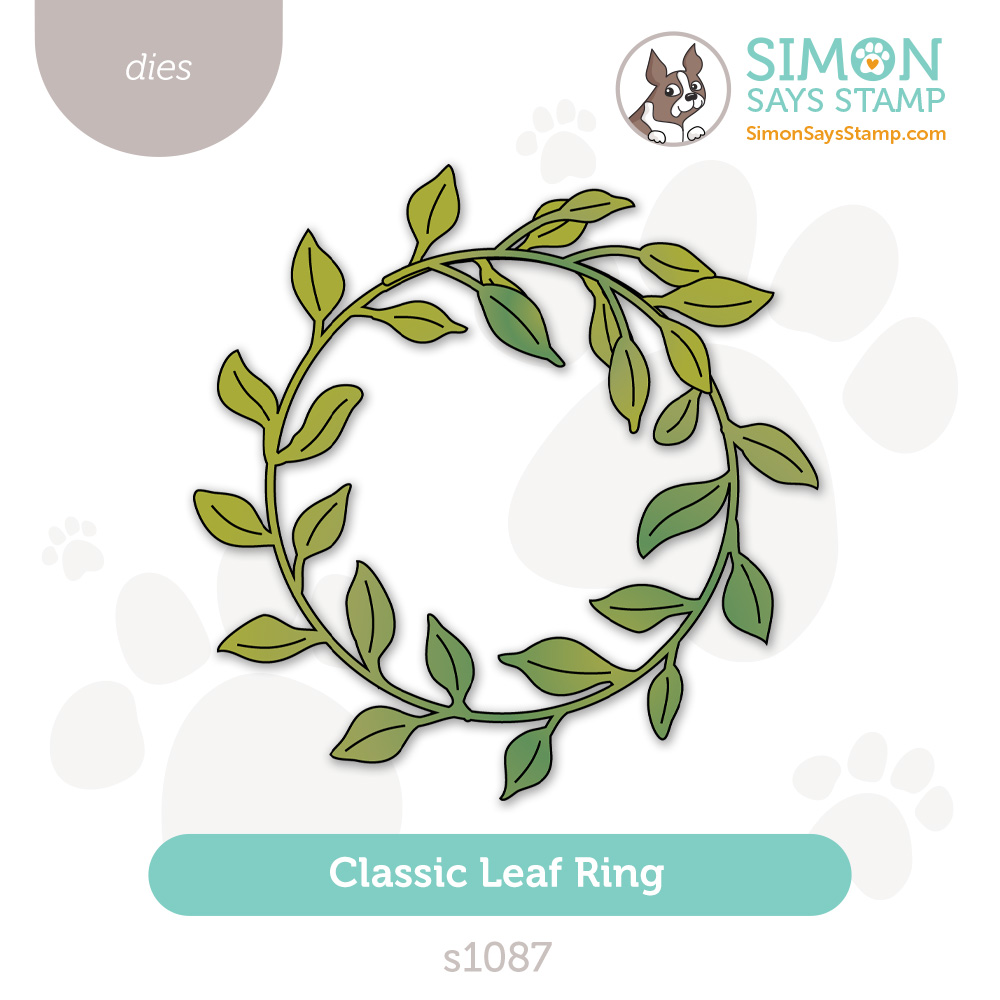
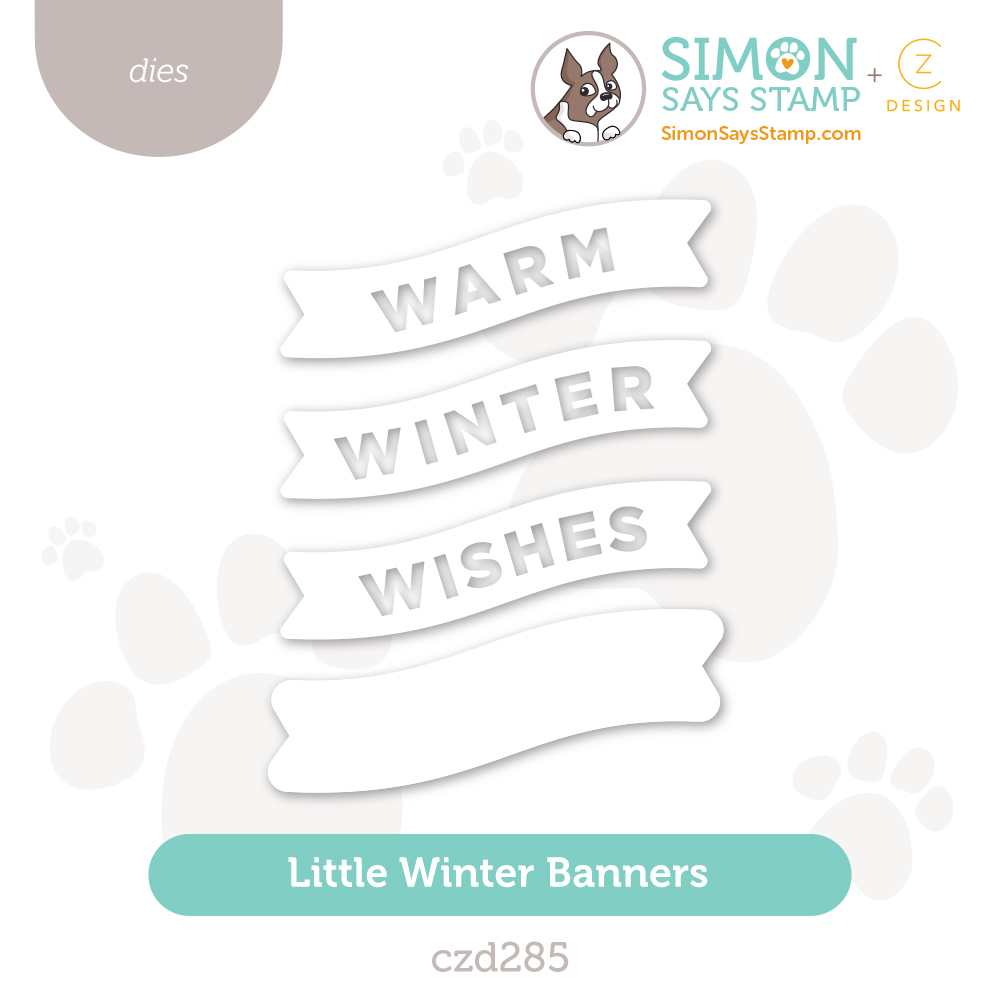
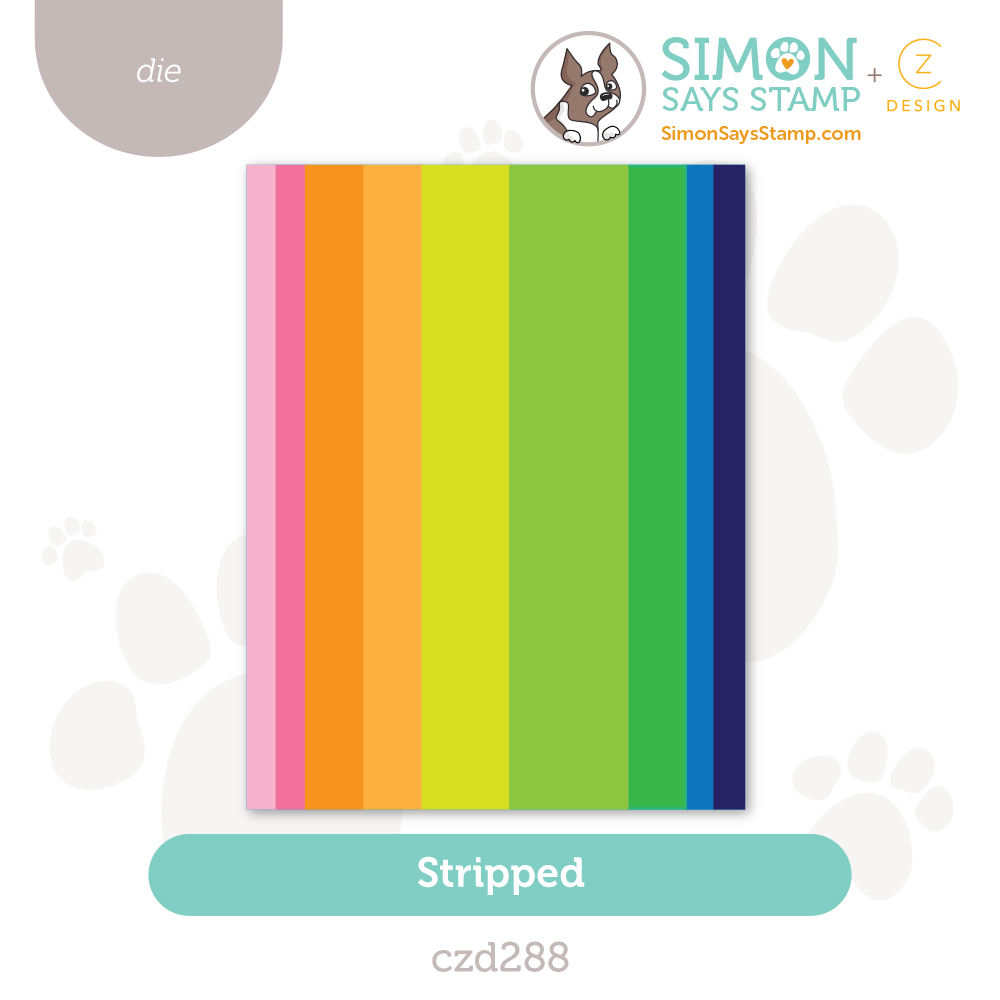
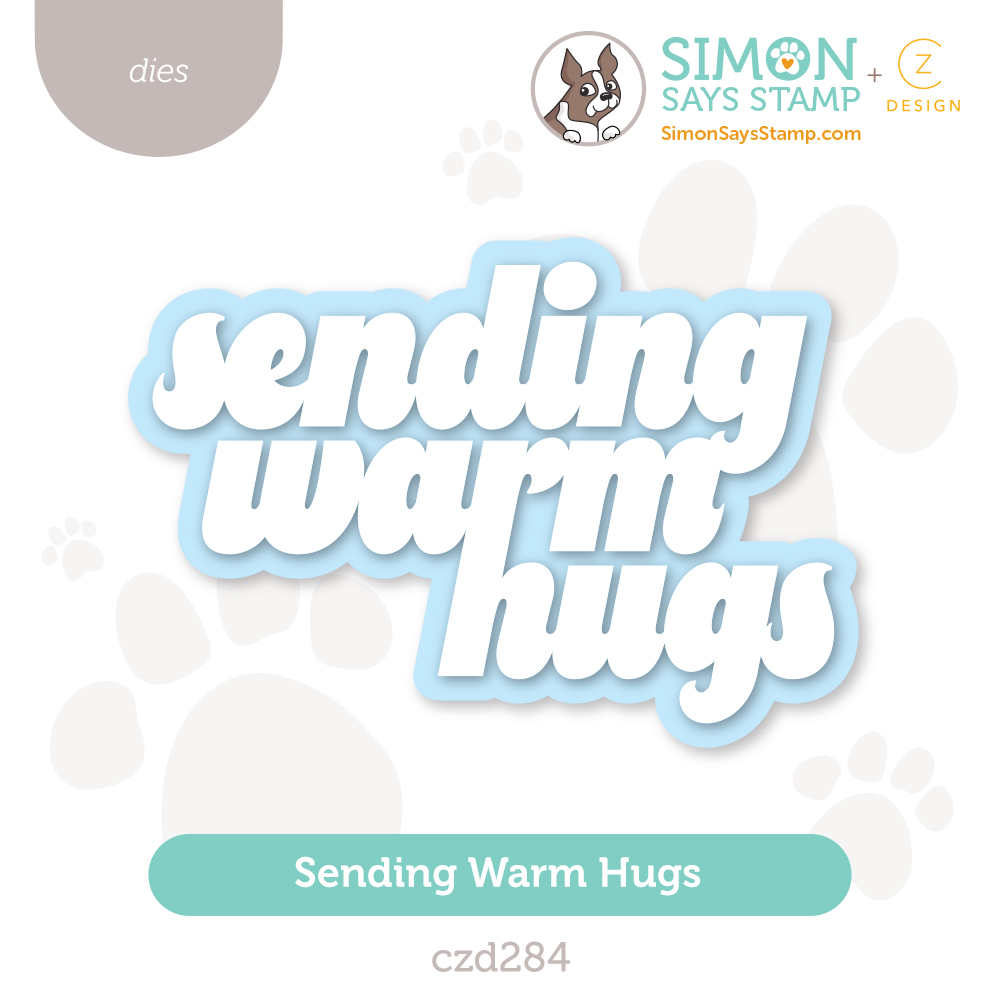
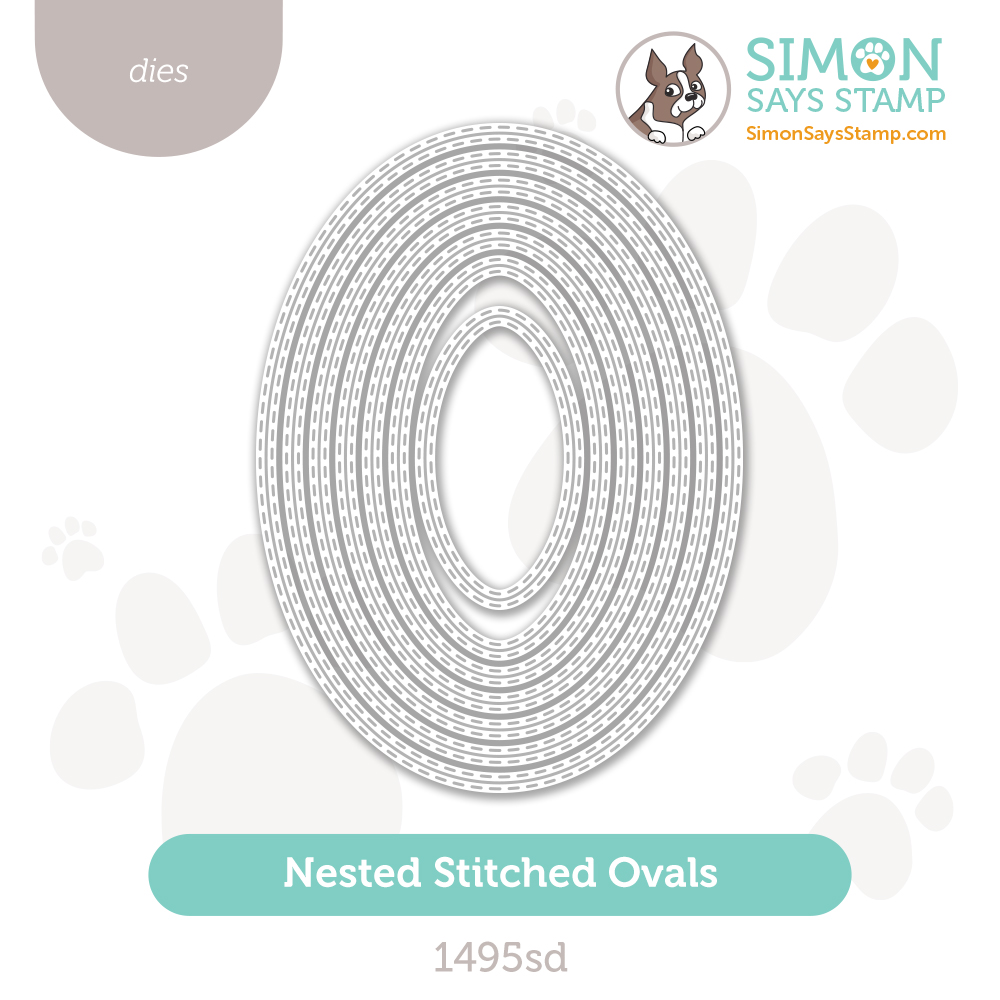
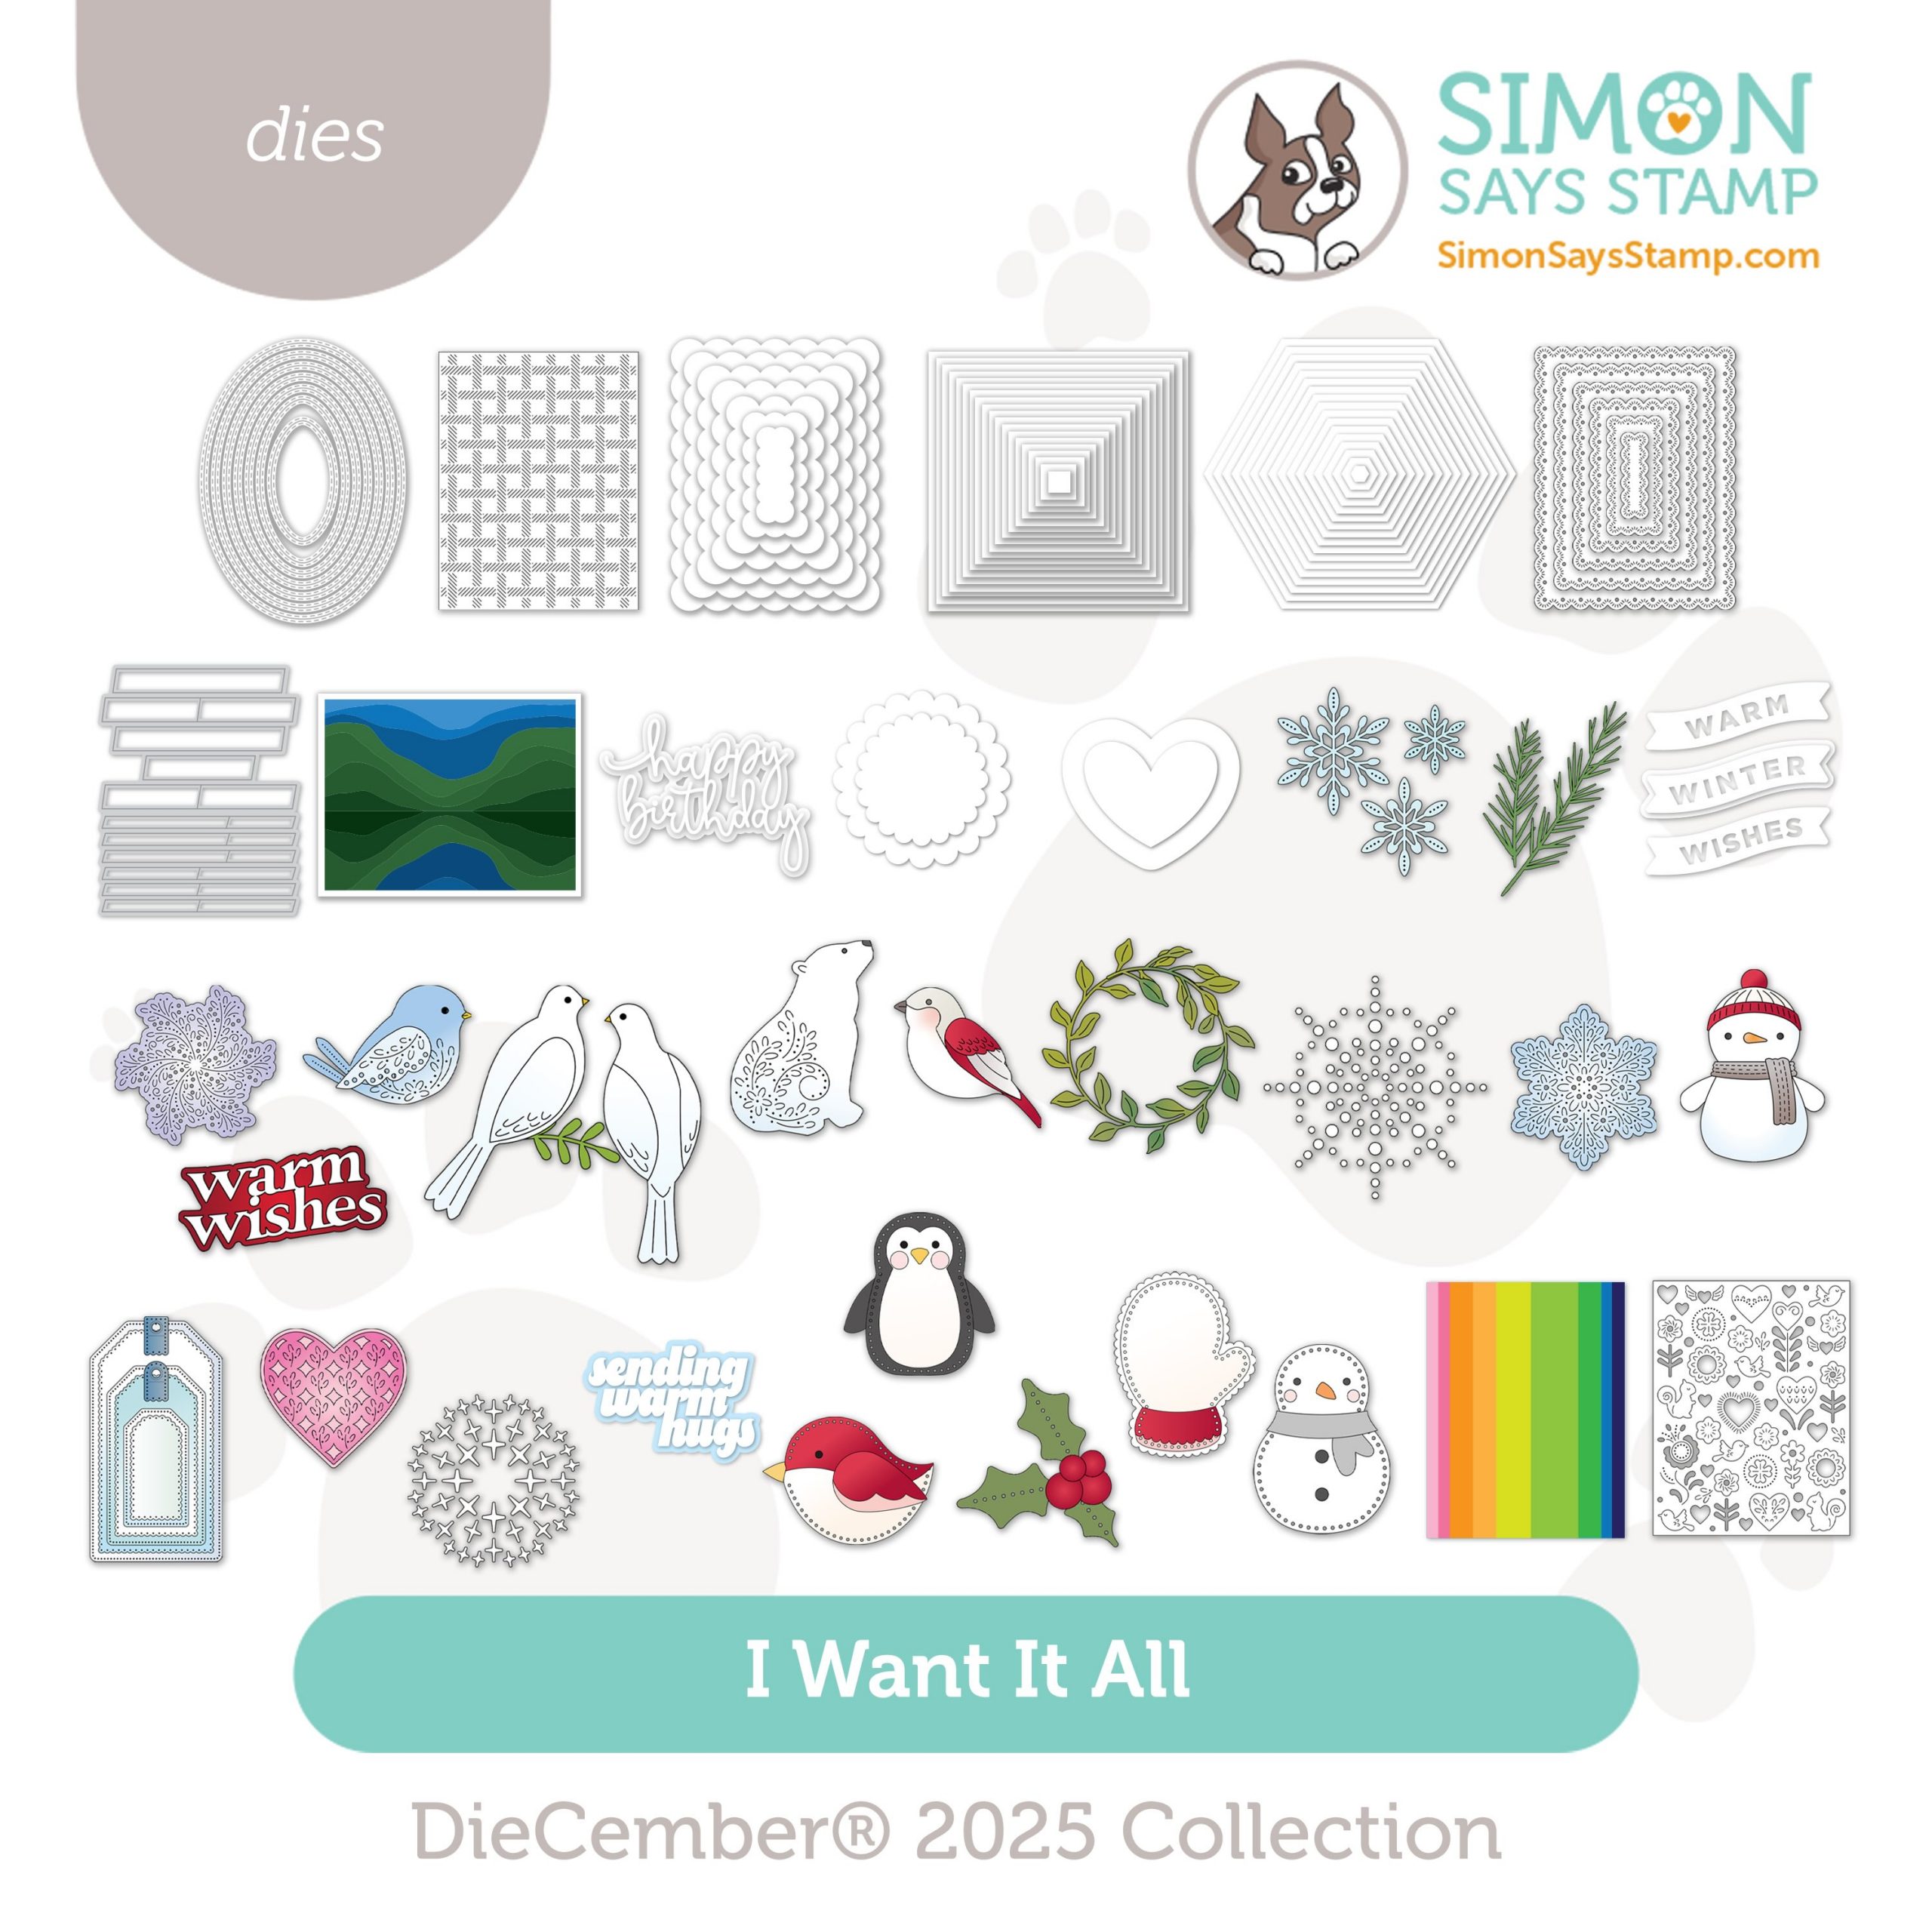
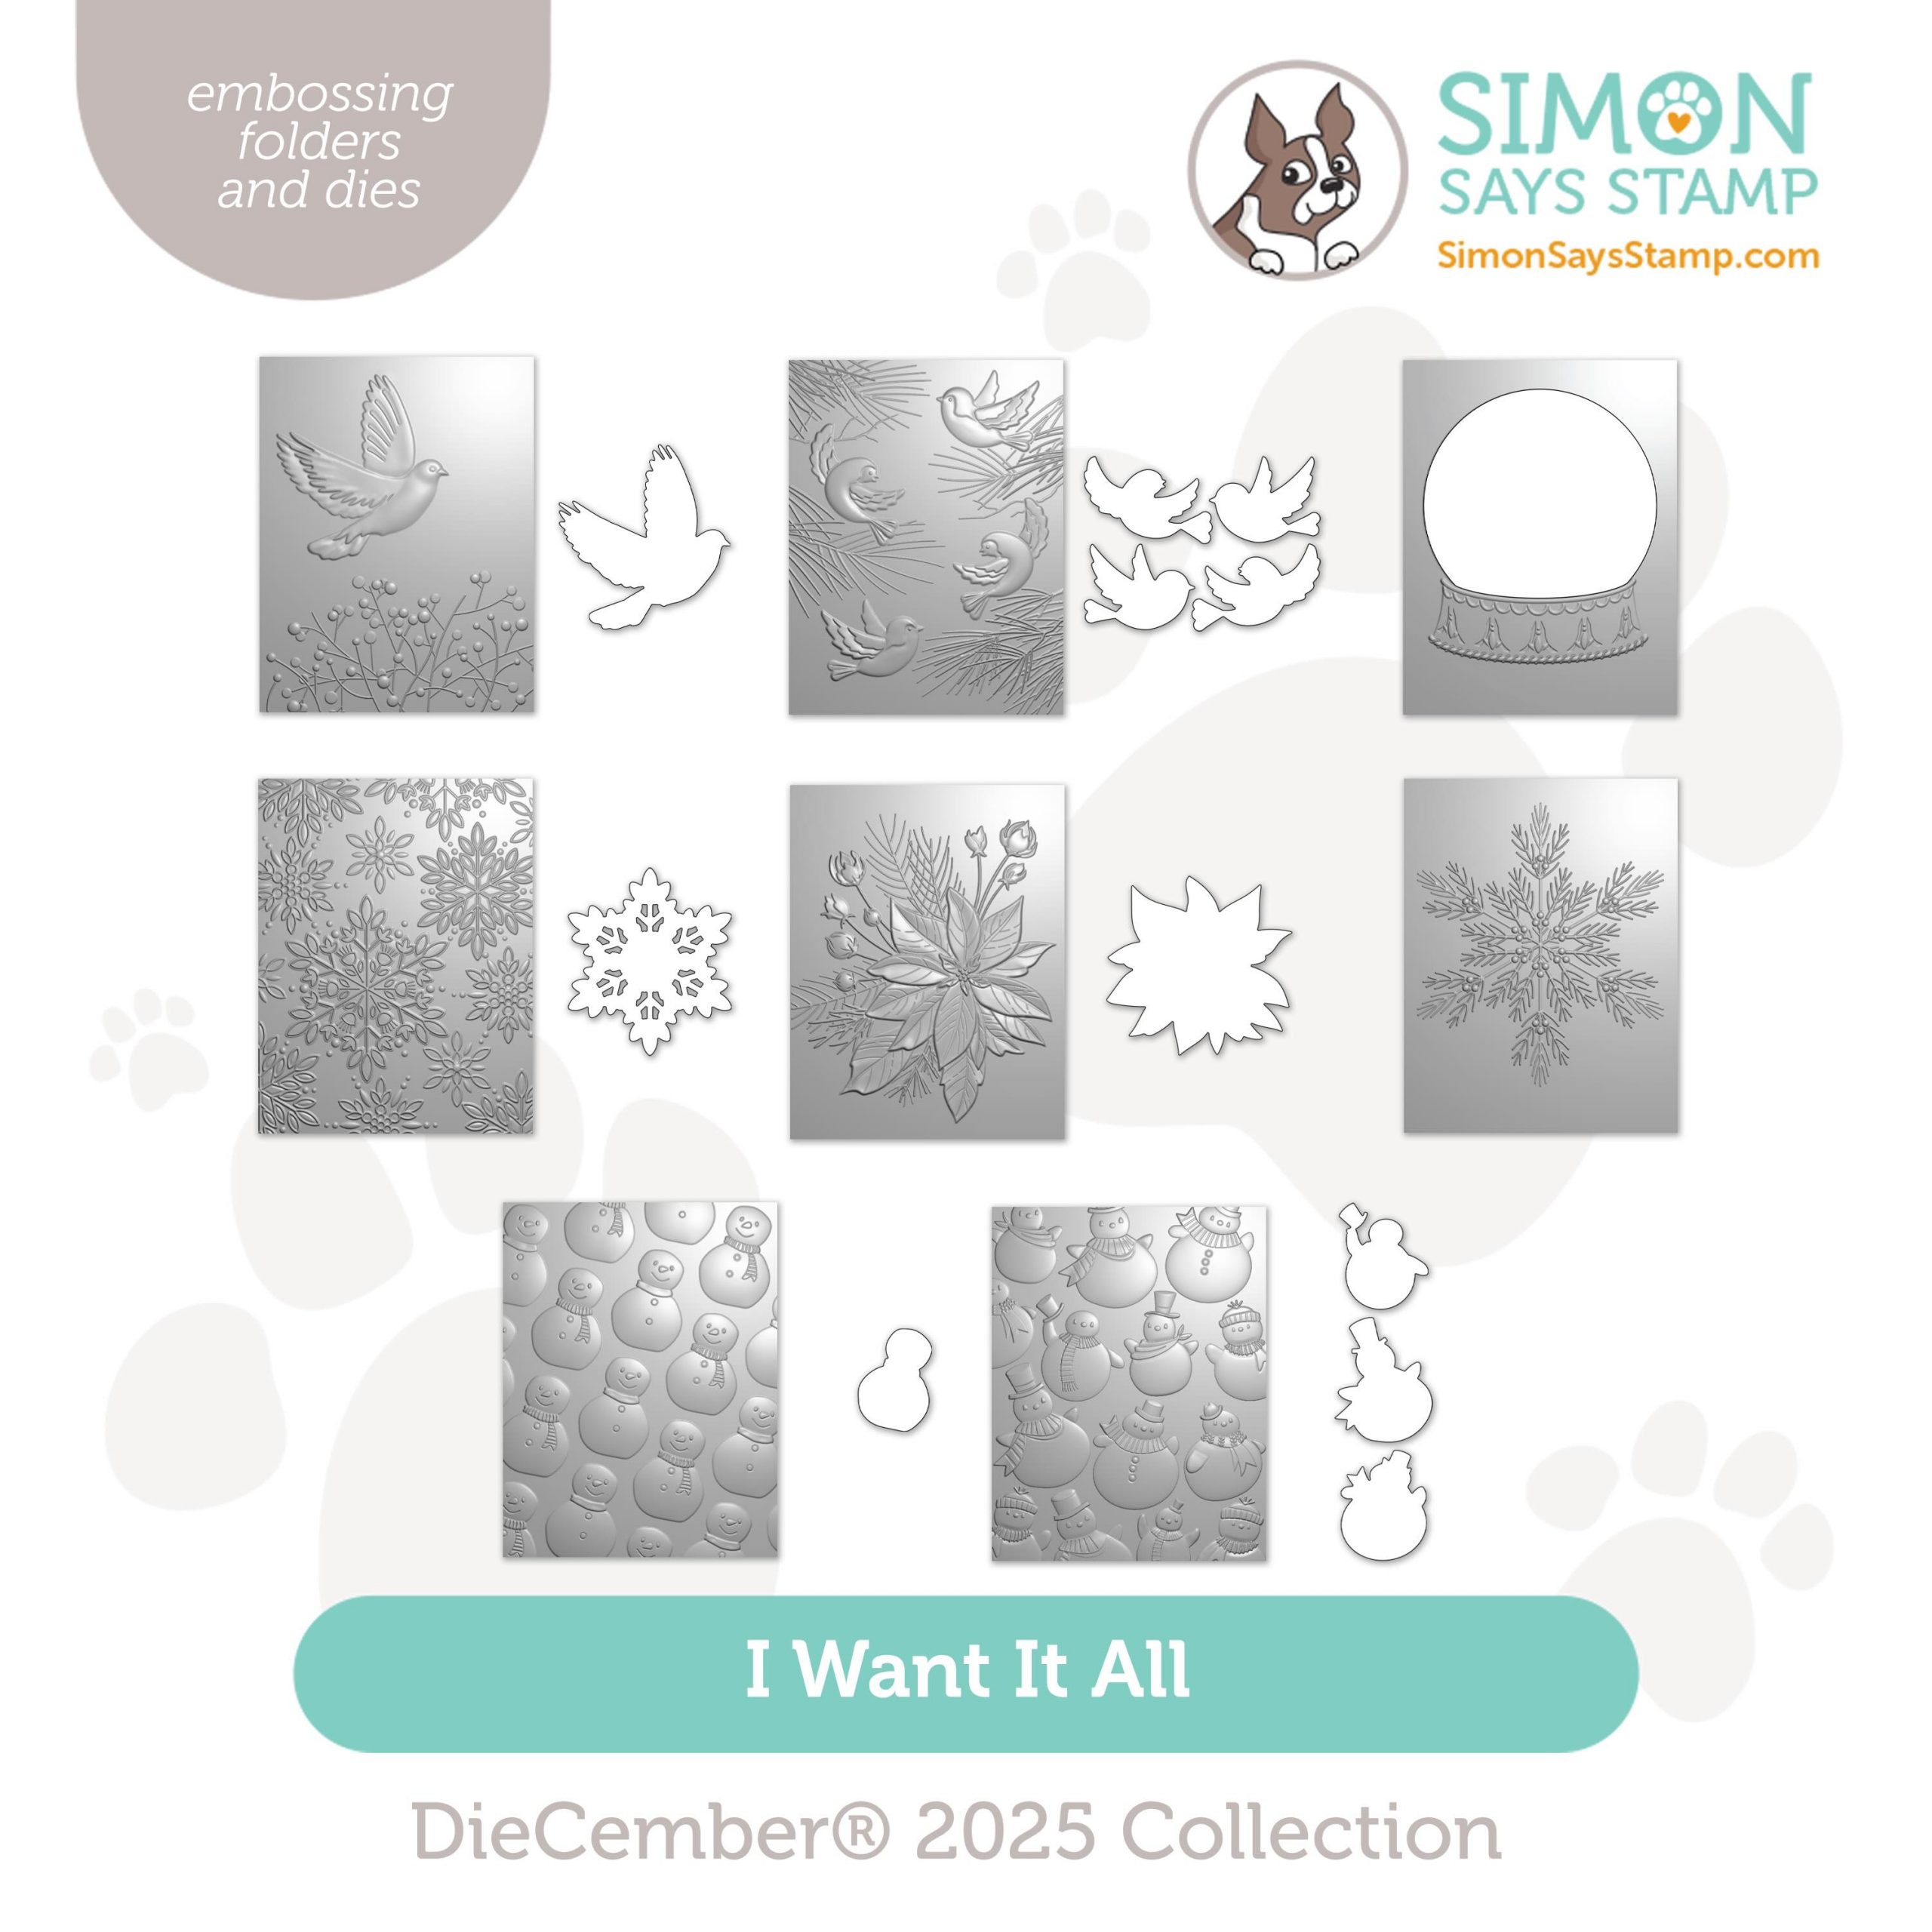
Kicking off our DieCember® celebration is a release of beautiful exclusive wafer-thin dies and coordinating products.
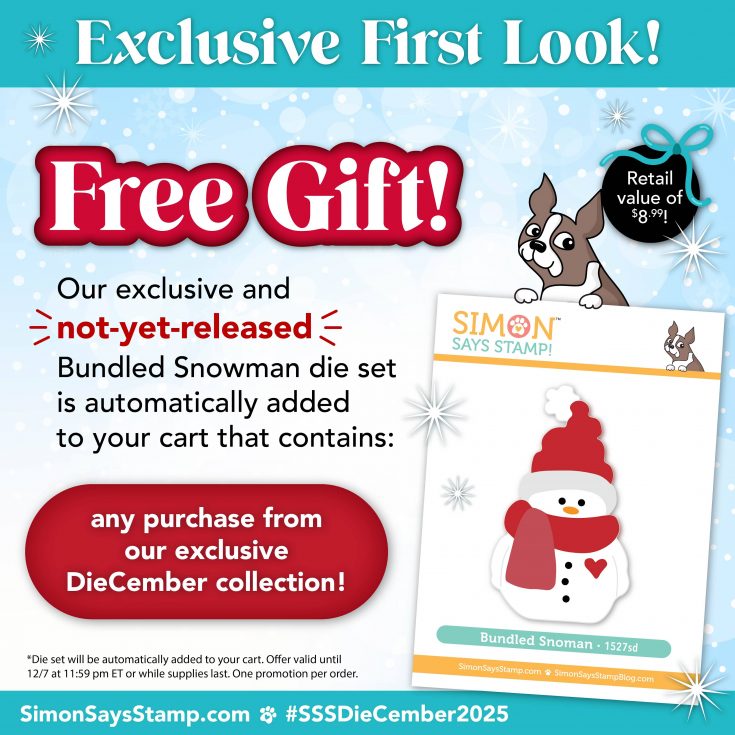
Starting NOW and while supplies last, shop our NEW exclusive collection with a free gift! Any purchase from our new DieCember collection will receive a FREE Bundled Snowman die set! (through Sunday or while supplies last!)
WATCH THE VIDEO:

Shop the NEW collection:


Can’t pick a favorite? Shop our New Bundles:
Get INSPIRED!
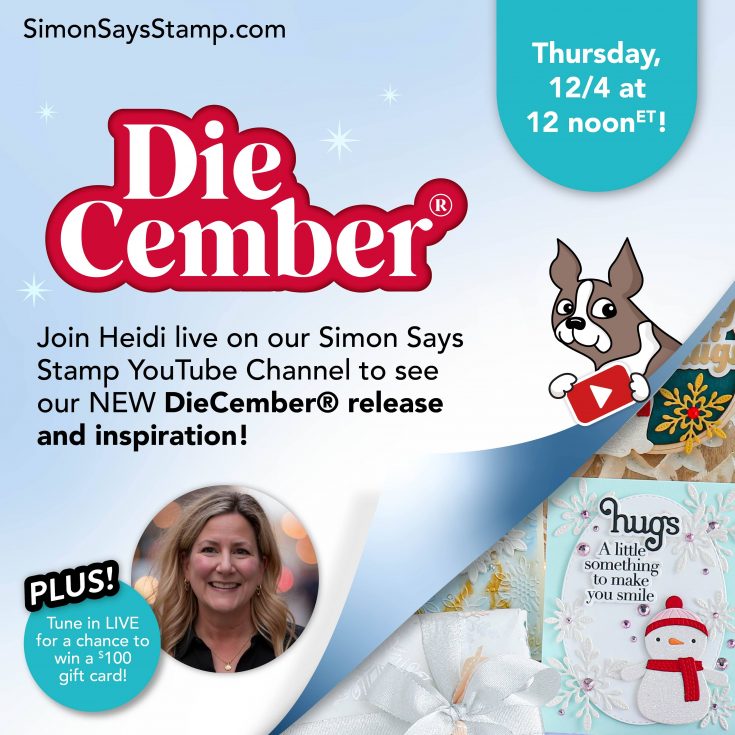
Join us LIVE!
We’re going live TODAY! (Thursday, December 4th at 12 PM ET) to showcase our brand new + exclusive DieCember® 2025 Collection! Come get inspired, plus comment live for a chance to win a $100 gift card!
Whirl Christmas Trees Card and Ornament Set

Hi friends! Heather Hoffman here today to share a fun feature showing a couple different ways to use the Triangle Whirl Trees! I’ve created a card, and also a set of ornaments by adding the Triangle Tabs die.

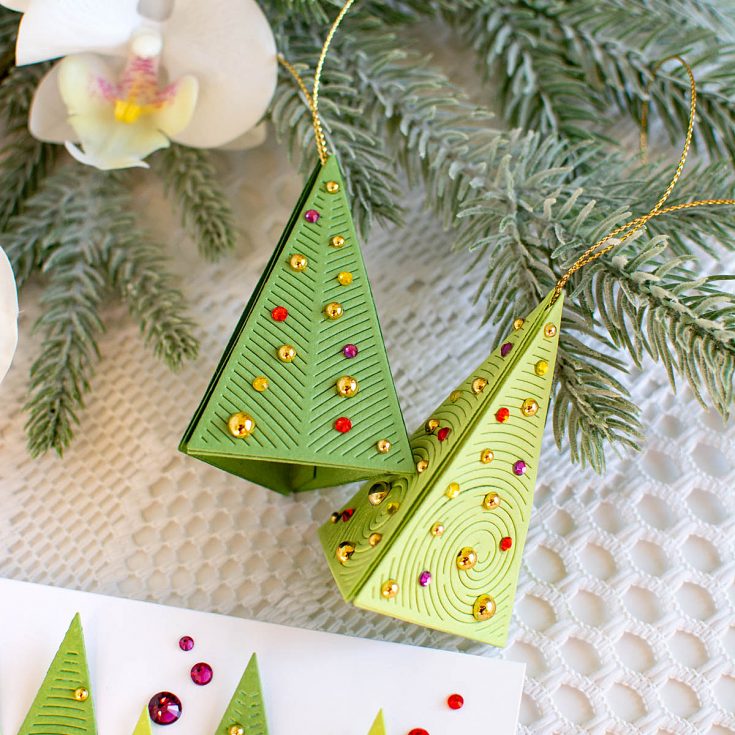
I actually created the ornaments first, by cutting each of the Triangle Whirl Trees dies 3 times, one from Green Leaf cardstock, one from Green Apple cardstock. I then cut the Triangle Tab die 3 times from each color, and assembled them together, adding a loop of May Arts Gold Cord tucked inside before closing the triangle. I then adhered the die cut Triangle Whirl Trees to all 3 sides of the outside to complete the tree ornament look.
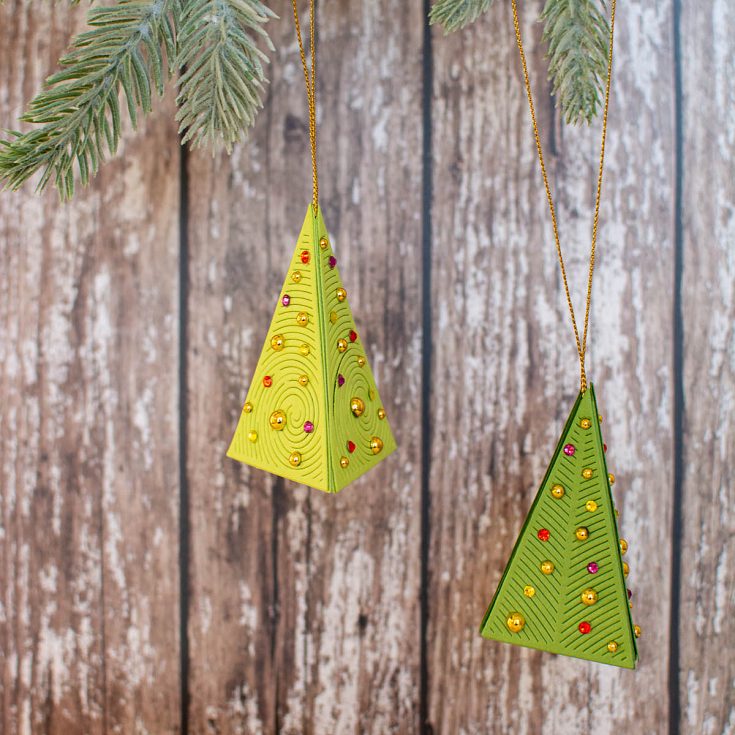
Then I went crazy with bling to make those trees sparkle! I added tiny Dazzling Gems in Sunbeam, Taffy, and Mandarin sprinkled on each side, then filled in with Pinkfresh Metallic Gold Pearls for a touch of elegance, and to tie in the gold cord to the finished design. Once the ornaments were done, I thought it might be fun to create a coordinating card. It also was nice to show how versatile these Triangle Whirl Trees are, since it gives another idea for creating with them!
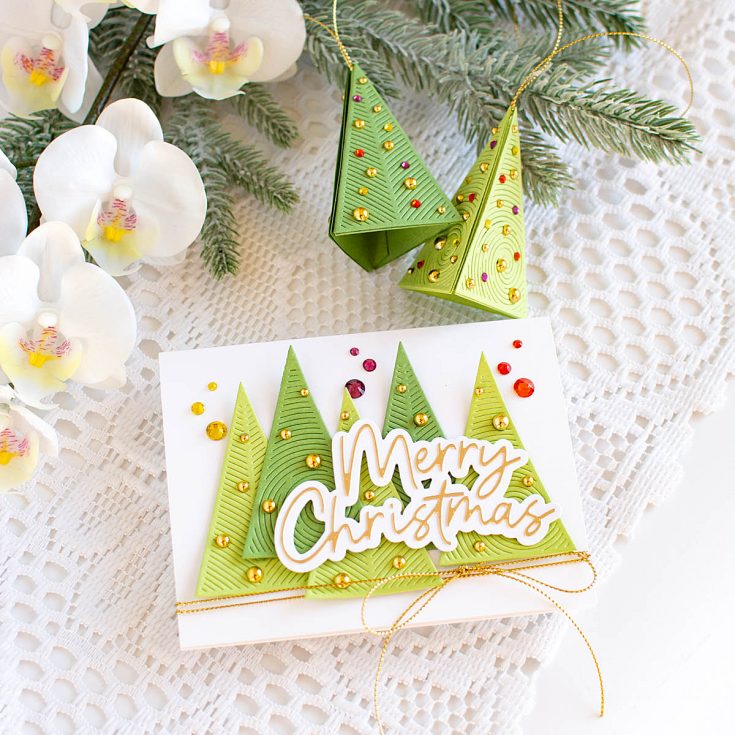

This time, I cut each tree out a few times in the same Green Apple and Green Leaf cardstock, then layered onto a white cardbase, using sturdy tape in the center, and letting the ends float free a bit for dimension. I then die cut and assembled the Bouncy Merry Christmas sentiment die, using Honey Gold and white cardstock, and popped that up with foam adhesive over the trees. I looped around some of that same Gold Cord that I used on the ornaments to tie in a bow, and added some of the same bling to the card.
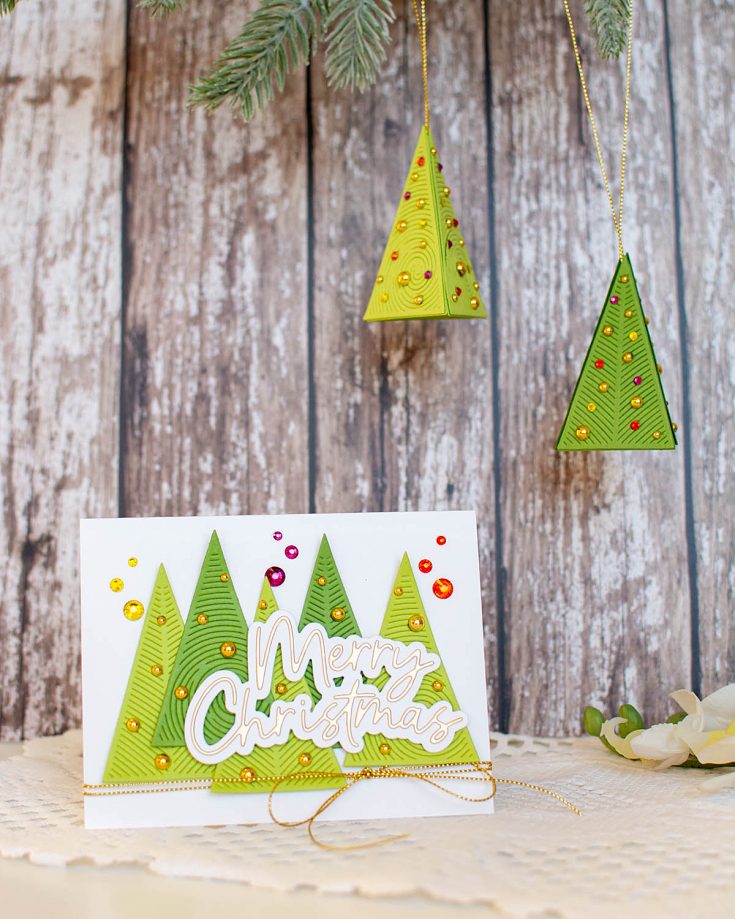
I love the versatility of being able to create a 3 dimensional project, or a flat card, all using the same main supplies!

Do you prefer sticking to cards, or making different projects? Or do you sometimes like to make a matching set like this?
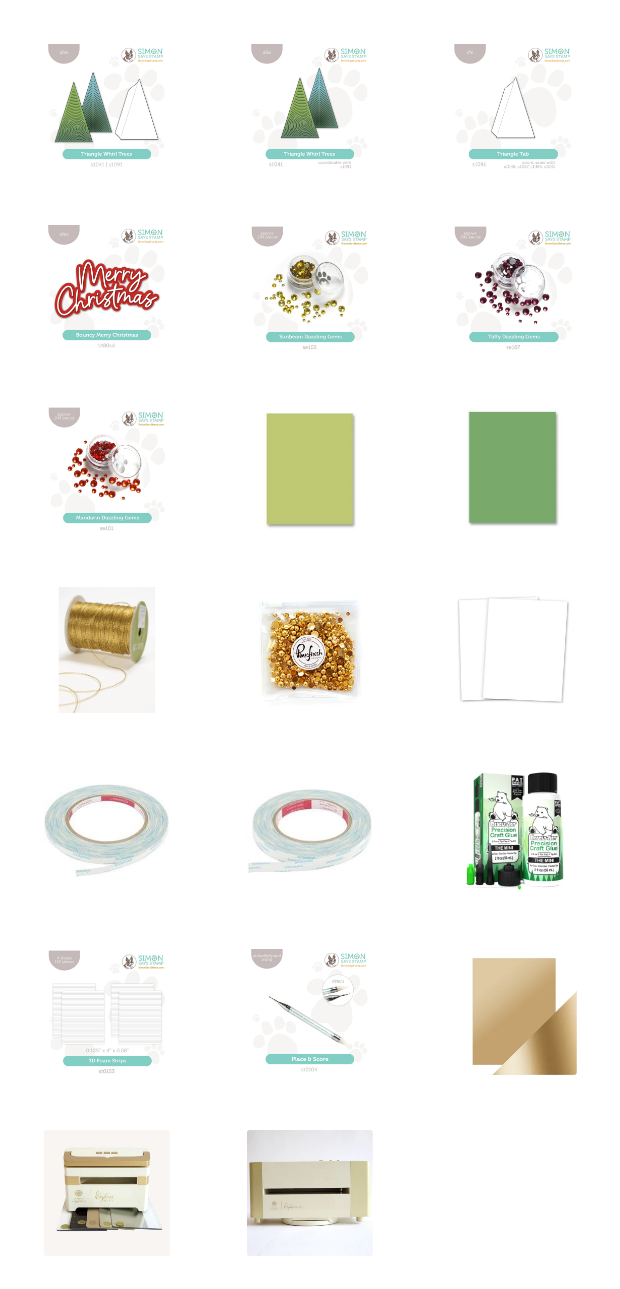
SUPPLIES:
Thanks so much for stopping by!
PSST! Don’t miss this great sale!

Our Annual Stocking Stuffer Sale!
’Tis the season for spectacular savings, and today we’re spotlighting a must-have crafty staple—Copic markers! These premium markers are beloved for their smooth blending and vibrant color payoff.
New to Copics? Try a set and fall in love.
Already obsessed? It’s the perfect time to stock up on refills!
Happy crafting and happy saving!


