Picnic Parade Mini Blog Hop
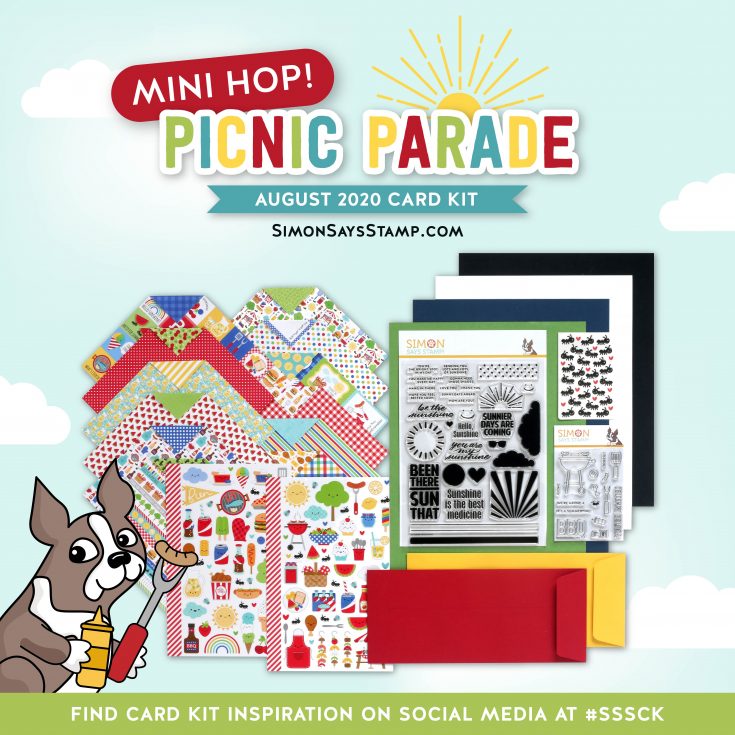
Before we reveal our September card kit on Friday, we wanted to give you one more fun look at our super cute August 2020 card kit, Picnic Parade with further inspiration in the form of this mini blog hop!
Our August kit includes not one but TWO brand new Simon Says Stamp exclusive stamp sets: 6×8” Hello Sunshine and the 3×4” cutie-patootie, Summertime BBQ! They coordinate perfectly with the oh-so-adorable Bar-B-Cute Doodlebug 6×6 papers and coordinating mini icon stickers!
Two NEW colors of super-fun slimline envelopes are included! Can you take ANTy more cuteness?! We’ve also included the kit’s namesake, Picnic Parade sprinkles to add the perfect ANTcent. ;)
Our August 2020 card kit is perfect for creating a plethora of cards, such as Birthday, Thinking of You, summertime love, and MORE!
I created this brand new card by stamping the sun rays three times onto white cardstock using Simon Says Stamp inks in Duckling, Orange Slush, and Teeny Bikini. I trimmed the piece to fit the image. I stamped the hearts in the same colors and trimmed them leaving a white border.

Next, I assembled the stamped images onto a panel of white cardstock backed with orange and mounted the panel onto a Simon Says Stamp Slimline notecard. To finish it off, I stamped my greeting using black ink just under the panel to the right.
Ready for more inspiration? Well, you’ve come to the right place! Click through to each of the following designers’ blogs to see what they’ve created:
Simon Says Stamp blog – You are HERE!
You can also check out lots of fun cards that have been created with this kit by visiting our August 2020 Card Kit gallery on our blog!
We hope you enjoyed this little hop! Make sure to grab the August Card Kit before it’s too late!
Crafty with Caly: A NEW Simon Says Stamp Blog series!
Hi friends! Happy Tuesday and please join me in giving a very warm welcome to a new monthly blog contributor on our blog: Caly Person! We’re calling this happy new series on our blog Crafty with Caly! Be sure to watch the video for all the details and enjoy!
Hi Friends! This is Caly and I’m so excited to be here today sharing two fun rainbow cards using the Rainbow Card Die! The die itself has all the components for a standing rainbow card, but I decided to make a second card using the rainbow element on an A2-sized card.
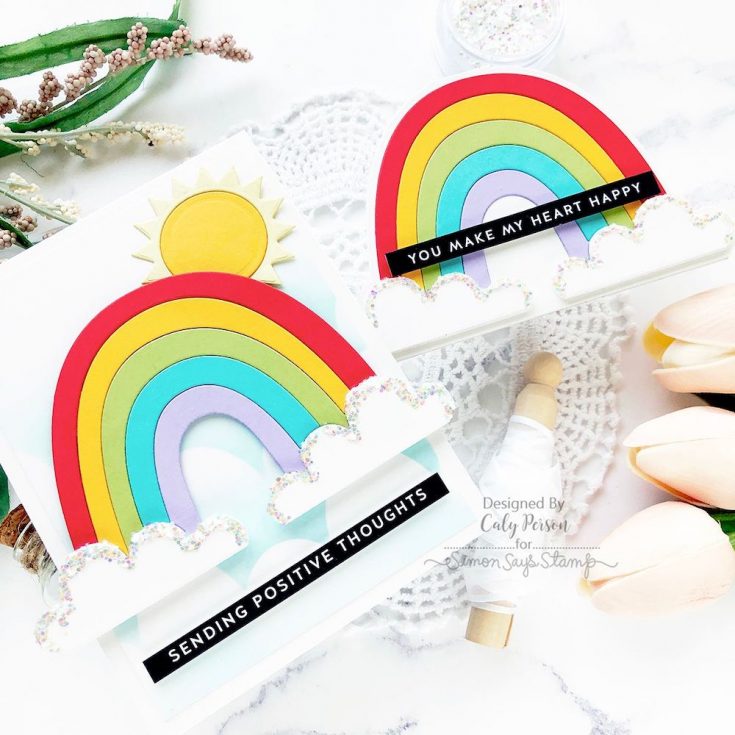
I used Simon Says Stamp cardstock in Lipstick Red, Sunshine, Green Apple, Audrey Blue, and Lavender for my rainbow bands and die-cut the clouds from plain white cardstock. A tip I want to share here is to use your rainbow die as a template to help line up all the pieces by in-laying the cut pieces back in and using tape to hold everything in place.
Want to see what I mean? Watch the video below for all the details!
WATCH THE VIDEO:
Making the rainbow card is so easy when there’s a rainbow card base die – so I created a second card by ink-blending some fun clouds from the Layering Rainbow Stencil. I added a die-cut sun to make this card even happier! I also added a lining of sparkle on the clouds using Lawn Fawn Chunky Glitter.
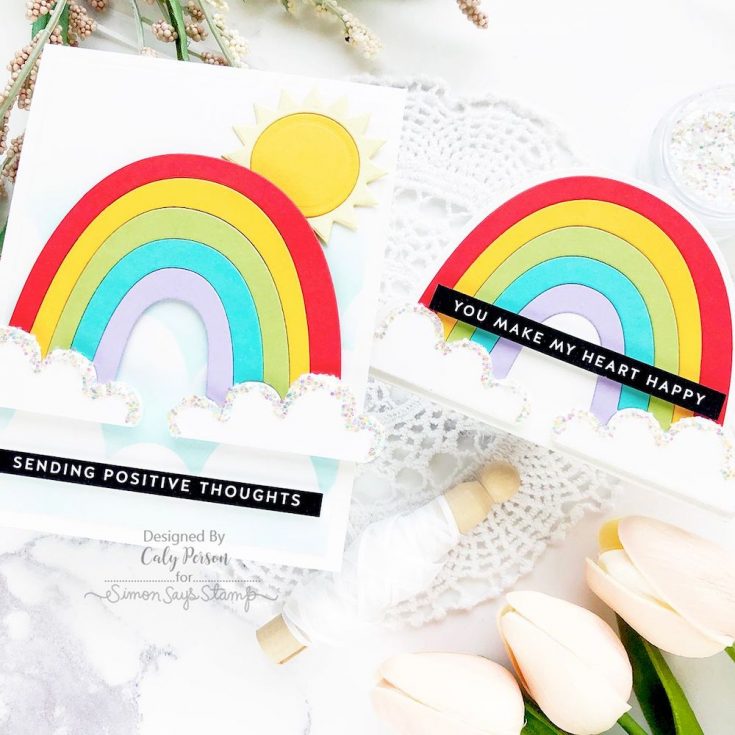
Both sentiment strips are from the Reverse Thinking of You Sentiment Strips that add a positive message on these fun rainbow cards.
I hope you enjoyed these cards! Thanks so much for stopping by today! ~Caly

SUPPLIES:
|


Thanks so much for stopping by today, and thanks to Caly for being our guest!
Yippee for Yana: Coloring Flowers White
Hi friends! Happy Monday! Please join me in welcoming our special bi-monthly guest Yana Smakula for our Yippee for Yana blog series. Be sure to watch the video for more information and enjoy!

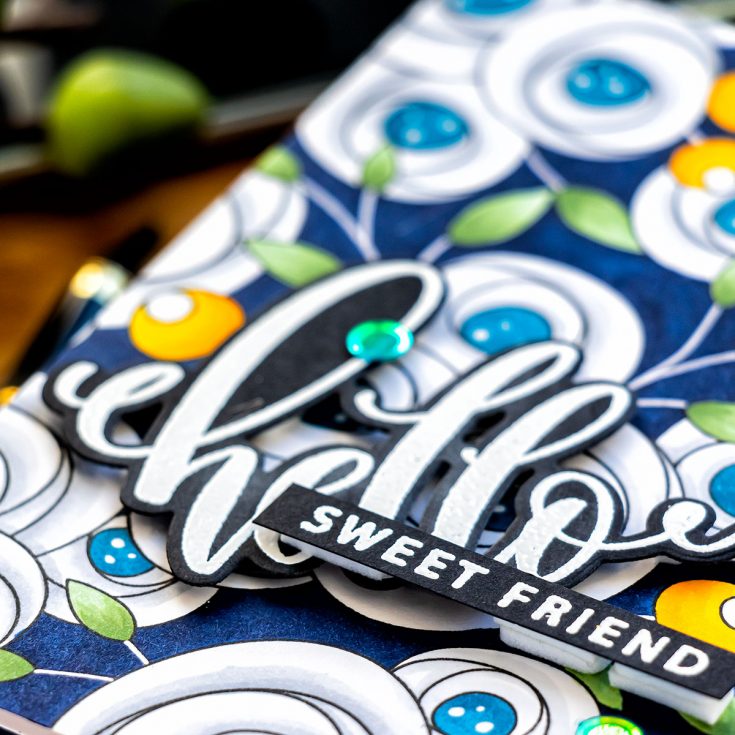
Hi everyone, this is Yana Smakula, welcome back for another Yippee For Yana video! Today I am creating with the Simon Says Stamp new Spring Flowers Background stamp to make a Hello Sweet Friend card. The technique in this video shows how to color flowers for your handmade cards to have them appear white. While it seems like a no brainer, white is white, it is actually very hard to color white flowers on a card.
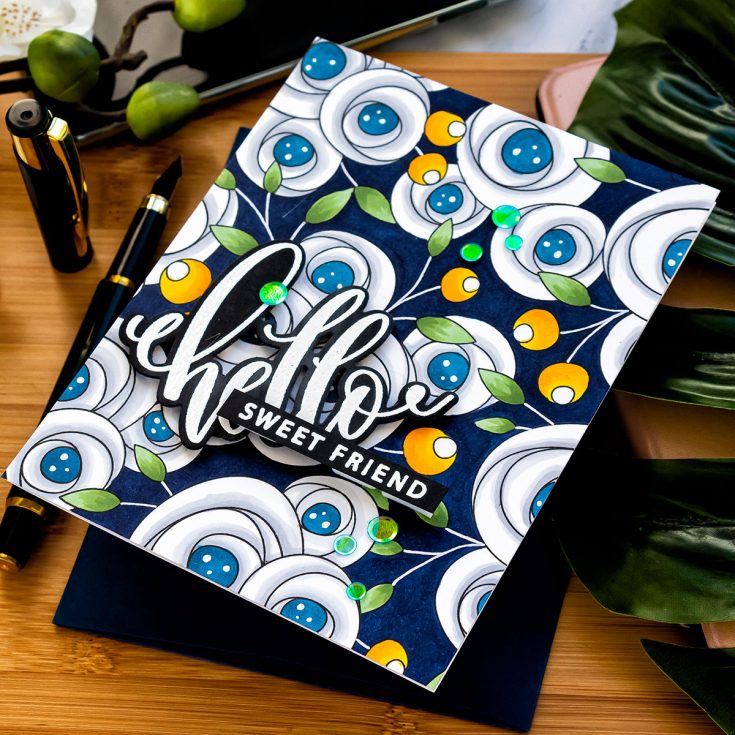
I started to work on my project by stamping the Spring Flowers Background stamp in alcohol marker friendly ink using my MISTI stamping tool. I used Hero Arts Intensified Black ink and stamped images onto Neenah Solar White 80lb cardstock.
Next, I picked several colors of Copic markers to do my coloring. Nothing too crazy, just a handful of colors. I started by coloring the flower center using a B34 marker. Next, to color my flowers white, I used a light gray marker, a C1, and simply added shadows onto each of the flower folds. This is very easy to do, it doesn’t take away the whiteness of the flower, yet it adds a bit of shading and helps the flower look dimensional and not completely flat. If you want, you can use 2 gray markers, perhaps a medium and a light gray, if you want to intensify the shadows. Using one, light gray marker felt enough for this background.
This flower pattern also has pretty leaves. I picked the G21 marker to color the leaves green. I later came in with a medium and a dark green and colored the leaves using YG63 and G94 markers to add shading and dimension.
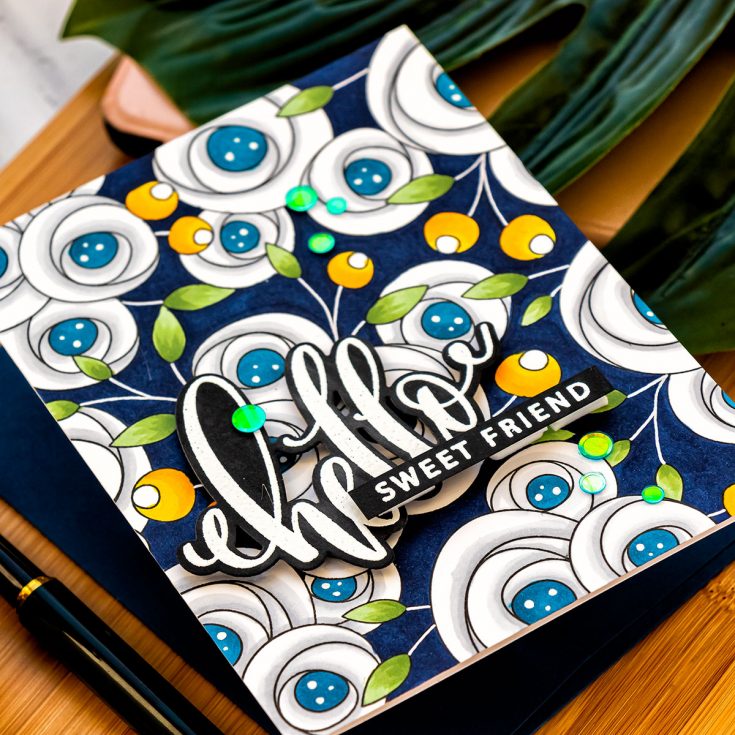
I love to create dark backgrounds for my cards, especially for flowers, as I feel like a dark background helps the images pop. I even have several dark walls in my apartment including a completely black wall and believe me – when I place a bouquet of flowers on a table against that wall – those flowers instantly grab the attention and pop against the darkness of the wall. I wanted to re-create the same effect here. Instead of black, I used a very dark blue marker, this is B39. I typically prefer to use the B99 marker, but that one is in a desperate need of a refill and while the fills are on their way to my crafty corner, I am using other dark blue markers in my stash for a similar effect.
Coloring a background in takes time, especially if you want to do 2 coats, which I did here. I take it slow and meticulously color the negative space. Next, I colored the berries. I used Y08 markers as the lightest yellow, Y15 as a medium yellow and added a bit of Y17 as the darkest yellow later.
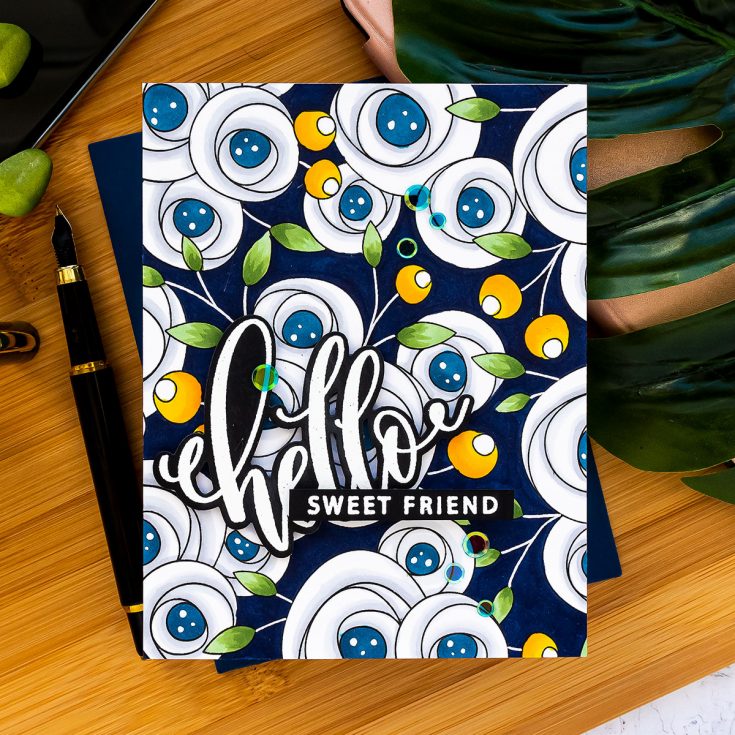
Having colored the background this dark deep blue color I faced one problem – the stems of the leaves and berries became invisible on the background and the leaves and berries now looked like they were floating and not attached to anything on the pattern. I wasn’t quite sure how to fix that, I thought about using a black pen and intensifying those black lines but later decided to use a white pen and instead make the stems white. I’m glad I went with the white as that really made quite a difference in this background. I used a white sakura pen in size 0.8 to create the stems and I also used the same pen to add white dots to the flower centers.
I white heat embossed “Hello” and “Sweet friend” using stamps from the new Summer roses stamp set from Gina K and Simon to create a sentiment for my card. I die cut the “Hello” out using a coordinating die, I love the size of this sentiment and also the font used here – it makes for a perfect size hello for the card.
I foam mounted the “Hello” onto the background and also foam mounted the “Sweet Friend” sentiment strip. I added a double layer of foam adhesive to the right-hand side part of the strip – the sentiment overlapped the “Hello” and I had one layer of foam adhesive over the hello. To level everything I needed a double layer of adhesive on the other side of the strip.
I adhered the background onto the A2 white card base and that used gorgeous Rainforest sequins from Simon to embellish the card. I adhered them in place using a crystal katana tool and Kuratake 2 Way Glue pen.
Have fun stamping!
WATCH THE VIDEO:
SUPPLIES:
|


Thanks so much for stopping by, and thank you to Yana for being our guest!


