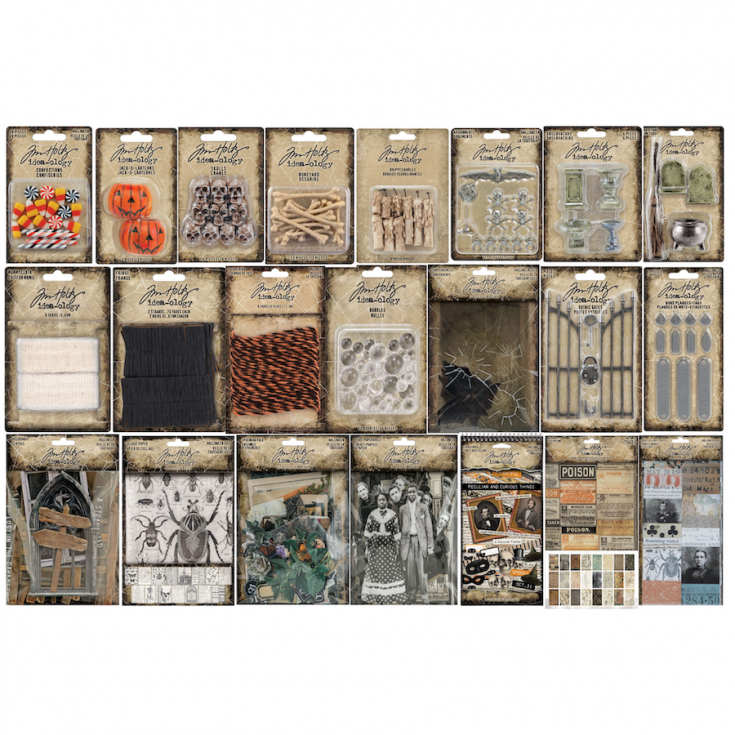
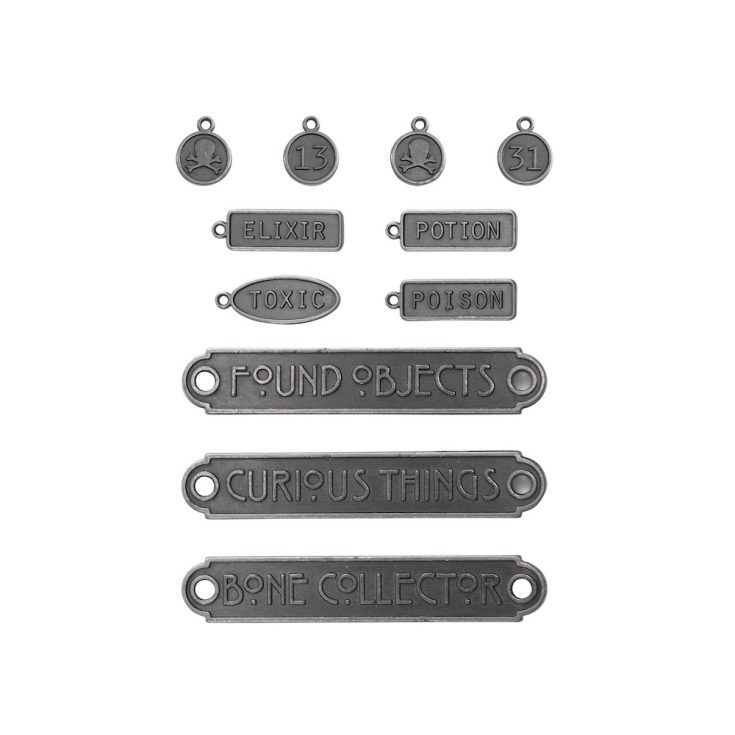
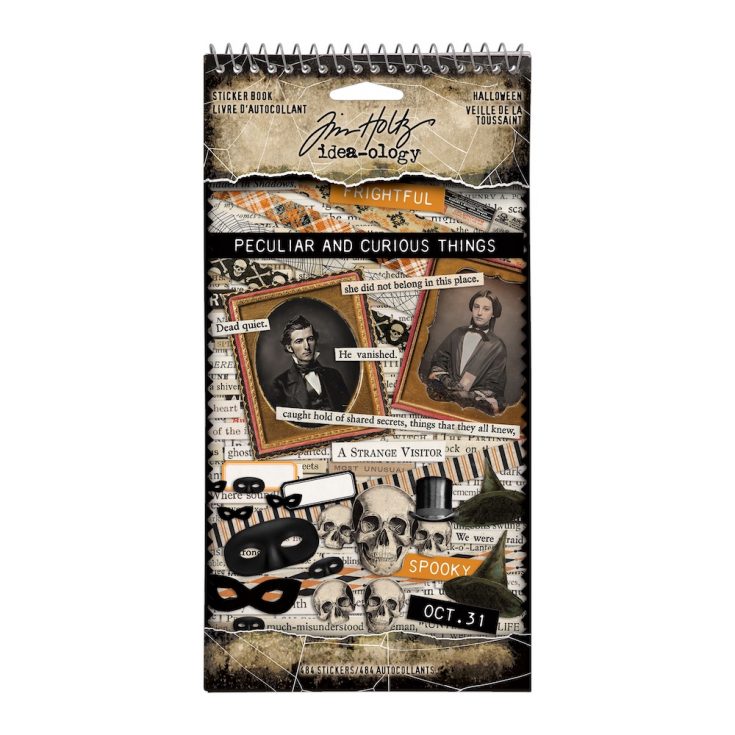
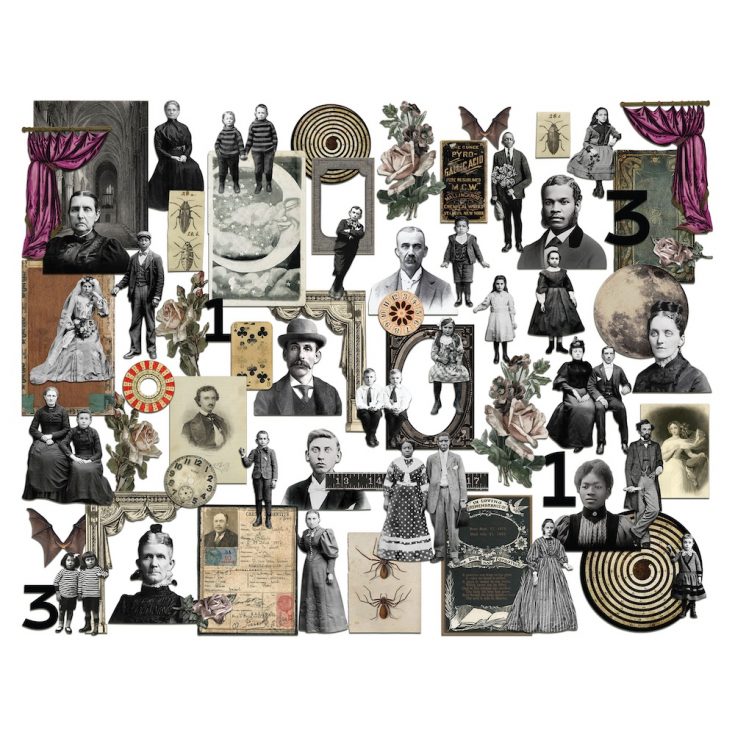
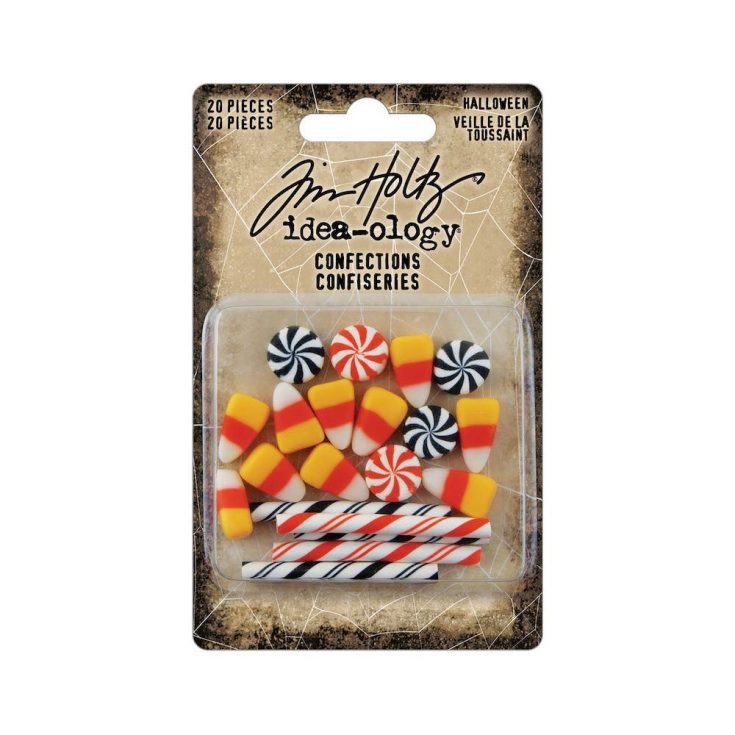
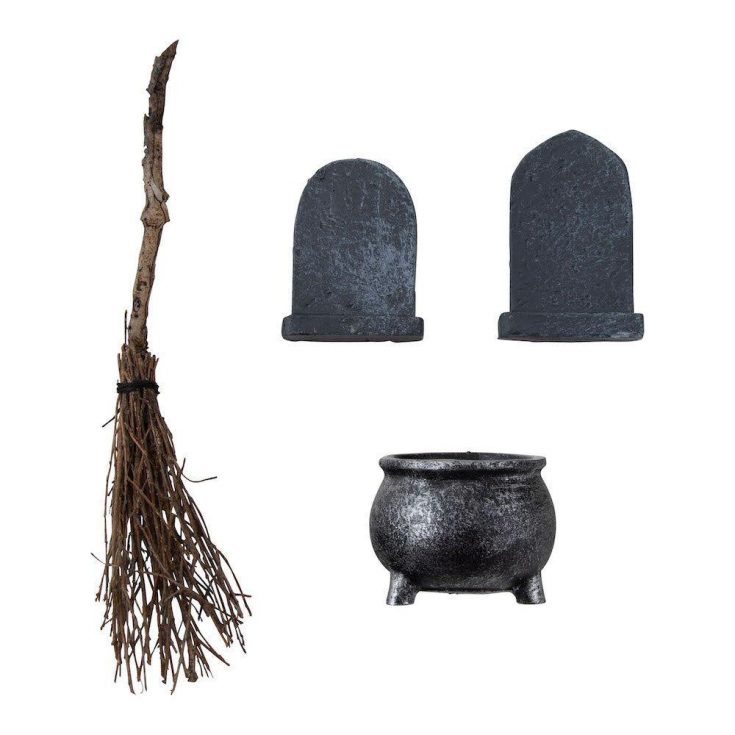
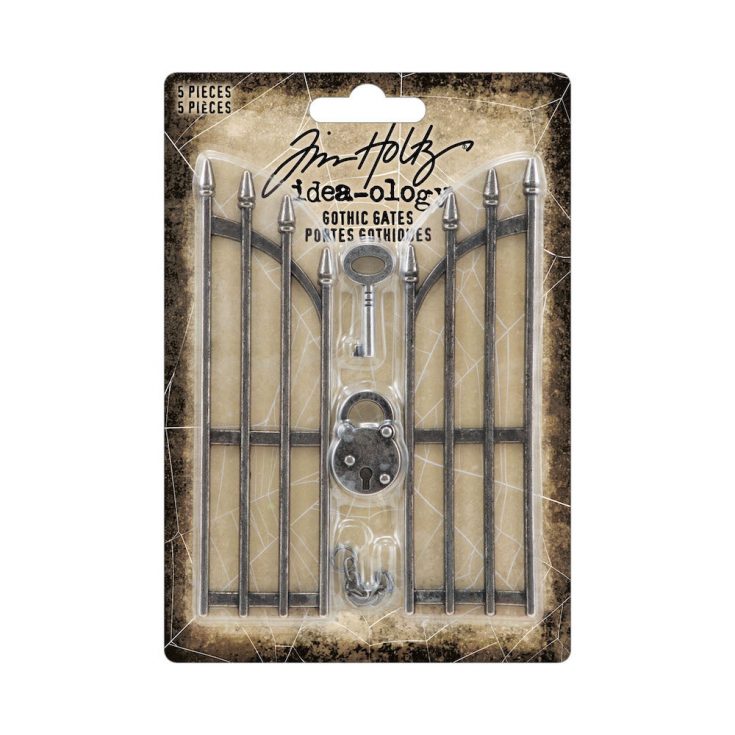
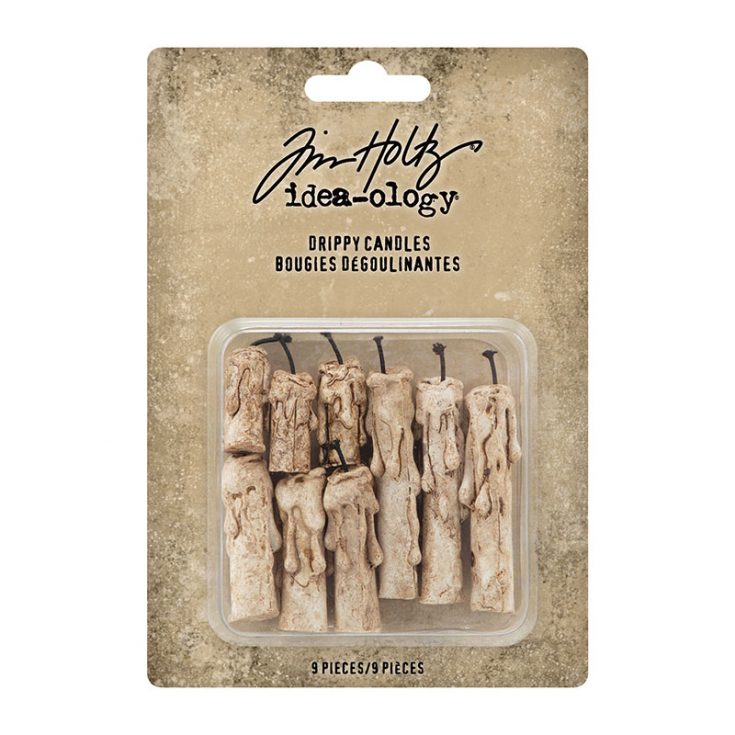
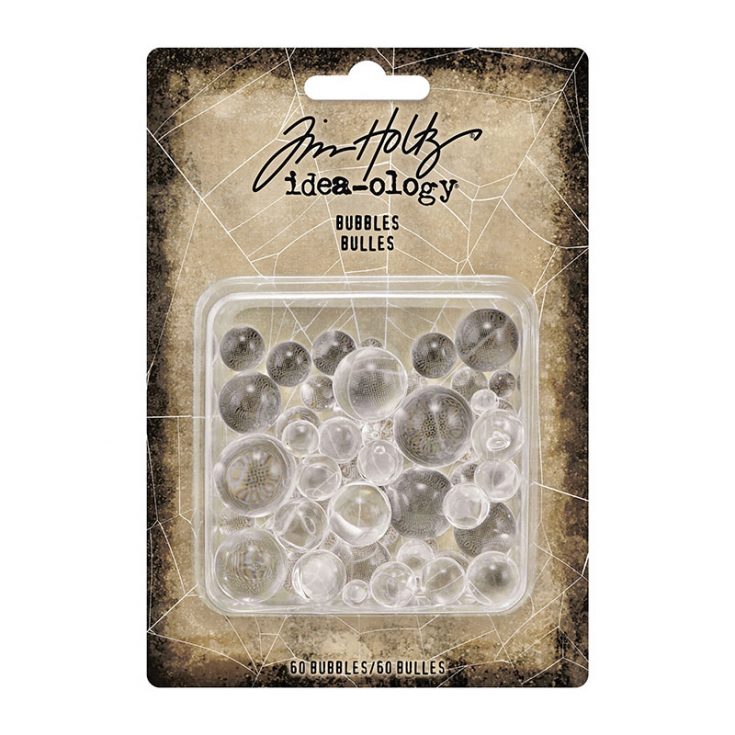
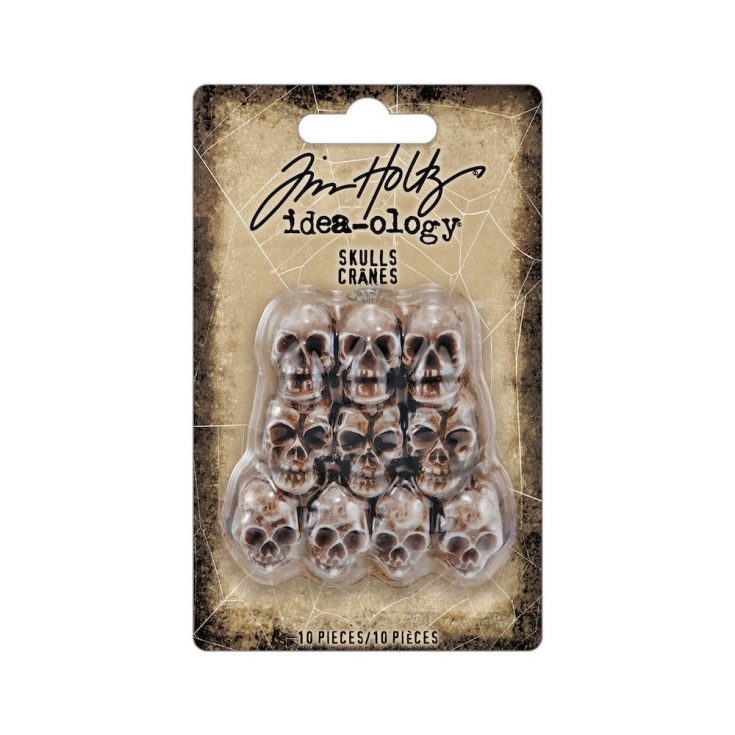
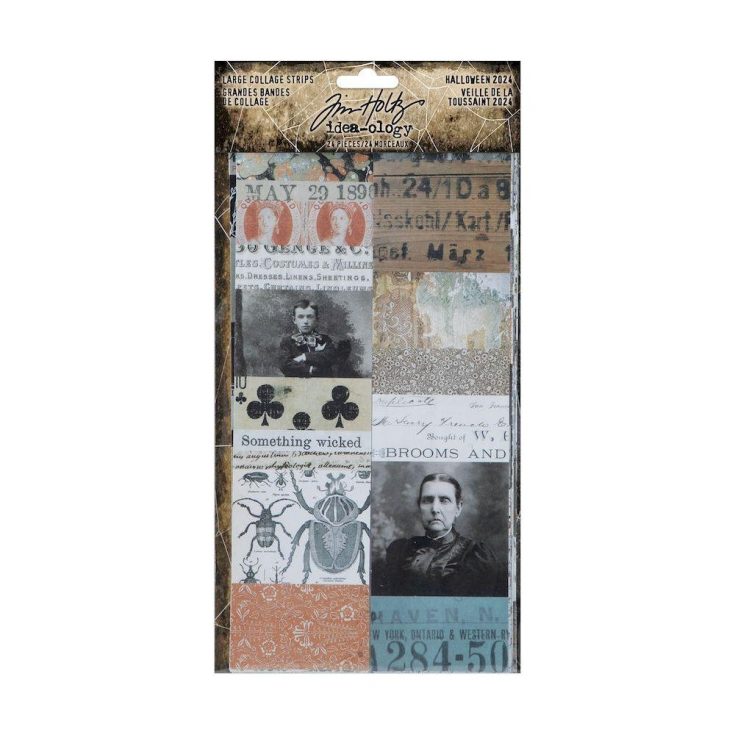
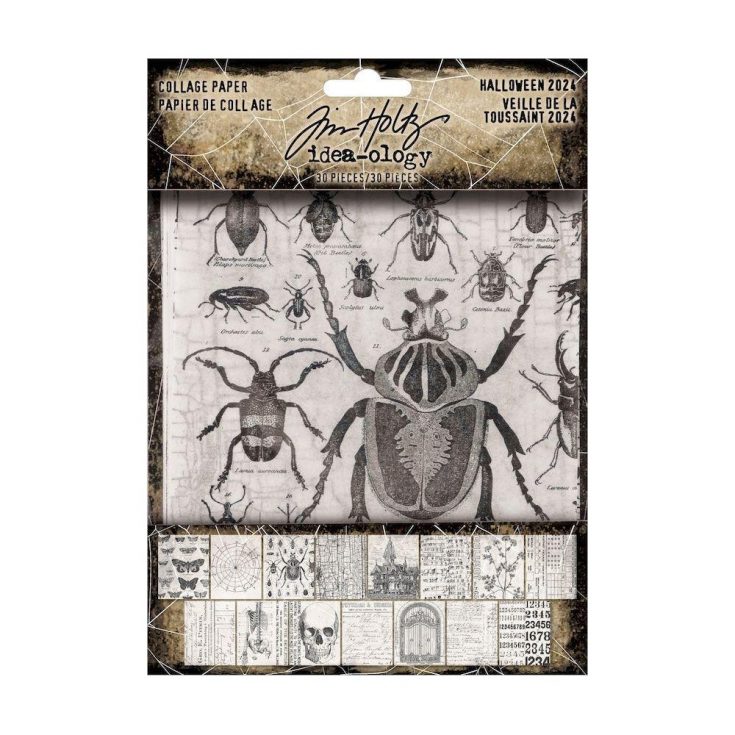
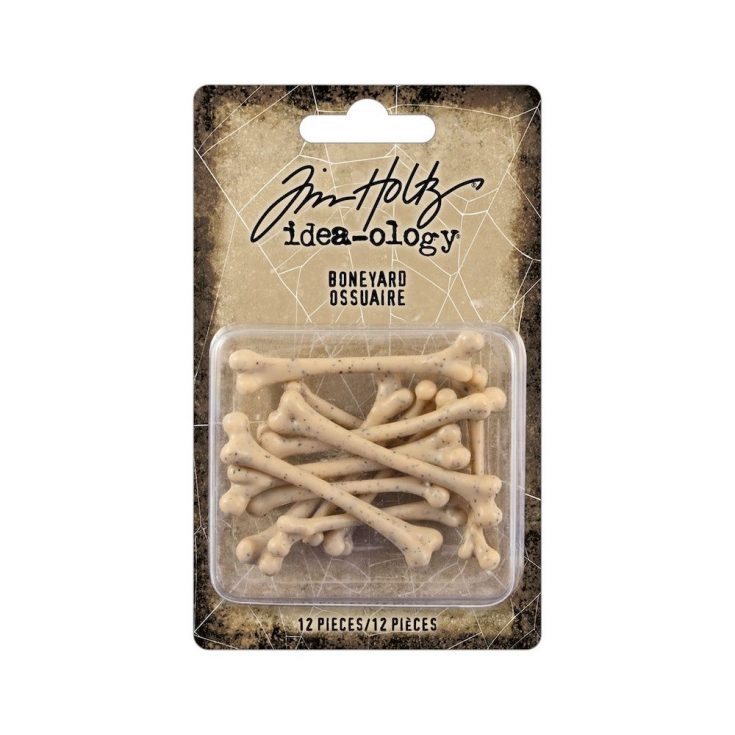
Tim Holtz Halloween idea-ology is HERE!
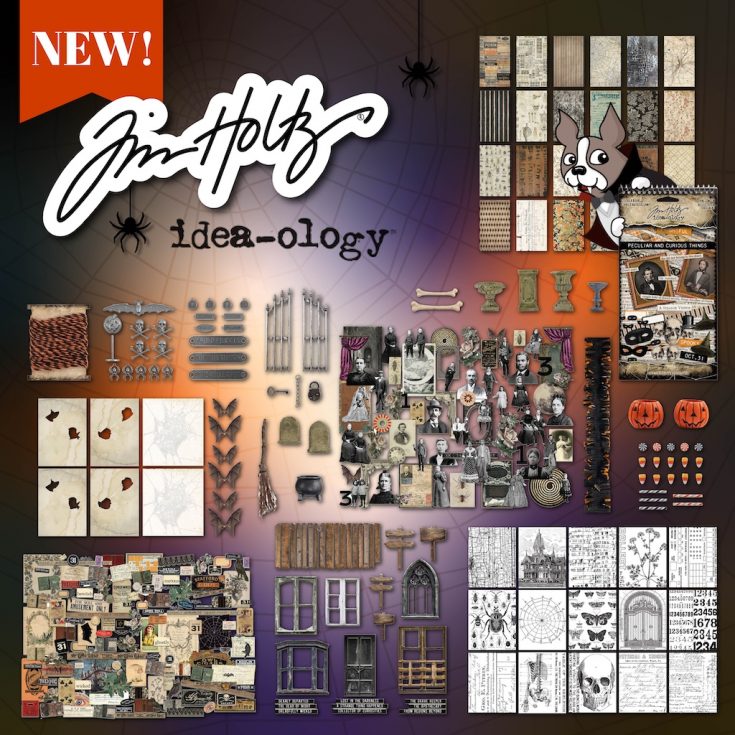
It’s time to treat yourself to the ultimate Halloween crafting stash! Whether you’re after eerie adornments, hauntingly gorgeous cardstock, vintage-inspired ephemera, or wickedly fun new stickers, this Tim Holtz idea-ology collection is bursting with frightfully fabulous details to bring your Halloween projects to life.


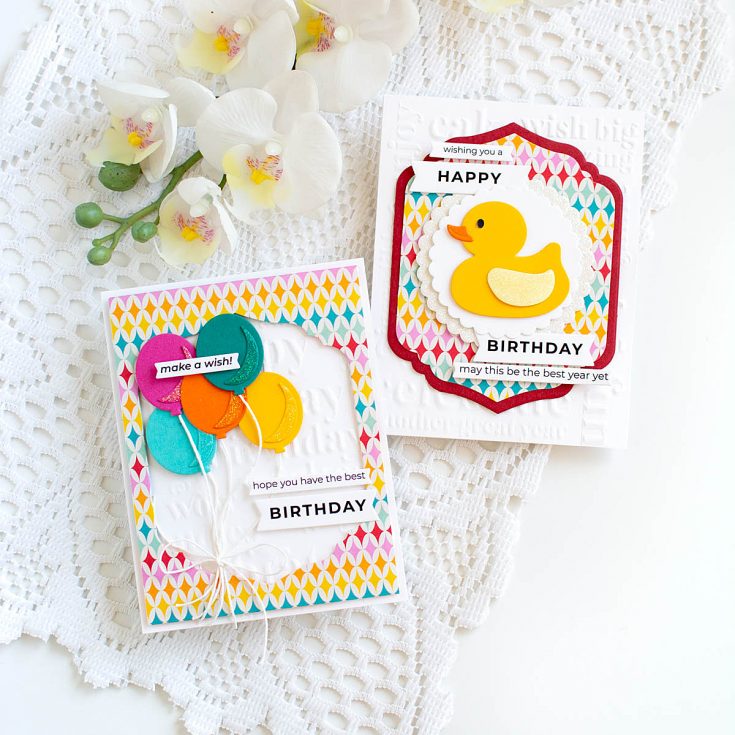
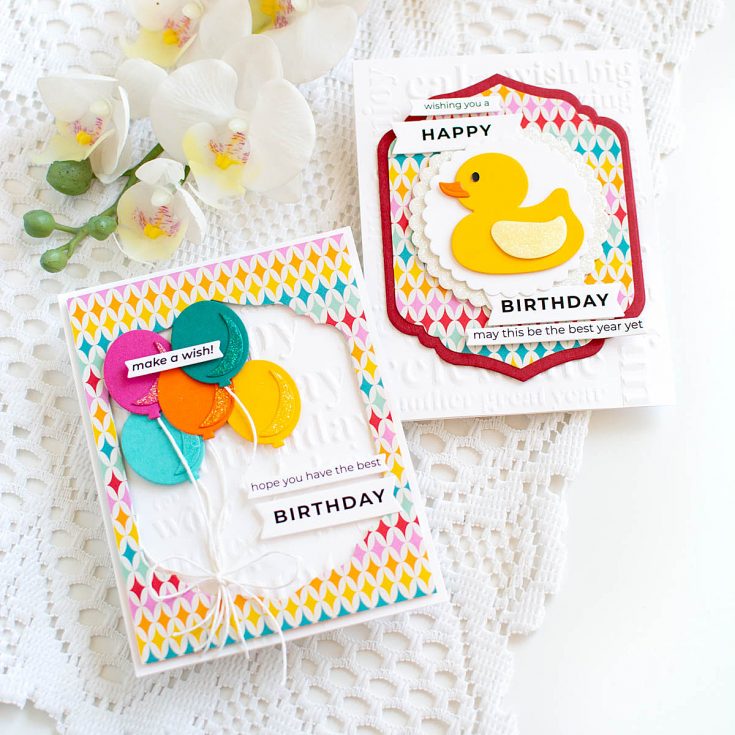
Rainbow Frames Duo featuring our September 2025 Card Kit!
Hello everyone! Heather Hoffman here today, and I’m super excited to be sharing some colorful and fun inspiration using the AMAZING and newly released September 2025 Card Kit: Birthday Blitz! Keep reading to learn more about how I created these cards:
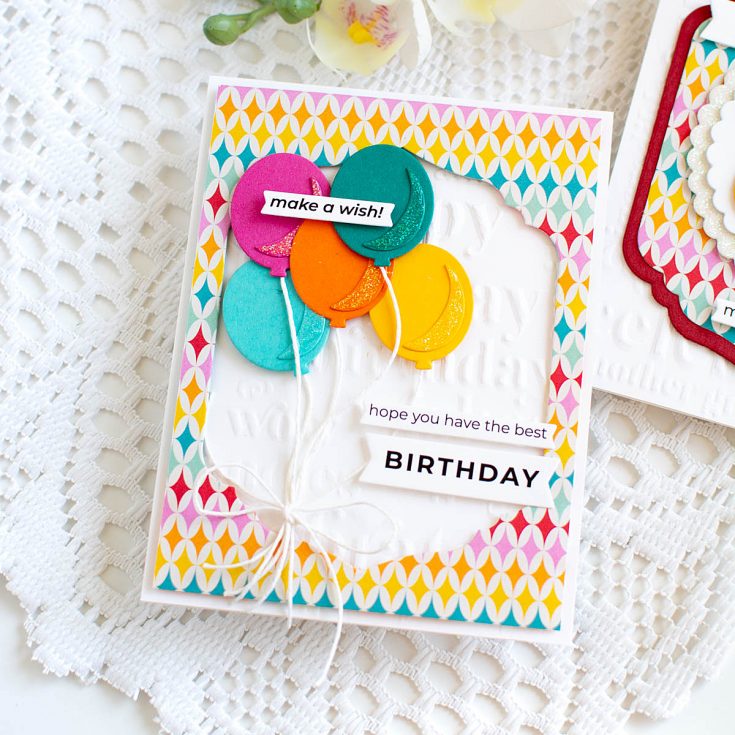
I featured a couple of the new dies in the kit to create these cards, as well as the embossing folder, sentiment strips, and some of the pattern paper! You might notice the Simple Stories Fun Times 6×8 pattern paper and the frames are the common theme between these two cards! I used Modern Teardrops dies to cut both a window and frame, and then built my cards around those. I also used the Birthday Sentiments Embossing Folder as a background for both cards.
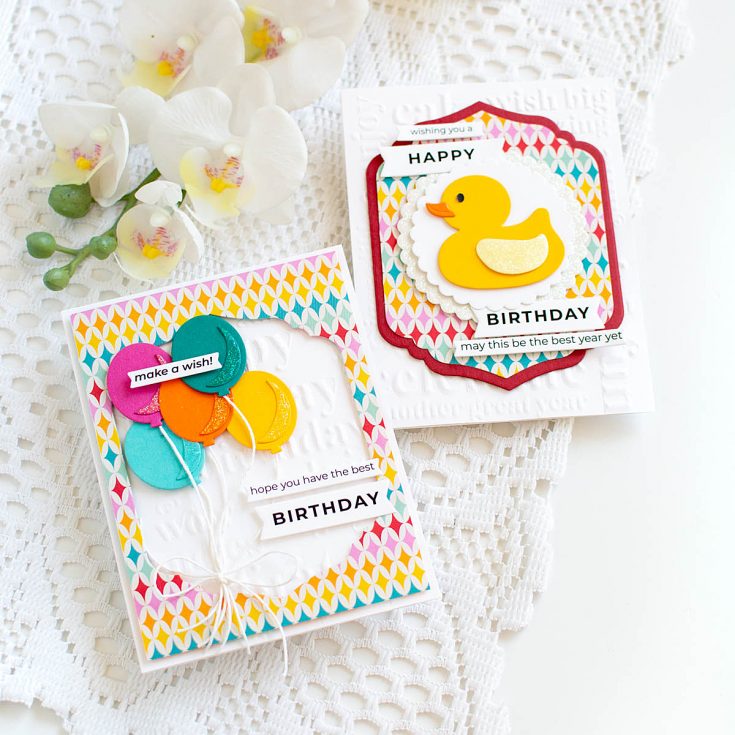
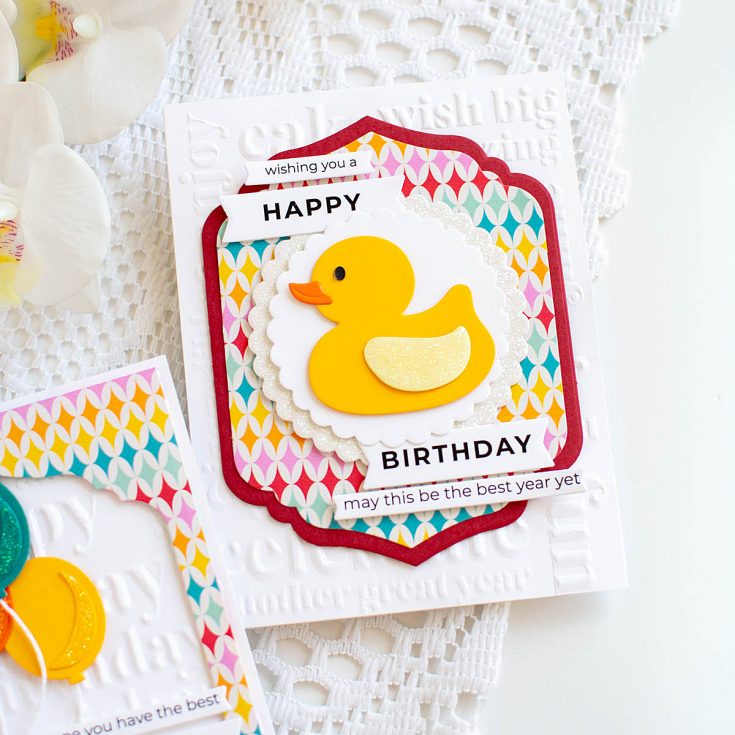
I used some of the fun colorful Assorted Card Panels in the kit to die cut the Rubber Ducky and Party Balloon die, as well as a larger frame on the ducky card to back the pattern paper one. I added some Scalloped Circles to the ducky card, die cut from white glitter cardstock and white cardstock. These cards are nice and dimensional – I used Big Momma foam adhesive to add dimension between nearly every layer, but since it is thinner than some of my other foam adhesive, it keeps the cards from getting too bulky!
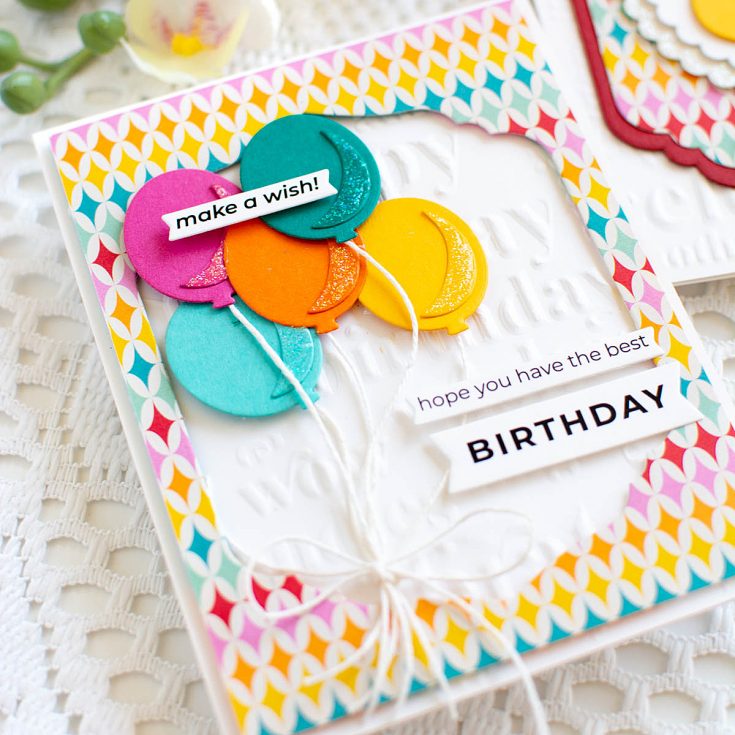
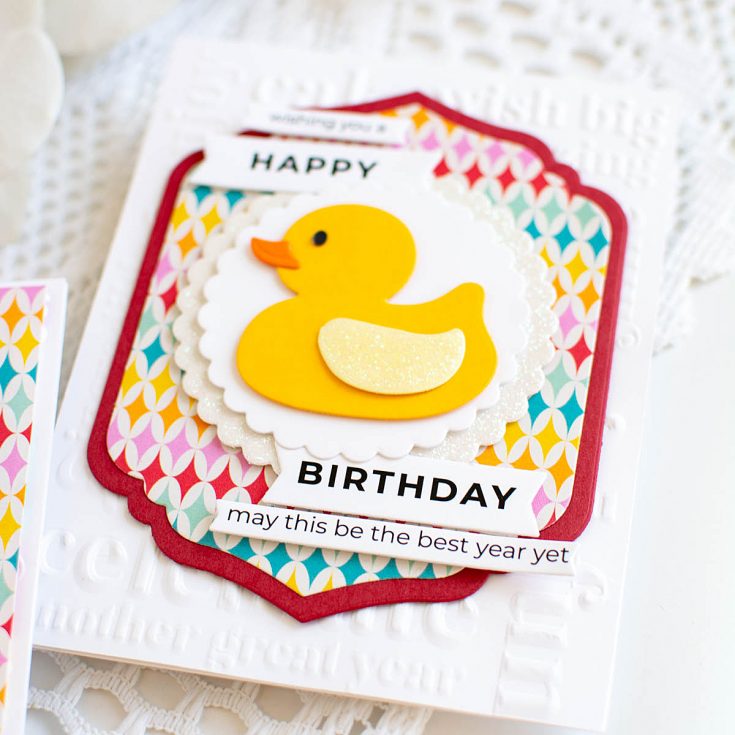
I added some white string to the back of each balloon, taping in place, then once all the balloons were adhered in place, I bundled them together and tied a bow around all the loose strings, then trimmed off any extra pieces. The accent on the balloons were die cut with the same color of cardstock, but then I added sparkly glitter glue to those pieces to make them pop, as well as the wing on the ducky.

Finally, I added a few sentiments from the Birthday EZ Strips sentiments in the kit – you can never have enough birthday cards, and these sentiments make it effortless to turn any card into a birthday card!
Do you like to use both positive and negative pieces of a die cut to create cards in pairs? Or are you more likely to discard those extra pieces?
SUPPLIES:
Thanks so much for stopping by, I hope you have a wonderful day!
Did you know?! We’ve made our card kit subscription BETTER THAN EVER!

Here’s what makes our new service a crafting paradise:
Exclusive Access: As a subscriber, you get first dibs! Each month, you’ll get an exclusive sneak peek at our new kit, with the option to add more coordinating items to your cart, including handy replenishable supplies, all shipped together for your convenience.
Hassle-Free Payments: Say goodbye to monthly billings! Our automated system smoothly charges your preferred card, ensuring an uninterrupted flow of crafty goodness – unless you decide to pause, of course!
$5 Off Magic: Enjoy a special $5 discount off our kit’s retail price, exclusive to our beloved subscribers – no codes needed, just automatic savings!
Crafting Inspirations: Dive into a sea of creative ideas monthly, all tailored around your kit, to keep your inspiration flowing endlessly.
Flexibility First: Fear of commitment? Not here! Our subscription is as flexible as it gets – pause or cancel anytime, no strings attached.
Why wait? Step into the realm of our NEW Simon Says Stamp Monthly Card Kit service. Welcome a box full of crafting marvels, right to your doorstep. Craft with ease and let creativity come to you!
Ready to elevate your craft? Subscribe Now and open the doors to boundless creativity!
We’re thrilled to have you in our crafting community and can’t wait to embark on this renewed creative adventure together!
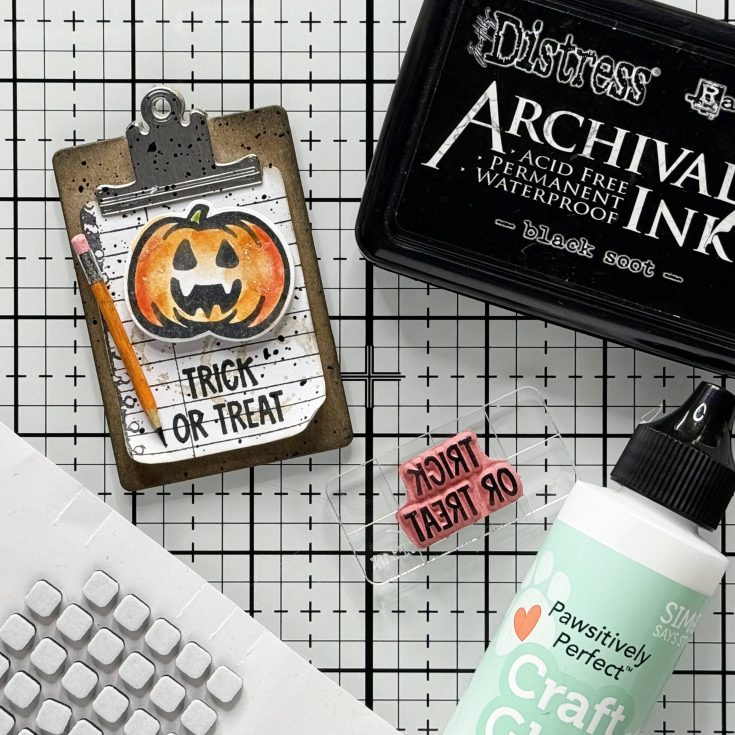
You’ve Asked, Tim Holtz Delivered! Tiny Clipboard + Pencil Treat Bags Tutorial
Hi friends! Happy Saturday! We’re having a serious *PINCH ME* moment here at Simon Says Stamp with a special guest blogger that needs no introduction… the one and only TIM HOLTZ! Read on and be inspired by his cleverness and creativity – just in time for the season! Enjoy!
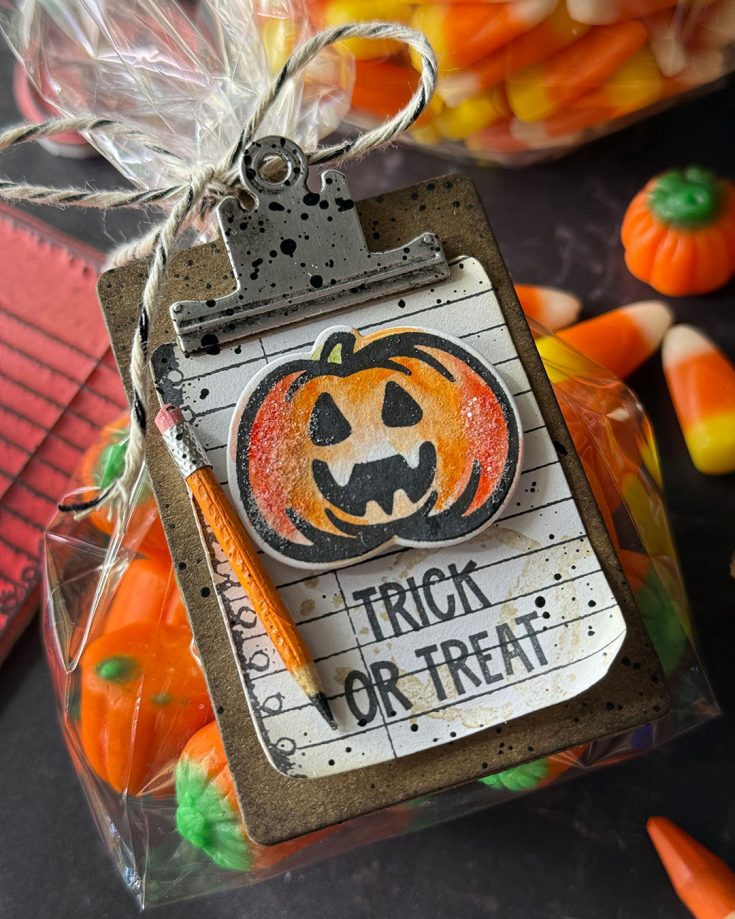
Good things come in small packages… especially candy treat bags embellished with tiny clipboards + the cutest handmade pencils.
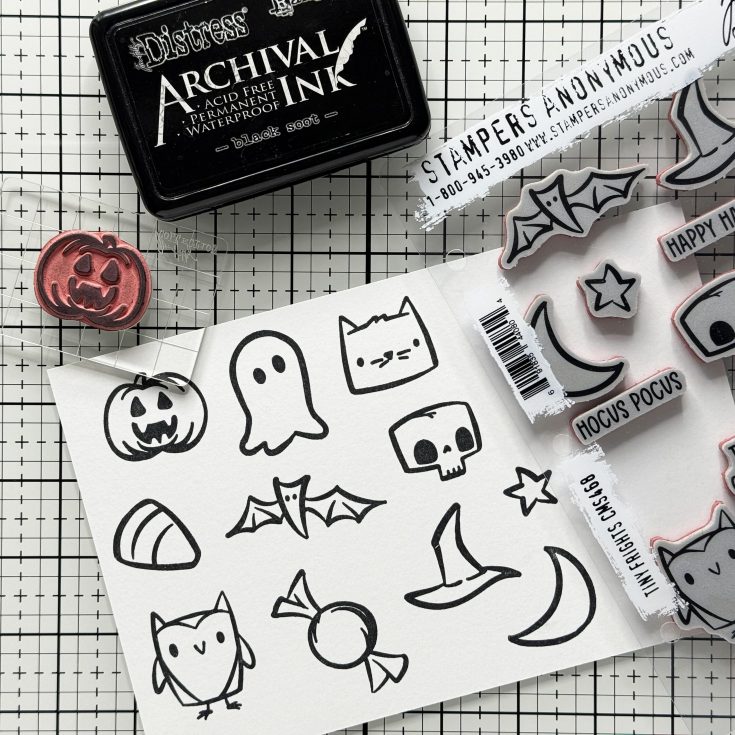

Stamp Tiny Frights with Black Soot Archival Ink on smooth side of Distress Watercolor Cardstock
Color images with Distress Watercolor Pencils and blend with Detailer Waterbrush
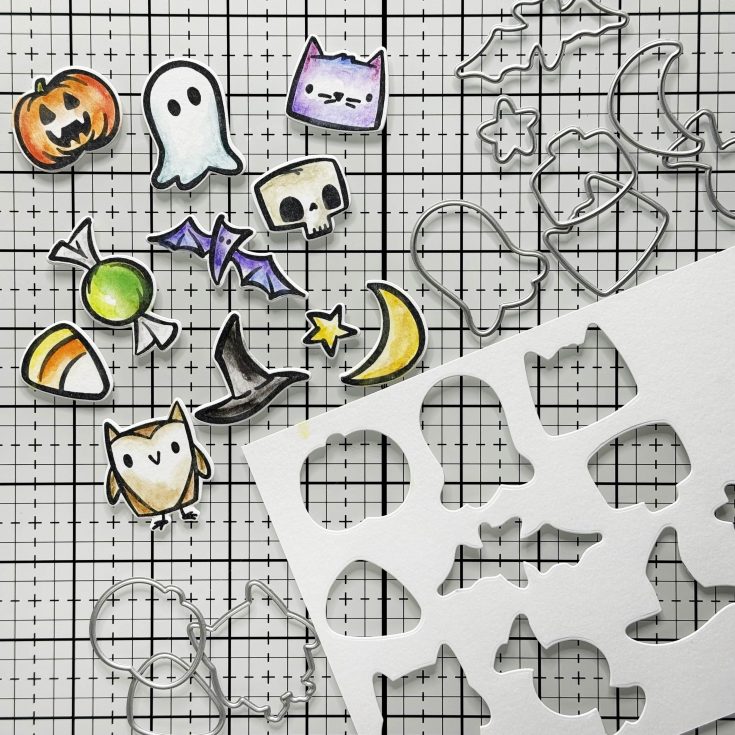
Die cut images with exclusive coordinating dies from Simon Says Stamp.
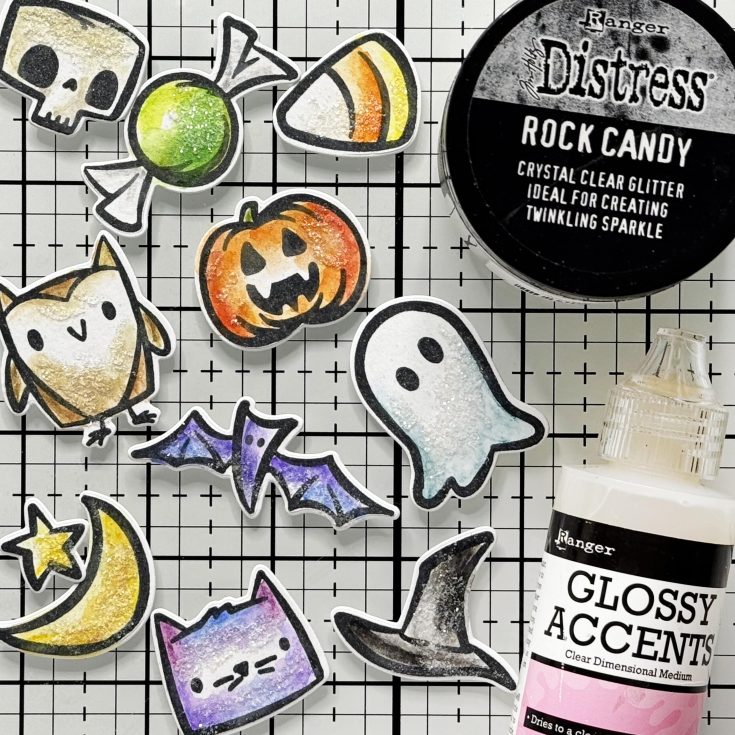
Apply a small amount of Glossy Accents to areas of images and cover with Rock Candy Glitter for a sugary finish.
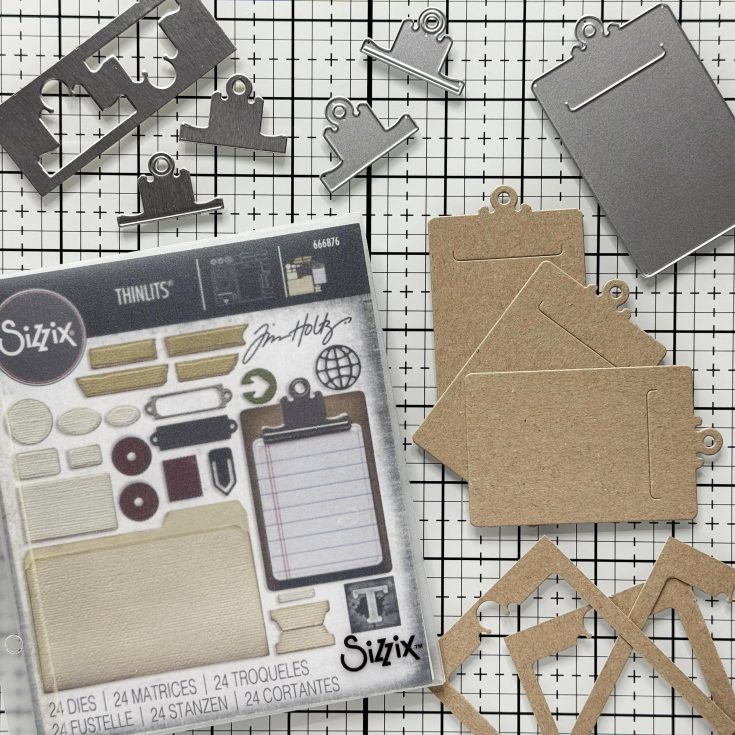
Die cut 3 clipboard bases from Kraft Heavystock + both clipboard clip shapes from Metallic Kraftstock.
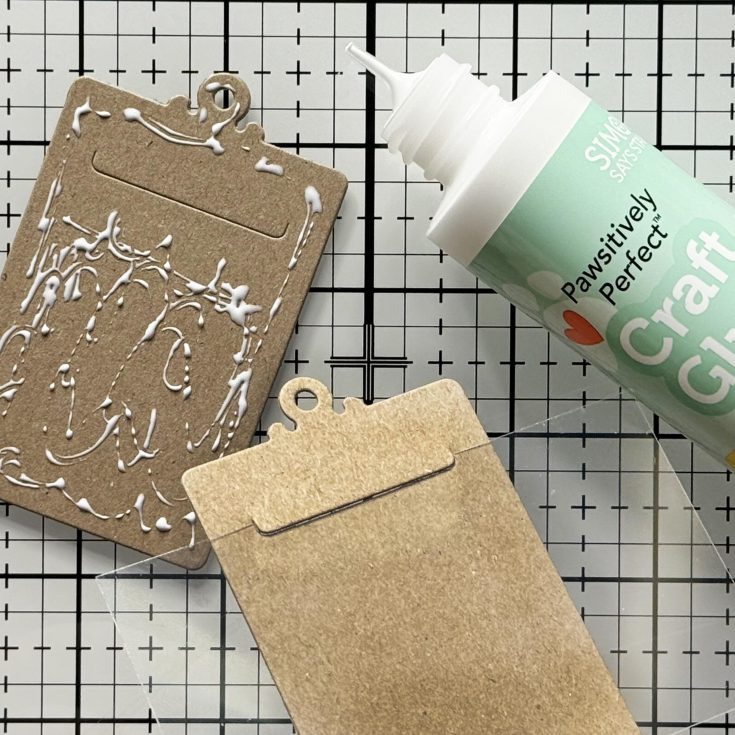
Adhere all 3 clipboard bases together using Craft Glue. *Tip: When adhering the top layer, slide a piece of scrap acetate under the “clip” cutout to keep it functional.
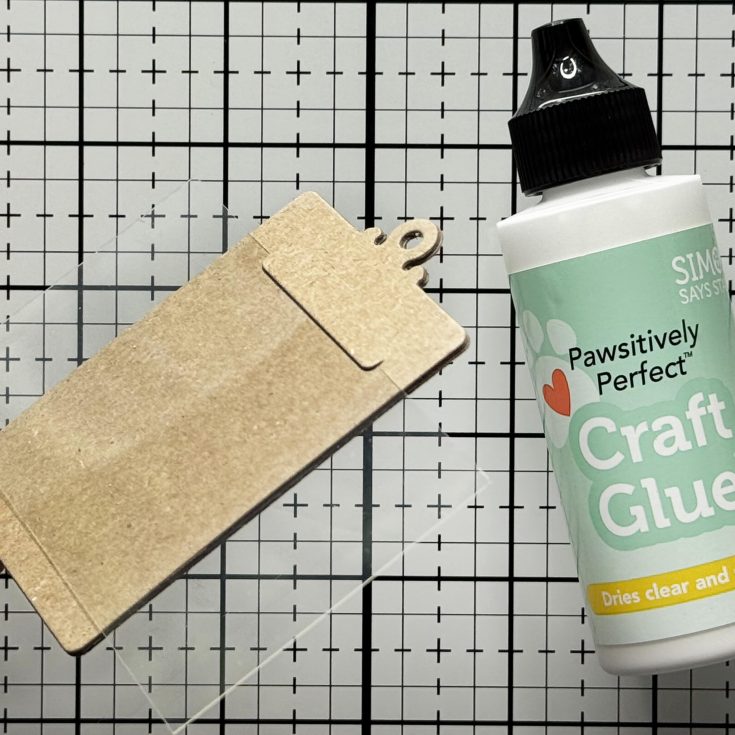
Leave acetate until “clip” cutout while clipboard dries.
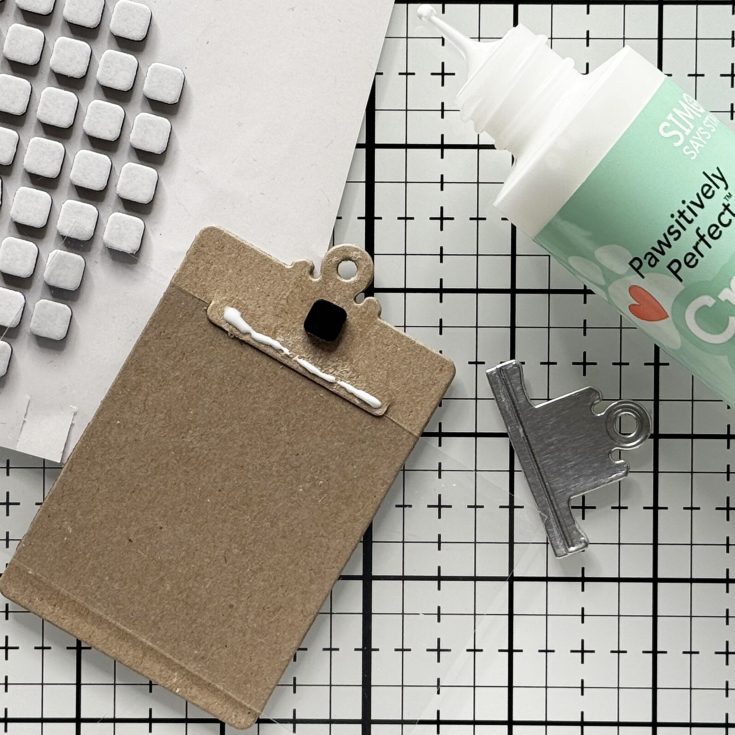
Adhere metallic clipboard clip pieces together using Craft Glue. Attach clip to clipboard with a mini 3D foam square + Craft Glue as shown.
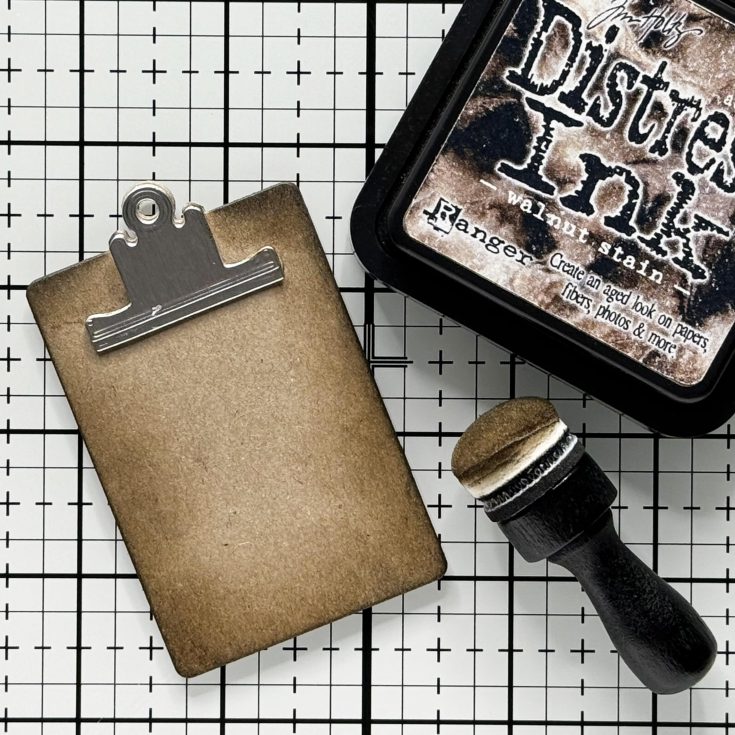
Ink edges of finished clipboard with Walnut Stain Distress Ink using a Tiny Ink Blending Tool.
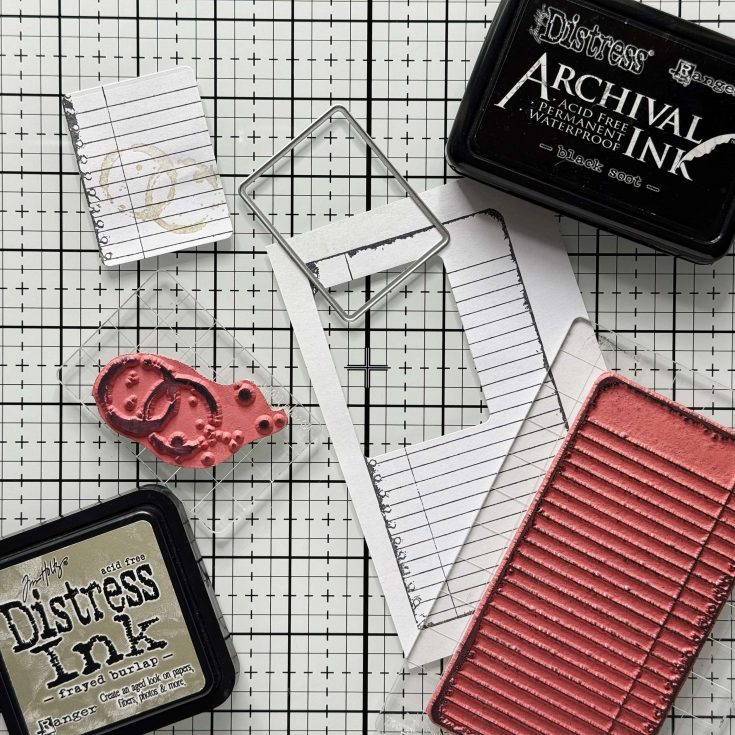
Stamp Notebook Paper on copy paper with Archival Ink. Die cut using die from Noteworthy set. Stamp Spill with Frayed Burlap Distress Ink.

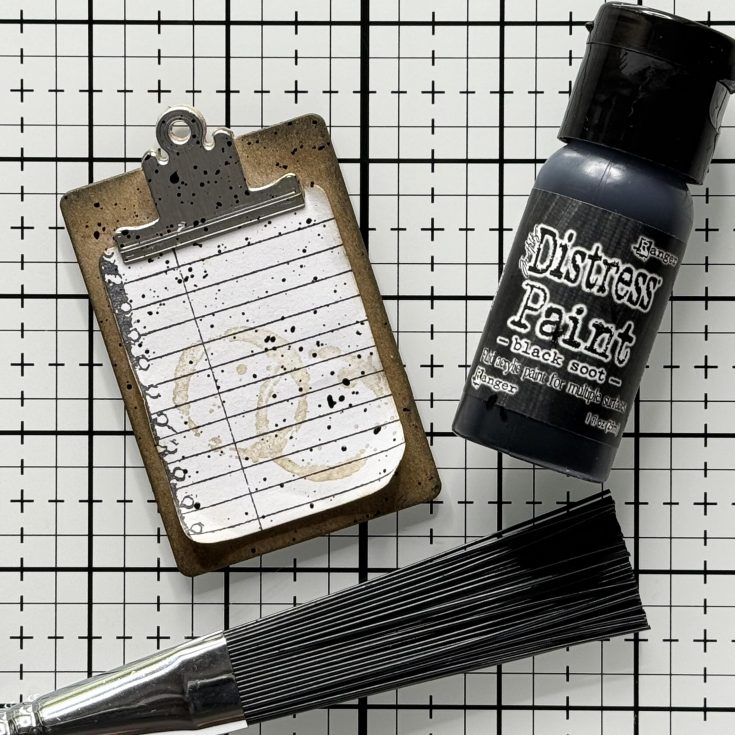
Ink Edges of notebook paper with Walnut Stain Distress Ink. Bend and curl paper edges + adhere to clipboard using Craft Glue.
Splatter with Black Soot Distress Paint using Distress Splatter Brush.
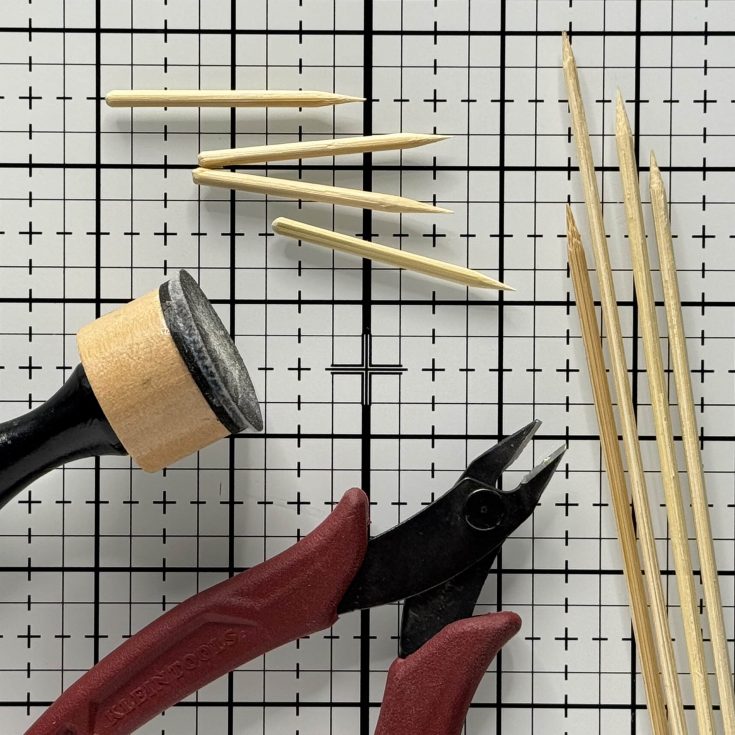

Cut pointed end of bamboo skewer to about 2” long using snips. Sand cut end to make slightly rounded using sandpaper.
Paint skewer with various colors of Distress Paint: Lead/Black Soot, Pencil/Fossilized Amber or Carved Pumpkin, Eraser/Worn Lipstick).
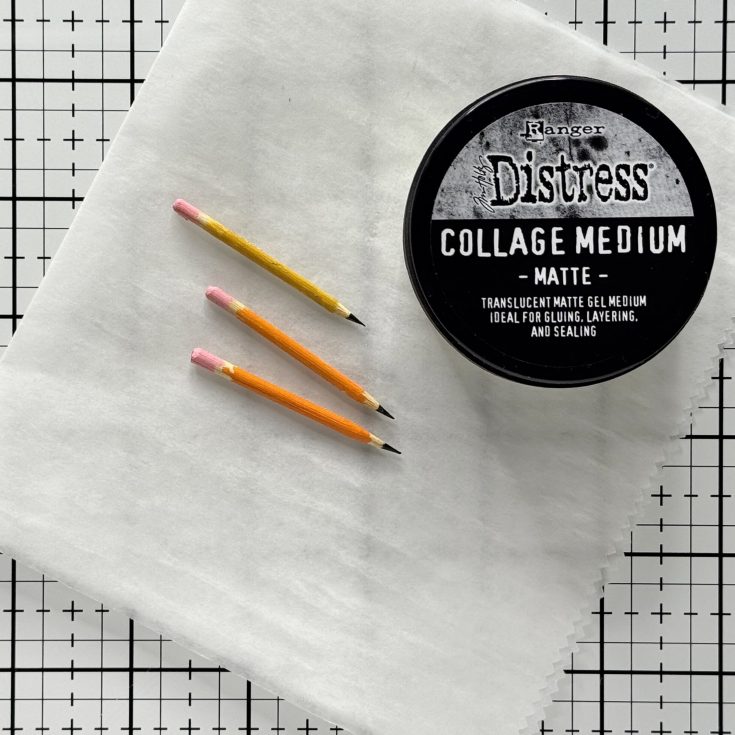
Once painted pencils have dried, apply a thin layer of Distress Collage Medium using fingers to create a smooth finish.
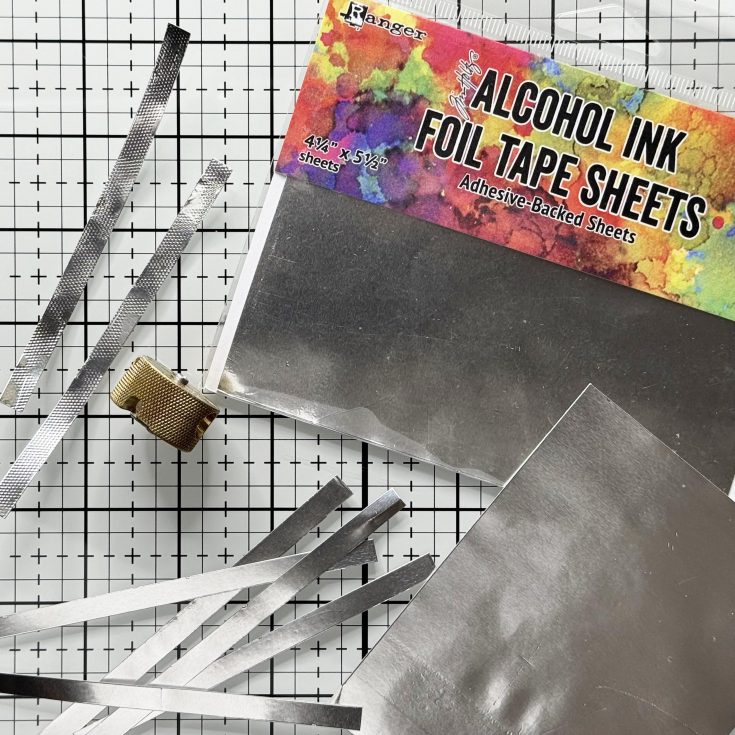
Cut 1/4” strips of Foil Tape Sheet + apply texture to it. *Tip: I used the edge of metal pencil sharpener because I liked the pattern.
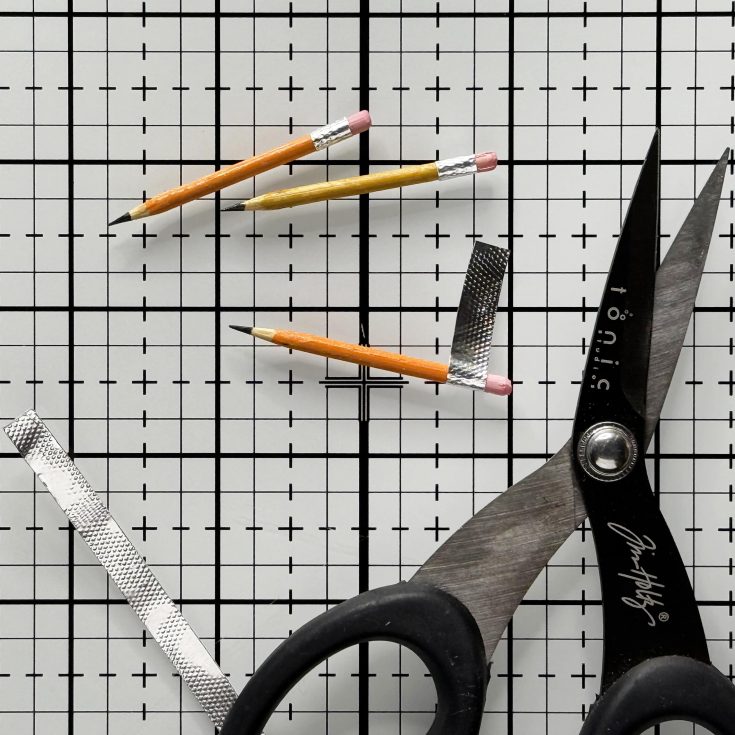
Cut a small piece of Foil Tape and wrap around end of pencil as shown.
Finish by stamping a sentiment from Tiny Frights with Archival Ink. Adhere die cut Tiny Frights image with 3D foam square and pencil with Craft Glue.
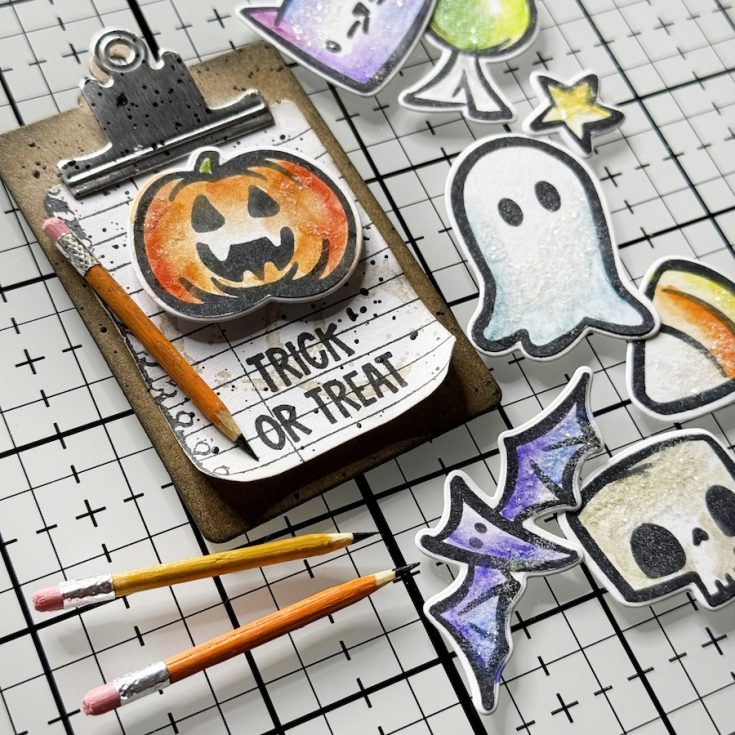
How cute are these little pencils? Time to get busy making more clipboards with sparkling Tiny Frights to bring a smile to your Halloween Trick or Treaters!!!
SUPPLIES:
|


Additional supplies: Tiny Paint Brush and White Copy Paper
Thanks so much for stopping by, and thanks to the one and only TIM HOLTZ for being our guest today!


