Spellbinders DieCember® Sale!
Hi friends! To continue to celebrate our love of dies, please enjoy 15% off all in-stock Spellbinders products NOW through December 24th with code SPBD552 at checkout! Please enjoy!
Yippee for Yana: Stamped & Foiled Valentine’s Day

Hi friends! Welcome back to the latest edition of Yippee for Yana! Read on and be sure to watch the video for all the info! Enjoy!
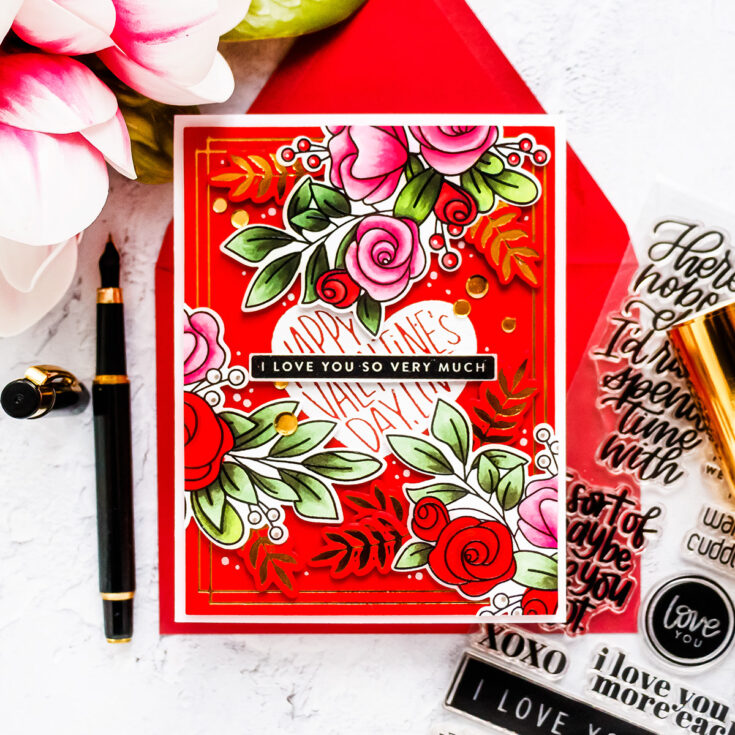
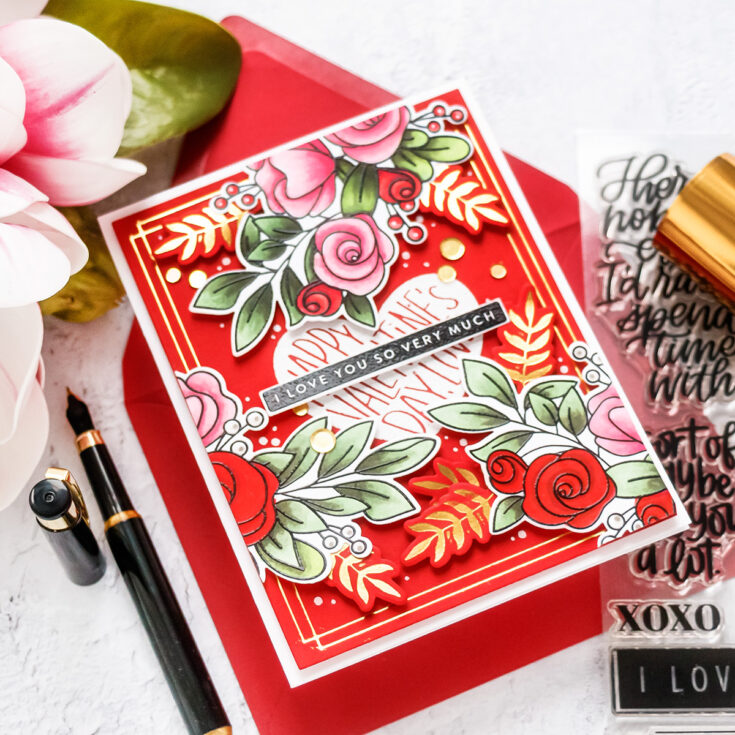
Hi everyone, this is Yana Smakula, welcome back for another Yippee For Yana video! Today I have a Valentine’s Day card to share that features two of my favorite things – stamping and foiling! When you combine both of these there is a little trick to making it all work and I’ll share that trick in this video.
I will be stamping my images using a gorgeous new You Have My Heart stamp set from Simon. It is a stunning 6×8 clear stamp set with beautiful imagery that can be used all year round, not just for Valentine’s Day. You have image clusters in here, as well as individual images to build your arrangements or dress up existing arrangements in this set. This set has coordinating dies, they are sold separately and I think it is a very good set to have and invest into, it is very versatile, fresh, and on-trend. The sentiment in this set are perfect for Congratulatory cards and Love You cards.
While this set does have everything you’d need to make a card, I like to pull supplies from multiple sets for my projects, so I’ll use a sentiment from a different stamp set from Simon, from Love Greetings Mix. This is also a large 6×8 stamp set with a multitude of beautiful sentiments for Valentine’s Day, Love and Affection. I quite like that heart-shaped sentiment that reads Happy Valentine’s Day, Love, and I’ll use that for the card I’m sharing today.
Follow these instructions step-by-step to re-create this card:
- Stamp floral cluster in Memento Tuxedo Black ink onto Neenah Solar White 80lb cardstock using mini MISTI. Keep stamp in the MISTI.
- Color images with Copic markers: R22, R24, R27, R39, G21, G94, G99, YG03, RV14, RV13, RV10, RV00, W1, W3.
- Reposition colored images back into the MISTI and re-stamp the outline with Versafine Onyx Black ink. Cover with Clear embossing powder & heat set.
- Cut floral cluster out using a coordinating die. You’ll need 2 clusters for this card.
- Foil a frame in gold foil on a panel of red cardstock using Spellbinders Glimmer Hot Foil System. Cut the panel out using a rectangle die.
- Heat emboss the sentiment in white embossing powder in the center of the foiled panel.
- Arrange floral clusters on the panel, foam mount, trim excess off.
- Foam mount panel to A2 white side folding card base.
- Foil foliage using a glimmer plate from the Organic Foliage Glimmer plate in gold foil on red cardstock. Cut out using a coordinating die. Arrange foliage on the panel and adhere in place using foam adhesive.
- Stamp sub sentiment in Versafine Onyx Black ink, heat emboss in Clear embossing powder.
- Embellish card with gold sequins.
- Add white dots in various sizes.
- Let dry and enjoy!
Have fun stamping!
WATCH THE VIDEO:
SUPPLIES:
|


Thanks so much for stopping by, and thanks to Yana for being our guest!
EZ with CZ: Love You Watts
Hi friends! Happy Sunday and welcome to our latest edition of EZ with CZ! Our monthly installment showcasing Clean and Simple card designs with Cathy Zielske that still pack a PUNCH!
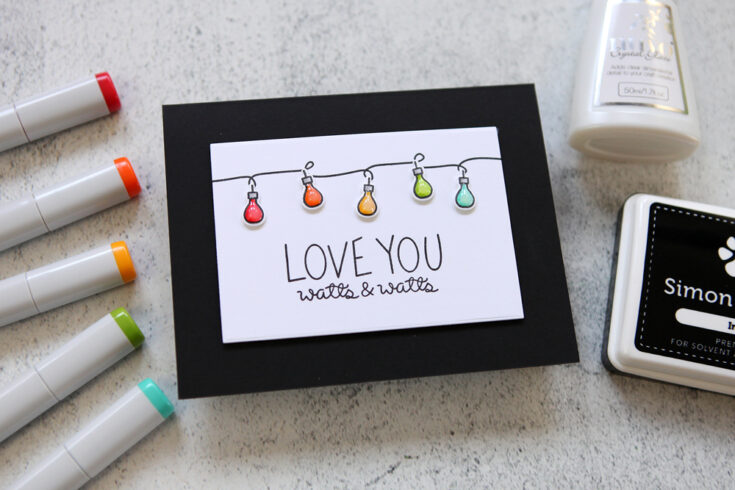
Hi friends! It’s Cathy Z. here with another installment of EZ with CZ. Today’s focus: simple coloring with Copic markers, or whatever markers you have on hand. My card uses just three images from the new Light Me Up stamp set to create a really clean and simple result! By stamping just one image and repeating it, I kept the project easy and breezy!
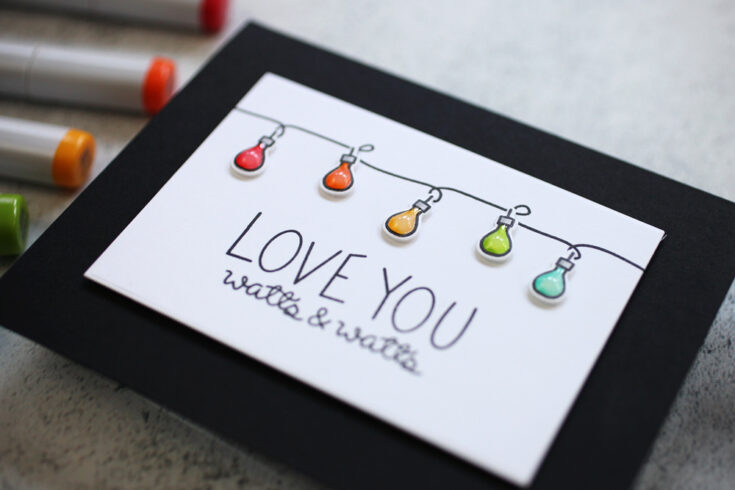
I used just two colors per light bulb. One is lighter. One is darker. Once you practice a bit, you’ll figure out what your favorite combos are to use. Plus, the rainbow will never steer you wrong!
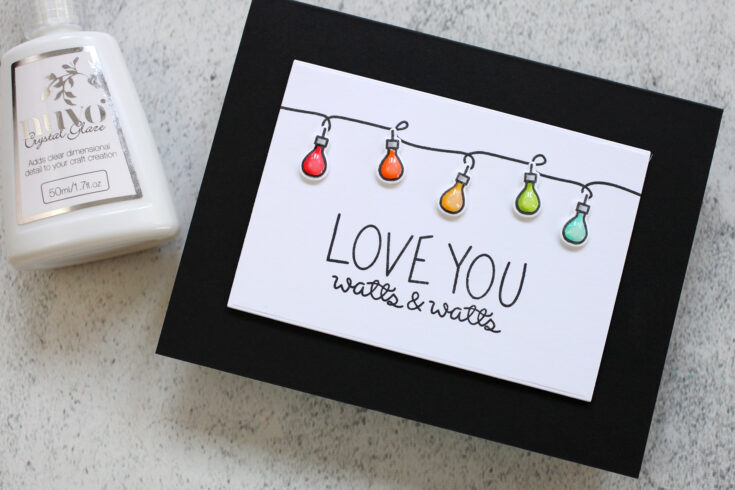
To add just a little extra, I added some Nuvo Crystal Glaze to each light bulb for a little dimension. This product is actually really easy to use! The nozzle on the bottle makes it flow beautifully and I have never had a clog yet!
Here is the video showing you how I created this card.
WATCH THE VIDEO:
SUPPLIES:
|


Thanks so much for stopping by, and thanks to Cathy for being our guest!


