25% off Copic!!!

Hi friends! TGIF! Starting NOW take 25% off all items from Copic Marker with code HUE247 at checkout! Shop early for the best selection and enjoy!
Doodling with Debby: Two For one Valentine’s Cards
Happy Wednesday, friends! Welcome to the February 2021 edition of Doodling with Debby with Debby Hughes! Read on and enjoy!
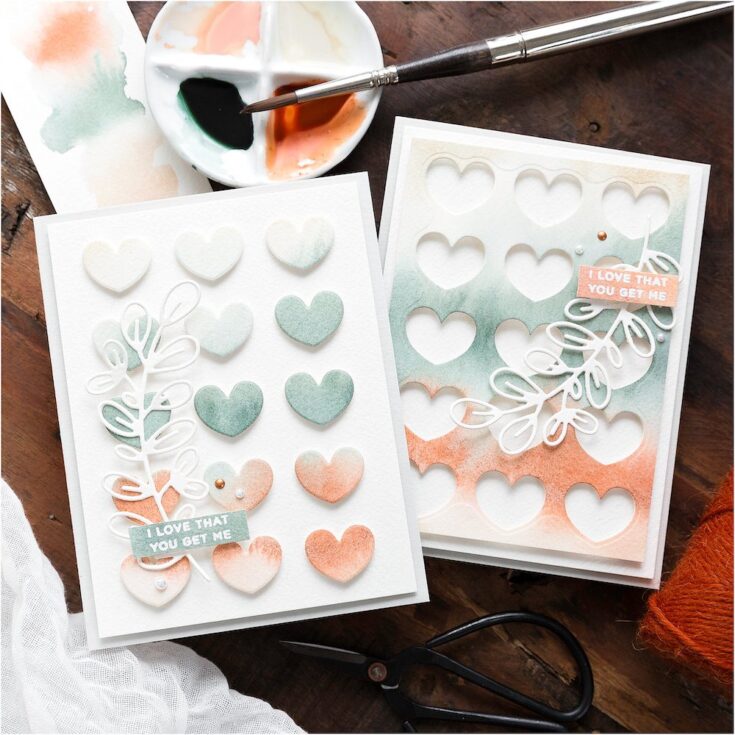
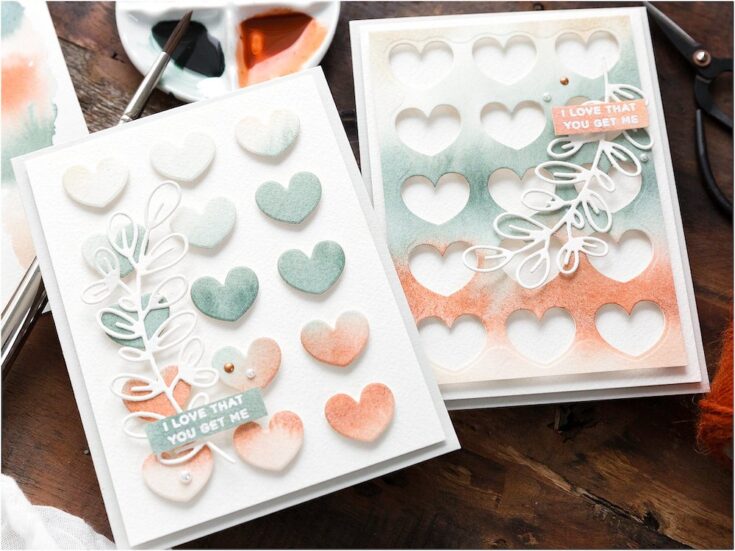
Hello, it’s Debby here. Today’s video is a two-for-one using the Chunky Hearts Panel. I’ve seen this panel used in a variety of ways, but I wanted to use it with a watercolored piece after a few swatches on my desk kept catching my attention.
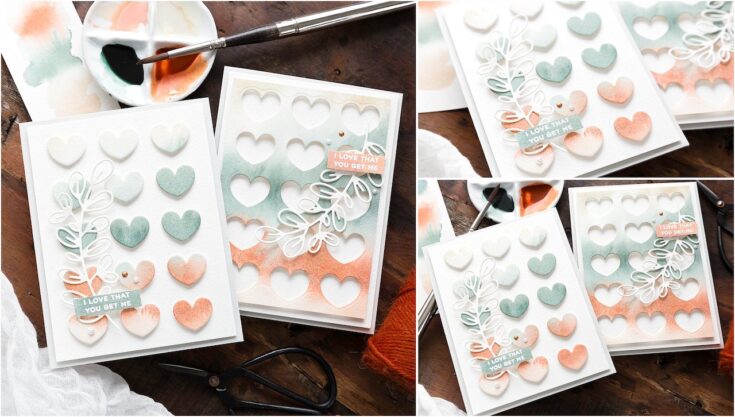
I love these earthy colors and you see them a lot on social media, graphic design and home decor. They may not be the traditional colors for a card using hearts, but it is nice to veer away from the norm. Although these cards could be used for Valentine’s day, they are adaptable enough to be used all year round with that sentiment. The earthy colors and non-fussy sentiment combination make these great guy cards too. I always find it harder to make guy cards, but I think these could pass the test.
STEP BY STEP HOW TO
- Tape a piece of Arches Cold-Pressed Watercolor Card to your craft mat or a hard surface to prevent warping.
- Watercolor using a palette of warm earthy colors. I used Daniel Smith paints.
- When dry, die cut the panel with the Chunky Hearts Panel.
- Attach the hearts to a piece of watercolor card with foam tape and using the die-cut main panel as a template to ensure correct placement.
- Trim the panel and attach to a Fog card base with foam tape.
- Die-cut a Simple Stem from the watercolor card.
- Stamp a greeting from the Introverts Unite set on the edge of the main watercolored piece with clear embossing ink and white heat emboss.
- Trim the sentiment to a skinny strip and use foam squares to attach to the main panel using the foam tape to help attach the Simple Stem die while doing so.
- Glue the stem in place so that it doesn’t waft around too much.
- Create a second card using the left-over main watercolored panel.
- Embellish the two cards with Copper Penny Nuvo droplets and Eggshell Pearls.
Well, that’s me for this month. I hope you enjoyed this tutorial; you’ll find the video below. Thanks for joining me and I hope to see you next time for Doodling With Debby.

WATCH THE VIDEO:
SUPPLIES:
|


Thanks so much for stopping by, and thanks to Debby for being our guest!
OWL always be thankful for you
Hi friends! Happy Wednesday! Please join me in welcoming special guest Kara Pogreba to share this gorgeous Lawn Fawn feature! Read on and enjoy!
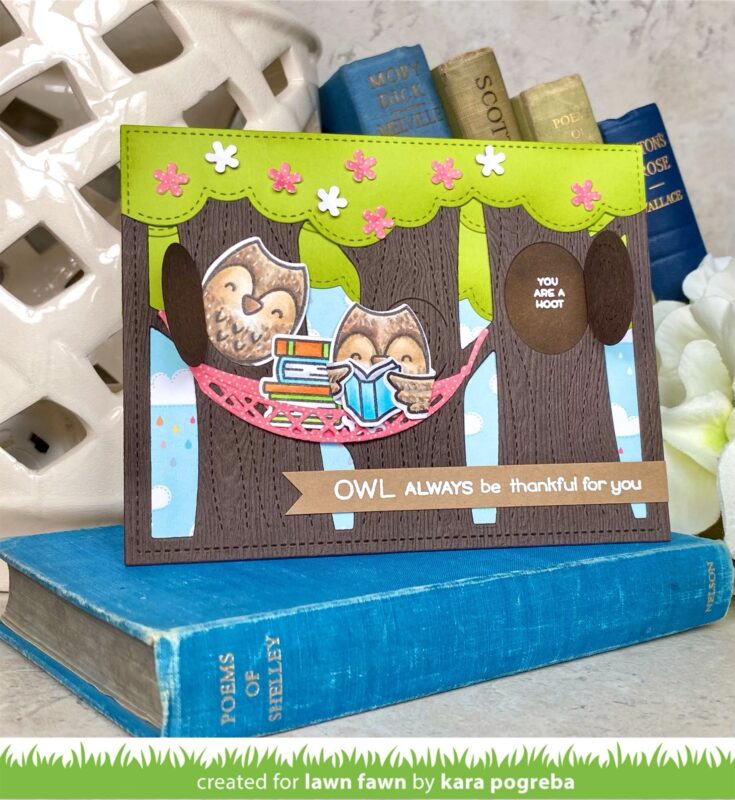
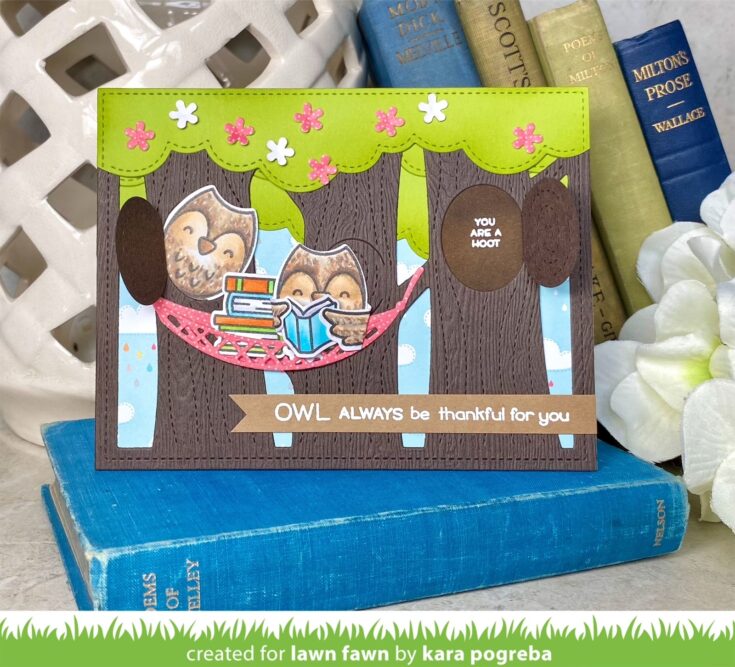
These two owls found a cozy place to share a story! Lawn Fawn’s Lift the Flap Tree Backdrop is a great place for the Special Delivery owls to kick back and relax together.
The Puffy Cloud Backdrop was turned upside down and cut from Cilantro cardstock to create the canopy of leaves overhead.
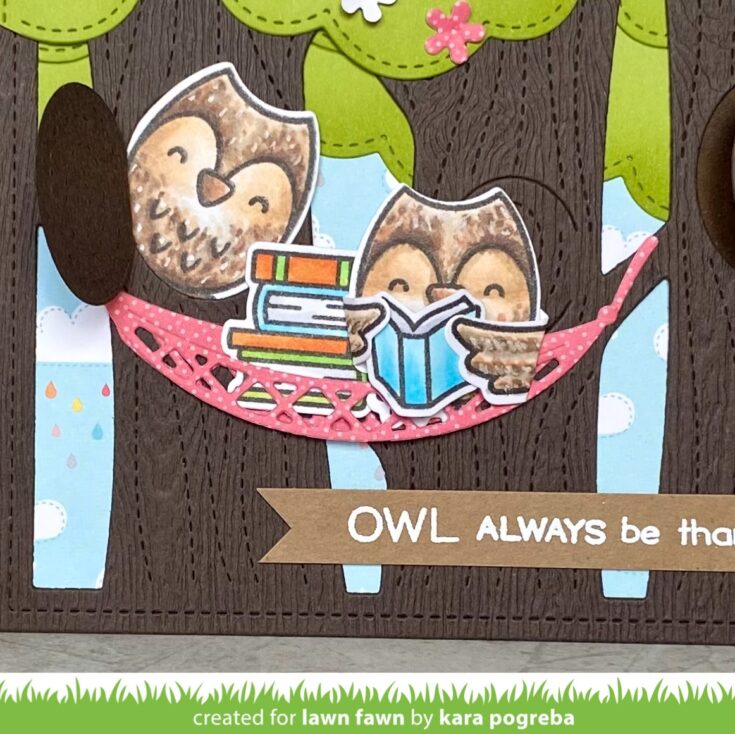
A little message was heat embossed and tucked into one of the tree holes. The owls and books were colored with Copic markers and white gel pen.
The wings in the Special Delivery set that are typically used for flapping were reversed and folded behind the owl so he can hold the book. The book (from Den Sweet Den) was folded slightly at the binding to add extra dimension.
The flowers, hammock, and background were cut from the Hello Sunshine Remix petite paper pack. The sentiment, pieced together from several stamp sets, was heat embossed on a strip of Paper Bag cardstock.
SUPPLIES:
|


Thanks so much for stopping by, and thanks to Kara for being our guest!


