Did You Know? July 2026 Edition New Product that You’re Going to Love!
Hello crafters, it’s Shari Carroll here with you for a new edition of our popular Did You Know series! Today I’m excited to show you some of the new products that we’ve developed for options with your crafting.
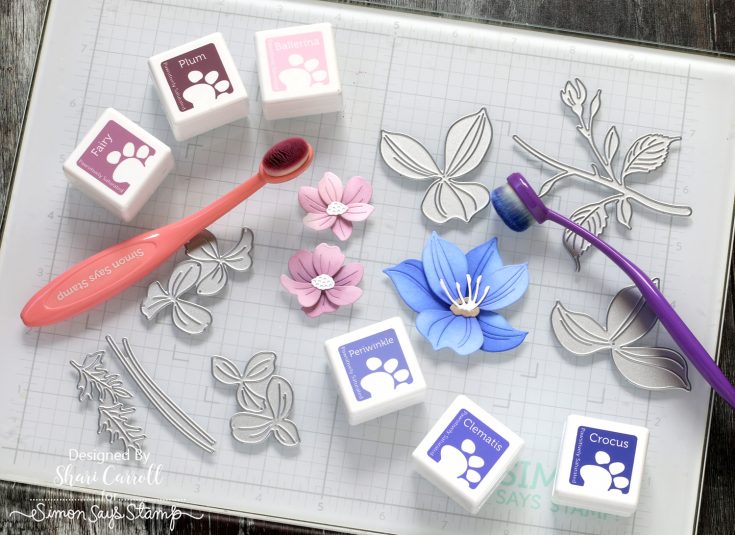
Ink cube packs are the best way to try out some new colors or take with on the go. These mini ink pads are filled with our popular Pawsitively Saturated ink.
Enjoy the muted tones of Pinks with Ballerina, Fairy, and Plum for a vintage look. Step up your purples with Periwinkle, Clematis, and Crocus!
TIP: Use your smaller brushes to get full coverage on die cut pieces.
EMBOSSING FOLDERS WITH COORDINATING DIES AND STENCILS
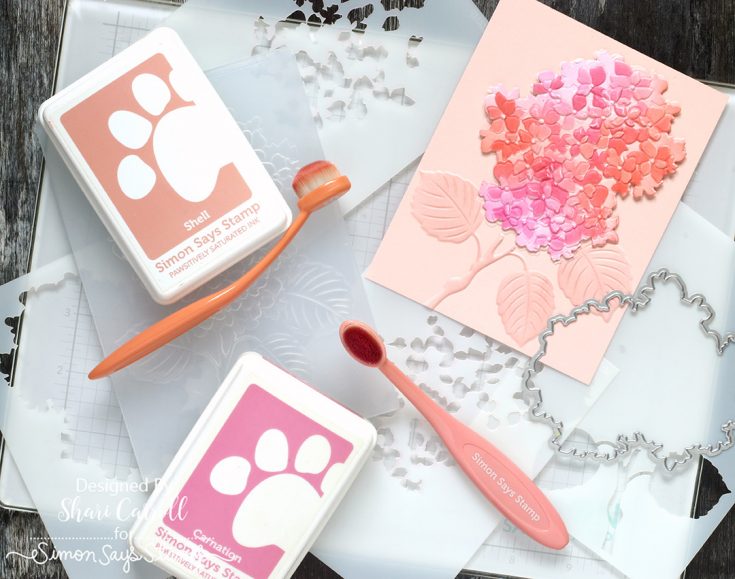
Hot off the press! We have the stunning embossing folder Gorgeous Hydrangea that has a coordinating die and stencils! All these elements work together to help you create a floral masterpiece!
We suggest die cutting first, then stenciling over top, and finally using your embossing folder.
TIP: Our Trios of ink are perfect for ink blending each layer for dimension.
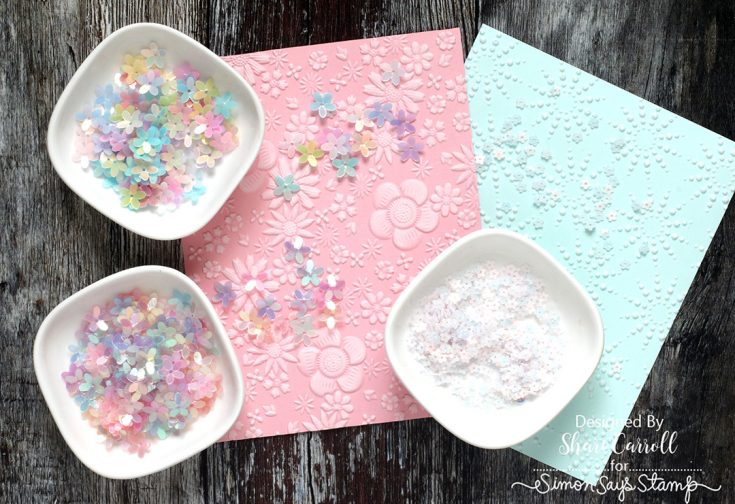
We have come out with the sweetest flower embellishments. There two sets of flower shaped embellishments that are cupped for added dimension that catches the light. Dreamy Blossoms are translucent with a hint of color. The Rainbow Blossoms are a little more colorful with a hint of holographic shine.
And finally, Babies Breath are tiny pure white flowers with a pastel holographic finish and are perfect for shaker cards as well as embellishments.
TIP: Mix these embellishments together for a dynamic Flower Power project!
I hope these tips have helped you learn about some of the new items in our store! Thanks for tuning in today and spending some time with me!
SUPPLIES:
|


Going on NOW! Ends tonight!
Happy 250th, America! Tim Holtz Palette Fabric Patriotic Stars by Nichol Spohr!
Hi friends! Happy Saturday! We just had to reshare this gorgeous make showcasing beautiful Tim Holtz Palette Fabric! Our friend and special guest Nichol Spohr was SO inspired, she used this palette as the previously released Red Palette to make these gorgeous stars! Want to give them a go for yourself? Read on to hear more from Nichol as well as the patterns she used!

I used a couple of different star patterns for these. The patchwork stars were made with one of my favorite patterns from Fig Tree Quilts. The smaller stars were created using a free downloadable template I found online. Of course, you can always use any star template you have on hand, star-shaped dies work great too! I sewed Tim’s Idea-ology buttons in the center to extra embellishment. The stars were sew with right sides facing out, leaving the raw edges showing and then roughed up with some scissors for a rustic, primitive look.


SUPPLIES:
|


Thanks so much for stopping by, and thanks to Nichol for being our guest!
Going on NOW! Save sitewide all weekend long!
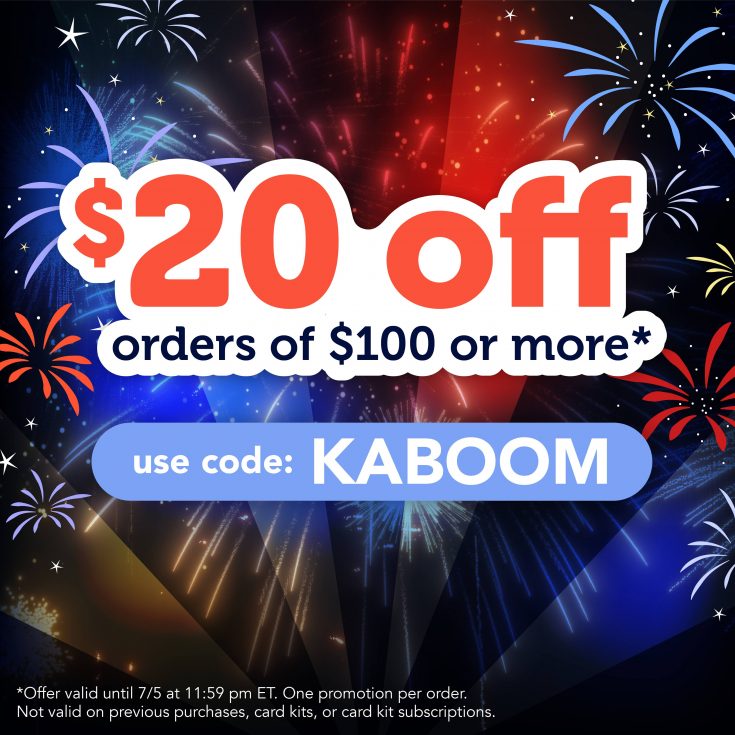
BIG savings this weekend! $20 off $100+

Happy Friday, crafty friends—and Happy 4th of July weekend!
We’re kicking off the celebration with a BIG burst of savings and plenty of crafty goodness!
This weekend only, take $20 OFF orders of $100 or more sitewide with code KABOOM at checkout.
Now’s the perfect time to stock up on your favorites, grab those wishlist must-haves, and spark some summer creativity. But don’t wait—shop early for the best selection before the weekend excitement takes off!
Use code KABOOM and start saving today. Happy crafting and happy shopping!


