Crafty with Caly: Painted Flowers Background

Hi friends! Happy Wednesday! Please join me in welcoming special guest Caly Person on our blog today! Read on to learn more about this pretty card in our Crafty with Caly blog series and enjoy!
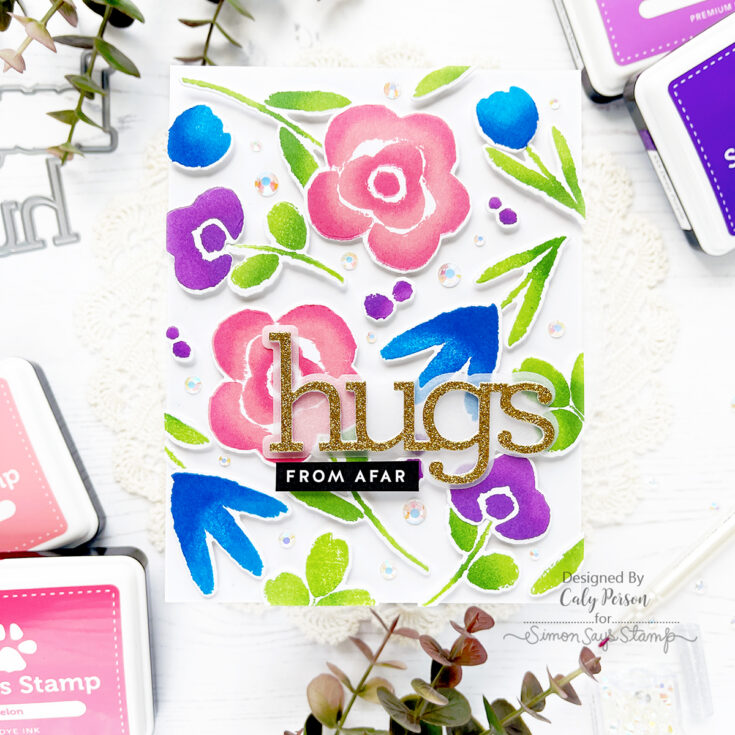
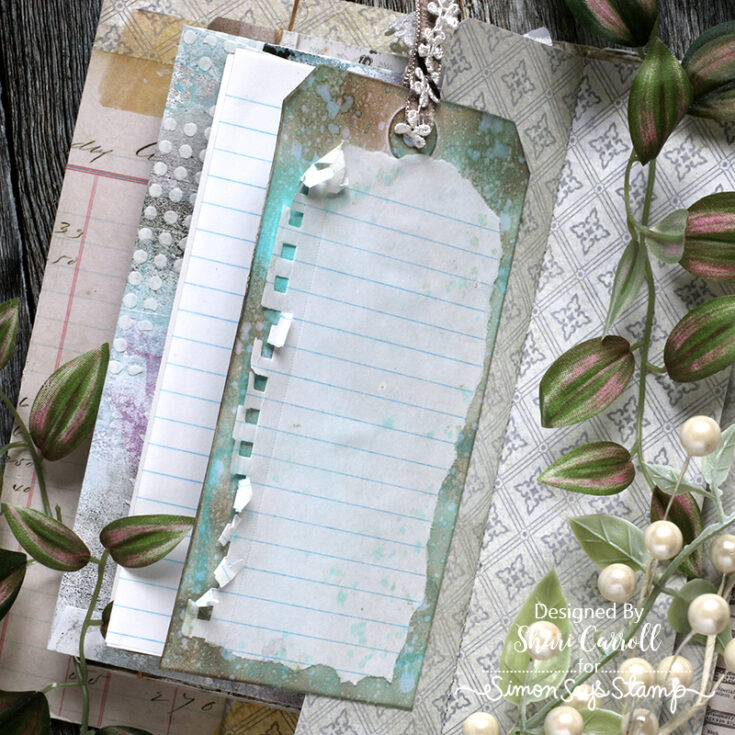
Hi, Friends! It’s Caly with you today and I’m sharing a die-cut background that I created using stamped images from the Painted Flowers set.
The stamps in this set are not created for layering, so to add shading, I used finger daubers to add darker shades of ink to do some repeat-stamping to create the darker areas on my images.
Be sure to check out my video to see how it’s done!
WATCH THE VIDEO:
After stamping and die-cutting all of my images, I lay out the images on an A2-sized panel so that they were all evenly spaced out. Then I used some Glad Press ‘N Seal too pick up all the pieces and flipped it over to add foam adhesive all over the back. This keeps the layout just the way you want it while you add dimension!
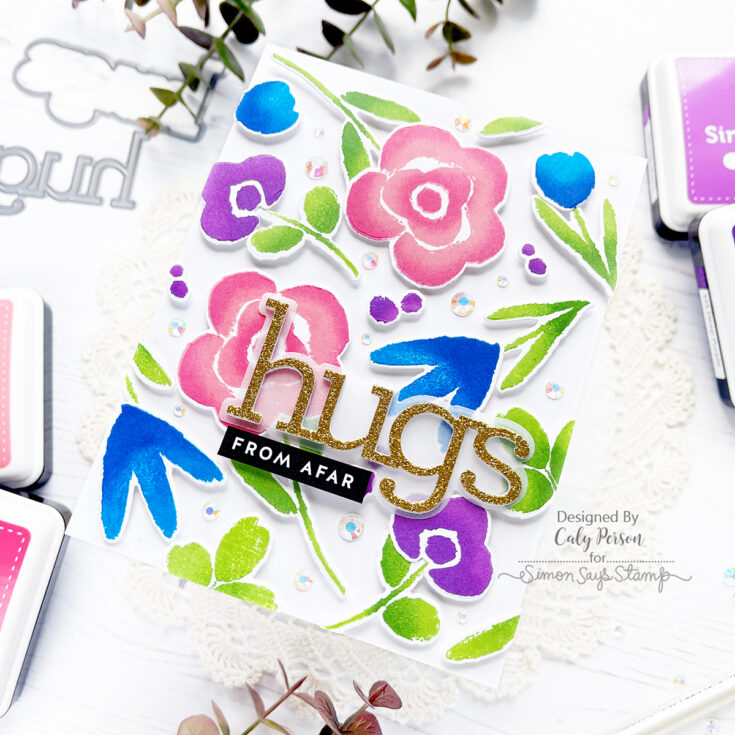
Once all the foam adhesive is in place, I flipped it back over and adhered it to the A2 panel. I left mine white for today’s card, but some ink-blended or a fun background would be beautiful too!
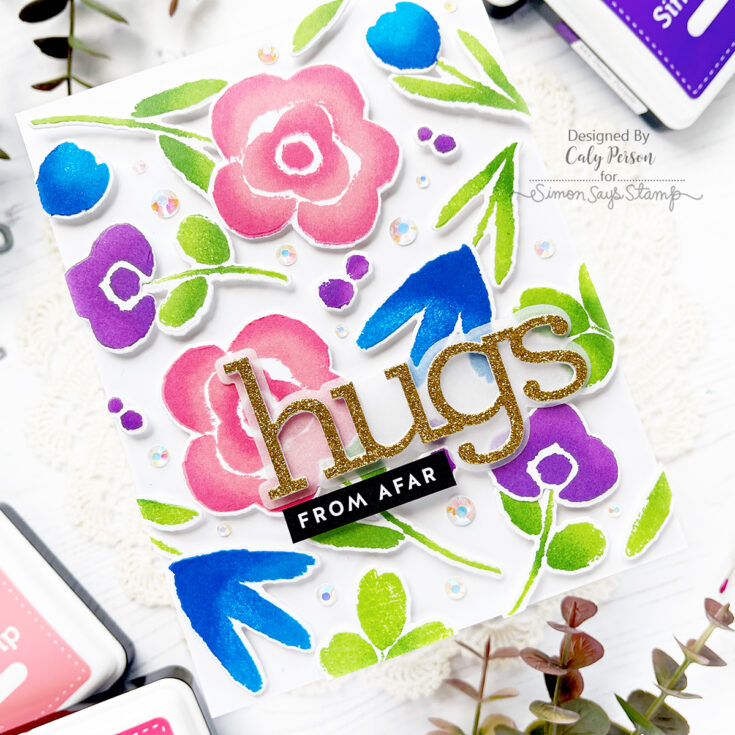
I die-cut my CZ Hugs sentiment from vellum, gold glitter and white cardstock to layer together and adhered it to the bottom third of my card. To finish, I filled in the white space with a few iridescent jewels.
I hope you like this project! Thanks so much for visiting today! ~Caly
SUPPLIES:
|


Thank you so much for stopping by, and thanks to Caly for being our guest!
Art Journaling with Shari: You Shine

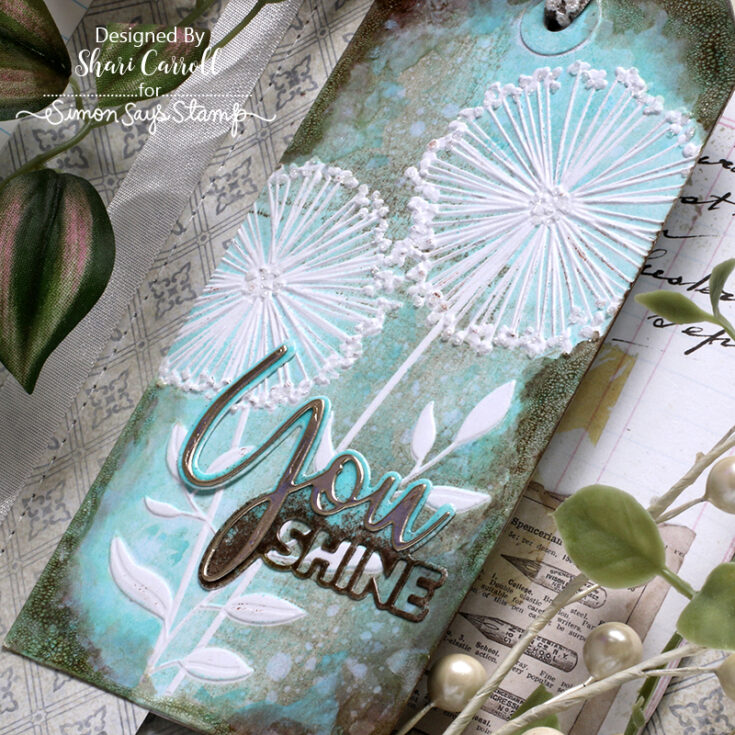
Welcome, everyone!! It’s Shari here with another entry to my Tim Holtz Travel Journal. I couldn’t wait to work with the new Salvaged Patina ink that Tim just recently released, all I can say about it is that it’s GORGEOUS!
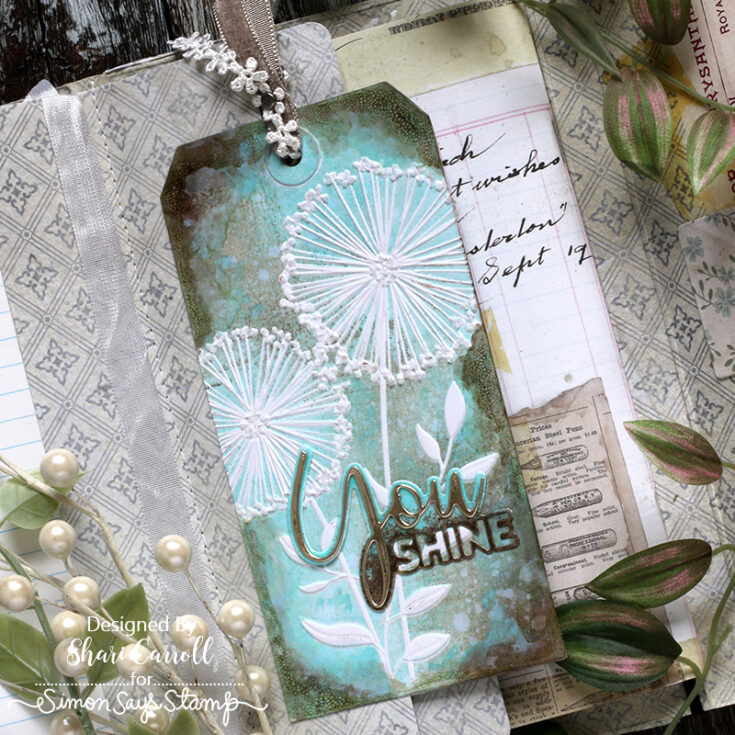
I did a letterpress technique using the Seedhead Stem embossing folder from Simon Says Stamp where I’ve brayered Salvaged Patina and Walnut Stain inks onto the folder and ran through my die cut machine for embossing.
I created a second ink blended tag that is glued back to back to the first with a torn page of notebook paper for journaling.
I’ve filmed the entire process that you can view below. Enjoy!!
SUPPLIES:
|


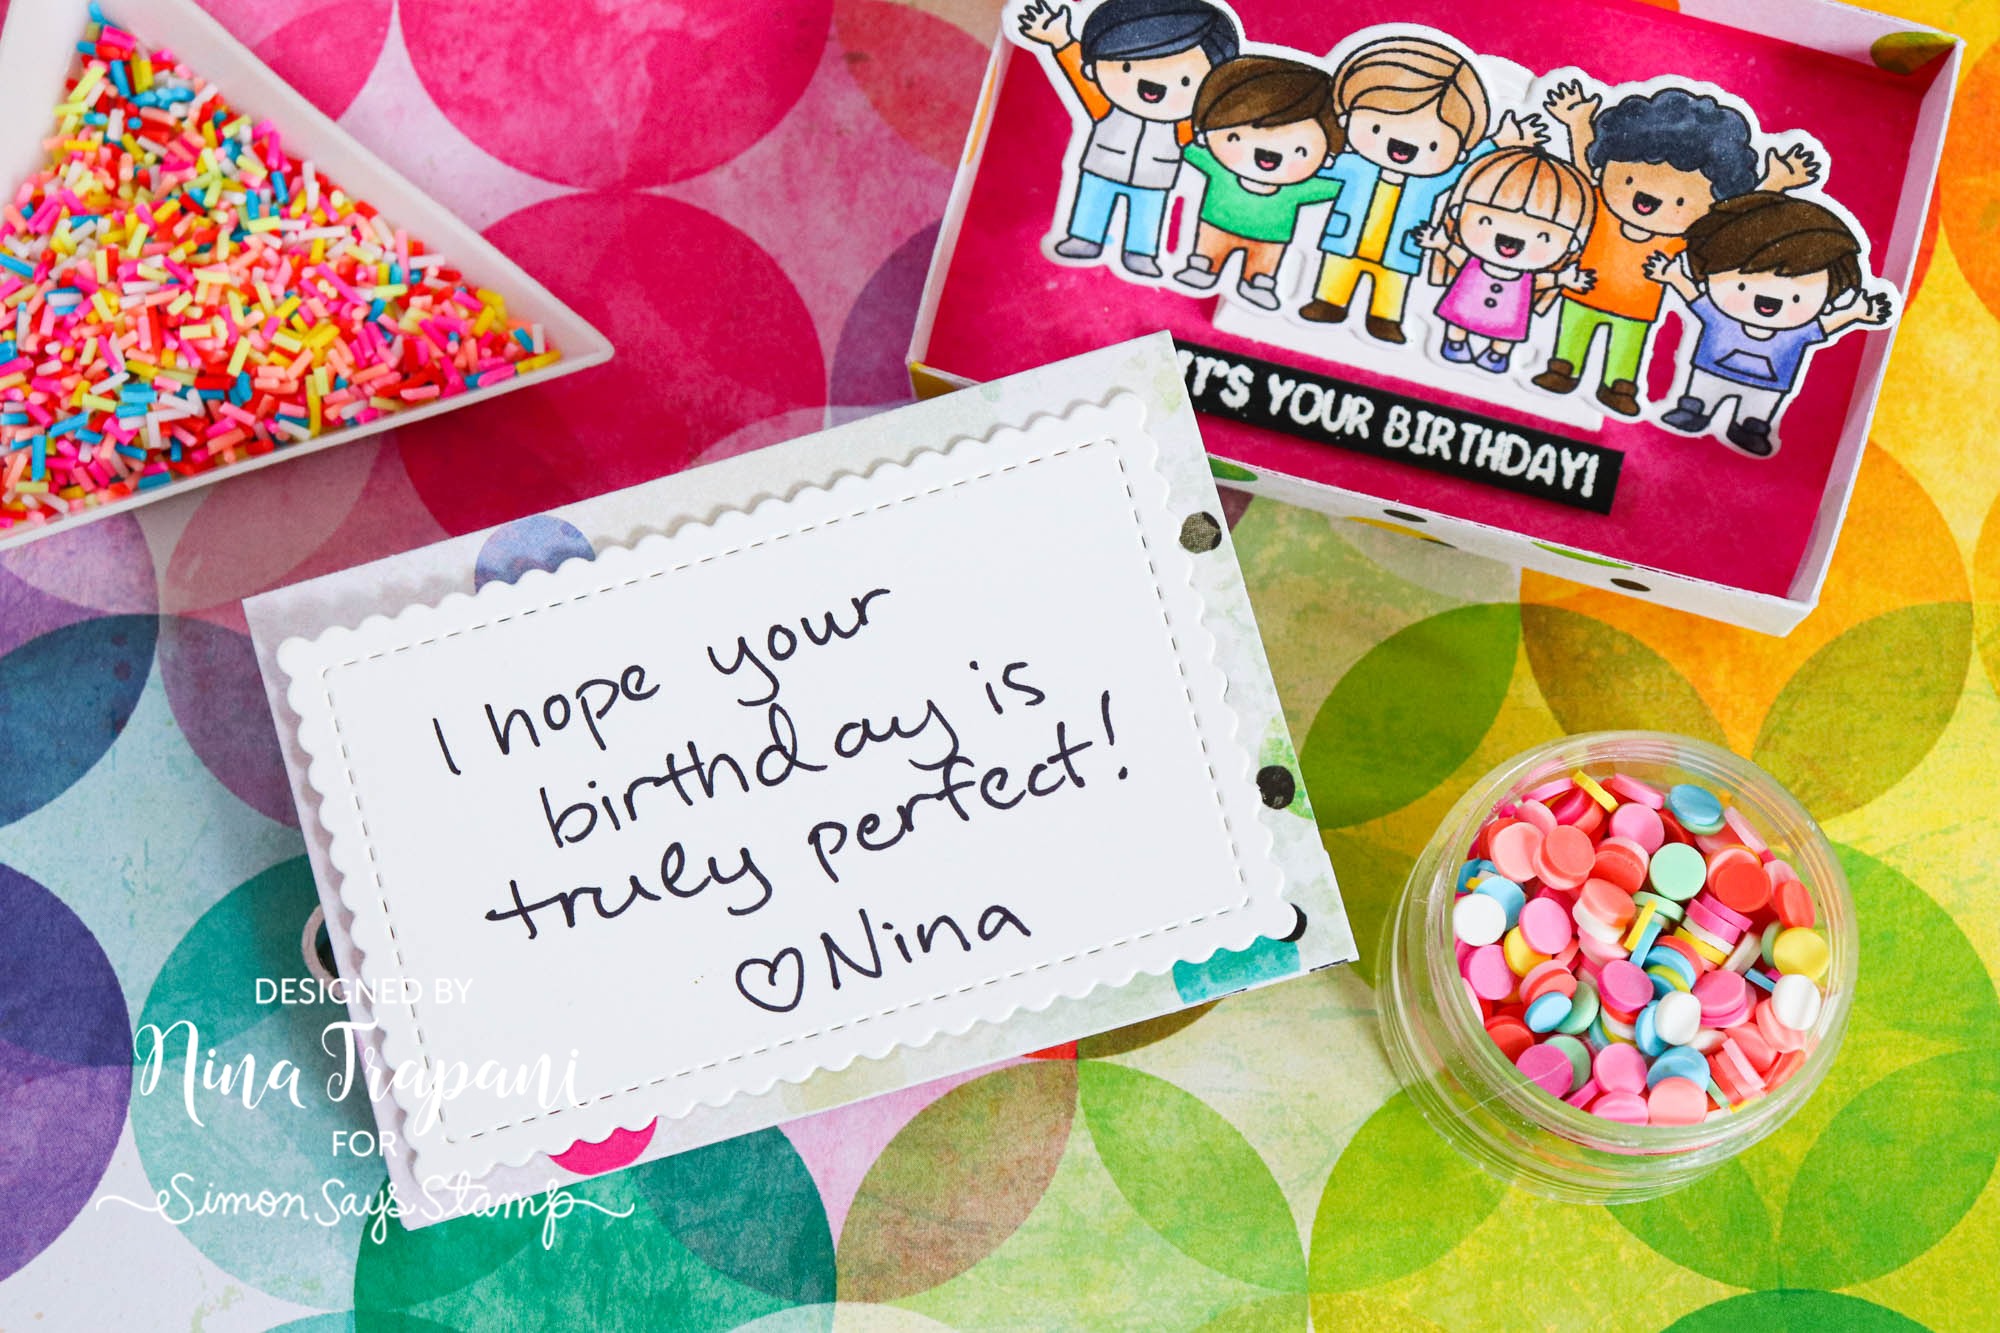
Studio Monday with Nina-Marie: Matchbox Birthday Card

Hello there, friends! It’s Nina-Marie Trapani and I am back with a new Studio Monday project – this time featuring Mama Elephant!
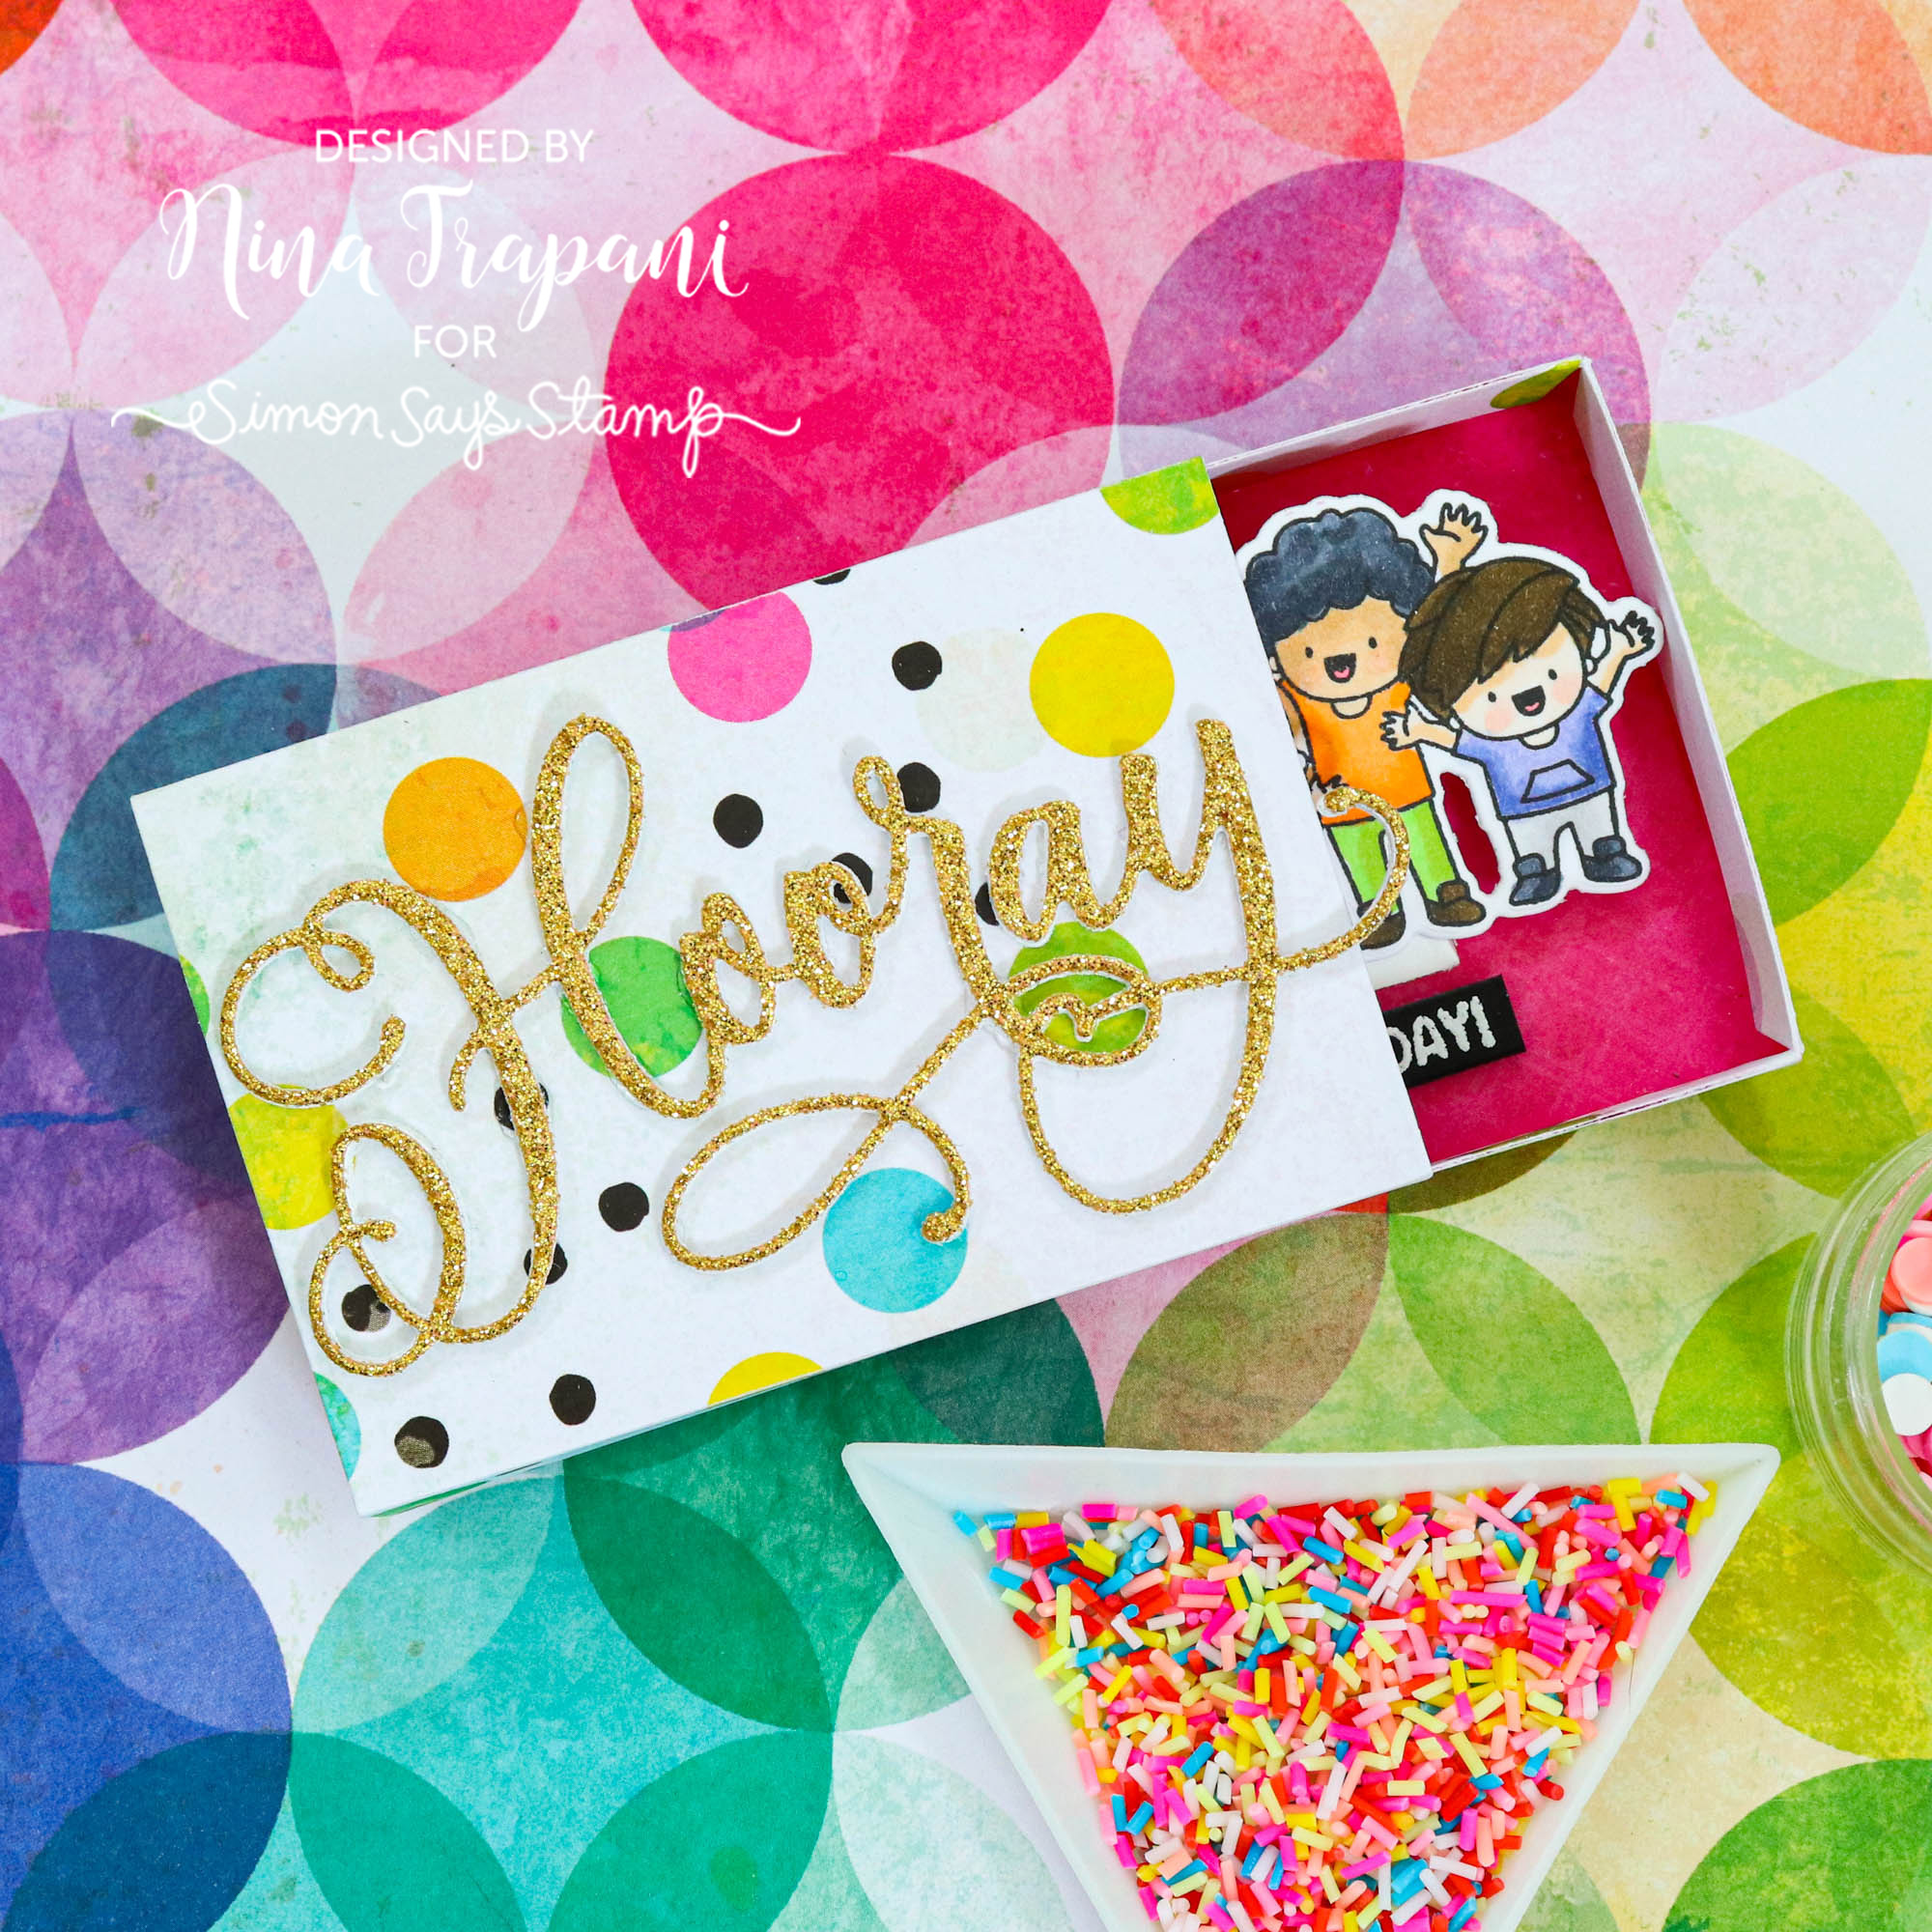
In this birthday project, I am using the adorable Matchbox Builder die and Hooray Wishes set.

The Matchbox Builder makes the cutest little card that is super unique because of its matchbox shape. You could cut the box out of any paper or cardstock – I happen to be using Vicki Boutin Color Study pattern paper.
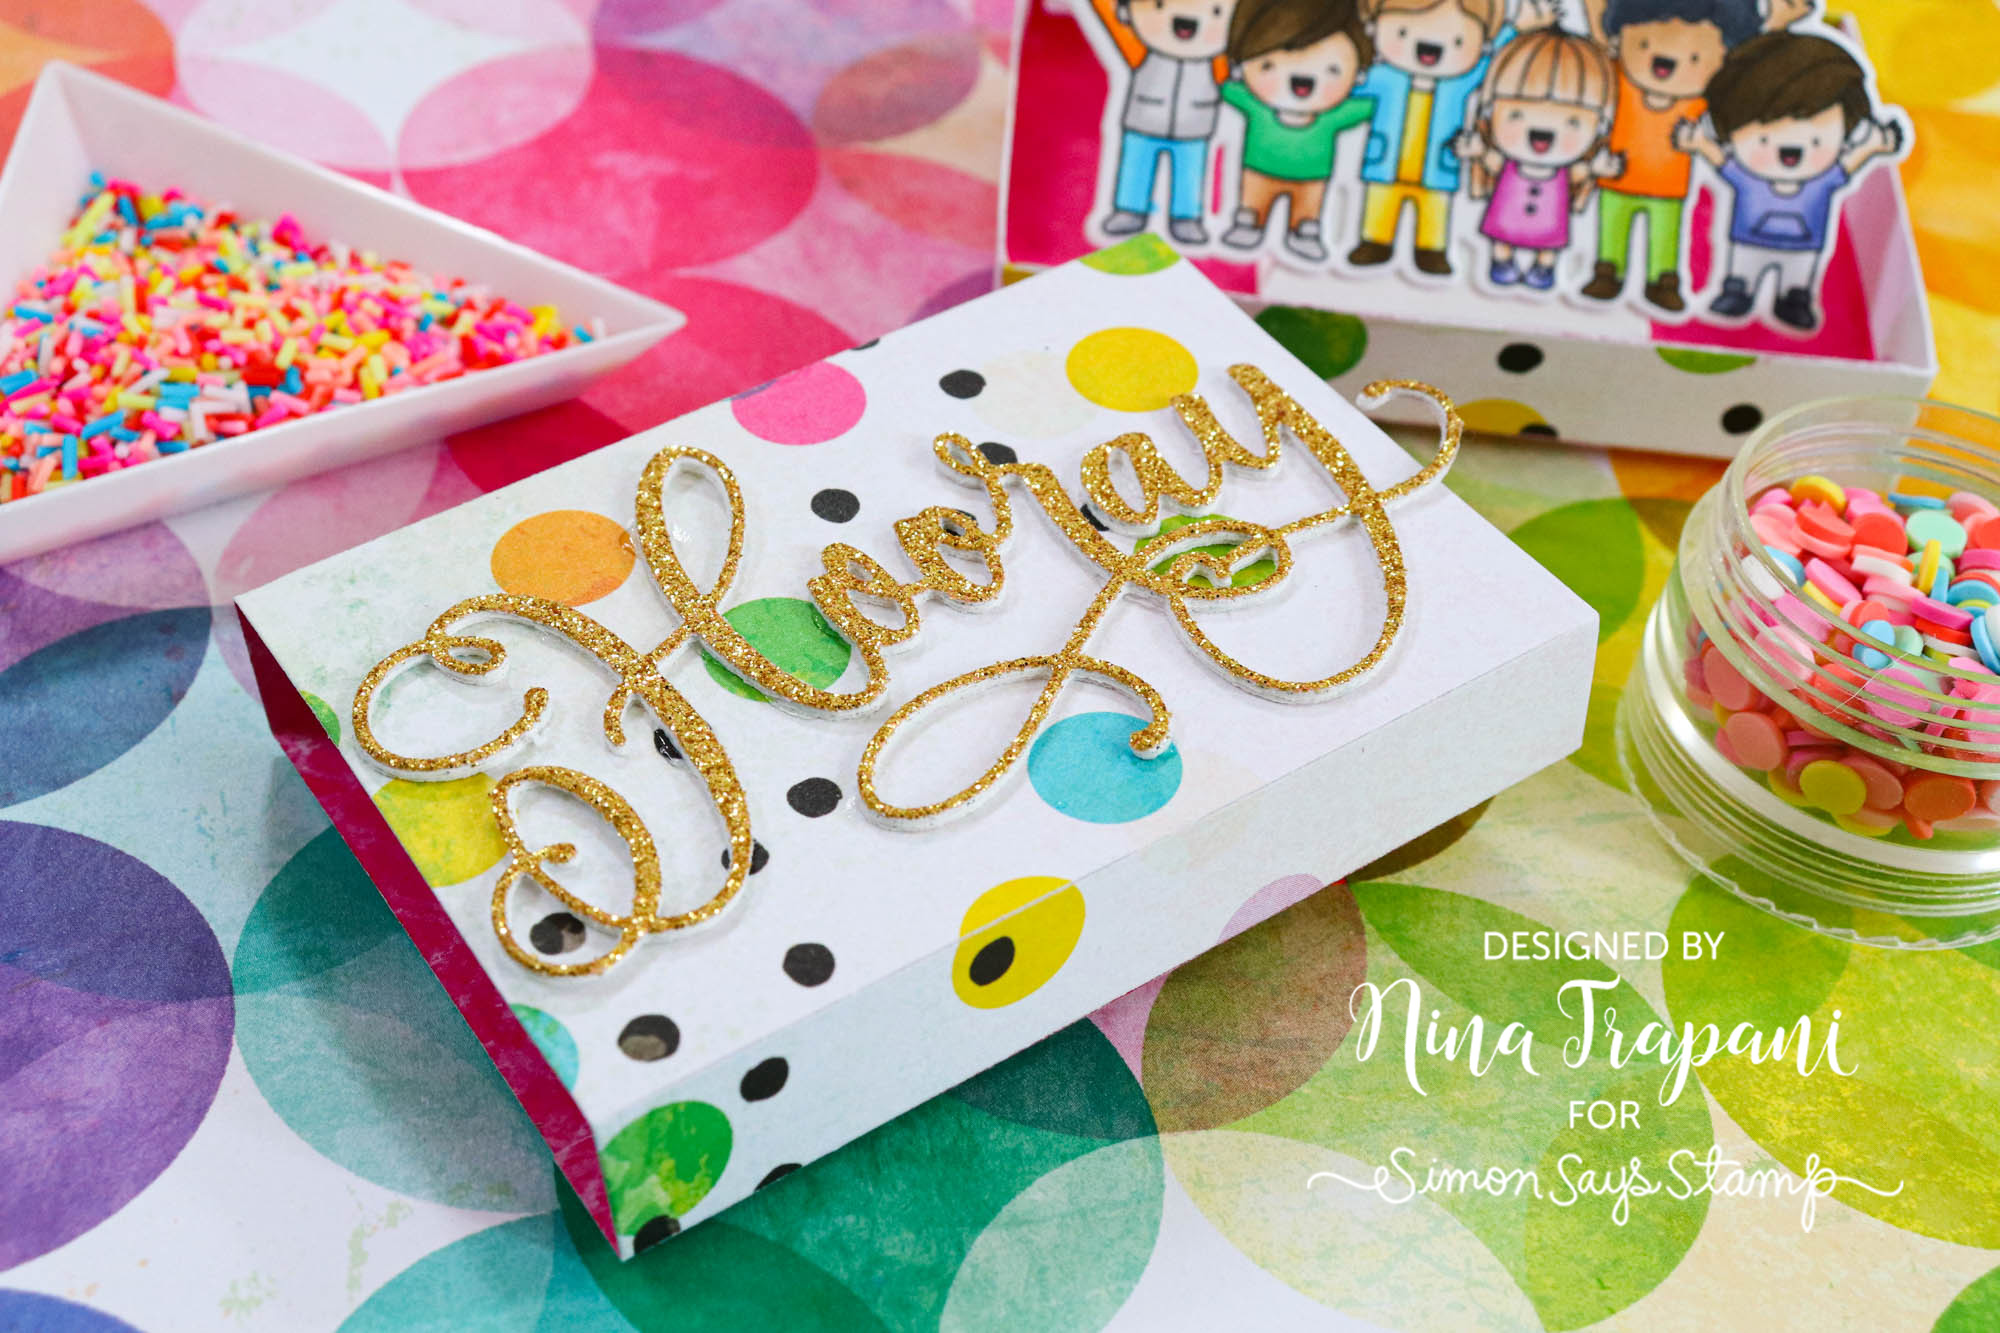
For a bit of sparkle, I did cut the “hooray” greeting from Simon Says Stamp Gold glitter cardstock. This little bit of shimmer adds that extra-special touch to the matchbox card front.
The Hooray Wishes stamp set also has these adorable kids in it. I stamped, colored, and adhered them to the inside of the matchbox with one of the pop-up tabs included in the Matchbox Builder die set.
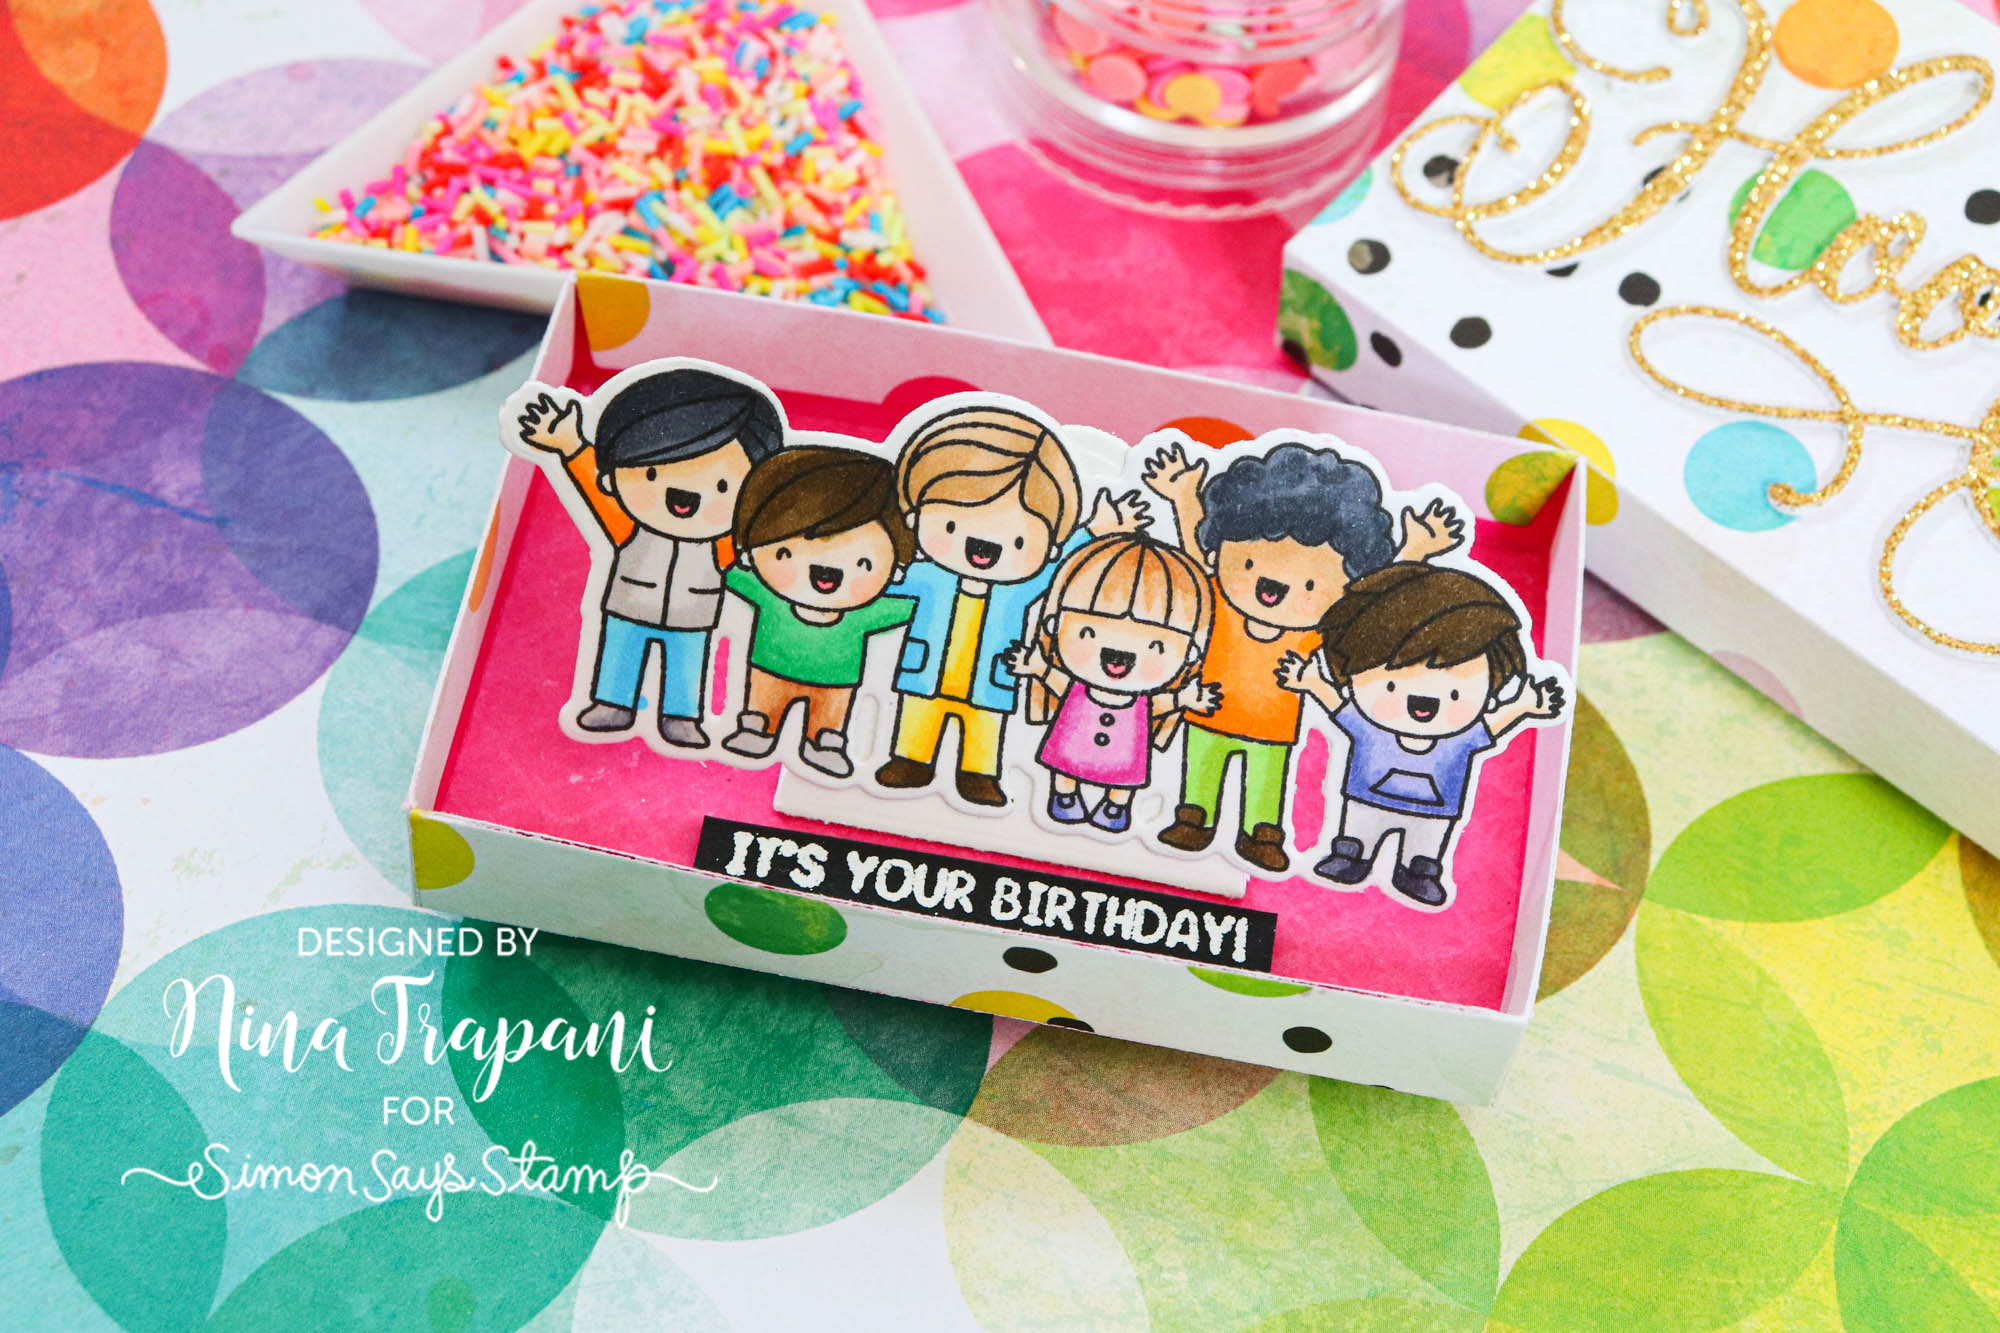
Because this is a dimensional card, I used one of the decorative panel dies that is included in the Matchbox Builder set and wrote a message to the recipient. Then I adhered it to the back of my matchbox.
This super cute card is SO easy and fun to make! Be sure to watch the video below to see for yourself!
WATCH THE VIDEO
SUPPLIES
|


