Studio Monday with Nina-Marie: Edge-to-Edge Birthday Shaker Card

Hello friends, it’s Nina-Marie Trapani here with you today featuring the pretty Birthday Cake die set from Paper Rose. I’m going to be creating an edge-to-edge shaker card behind the cake outline and fill it with a happy array of colorful sequins!
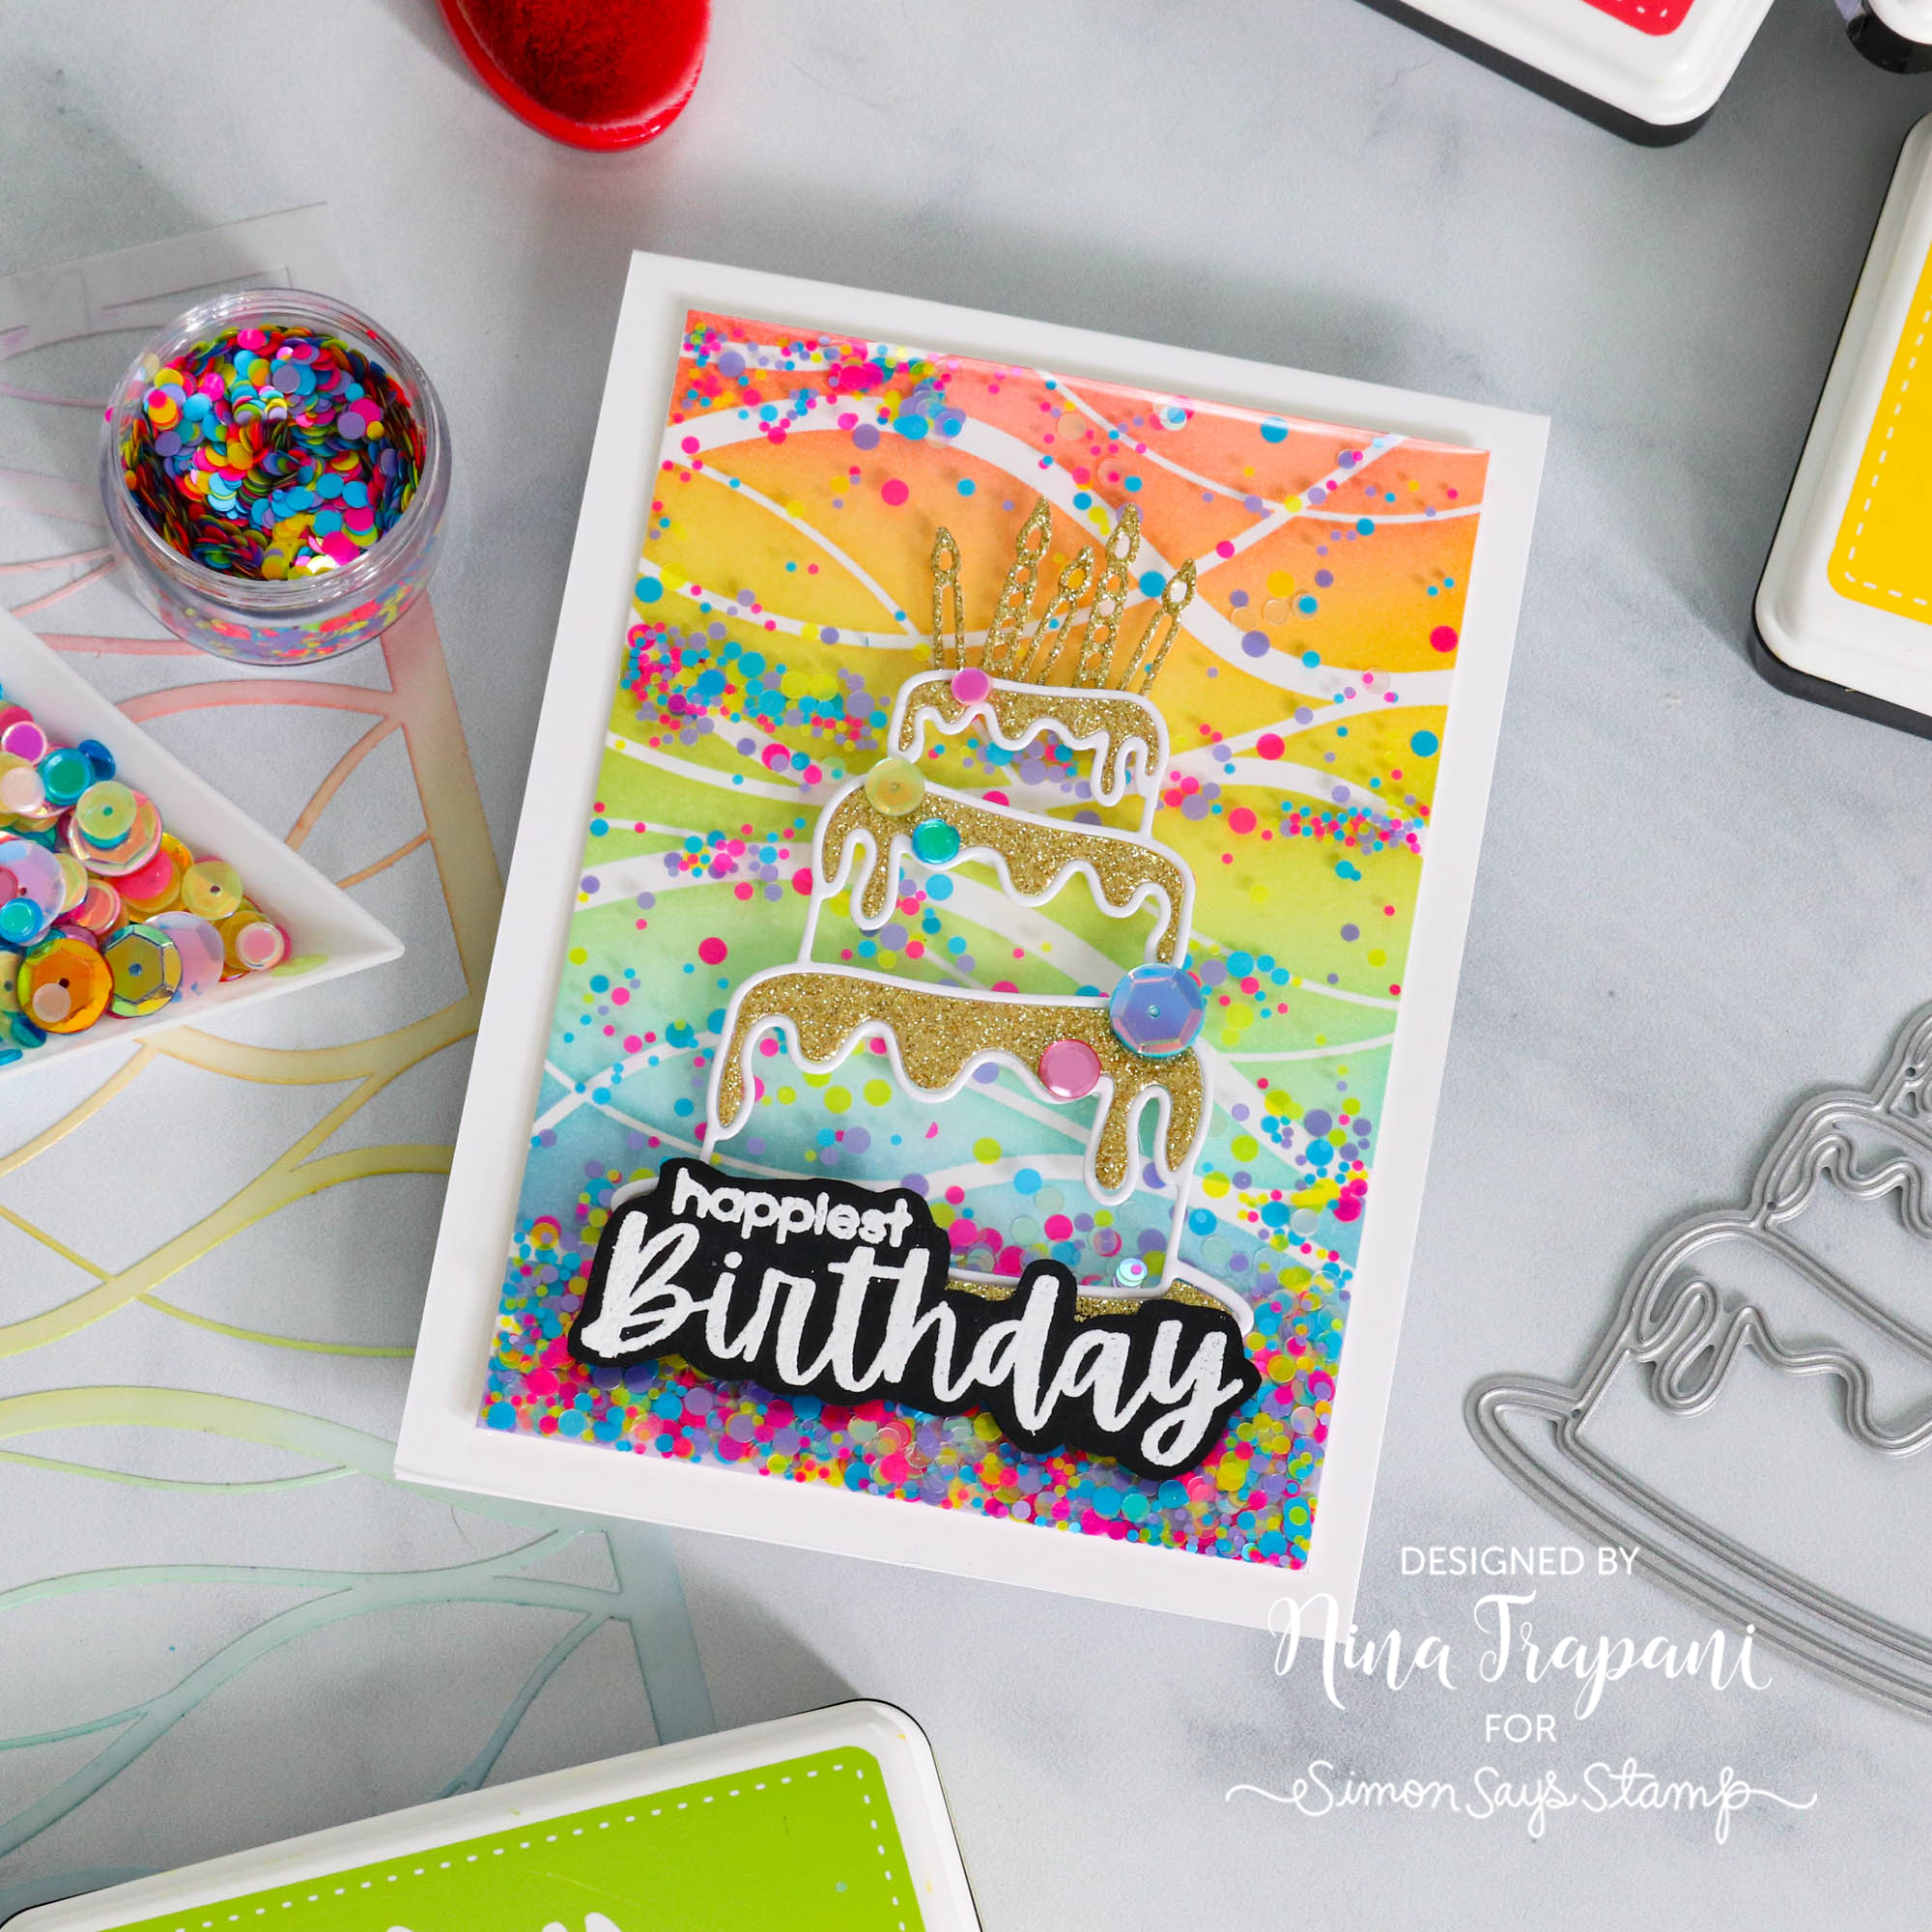
Inside my edge-to-edge shaker is a colorful, ink blended background that I created with our Simon exclusive Slimline Waves stencil. Our Simon brand inks apply and dry so smooth and soft, which is what I used to blend through the stencil.

The sequins inside the shaker are a mix of Studio Katia Rainbow Dots and Chunky Dots confetti. I also embellished the gold glittery cake with Rainbow Holographic sequins from our Simon brand.
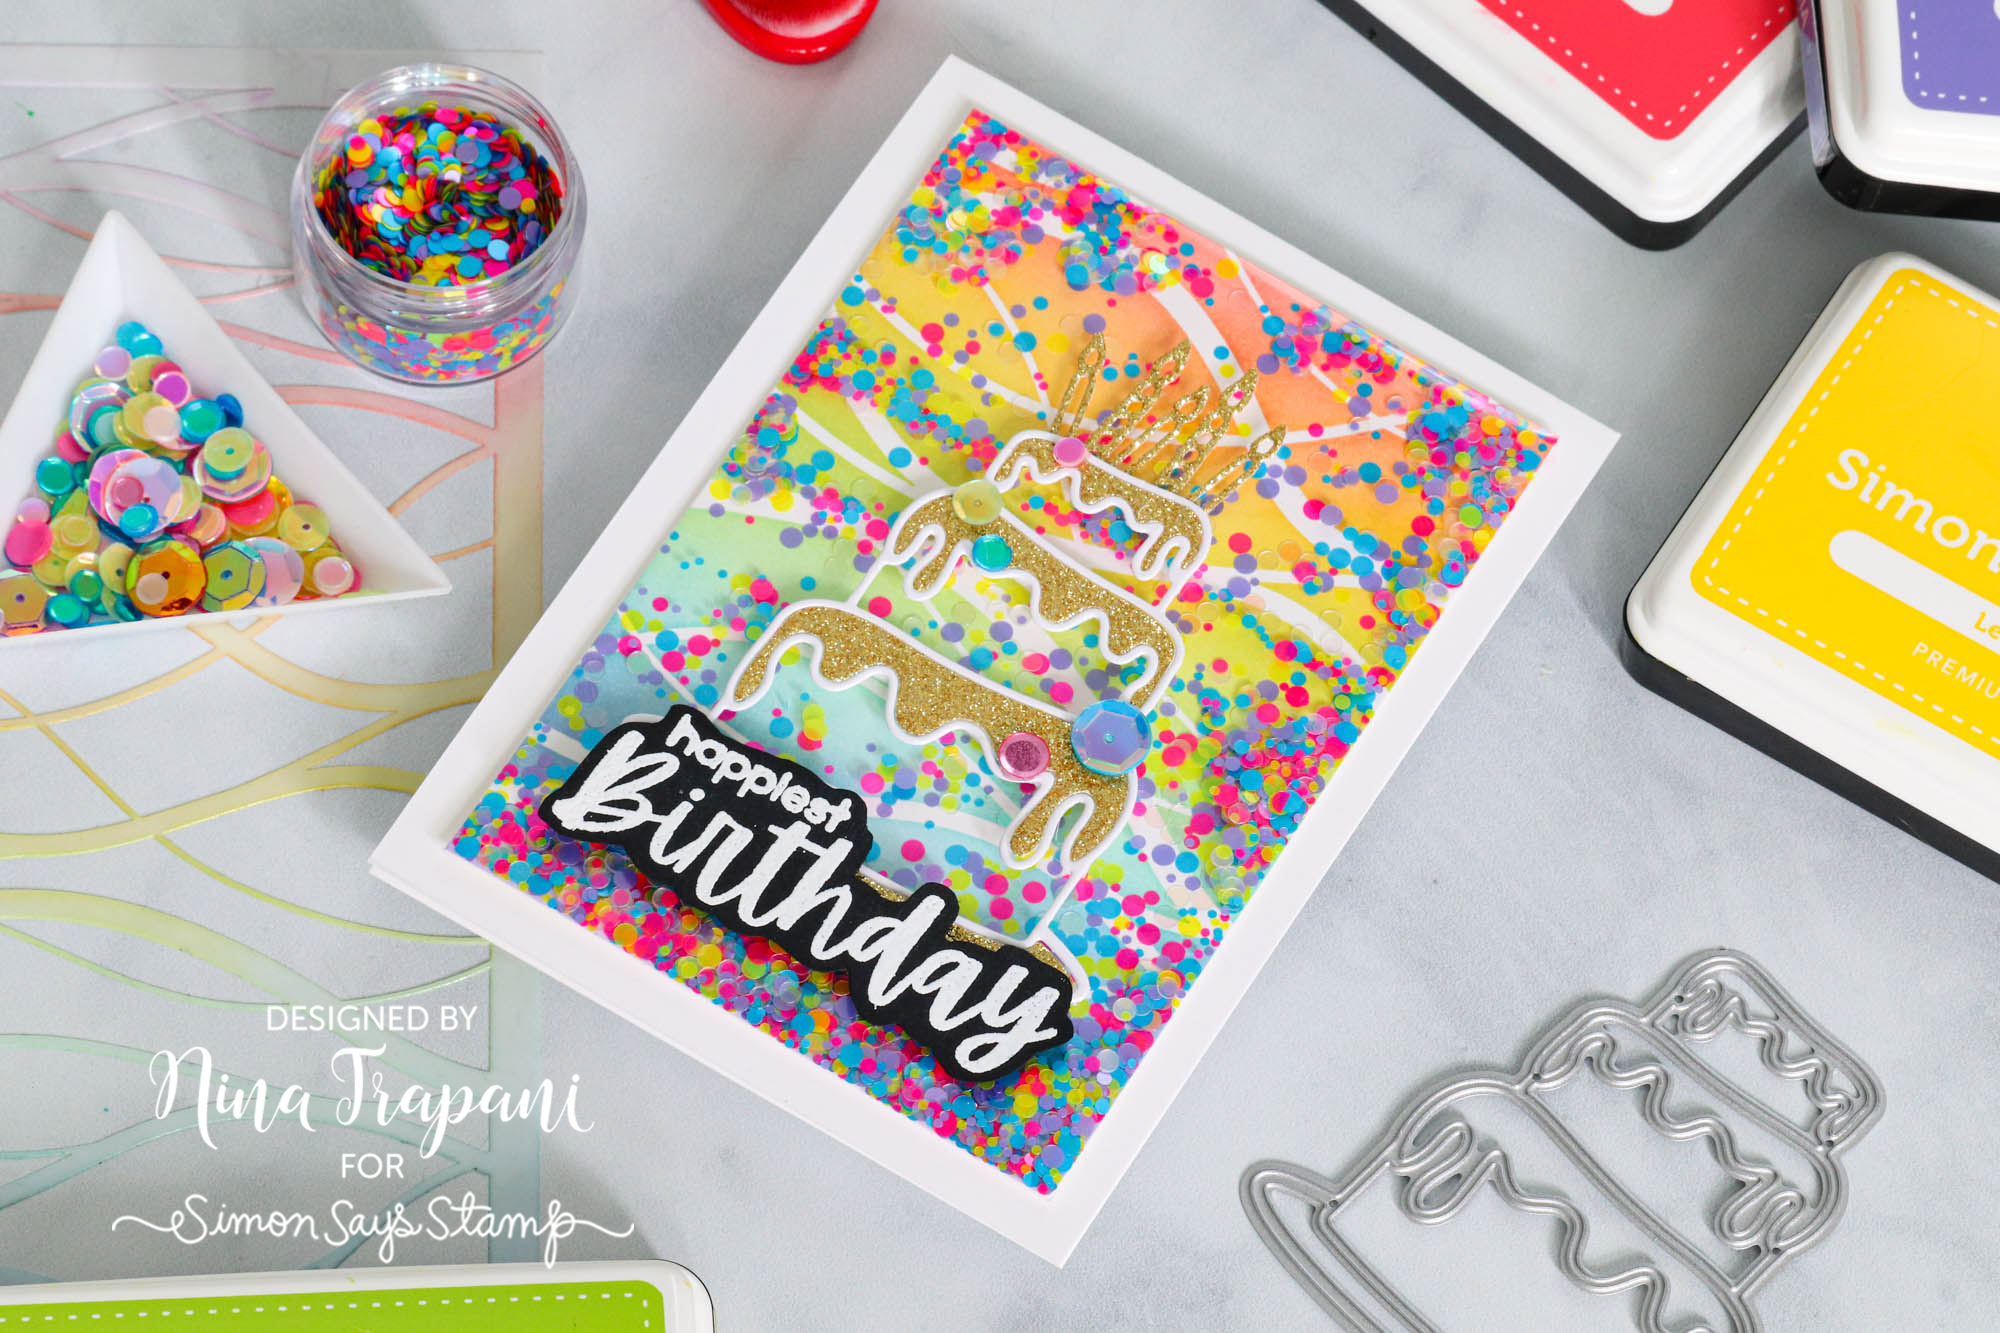
This super-colorful shaker is SO much fun to make – you’re going to be hooked on edge-to-edge shaker cards after trying this project out! :) Watch the video and see for yourself!
WATCH THE VIDEO
SUPPLIES
|


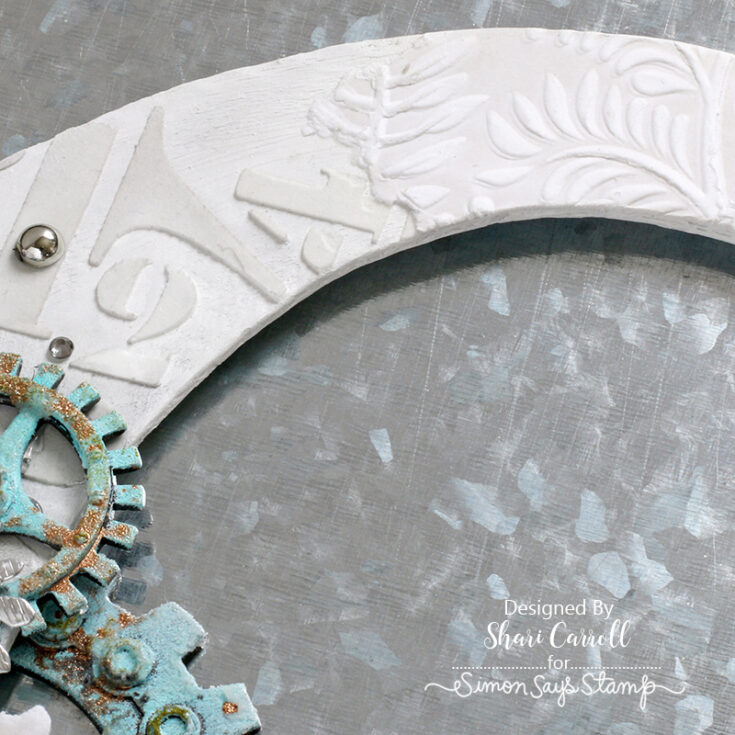
Mixed Media with Shari Carroll: “C” for Carroll

Welcome everyone!! It’s Shari here with a mixed media project full of texture and meaning. I have a wall of “C’s” for the Carroll name, each one different, some framed, some that light up, they each embody a bit of our family. It’s a fun display!
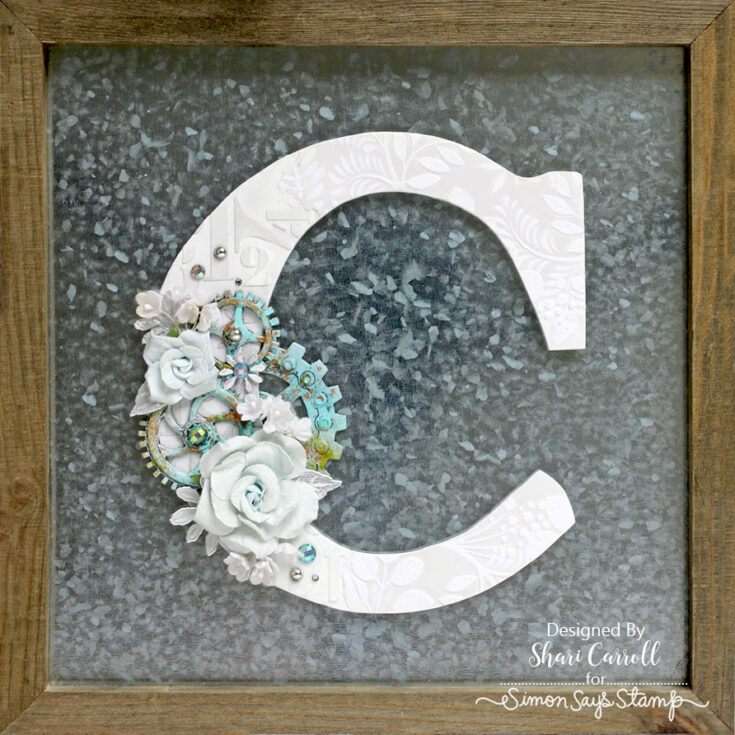
My youngest son is getting married next year and he’s buying his first house, closing next month. I thought this was is a perfect time to start him on the “C” tradition. I’ve taken one of my “C’s” and traced it onto light cardboard to get this project started.
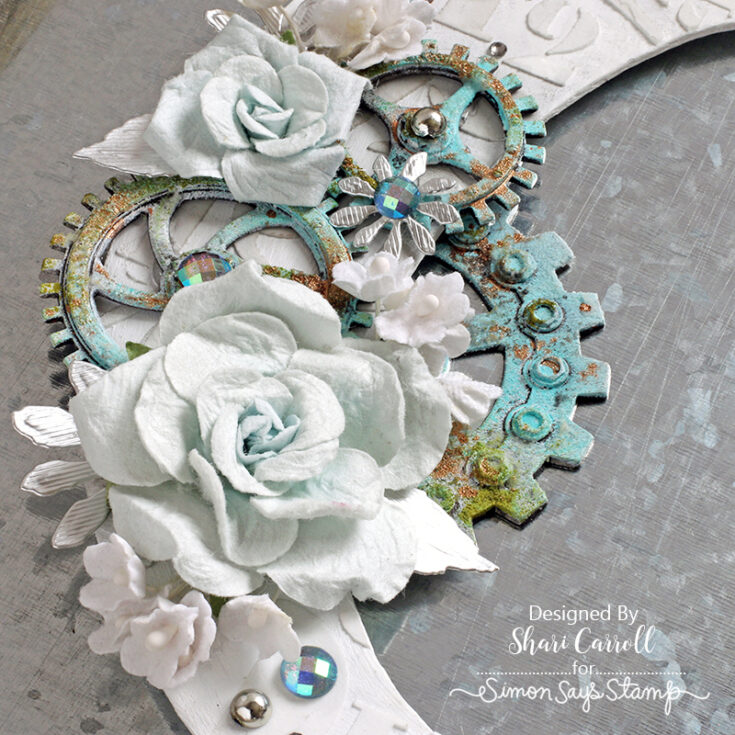
I’ve mixed textures and elements to represent him by using numbers and gears and also incorporated the softness of flowers for my future daughter-in-law. I am always more inspired when I design with people in mind. I hope I’ve given you the inspiration to do the same.
SUPPLIES:
|


Crafty with Caly: C9 Rainbow Stitches and Strings

Hi friends! Happy Saturday, and thanks for stopping by our blog today! Please join me in welcoming back special bi-monthly guest Caly Person in the latest edition of our Crafty with Caly blog series! Be sure to watch the video for all the details and enjoy!
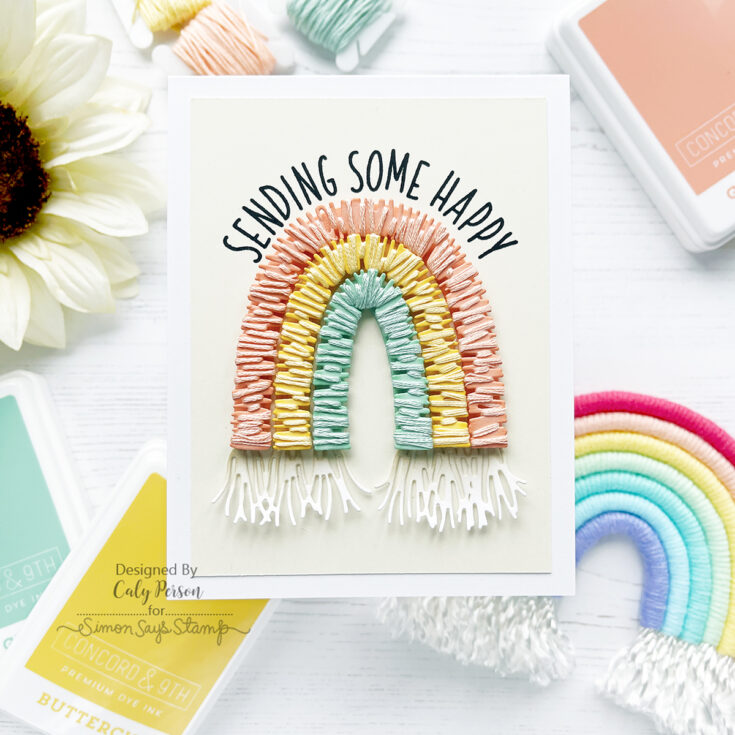
Hi, Friends! It’s Caly with you today sharing a rainbow card using the Concord & 9th Rainbow Stitches and Strings set! I love yarn/string wrapped rainbows and have made them – check out the video if you want to see what those look like! The dies from the Rainbow Stitches and Strings set mimic the look, but I couldn’t help but wrap it anyway.
If you’re interested in seeing how it’s done, I have a quick video to share with you!
WATCH THE VIDEO:
I die-cut the rainbow bands using C9 cardstock, ink-blended it give it some shading, then wrapped the top bands with matching embroidery floss. The coordinating C9 cardstock and ink colors used today are Grapefruit, Buttercup, and Sea Glass. I used a bit of Wheat ink on the fringes too. I made a second card showing you what it looks like without embroidery floss too.
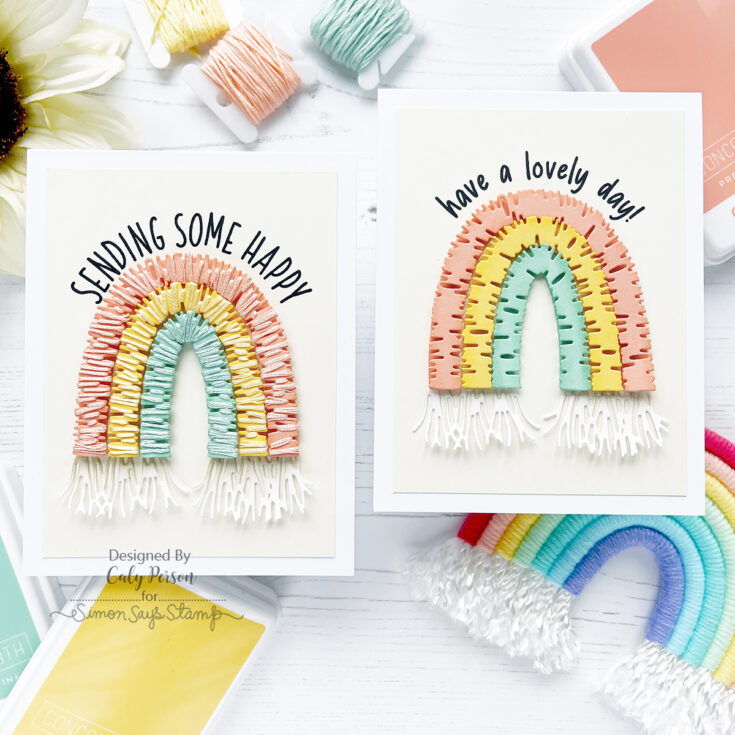
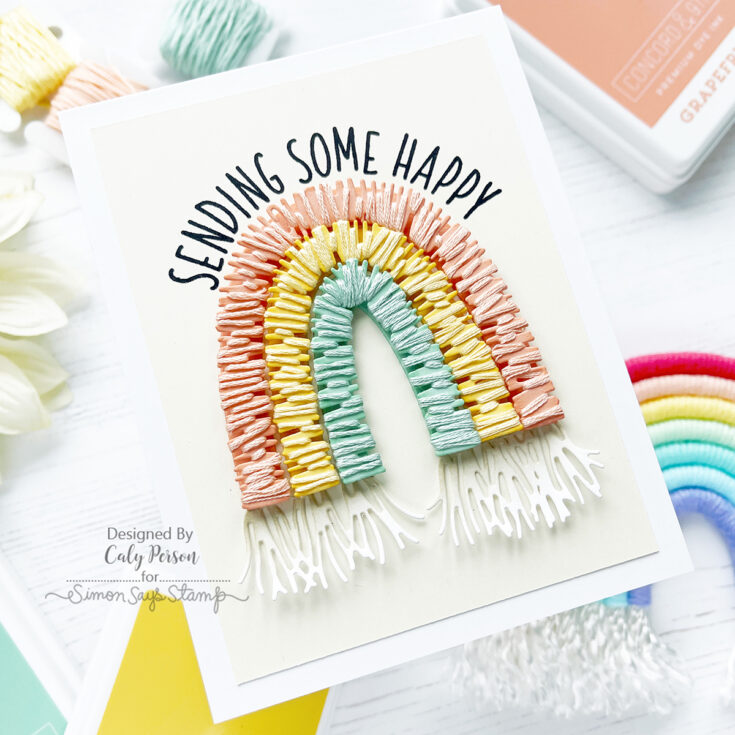
What do you think? Which one do you like better? With or without floss? It’s fussy with the floss, but I think it adds a lot of interest. I added foam adhesive between the bottom and top bands to give it lots of dimension, then I added the fringe at the bottom of the rainbows.
Before adding the rainbow to a card panel, I stamped the sentiment first over cream cardstock.
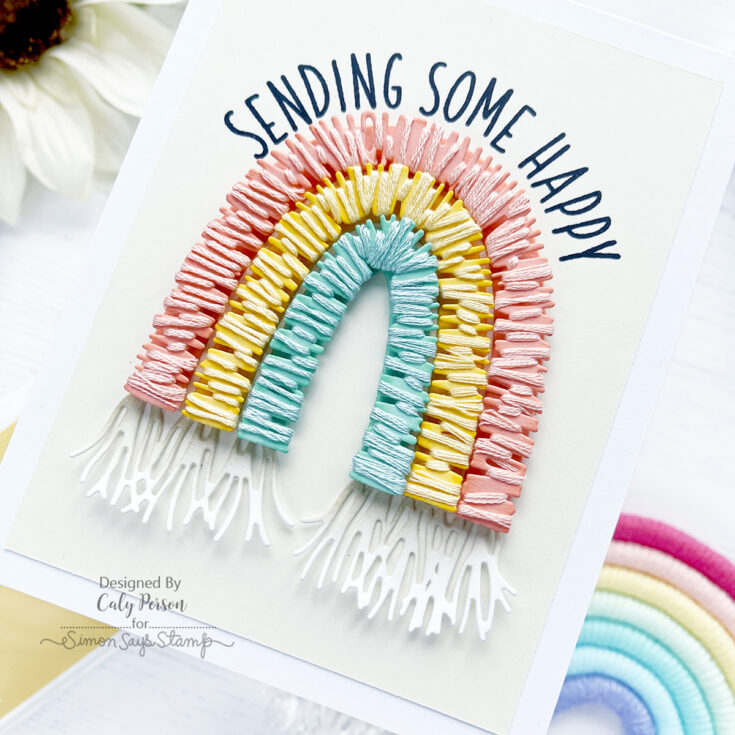
I finished by attaching this panel to a card base. Super clean and simple, in my opinion, but the rainbow gives so much texture and color and I love how it turned out. I hope you like it too!!! Thanks so much for visiting today! ~Caly
SUPPLIES:
|


Thanks so much for stopping by, and thanks to Caly for being our guest!


