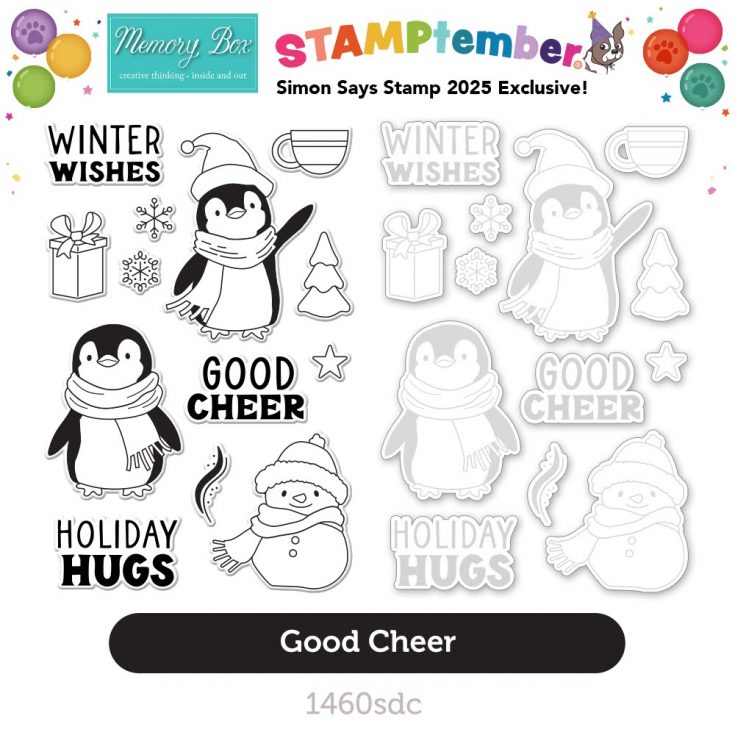
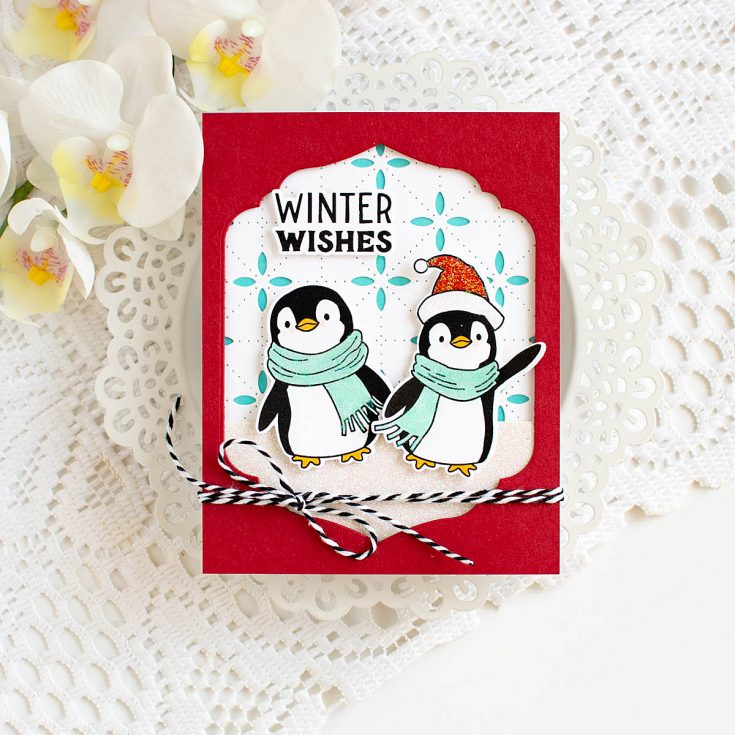
Memory Box STAMPtember® 2025 Exclusive Collaboration!
WATCH THE VIDEO:
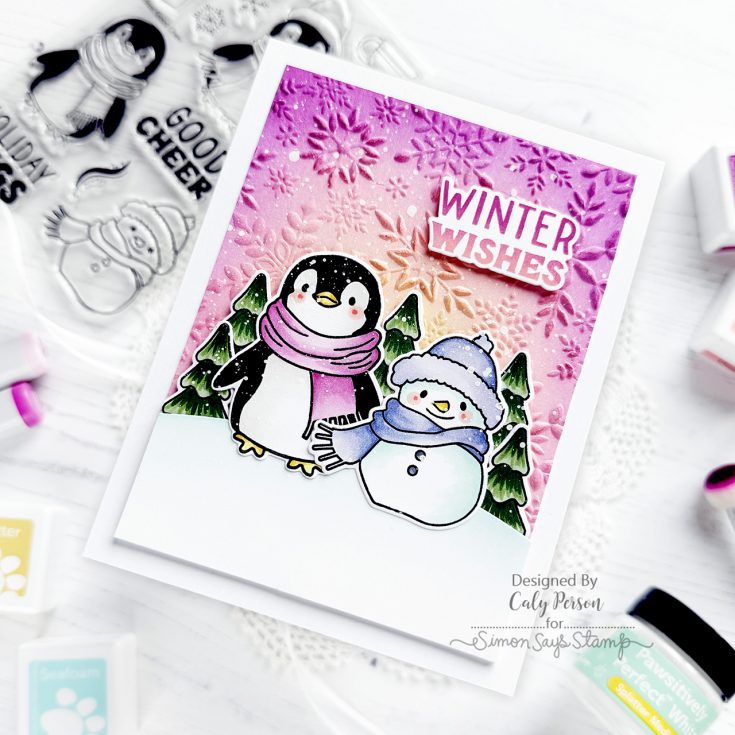
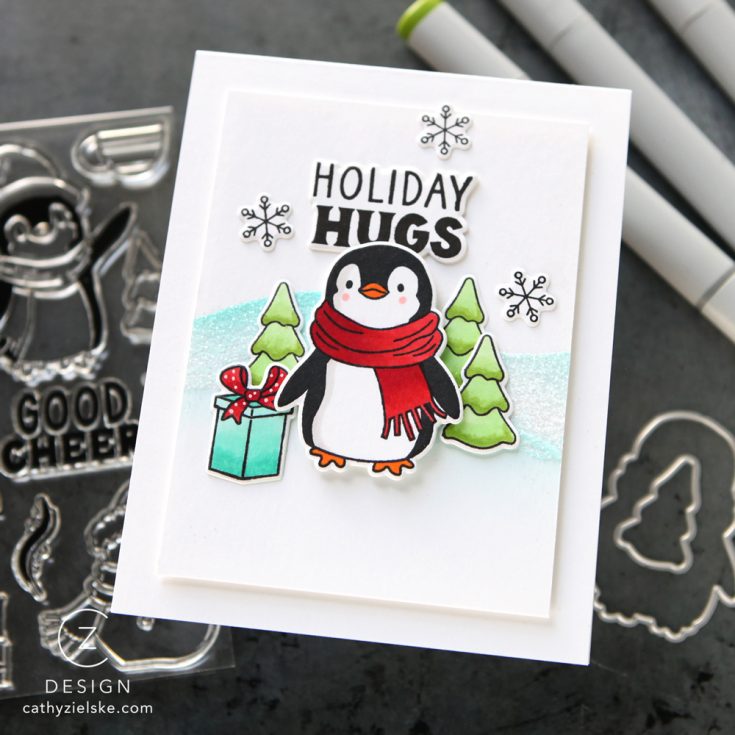
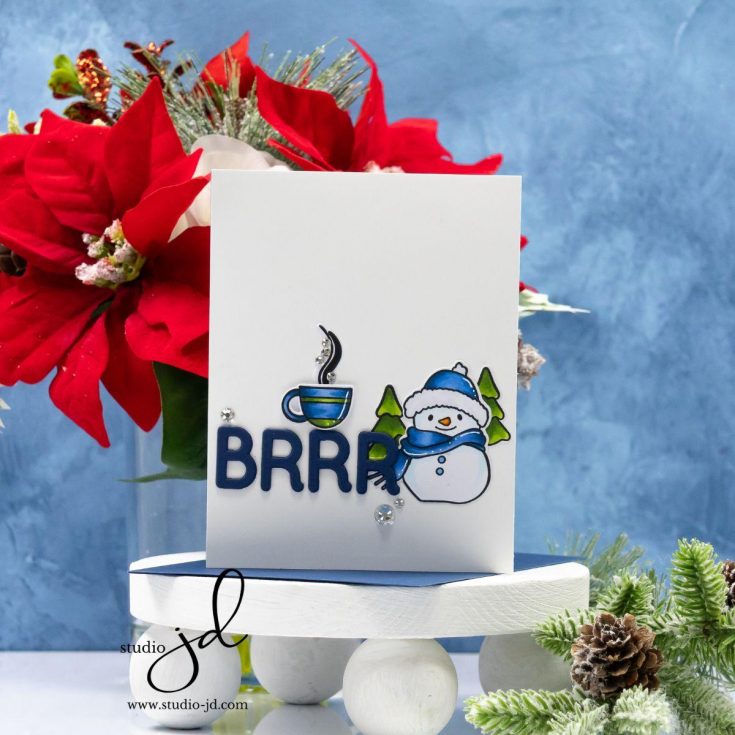
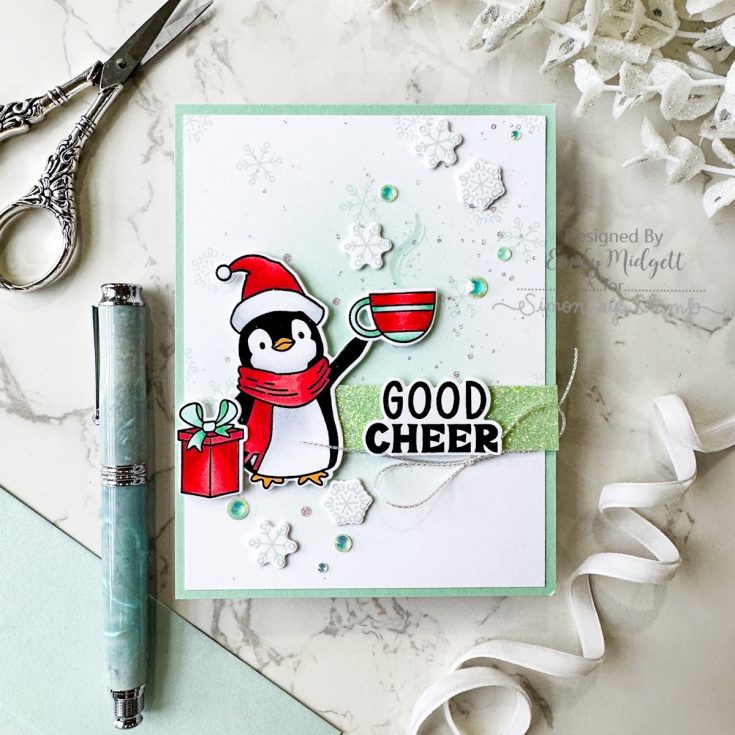
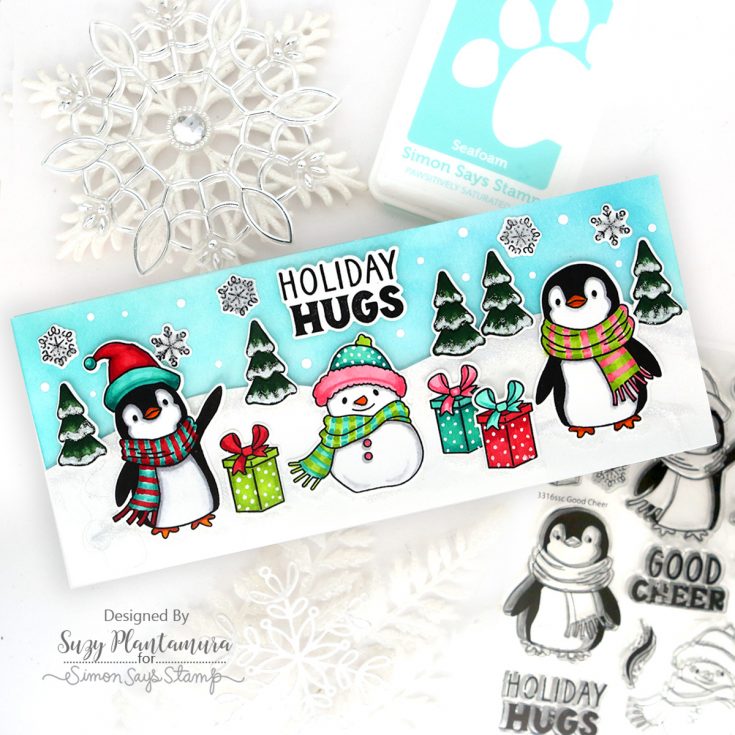
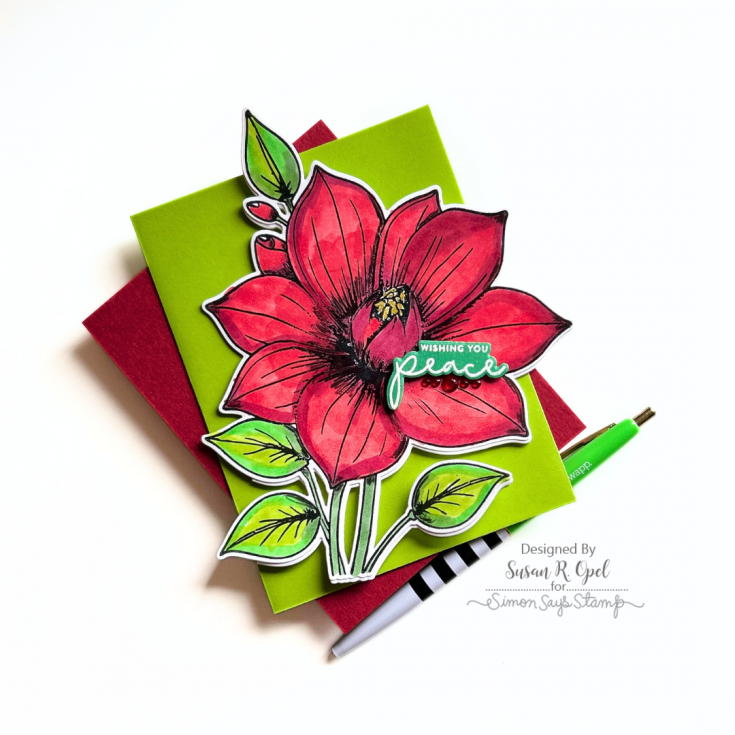
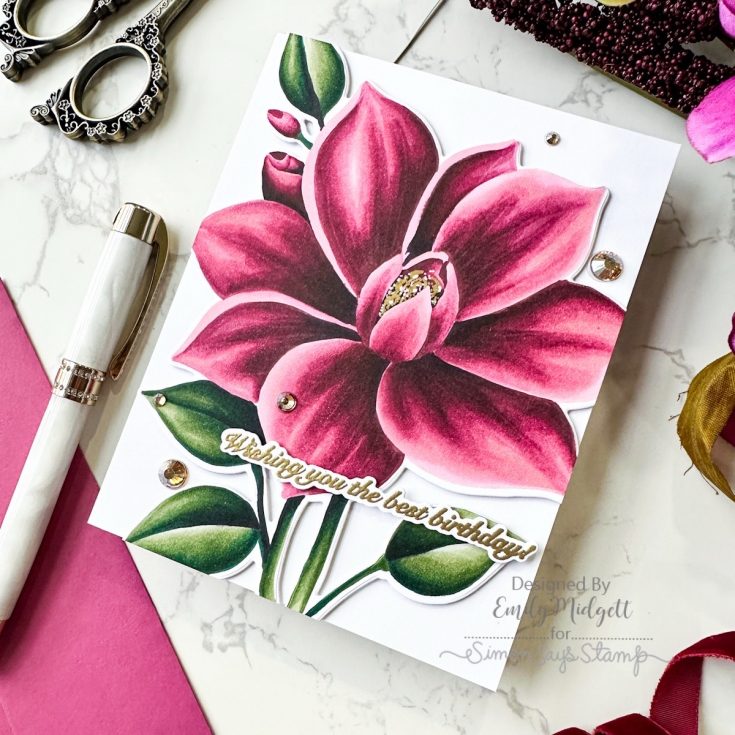
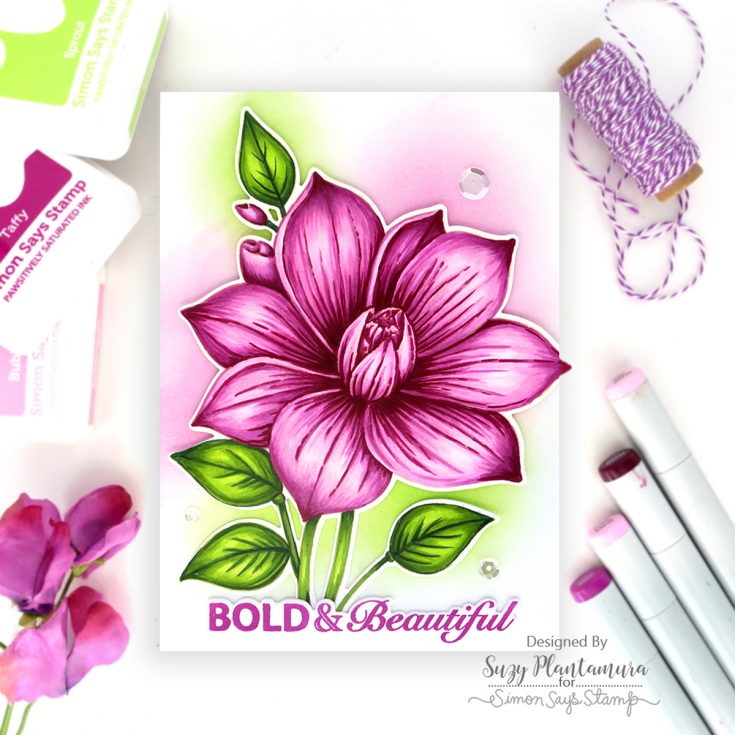
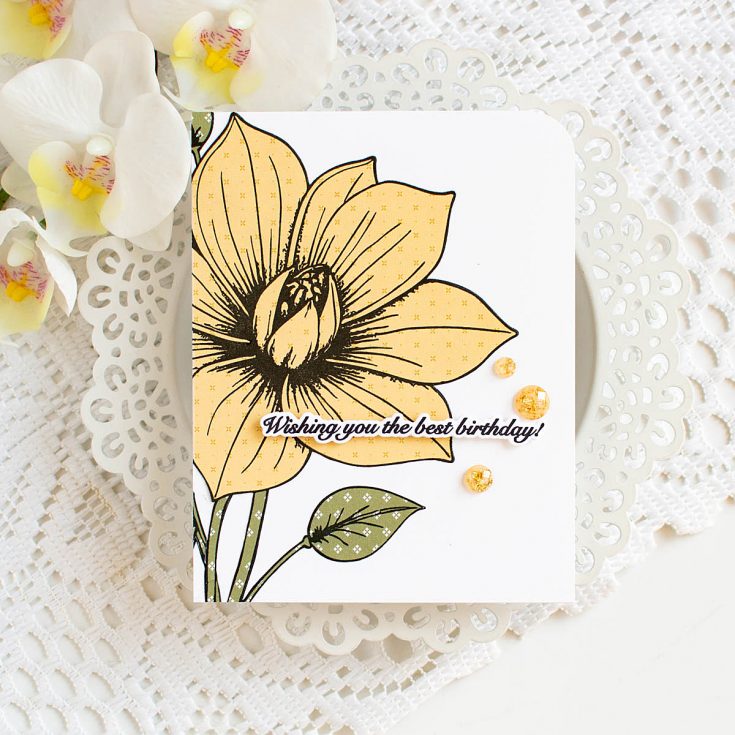
Additional ideas to INSPIRE!


Memory Box also has TONS of great products available every day! Go check them out!
But WAIT, there’s MORE!

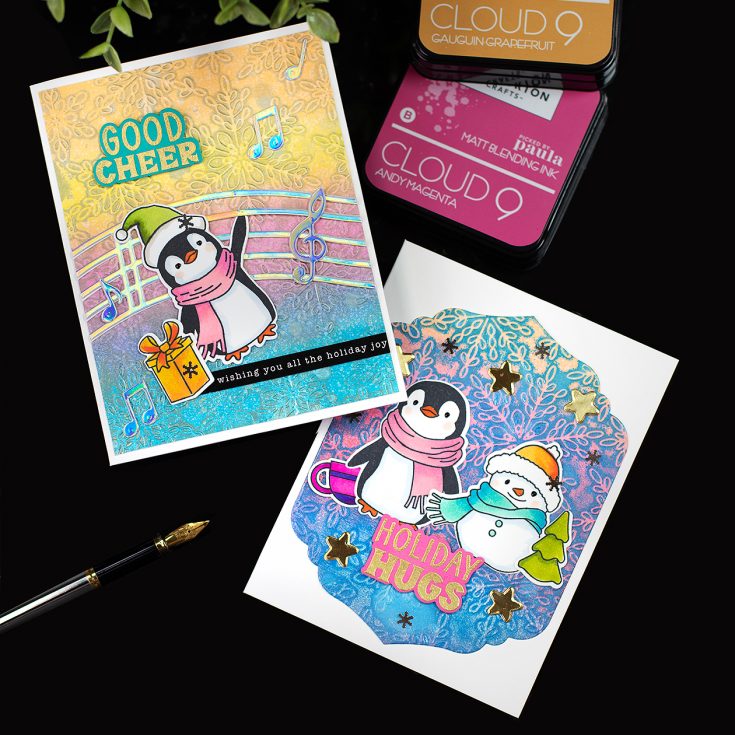
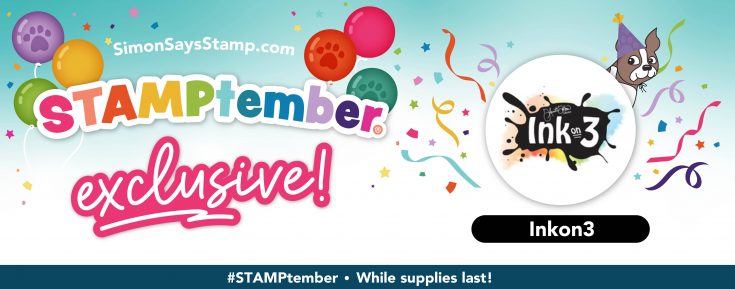
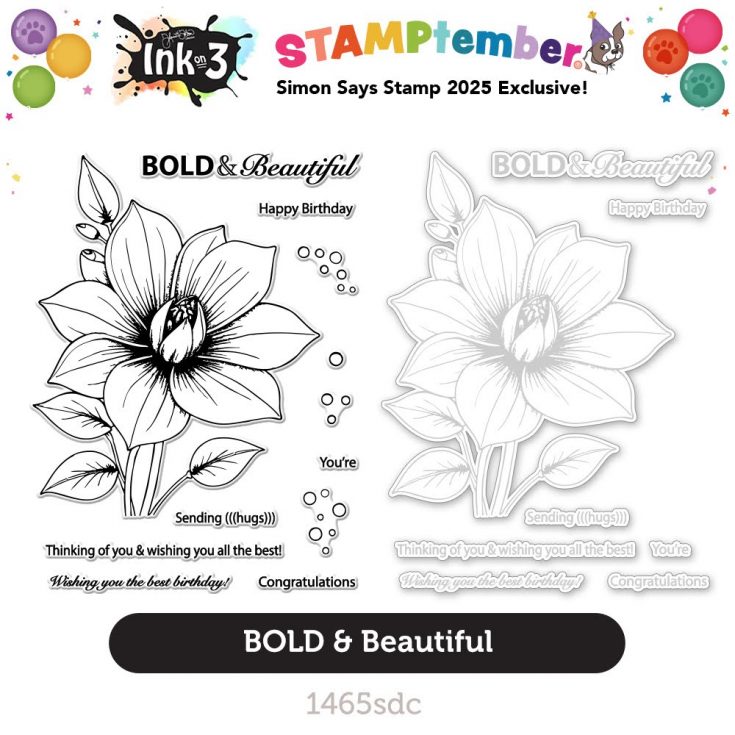
Inkon3 STAMPtember® 2025 Exclusive Collaboration!
WATCH THE VIDEO:

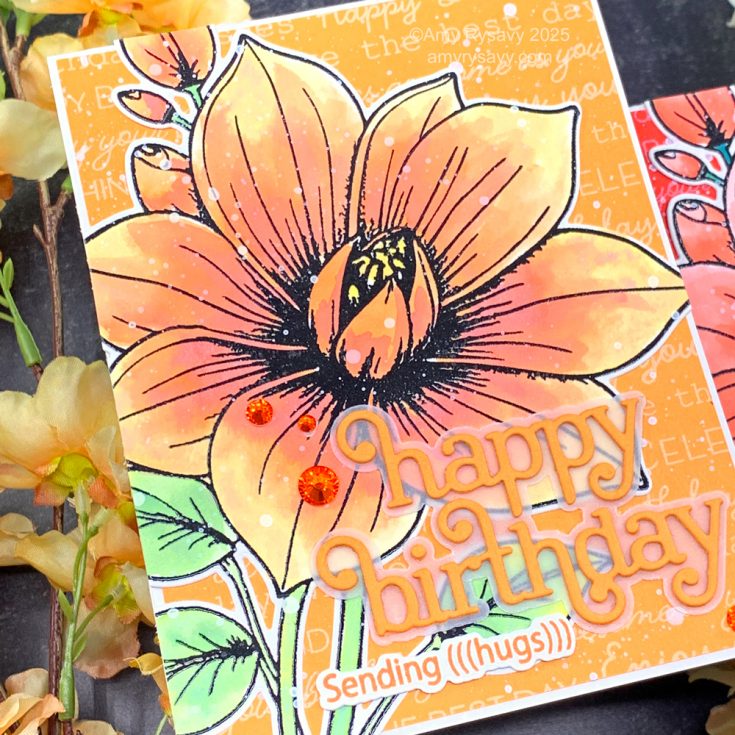
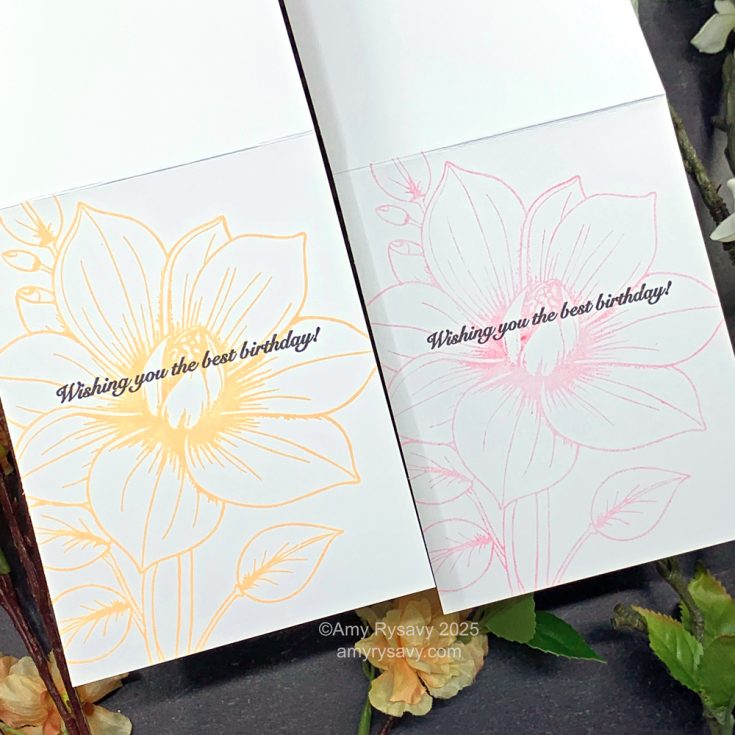
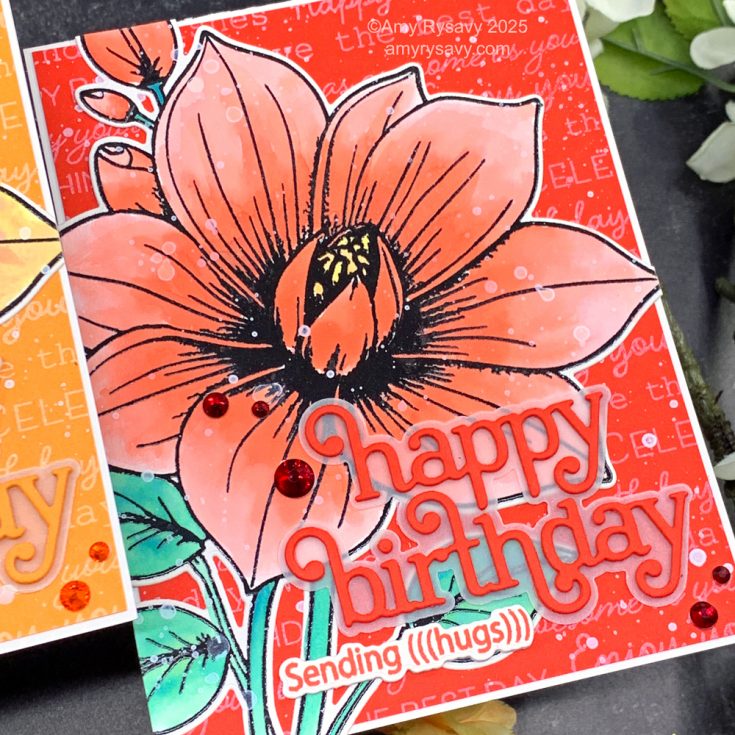
Additional ideas to INSPIRE!


Inkon3 also has TONS of great products available every day! Go check them out!
But WAIT, there’s MORE!
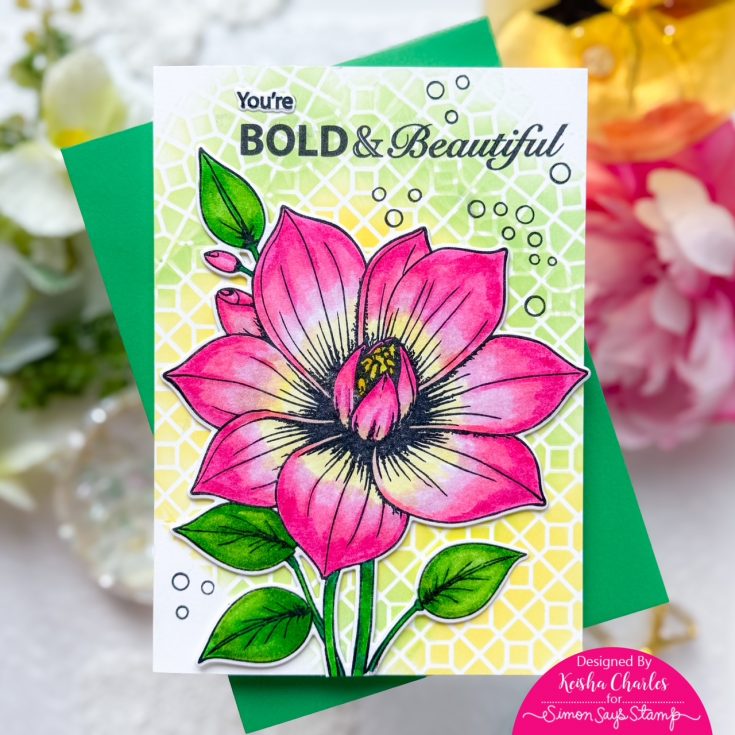
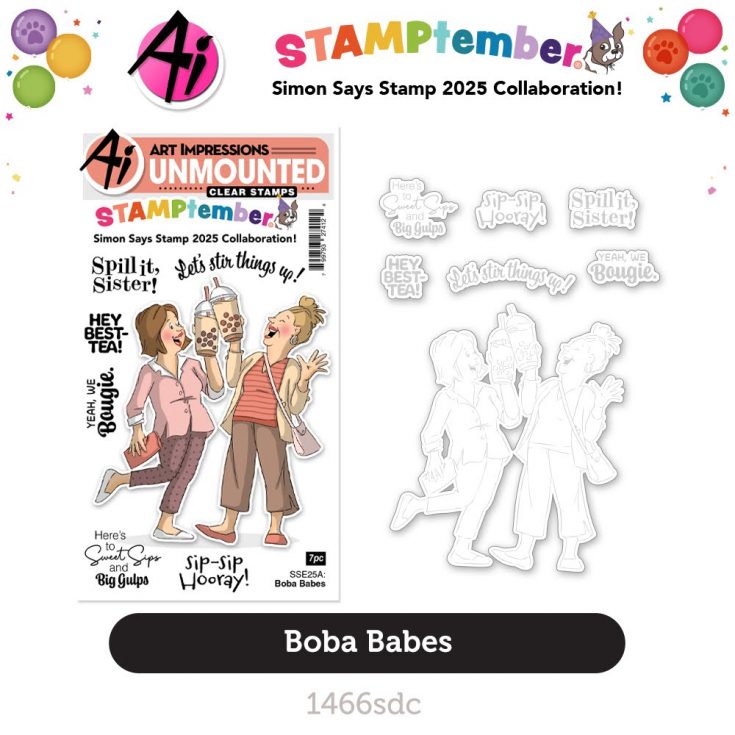
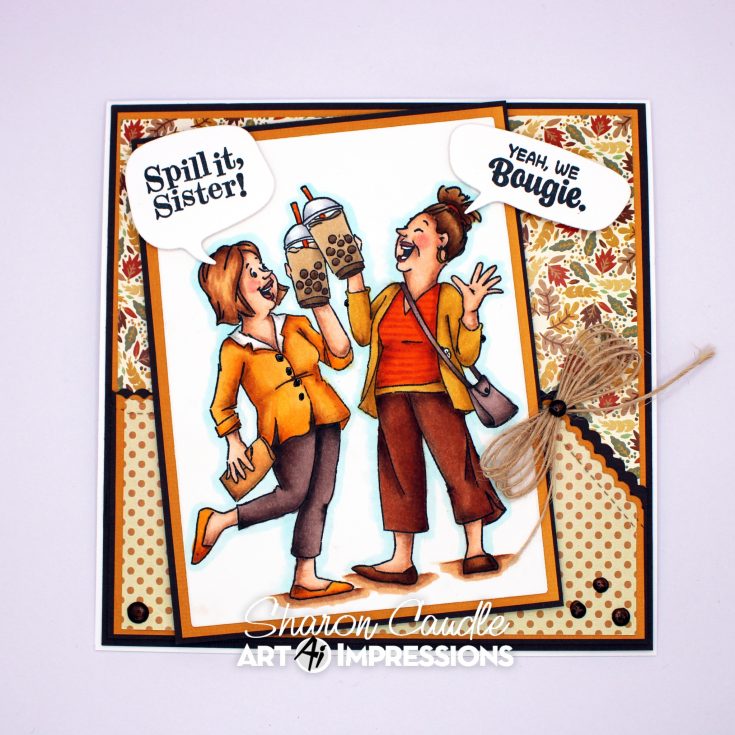
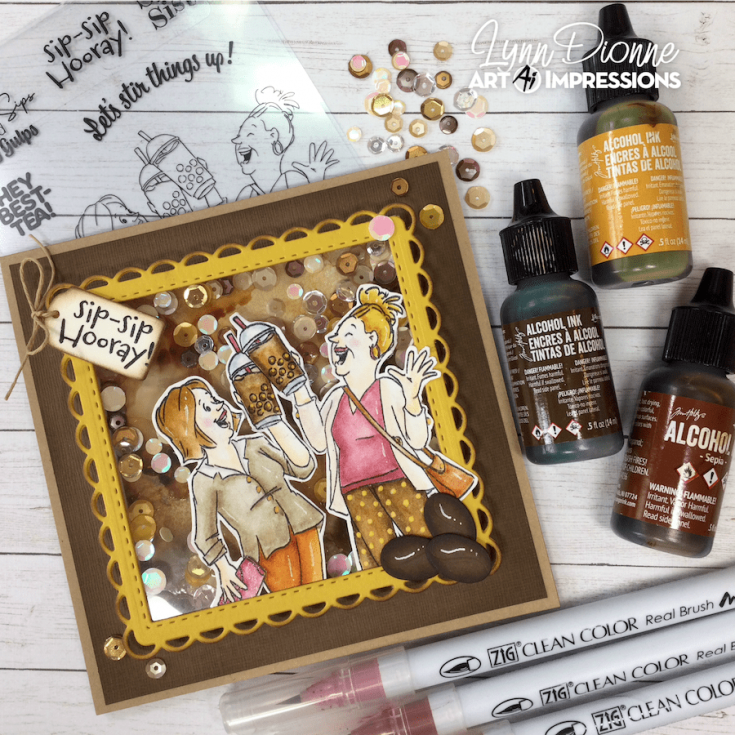
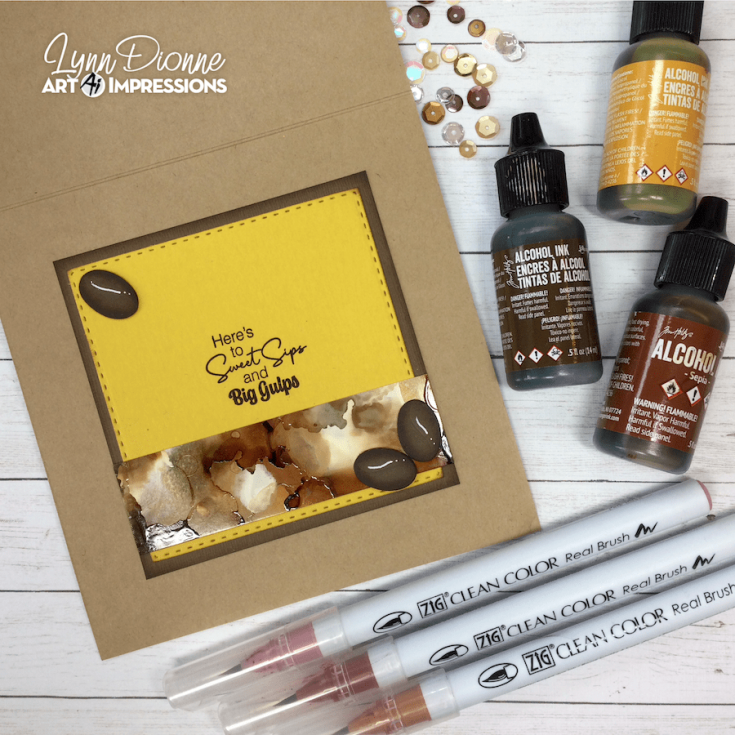
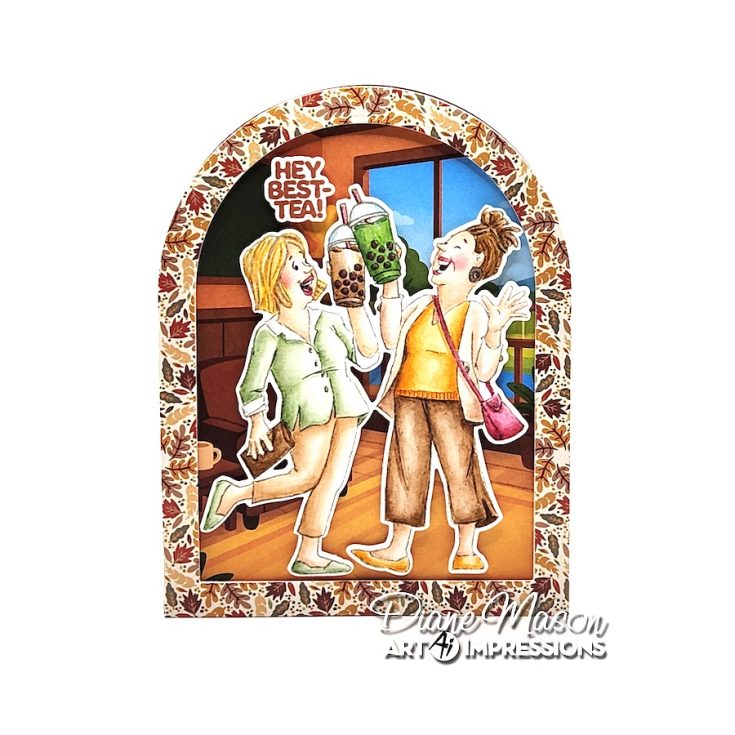
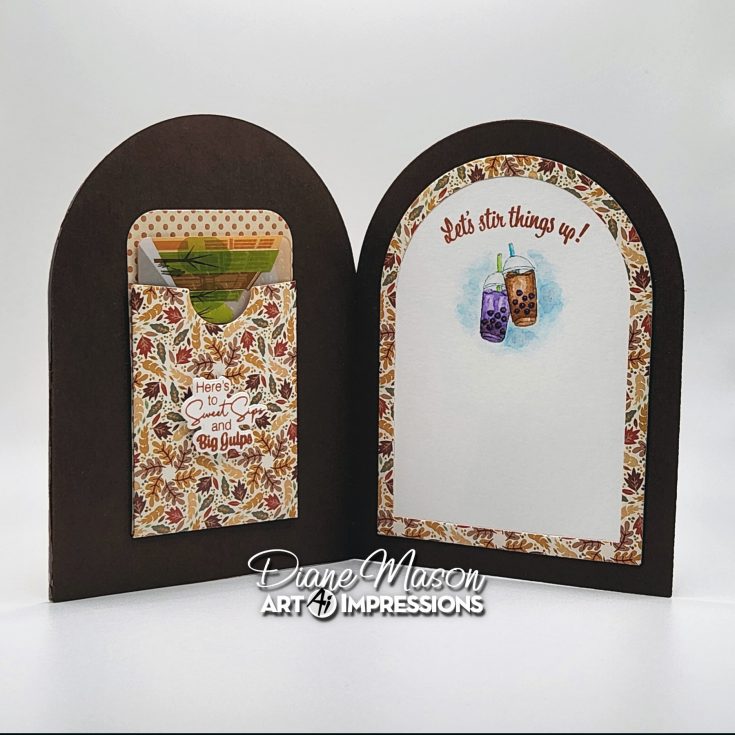
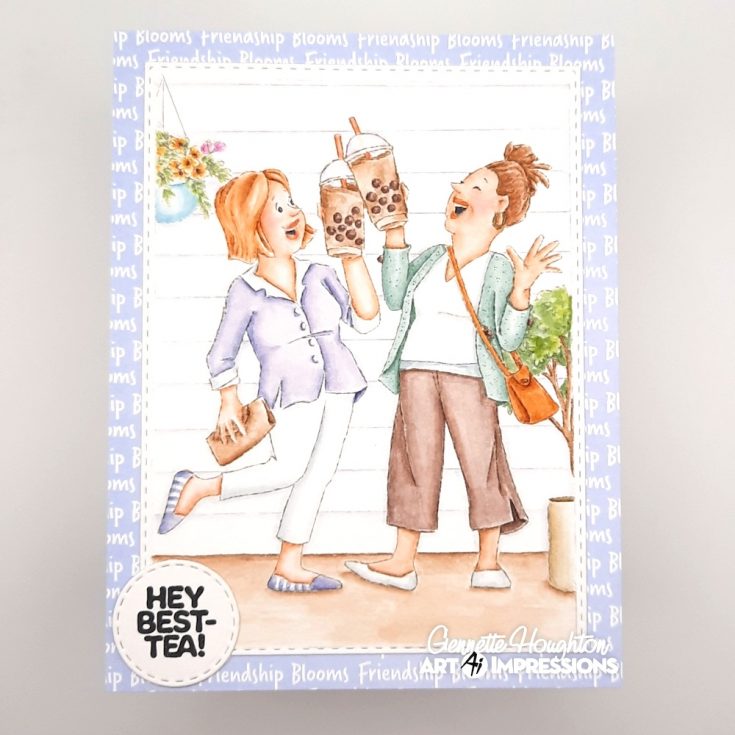
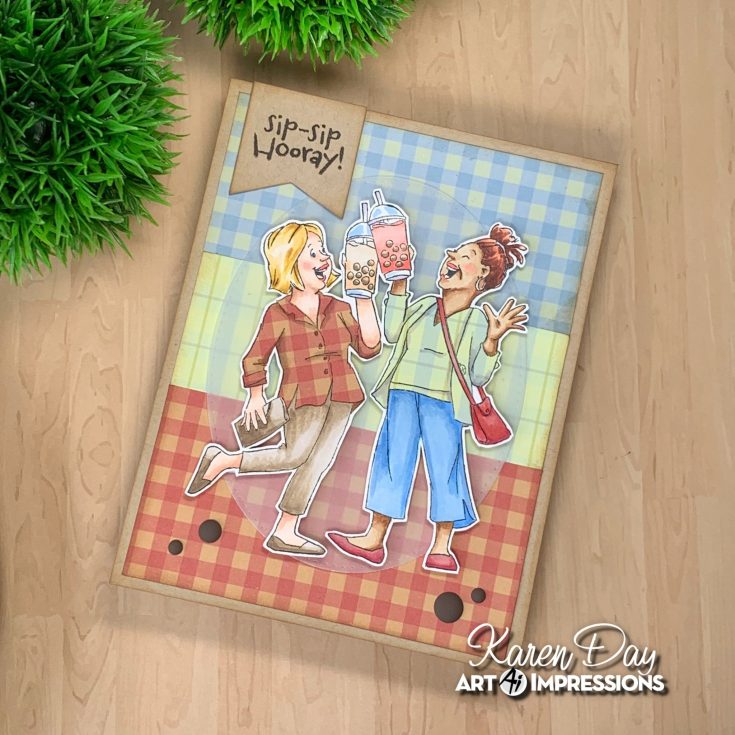
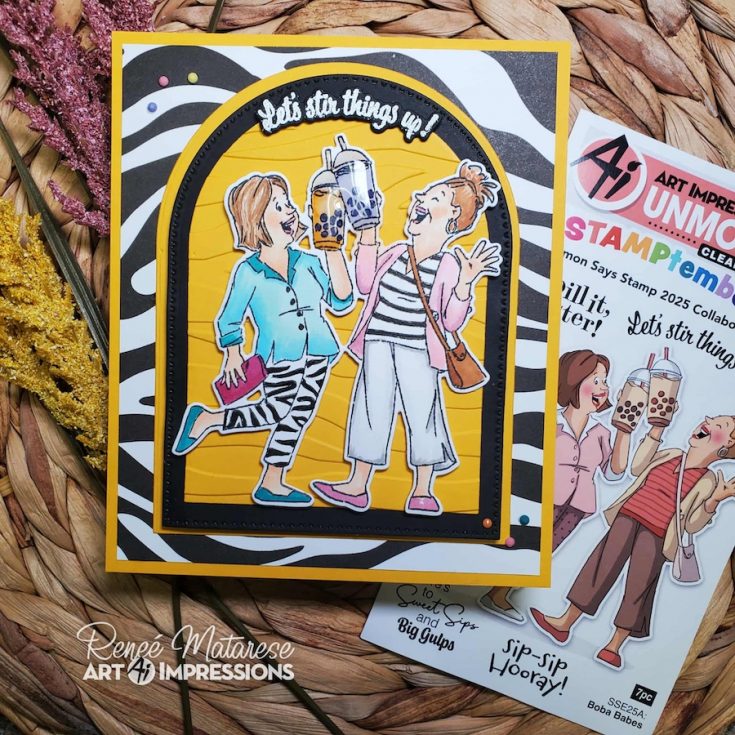
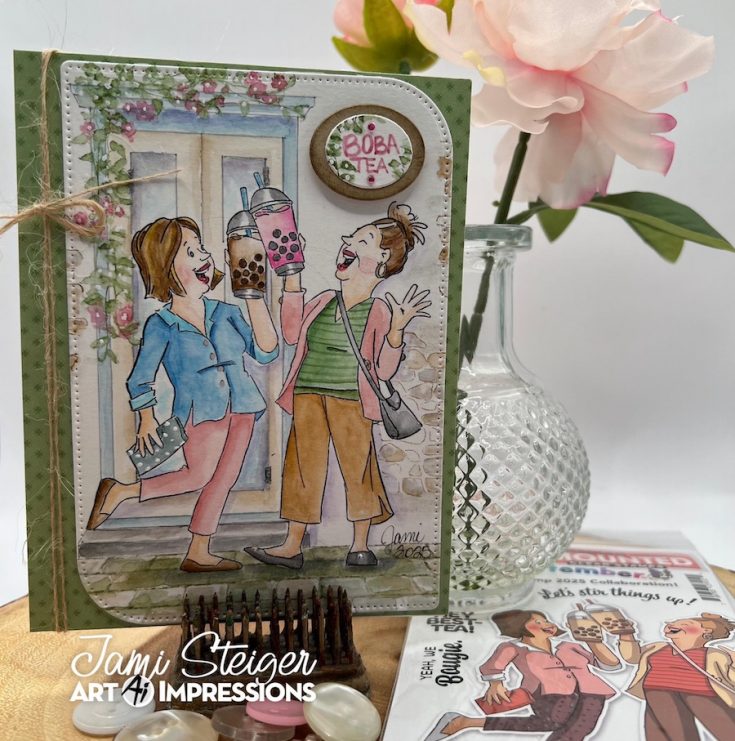
Art Impressions STAMPtember® 2025 Exclusive Collaboration!
WATCH THE VIDEO:


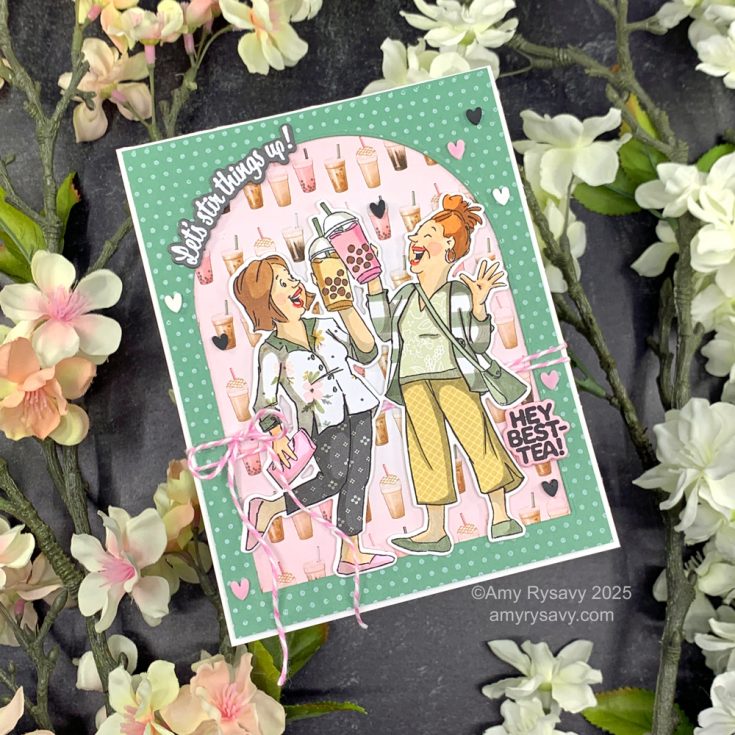
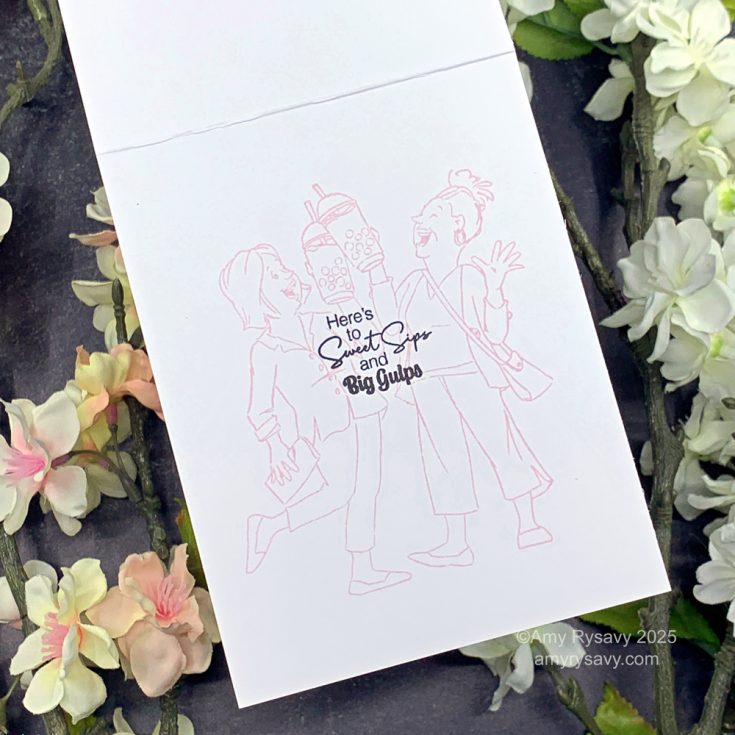
Additional ideas to INSPIRE!


Art Impressions also has TONS of great products available every day! Go check them out!
But WAIT, there’s MORE!
Join us! Click or tap the bell next to the ‘notify me’ text to get an email reminder when we go live!