Reprise: Foiled Toner Stamping
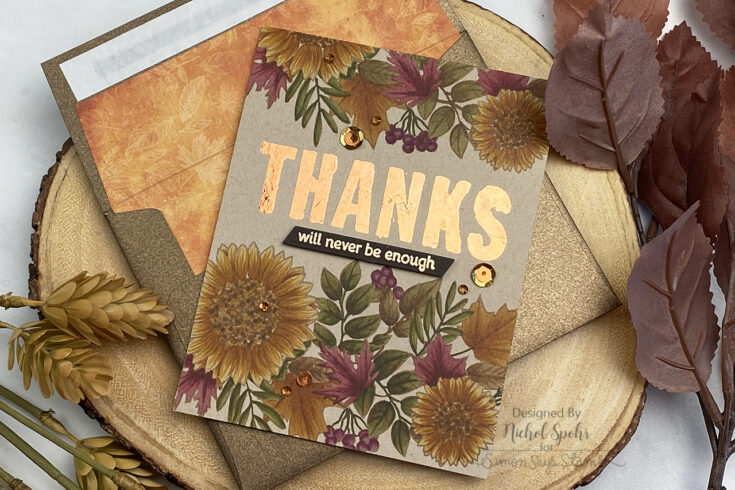
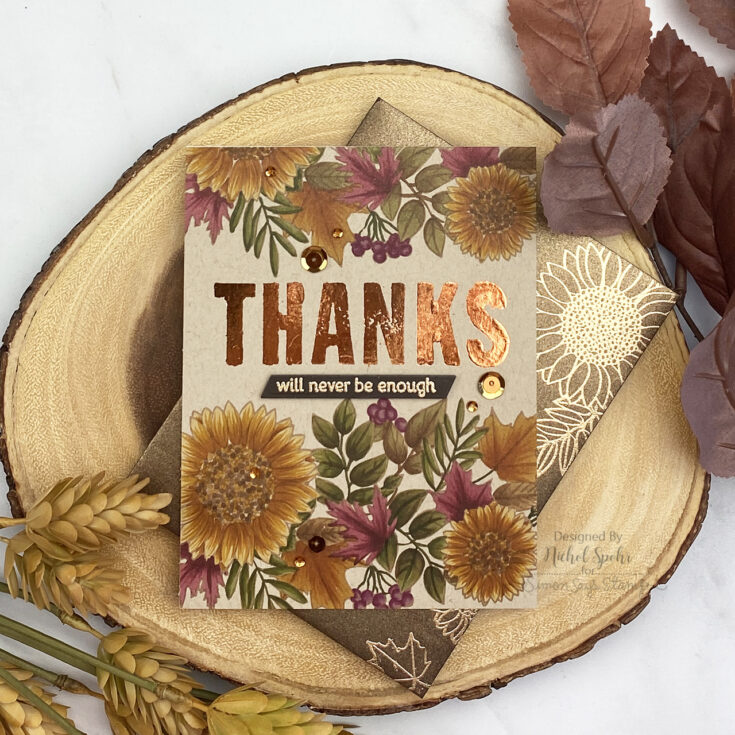
Hi friends! Happy Monday! Just about a year ago to date we shared this GORGEOUS foiled and floral card design by Nichol Spohr featuring our November 2020 card kit, Big Thanks Autumn! It was a HIT! While of course our kit is long gone, we still have the Big Thanks Autumn stamp set available to create this beauty! Be sure to watch the video for all of the details, and enjoy!
WATCH THE VIDEO:
SUPPLIES:
|


Thanks so much for stopping by, and thanks to Nichol for being our guest!
November 2021 Card Kit Inspiration with Kristina Werner

Hello, all! Kristina here. Today I have a fun slimline card made using the November 2021 Card Kit! The birdhouse, lantern, and mailbox images in the Cozy Wishes stamp set were just calling out to be colored and arranged on a long, slim card!
I started out by ink blending a background for my scene. I use three Distress Ink colors: Evergreen Bough, Chipped Sapphire, and Black Soot. Then I set that aside while I worked on the images for the card.
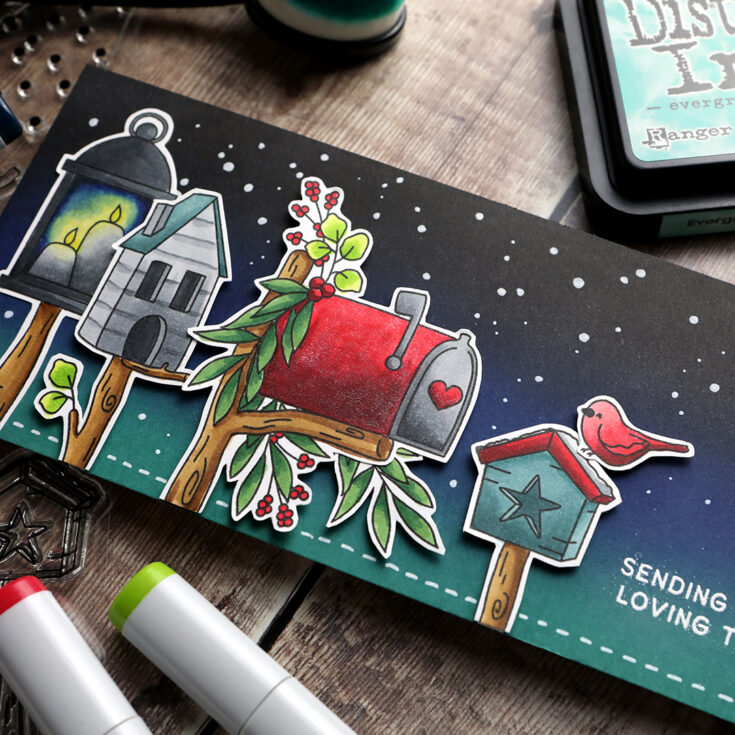
The images from the Cozy Wishes stamp set were stamped in Intense Black ink and then colored using Copics. Using scissors, I cut out all the images and then adhered them to the ink blended background with dimensional adhesive.
After the main scene was created, I stamped a greeting from the stamp set in the bottom right corner and white heat embossed it.

For snow, I drew on white dots with a Gelly Roll pen, and then added some shimmer to the card using a Clear Sparkle Pen from Spectrum Noir.
Enjoy the video! You can pick up the November 2021 Card Kit HERE, or subscribe to receive this kit and future kits by starting a subscription HERE.
Supplies
|