Crafty with Caly: Heart of Christmas
Hi friends! Happy Thursday! Please join me in welcoming back special bi-monthly guest Caly Person with a gorgeous holiday card to help you kickstart your season of making! Be sure to watch the video for more details and enjoy!

Hello! Thanks for joining me today as I share a colorful holiday card using the Heart of Christmas products. I love that there is a stamp, die and stencil that coordinate, but can all be used on their own! Because I wanted a row of them on my card, today’s card is a 5” x 7” card.

I have a quick video sharing my progress and hope you’ll check it out!
WATCH THE VIDEO:
I used the Heart of Christmas stamp to stamp a light image to use as a guide for the Heart of Christmas stencil using Barely Beige ink. You could just eyeball the stencil, but since I wanted to use the Outline Heart of Christmas die, it’s important that the ink-blended hearts are in the right place.
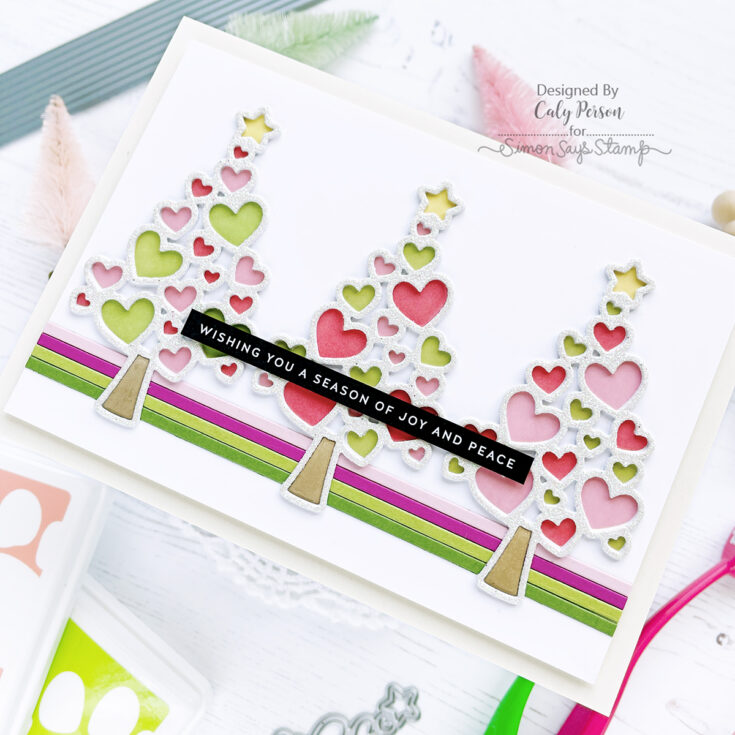
If you didn’t have the stencil and only had the dies, you could certainly color the parts and in-lay them just as easily for the same look, but I just love stencils! Plus, it gives me the bonus of being able to use the Pawsitively Saturated Inks. I ink-blended my hearts with Limelicious, Cheeky and Blush inks. For the stars, I used Lemonade. Then for tree trunks, I used Khaki ink.
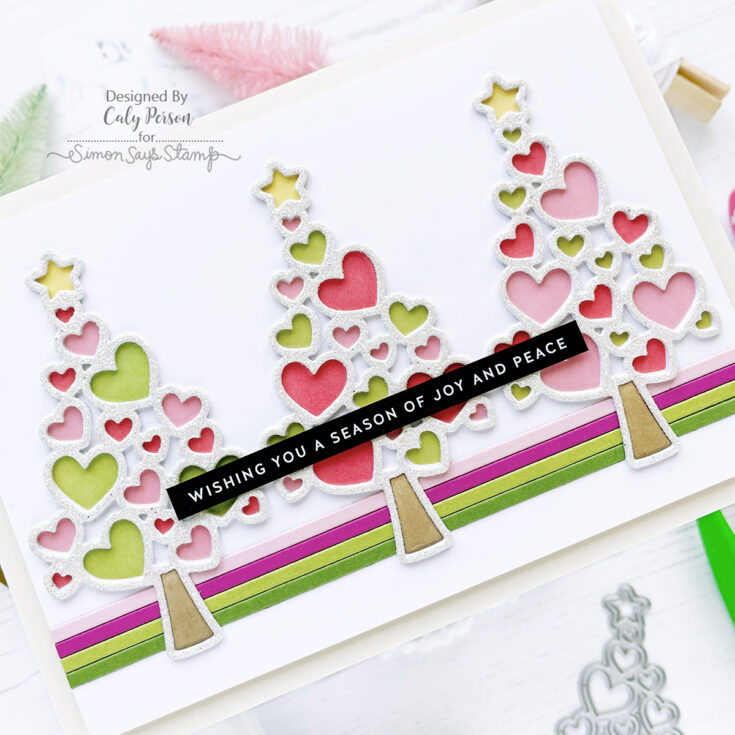
To ground my colorful trees, I used paper strips that I die-cut using the smallest of the Strips Die 1 set from Green Apple, Green Leaf, Cotton Candy, and Doll Pink cardstock. I placed my Outline Heart of Christmas die-cuts over the paper strips and finished by adhering a sentiment strip from the Reverse Love Peace Joy Sentiment Strips.
I hope you enjoyed this project! Thanks so much for visiting today! ~Caly
SUPPLIES:
|


Thanks so much for stopping by, and thanks to Caly for being our guest!
EZ with CZ: Clean & Simple Sympathy Card

Hi friends! Happy Wednesday! Please join me in welcoming back special guest Cathy Zielske in her latest edition of our monthly blog series; EZ with CZ! Be sure to watch the video for all the details and enjoy!
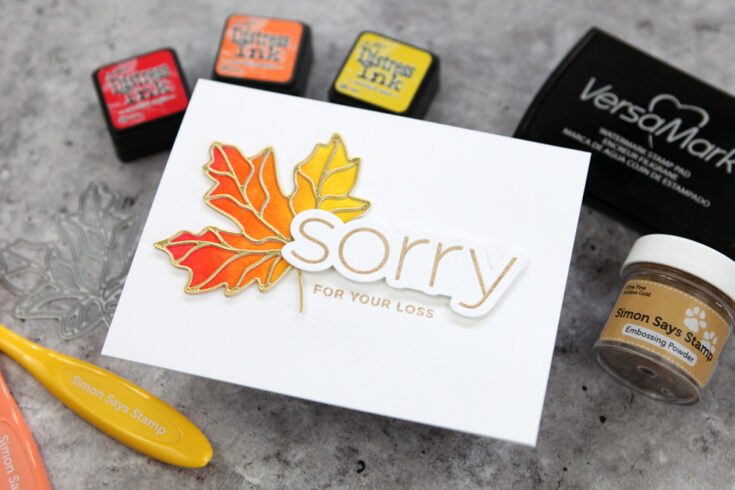
Hello friends! It’s Cathy Z. here to share a very clean and simple sympathy card design with you. While it’s never a happy occasion when loved ones or friends are experiencing a loss, it’s nice to create something handmade to let them know you are thinking of them.
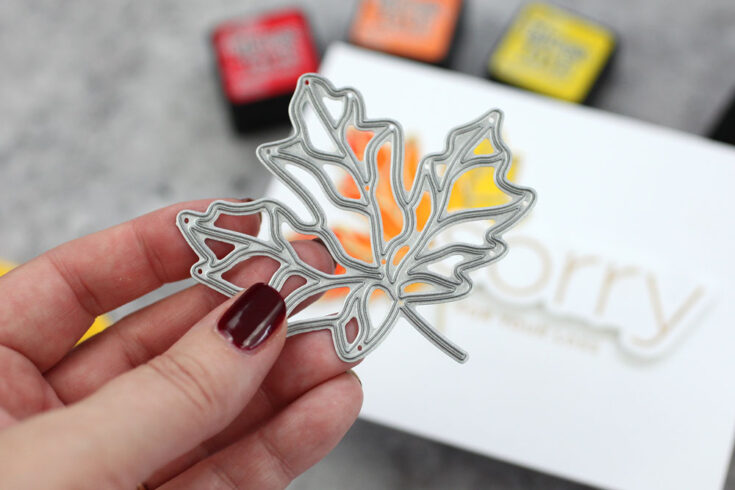
Today’s card features a lovely leaf die cut with a colorful background, paired with a large, minimal design greeting.

A simple ink blended background adds a pop of color and in the video, I’ll show you how I saved time by NOT paper piecing this leaf.
WATCH THE VIDEO:
Thanks so much for stopping by today!
SUPPLIES:
|


Thanks so much for stopping by, and thanks to Cathy for being our guest!
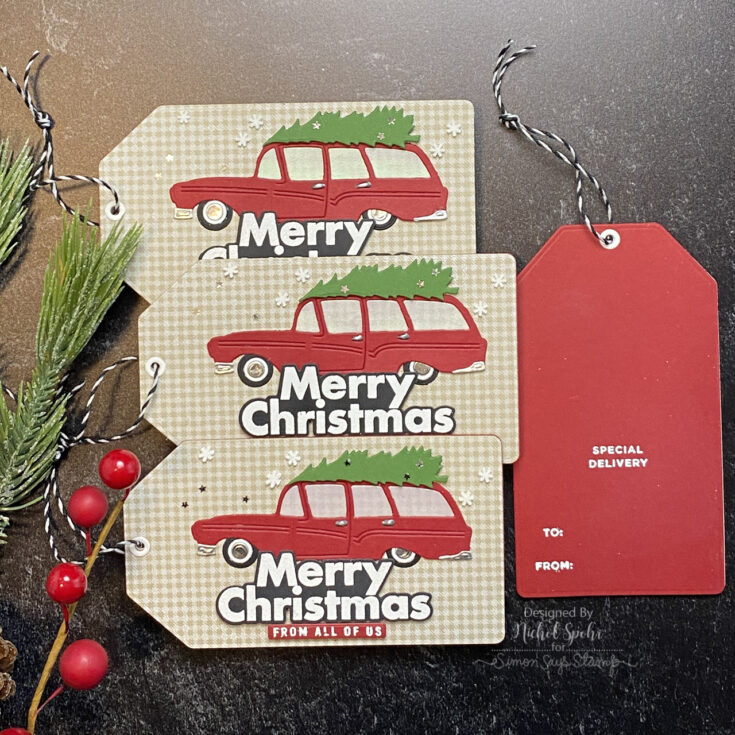
Making the Cut: Vintage Station Wagon Card and Tags

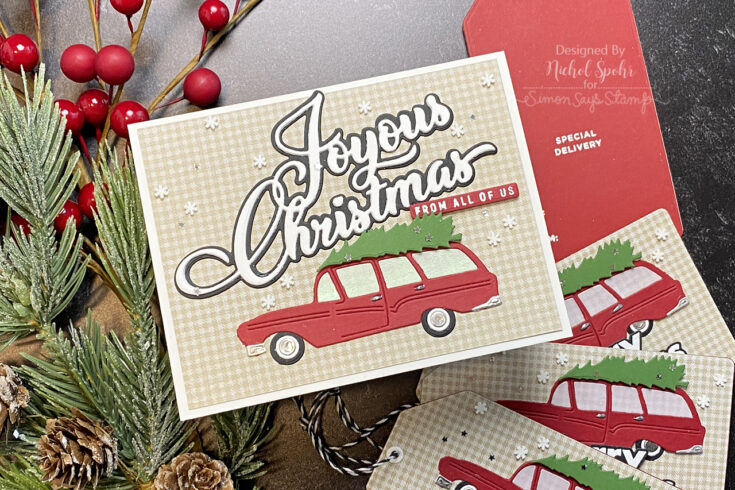
Hi friends! Happy Tuesday! Please join me in welcoming back special guest Nichol Spohr in our monthly Making the Cut blog series where we showcase our love of die cutting! This edition is super fun and showcasing our recently released Vintage Christmas Station Wagon, Joyous Christmas, and XL Christmas Greetings set! Read on to learn more and enjoy!
WATCH THE VIDEO:
SUPPLIES:
|


Thanks so much for stopping by, and thanks to Nichol for being our guest!


