DieCember® Blog Hop WINNERS!
Hello, friends! Our Simon Says Stamp exclusive DieCember® product lineup features a vast array of dies from flowers to cover plates to useful and fun sentiments and so much more! Stretch your dies with a variety of techniques like partial die cutting, dry embossing, inlaying—the sky’s the limit! In addition, we have some awesome stencils that coordinate with dies, two hot foil plates with coordinating dies, and dies for several of your favorite stamp sets! No matter your style, you’re sure to find several must-haves that need to be in your creative space. We can’t wait to see what you create with all of these awesome new products!
To celebrate this phenomenal release, we hosted two amazing blog hops! The hops featured many talented designers and each one created wonderful projects to inspire you. If you missed either of the hops, you can find the direct links here: DAY ONE and DAY TWO.
A BIG thank you to all of YOU who joined us for the hops! We enjoy hearing from each of you, and your words of encouragement and appreciation to each of the designers mean so much to us here at Simon and to them. It’s our tradition to give away gift certificates to random commenters on each blog stop, and today we are revealing all of the winners! So without further ado, I present to you our winners!
DAY ONE HOP WINNERS:
from Simon Says Stamp’s blog: Kristina Gentle!
from Nina-Marie Trapani’s blog: Deb Tilton!
from Caly Person’s blog: Mitzi!
from Nichol Spohr’s blog: Stacy V!
from Jennifer McGuire’s blog: Billie Sue Woolley!
from Cathy Zielske’s blog: Tammy Millette!
from Suzy Plantamura’s blog: Marjorie Estey!
from Sidnie Des Jardins’s blog: Beth Bice!
from Lisa Addesa’s blog: Lorraine Melin
from Amanda Korotkova’s blog: Jeanne Rice!
from Amy Rysavy’s blog: Linda Kunsman!
from Heather Ruwe’s blog: Sue Smith!
from Heather Hoffman’s blog: Denise Bryant!
from Lea Lawson’s blog: Karla P!
DAY TWO HOP WINNERS:
from Simon Says Stamp’s blog: Sarah Jimenez!
from Laura Bassen’s blog: Roblyn Henry!
from Keisha Charles’s blog: Rebecca Reed!
from Bibi Cameron’s blog: Tammy Lynne Davis!
from Vicky Papaioannou’s blog: Nola Sullivan!
from Kulbir Kirkland’s blog: Ann Apolito!
from Mindy Eggen’s blog: dianezalusky!
from Barb Engler’s blog: Lady Penguin!
from Norine Borys’s blog: Heather Ann McLaughlin!
from Emma Williams’s blog: Joy Meadows!
from Bobbi Lemanski’s blog: Susan Lang!
from Dilay Nacar’s blog: Karen L K!
If you see your name listed above, CONGRATULATIONS! Please email [email protected] and let him know that you are one of our DieCember® Blog Hop winners! You’ll receive a $25 Gift Card. ???
Thanks again for hopping along with us! We hope you enjoy our fantastic DieCember® release and that it gives you creative enjoyment for months to come!
Winning ROCKS, and so do you!
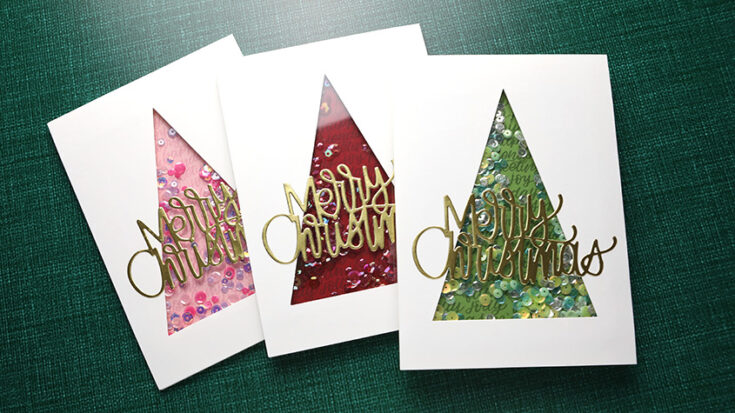
Clean & Simple Tree Shaker Cards with Kristina Werner
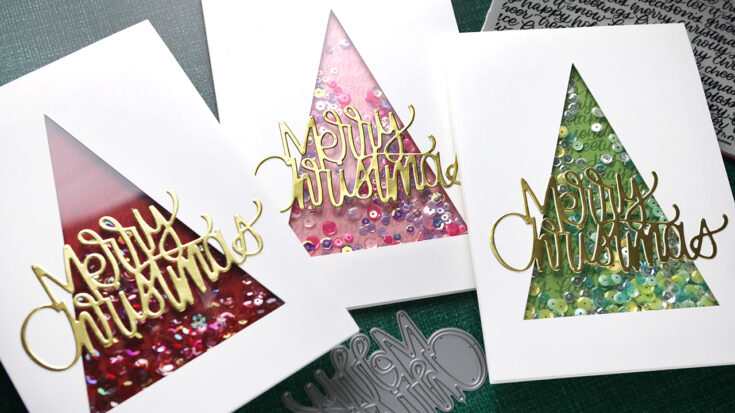
Hello, all! Kristina here! In my video today I wanted to show how to create a clean and simple shaker card. And since I had my supplies out for one card, I decided to go ahead and make two more as well.
I started by creating the “back wall” of the shaker. I used the Hand-Lettered Holiday background stamp and three combinations of cardstock and ink: Green Leaf cardstock and Field ink, Cotton Candy cardstock and Bubblegum ink, and Schoolhouse Red cardstock and Merlot ink.
For the window of the shaker, I cut out my own template for a tall triangle shape (a tree). Then I cut all three shaker windows at the same time using a craft knife (see the video for how this was done exactly).
I glued acetate to the backside of each window panel, applied foam adhesive around the windows, and then put sequins inside. I closed up the shakers by pressing the stamped cardstock panels on top. Super easy!
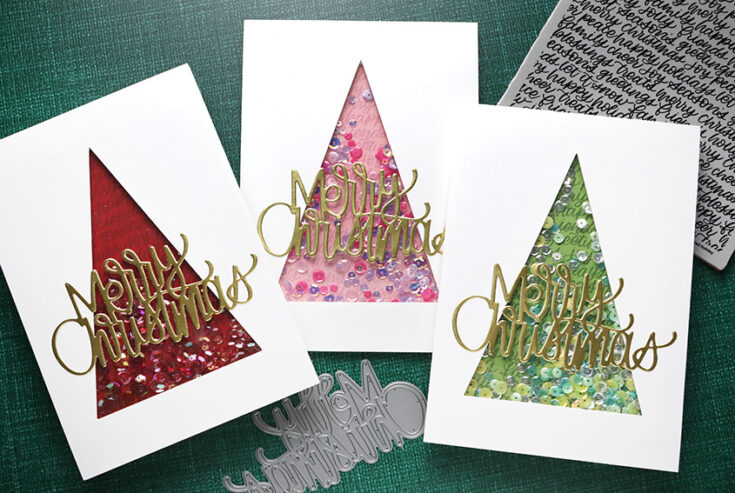
To finish off the cards, I diecut the Large Written Merry Christmas die out of Matte Gold cardstock three times and glued the greetings to the front of each card.
Thanks for stopping by today! All the supplies I used for my cards are listed below.
Supplies
|


Yippee for Yana: Mass Produce Last-Minute Christmas Cards

Hi friends! Happy Tuesday! Please join me in welcoming back special guest Yana Smakula! Please read on and be sure to watch the video for all the details on this gorgeous card design! Enjoy!
Hello, crafters, this is Yana Smakula for SimonSaysStamp.com! Welcome back for another Yippee For Yana video! In this video I’m talking about mass producing last minute Christmas cards.
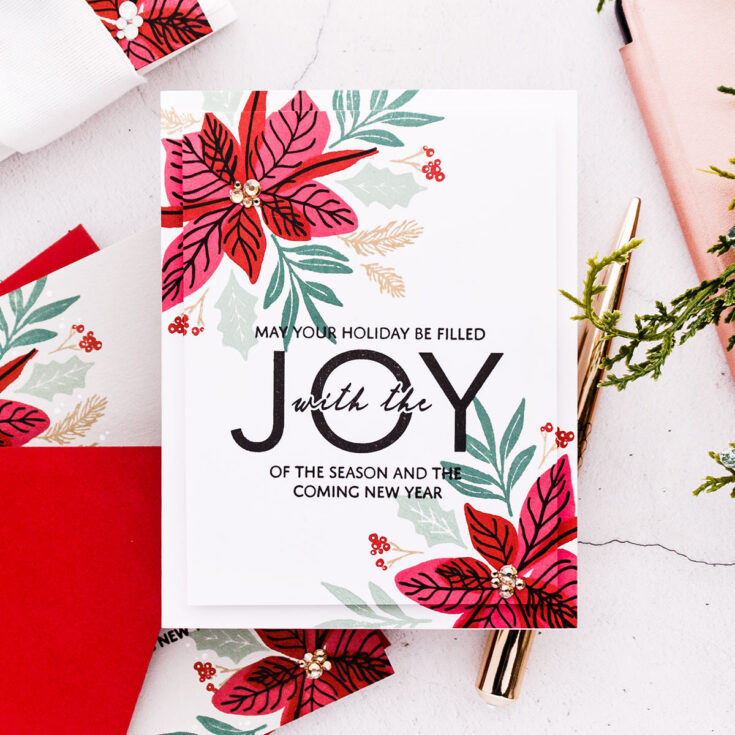
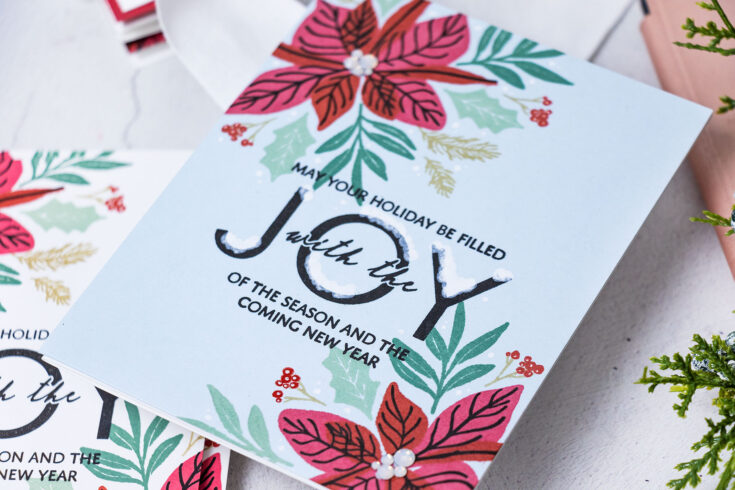
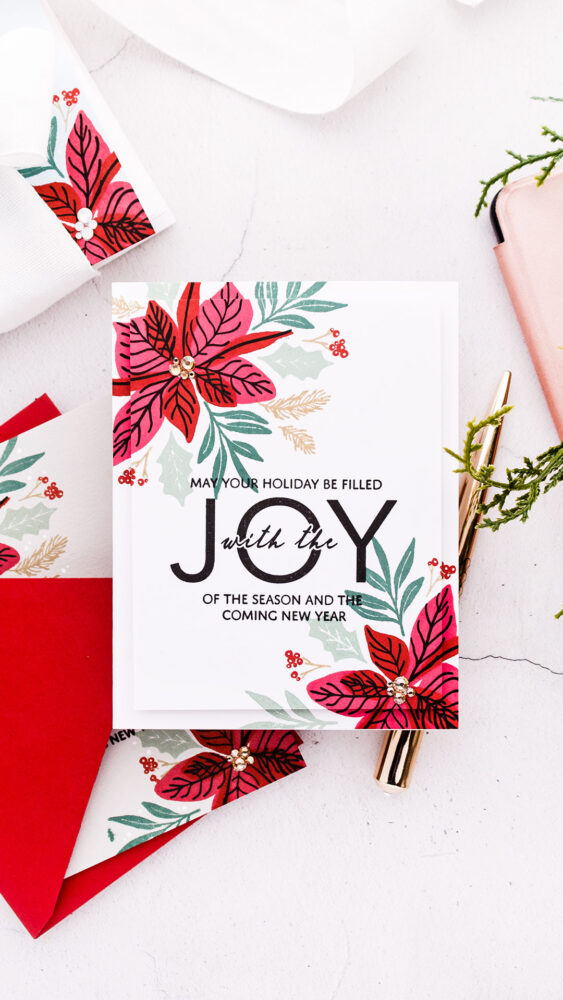
I often like to test stamp my card designs on a piece of scrap paper and I did that for these cards. I stamped 2 different designs using identical products. One has less stamping, and the other one requires a bit more stamping. Probably twice as much. If you are pressed for time, you can pick the design with a single poinsettia and you’ll be able to stamp that much faster and make twice as many cards versus stamping the design with 2 poinsettias.
With design selected I moved onto selecting the paper I wanted to do my stamping on. I knew I’d stamp the majority of my cards on white cardstock. I like to use Simon’s 120lb or 130lb cardstock, but I also love to stamp on colored cardstock so I picked several very light colored cardstock sheets from my stash. You need to go with light colors, because your stamping won’t be visible or as prominent on dark colors of cardstock.
The next step is to set up your MISTI or whatever other stamping tool you have. The key to quick stamping here is of course using a stamping tool as that will allow you to stamp a bunch of identical panels in very little time.
Having placed my blank panel inside the MISTI I then place the test stamped design on top and I use that as a guide. I already have this beautiful design all figured out, I don’t need to re-invent it, I can use it as an exact guide for image placement. So I place the stamps over it and align the stamps over the previously made impressions. From here, I stamp away. If you plan to make say 20 cards, I would stamp a few additional panels just in case, as you might mess up some during the process (I messed 2 of my panels up).
The stamps I picked are from Simon – the sentiment comes from the Inside Christmas Greetings set and the poinsettia comes from the Happy Poinsettia set.
My cards consist of only stamping. I don’t have any die cutting, there’s no foiling, no embossing, no anything else, just simple beautiful solid stamping.
The poinsettia stamp set has coordinating dies and I have shared another card on my blog where I used the dies to step my design up. For mass producing cards, and especially for cards that I plan to mail I prefer to keep them simpler, I prefer to eliminate the extra steps, if possible, such as die cutting in this case and I prefer to keep the number of layers to a minimum, most of these cards are one layer with just a handful being 2 layer cards.

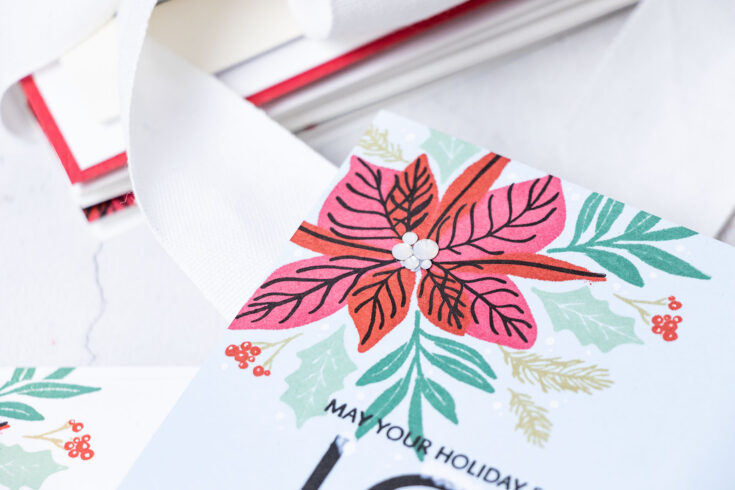
The design of the poinsettia allows you to nestle the leaves in between the petals or the leaves of the poinsettia, so you don’t need to do any masking or to die-cut the elements to create a beautiful design.
Stamping on colored cardstock will give you slightly different results, the colors of ink will look different, but this gives you more options while still using the same card design. I particularly liked stamping this on gray and also on blue because this allowed me later, to use a white pen to add white accents to my cards.
To assemble the cards I used different approaches. The panels with the single poinsettias were trimmed 1/4” from each side and I foam mounted them onto A2 whit3 card bases.
I used a white pen and added some snow accents to the cards stamped on colored backgrounds and added white dot highlights to the berries on each card.
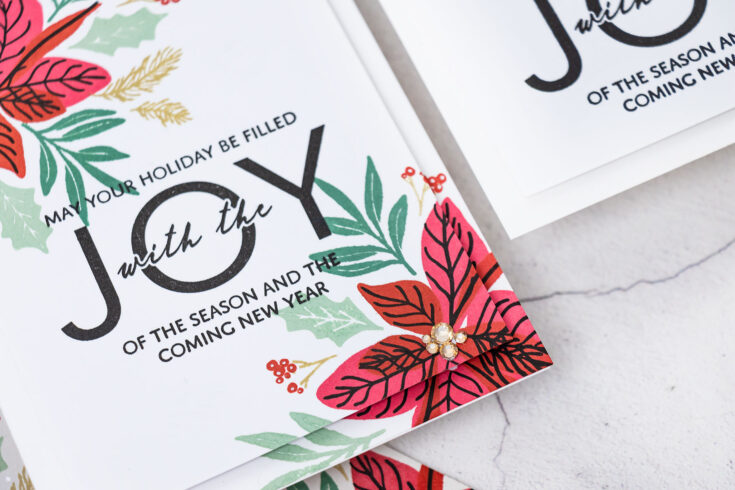
The designs with the 2 poinsettias were adhered onto A2 card bases as is, I didn’t trim them. If you have extra panels by the time you are finished making your cards you can add an element of 3D decoupage to them. You need 2 identical panels – adhere one directly onto the card base, next trim the other one down about 1/4” on each side and foam mount on top This gives a beautiful dimension and a continuous design on your card front.
Lastly, you can add some gems – I decided to use gems for the poinsettia centers and I adhered gems in various sizes to create the irregular centers for my flowers. Have fun stamping and Merry Christmas!
WATCH THE VIDEO:
SUPPLIES:
|


Thanks so much for stopping by, and thanks to Yana for being our guest!


