Peace on Earth: our latest exclusive collection!
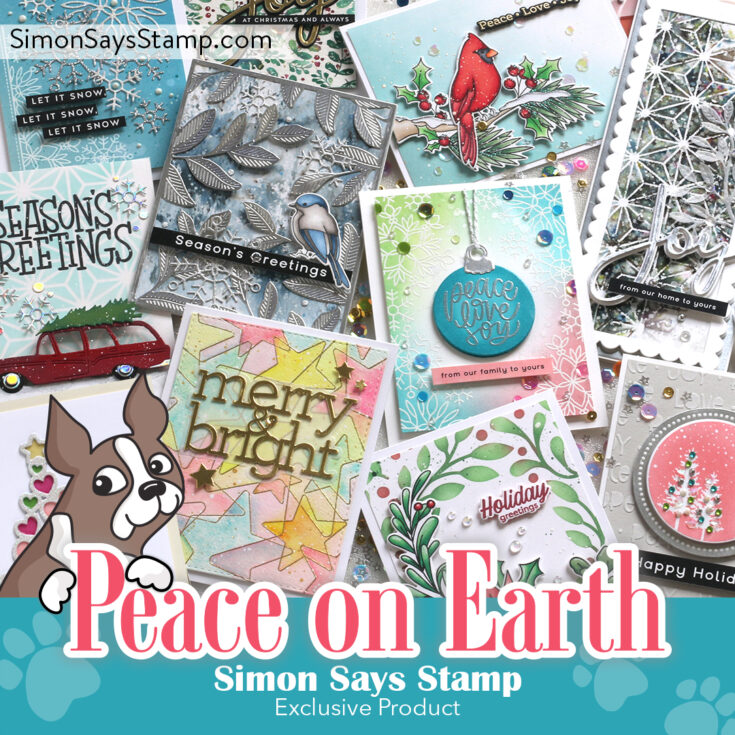
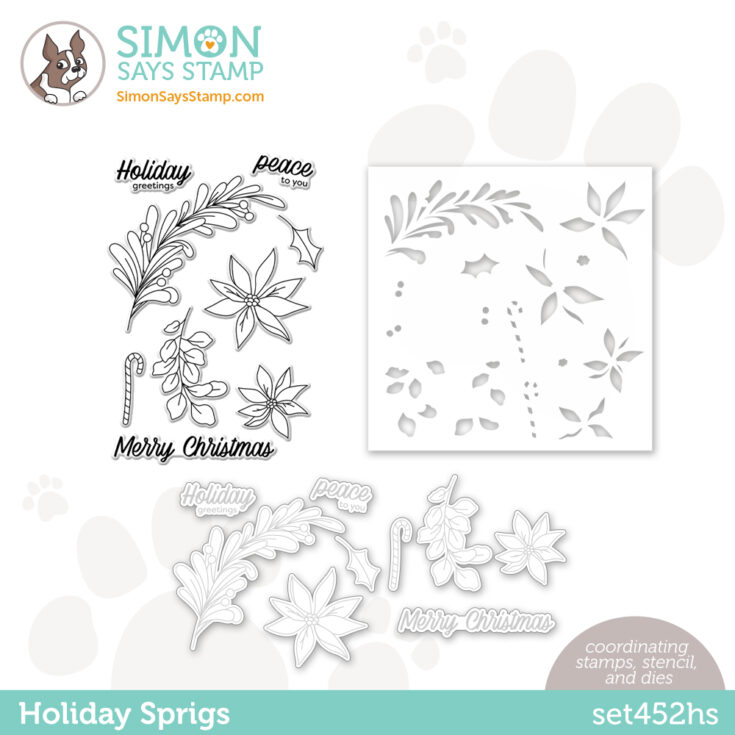
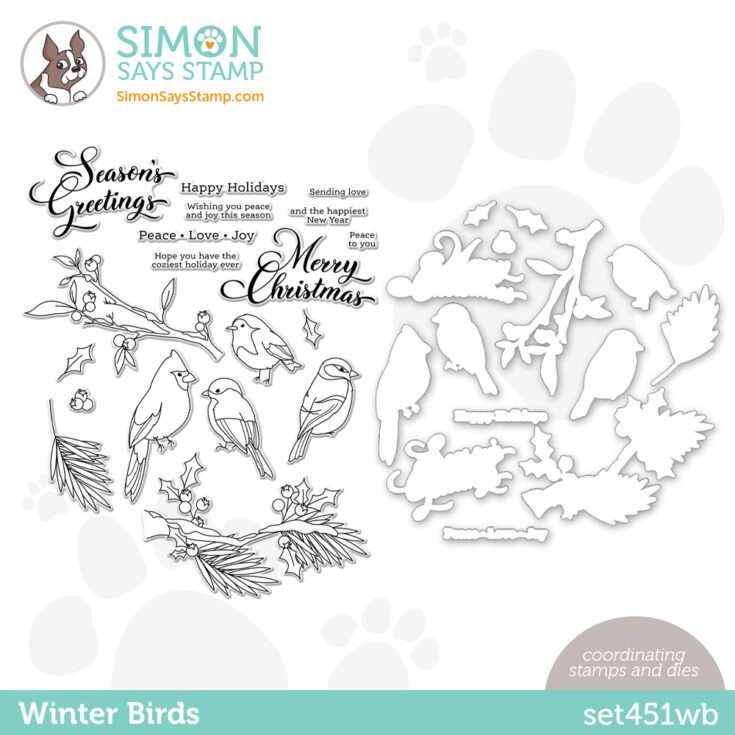
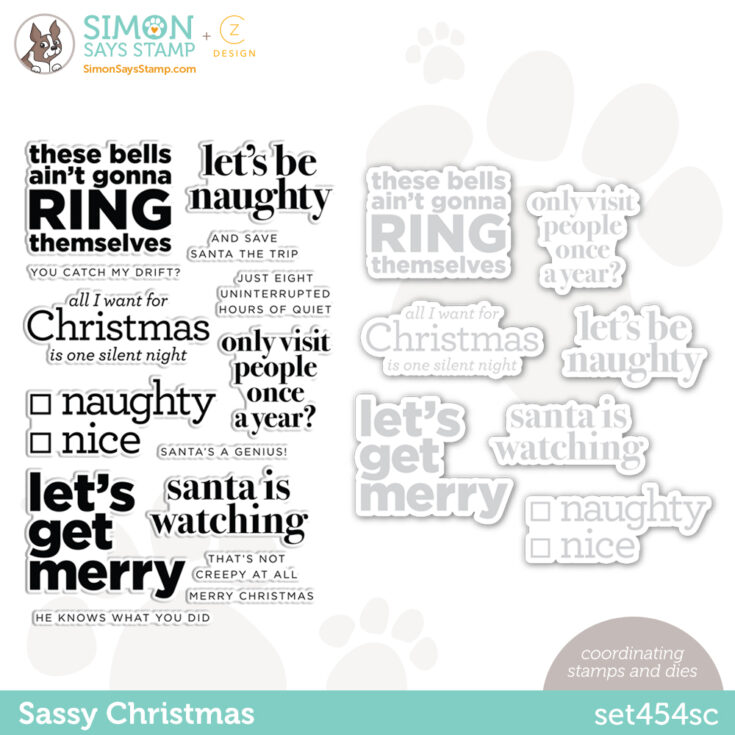
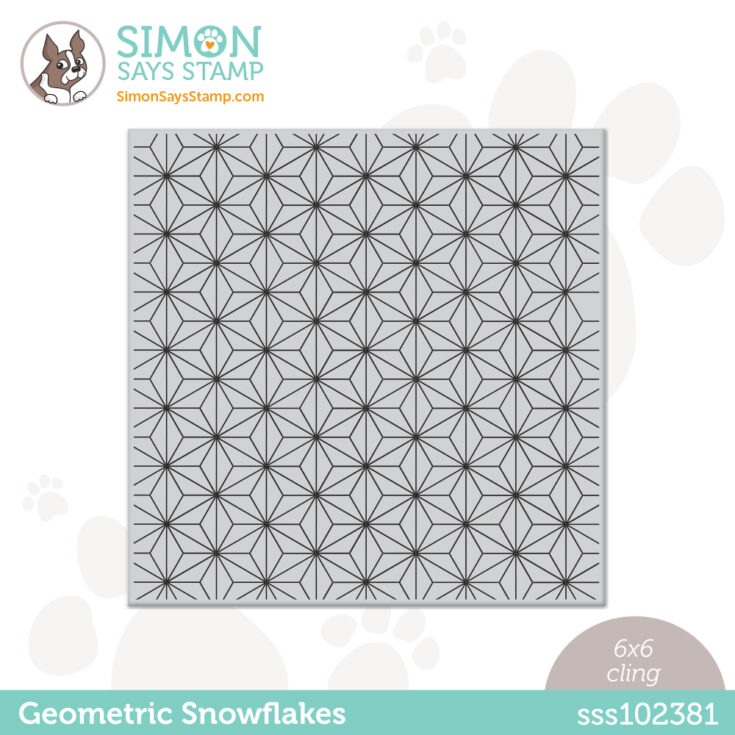
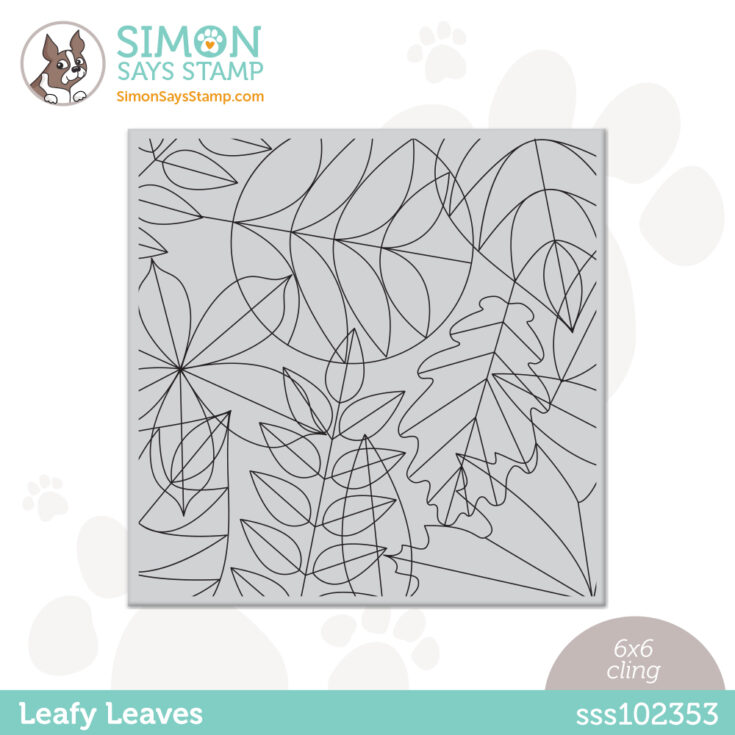
It’s time to raise the curtain on our latest collection, Peace on Earth! We proudly present products perfect for now through the holidays and beyond. You’ll fall for our Leafy Leaves cling stamp and giggle at our Sassy Christmas set; you’ll adore terrific new stencils like Pumpkins and Geometric Snowflakes; and you’ll be all a twitter for gorgeous Winter Birds and Holiday Sprigs stamps and dies.
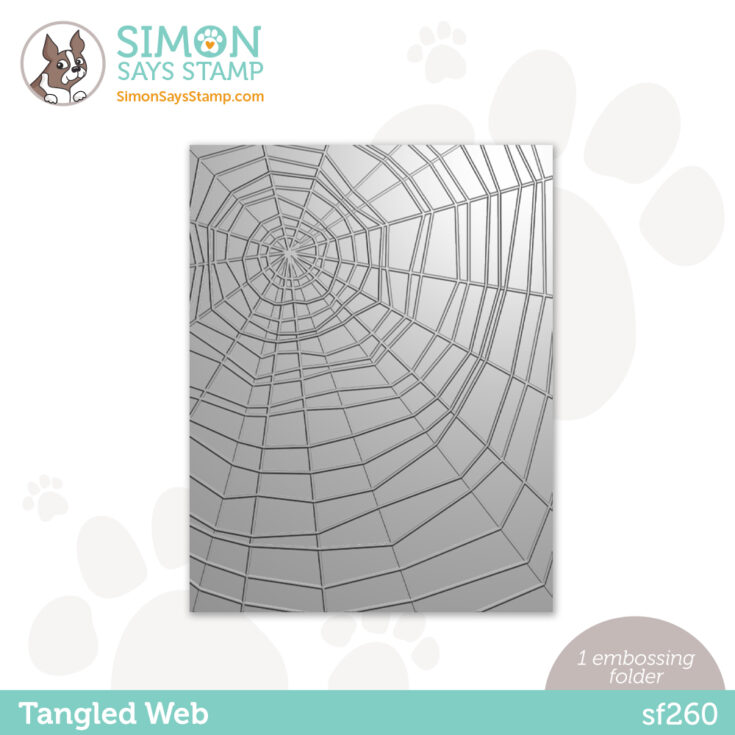
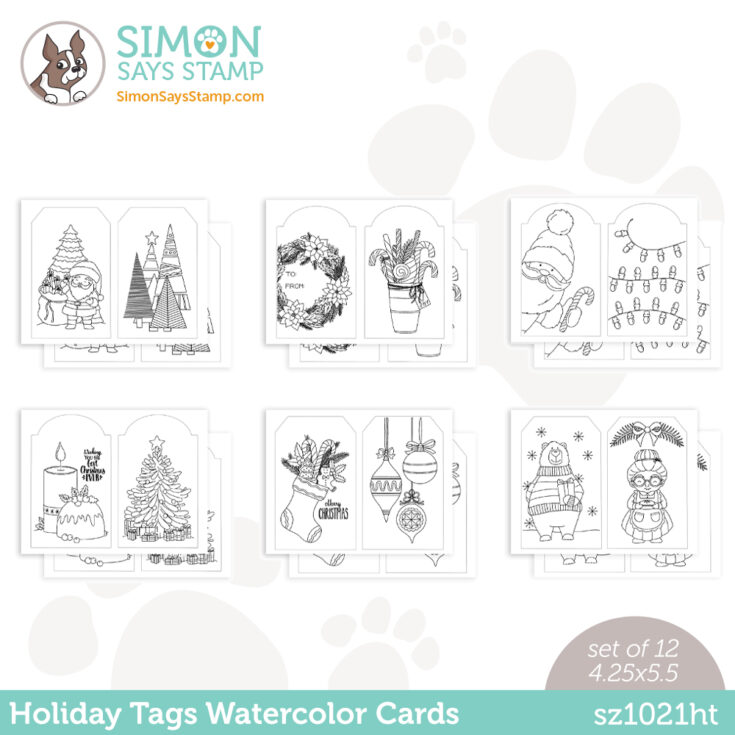
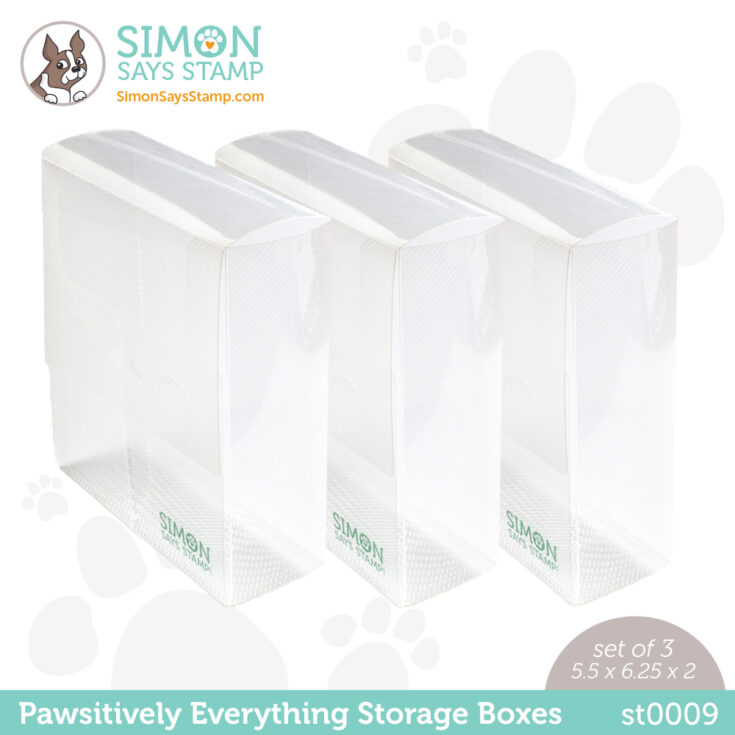
Get shiny with fancy new cardstock options in Matte Gold, Matte Silver, and White Glossy (great for foiling!), and discover some storage solutions with our Plastic Boxes, Pockets, and Paper Sleeves! We’re also introducing a Merry Hot Foil plate and new embossing folders like Tangled Web— this collection truly has something for everyone!
See all these goodies and more as Laura Bassen takes you through everything in the video below.
WATCH THE VIDEO:


Thanks so much for stopping by today! Want MORE inspiration? Check out our galleries!
STAY TUNED! A very special blog hop celebrating this new exclusive release starts tomorrow at 8 AM ET and is full of GORGEOUS inspiration! Don’t miss it!

Ink Blended & Stamped Cardstock Strips with Kristina Werner

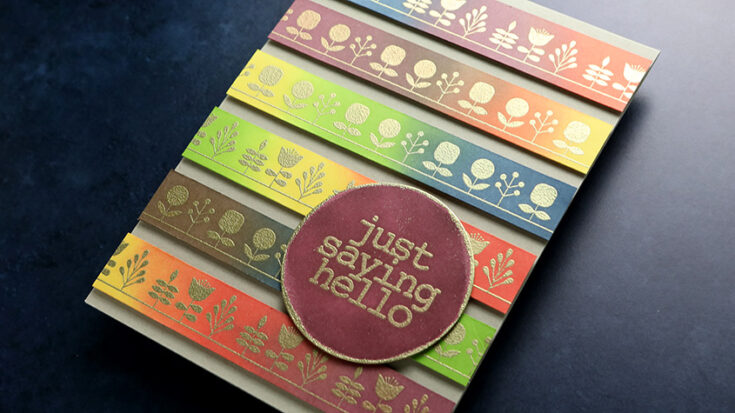
Hi all! Kristina Werner here. Today I have a fun card made using lots of strips of cardstock and ink blending!
I was inspired by the Printmaking Florals Background stamp, which actually breaks apart into separate rows. I thought it would be fun to stamp the background and cut apart the cardstock for ink blending.
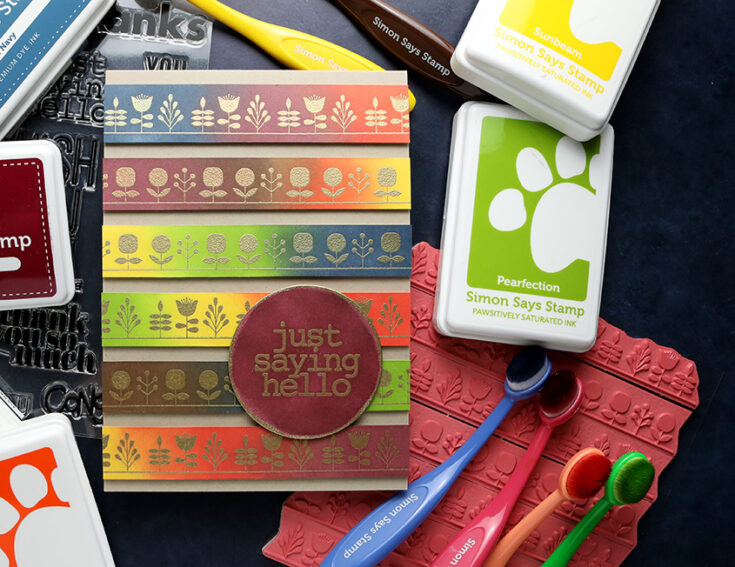
I used six colors of Simon ink for the ink blending: Merlot, Mandarin, Sunbeam, Pearfection, Soft Navy, and Dark Chocolate.
The greeting for the card is from the XL Greetings 3 stamp set, which I gold heat embossed and cut out a circle die.
Enjoy!
Supplies
|


Crafty with Caly: Reverse Confetti Hummingbirds

Hi friends! Happy Tuesday! Please join me in welcoming back special guest Caly Person in the latest edition of Crafty with Caly showcasing this bright and pretty card design showcasing Reverse Confetti! Be sure to watch the video for more details and enjoy!
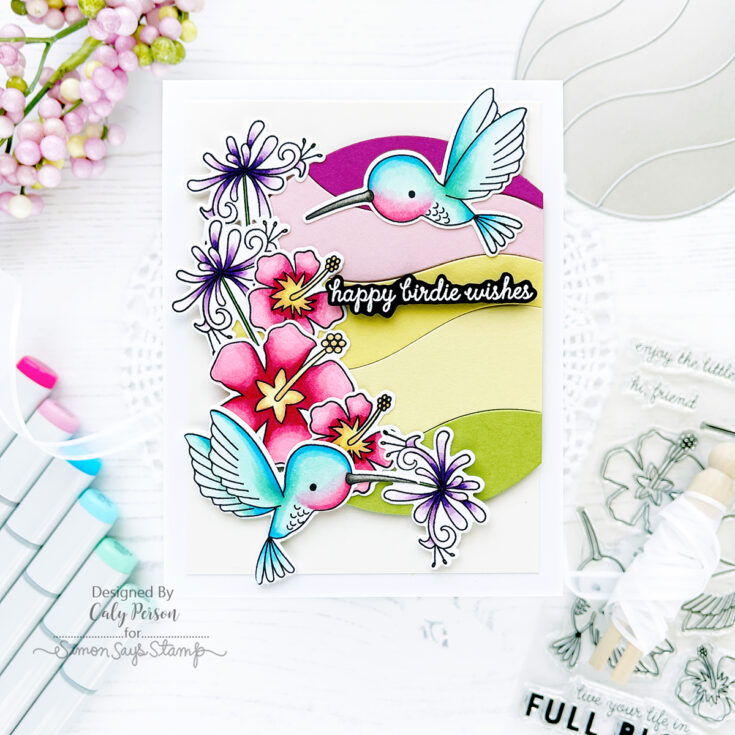
Hi, Friends! I’m sharing a Hummingbird card today featuring a beautiful set from Reverse Confetti. I paired the Hummingbird set with the Circle of Waves die to make a colorful card. I know winter is upon us (Game of Thrones reference), but I love colorful, happy cards year-round!
I made a video showing my process and hope you enjoy watching!
WATCH THE VIDEO:
To create my card, I stamped and colored the Hummingbird images with Copic markers.
- Pinks: RV21, RV23, RV25, RV29
- Oranges/Yellows: Y11, YR31, YR65
- Green: YG09
- Teals: BG110, BG11, BG34
- Blues: B02, B05
- Purples: V000, V01, V05, V09
- Grays: W2, W5, W7
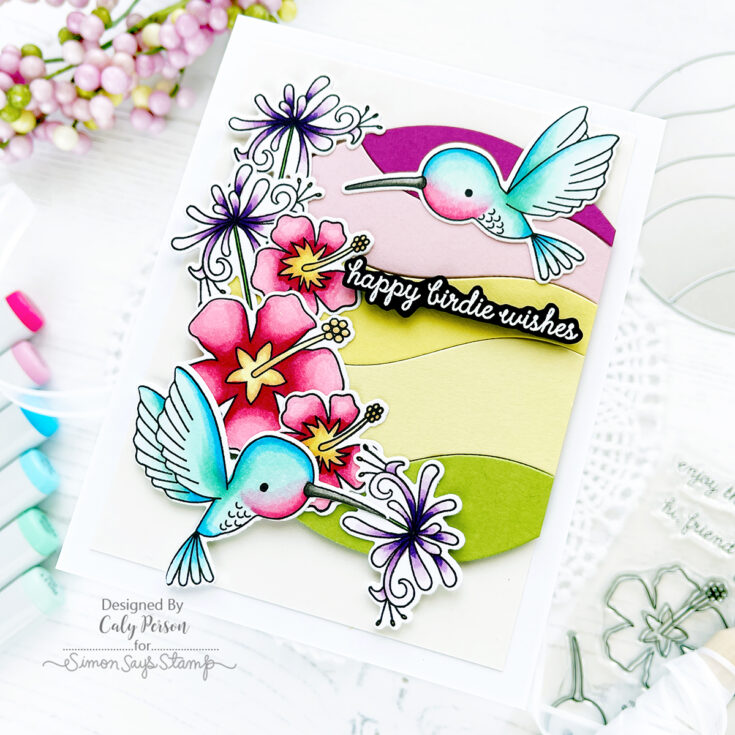
For the background, I used Simon Says Stamp Cardstock in Green Apple, Lemon Chiffon, Banana, Cotton Candy, and Doll Pink to die-cut the Circle of Waves die. I simply used desk tape to hold the pieces together. Tip: Use your die to in-lay the pieces to make sure they line up before taping together. I adhered this circle panel over a piece of Ivory cardstock using foam adhesive to give it dimension.

I finished by creating a floral spray, framing the shape of the circle die and adhered my hummingbirds. I embossed my sentiment and fussy cut around the letters for a tighter sentiment outline.
I hope you enjoyed this card! Thanks so much for visiting today! ~Caly
SUPPLIES:
|


Thanks so much for stopping by, and thanks to Caly for being our guest!


