To The Moon And Back Again Blog Hop 2!
Hello, friends, and welcome to day two of our To The Moon and And Back Again release blog hops! If you missed yesterday’s hop, be sure to circle back and check it out HERE.
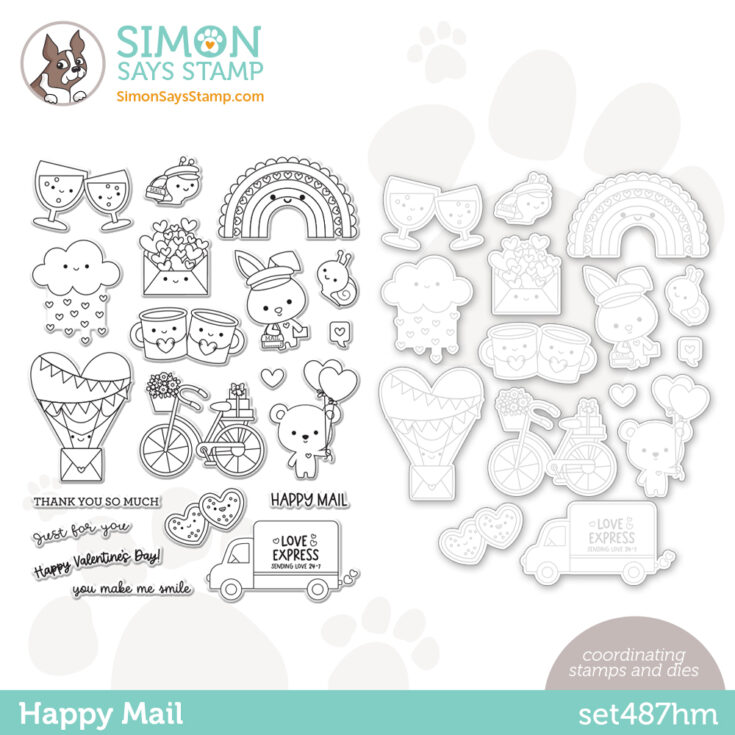
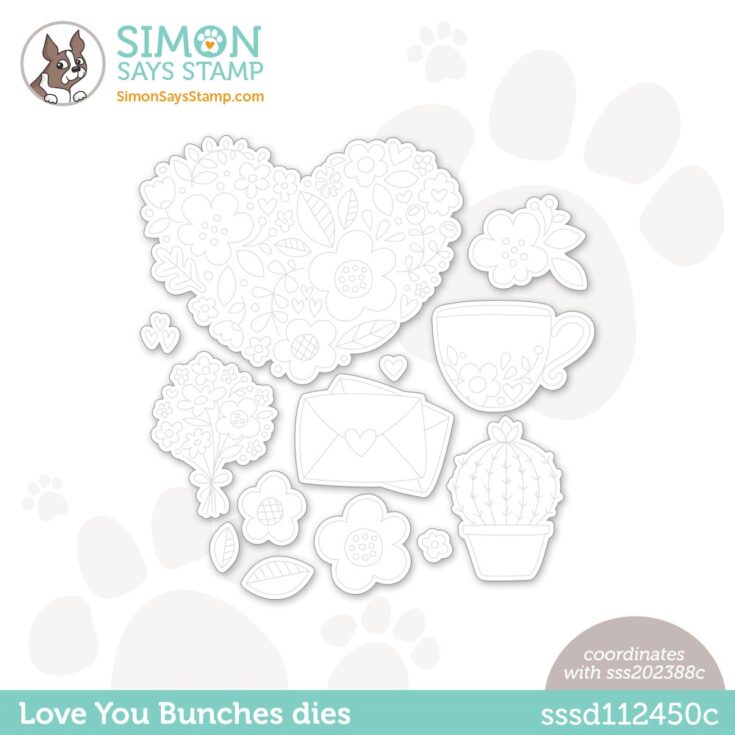
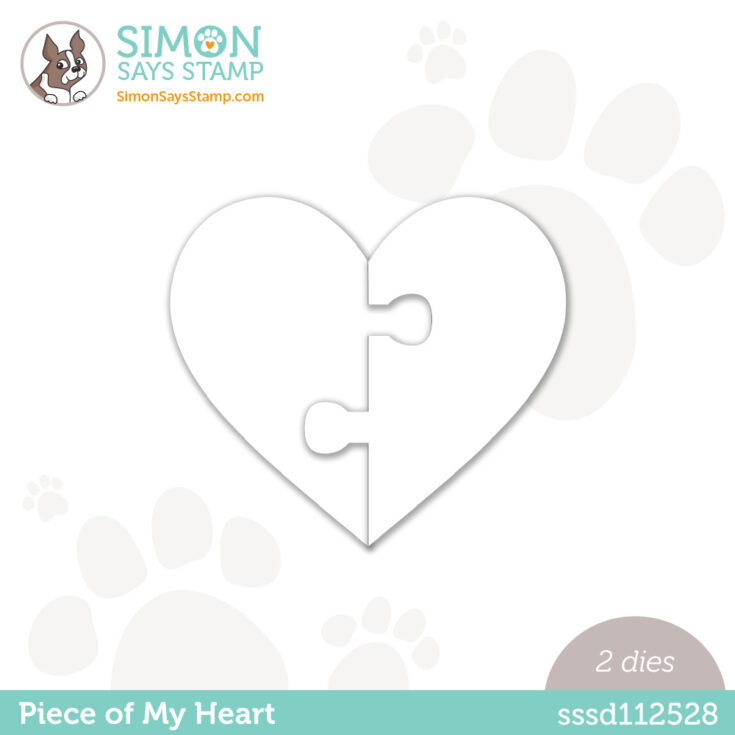
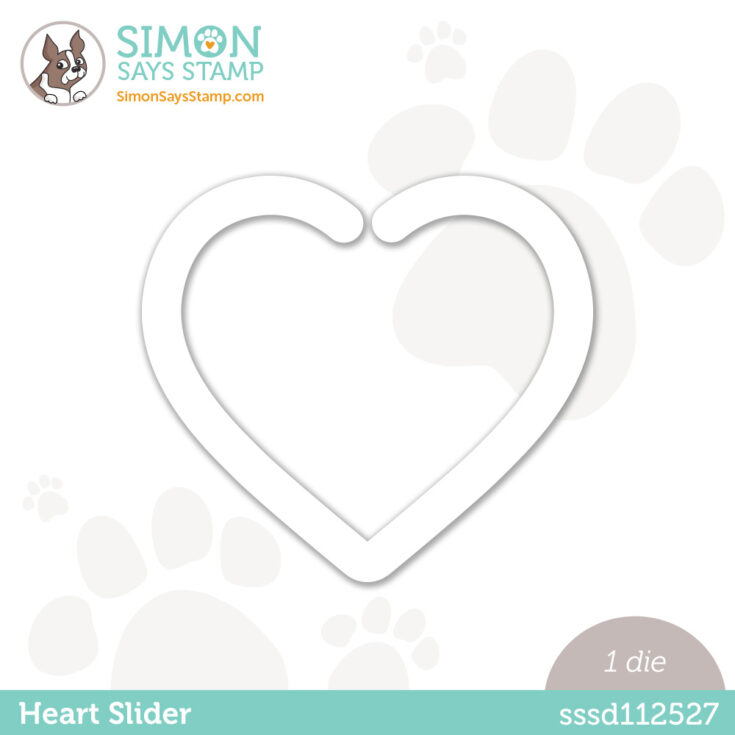
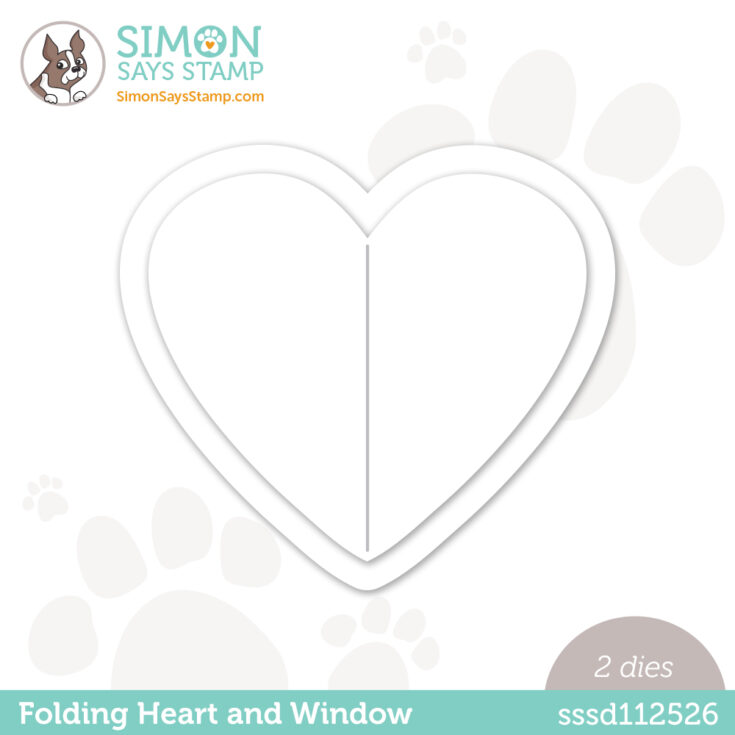
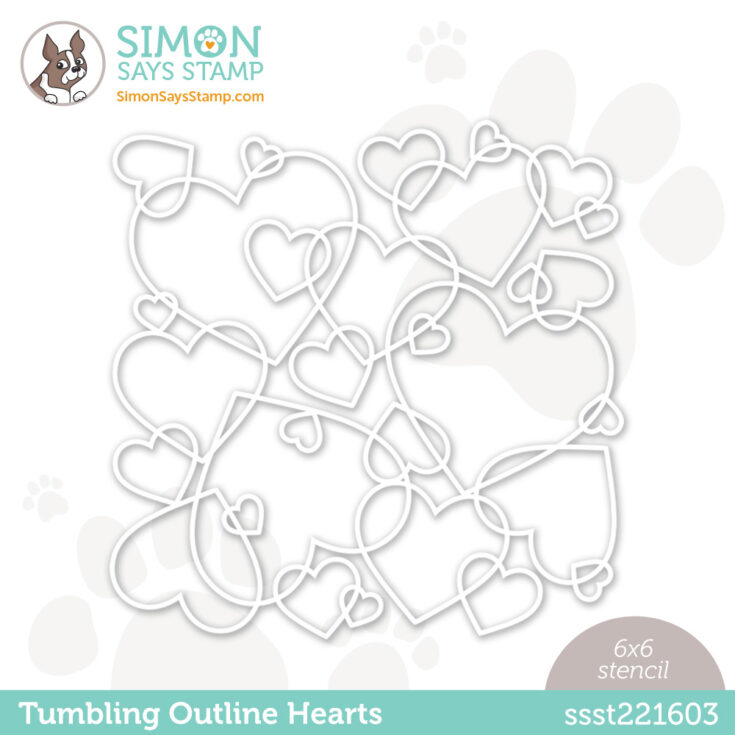
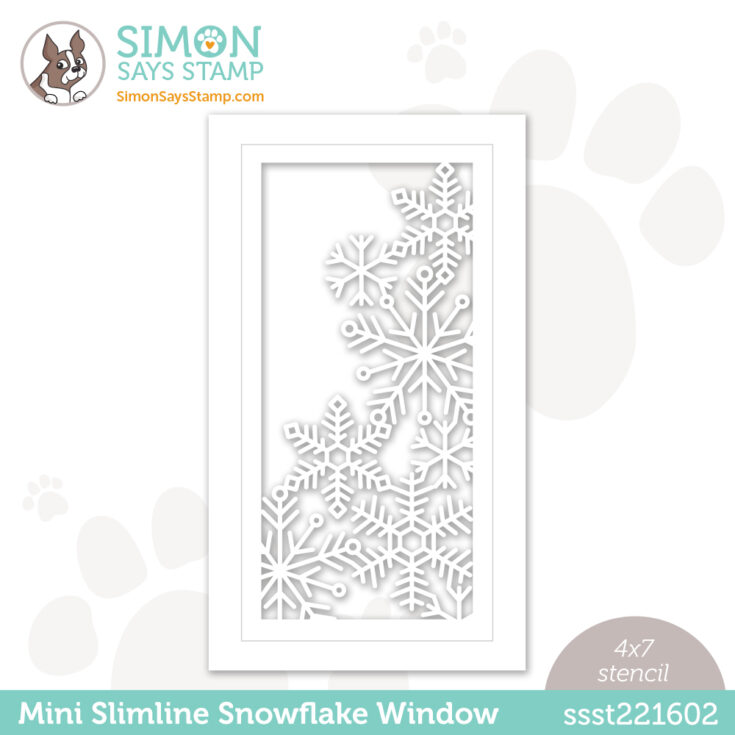
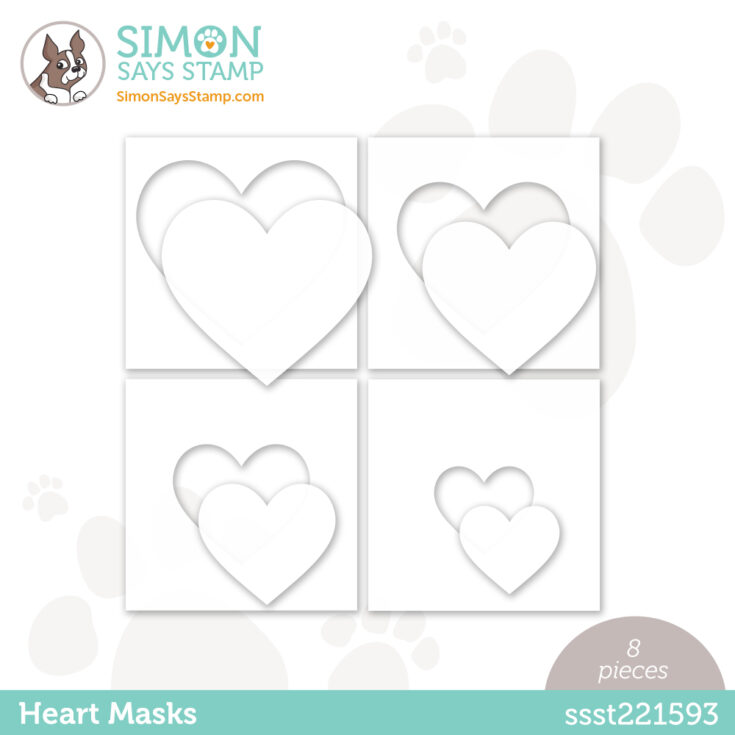
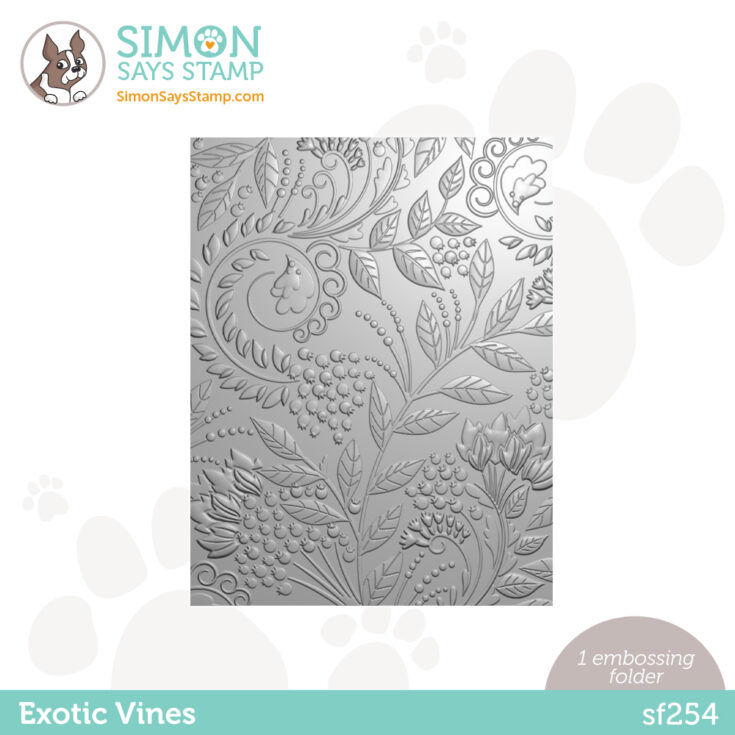
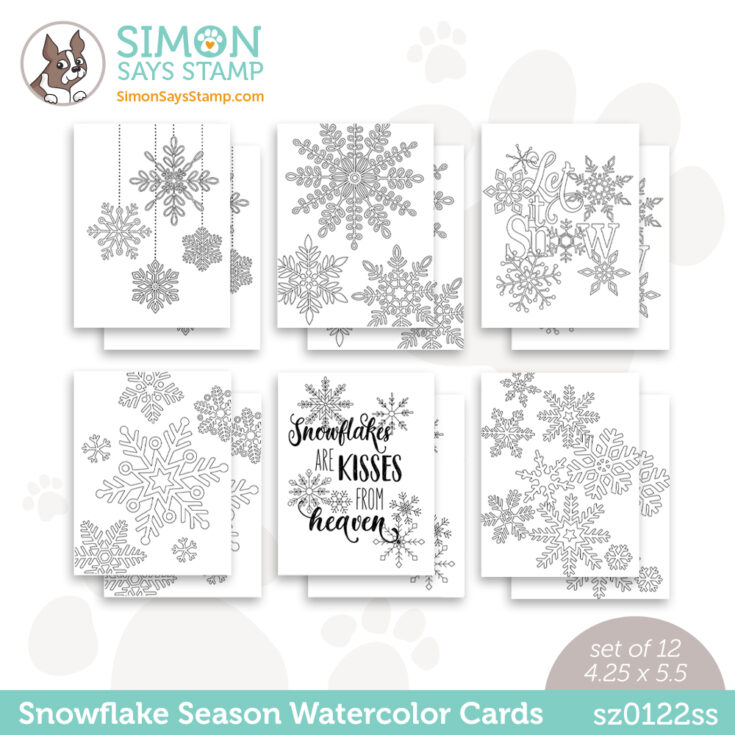
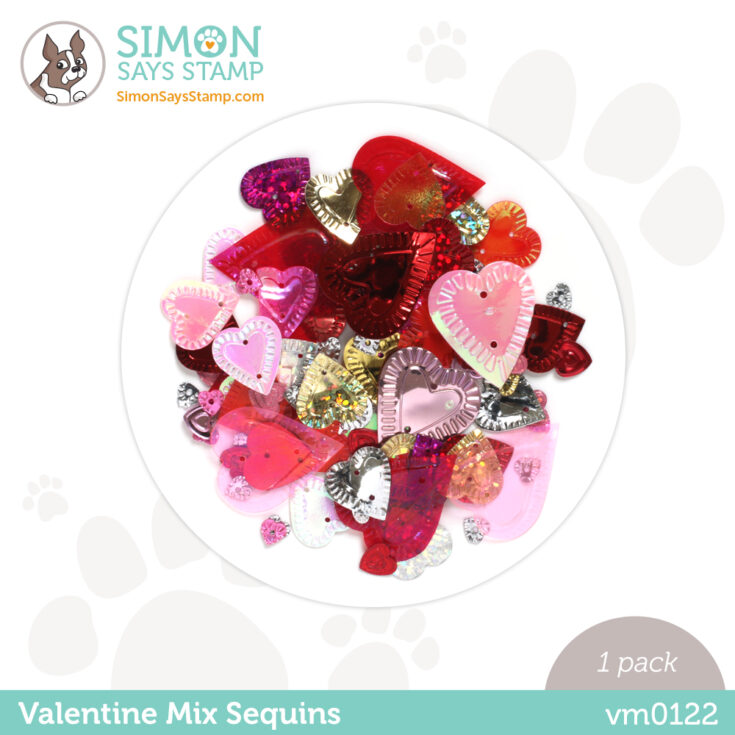
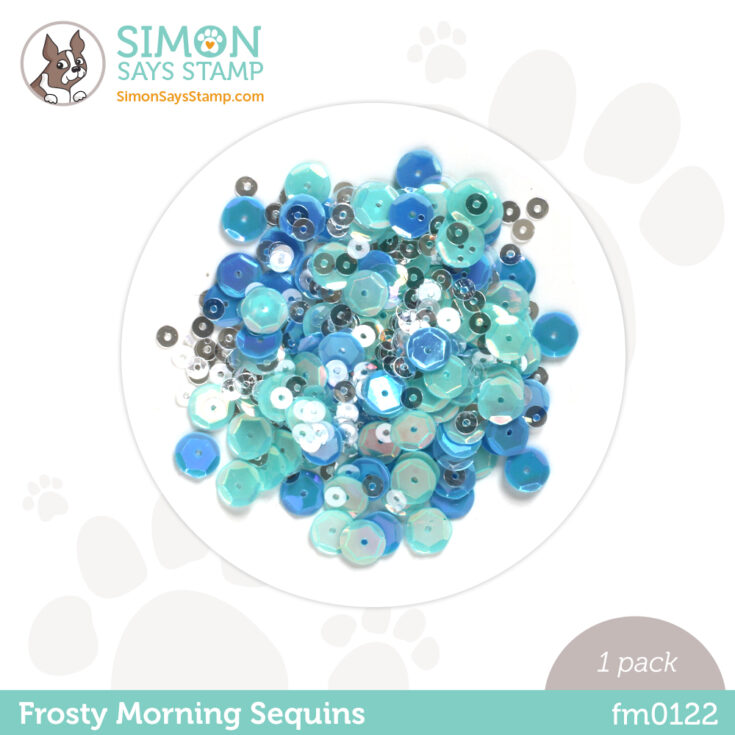
Our Simon Says Stamp exclusive To the Moon (originally released December 16th) and the And Back Again product lineups are full of lots of products to share the love! Included you’ll find an array of hearts and Valentine-themed stamps, dies, and stencils, dies for dimensional projects, clever sentiment dies, and a sun and moon themed products. No matter your style, you’re sure to find an item or two (or way more!) that need to be in your craft arsenal. There are some wonderful new products from CZ Design, and a brand new set of Suzy’s watercolor cards, too! We are so excited for you to play with all of these awesome new products!
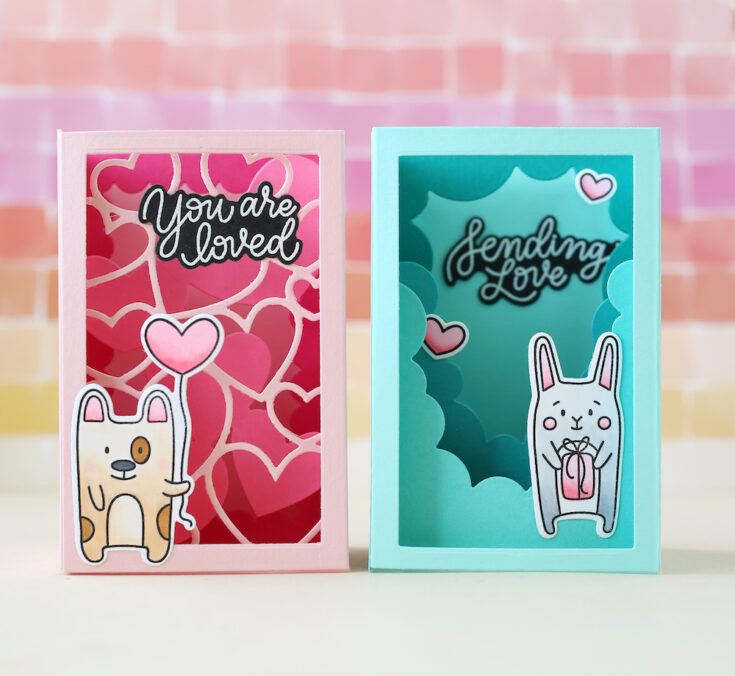
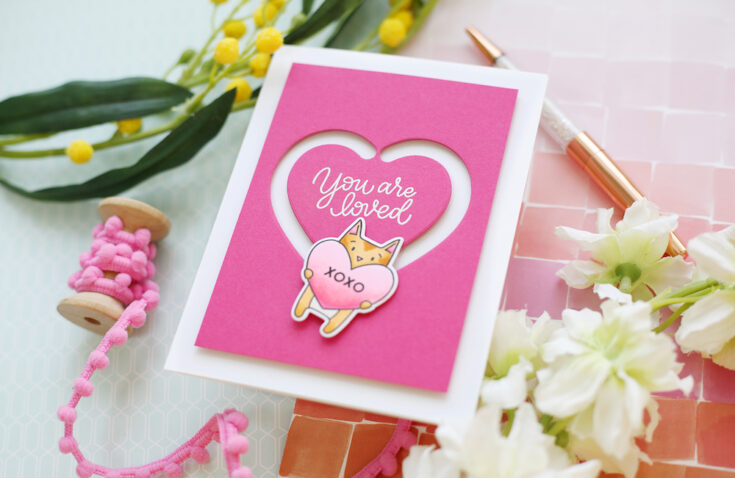
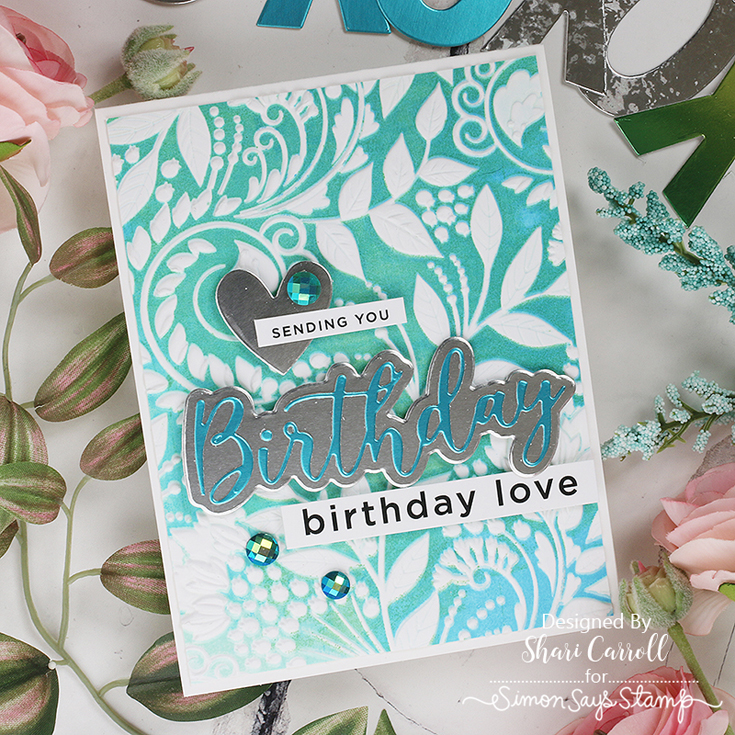
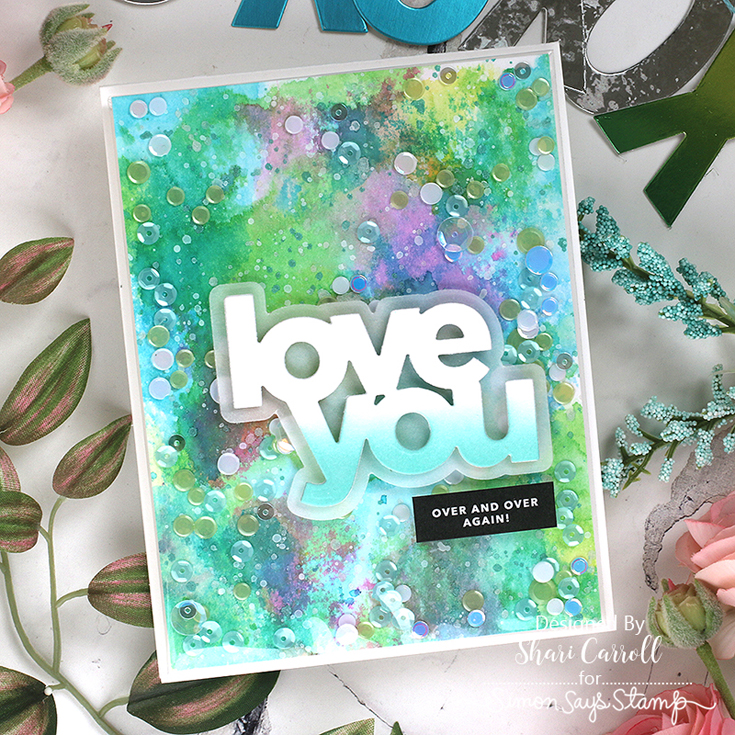
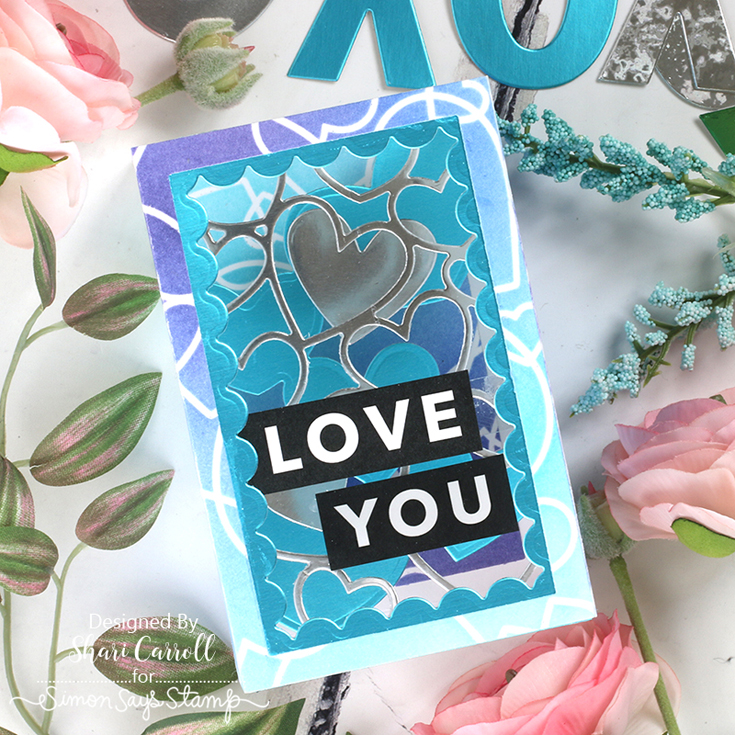
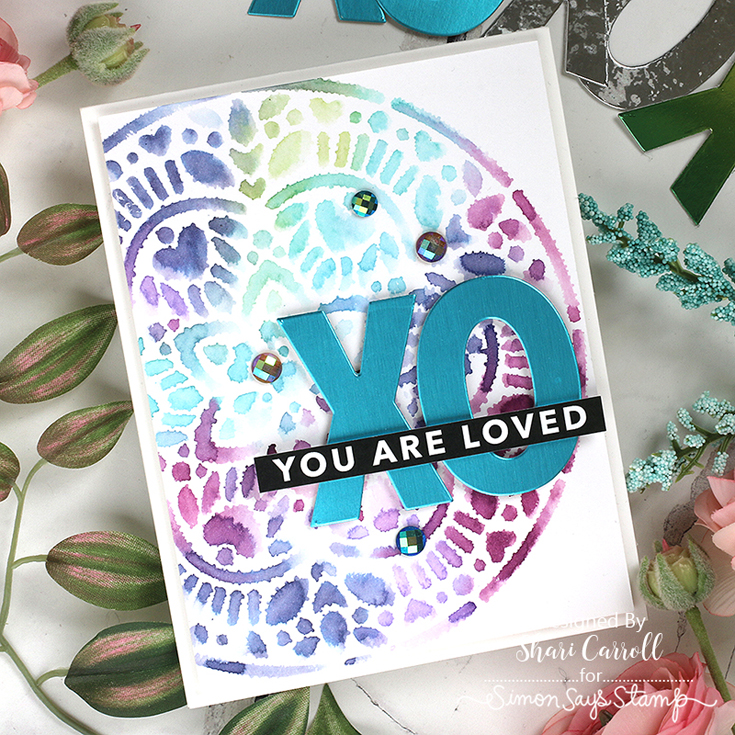
Before we hop, let’s take a look at some fabulous inspiration from Shari Carroll:
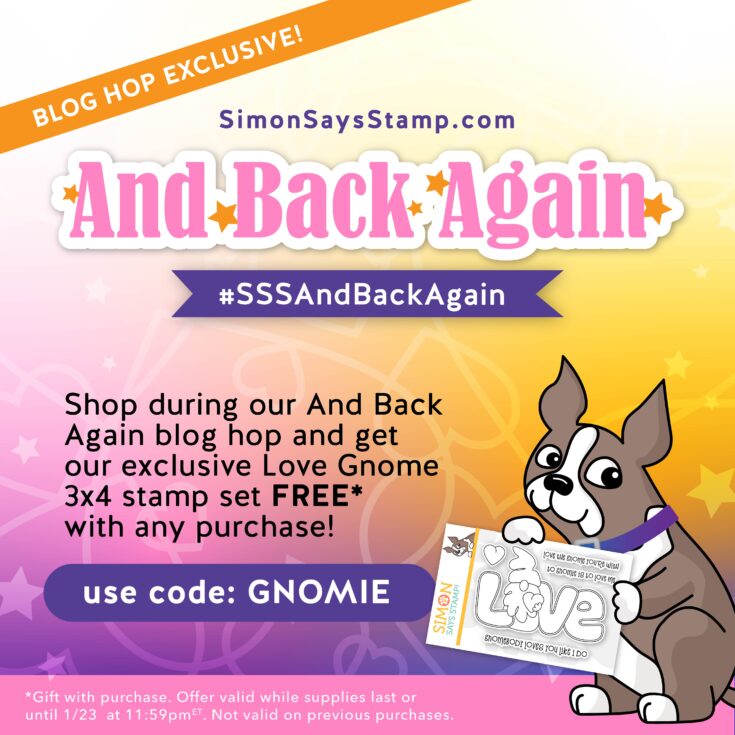
We love our customers! And we love your enthusiasm for our exclusive releases and blog hops. To celebrate, Simon has set aside a free gift just for you! The free gift with purchase for the this blog hop is the 3×4 Love Gnome stamp set! Check out the details on the banner at the top of this post for information about claiming your gift.
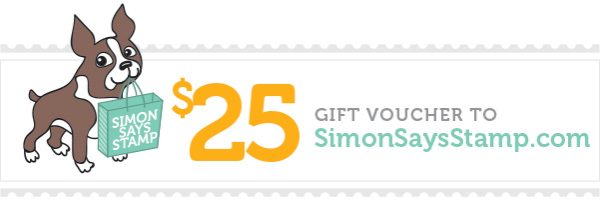
Ready for even more To The Moon and And Back Again inspiration? Hop along with these talented designers! You’ll be inspired AND for every comment you leave on each blog, you’ll earn a chance to win a $25 Simon Says Stamp store shopping spree. YAY!
Please share some feedback with these creative artists who work hard to inspire and excite us! Your comments mean so much to them.
- Simon Says Stamp Blog <<YOU ARE HERE!
- Laura Bassen
- Debby Hughes
- Amanda Korotkova
- Amy Rysavy
- Vicky Papaioannou
- Heather Ruwe
- Kulbir Kirkland
- Miriam Prantner
- Yoonsun Hur
- Heather Hoffman
- Lea Lawson
- Sandi MacIver
- Tina Smith
- Dilay Nacar
- Emily Midgett
- Jennifer Kotas
Thanks again for joining us today!
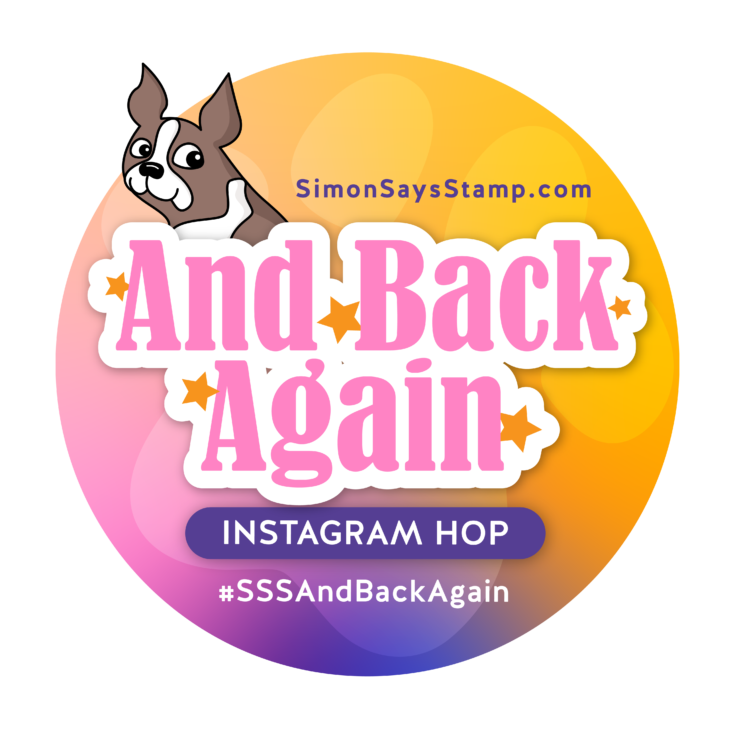
We hope you will join us on Instagram on Friday, January 28, for an Instagram Hop featuring even more inspiration from our And Back Again release! We are excited to share awesome ideas from several creative minds using these fantastic products.
You’ll love browsing our To The Moon gallery and the And Back Again gallery on our blog for loads of additional inspiration, and you can add your projects to these galleries as well!
You can check out the entire And Back Again collection below:

To The Moon And Back Again Blog Hop 1!
Hi, friends! Welcome to day one of two special release blog hops celebrating our To The Moon and And Back Again releases! Come back tomorrow for more amazing inspiration!
Our Simon Says Stamp exclusive To the Moon (originally released December 16th) and the And Back Again product lineups are full of lots of products to share the love! Included you’ll find an array of hearts and Valentine-themed stamps, dies, and stencils, dies for dimensional projects, clever sentiment dies, and a sun and moon themed products. No matter your style, you’re sure to find an item or two (or way more!) that need to be in your craft arsenal. There are some wonderful new products from CZ Design, and a brand new set of Suzy’s watercolor cards, too! We are so excited for you to play with all of these awesome new products!
OK! Let’s get a sneak peek of what’s in store for our blog hop today with inspiration from Shari Carroll! Shari used products from our And Back Again release to make these fantastic projects:
We love our customers! And we love your enthusiasm for our exclusive releases and blog hops. To celebrate, Simon has set aside a free gift just for you! The free gift with purchase for the this blog hop is the 3×4 Love Gnome stamp set! Check out the details on the banner at the top of this post for information about claiming your gift.
Ready for even more To The Moon and And Back Again inspiration? Hop along with these talented designers! You’ll be inspired AND for every comment you leave on each blog, you’ll earn a chance to win a $25 Simon Says Stamp store shopping spree. YAY!
Please let these talented designers know how much you appreciate their designs. They work hard to inspire and excite us!
- Simon Says Stamp Blog <<YOU ARE HERE!
- Nina-Marie Trapani
- Caly Person
- Nichol Spohr
- Jennifer McGuire
- Cathy Zielske
- Suzy Plantamura
- Sidnie Des Jardins
- Lisa Addesa
- Keisha Charles
- Anna-Karin Evaldsson
- Bibi Cameron
- Yana Smakula
- Mindy Eggen
- Barb Engler
Thanks again for joining us today!
We hope you will join us on Instagram on Friday, January 28 for an Instagram Hop featuring even more inspiration from our To The Moon and And Back Again releases! We are excited to share awesome ideas from several creative minds using these fantastic products.
You’ll love browsing our To The Moon gallery and the And Back Again gallery on our blog for loads of additional inspiration, and you can add your projects to these galleries as well!
You can check out the entire And Back Again collection here:
And Back Again… our newest exclusive collection to LOVE!
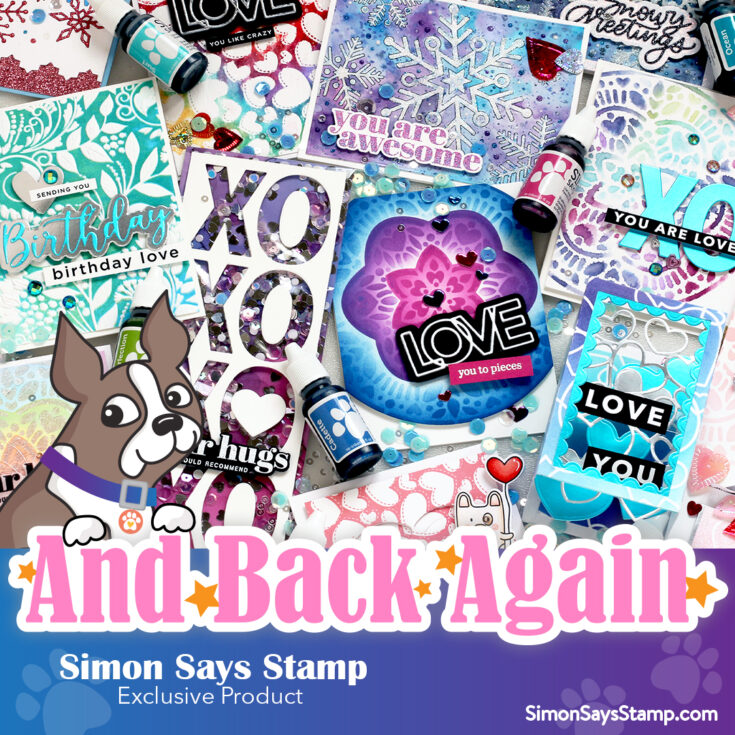
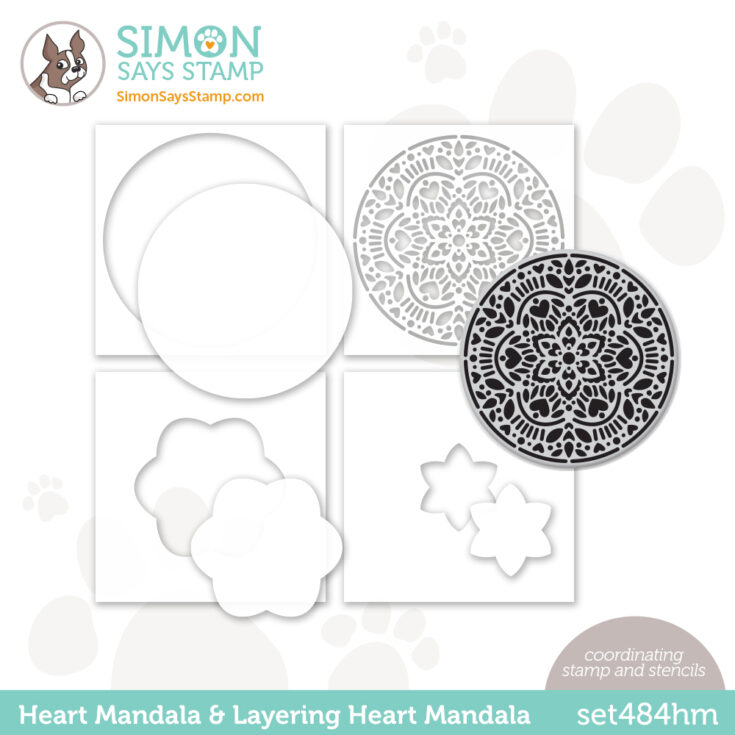
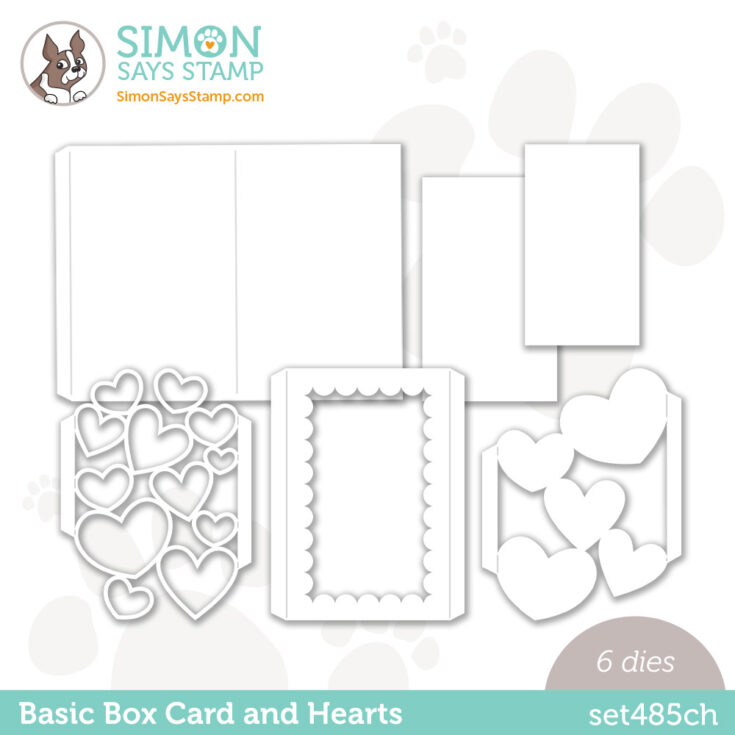
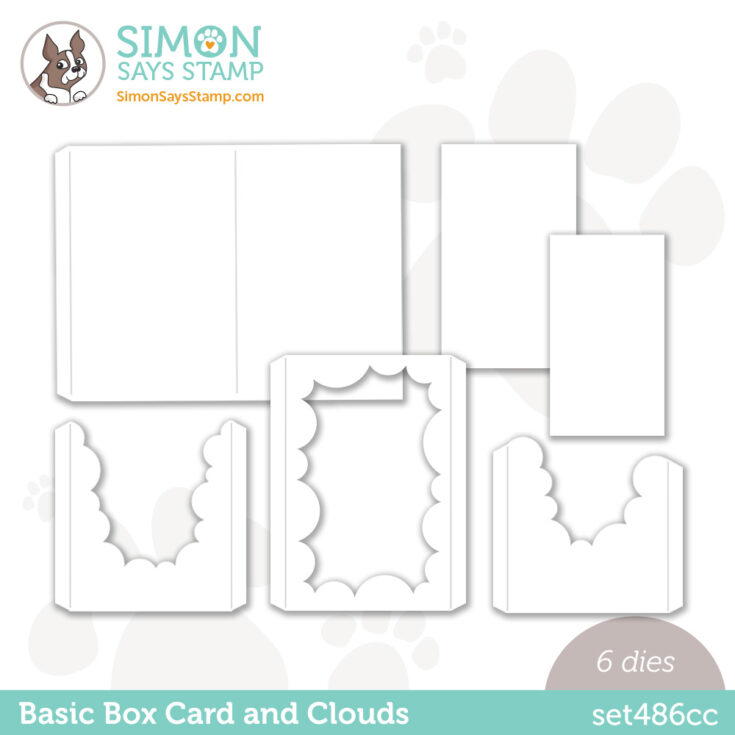
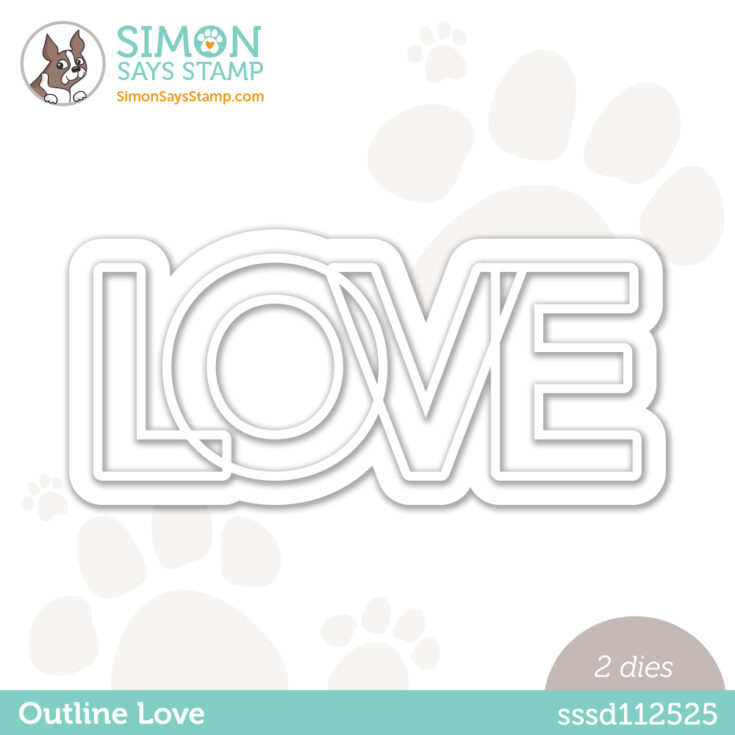
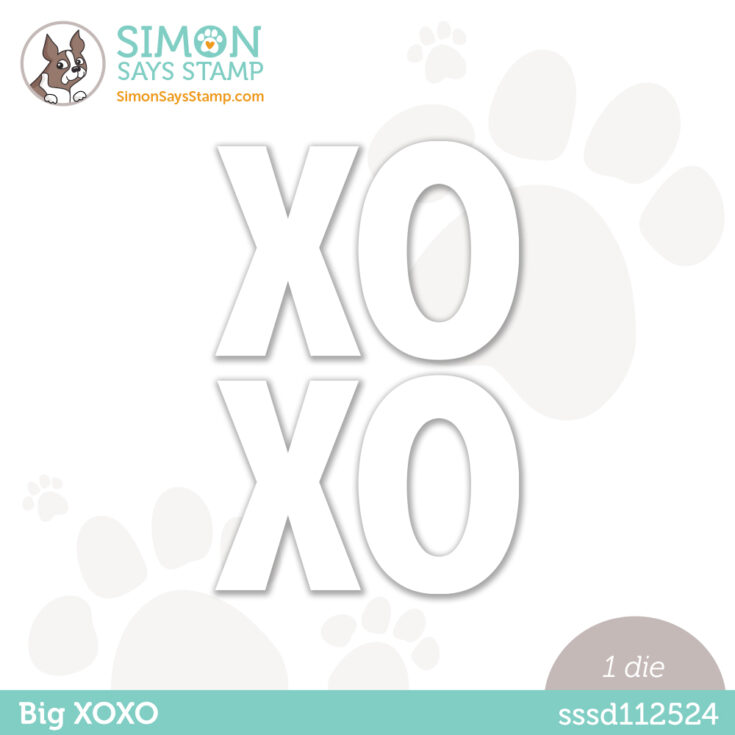
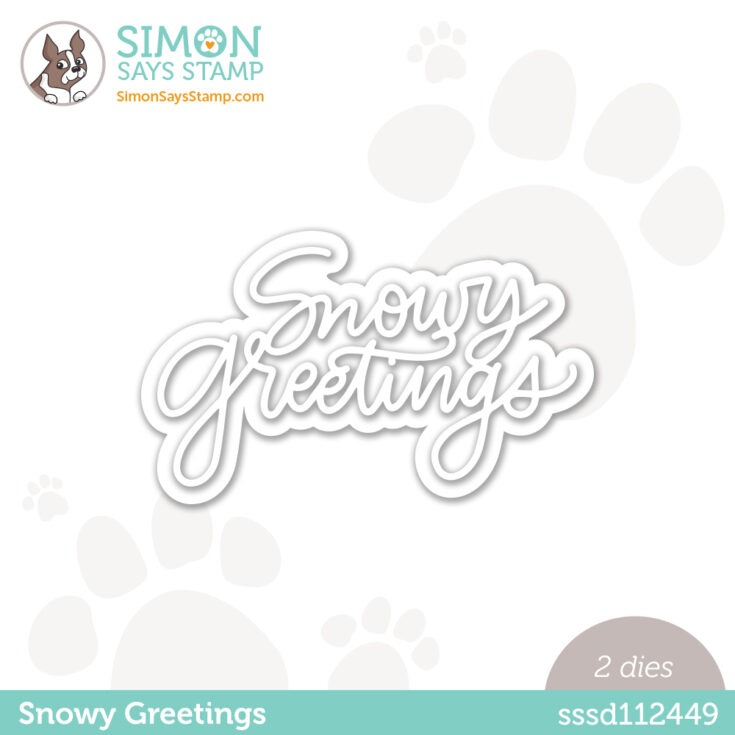
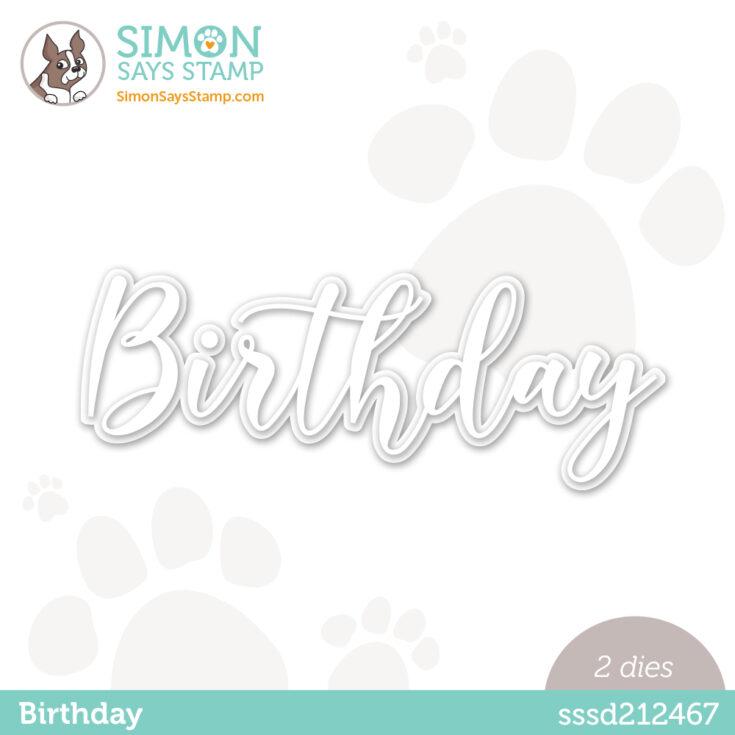
Introducing our latest collection And Back Again! A follow-up to our To the Moon release, this group of products includes versatile and exciting designs to celebrate winter, love, friendship, birthdays, and more! We’re debuting some fabulously innovative products like our coordinating Layering Heart Mandala stamp and stencil set and our super fun Basic Box Card with coordinating Basic Box Card Hearts and Basic Box Card Clouds!
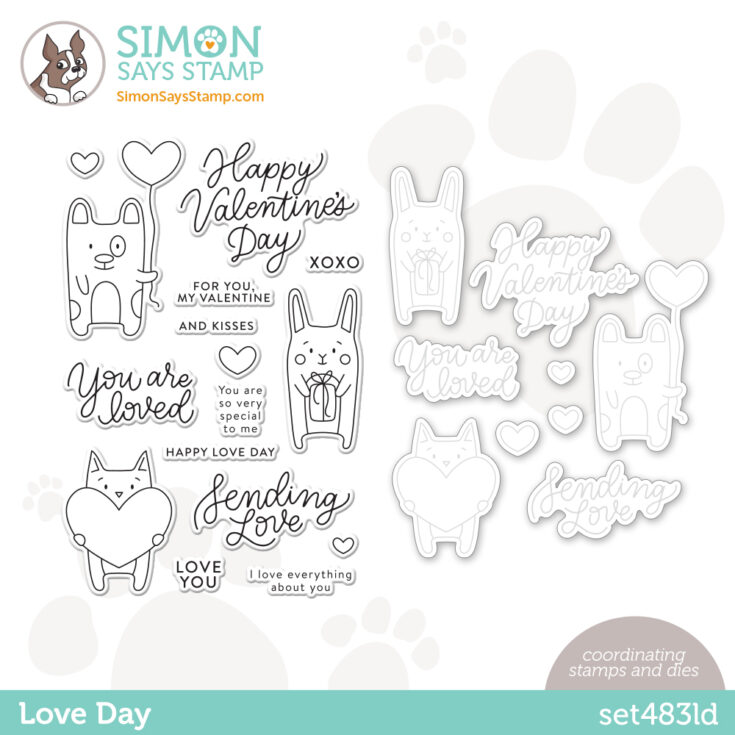
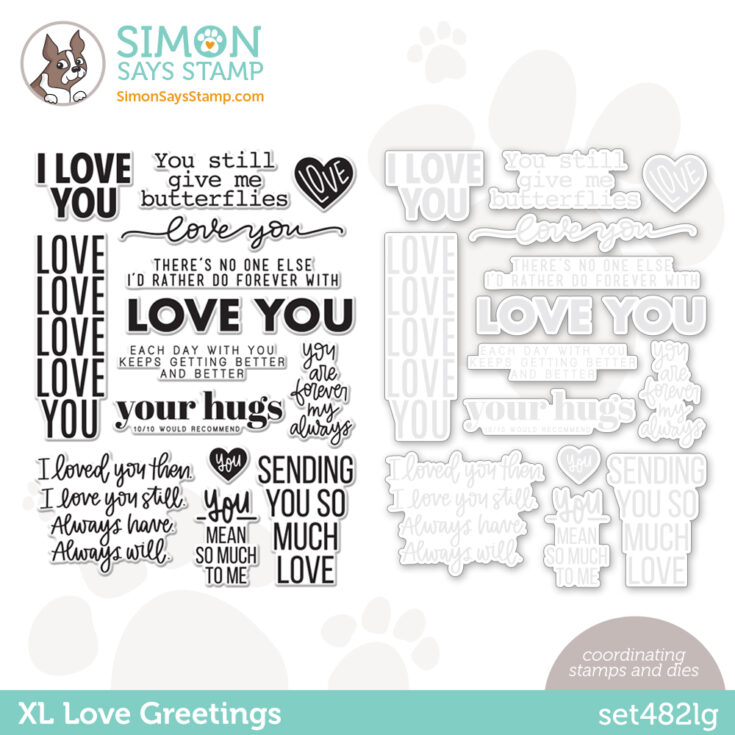
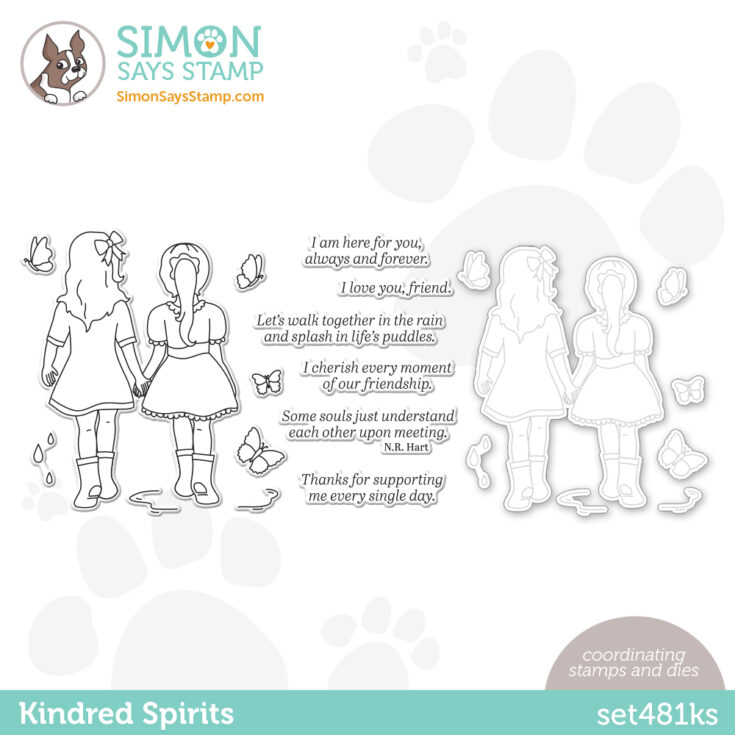
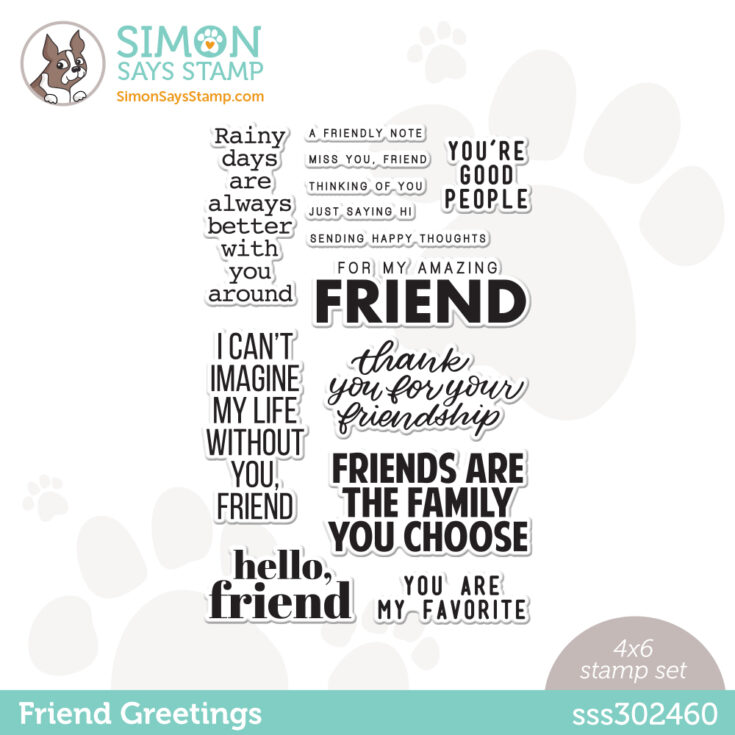
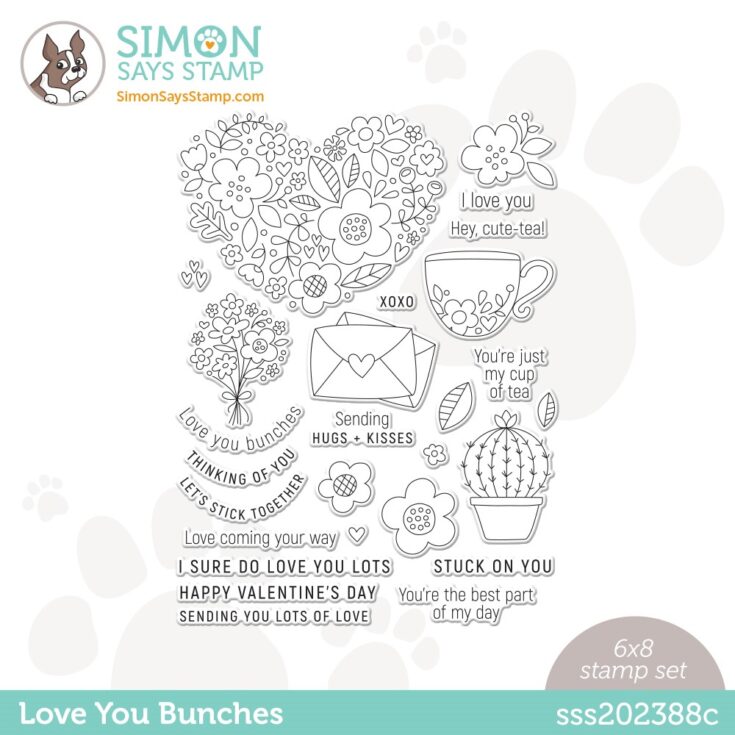
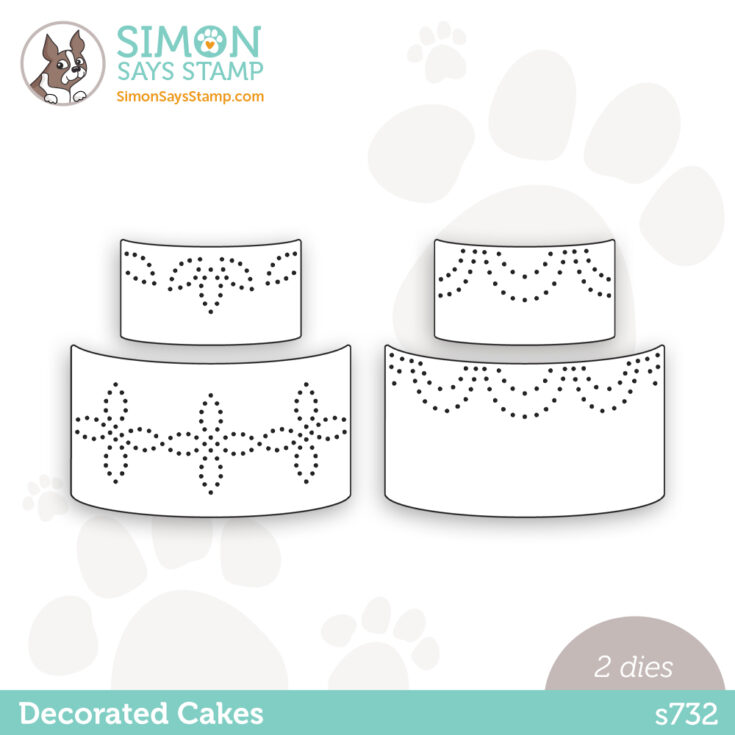
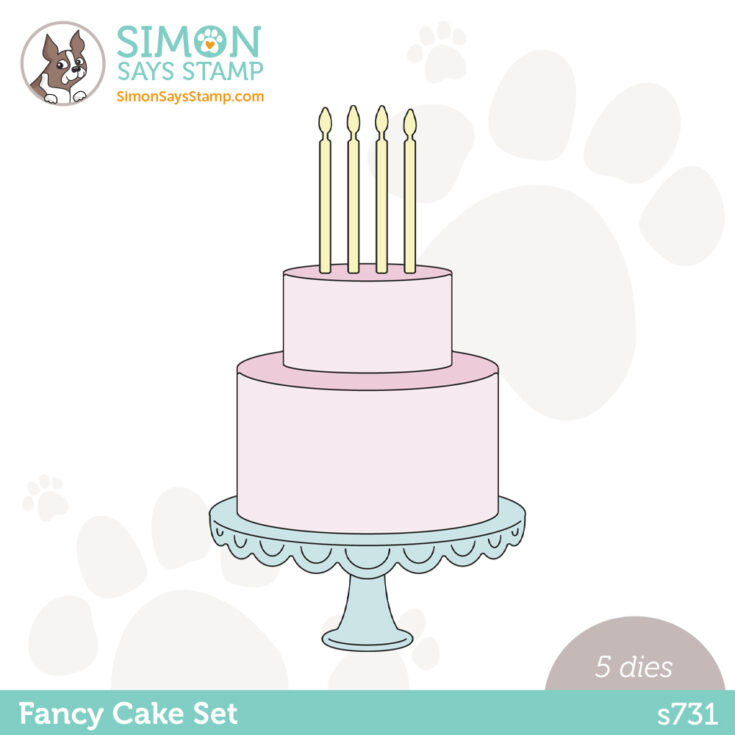
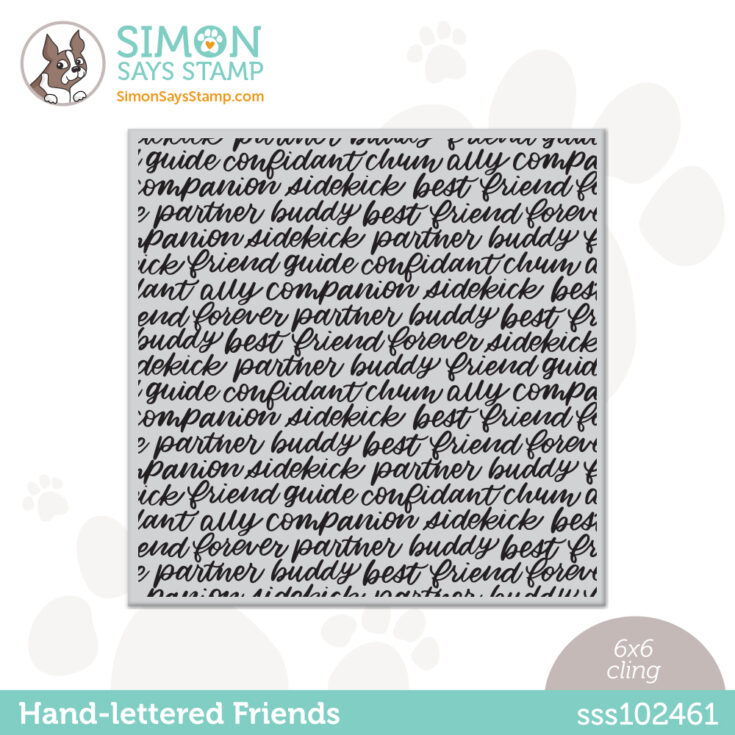
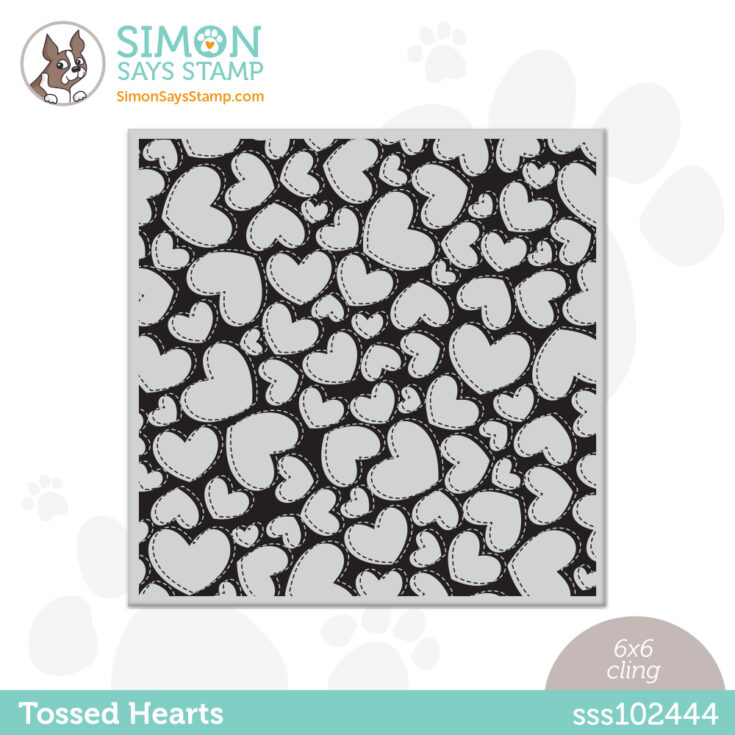
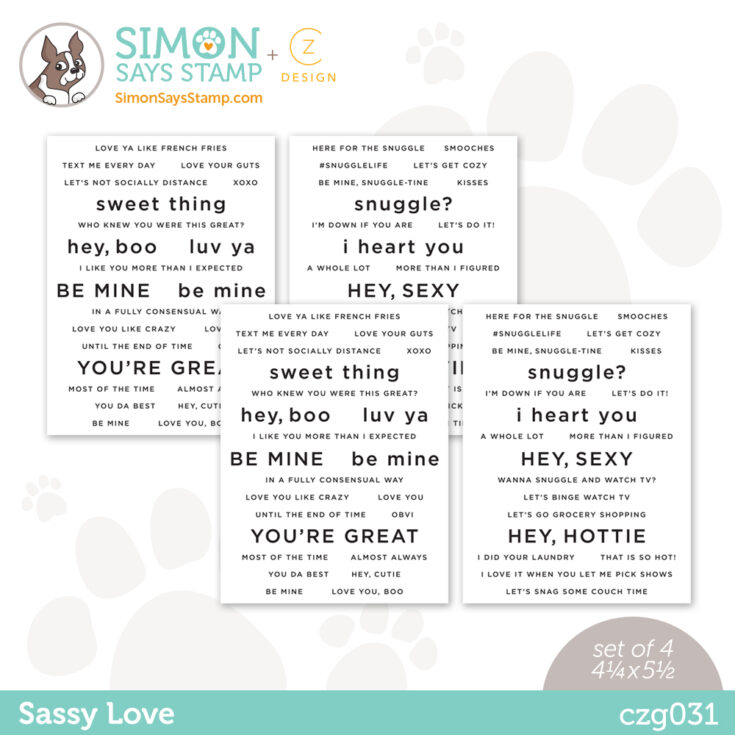
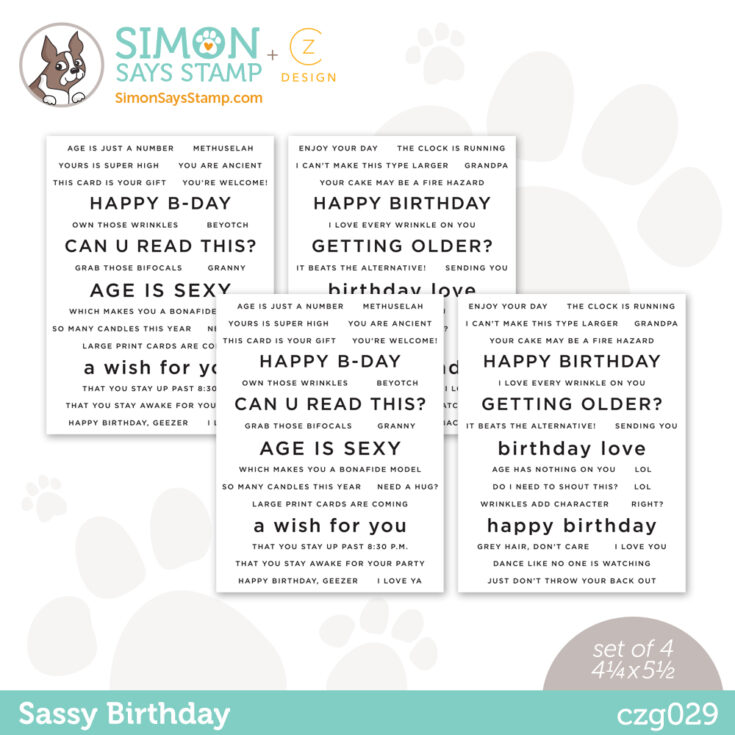
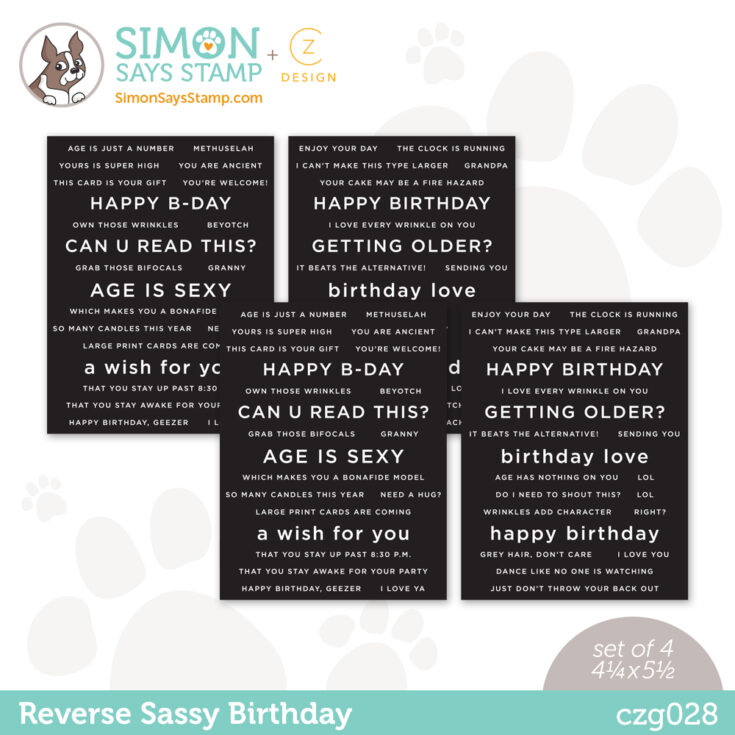
In the mood for love? Romantic XL Love Greetings, adorable Love Day stamps and dies, various heart-themed dies and stencils, and Sassy Love and And Back Again sentiment strips. Adore your bestie? Express that affection with our Friend Greetings stamps, Hand-Lettered Friends cling background, or Kindred Spirits stamps and dies. Got birthdays coming up? We’ve got you covered with our Fancy Cake Set, Decorated Cakes, and Birthday dies as well as our Sassy Birthday sentiment strips.
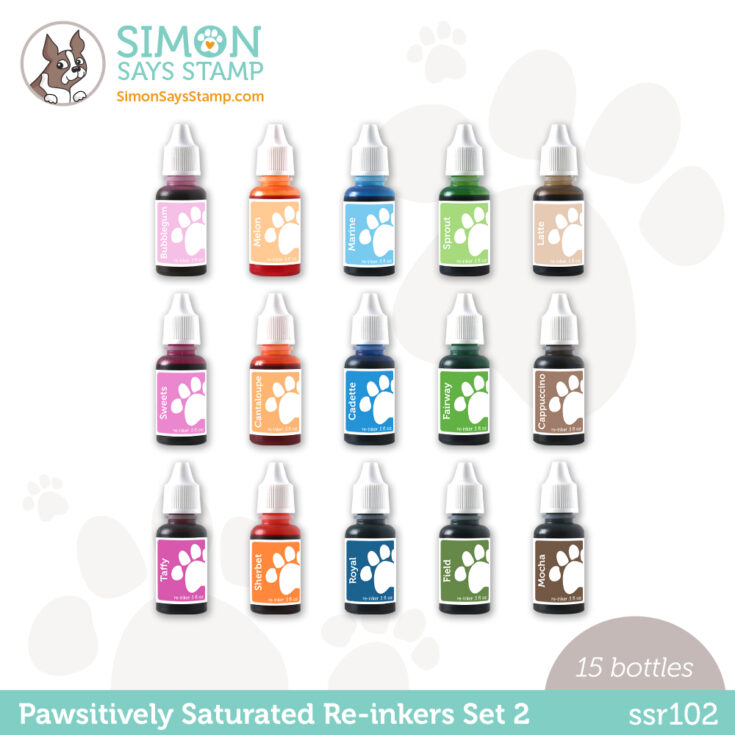
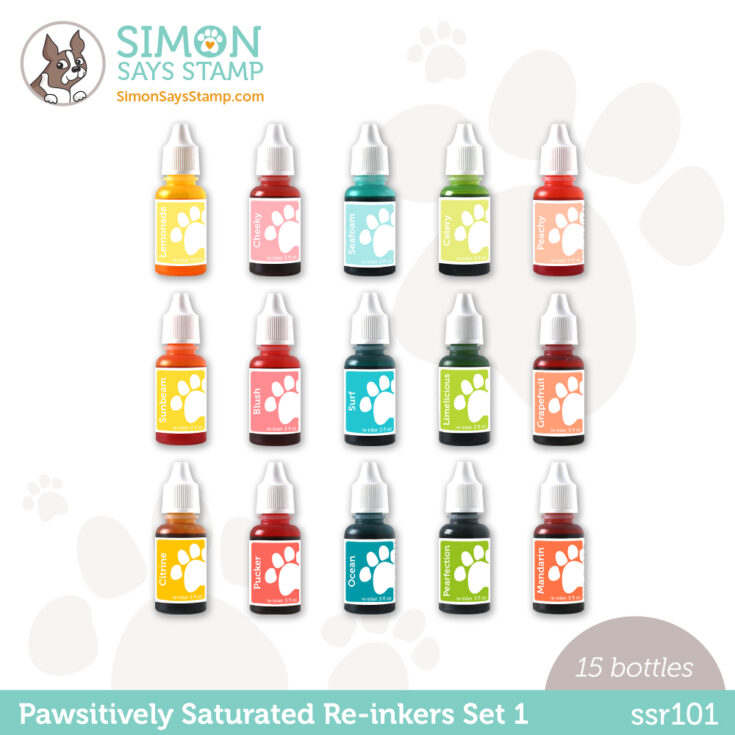
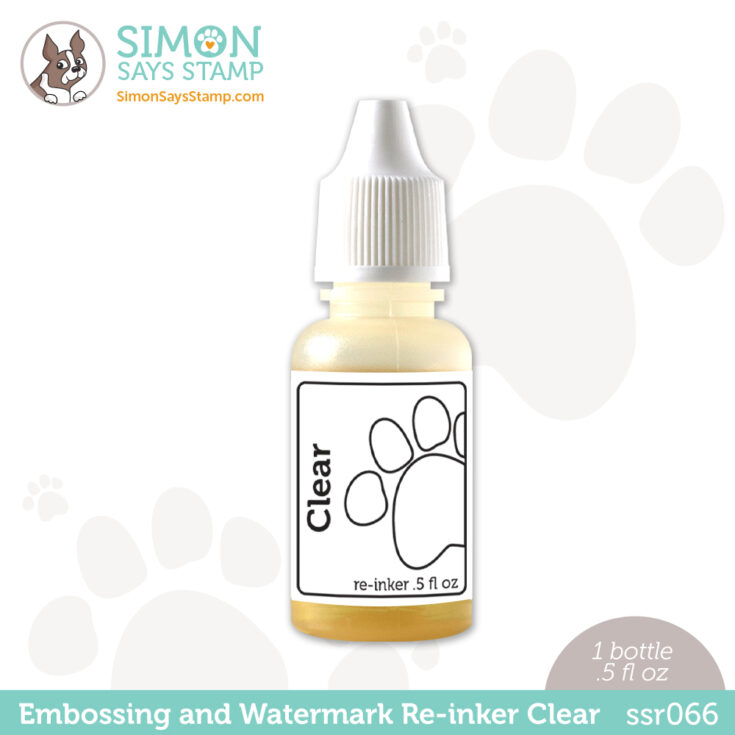
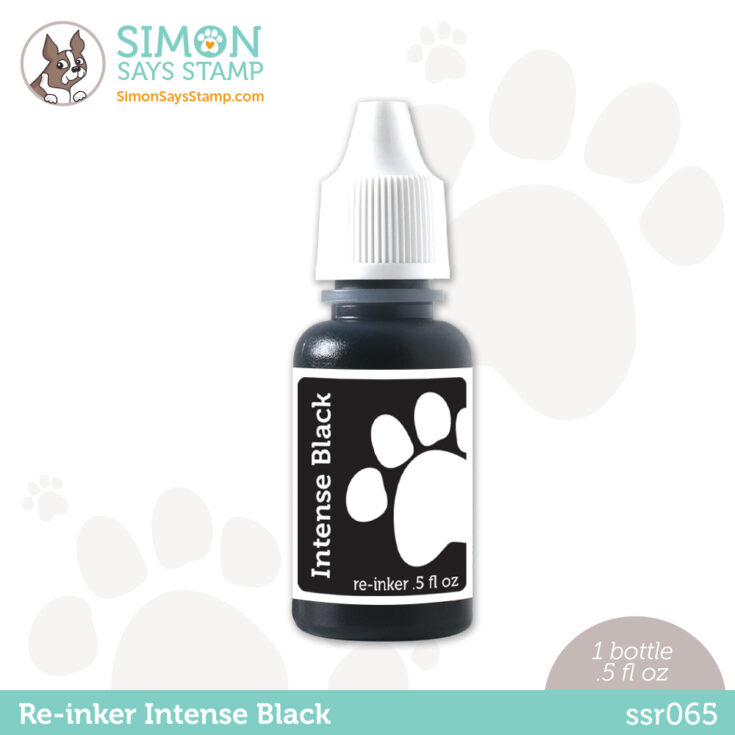
PLUS, we’ve got new re-inkers for our Pawsitively Saturated Ink pads! Watch the video below as Laura Bassen goes through all of the treasures in this collection.
WATCH THE VIDEO:
SHOP THE COLLECTION:
Get INSPIRED: