Doodling with Debby: Romantic Mixed Media Layers
Hi friends! Happy Tuesday! You will not want to miss this supremely gorgeous card creation by the one-and-only Debby Hughes showcasing our super cute Layered Chickadee! Read on and be sure to watch the video for all the details! Enjoy!
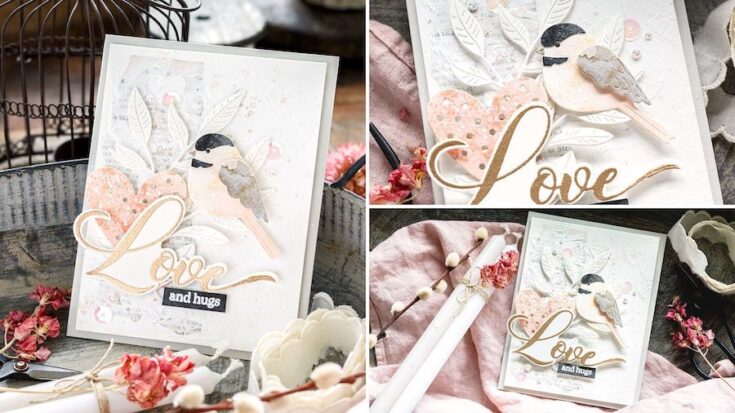
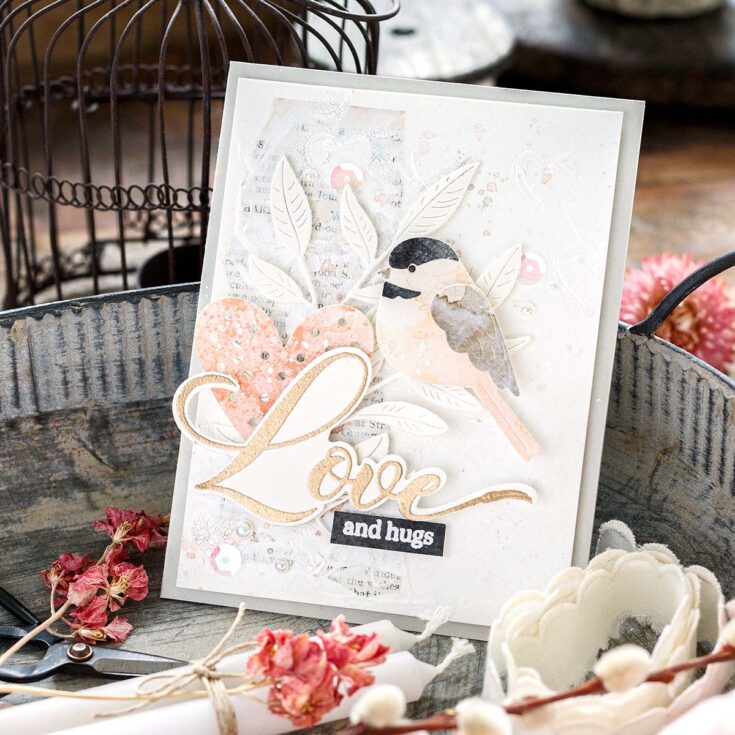
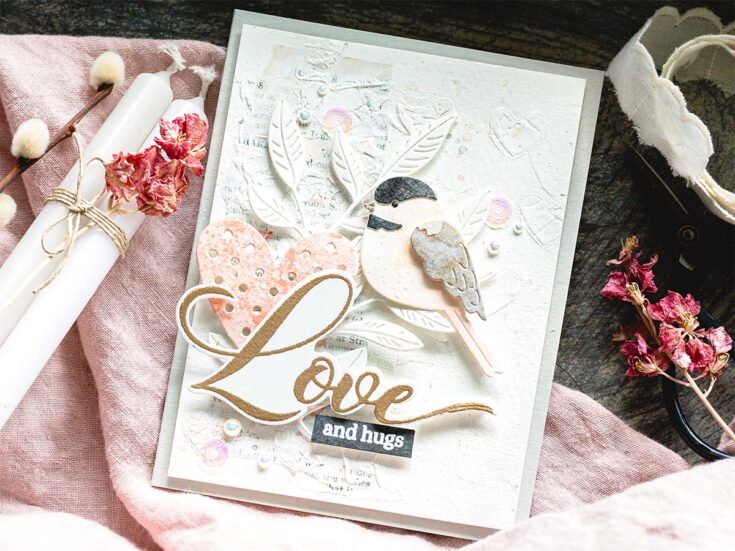
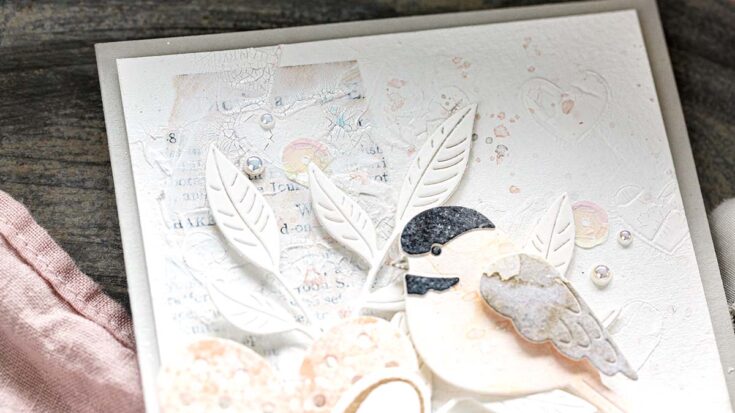
Hello, it’s Debby here. Today, I want to share my newfound love of mixed media layers with you. This soft whites and pastels palette makes for an excellent backdrop for this sweet Layered Chickadee. This card would make a great Valentine’s, but equally is generic enough to be sent any time of year.
Before I get started, as this is my first video of the year, I want to wish you a fabulously creative, safe and healthy 2022! Right onto the supplies I used, I wasn’t sure if I was going to use all of these, but as it turns out, I did. So there’s the Layered Chickadee, Dotted Heart, and Privet Branch dies, the Polka Hearts stencil and the So Much Love stamp and die set. All these products are listed and linked below for your convenience.
step by step how to
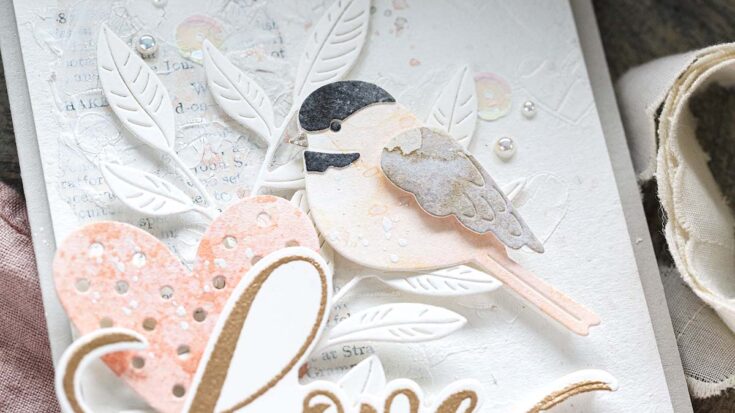
- Cut a few pieces of Fabriano Artistico Cold-Pressed watercolour card and, using the dip and dry method, colour the pieces with Antique Linen + Tattered Rose for the body of the Layered Chickadee, Picket Fence and Frayed Burlap for the wing, Black Soot for the head and neck and finally Abandoned Coral for the Dotted Heart die.
- Run the dies through with the various coloured card using Painter’s Tape to keep the dies in place. Also, die-cut a Privet Branch die from Ivory card.
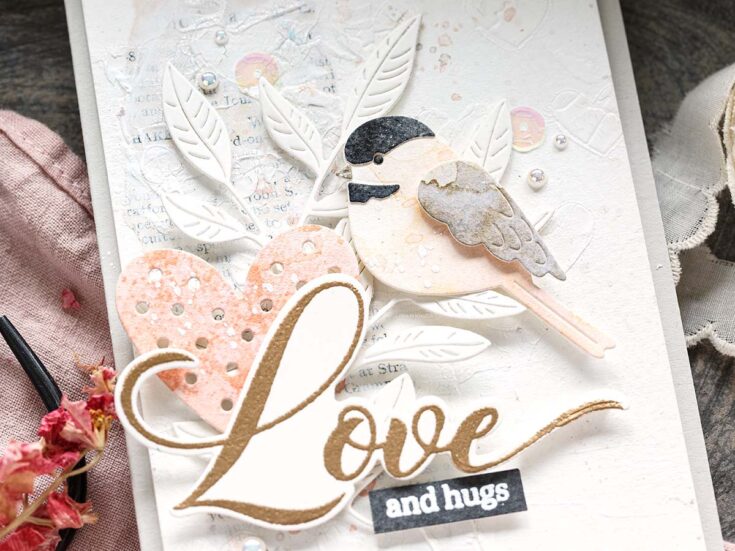
- Use the cream/white die-cut for the Chickadee body, attach the grey/brown wing to the bird with foam tape.
Glue the black head and neck pieces in place with a grey/brown beak.
- Attach foam adhesive to the back of the Chickadee and use the sticky surface to attach a black eye die cut.
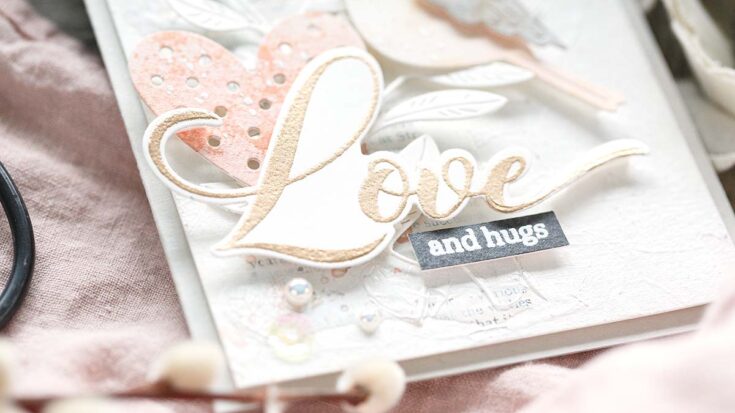
- Stamp the large script ‘Love’ greeting from the So Much Love set on Ivory card with Versamark ink and heat emboss with Antique Gold embossing powder.
Die-cut with the matching die.
- Stamp a coordinating sentiment from the So Much Love on leftover Black Soot card in Versamark ink, and white heat emboss.
- Trim the sentiment out with a craft knife, clear, gridded metal-edged ruler and a self-healing cutting mat.
Using a piece of the watercolour card and the dip and dry method, create another card using Tattered Rose Distress Ink and run through with the Dotted Heart die to create a heart that tones better with the colour palette.
- Take a watercolour card and adhere a torn piece of book paper.
- Apply gesso over the paper with an old paintbrush or spatula.
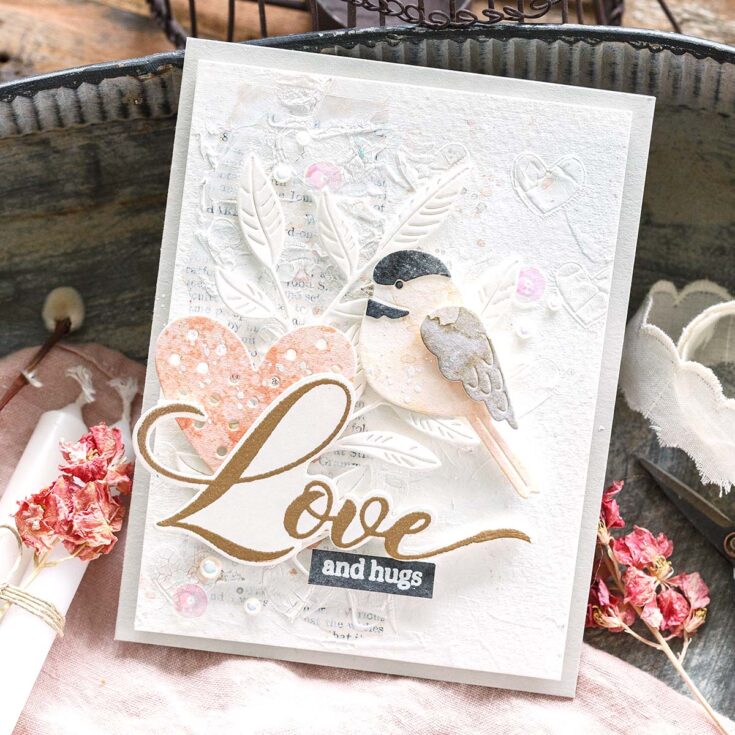
- When dry, using the Polka Heart stencil, swipe Tim Holtz Distress Crackle Texture Paste through the hearts on the stencil.
- When dry, splatter with Tattered Rose and Pumice Stone Distress Inks along with White Gouache.
- Apply more Crackle Texture Paste to blur the lines of the book paper.
- Splatter again with Tattered Rose.
- Add foam adhesive to the back of all of the elements. Add the panel to a card base cut and scored from Fog card.
- Add the Privet Branch die and then the two elements of the greeting. Next, tuck the Dotted Heart die in behind the script greeting. Finish up by adding the Layered Chickadee die cut.
- Finally, add sequins and pearls held in place with Gina K Connect Glue.
Well, that’s me for this month. I hope you enjoyed this tutorial; you’ll find the video below. Thanks for joining me, and I hope to see you next time for Doodling With Debby.
WATCH THE VIDEO:
SUPPLIES:
|


Thanks so much for stopping by, and to Debby for being our guest!
Making the Cut: Foil and Cut Love Cards

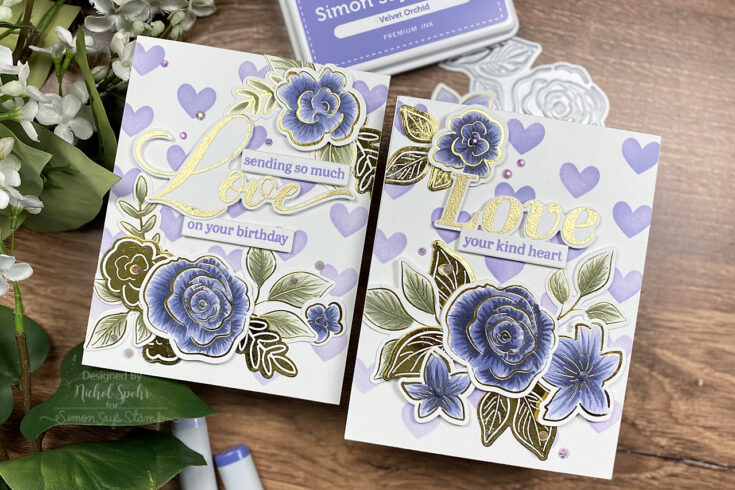
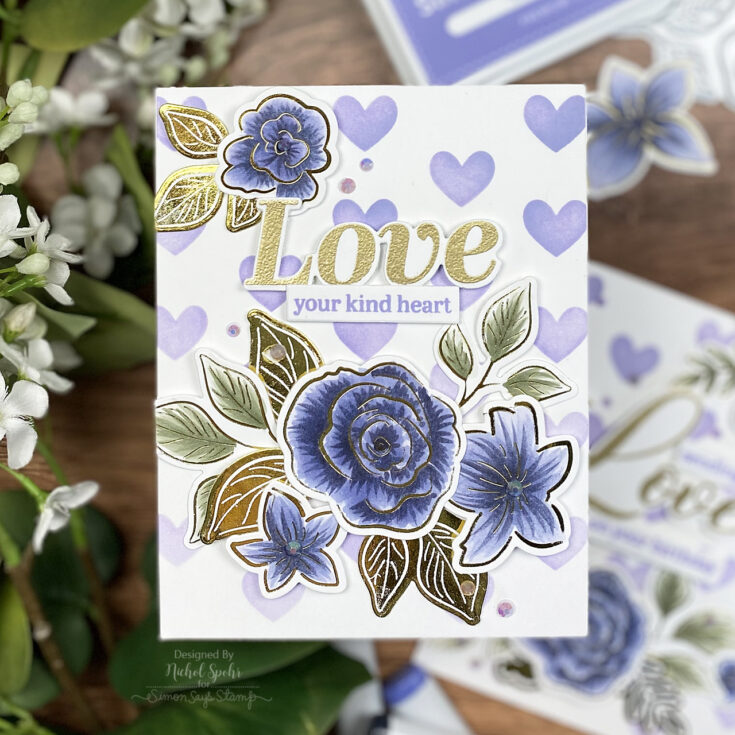
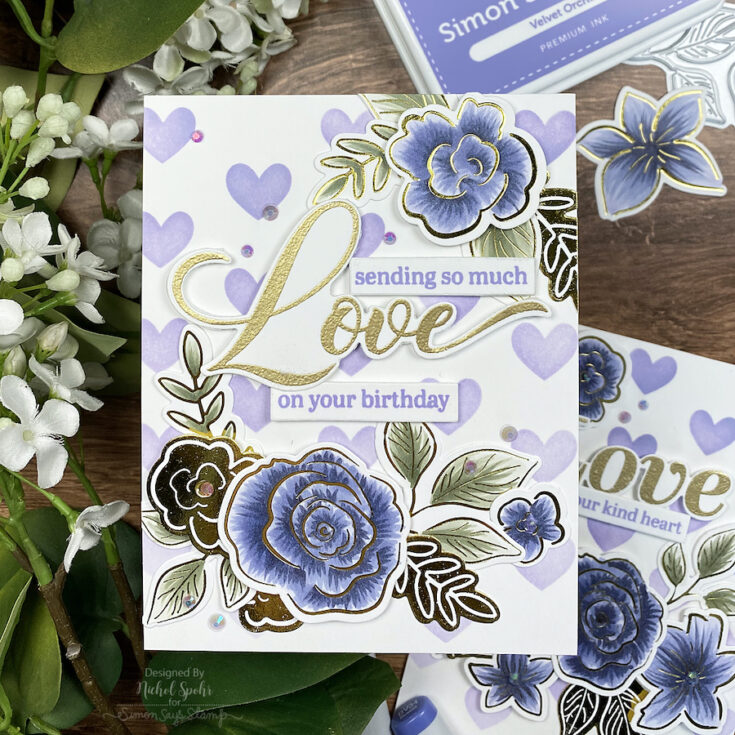
Hi friends! Happy Monday! Please join me in welcoming back special guest Nichol Spohr in our monthly edition of our Making the Cut blog series– celebrating the love of all things die cutting!! Nichol is showcasing some of new and super pretty Hot Foil and die cut sets: Sketched Rose Blossom and Leaves, Sketched Rose Trio, and Sketched Garden Flowers! She’s also showcasing our newly released Love You So Much stamps and Polka Hearts stencils! Be sure to watch the video for additional information and enjoy!
WATCH THE VIDEO:
SUPPLIES:
|


Thanks so much for stopping by, and thanks to Nichol for being our guest!
Not a Card with Nina-Marie: Clay Heart Wall Hanging
Hello creative friends, it’s Nina-Marie Trapani here with you! I love making home decor projects, and I thought it would be fun to take some clay and create a heart wall hanging for Valentine’s Day! Now if you don’t want to make a wall hanging, you could adapt this idea into simple ornaments that you could give to people you love!
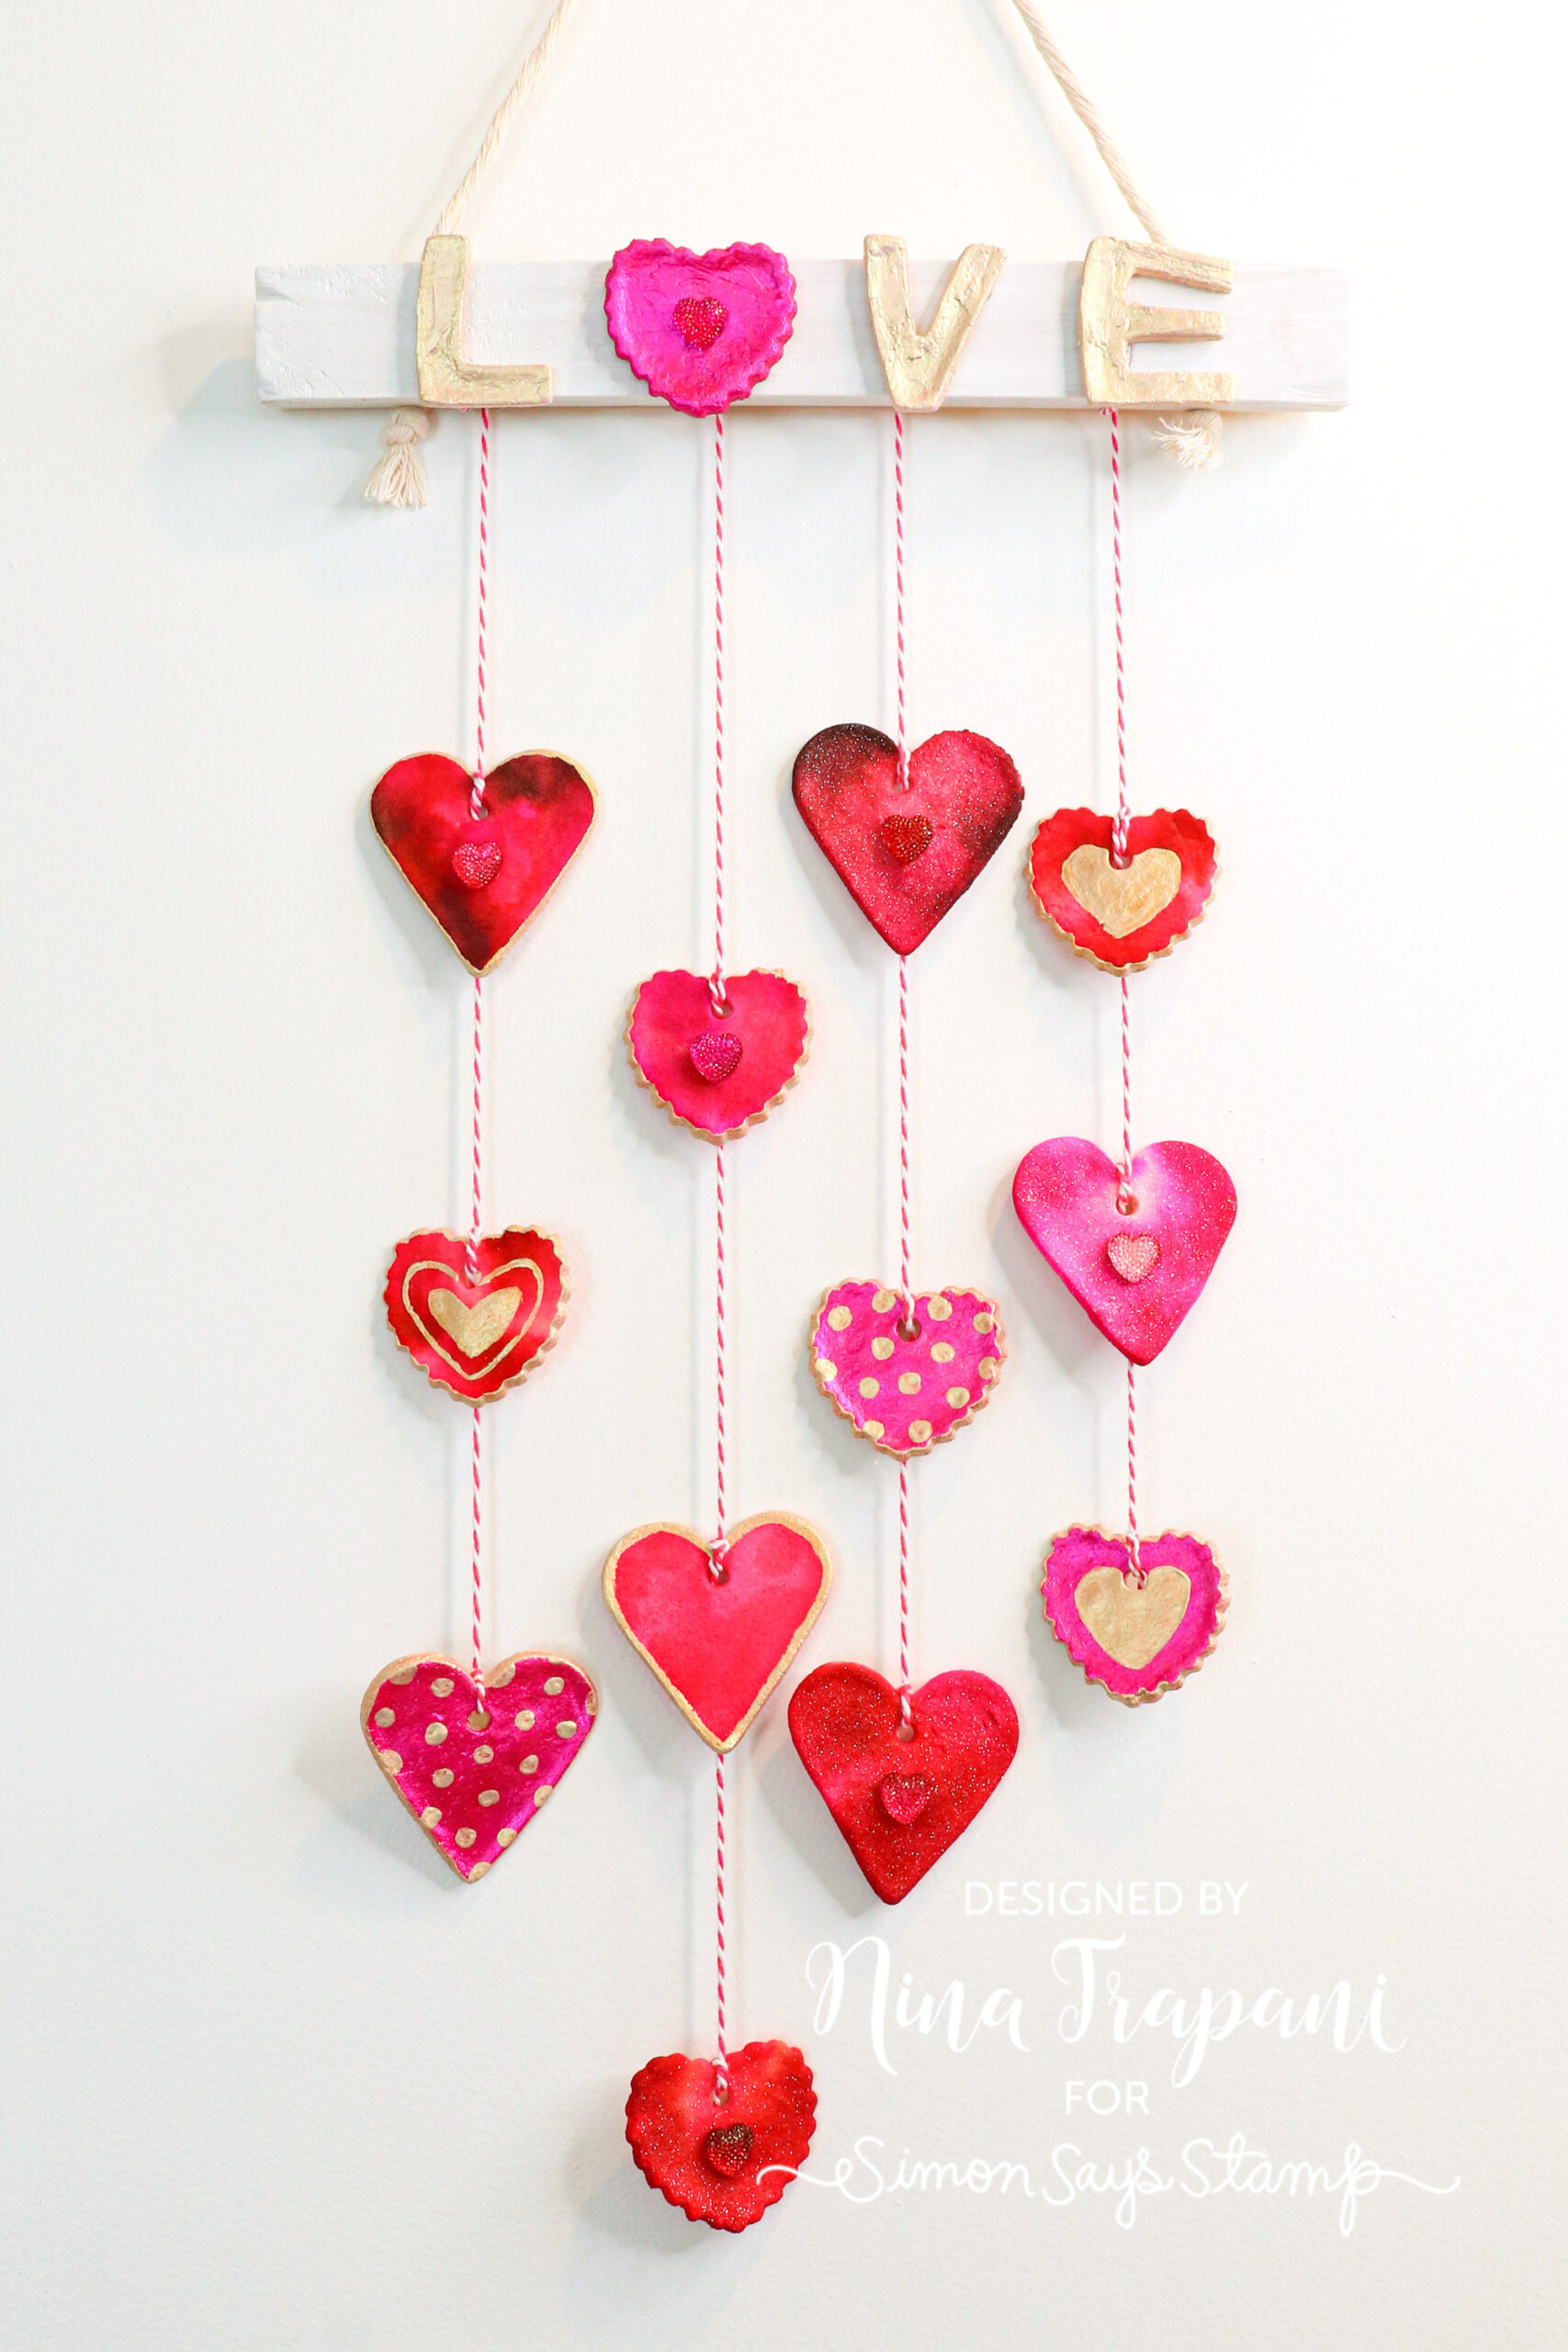
You have the option of using either pre-made or homemade clay cut with cookie cutters. Because of the fact that I was making so many of these hearts for this wall hanging, I opted to use homemade clay. The recipe is a combination of 2 cups of flour, 1/2 cup of salt, and 3/4 cup of water. To bake the clay I set my oven temp at 180 degrees F and baked the hearts for about and hour and a half.

To color the hearts, you can use paint and alcohol inks. I used both for my hearts to create a variety of designs.
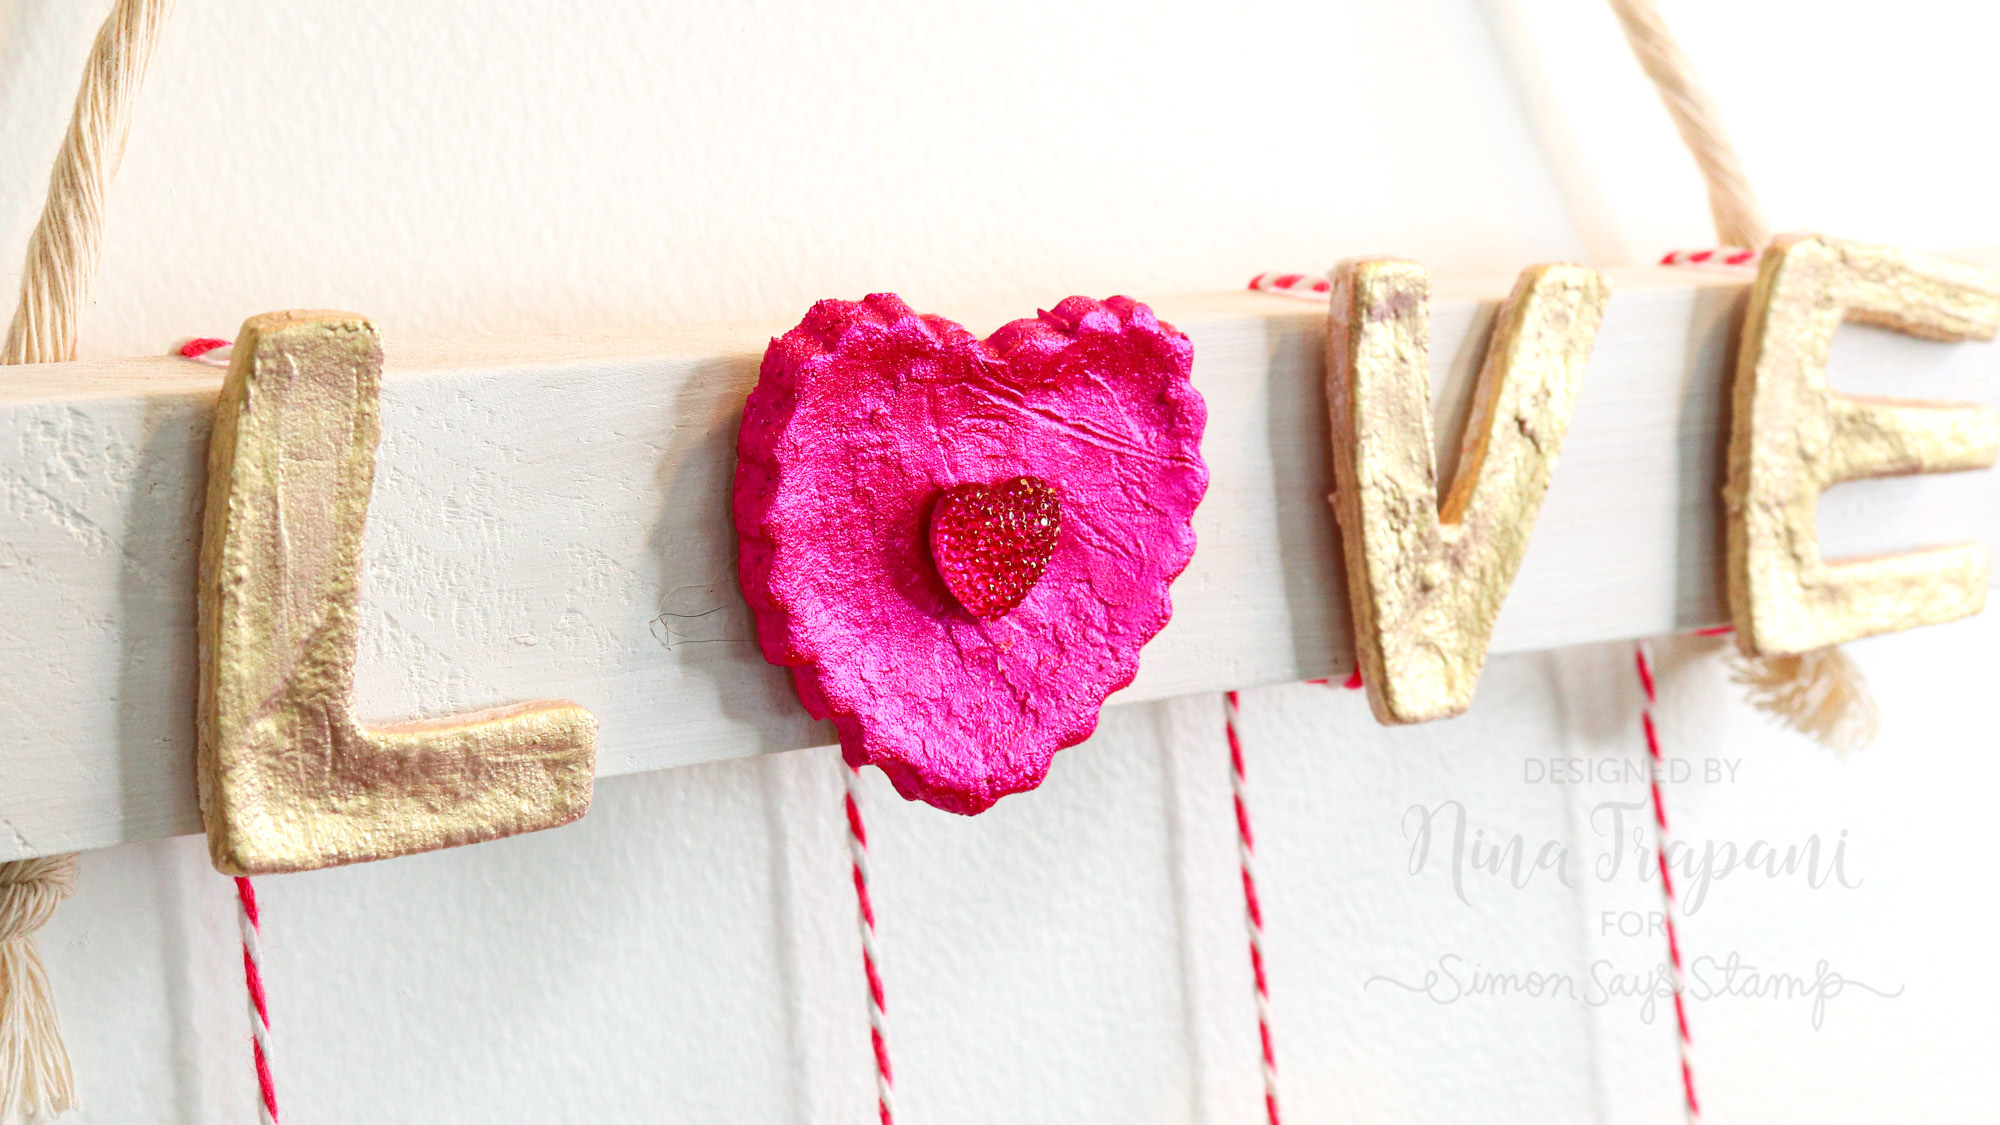
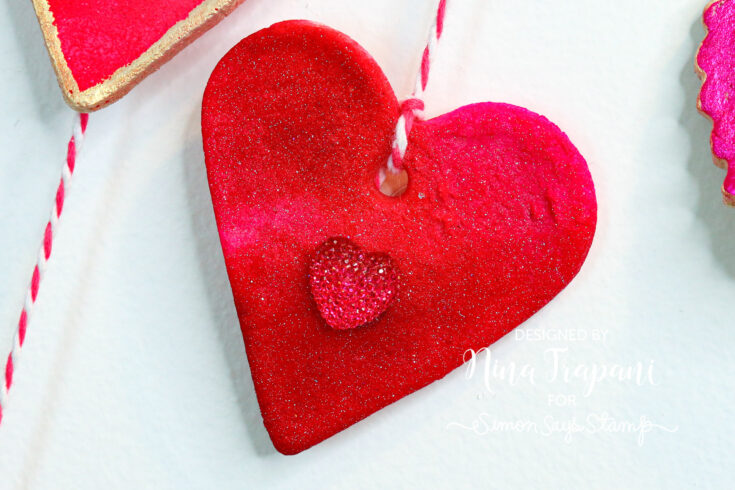
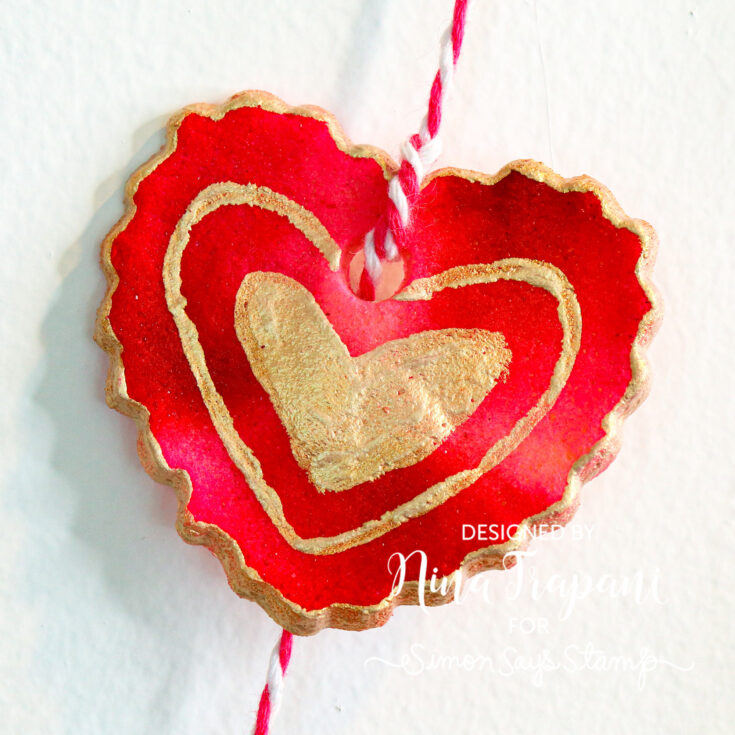
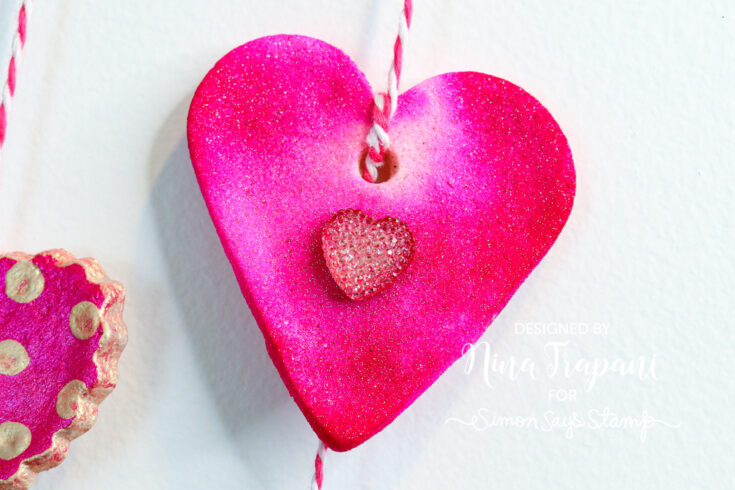
The only other embellishment I added to these hearts were a few Gumdrop Hearts from Tim Holtz.
Be sure to watch the video below to see all the steps I took in creating this wall hanging! It was a lot of fun and would make a great decor piece leading up to Valentine’s Day!
WATCH THE VIDEO
SUPPLIES
|


