Mixed Media with Shari Carroll: Butterfly Bottle

Welcome, everyone!! It’s Shari Carroll here to bring you some inspiration for a fun little project to try. I’m all about being resourceful and since recycling is my jam… I put those things together to create a frosted Starbucks bottle full of flowers and butterflies that’s pretty enough to display!
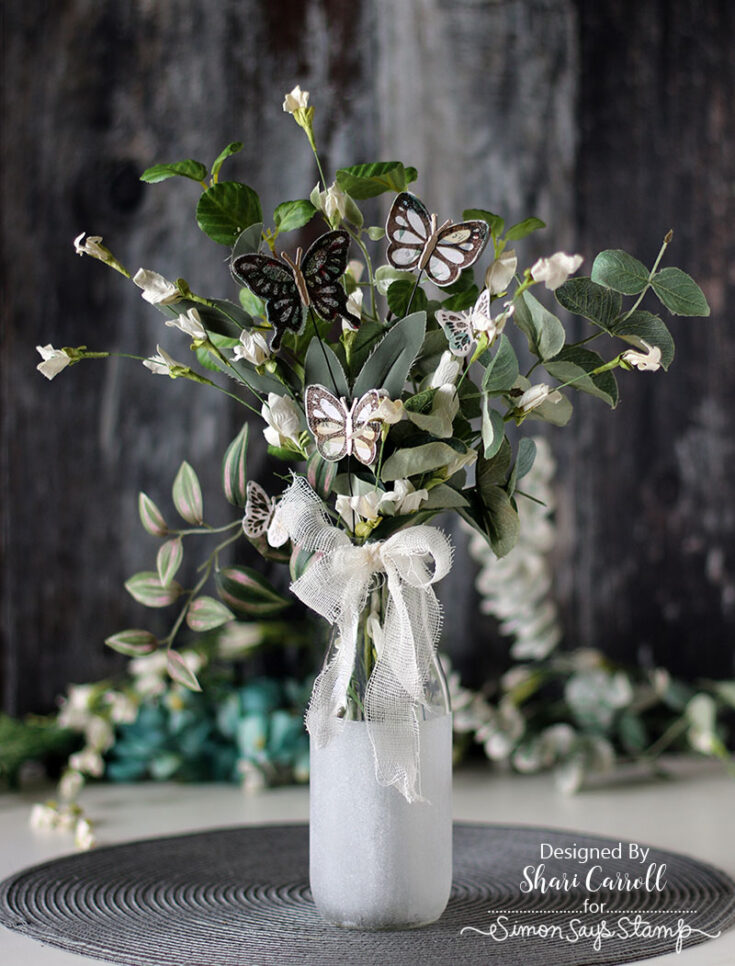
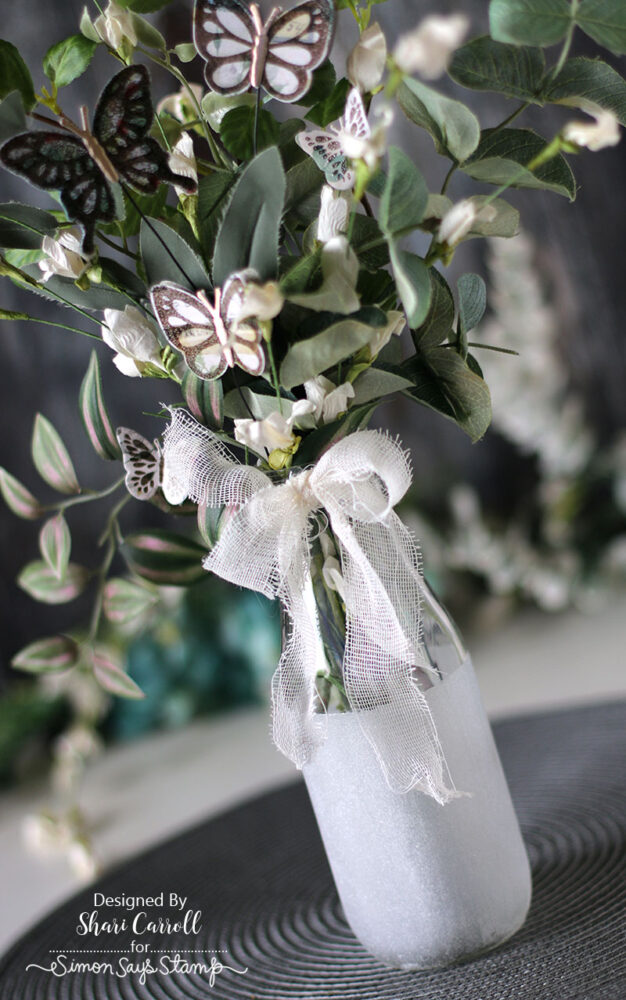
For the bottle, I’ve taped off a portion of it, then used Tim Holtz Collage Medium with Frosted Crystal embossing powder to transform it.
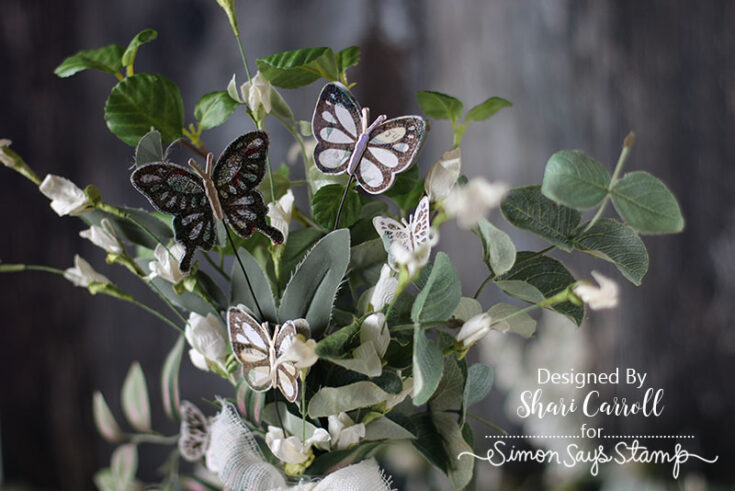
I’ve added some greens and flowers to the bottle, then stamped and embossed some Concord and 9th Butterflies to add to the mix. I finished it up with a bit of Mummy Cloth wrapped around the top and tied in a bow.
I’ve filmed a video of the process that you can view below. Enjoy!
SUPPLIES:
|


This weekend: 50% off DEALS!
Hi friends! Happy Friday! We have some GREAT deals to kick your weekend off! Anything in our Stamps and Stamping Sale category will be 50% off when you enter code DEALZ at checkout. Discount will be displayed below the subtotal in your cart! Shop early for the best selection and enjoy!
Amore Laurafadora: Layered Flowers
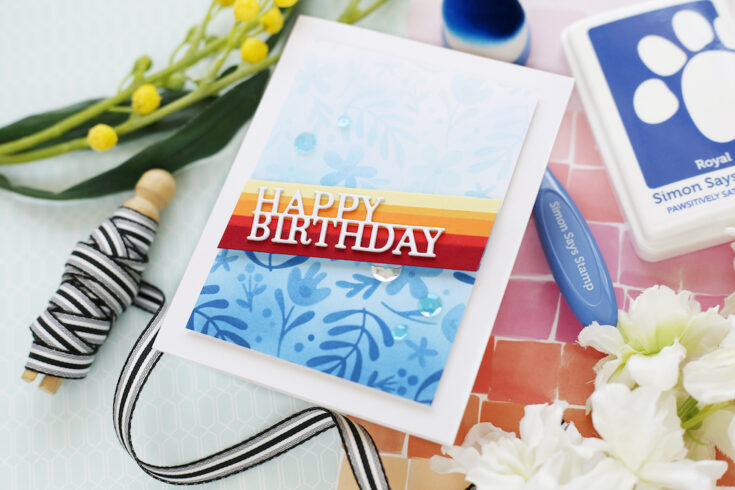
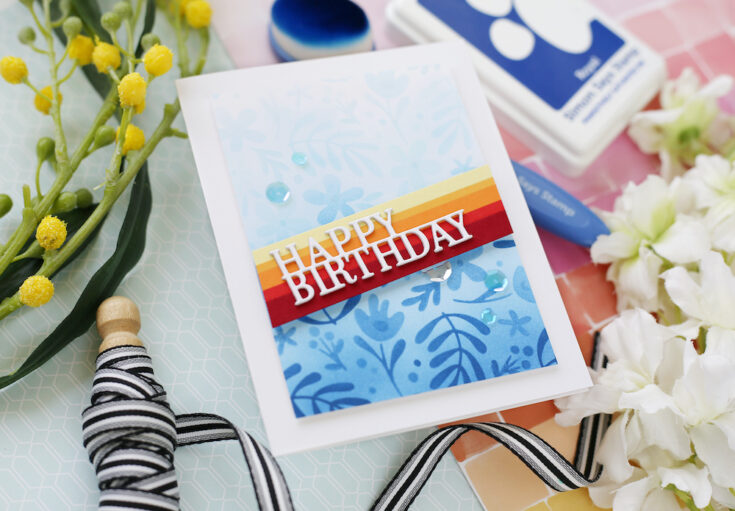
Hi friends! Happy Thursday! Join me in welcoming back the always inspiring Laura Bassen in the latest edition of our Amore Laurafadora blog series! Check out this gorgeous monochromatic blue floral background showcasing our brand new Layered Flowers stencil set and a layered sentiment from our new Birthday on a Line Die. For a little pop of sparkle, add our Spring Showers sequins! Be sure to watch the video, and enjoy!
WATCH THE VIDEO:
SUPPLIES:
|


Thanks so much for stopping by, and thanks to Laura for being our guest!
Catch us LIVE tomorrow!!