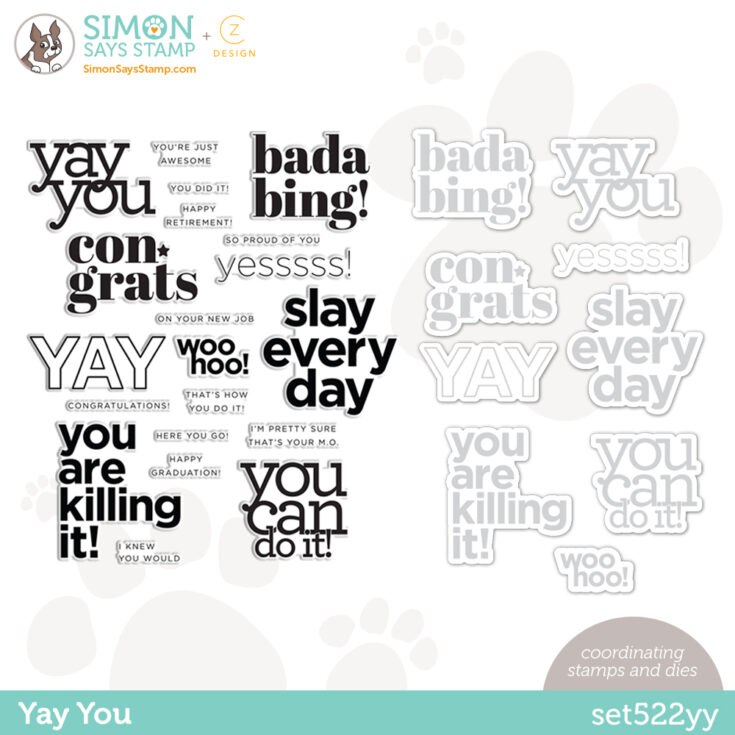
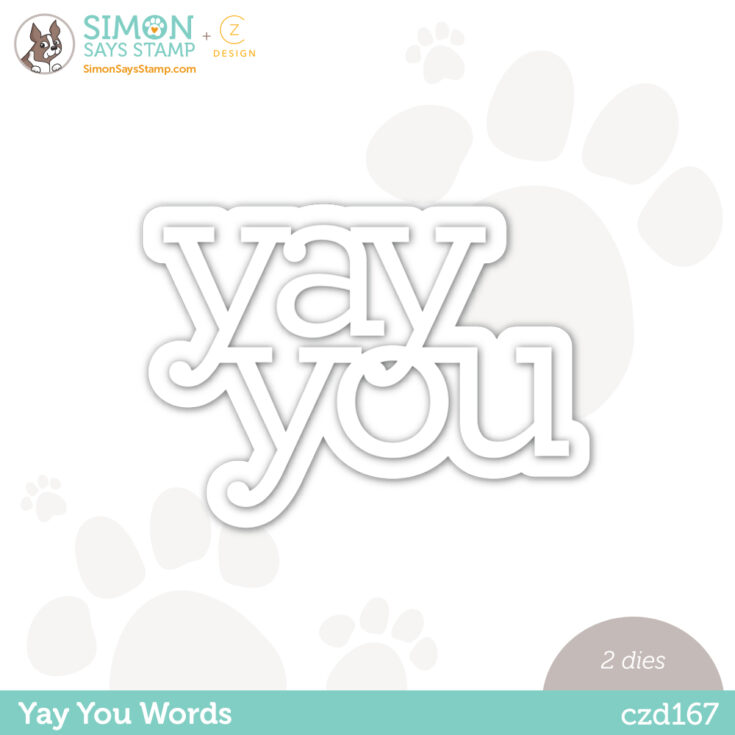
Our NEW collection: Yay YOU!
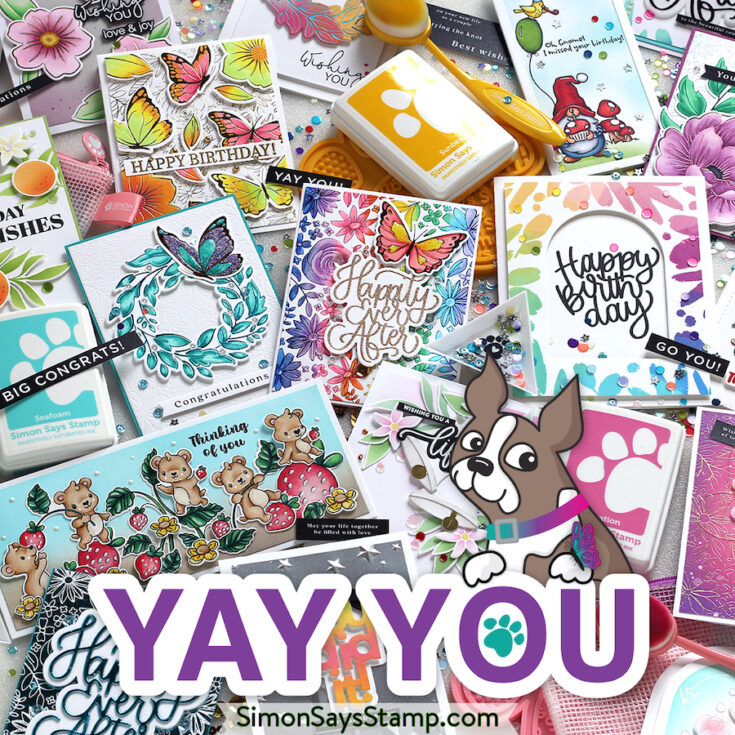
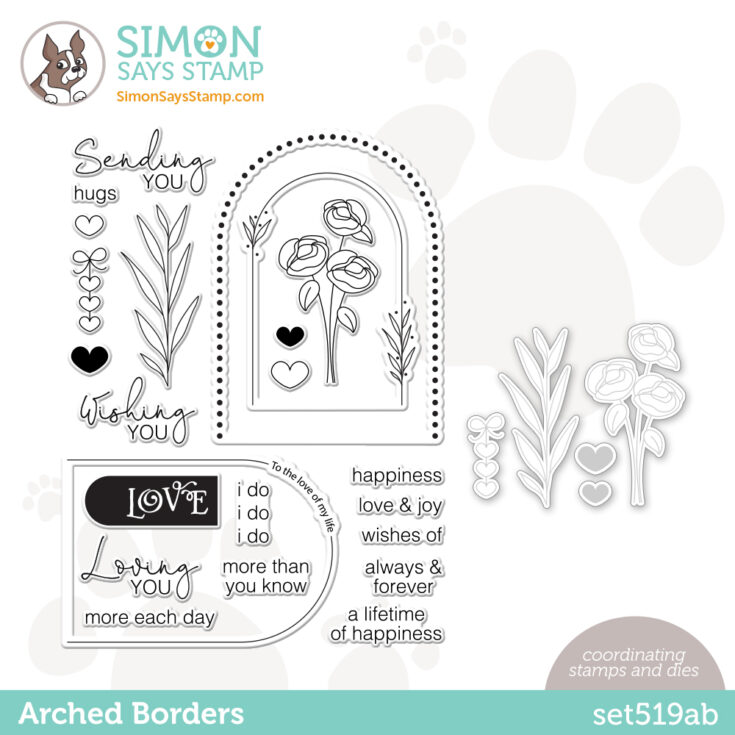
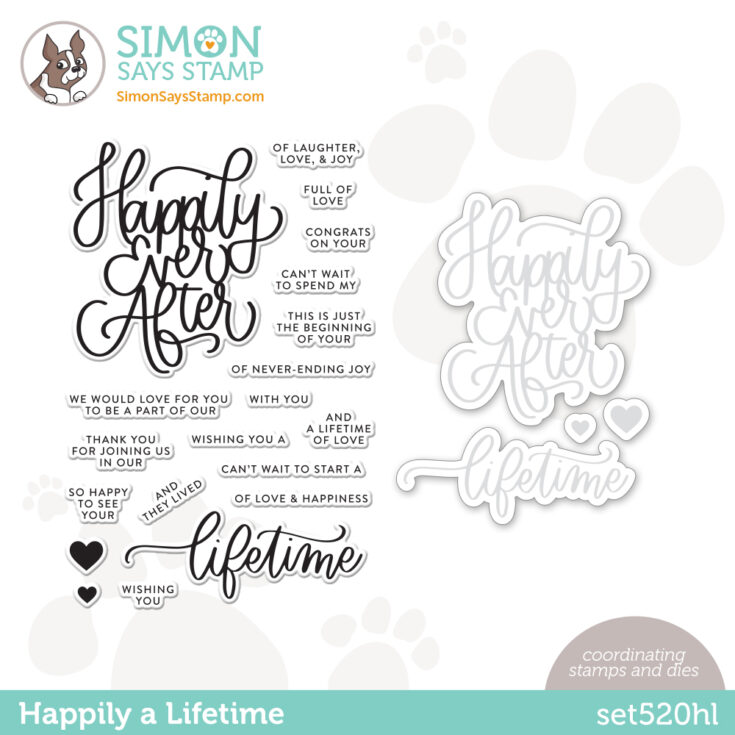
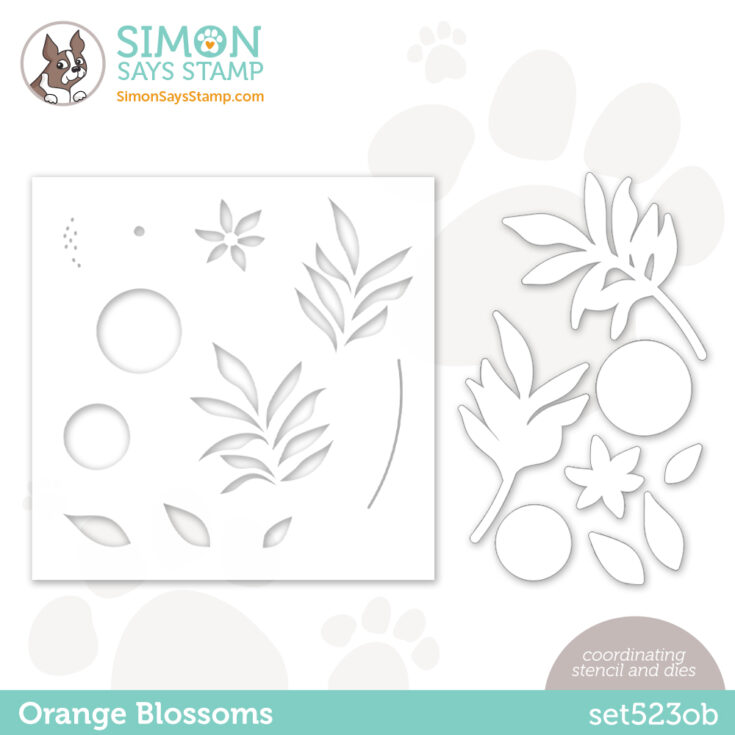
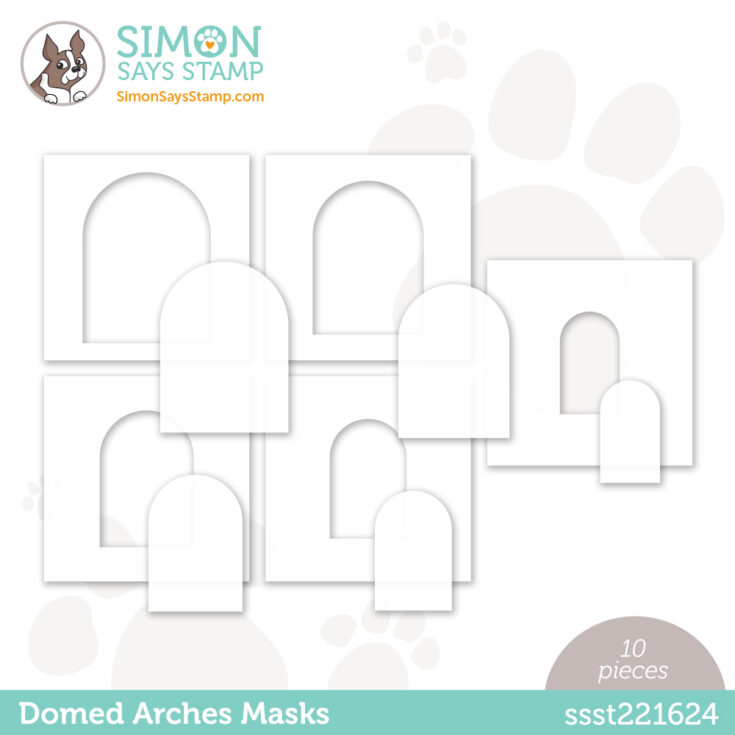
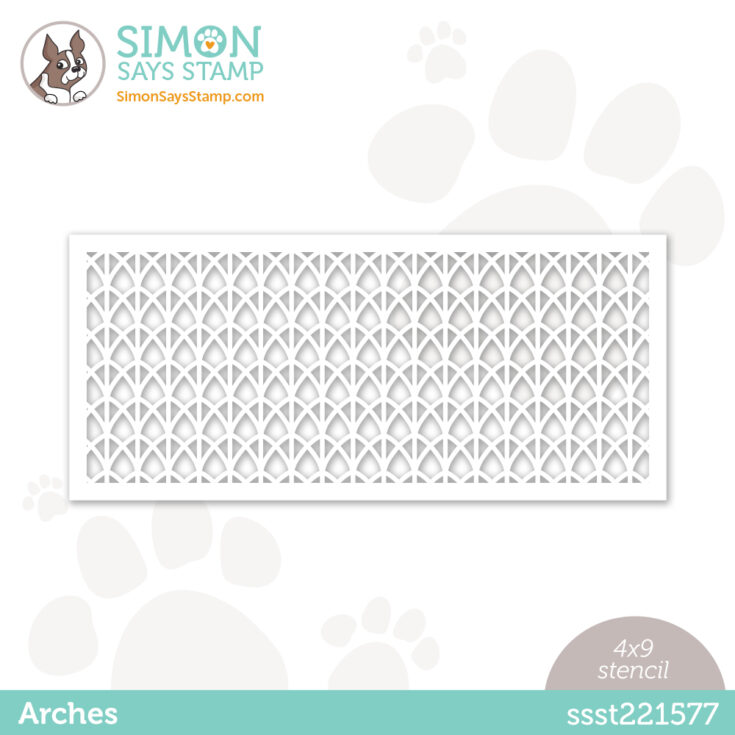
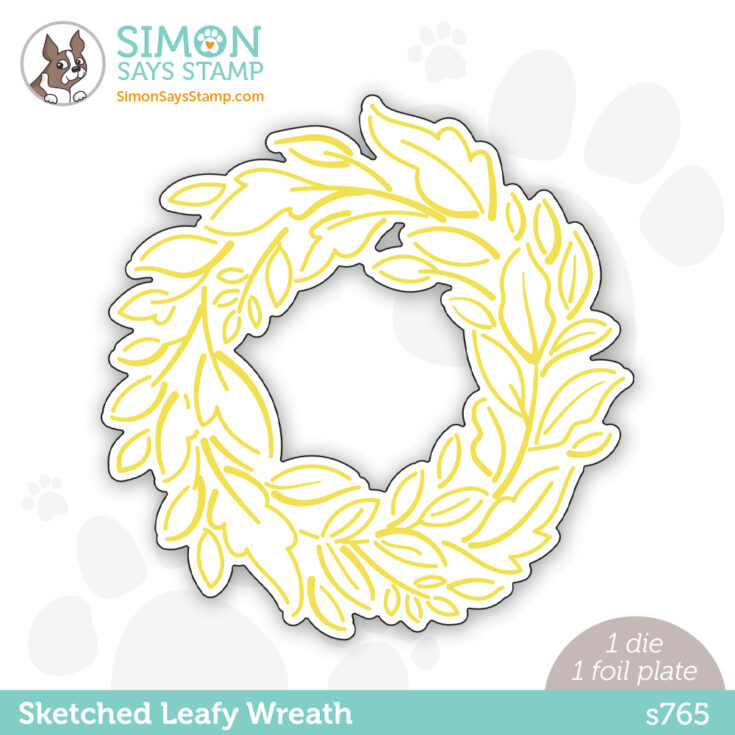
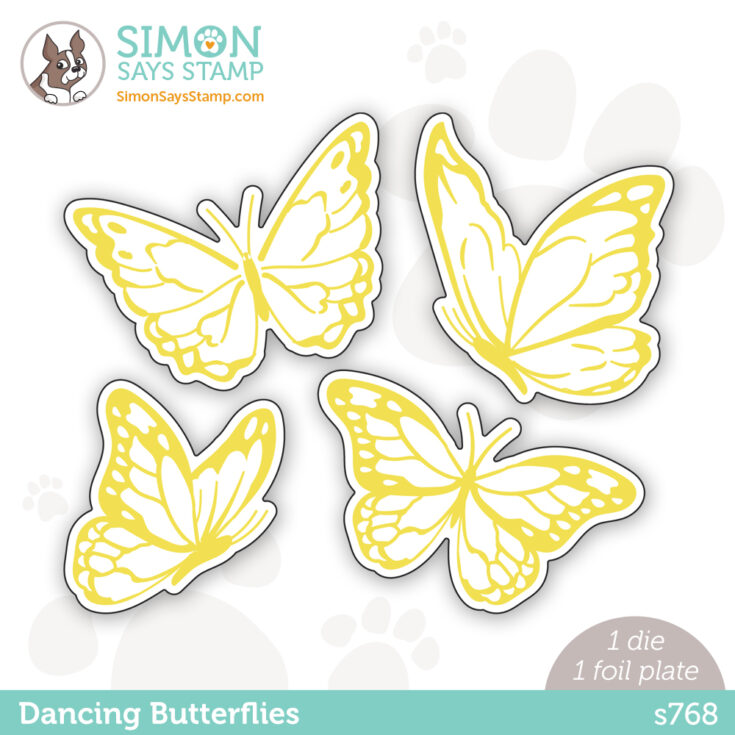
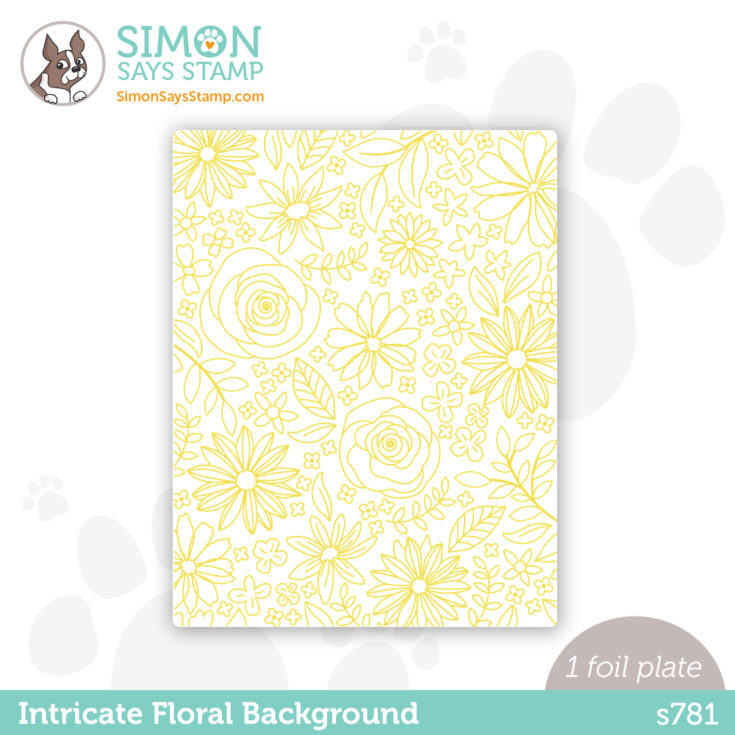
Our latest release, Yay You, is a celebration! This collection shines with foil and cut sets like Dancing Butterflies, Sketched Leafy Wreath, and Intricate Floral Background; new love-themed stamp and die sets like Arched Borders and Happily a Lifetime; and sweet stencils like Domed Arches Masks and the Orange Blossom stencil and die combo.
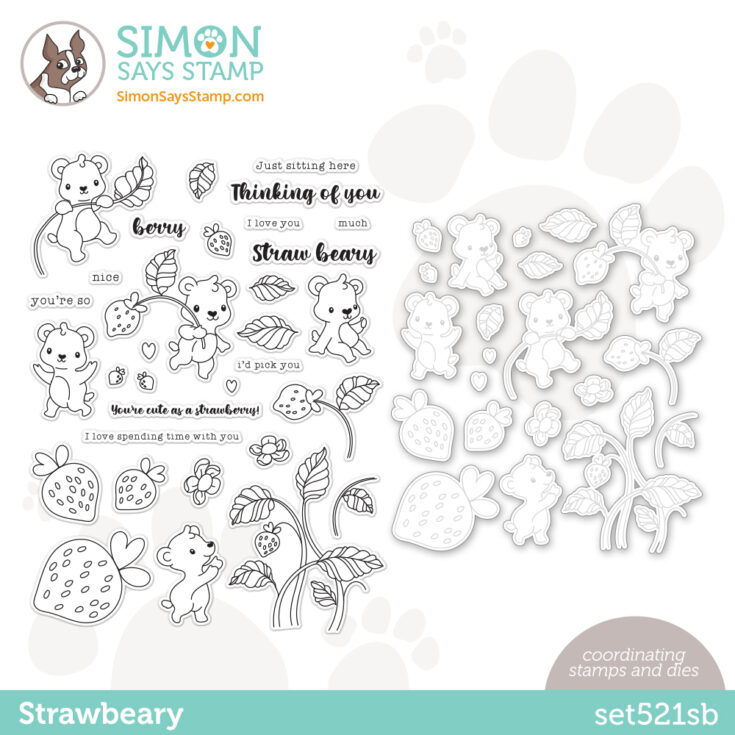
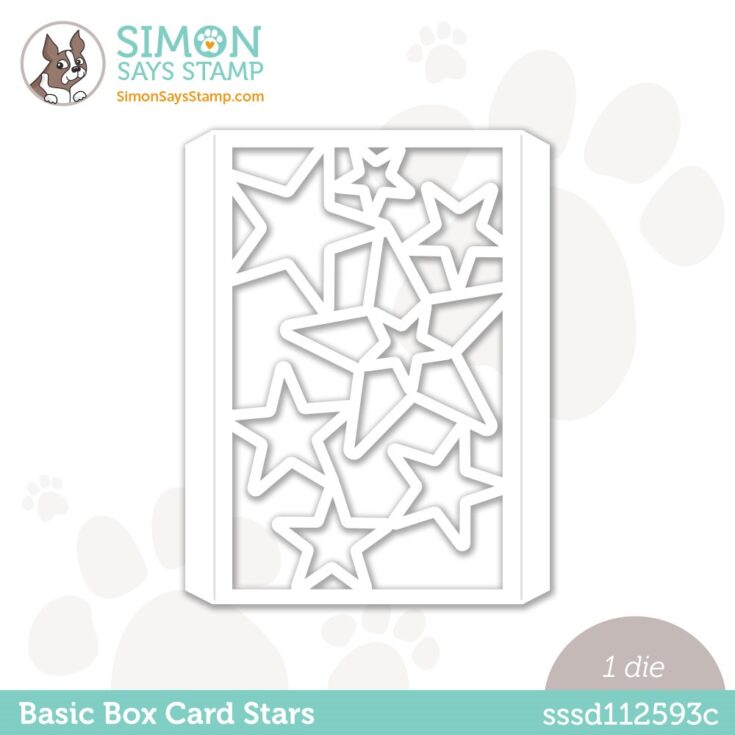
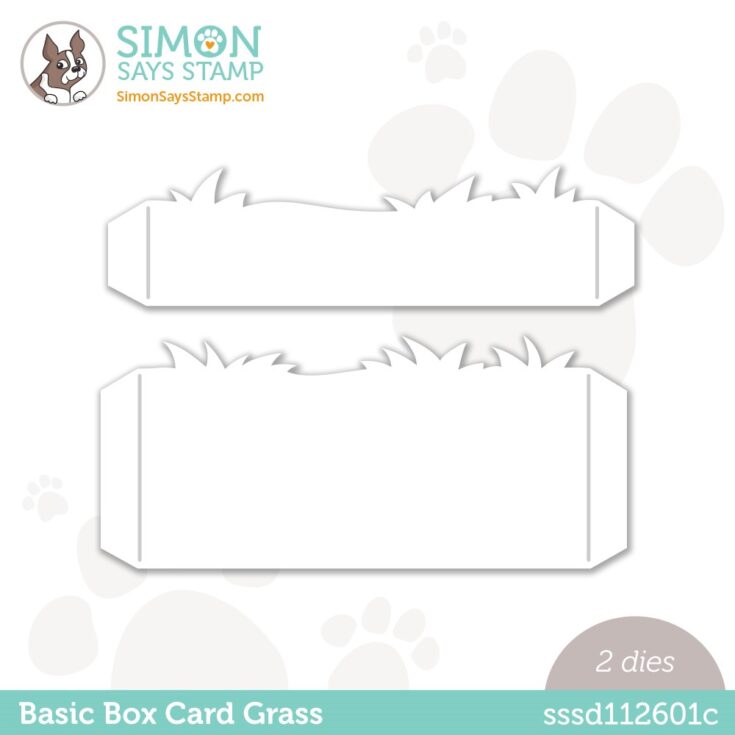
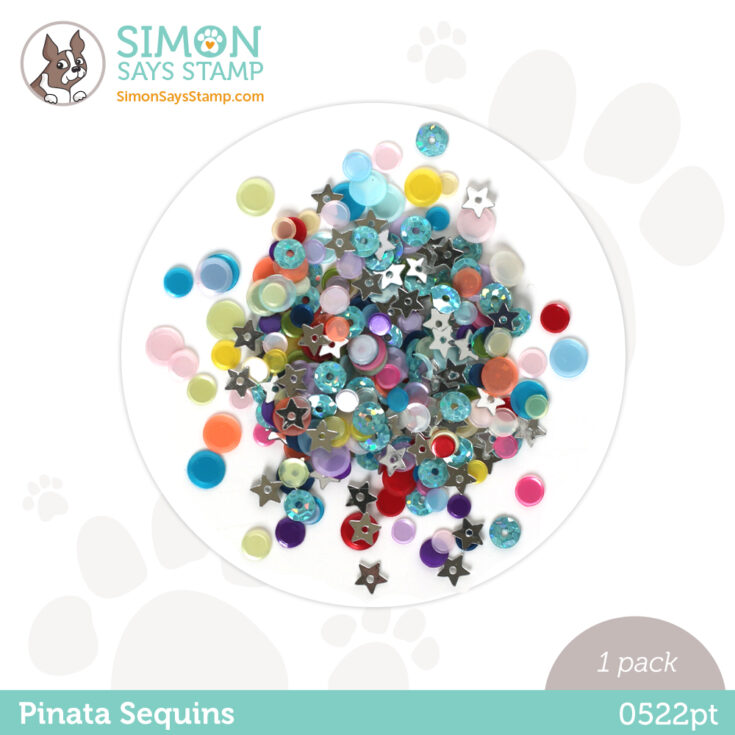
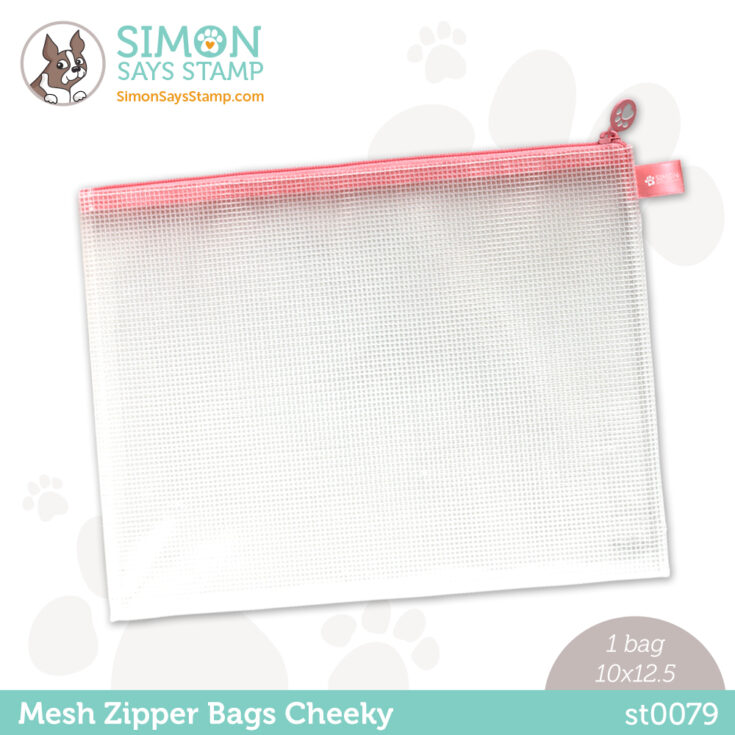
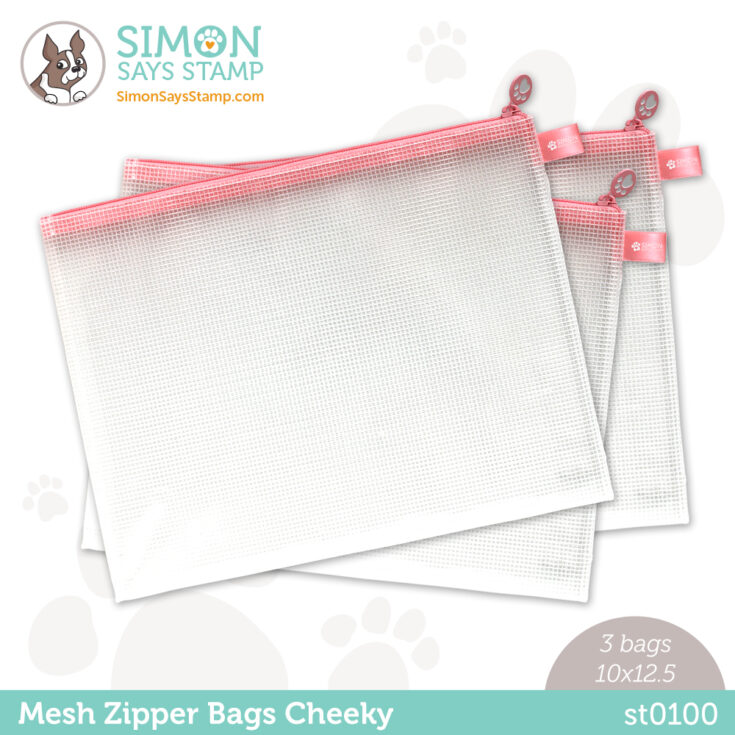
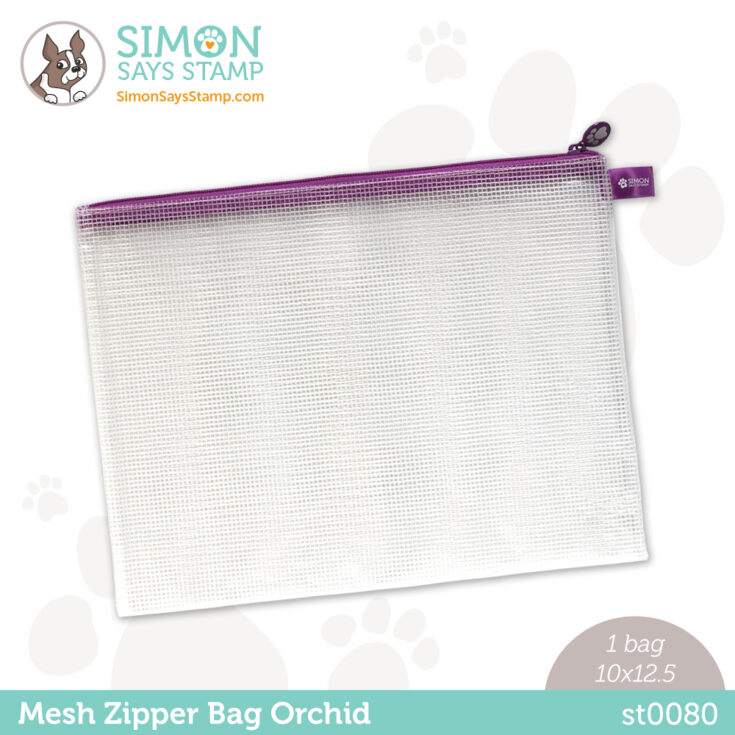
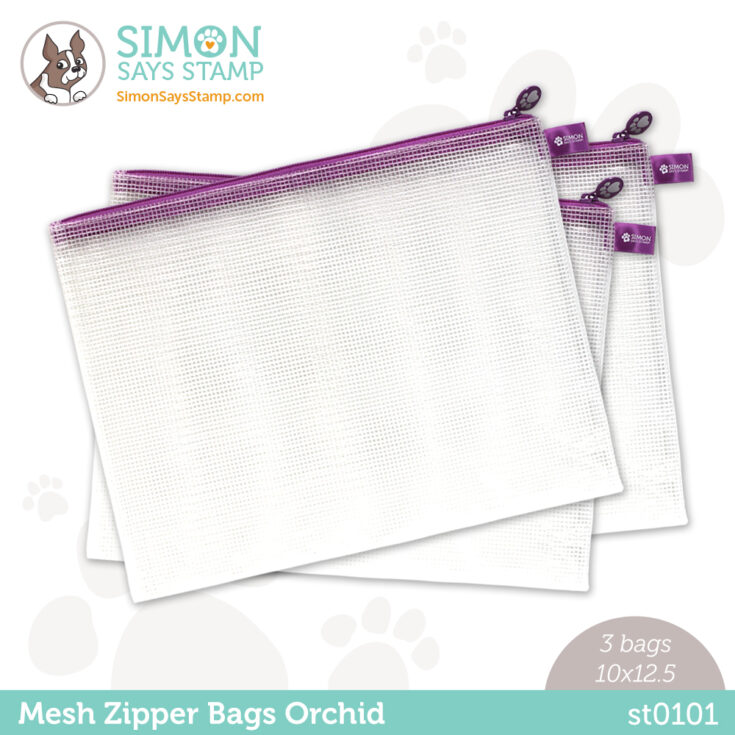
We’ve expanded our Basic Box Card add-ons with Basic Box Card Stars and Basic Box Card Grass, and we’ve added TWO new colors of our mesh bag in Cheeky and Orchid. Plus, don’t miss the darling Strawbeary stamps and dies, which combine berries and bears!
Laura Bassen reveals it all to you in the video below!
WATCH THE VIDEO:
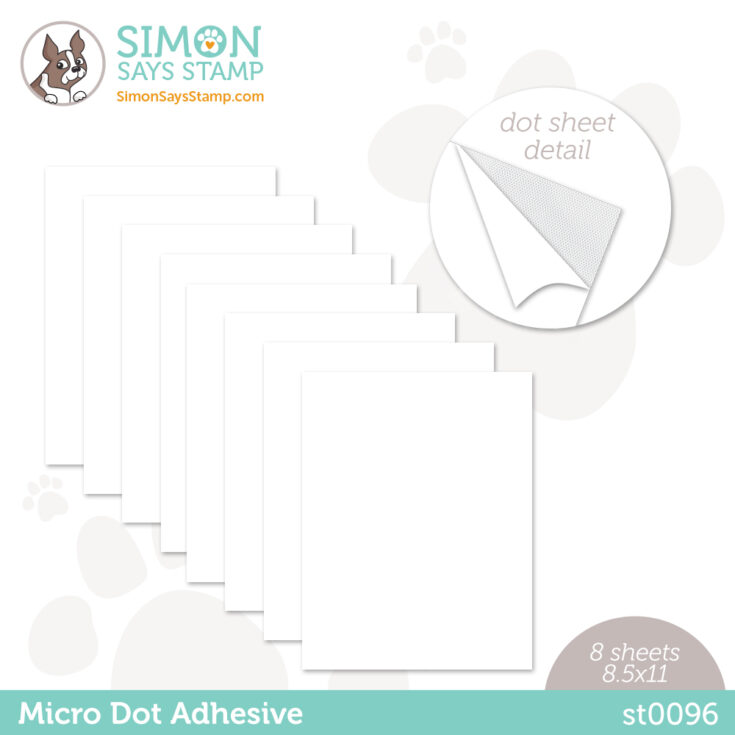
Learn more about this AWESOME new adhesive!!
GET INSPIRED!

Want to see even MORE inspiration? Stop by our galleries!
Mark your calendar:

Making the Cut: Patterned Paper Birthday Card

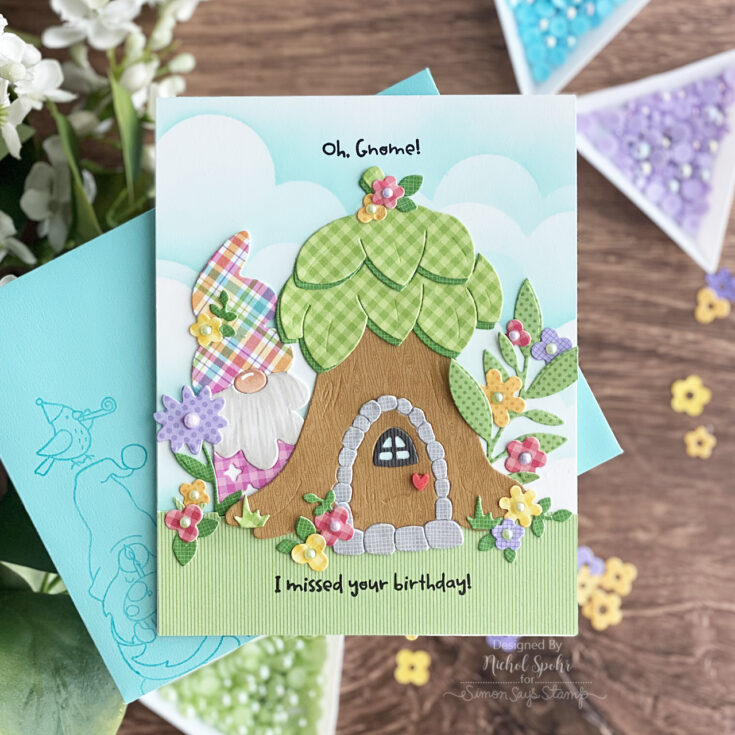
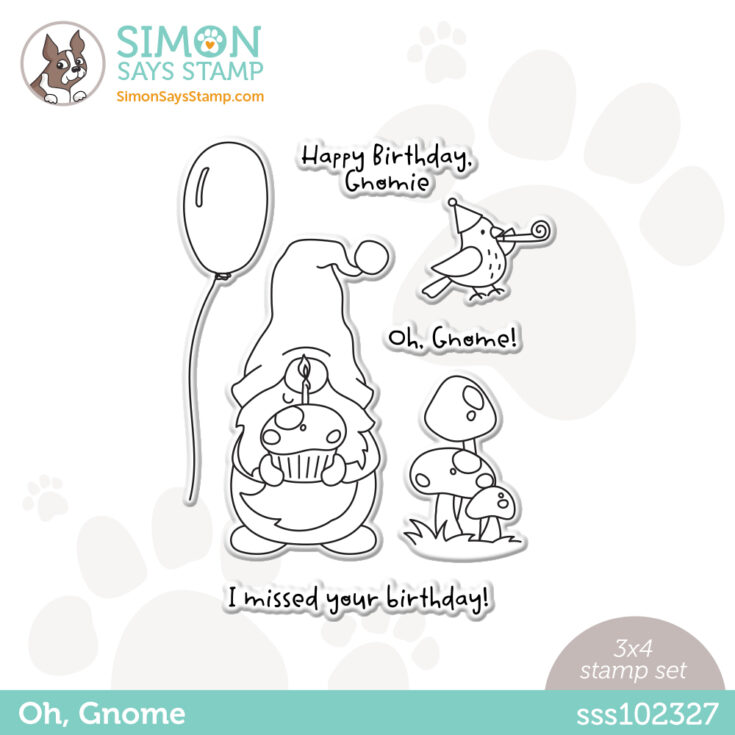
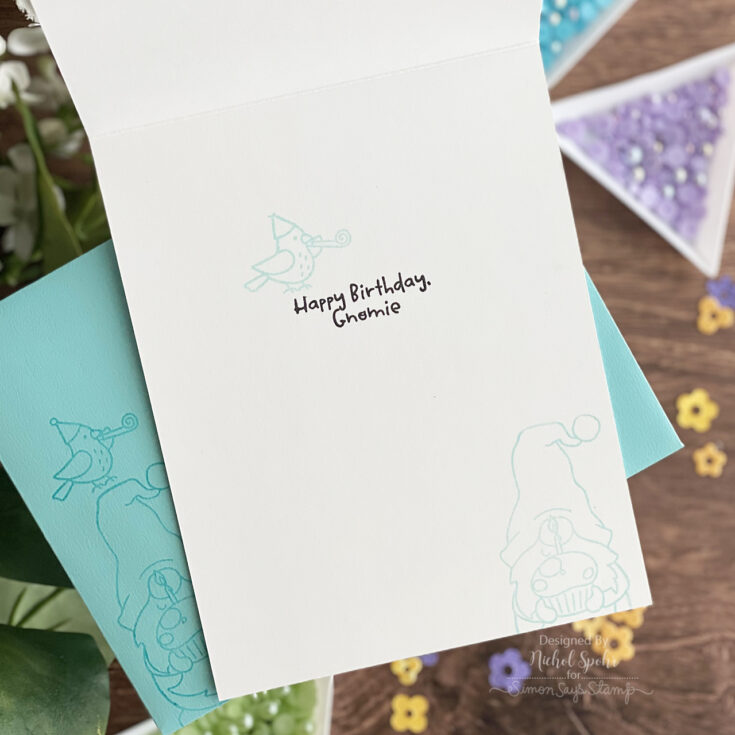
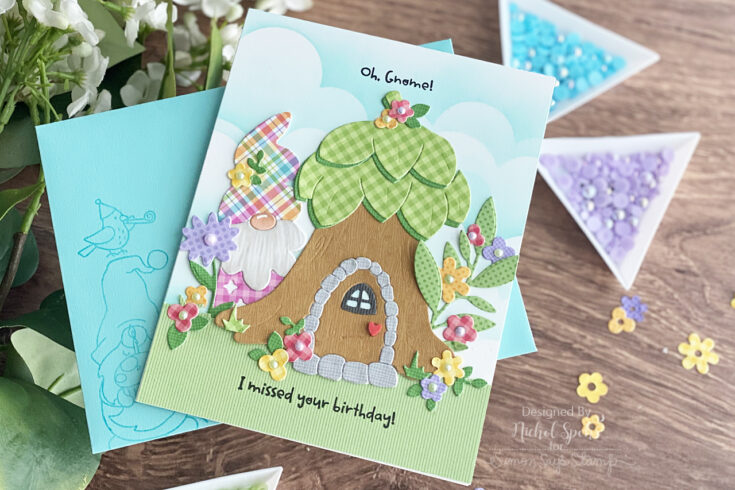
Hi friends! Happy Tuesday! Please join me in welcoming back special guest Nichol Spohr in our monthly card making blog series called Making the Cut where we focus on all things die cutting where she made the CUTEST card using our Pocket Gnome, Gnome Treehouse, and flowers to accent from our Flower Bundle and Mini Flowers dies! We just love the way she decorated the inside of the card with our Oh, Gnome clear stamp set! Be sure to watch the video for all the details, and enjoy!
WATCH THE VIDEO:
SUPPLIES:
|


Thanks so much for stopping by, and thanks to Nichol for being our guest!
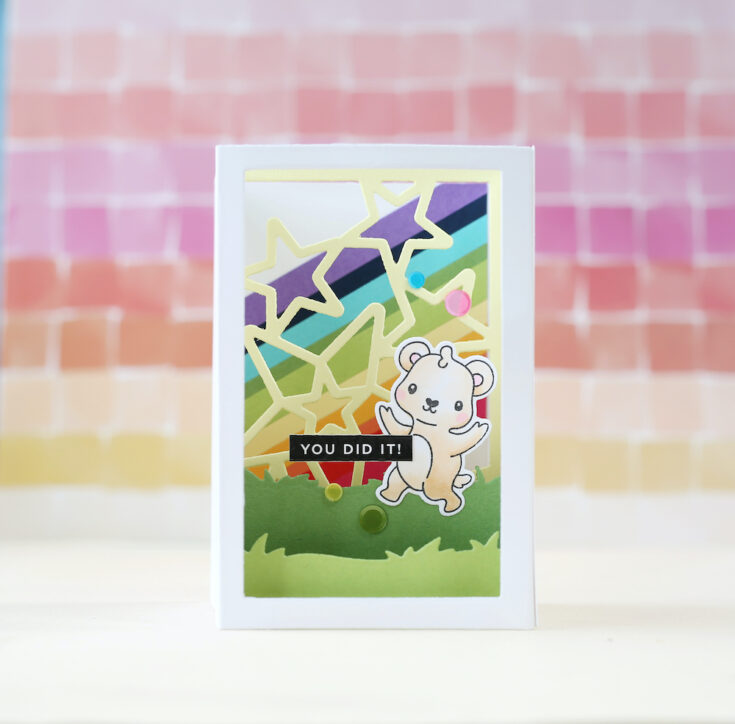
Crafty with Caly: Top of the World Spinner Card

Hi friends! Happy Monday! I love the sweet imagery and the interactive element in this card by Caly Person! Be sure to read on and watch the video for all the details. Enjoy!
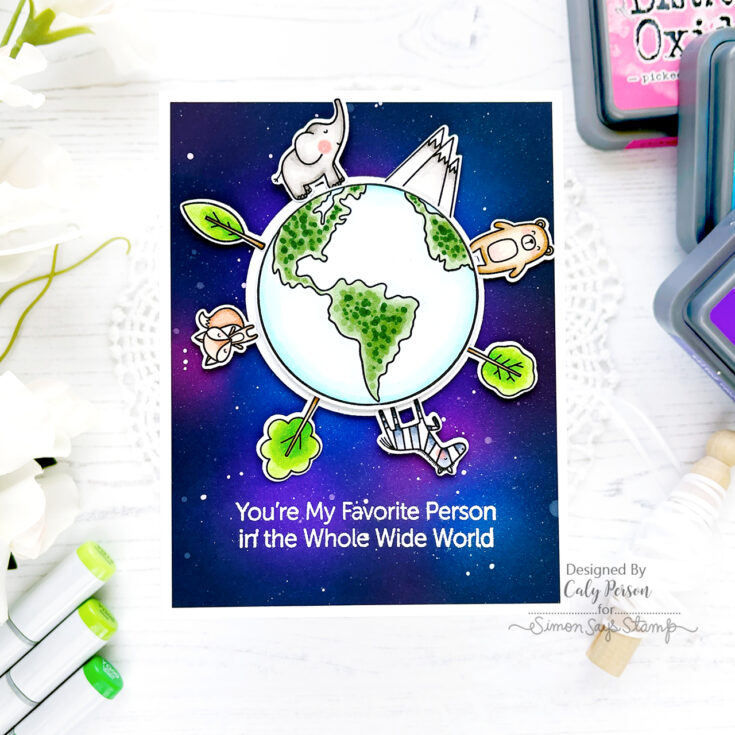
Hello Friends! I’m sharing a fun spinner card today using the My Favorite Things Top of the World set! We’re going to be Copic-coloring and ink-blending a galaxy scene so let’s dive right in!
I stamped and colored the images with Copic markers. Here are the Copic markers that I used:
- Grays: C1, C2, C3, C7, W0, W2, W5, W6
- Browns: [E51, E30, E31, E35, E39], [E11, E15]
- Greens: [YG05, YT13, YG09], [G21, G24, G28]
- Blues: BG0000, BG000, BG01
- Pink: R20

I used the smaller images to create a disc for the spinner mechanism and used a button instead of die-cutting a bunch of layers of circles for static disc. Be sure to check out the video to see how this is done!
WATCH THE VIDEO:
I created a galaxy background using Distress Oxide Inks in Picked Raspberry, Mermaid Lagoon, Wilted Violet, Chipped Sapphire, and Black Soot. This is probably best seen in the video above. Once I was done creating my background, I sealed in the colors and brought back some vibrancy using Tim Holtz Micro Glaze using a ink-blending tool and foam.

These spinner cards so easy and fun to make and I hope you enjoyed my process! Thanks so much for stopping by and spending some time with me today! ~Caly
SUPPLIES:
|


Thanks so much for stopping by, and thanks to Caly for being our guest!

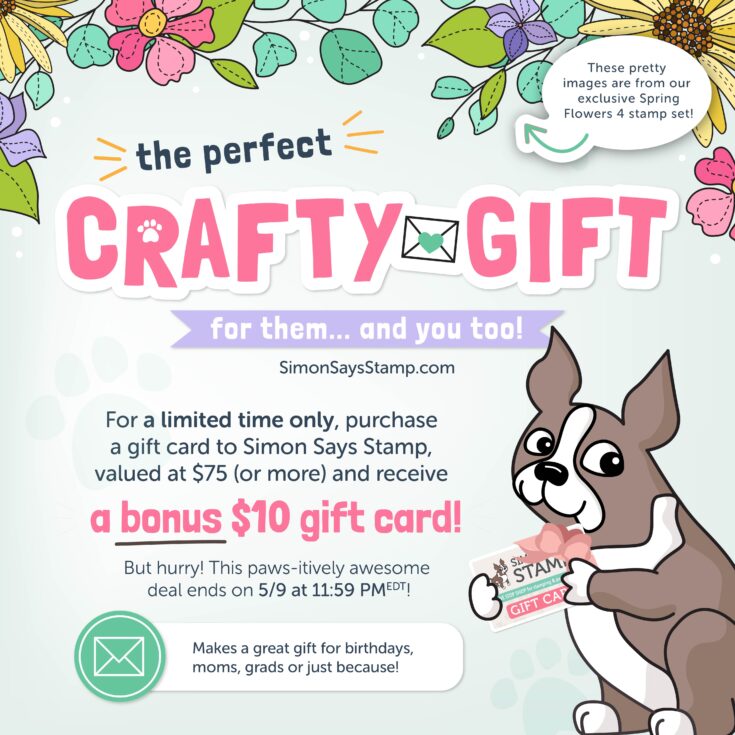
Last day to get a bonus gift card!!