Studio Monday with Nina-Marie: Rainbow Birthday Die Cut Shaker

Hello creative friends, Happy DieCember® 20th! We’ve been having such a great time here at Simon celebrating the love of all things die cutting and we hope you have, too! Today I am using products from our popular DieCember® 1st release to make a rainbow, die cut birthday card. This card features absolutely no stamping, just a bit of stenciling behind the balloons for a colorful effect. Shall we jump in?!
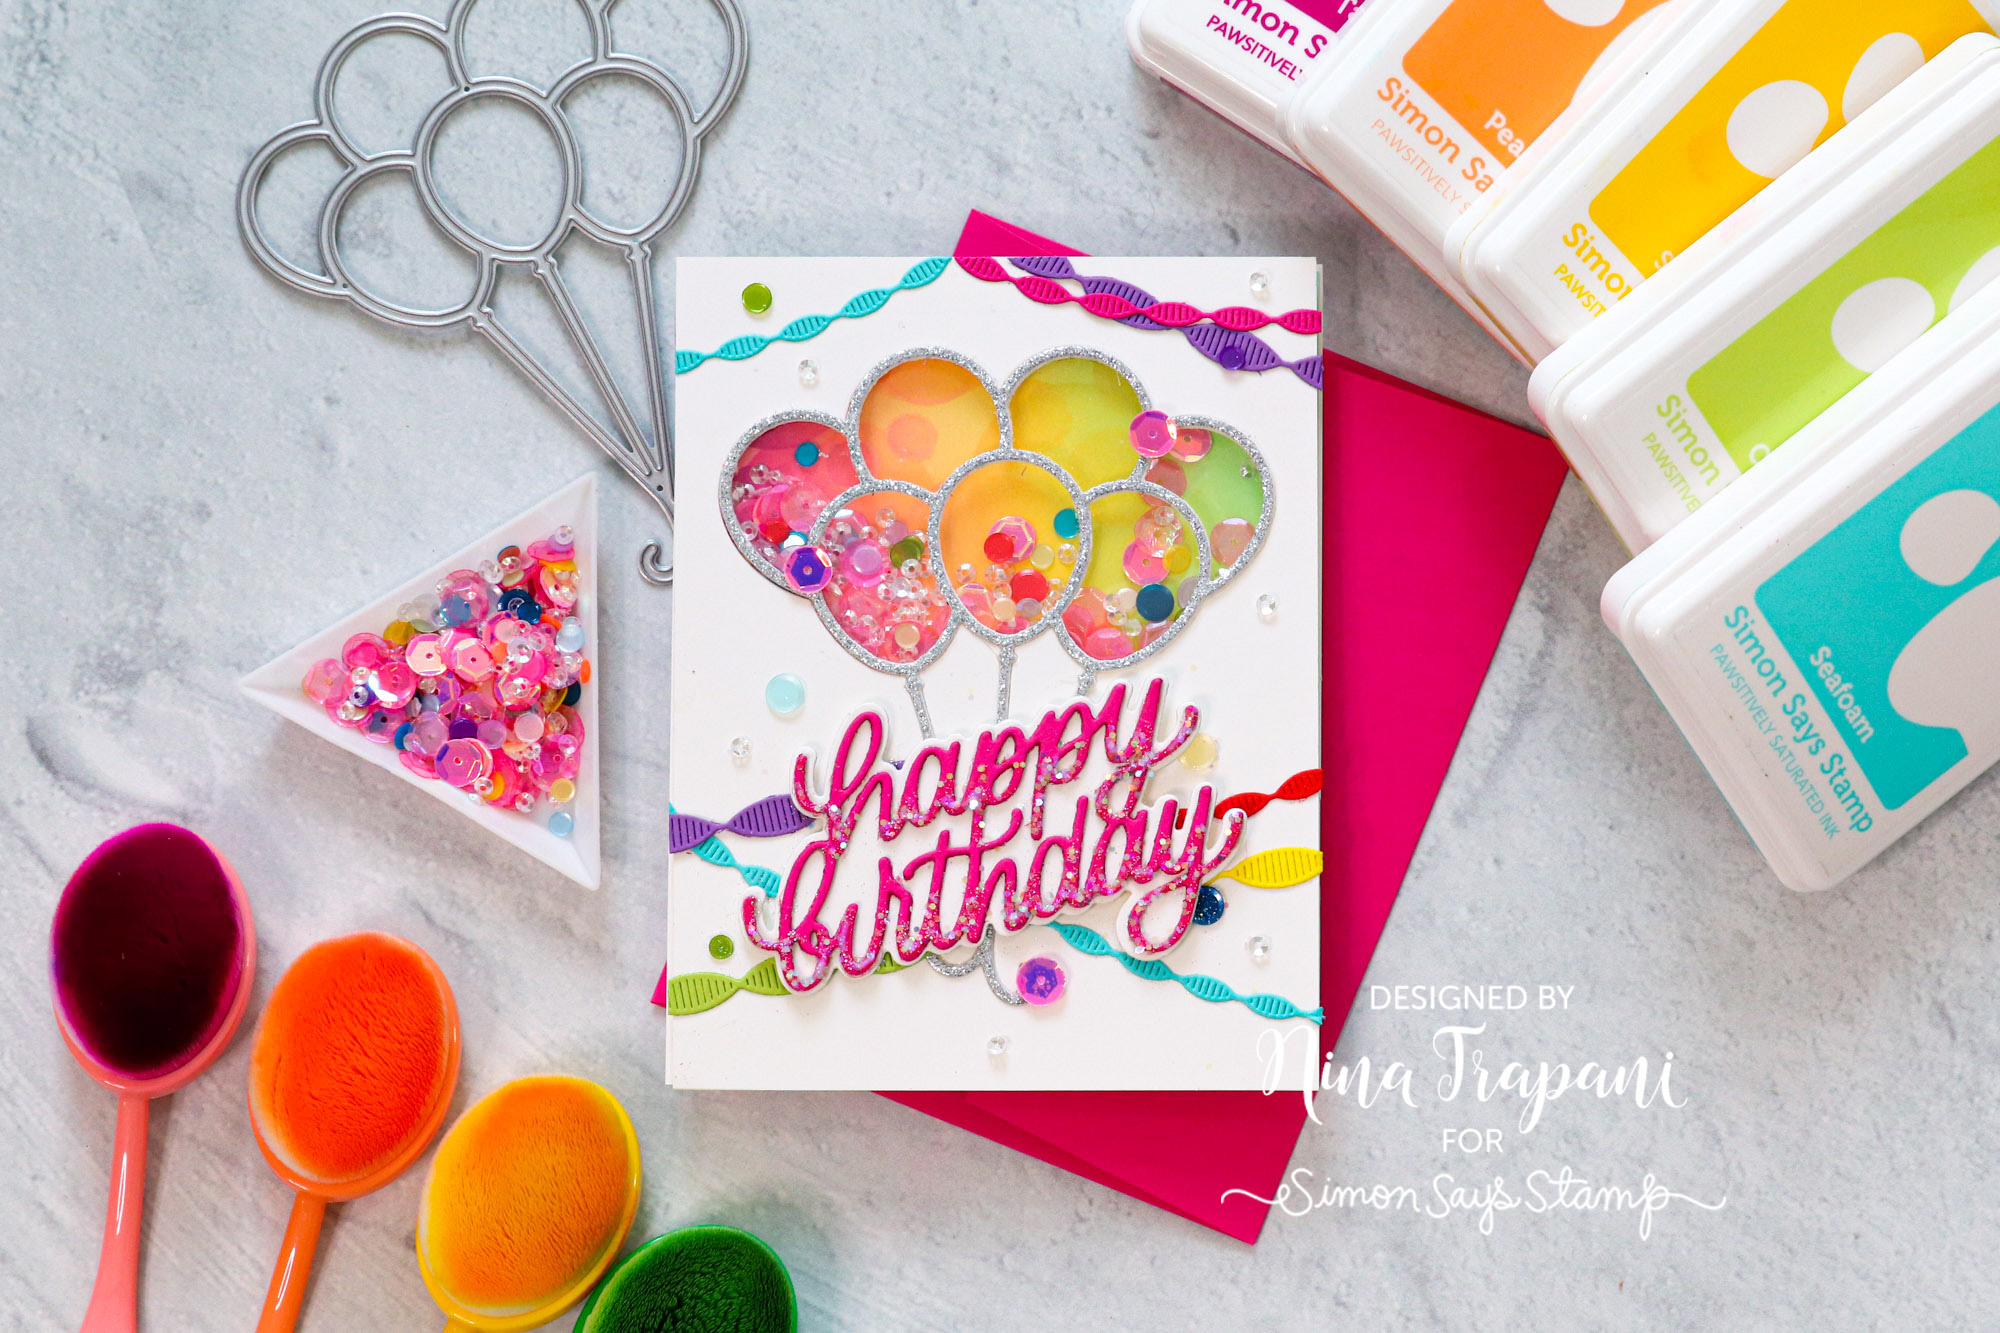
I used the Bunch of Balloons die to cut a window into an A2 card panel; in addition, I also cut the balloons from some glitter cardstock to serve as the outline on my window. The window looks into a sequin-filled shaker and a rainbow background that I created with our Simon exclusive Pawsitively Saturated Inks, I Like Big Dots stencil and Fading Circles stencil.
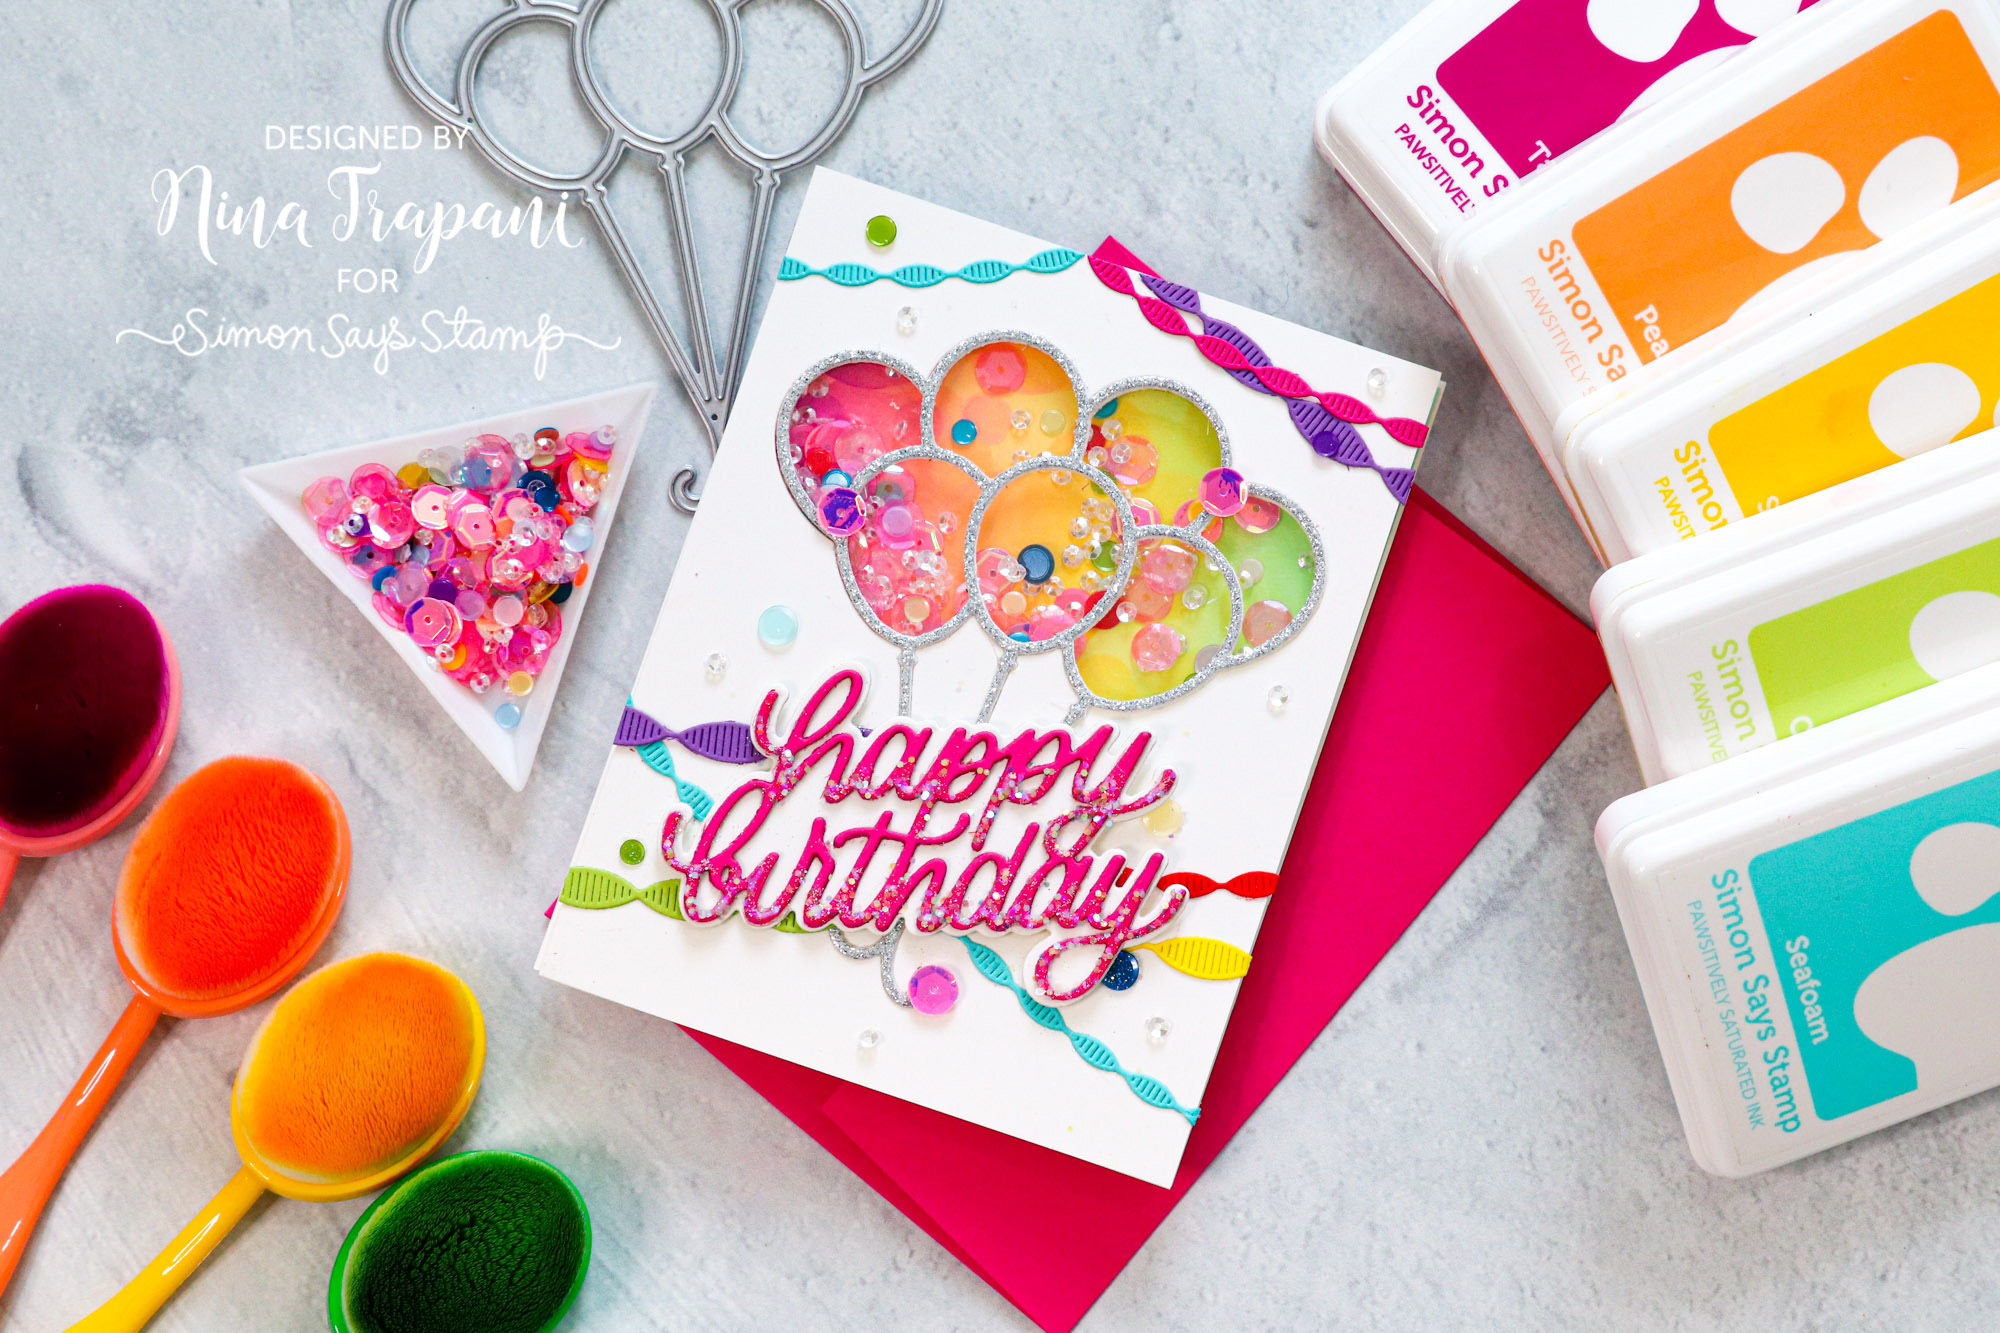
On top of the shaker are some streamers I made with Streamer Ribbons die (also from DieCember®), and the Big Happy Birthday die. The birthday greeting is also embellished with a bit of glitter for a dip-dye effect.
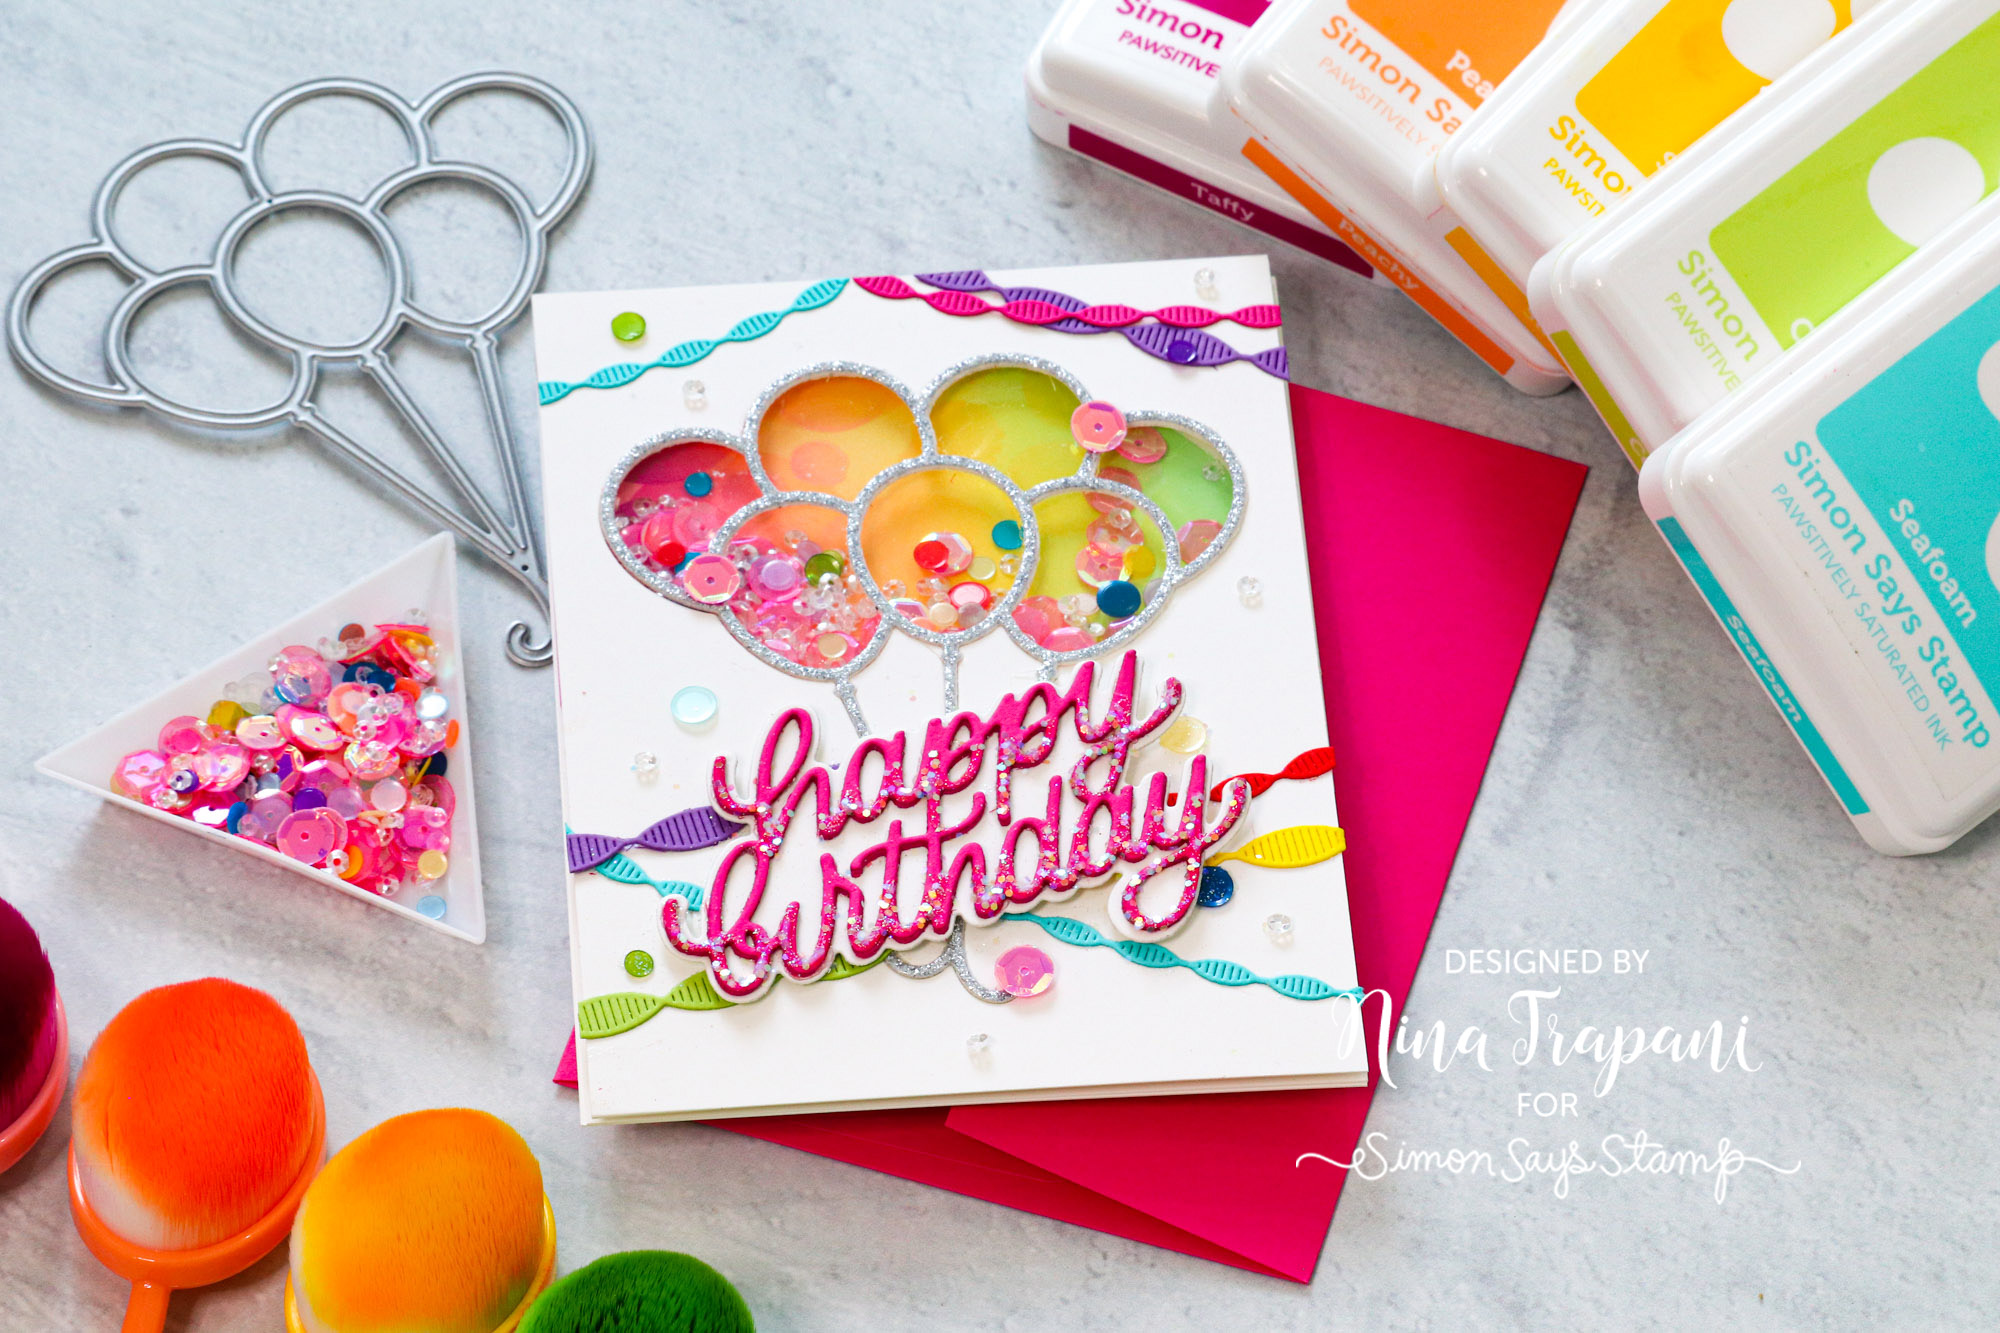
Want to learn how I made this card? Be sure to watch the video below for all the details!
WATCH THE VIDEO
SUPPLIES
|
Making the Cut: Birthday Card Showcase
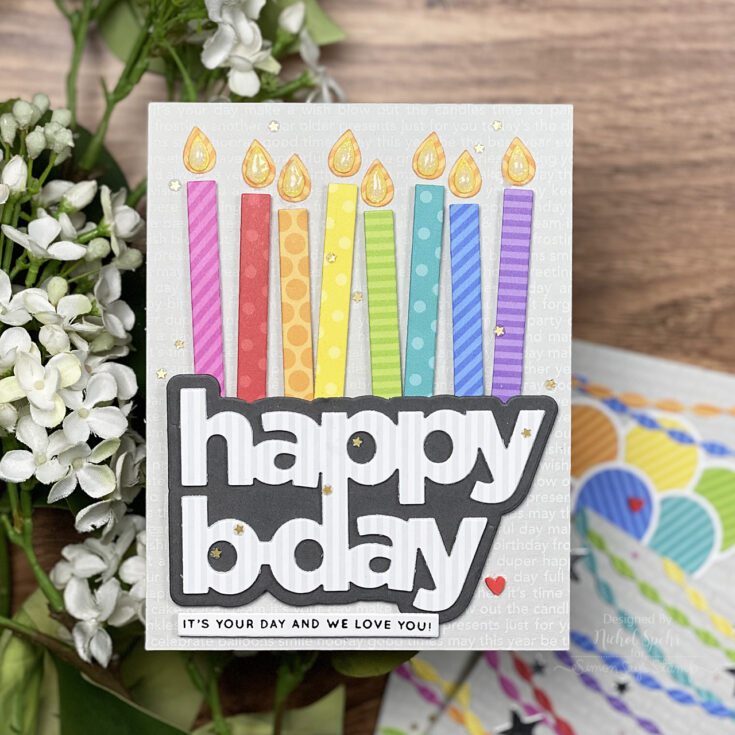
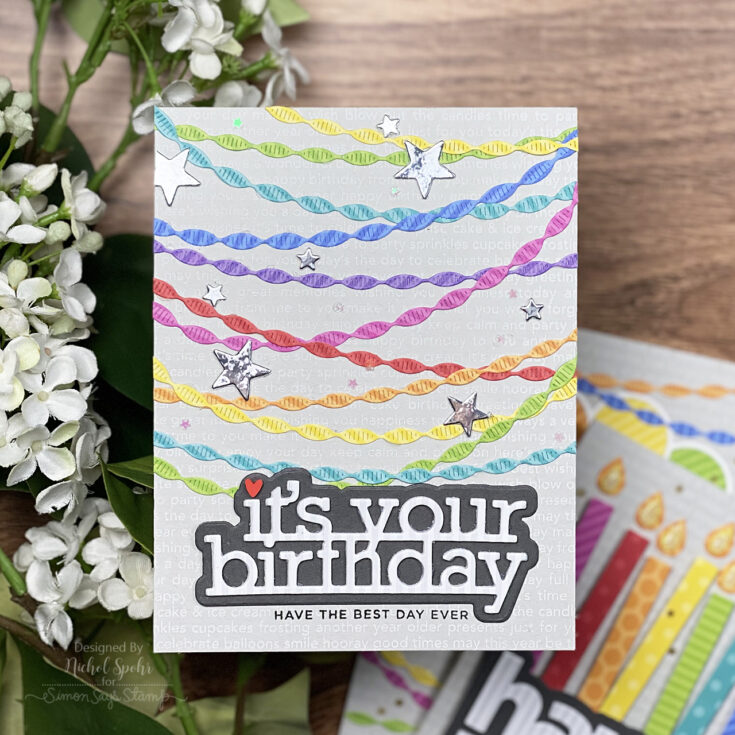
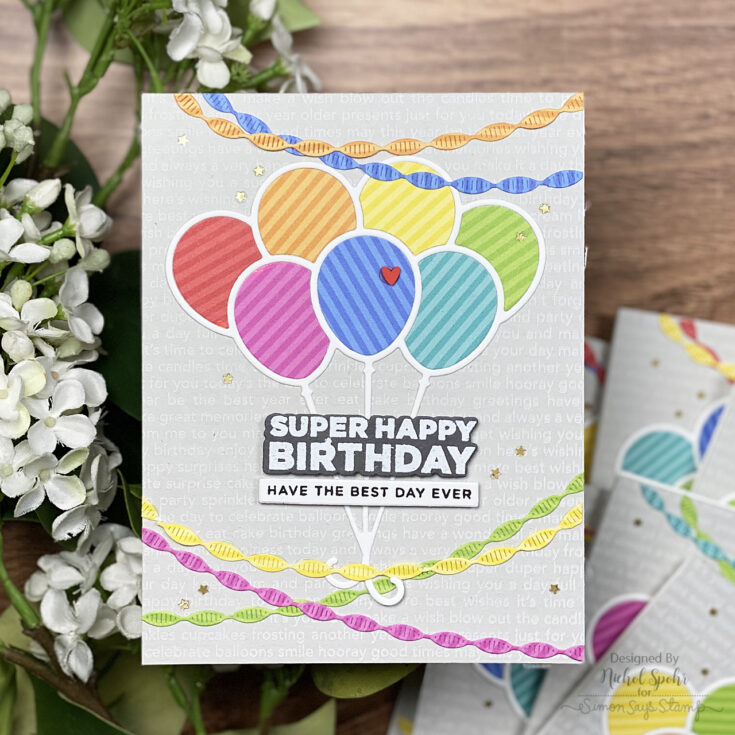
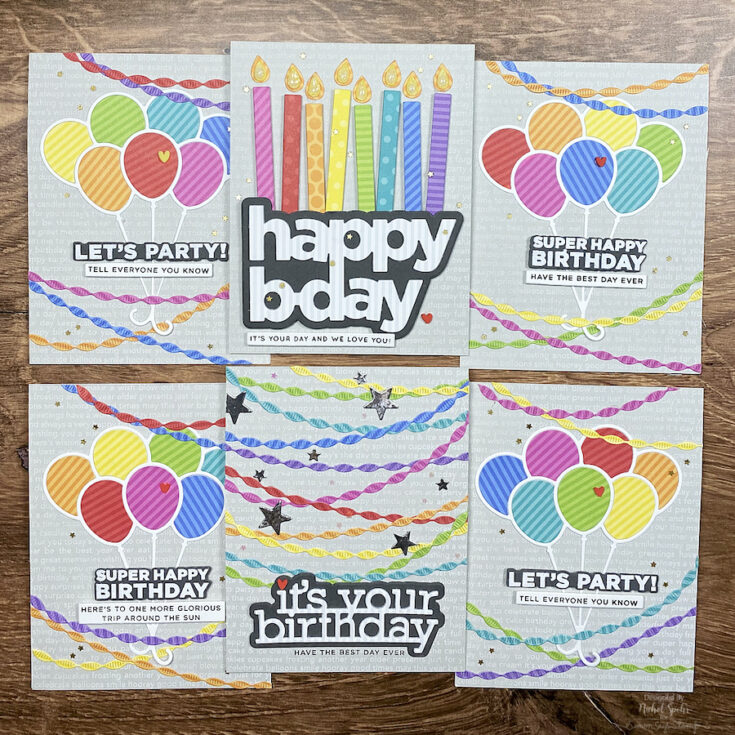
Hi friends! Happy Sunday!! Oh my gosh…. how festive and FUN are these Birthday cards by Nichol Spohr in the latest edition of Making the Cut our monthly series of the celebration of all things die cutting?!! Nichol features our NEW Bunch of Balloons, Streamer Ribbons, Party Candle, Stars, Happy B Day, and It’s Your Birthday topping off with some of her favorite patterned papers from Polka Dot Parade and Striped Silly from Sunny Studio! Be sure to watch the video for all the details and enjoy!
WATCH THE VIDEO:
SUPPLIES:
|
Thanks so much for stopping by, and thanks to Nichol for being our guest!


Crafty with Caly: Joyful Poinsettia Faux Watercolor
Hi friends! Happy Saturday! Can you believe we’re a week away from Christmas? This duo by Caly Person will keep you in the festive spirit! Read on and be sure to watch the video for all the details! Enjoy!
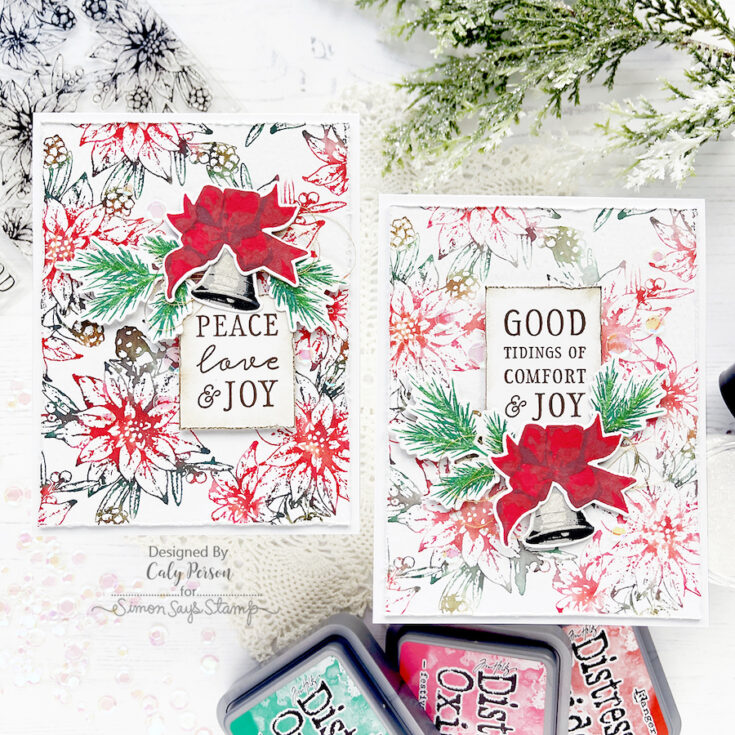
Hi, Friends! Thanks for joining me today for two cards using a faux watercolor technique using WPlus9 products! I’m a part of the WPlus9 Encourage Creativity Community on Facebook and absolutely love watching Dawn Woleslagle (the owner of WPlus9) create. She did this faux watercolor technique in one of her lives and I was so inspired to recreate and put my own spin on it to share with you.
My cards today use the WPlus9 Joyful Poinsettia set. Dawn illustrated this set herself and it’s just beautiful. I’m also trying to squeeze in every holiday card I can before Christmas – no shame in the game! These cards also use accessory images from the Bells and Bows set as well, to give some body and interest to the sentiments. You can certainly join the WPlus9 Encourage Creativity Community on Facebook to see Dawn create these, but you can also see a condensed version in my video today!
WATCH THE VIDEO:
I used finger daubers and Distress Oxide inks to ink up the background stamp – you can also use Distress Ink as well. Because these inks are water reactive, they will rejuvenate as it takes a while to apply ink to cover the full stamp before stamping to paper. I used Distress Watercolor Cardstock today as I found it appropriate for the medium and technique used. After inking up the stamp, I spritzed it with my Tim Holtz Distress Sprayer about 5 times (full spray with fine mist) and coated the stamp evenly with water before pressing the stamp over the cardstock. This leaves a beautiful faux watercolor look.
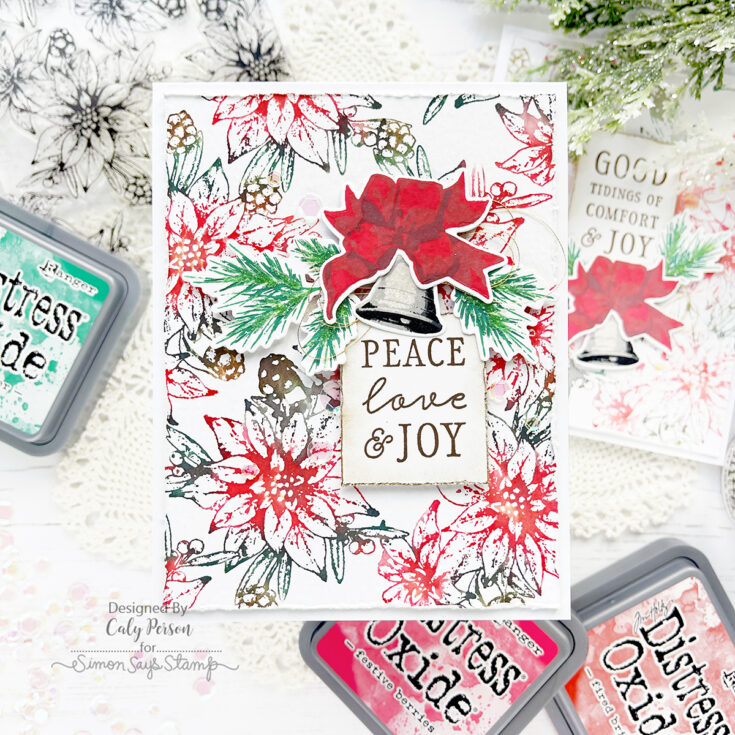
The best part about this technique is that you can get multiple impressions. I stopped at two impressions, but Dawn creates 3 and says you can get up to 6 depending on the amount of water you use between impressions. It gets lighter with each impression, so it’s really a matter of preference on how you want your panels to look and which will be your favorite. While the panels dried, I used the Bells and Bows set to stamp some pine sprigs, bells, and bows for my cards. I also stamped the sentiments using Walnut Stain Distress Oxide Ink.
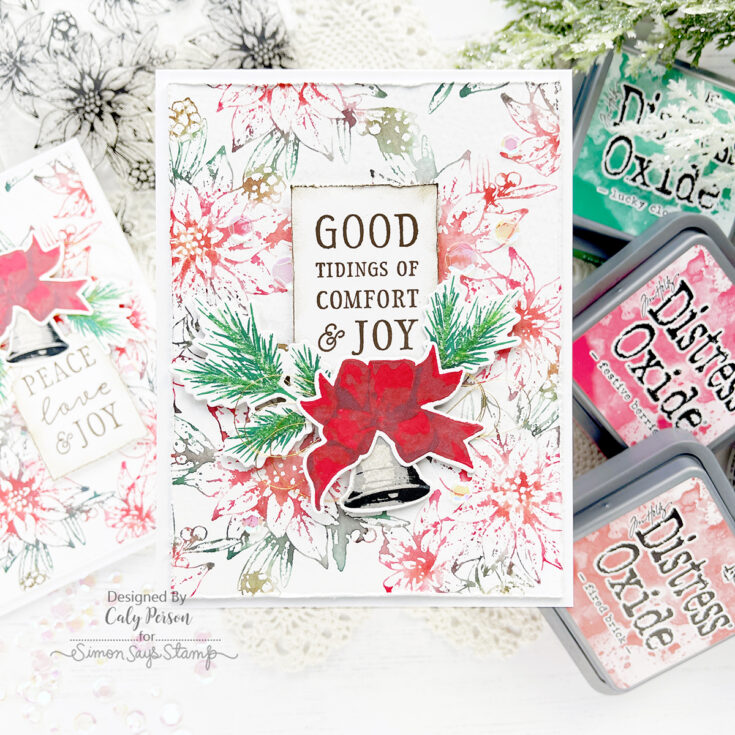
To give my cards some interest, I used a paper distresser to fray the edges of both my watercolor panels and sentiment panels. I added some of the brown residual ink to my sentiment panels to give them a more rustic feel too. After applying my sentiments to the watercolor background panels, I used the images stamped from the Bells and Bows set and embellished with some gold thread and some iridescent sequins.
I love getting two cards using one technique and hope you enjoyed it! A huge thanks to Dawn from WPlus9 for such a beautiful stamp set and sharing her technique. Thank YOU for being here with me today! ~Caly
SUPPLIES:
|
Thanks so much for stopping by, and thanks to Caly for being our guest!


