Lawn Fawn Birthday
Hi friends! Happy Saturday! We’re delighted to welcome back special guest Elena Roussakis as a guest on our blog!
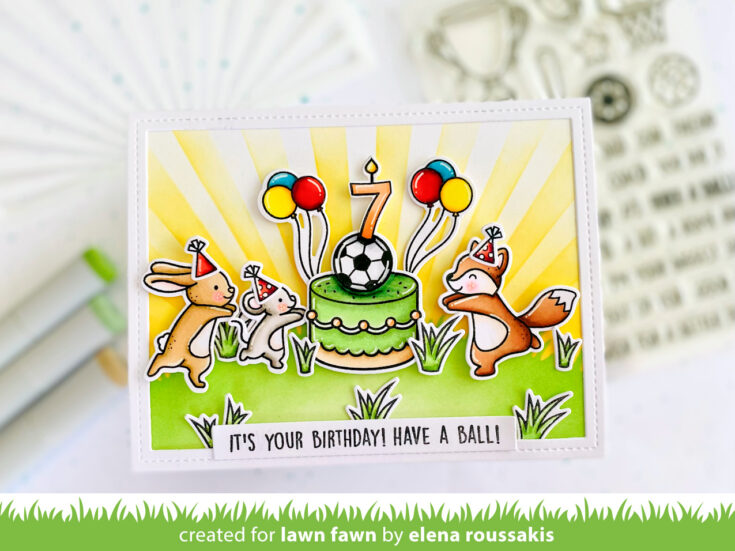
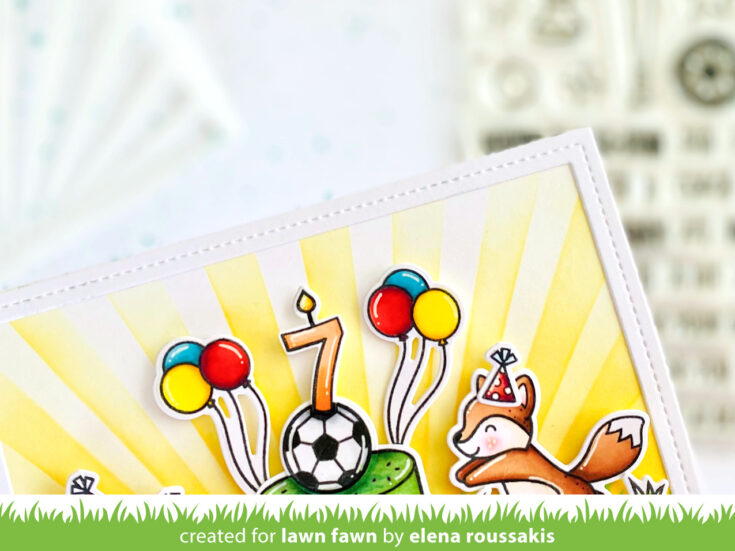
Hi there! I’m thrilled to be on the SSS blog with a card made specially for my soccer-loving nephew’s 7th birthday!
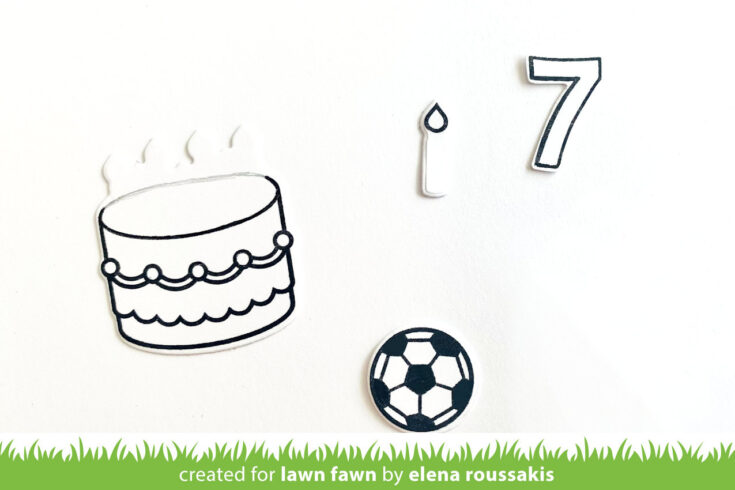
I really wanted to make this card as bright and happy as his little smile! I mixed a lot of older stamps with new stamps and stencils to get the look I wanted. I had the idea of doing a soccer ball cake topper, with its own candle. With that in mind, I combed through my stash of Lawn Fawn sets and pulled out the cake and candle from Birthday Before ‘n Afters, the number 7 from Quinn’s 123s, and the soccer ball from All Star.To make the cake topper work, I had to do without all the candles on top of the cake. I inked up the cake, but then wiped off the ink from the top of the cake. I would have to re-draw a part of the cake at the top. The same would go for the candle, I only wanted the flame. The number 7 would act as the candle, with the flame coming out from it. In the photo below, you could see how I stamped the 2 images so that they could work for my custom creation.
Once the cake was stamped, colored and assembled, I had the idea that critters could come running for a slice of delicious birthday cake! I brought in the cutie animals from Scootin’ By, and gave them bright red party hats.
To really set the scene, I used a Grassy Hillside Stencil as well as the new Sunray Background Stencil. I only used 1 green ink color for the grass, since I knew some of it would be covered up by grassy tufts and the sentiment. But I used 3 different yellow inks for the sunrays, to give extra dimension.
I hope you like what I’ve created, and most of all I hope it will make my little nephew happy on his birthday! Thanks for stopping by!
SUPPLIES:
|


Thanks so much for stopping by, and thanks to Elena for being our guest!


Make this XL Weekend EXTRA crafty with 15% off!
Hi friends! Summer is just around the corner and we are looking forward to an extra crafty season! For this extra long weekend, please enjoy 15% off sitewide* (excluding our card kits and card kit subscriptions which are already a MEGA value!) For the best selection, please shop early and enjoy!
Crafty with Caly: Just a Note Pansy Wreath

Hi friends! Happy Thursday! Please join me in welcoming back special guest Caly Person with this gorgeous “just because” floral card inspiration! Be sure to watch the video for all the details, and enjoy!
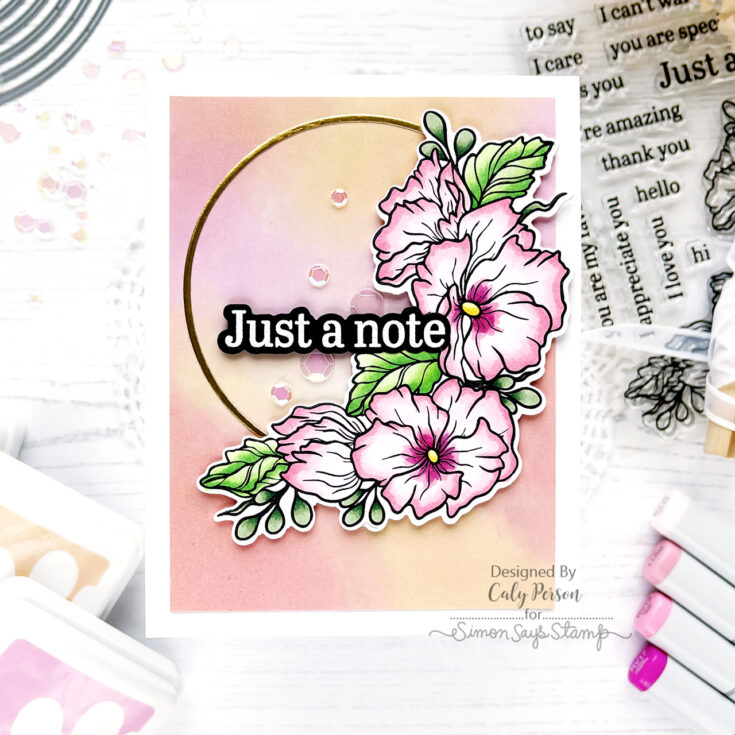
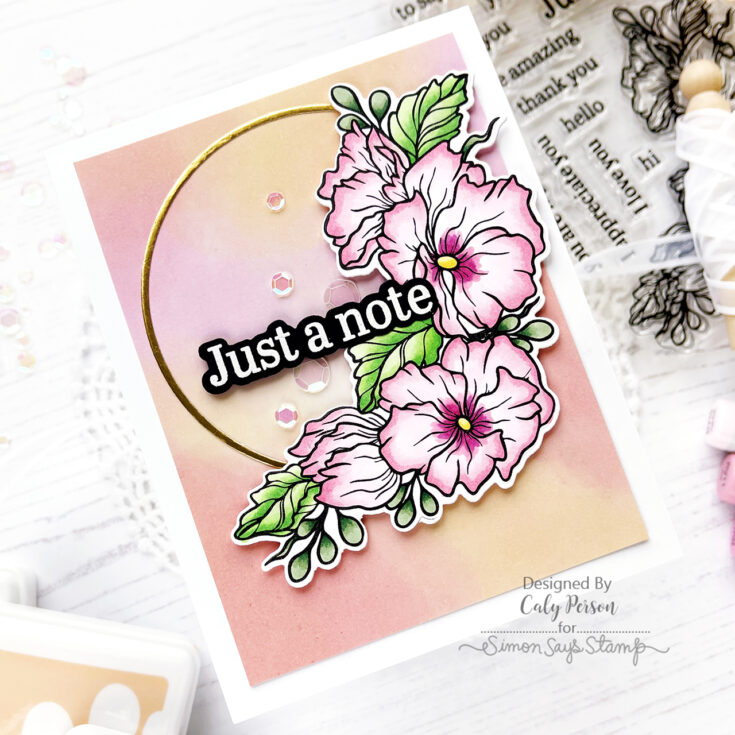
Hello there! I love a soft background and tried a technique I learned from Yana Smakula. Yana creates more abstract backgrounds and they are beautiful! Since this was my first time, my background is less abstract, but I still love how it turned out. I created this background for the Just a Note Pansy wreath that I made.
To begin, I stamped and colored my Just a Note Pansy image with Copic markers. After coloring, I die-cut some gold rings for my wreath using the Circle Thin Frames and Matte Gold Cardstock.
- Yellows: Y11, Y15
- Pinks: RV10, RV11, RV13, RV17
- Greens: [YG11, YG06, YG09], [G21, G24, G28]
For a soft background, I used White Glossy Cardstock and Pawsitively Saturated Inks in Cheeky, Melon, Bubblegum. I applied the ink directly to the paper, then quickly used my finger to spread the pigment before it saturated the paper. Be sure to check out the video to see how I did this!
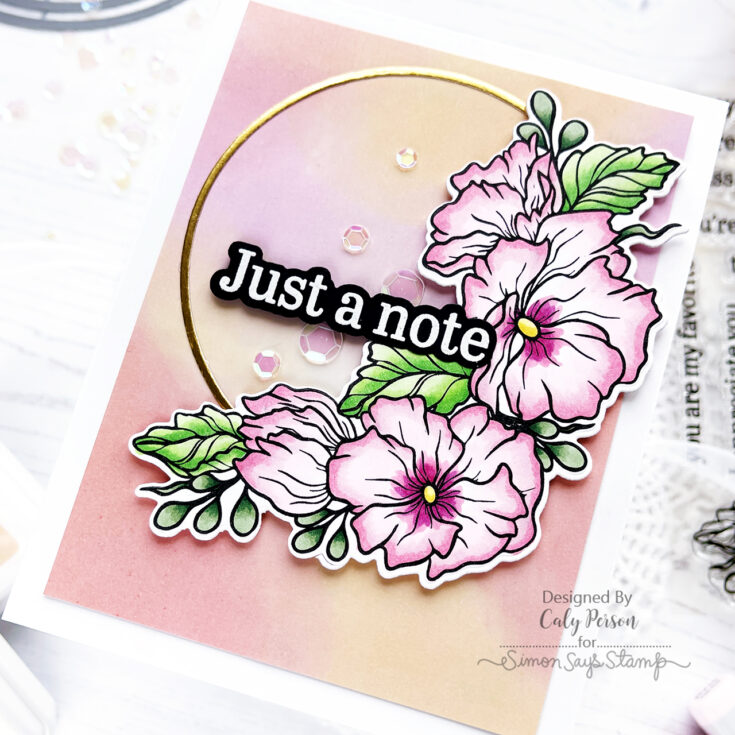
I adhered my gold wreath ring over my background and then adhered the Just a Note Pansy with foam adhesive to give it dimension. I finished with an embossed sentiment and embellished my card with some iridescent sequins.
I hope you enjoyed this card! I have to admit this card is the first time I’ve tried this ink technique. I will definitely have to try again and try to be more abstract with it like Yana does! It’s fun and easy and the ink didn’t stain my fingers. Thanks for visiting today!~Caly
WATCH THE VIDEO:
SUPPLIES:
|


Thanks so much for stopping by, and thanks to Caly for being our guest!


