Studio Monday with Nina: Die Cut Layering and Hot Foiling Featuring Waffle Flower

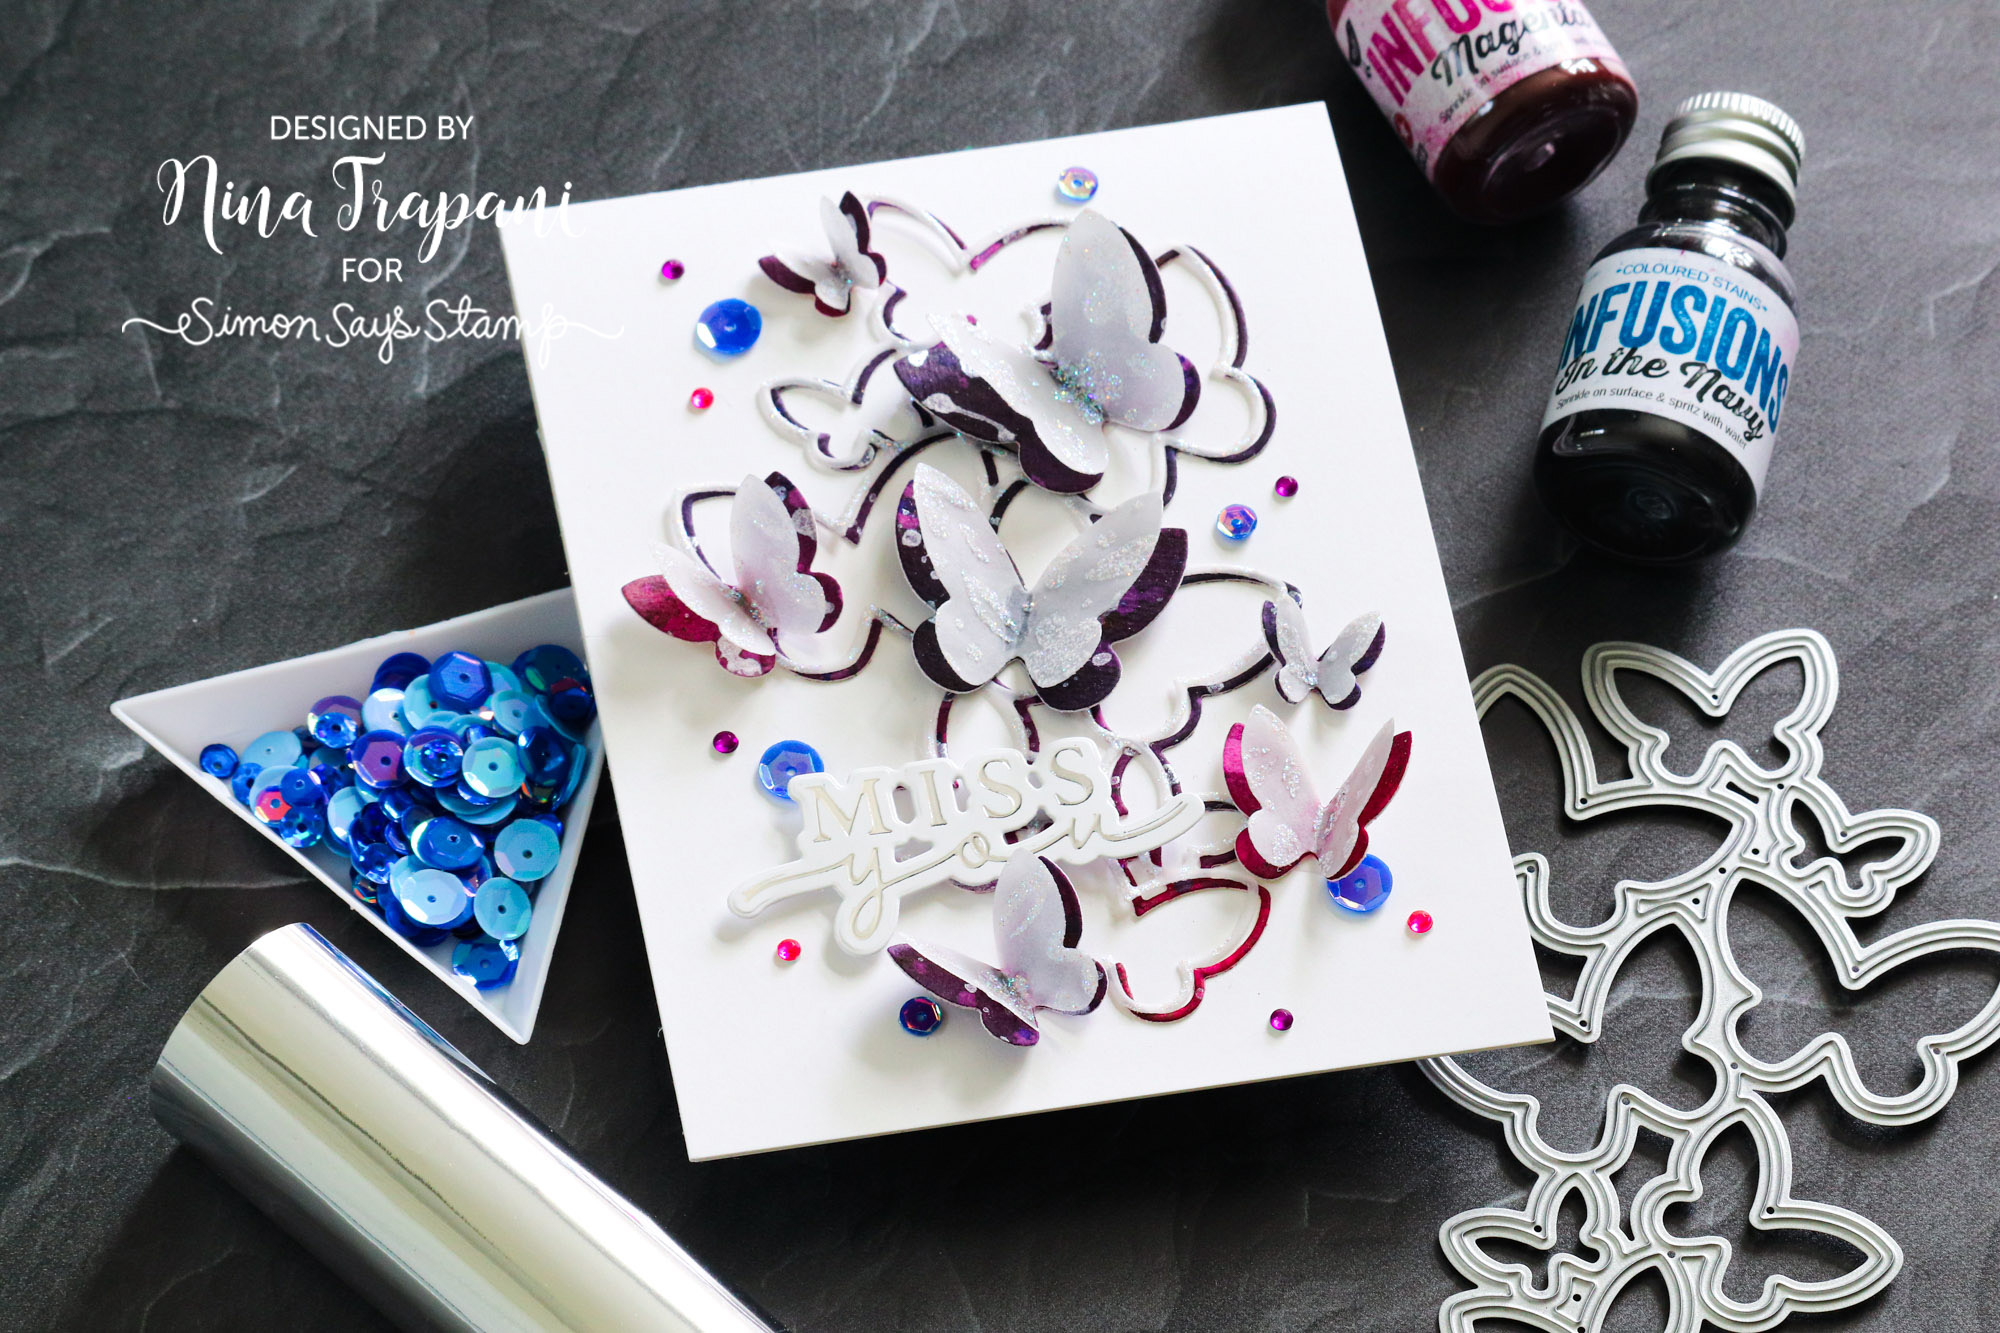
Hello there friends! It’s Nina-Marie here with you, sharing a bold, layered card using Waffle Flower dies and hot foil plates.
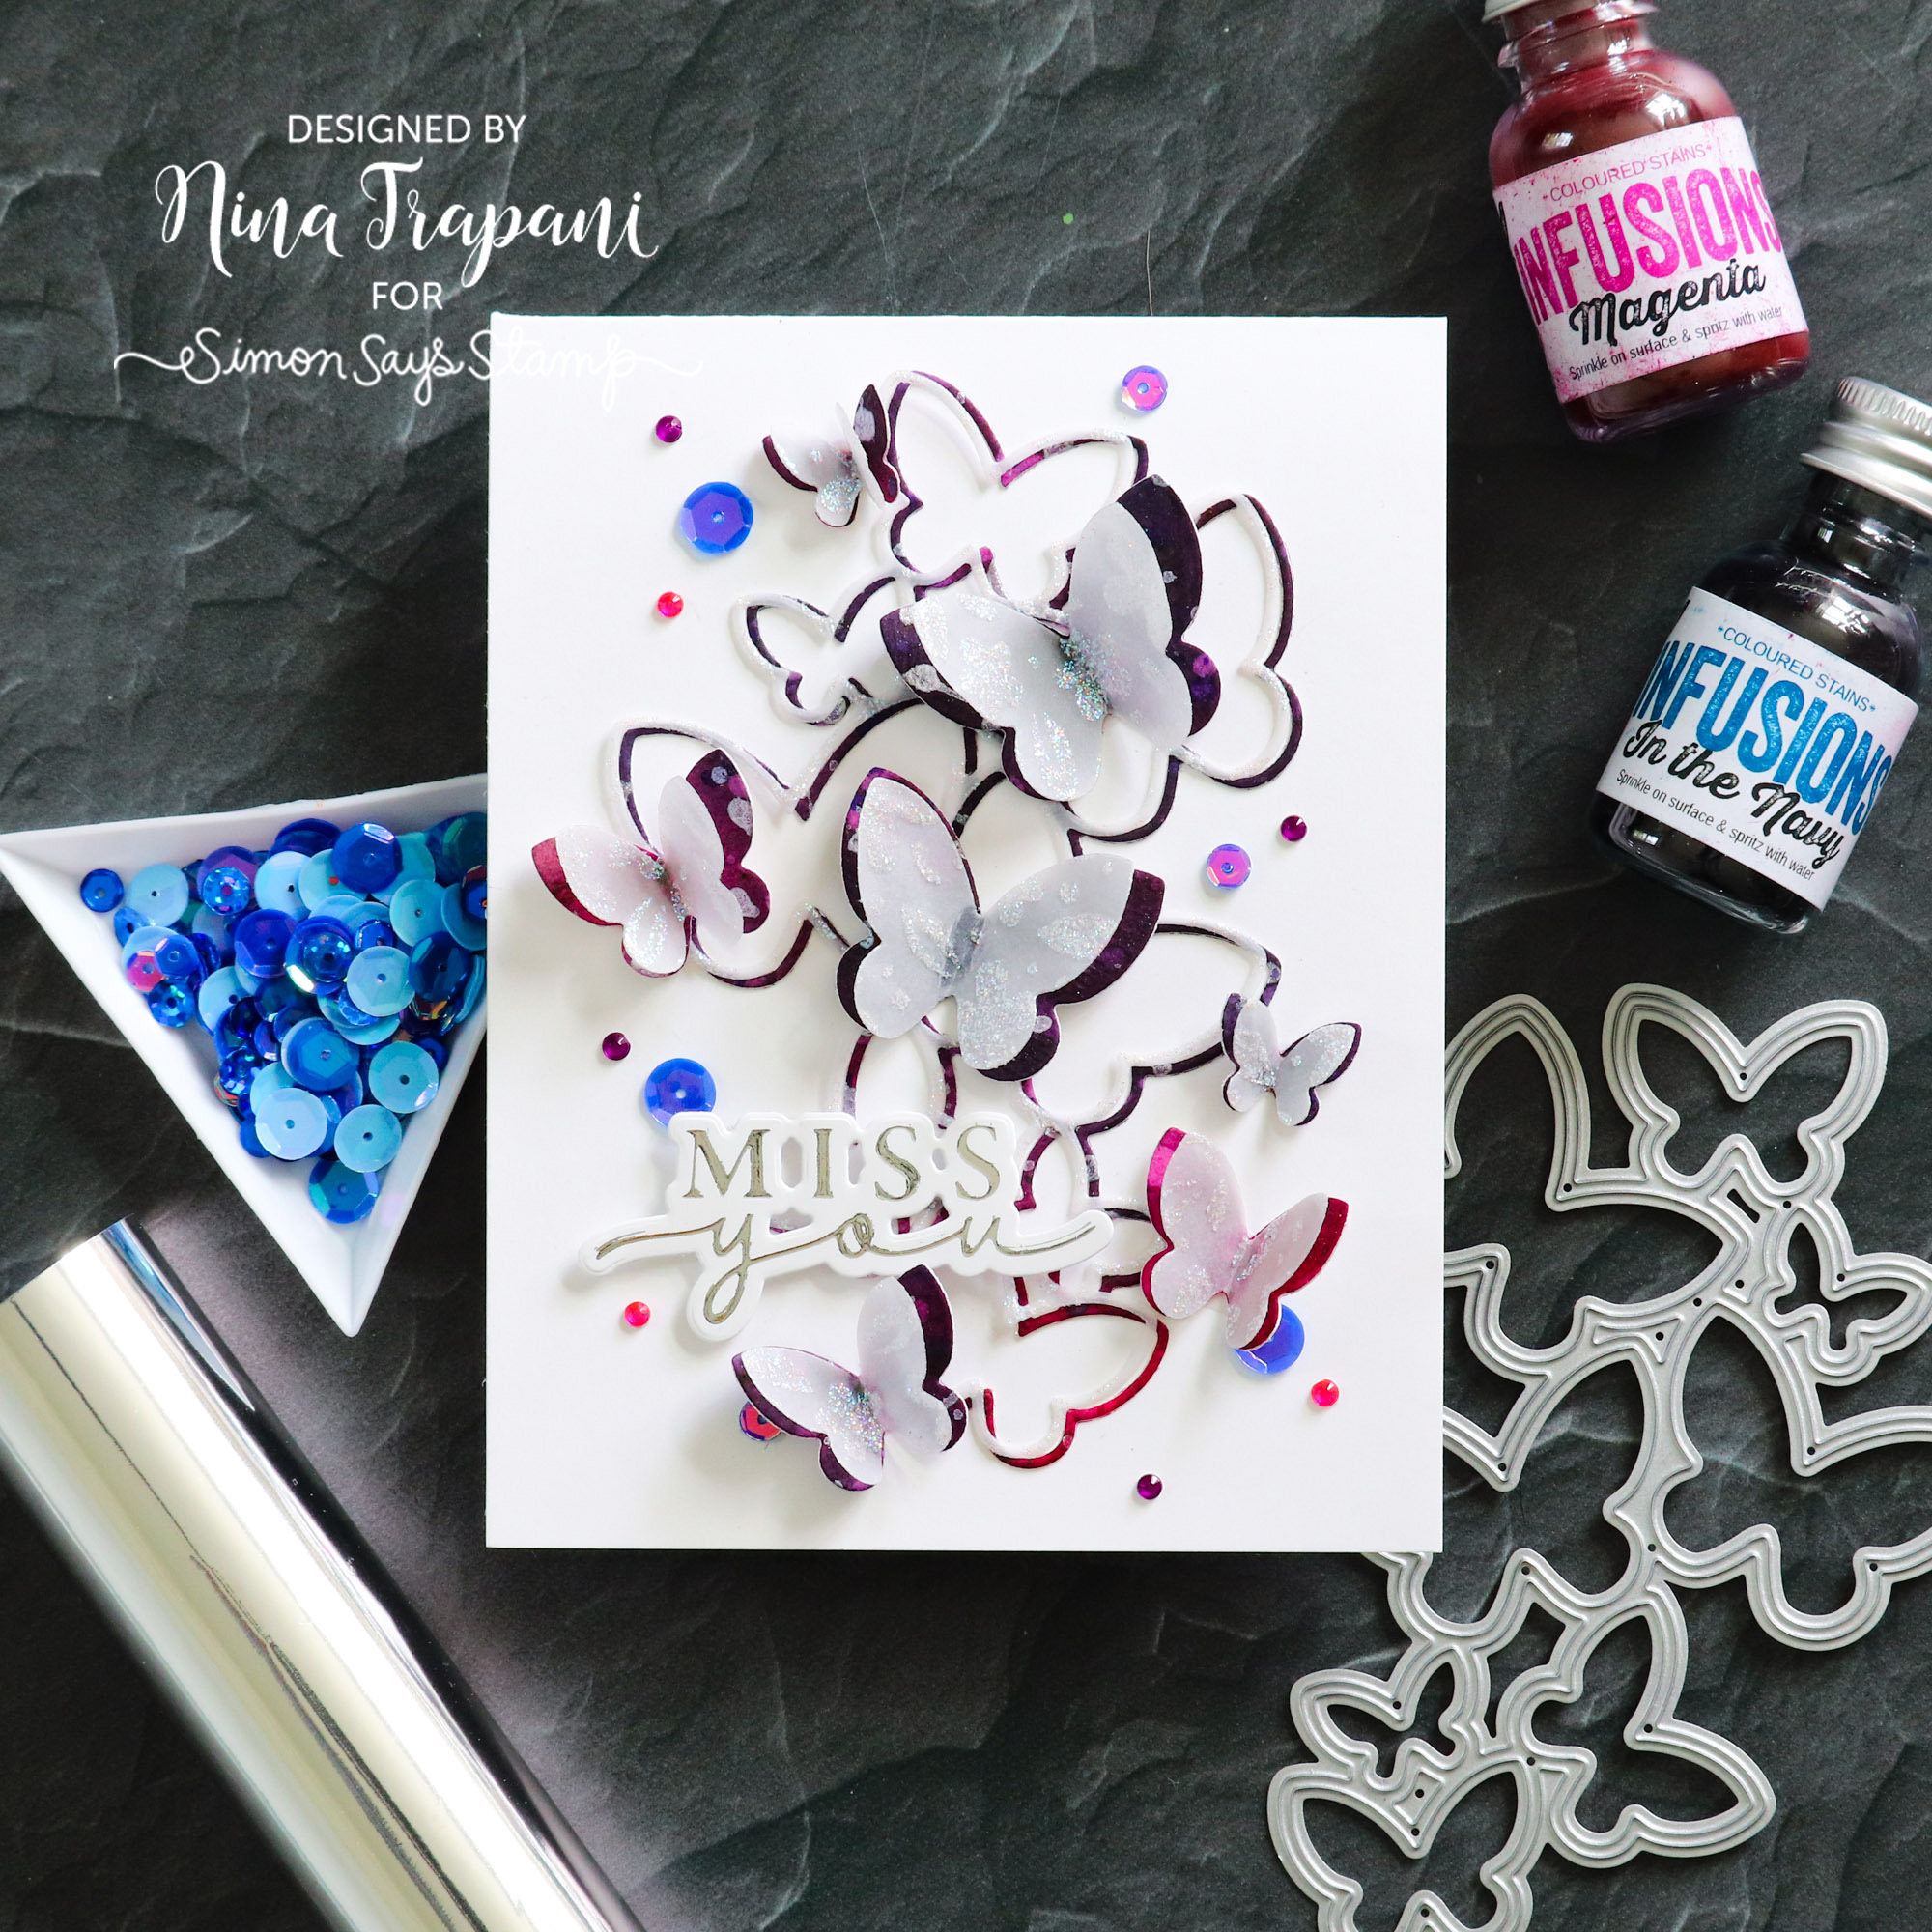
The vibrant colors of the Flying Butterflies were made using Infusions powdered watercolors. These are a lot of fun to work with because you can easily create unique and unexpected results. I used both In the Navy and Magenta for the butterflies, which resulted in a nice pink/purple color combo.

I used Waffle Flower’s Hey There hot foil plate and die set for the hot foiling. I liked how the silver foil worked with the colors of the butterflies.
WATCH THE VIDEO
SUPPLIES
|


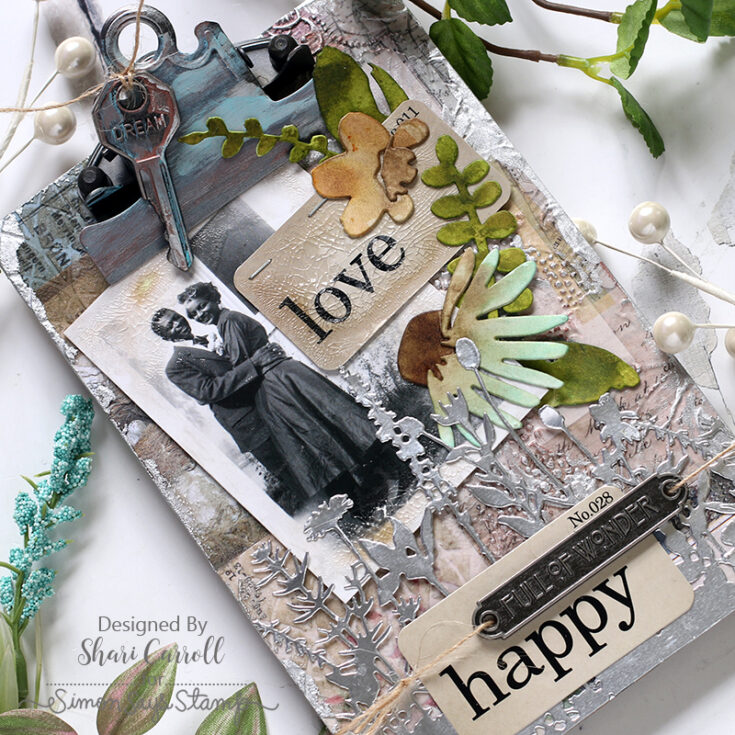
Mixed Medium with Shari Carroll: Love Clipboard

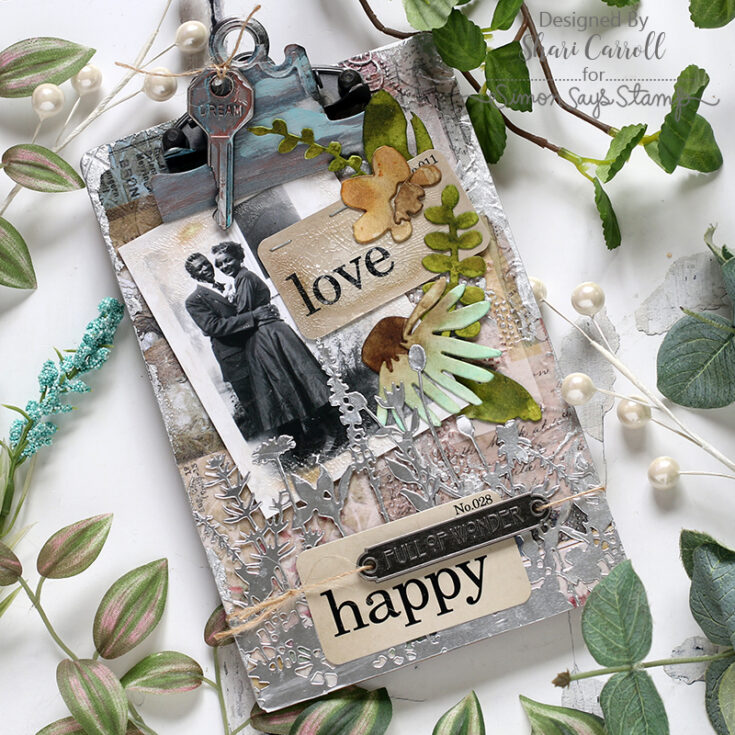
Welcome, everyone!! I hope you’re enjoying your long weekend! I have a mixed media project that I have created which is full of many ways to create texture and shine!
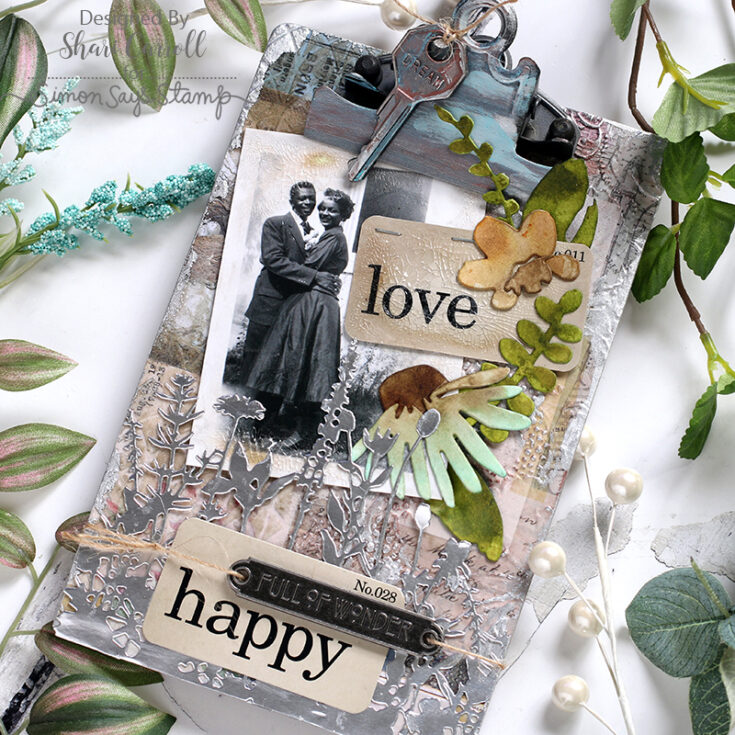
I’ve used mostly Tim Holtz products for this fun piece, starting with Ranger Mediums, an Embossing Folder, and dies.
To see how this all came together, check out the video below. Enjoy!
SUPPLIES:
|


Lawn Fawn Birthday
Hi friends! Happy Saturday! We’re delighted to welcome back special guest Elena Roussakis as a guest on our blog!
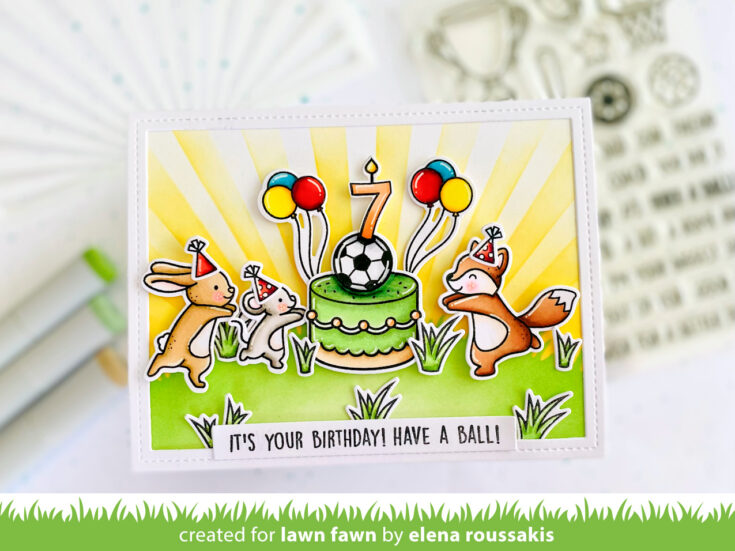
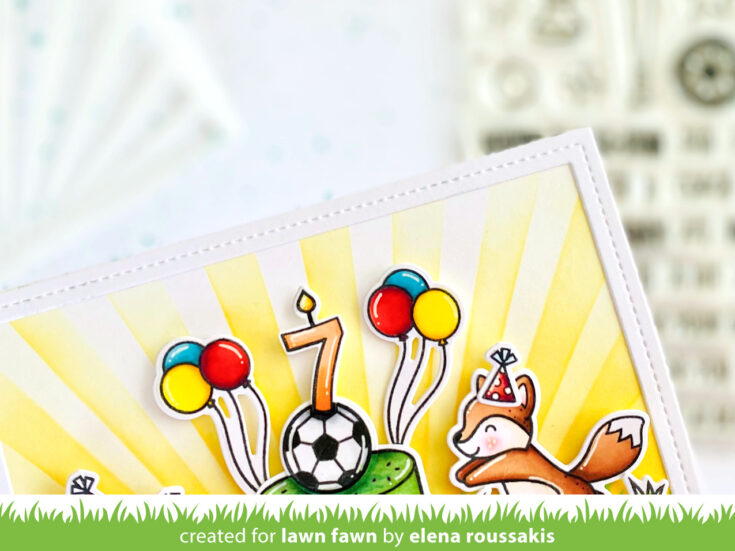
Hi there! I’m thrilled to be on the SSS blog with a card made specially for my soccer-loving nephew’s 7th birthday!
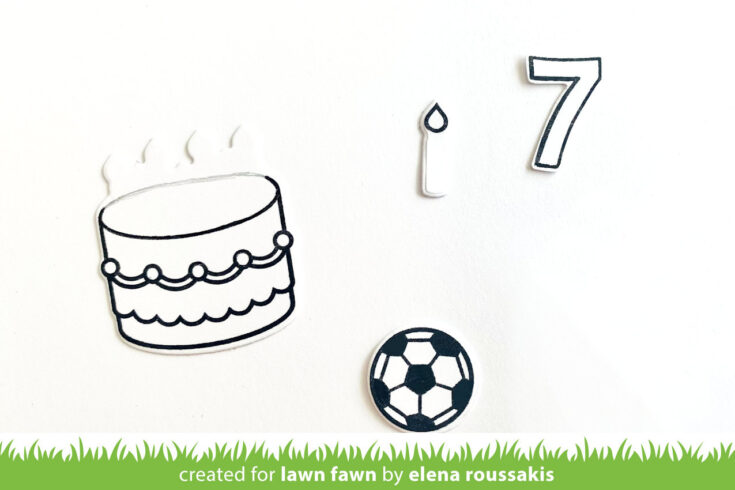
I really wanted to make this card as bright and happy as his little smile! I mixed a lot of older stamps with new stamps and stencils to get the look I wanted. I had the idea of doing a soccer ball cake topper, with its own candle. With that in mind, I combed through my stash of Lawn Fawn sets and pulled out the cake and candle from Birthday Before ‘n Afters, the number 7 from Quinn’s 123s, and the soccer ball from All Star.To make the cake topper work, I had to do without all the candles on top of the cake. I inked up the cake, but then wiped off the ink from the top of the cake. I would have to re-draw a part of the cake at the top. The same would go for the candle, I only wanted the flame. The number 7 would act as the candle, with the flame coming out from it. In the photo below, you could see how I stamped the 2 images so that they could work for my custom creation.
Once the cake was stamped, colored and assembled, I had the idea that critters could come running for a slice of delicious birthday cake! I brought in the cutie animals from Scootin’ By, and gave them bright red party hats.
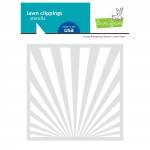
To really set the scene, I used a Grassy Hillside Stencil as well as the new Sunray Background Stencil. I only used 1 green ink color for the grass, since I knew some of it would be covered up by grassy tufts and the sentiment. But I used 3 different yellow inks for the sunrays, to give extra dimension.
I hope you like what I’ve created, and most of all I hope it will make my little nephew happy on his birthday! Thanks for stopping by!
SUPPLIES:
|


Thanks so much for stopping by, and thanks to Elena for being our guest!


