Sticky Situation? We have the solution!
Hi friends! Happy Wednesday! We’ve been expanding our offerings of exclusive adhesives, and thought it would be a great time to highlight them all in one spot for you! Peruse the videos below to learn more!
Micro Dot Sheets:
Red Line Tape in 1/8 inch and 1/4 inch sizes:
Ultra Smooth Craft Glue Stick:
Tape Dot Runner with Refills:
Craft Tacky Glue:
Psst! Stay tuned! NEW additions to our exclusive adhesives coming soon! ;)
Hot JUNE release! Gina K Designs!
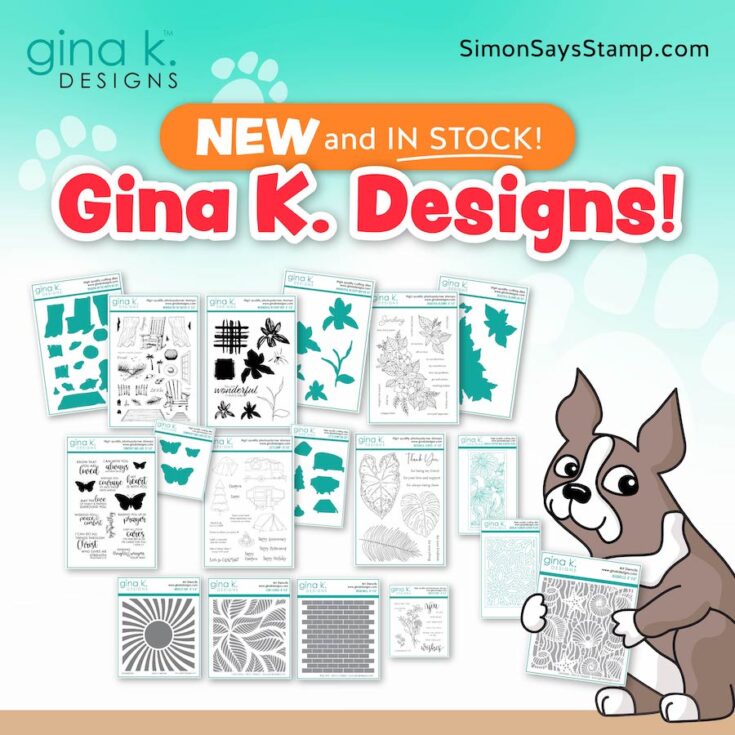
We’re excited to share the beautiful new release from Gina K Designs for June 2022!
Shop the whole collection below:
|


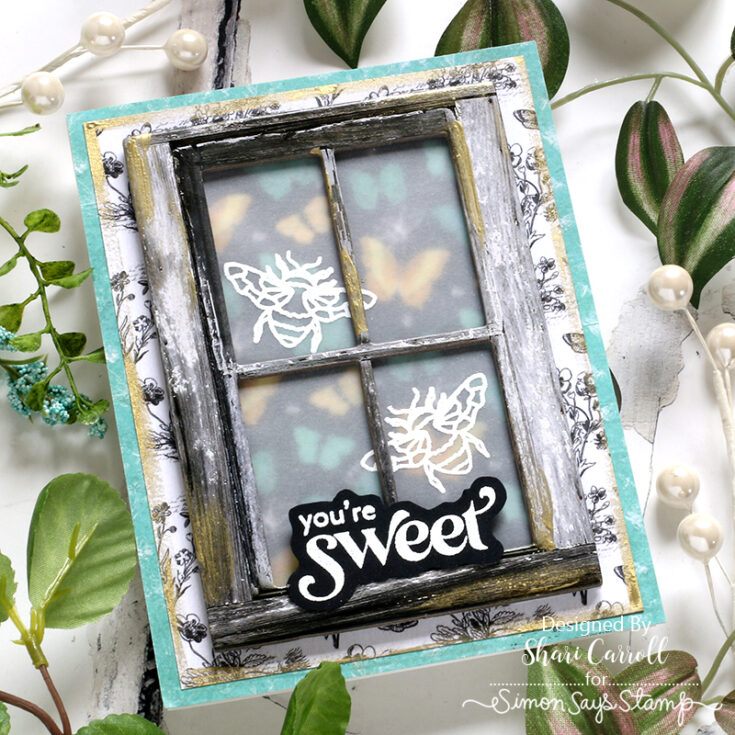
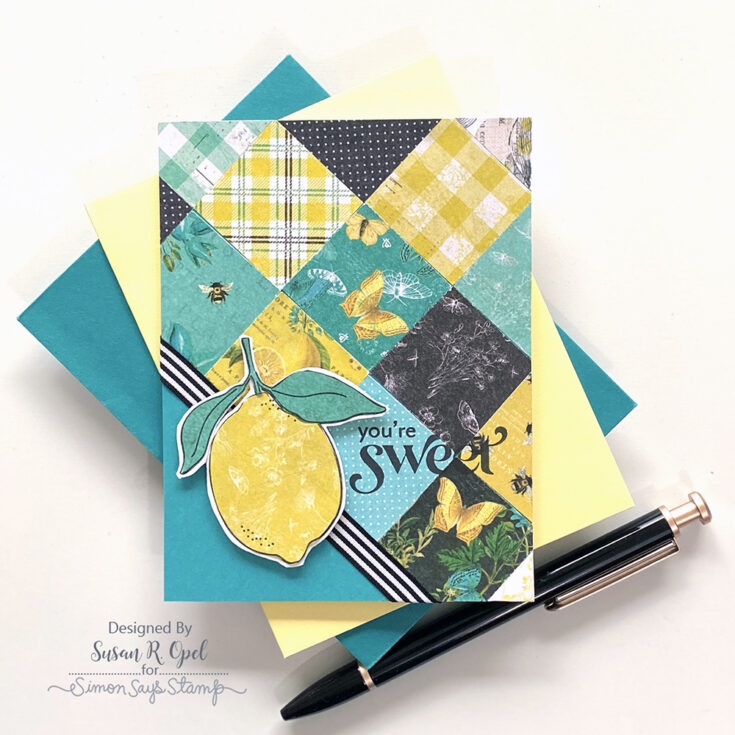
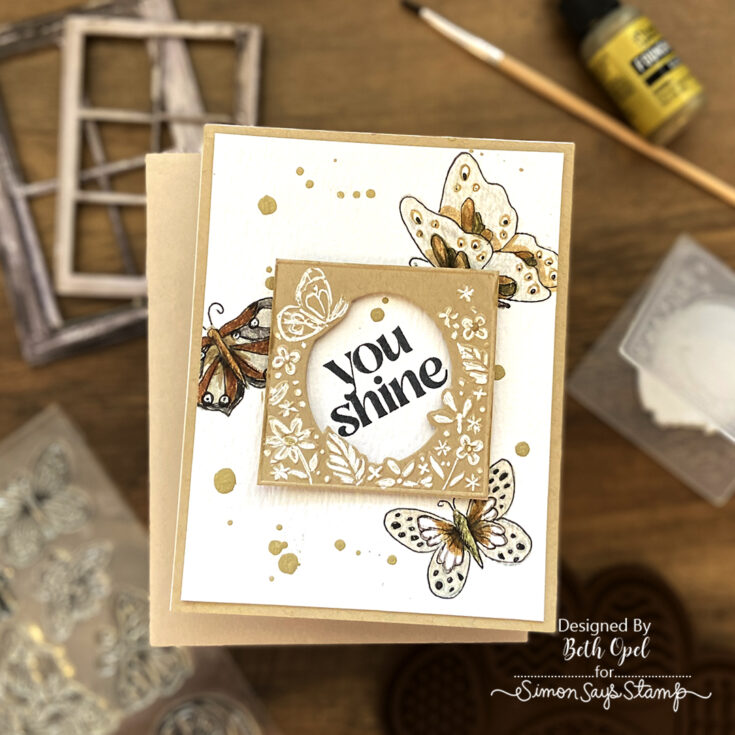
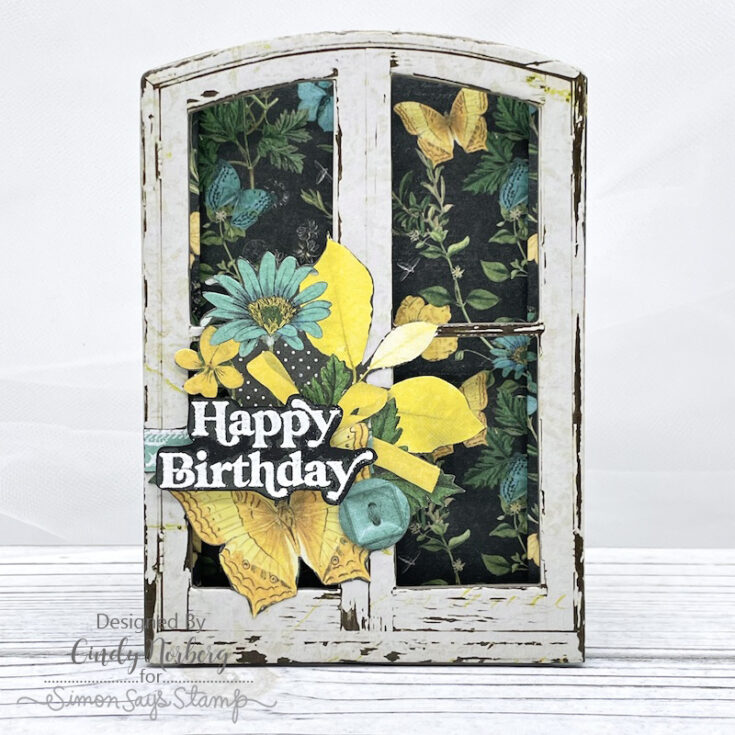
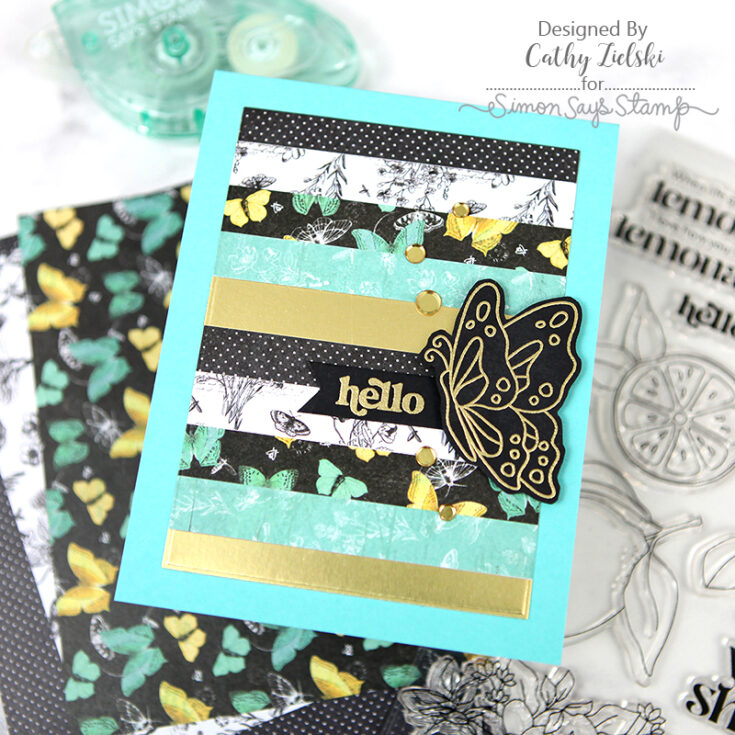
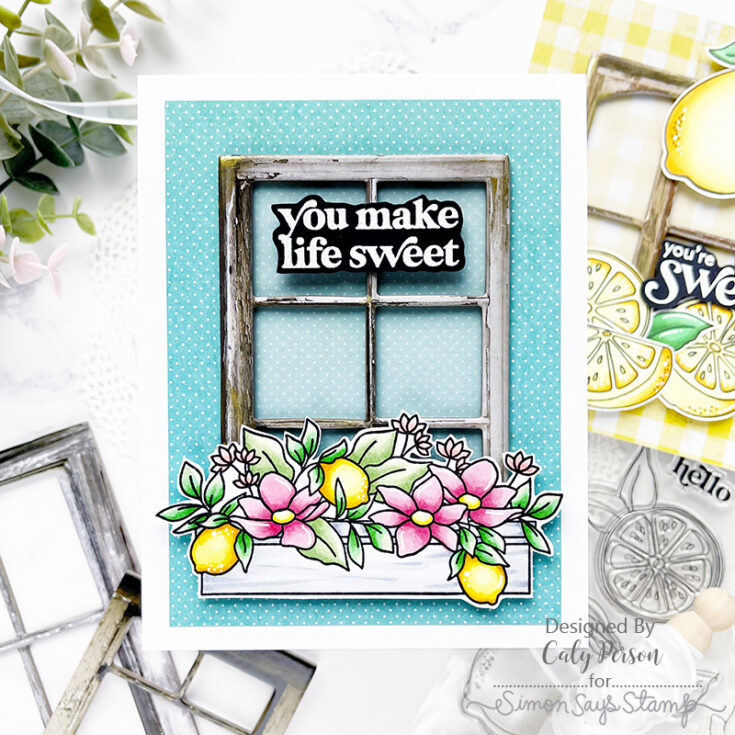
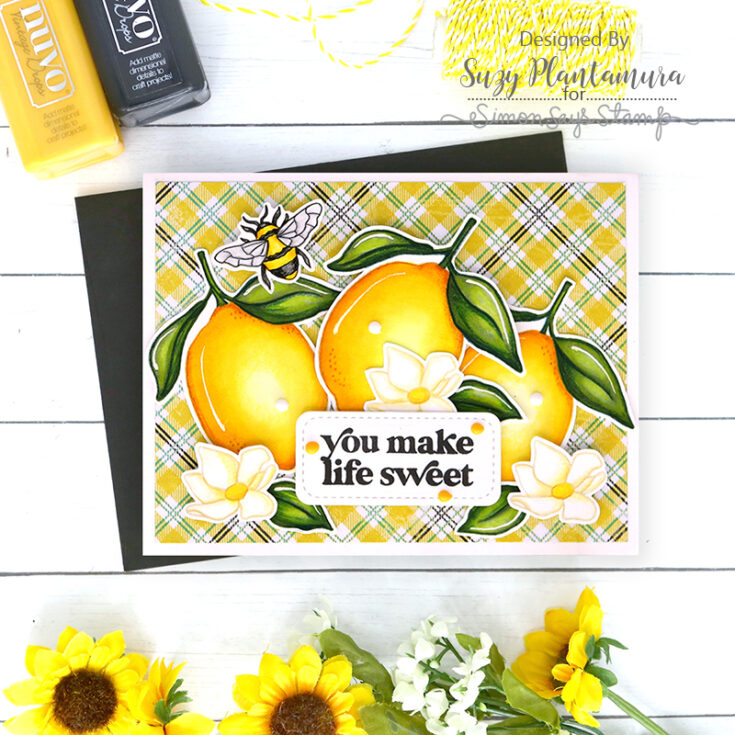
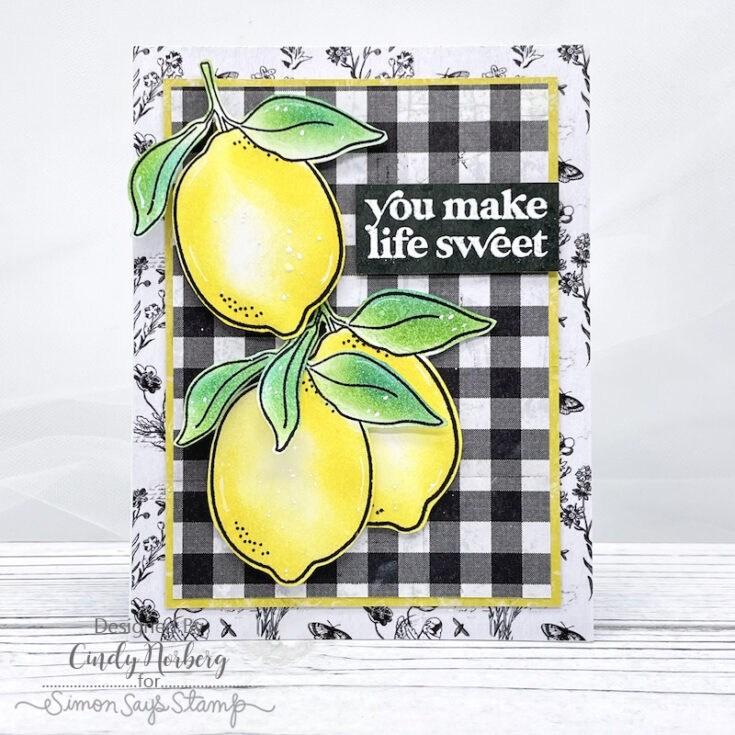
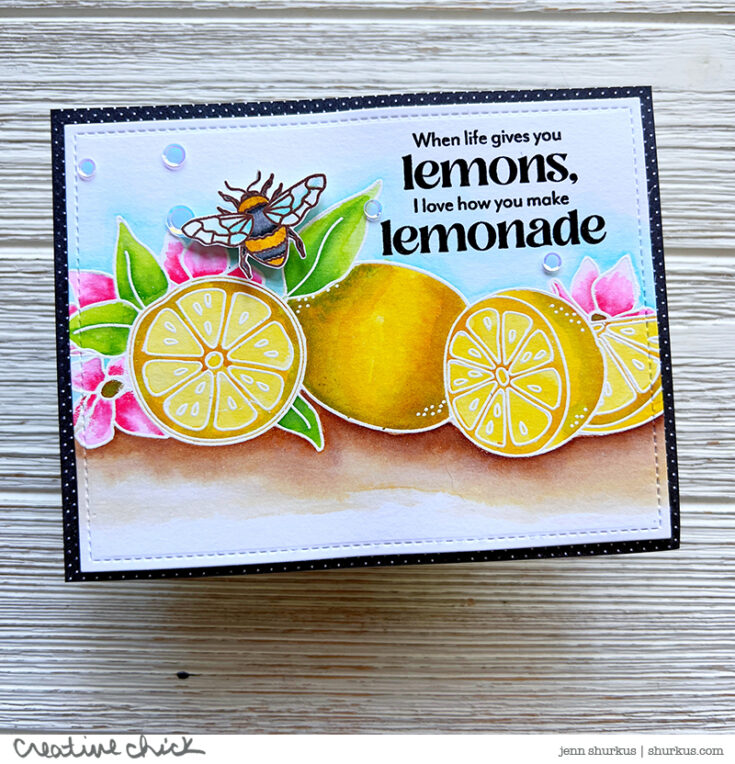
Card Kit Reveal and Inspiration: You Shine
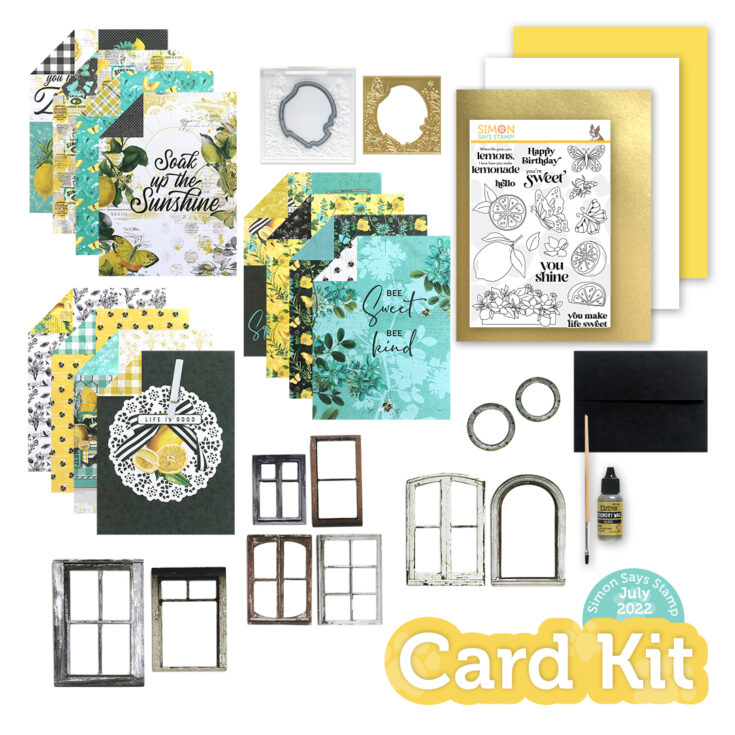
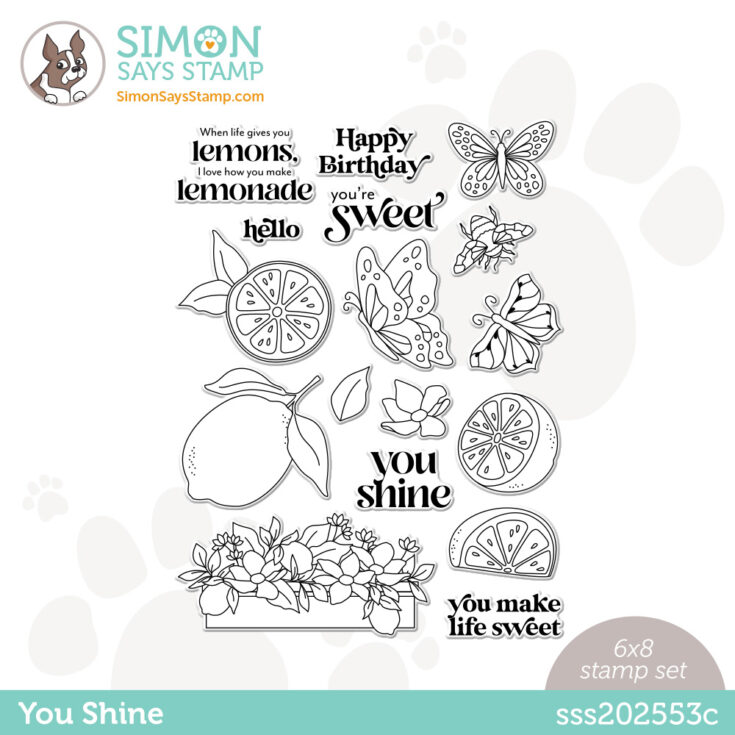
Introducing our July 2022 Card Kit—You Shine!
This refreshing kit features two brand new Simon exclusive products: the beautiful You Shine 6×8 stamp set, as well as the Flower Garden emboss and cut folder. Pair these with the gorgeous 6×8 double-sided patterned papers from Simple Stories.
We’ve also included 1 bottle of Tim Holtz Distress Gilded Foundry Wax, 1 Ranger paintbrush, 1 package of Tim Holtz Idea-ology Window Frames, 2 sheets of Simon Says Stamp coordinating cardstock, 1 sheet of Neenah Solar White cardstock, and 1 Simon brand envelope.
Our You Shine kit will give you lots of creative juice to make beautiful things!
The NEW You Shine 6×8 clear stamp set and the NEW Flower Garden 2D emboss and cut folder are available for individual purchases in our store!
Don’t forget! We have LOTS of gorgeous card kit inspiration to access and add to in our Card Kit Galleries!
You can purchase the kit at $39.99, or you can subscribe to our kit of the month program for just $34.99 (plus S&H) per month to have our kits delivered right to your door each month!
If you are a subscriber who used Paypal to purchase your subscription, please be sure to pay the invoice that we send you within 3 business days. We have a limited number of this card kit in stock and don’t want you to miss out. For easier and quicker monthly processing, please contact us via email or telephone and we will put your credit card on file as a courtesy for you. Card kits bill and ship anytime between the 16 – 30 of every month.


