Yippee for Yana: Waves Builder 2 Ways

Hi friends! Happy Saturday! Please join me in welcoming back special guest Yana Smakula to our blog in the latest of our bi-monthly series, Yippee For Yana! To see even MORE brilliant ways to use our Waves Builder cling stamp see this post and this post! Read on for a fresh NEW take on this cling set, and enjoy! (Please note; our dear friend Yana is Ukrainian, to show support to our brothers and sisters in Ukraine, please see Yana’s post HERE.)
Hello, crafters, this is Yana Smakula for Simon Says Stamp! Welcome back for another Yippee For Yana video!
In this video, I’m sharing a different look at the Waves Builder stamp set from Simon. I am a big fan of all things abstract and abstract stamps are some of the most used in my craft room. Lately, I’ve been playing with the Waves Builder Cling Background and I think it is a genius stamp because it can be used for several different looks.

Each wave here is separate allowing you to stamp it in a different color of ink. This background is called Waves Builder and obviously, it was designed to create beautiful colorful waves. But just because it is called Waves Builder doesn’t mean it can’t be used as a builder for something else. You can use the waves to stamp hills and fields for your cards.
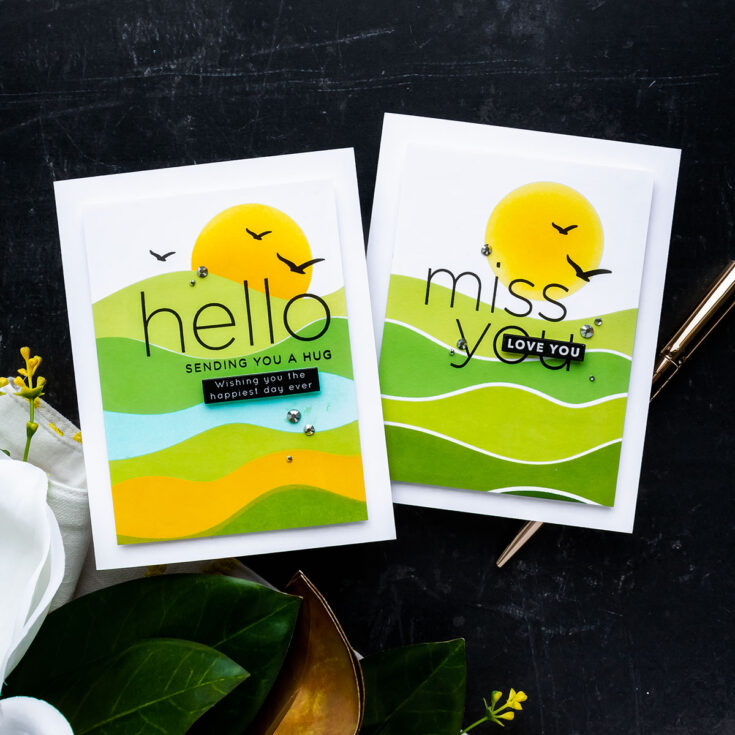
First, I stamped the waves as intended, meaning I left a gap between the sections. When you line up the individual sections of this stamp and stamp them you end up having a small gap between each section. I quite like that gap, it adds interest and helps separate the individual waves.
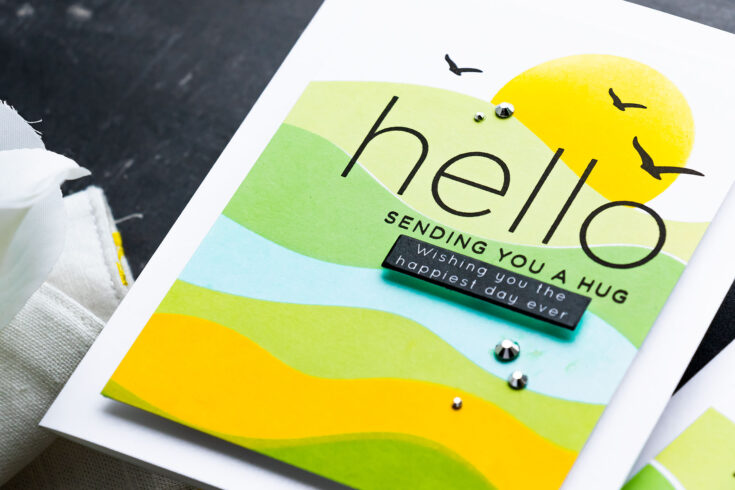
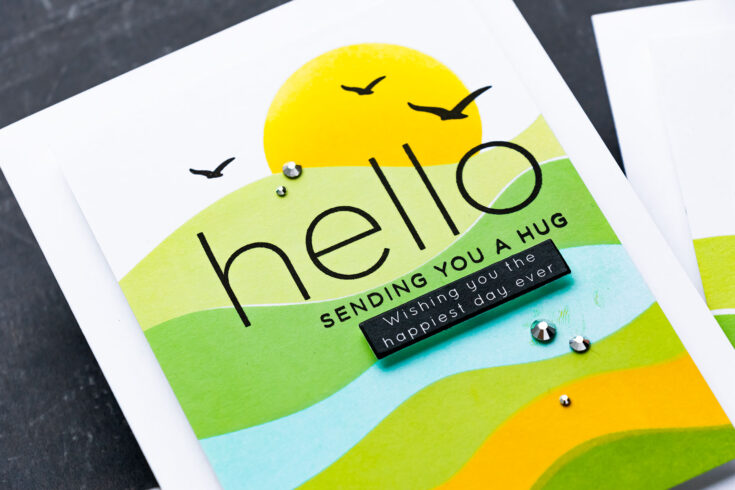
For my first background, I stamped the sections in various shades of green using Simon’s Positively Saturated ink in colors Field, Perfection, Limelicious, Sprout, and Celery. There are more sections, enough to cover an A2 card front, but I need to leave room at the top for sun.
Another way to use this stamp is to stamp sections without the white gaps. This takes a little bit more work as you have to pay more attention to aligning the section – I placed the section in my MISTI and slide it down a bit to make sure it would touch or even overlap the section below it.
I added a yellow wave, it resembles a hill with blooming flowers, lets’s say those are daffodils or tulips. And I also added a light blue wave, meant to resemble a river or even a lake in my landscape stamping. So even though this stamp set is designed for creating pretty waves, it can be used for so much more, especially if you are into anything abstract.
Having finished stamping, I trimmed these panels to 3 1/2″ by 4 3/4”.
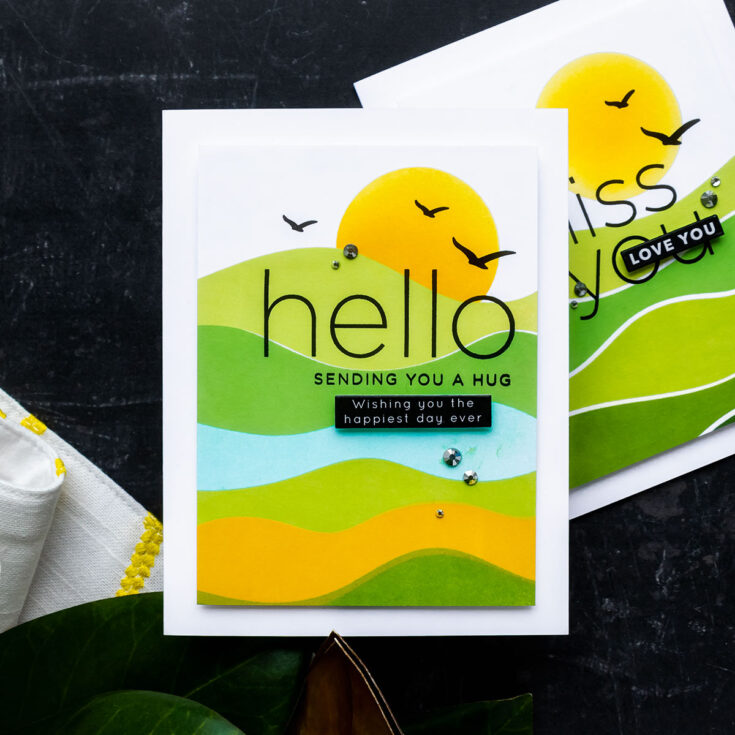
To create a sun I used the Slimline Scene Builder stencil and ink blended the sun in Sunbeam ink, concentrating ink in the center. The second panel needed a bit of masking, as I wanted to have the sun lower on the horizon line and nearly setting. So I stamped that top wave on a piece of masking paper and fussy cut the mask to be able to ink blend the sun partially on this background. I used the same Sunbeam ink for the sun and also added a bit darker yellow using the Citrine ink on the horizon line. This gave me an absolutely beautiful sun.
With abstract backgrounds like this, you can do any sentiment you want. I stamped a simple Hello, Sending You a Hug on one background, and Miss You on the other background. I had to cut the Miss You stamp apart as it was too long for this background and I wanted it to be a two-line sentiment here.
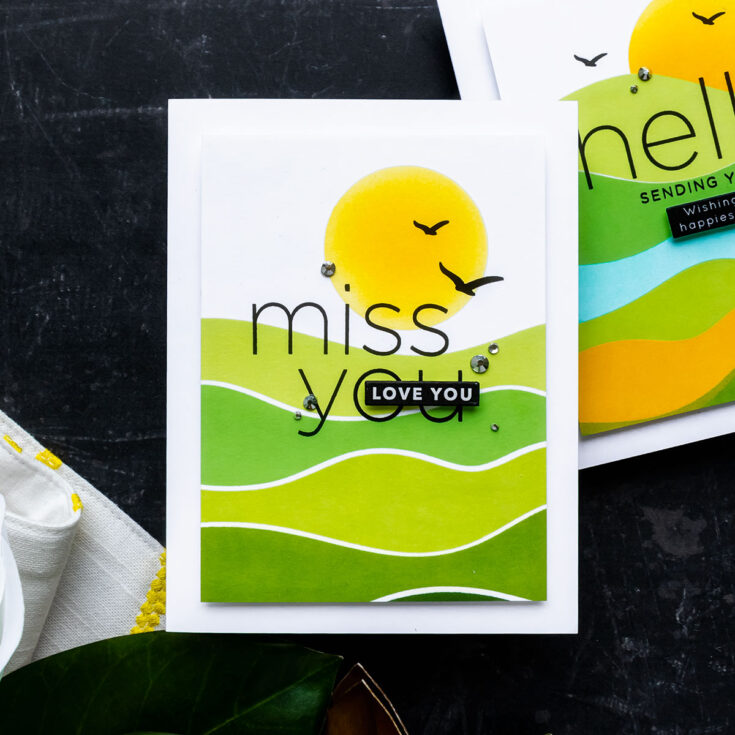
If you want, you can also add some subtle stamping to the background. I love to stamp birds flying in the sky, especially overlapping the sun. You can also stamp clouds and other elements.
I foam mounted the panels onto A2 white side folding card bases and finished my cards by adding a few silver gems. I hope you’ll give this idea a try! Have fun stamping!
WATCH THE VIDEO:
SUPPLIES:
|


Thanks so much for stopping by, and thanks to Yana for being our guest!
??Ways to support Ukraine:
If you are looking for ways to support Ukraine, we encourage you to visit this page on Yana’s blog:

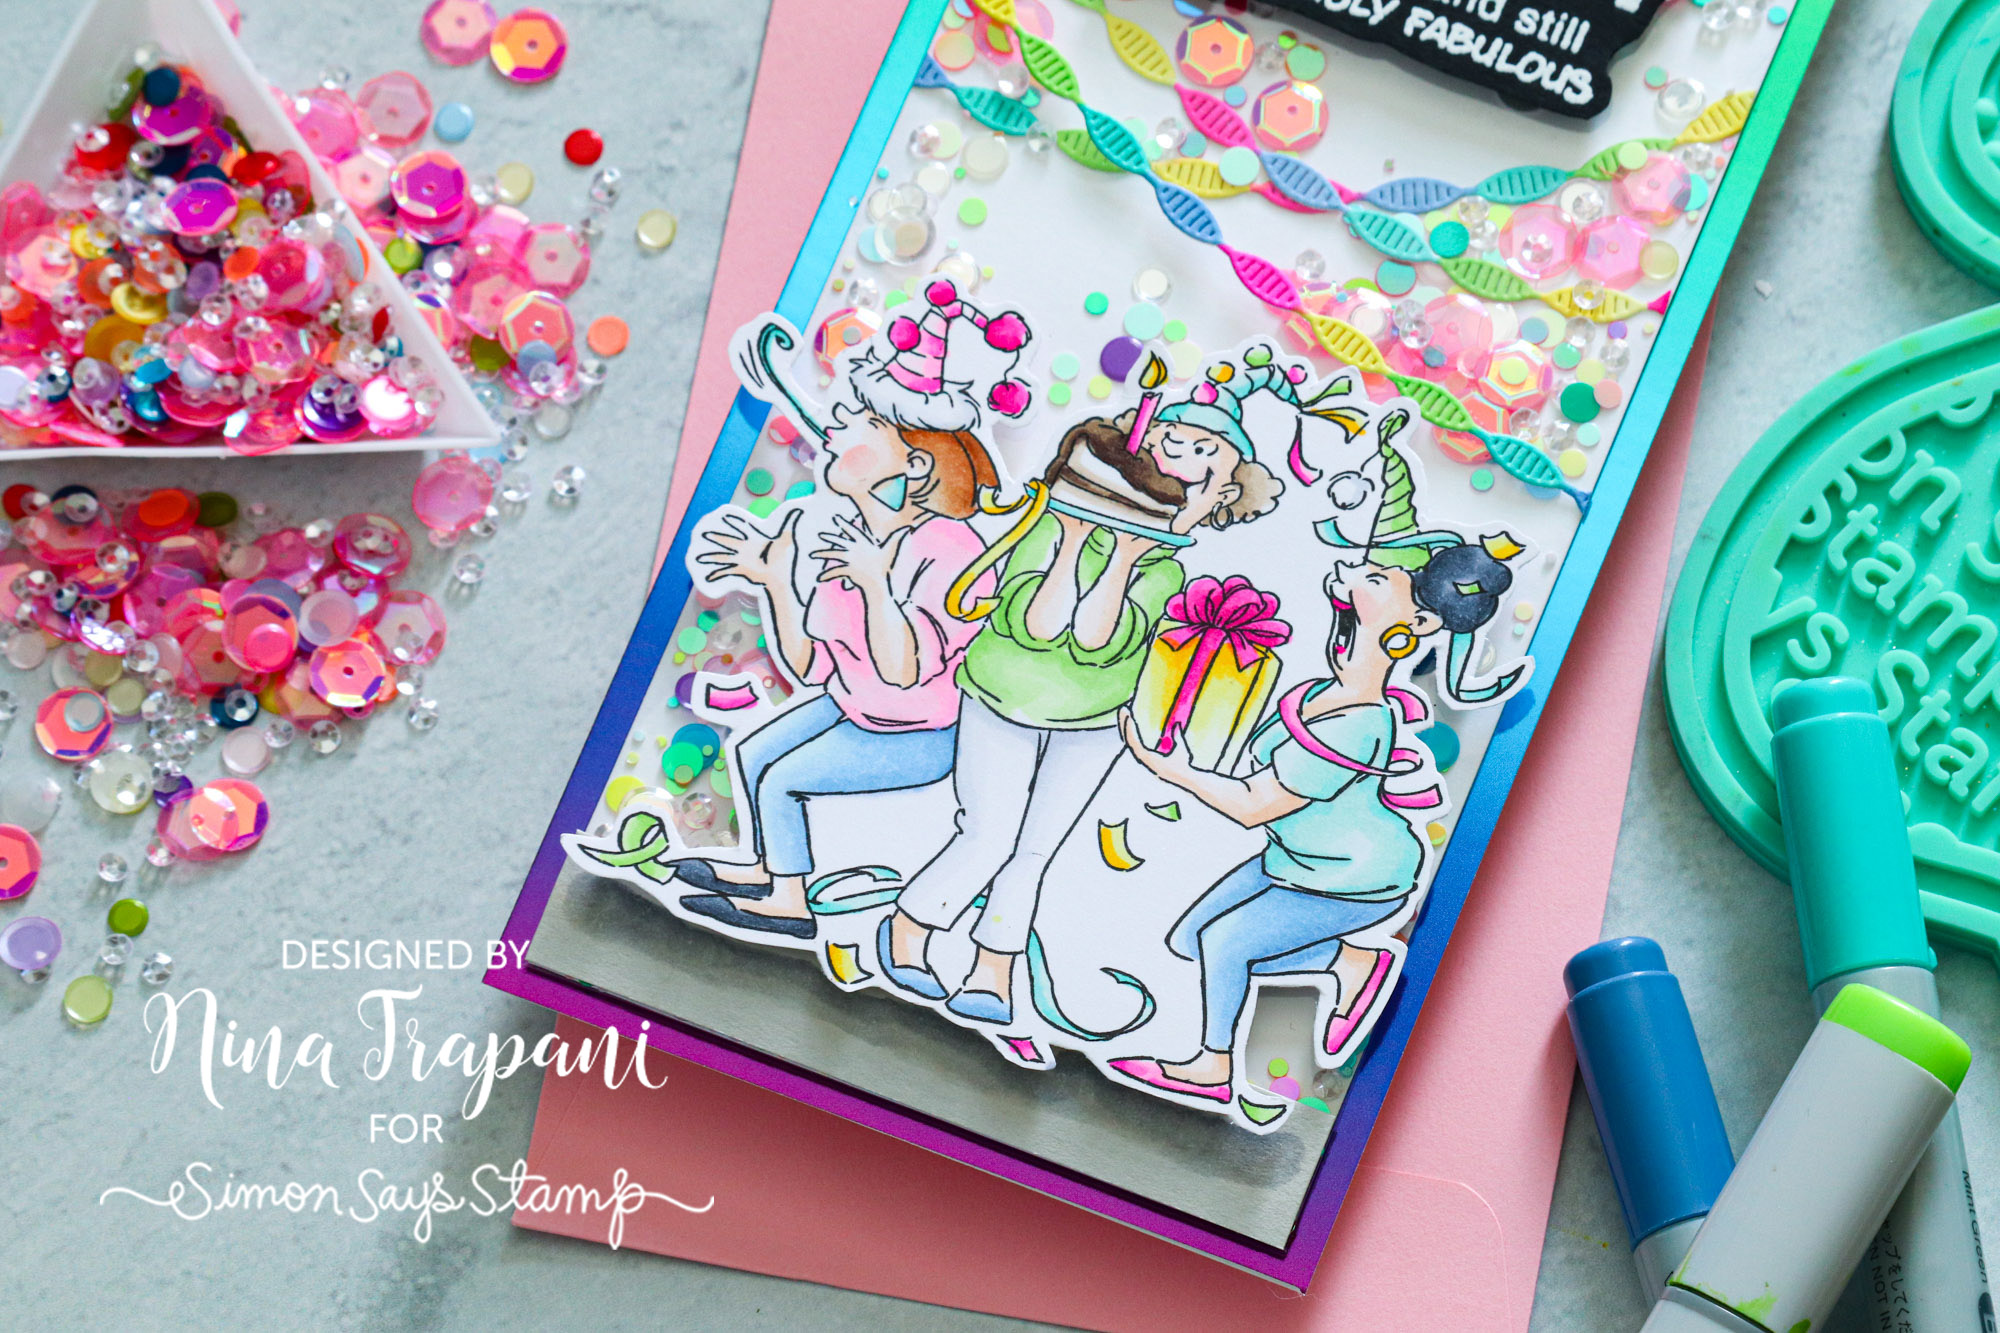
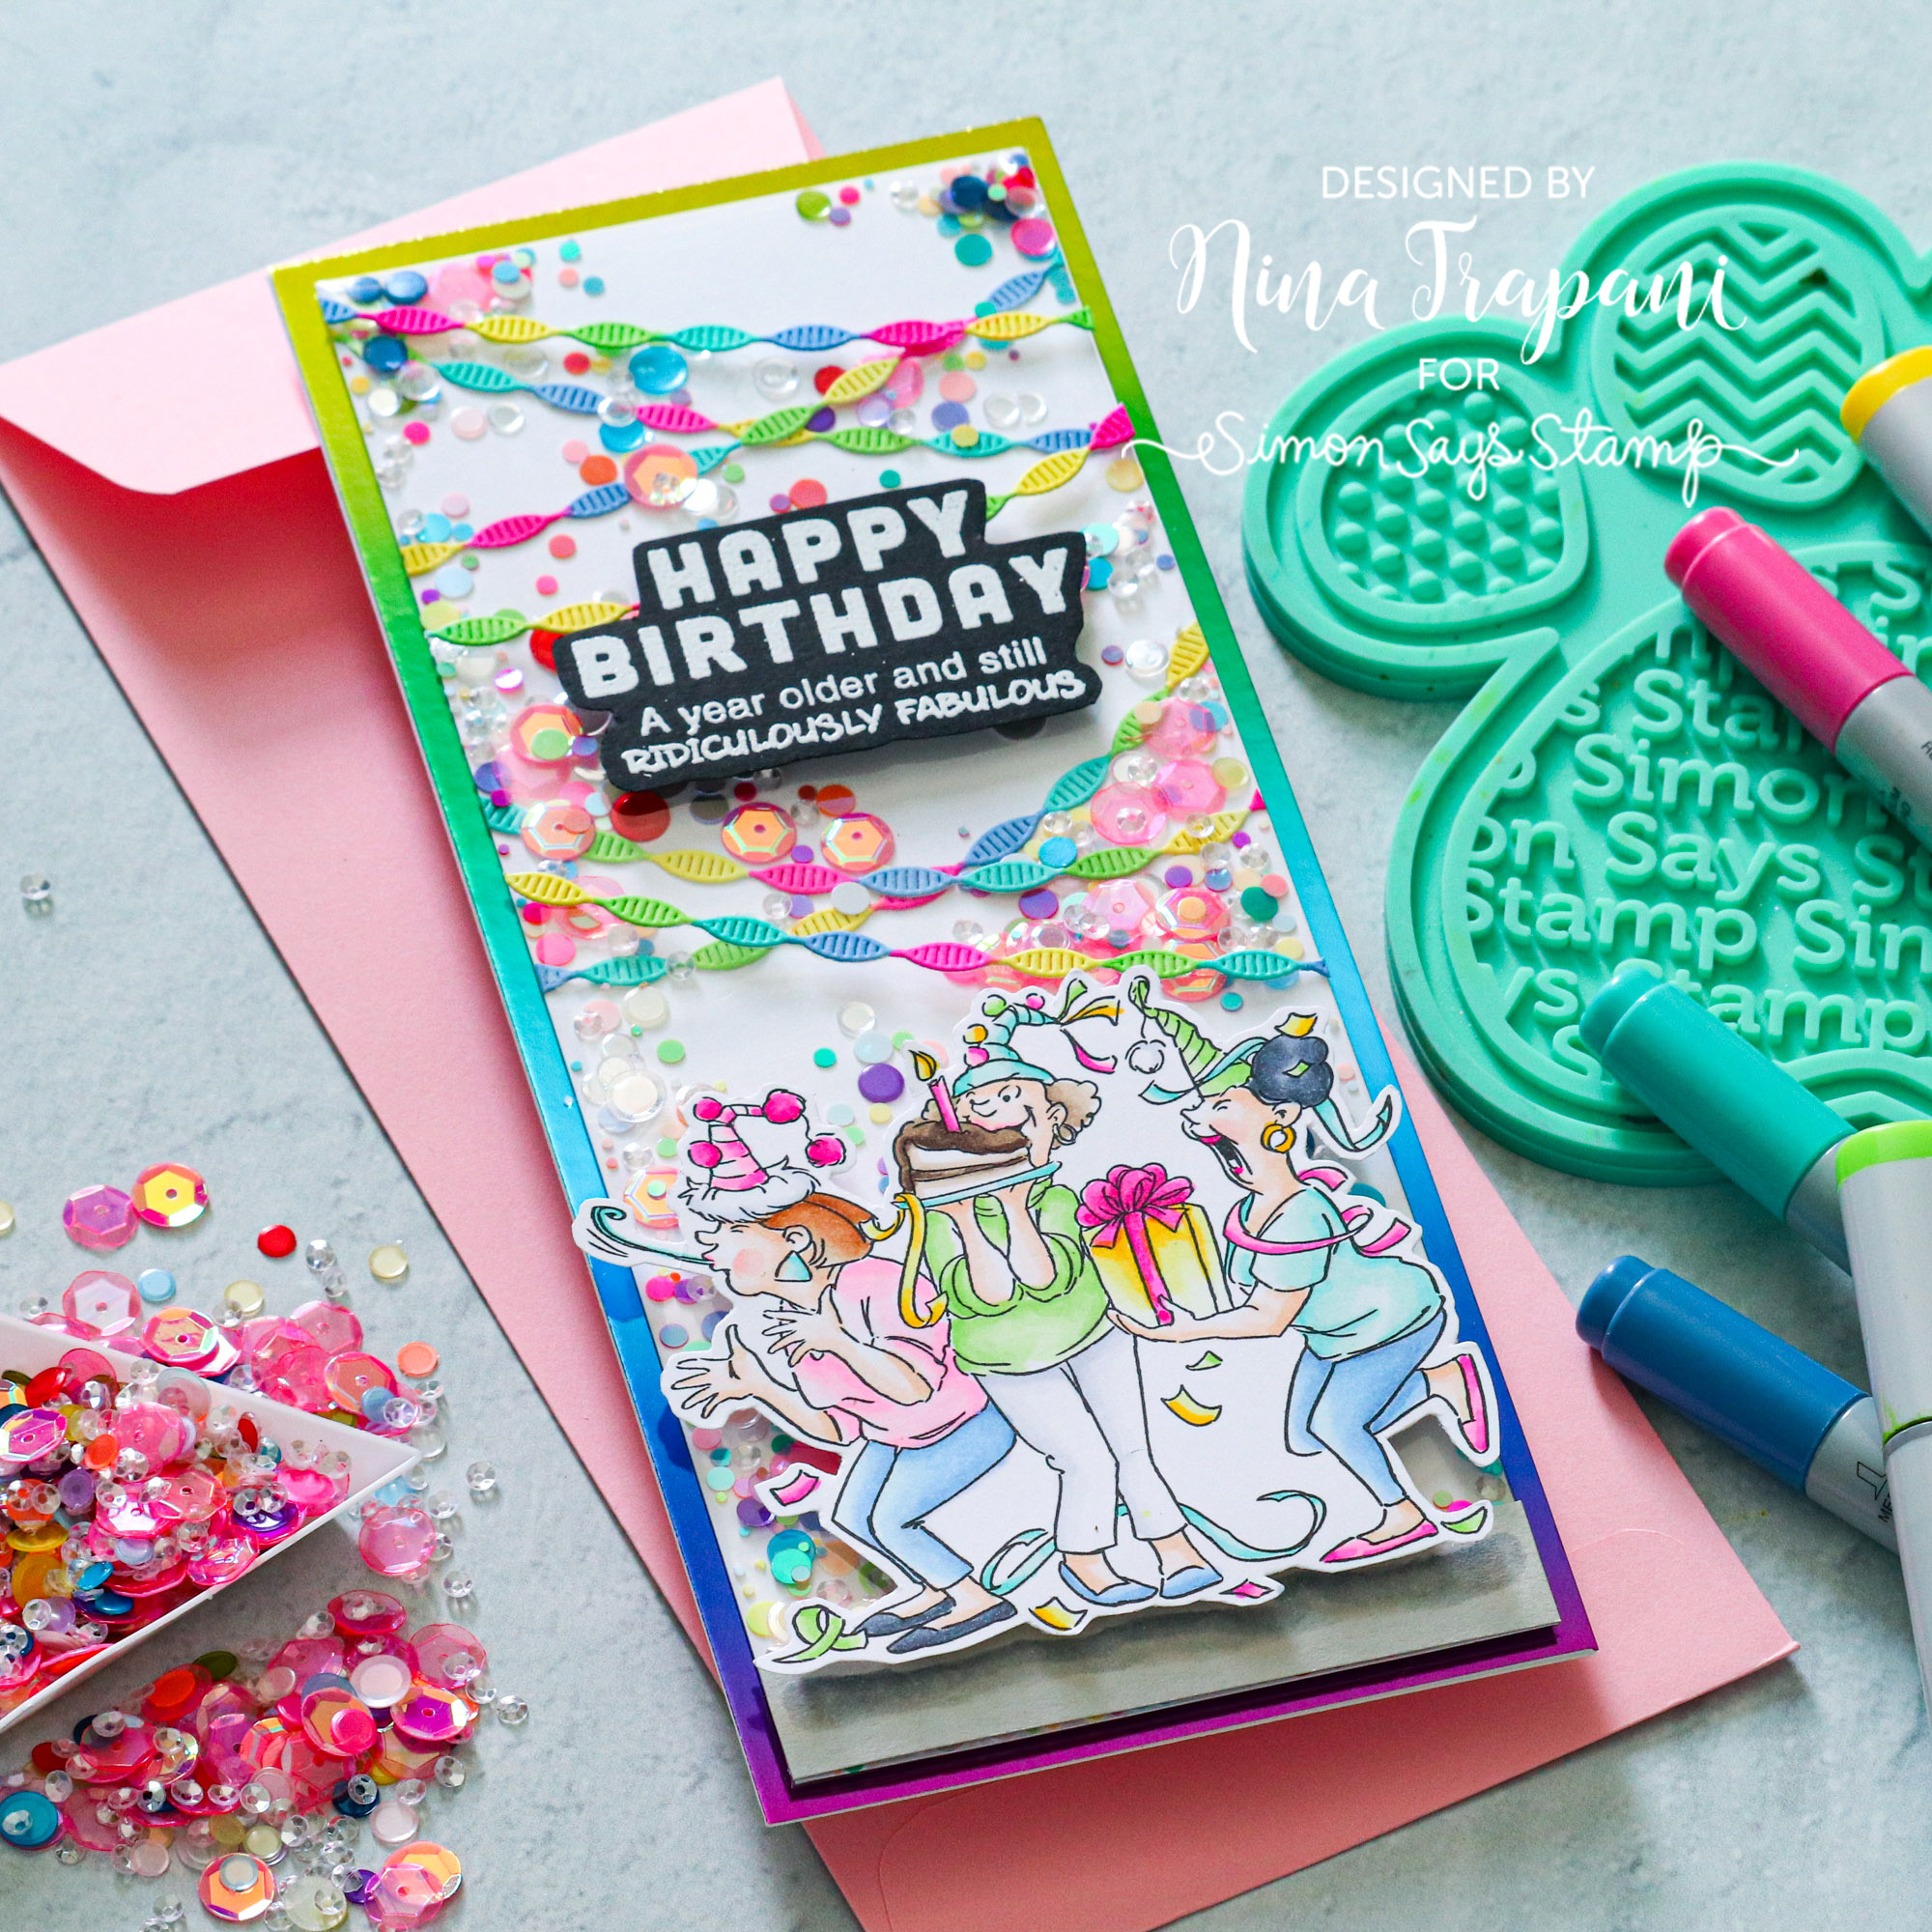
Funny Friday with Art Impressions! Girlfriends Birthday Shaker

Hello there friends! It’s Nina-Marie Trapani here with you and I am sharing a very fun project using Art Impressions’ Practically Perfect stamp set! I’m turning this adorable trio of girlfriends into a shaker card–perfect for a party!
Want to see how I made this card? Be sure to watch the video below!
WATCH THE VIDEO
SUPPLIES
|


Distress Oxide Inks Three Ways with Kristina Werner
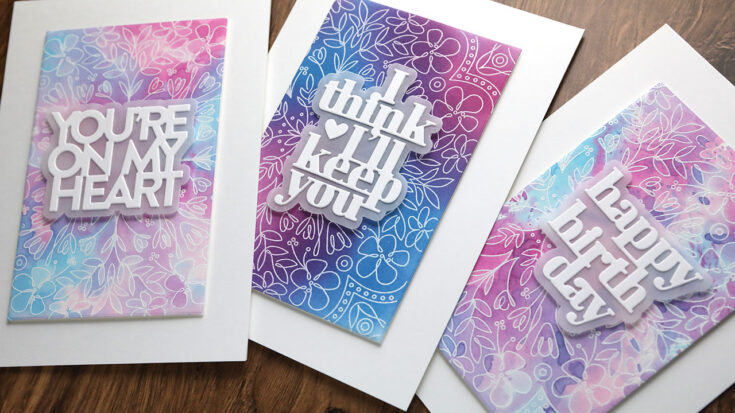
Hi all! Kristina here. Today I’m sharing three ways to use Distress Oxide inks with emboss resist techniques. I used the same three colors of ink (Kitsch Flamingo, Seedless Preserves, and Mermaid Lagoon) and the Delicate Floral Mandala cling background.
The three techniques shown in the video below are:
- Emboss Resist Ink Blending
- Emboss Resist Watercolor
- Emboss Resist Ink Smooshing
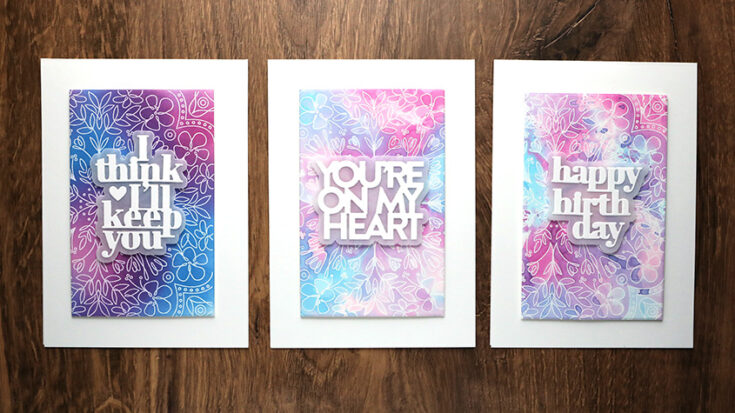

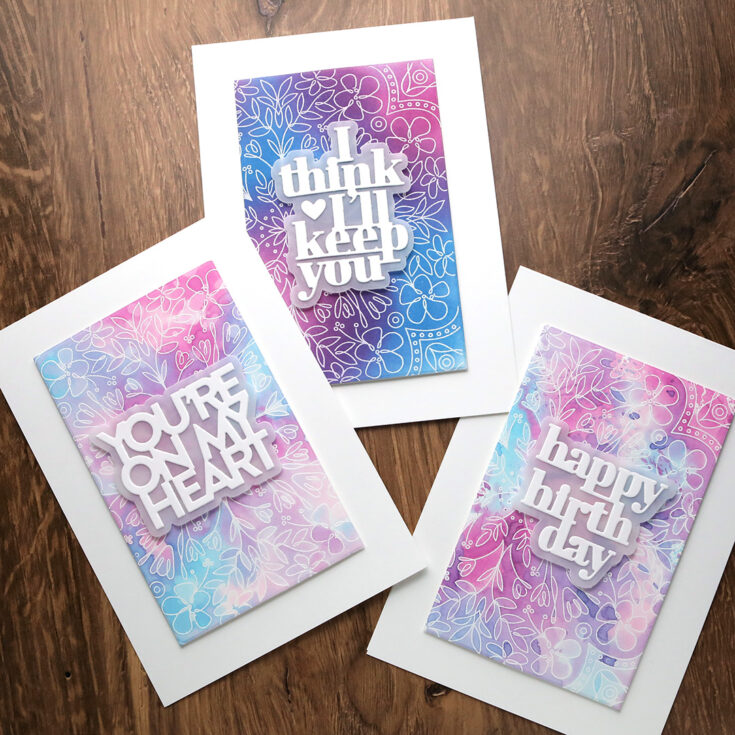
To finish off the cards, I die cut three greetings using dies from Simon. I used the You’re On My Heart, Basic Box Card Happy Birthday, and I Think I’ll Keep You die sets.
Thanks for stopping by! Enjoy the video!
Supplies
|


