Dream Big Blog Hop 1!
Hi, friends! Welcome to day one of two special release blog hops celebrating our Dream Big release! Come back tomorrow for more amazing inspiration!
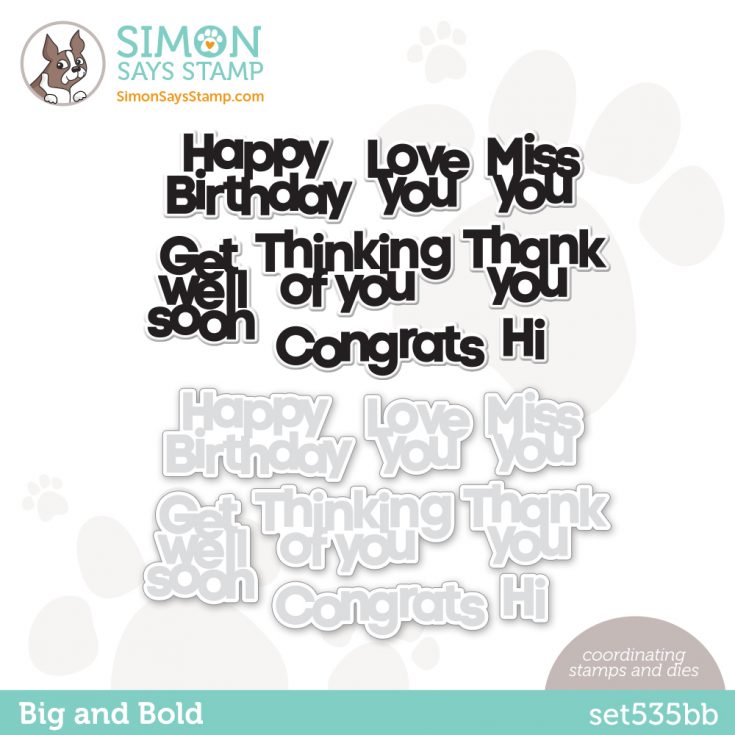
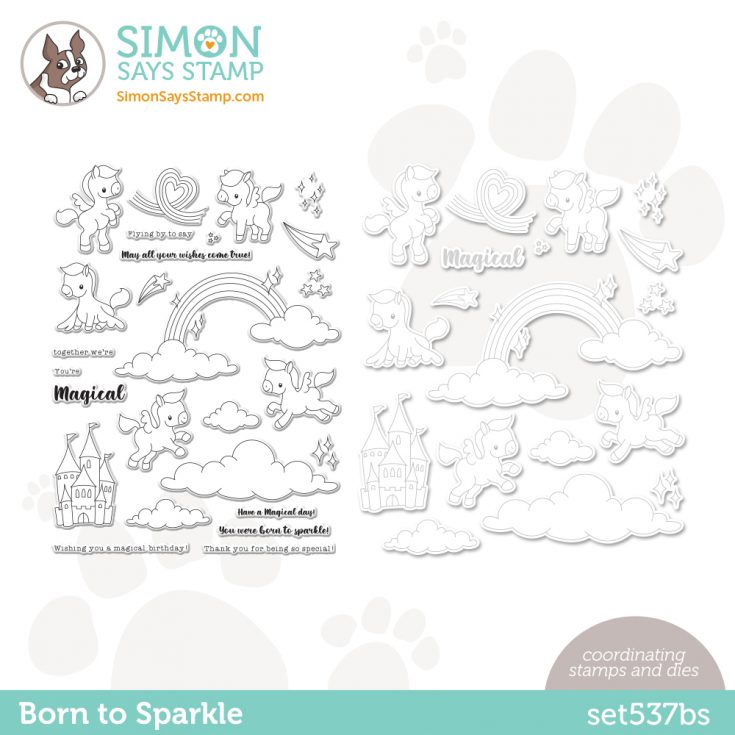
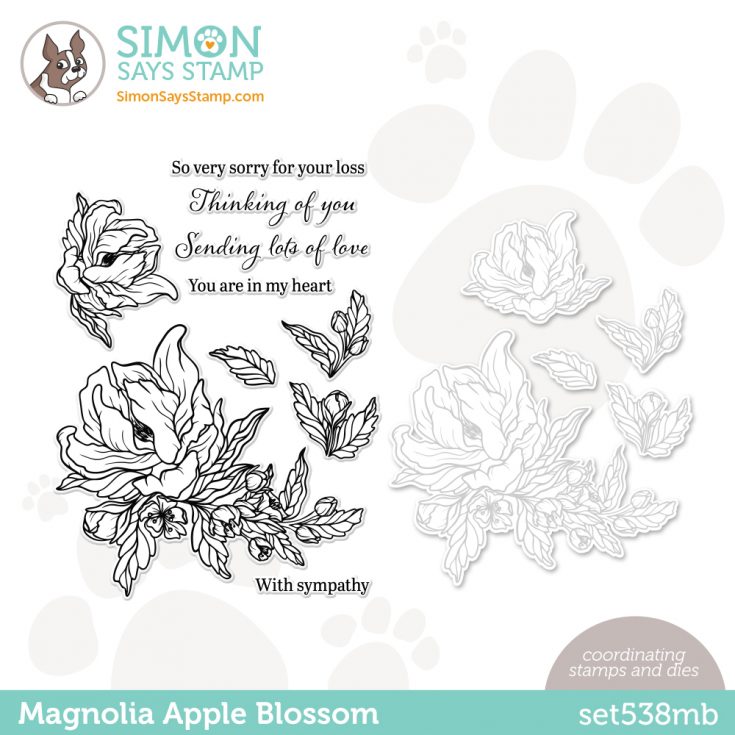
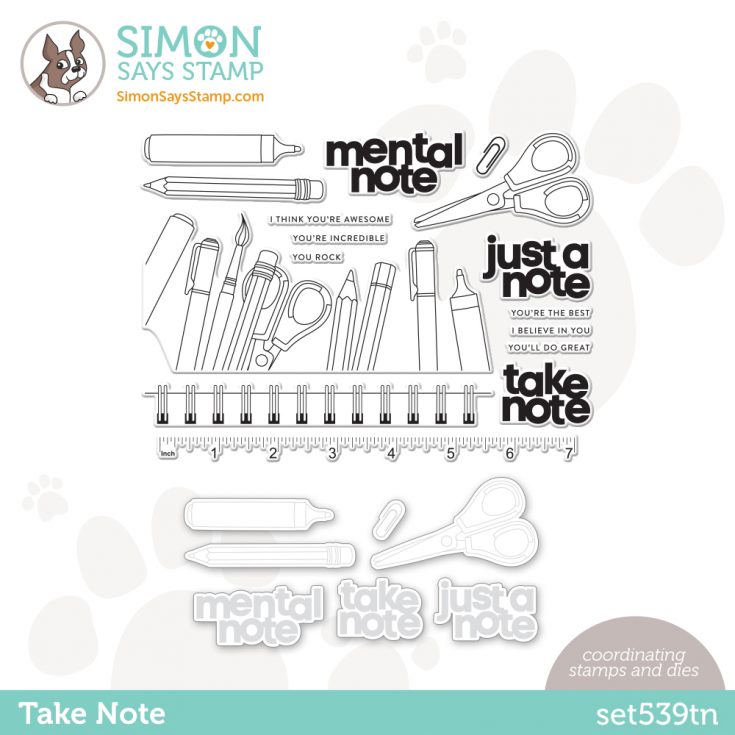
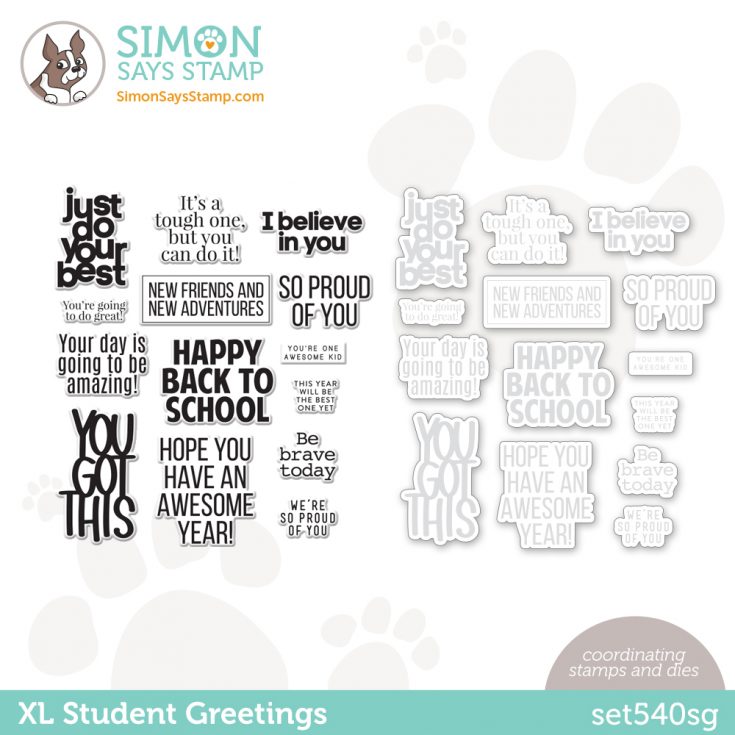
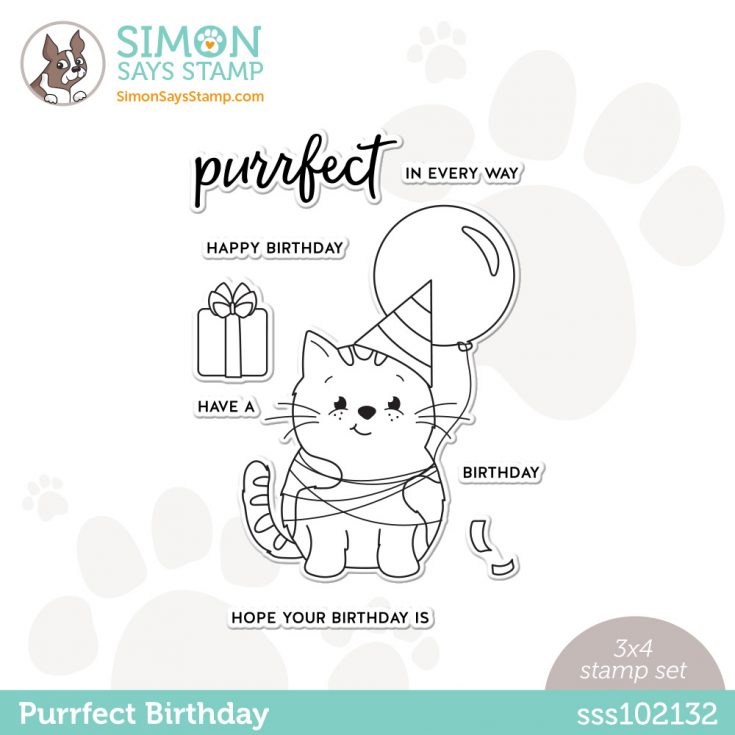
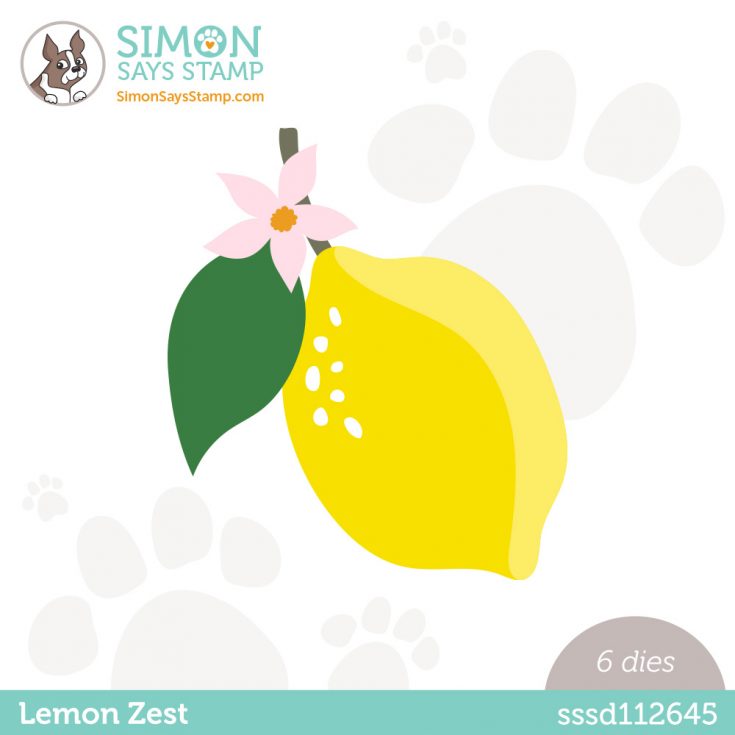
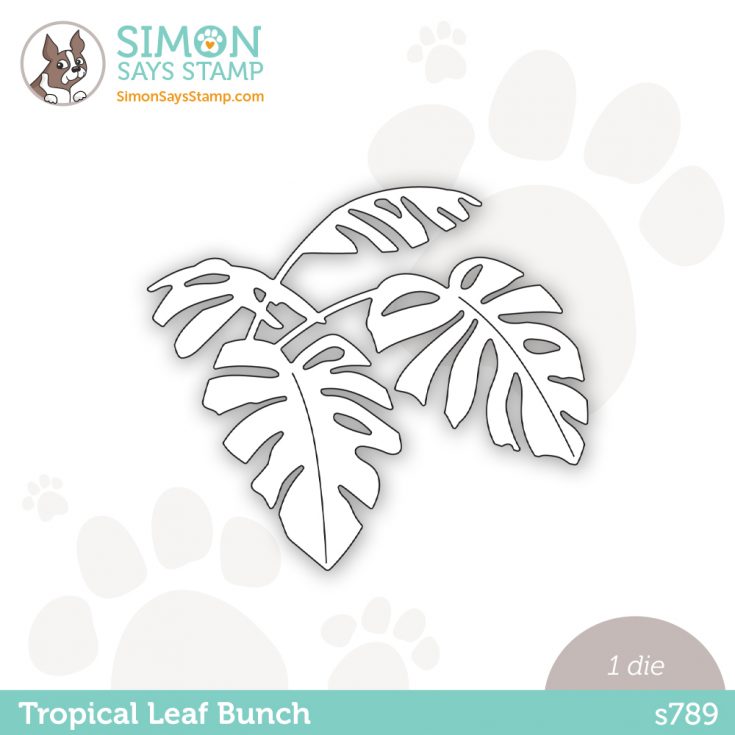
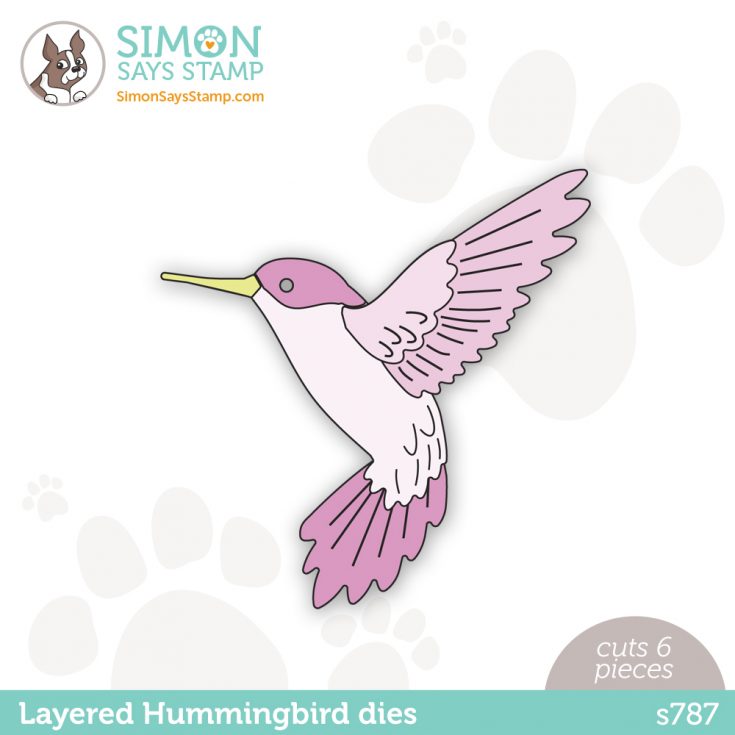
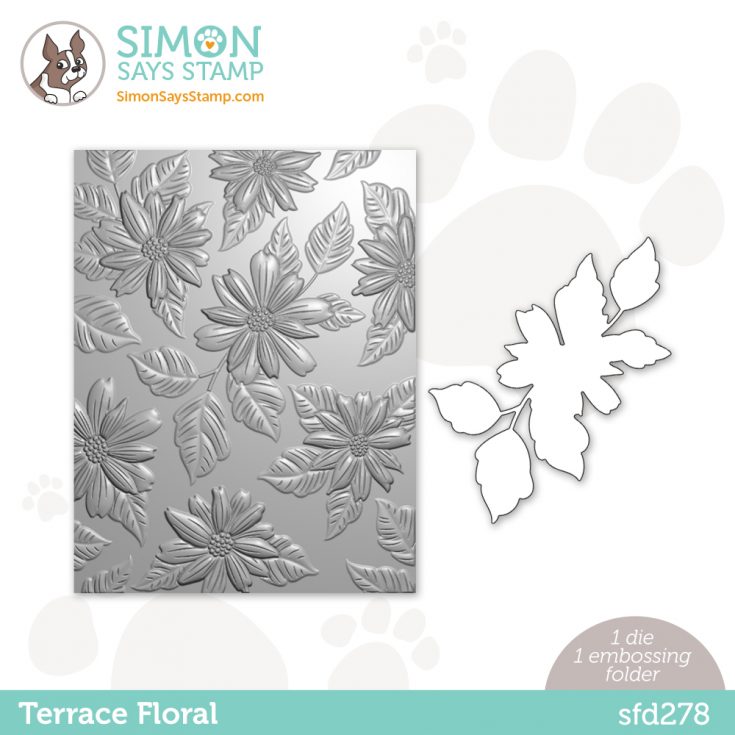
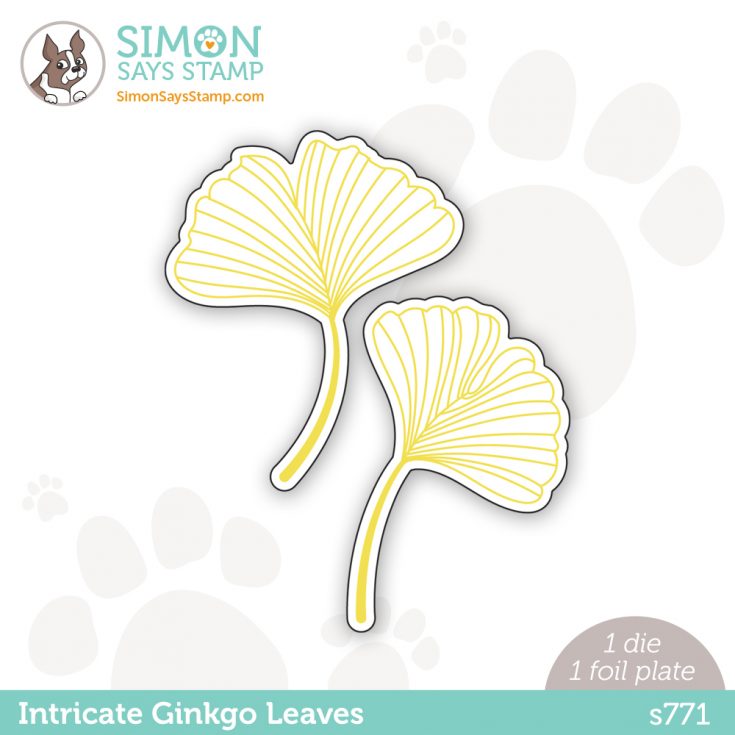
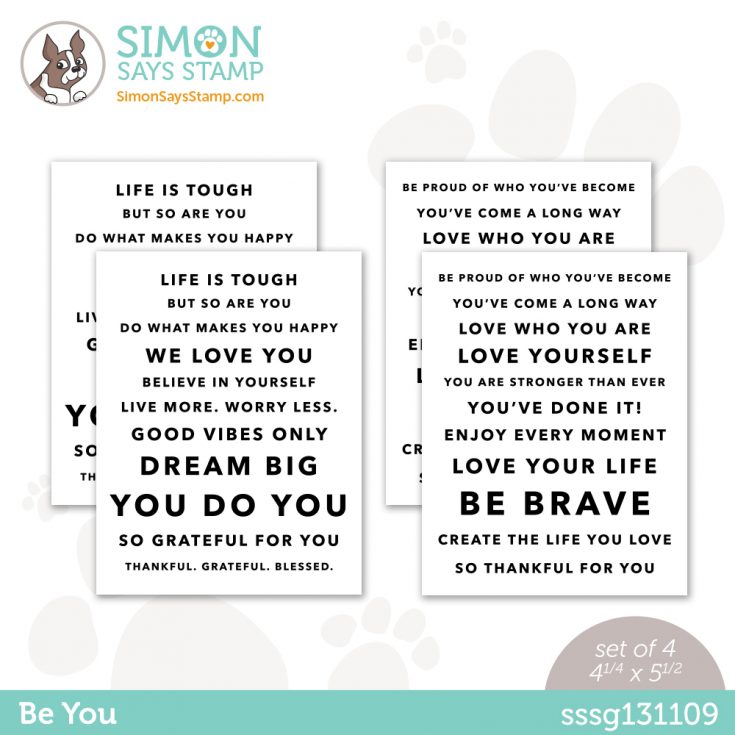
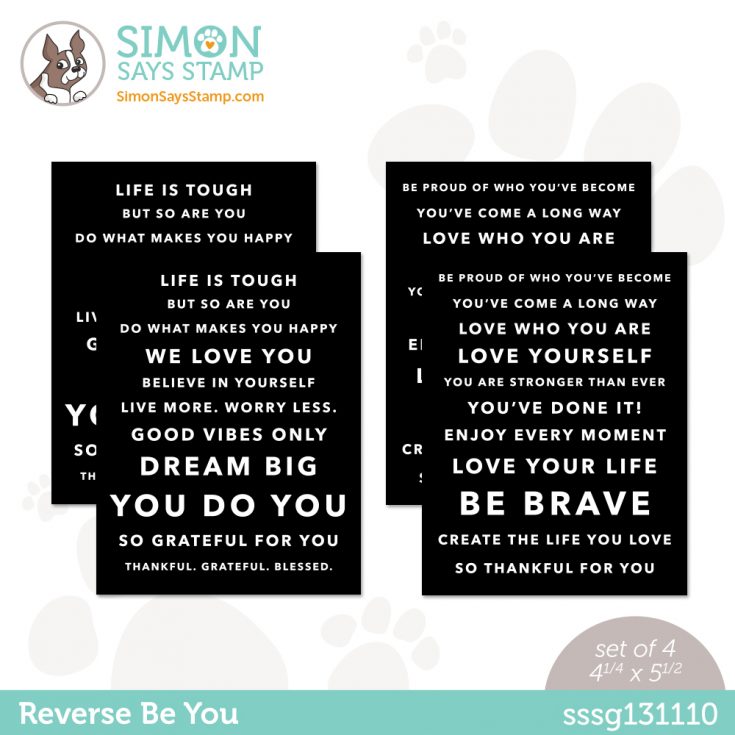
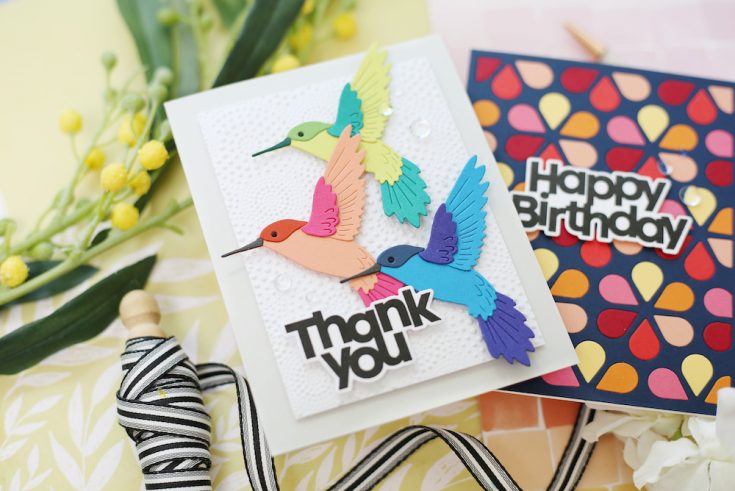
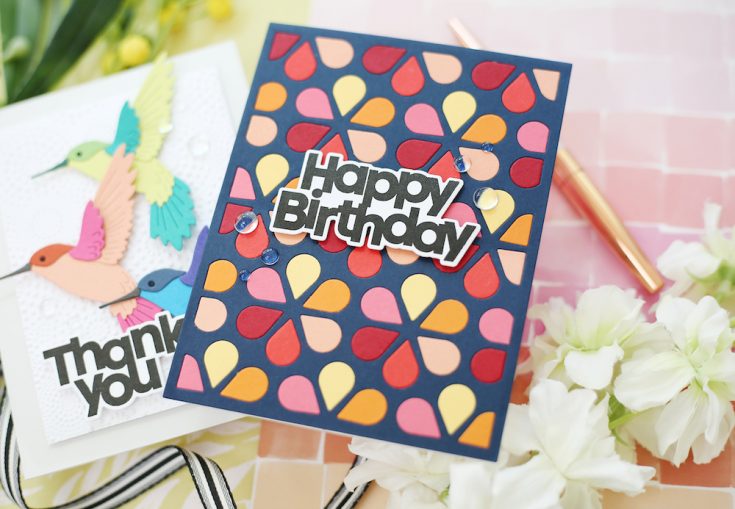
There’s something for everyone in our latest collection, Dream Big! Love nature? Our Magnolia Apple Blossom set, Terrace Floral emboss and cut folder, and Tropical Leaf Bunch and Layered Hummingbird dies will delight you. Get ready for school with Take Note and XL Student Greetings sets and Be You sentiment strips. And if cute is your style, you’ll adore our new Born to Sparkle and Purrfect Birthday stamp sets!
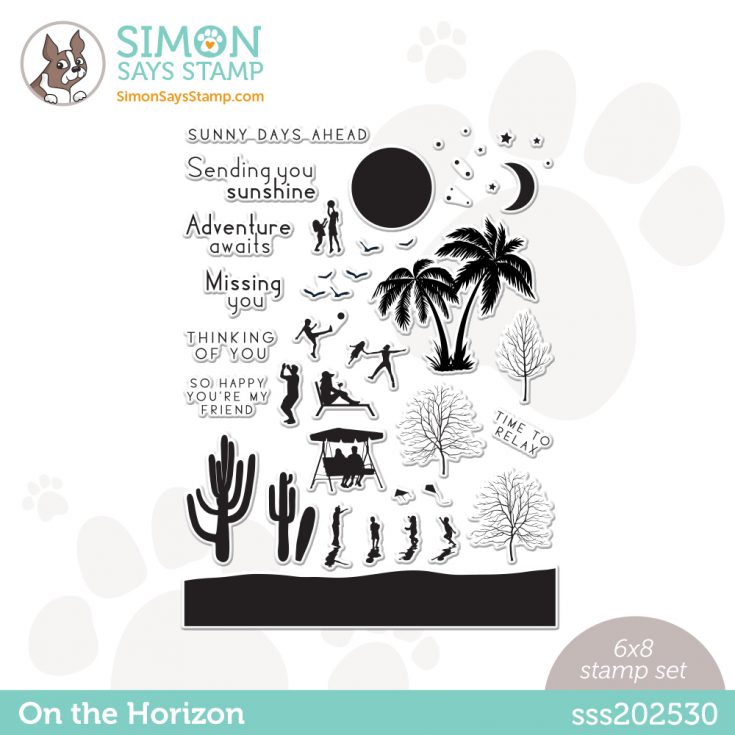
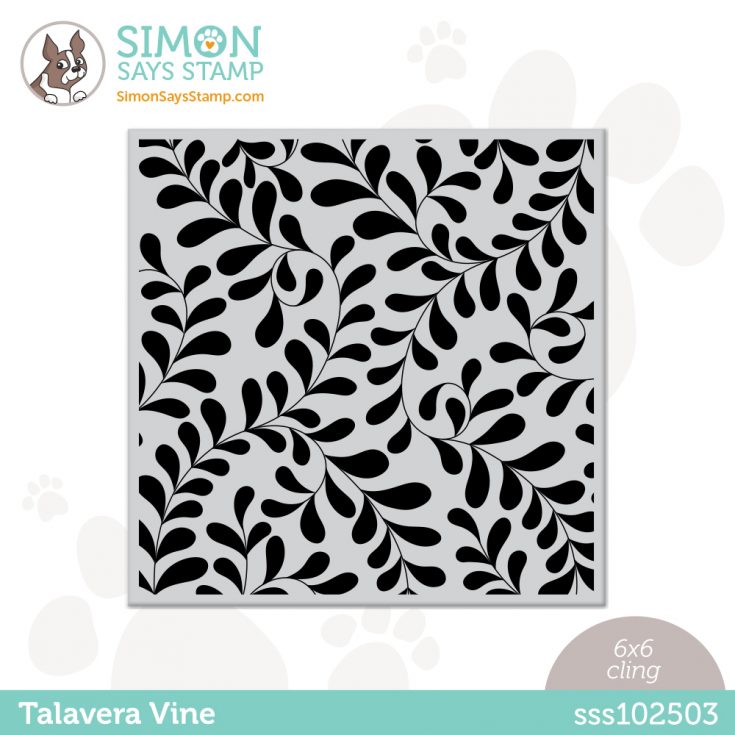
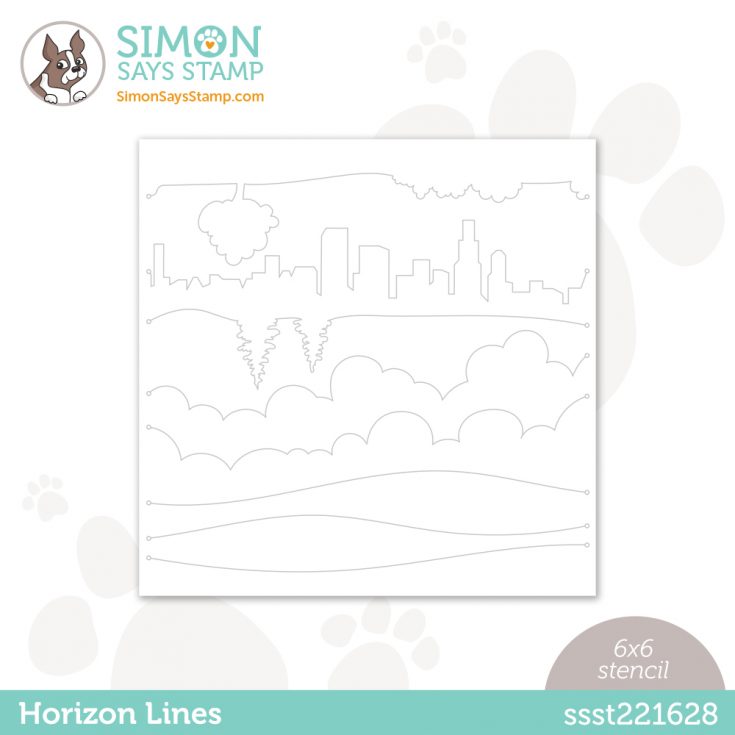
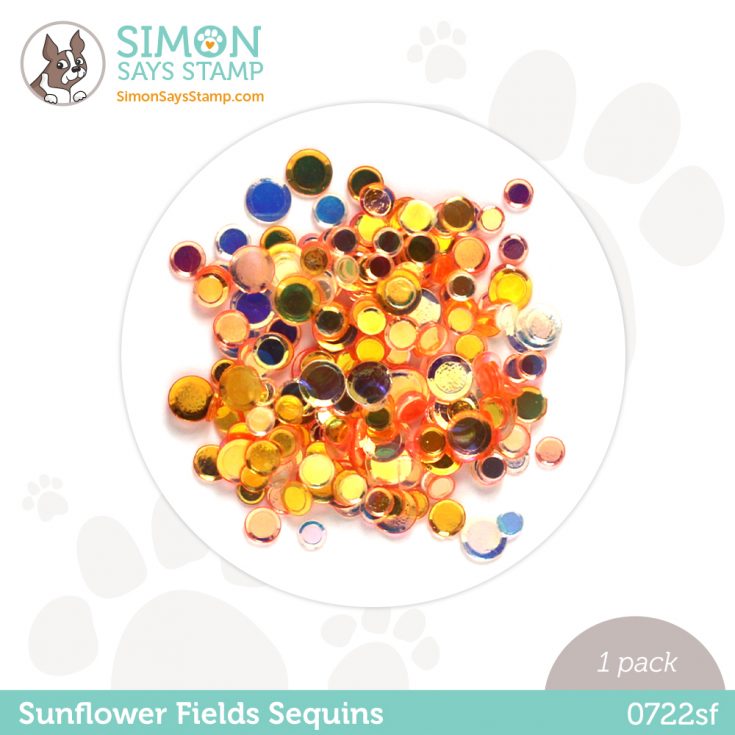
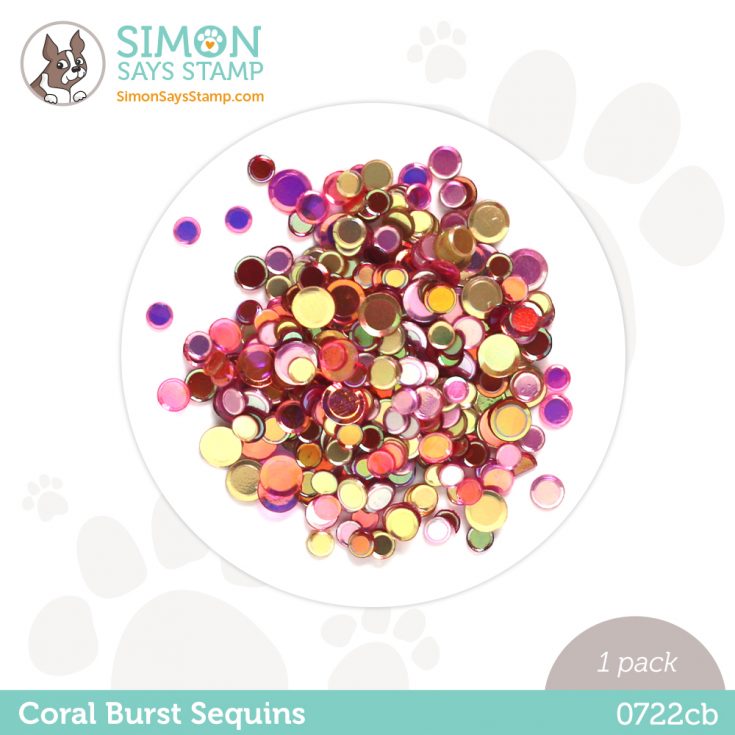
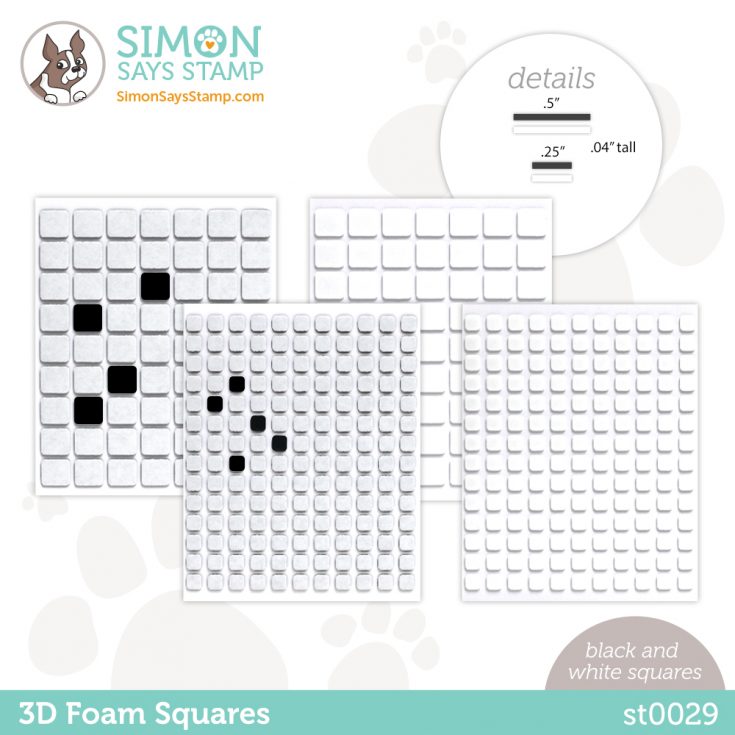
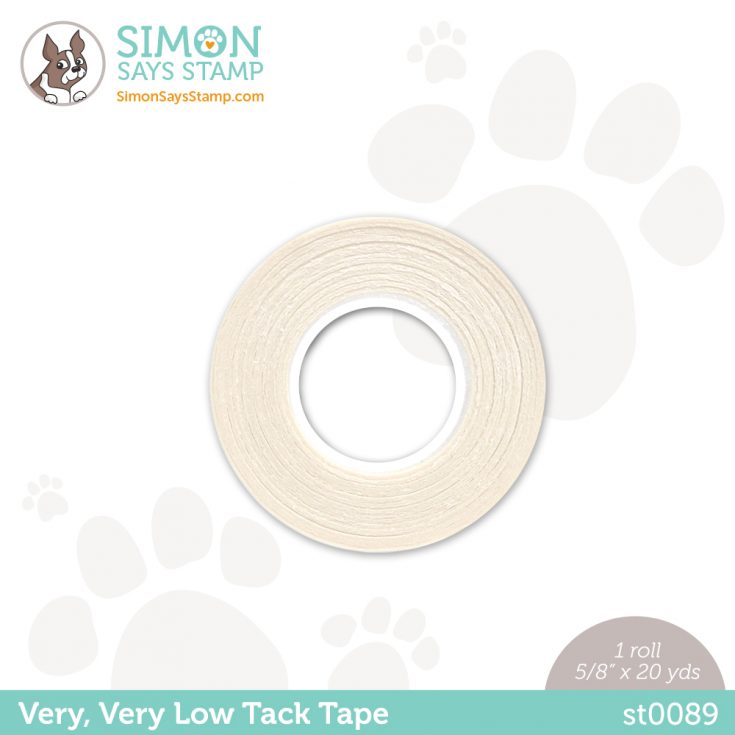
There’s also an innovative stamp set called On the Horizon that coordinates with the Horizon Lines stencil to give you options to create really cool scenes! Plus cling stamps, foil plates, sequins, and awesome new adhesives!
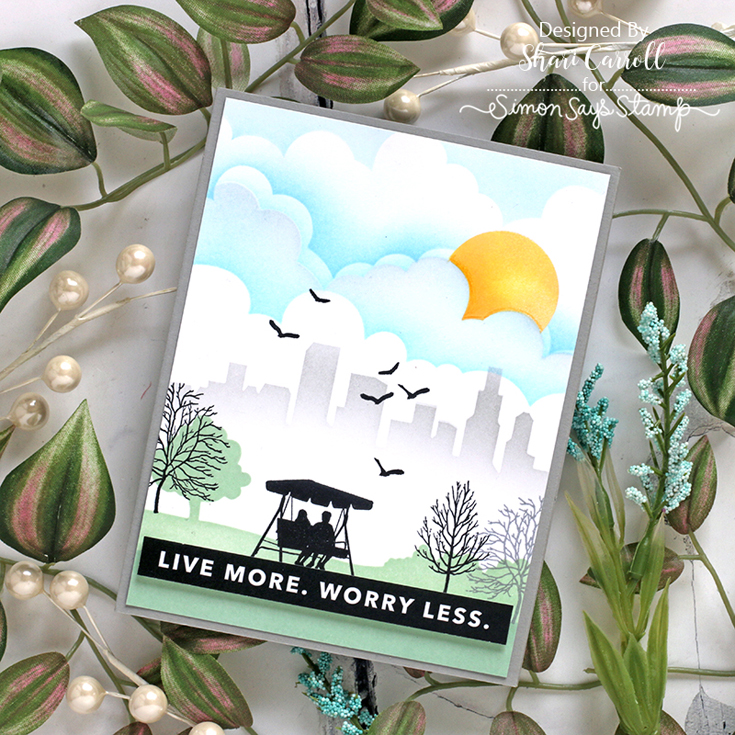
OK! Let’s get a sneak peek of what’s in store for our blog hop today with inspiration from Shari Carroll! Shari used products from our Dream Big release to make these fantastic projects:

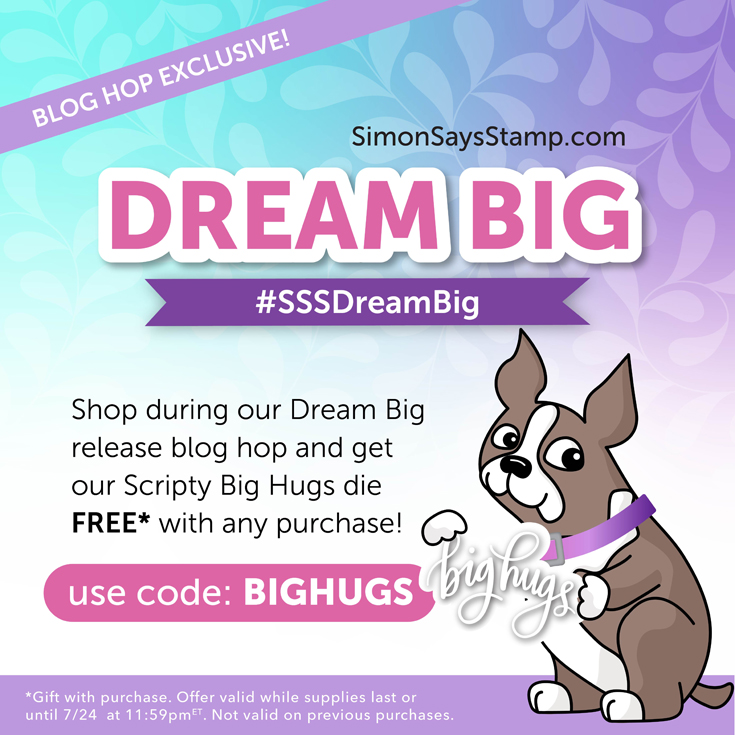
We love our customers! And we love your enthusiasm for our exclusive releases and blog hops. To celebrate, Simon has set aside a free gift just for you! The free gift with any purchase for the this blog hop is the sweet Scripty Big Hugs die! Check out the details on the banner at the top of this post for information about claiming your gift.
Ready for even more Dream Big inspiration? Hop along with these talented designers! You’ll be inspired AND for every comment you leave on each blog, you’ll earn a chance to win a $25 Simon Says Stamp store shopping spree. YAY!
Please let these talented designers know how much you appreciate their designs. They work hard to inspire and excite us!
- Simon Says Stamp Blog <<YOU ARE HERE!
- Nina-Marie Trapani
- Caly Person
- Nichol Spohr
- Cathy Zielske
- Amy Rysavy
- Suzy Plantamura
- Lisa Addesa
- Keisha Charles
- Heather Ruwe
- Bibi Cameron
- Cheiron Brandon
Thanks again for joining us today!

Want to see these products and more LIVE? Join us on YouTube Today, July 22 at noon EDT for a super cool inside look at the release and special guest Kristina Werner!
We hope you will join us on Instagram on Thursday, July 28 for an Instagram Hop featuring even more inspiration from our Dream Big release! We are excited to share awesome ideas from several creative minds using these fantastic products.
You’ll love browsing our Dream Big gallery on our blog for loads of additional inspiration, and you can add your projects to these galleries as well!
You can check out the entire Dream Big collection here:


Dream BIG: Our latest exclusive collection is HERE!
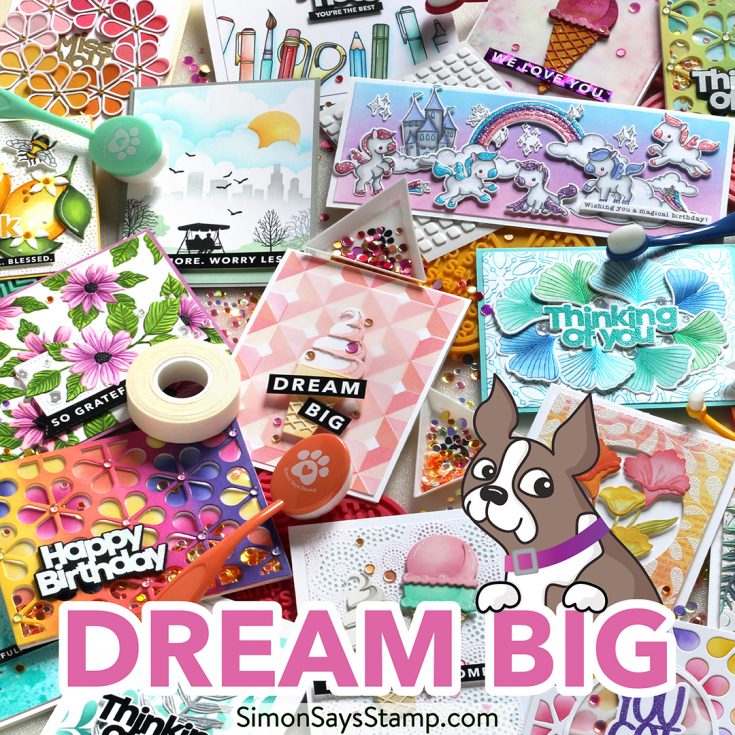
There’s something for everyone in our latest collection, Dream Big! Love nature? Our Magnolia Apple Blossom set, Terrace Floral emboss and cut folder, and Tropical Leaf Bunch and Layered Hummingbird dies will delight you. Get ready for school with Take Note and XL Student Greetings sets and Be You sentiment strips. And if cute is your style, you’ll adore our new Born to Sparkle and Purrfect Birthday stamp sets!
There’s also an innovative stamp set called On the Horizon that coordinates with the Horizon Lines stencil to give you options to create really cool scenes! Plus cling stamps, foil plates, sequins, and awesome new adhesives!
Laura Bassen shares the entire new collection in the video below—enjoy!!
Shop the whole collection below!
Want to see even MORE inspiration? Stop by our gallery!
Mark your calendar:
Stay tuned! 2 days of blog hop inspiration, surprises, and gifts start TOMORROW at 8 AM ET!
A Summer Hello!
Hi friends! Happy Wednesday! I’m delighted to welcome back special guest Chari Moss to showcase this pretty Summery “just because” card featuring lots of gorgeous Lawn Fawn products! Read on to learn more, and enjoy!
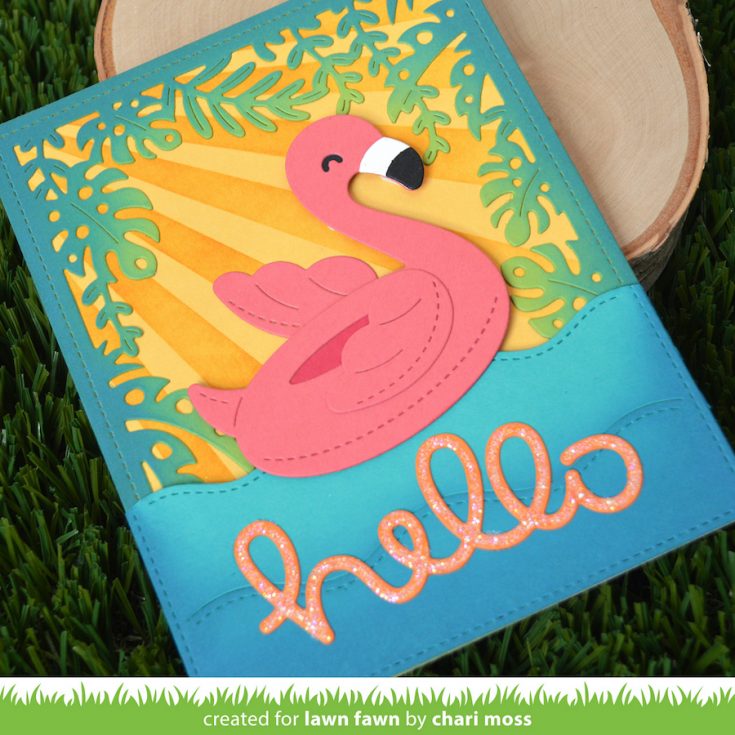
Hello Friends! Today I have a bright and happy summertime card to share. I decided to play with Lawn Fawn’s new Flamingo Floatie die and make a fun summery card with lots of die cuts. I created my Floatie with Guava cardstock, using black and white cardstock accents and raspberry cardstock for the inside of the tube. For the background I cut a piece of sunflower cardstock. I turned the sunray stencil so that the rays came from the top left corner and inked them up with wild honey distress ink.
To bring in the tropical vibe I framed up my card with the tropical leaves backdrop cut from cilantro cardstock. I inked the edges with lucky cover and uncharted mariner distress oxides inks. And to create some waves along the bottom for my flamingo I die cut the Stitched Wavy Backdrop: Portrait from peacock cardstock and trimmed it down to the bottom two waves then inked the bottom with uncharted mariner distress oxide.
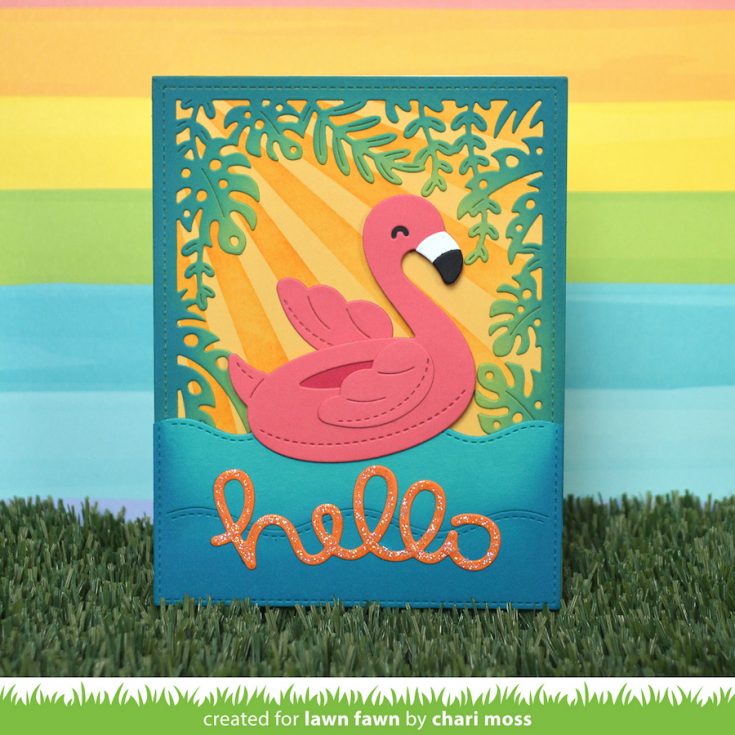
I attached my flamingo floatie with foam adhesive to pop it up off the card. And finally for my sentiment I die cut the scripty hello from fake tan cardstock, adhered it along the bottom, then added some liquid stardust for some sparkle. Thanks so much for joining me today and I hope you all are having an amazing summer!
SUPPLIES:
|


Thanks so much for stopping by, and thanks to Chari for being our guest!


