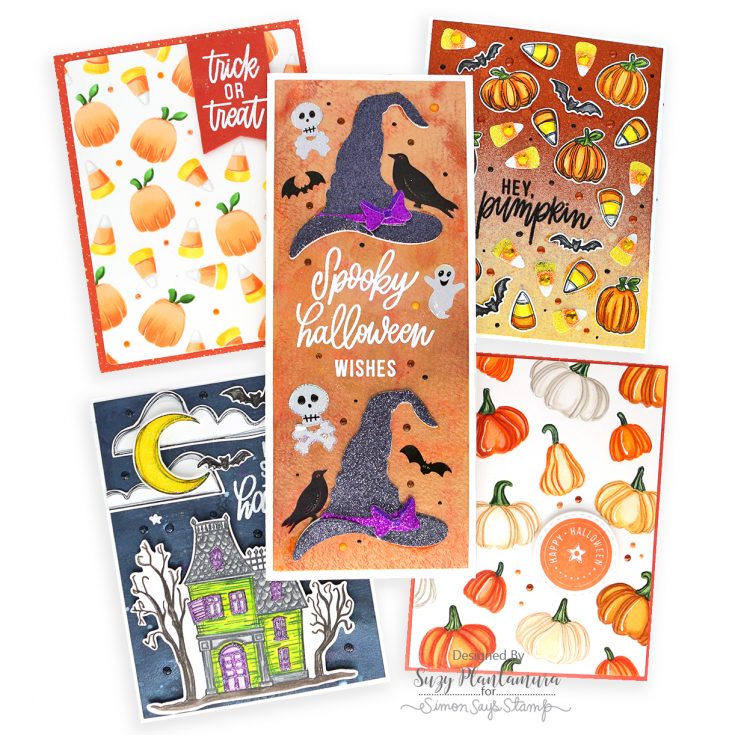
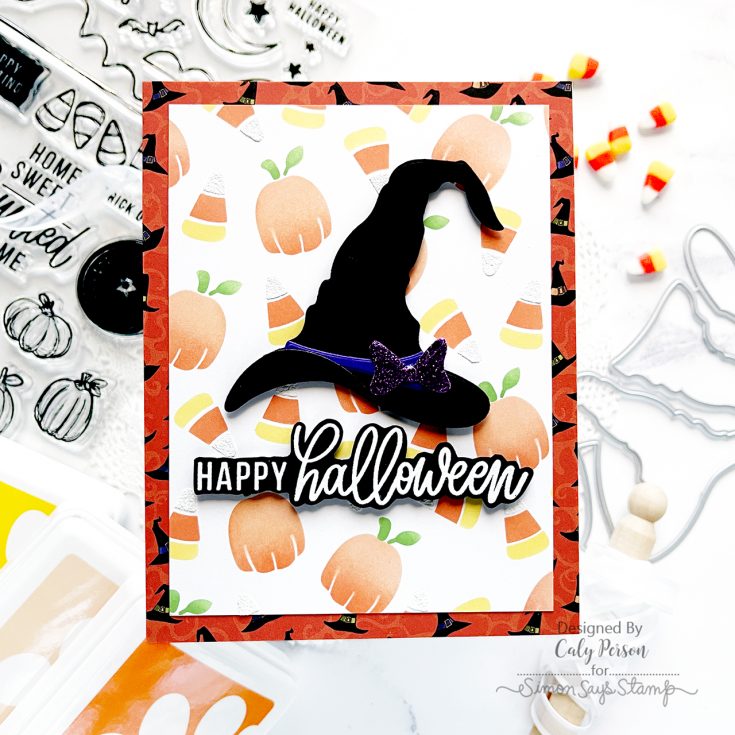
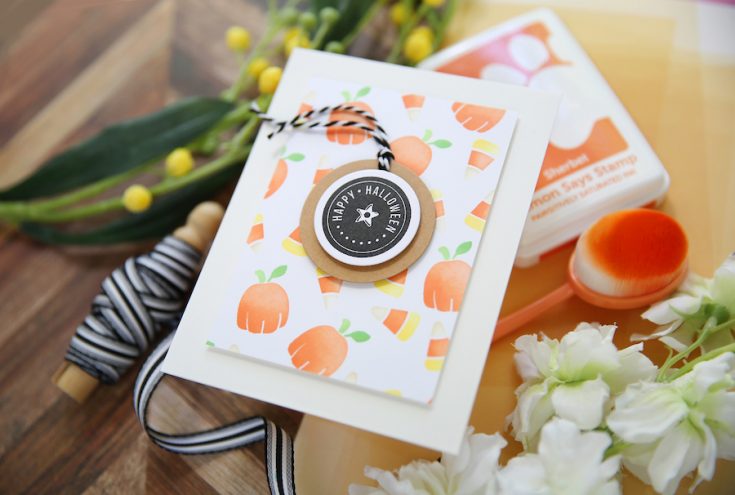
Our LIMITED EDITION 2022 Halloween Card Kit!
Back by popular demand! The 2022 NEW edition of our Limited Edition Halloween kit! Halloween makers will be delighted with card making ingredients to delight you for hours! This kit is a limited edition and once it’s sold out it’s GONE so if you like it, act fast! Valued at just over $128 it’s a value that you can’t beat!!
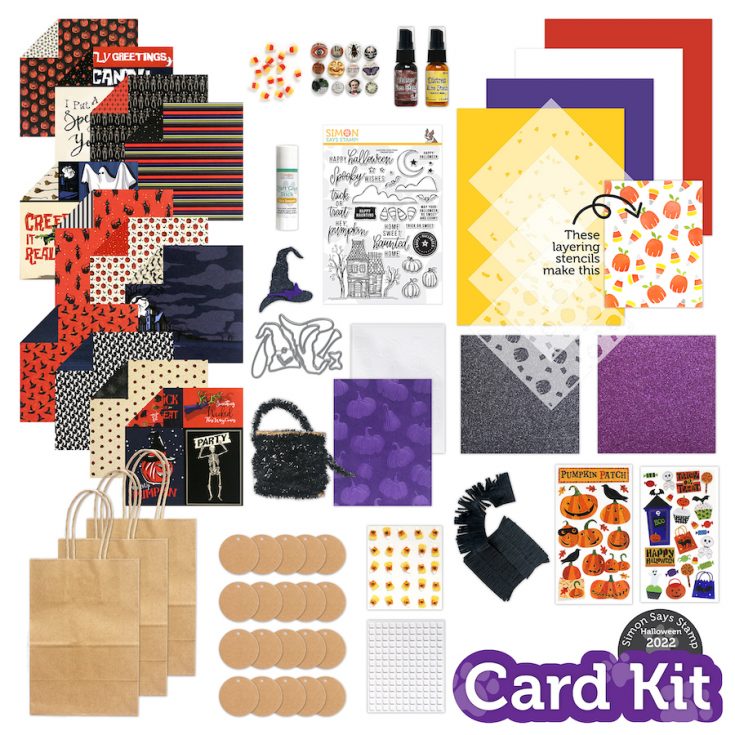
Contents:
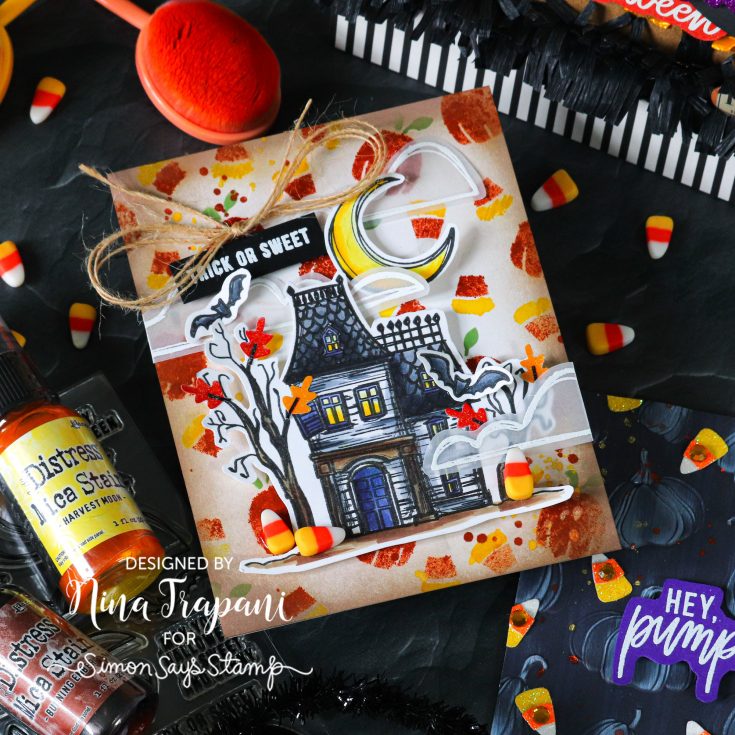
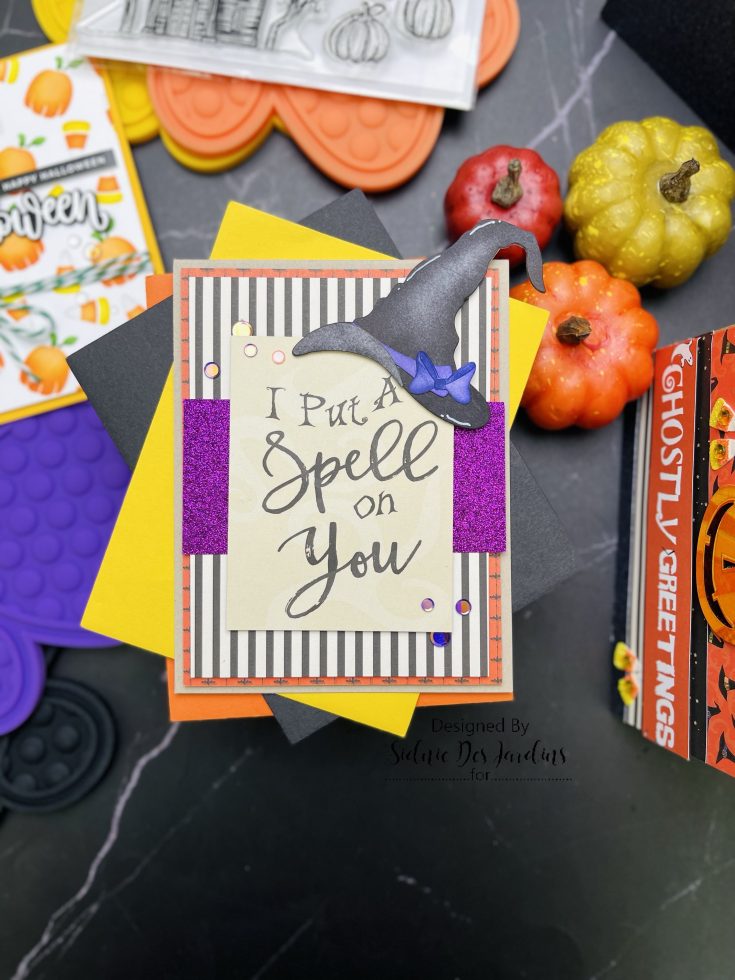
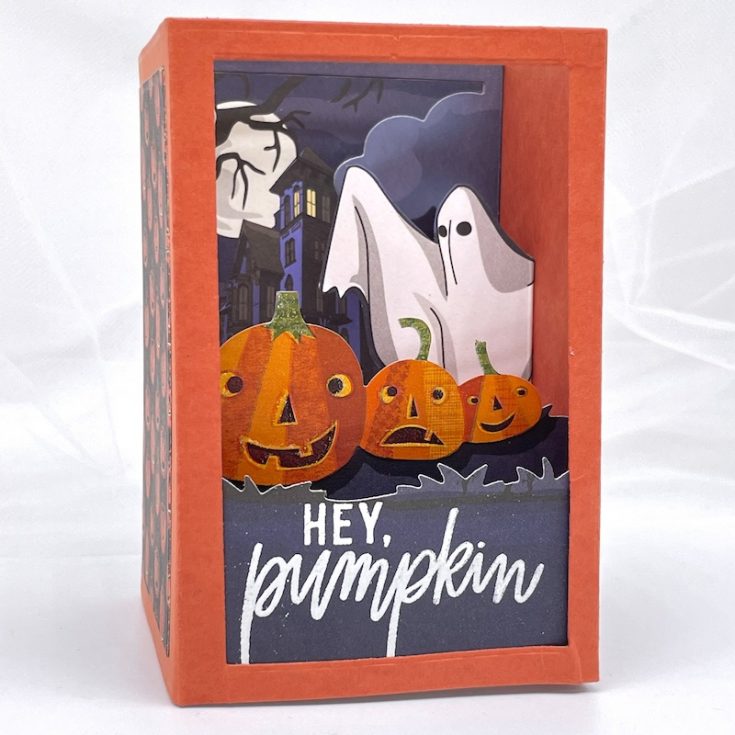
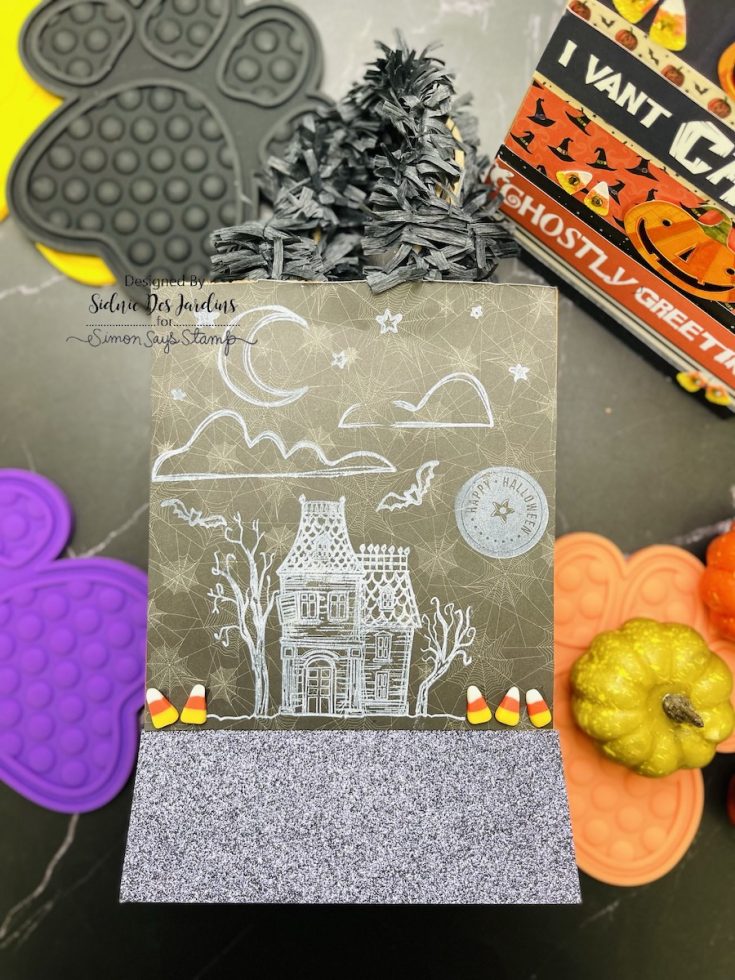
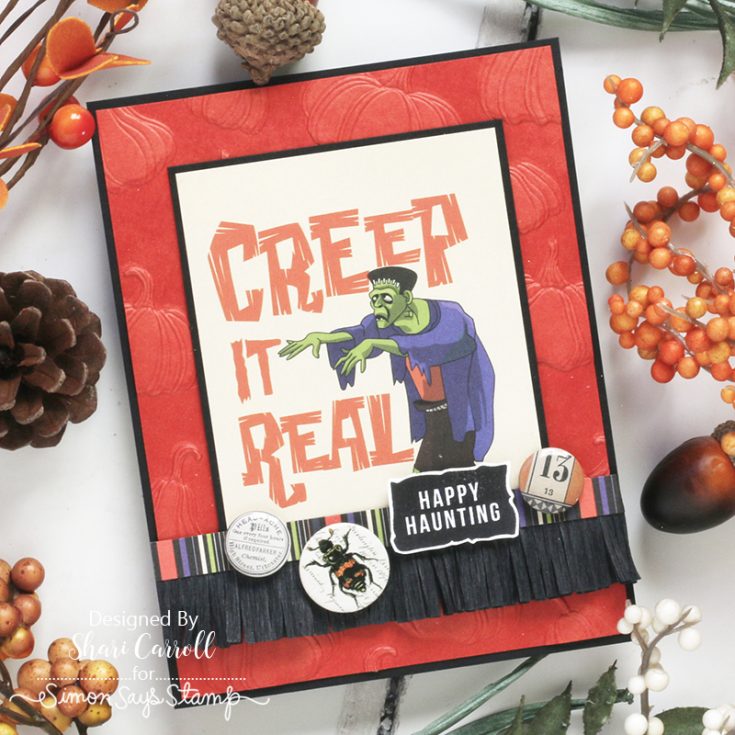
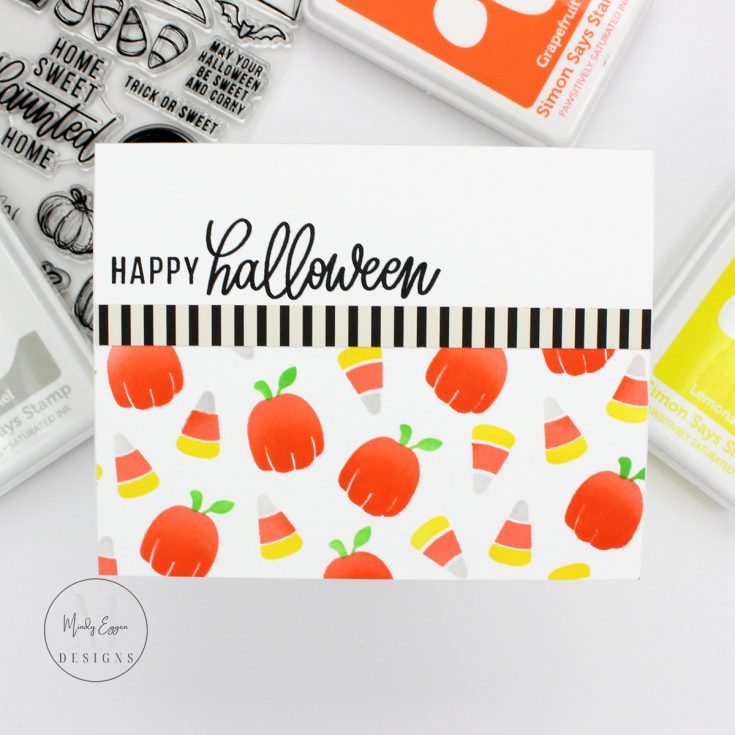
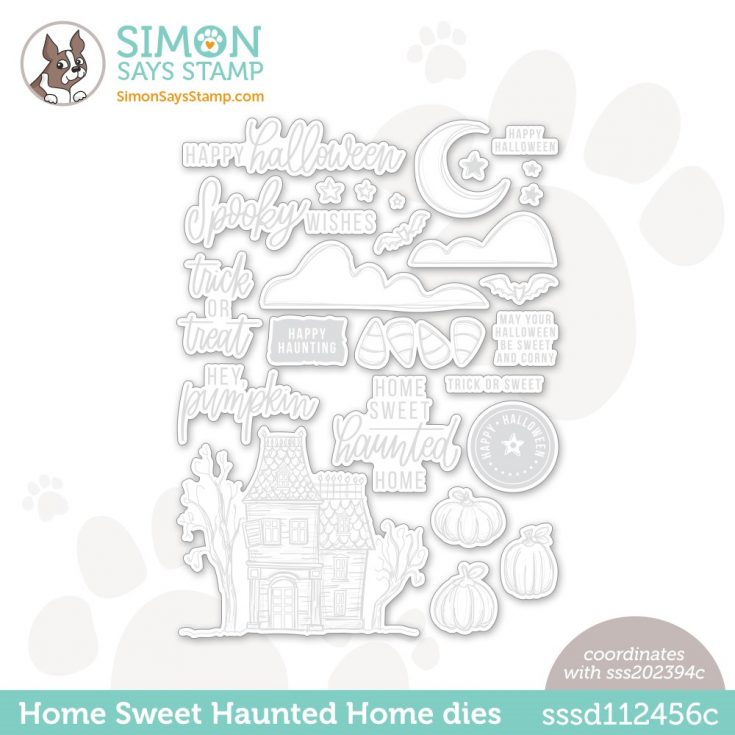
- One 6×8 inch NEW Exclusive Home Sweet Haunted Home clear stamp set
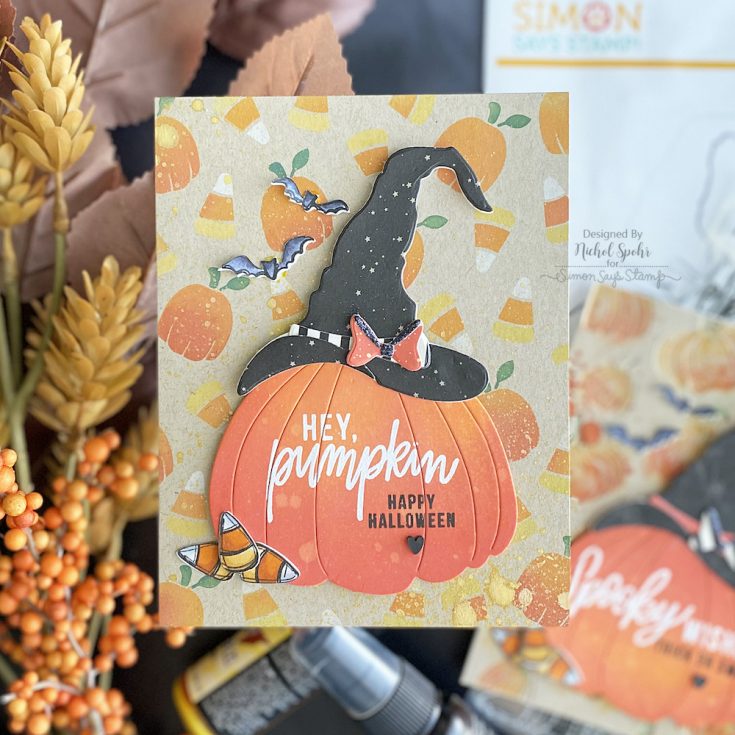
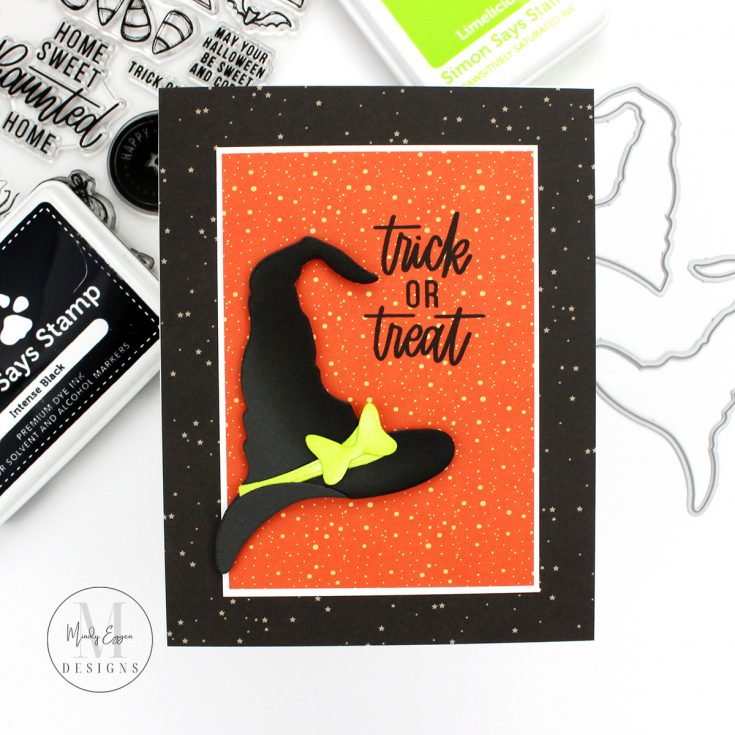
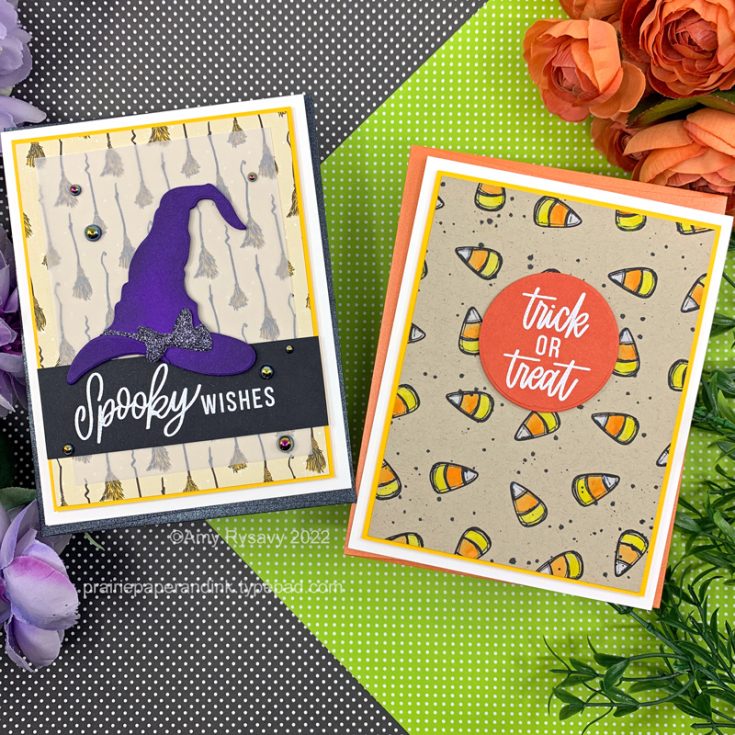
- One sheet of each design from the Carta Bella Hocus Pocus 6×6 inch paper pack
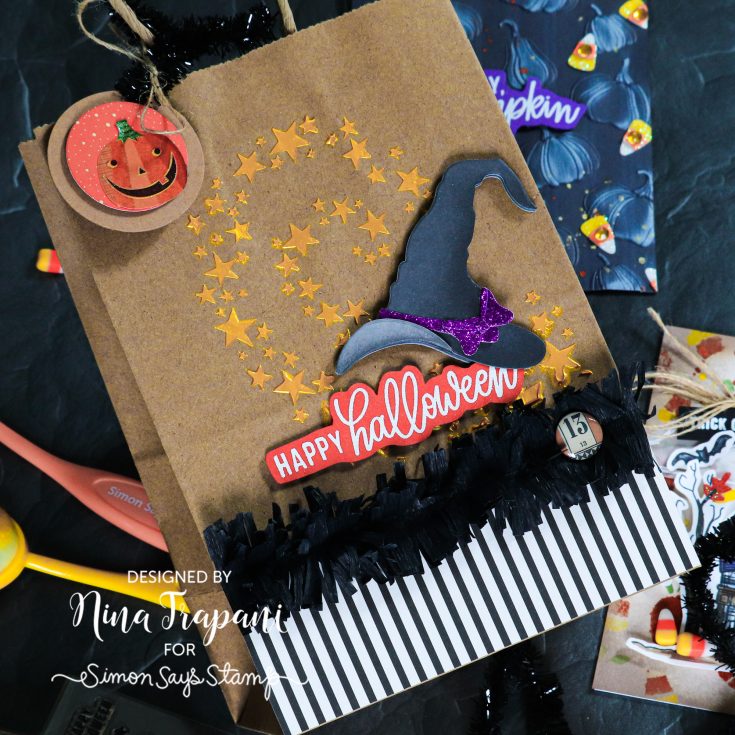
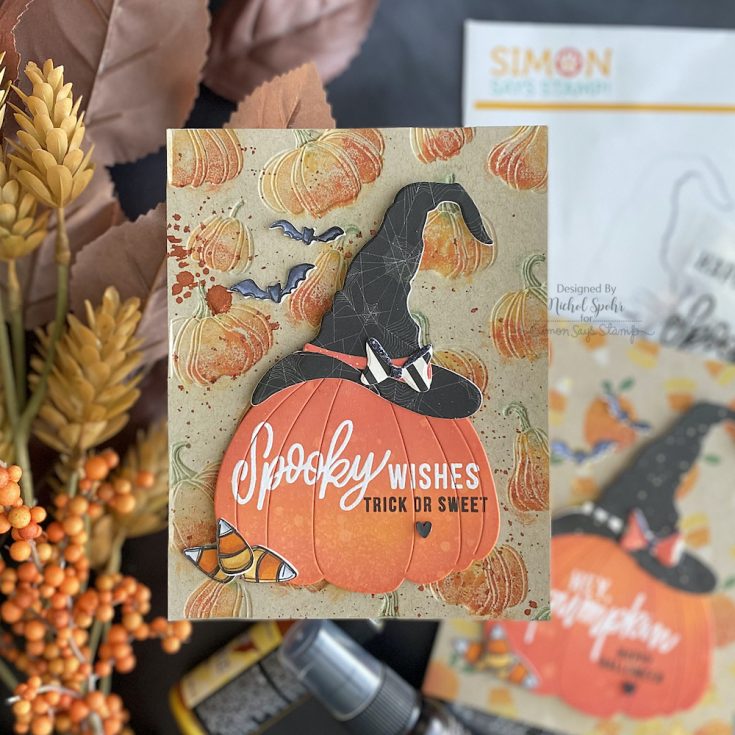
- One NEW and Exclusive Sassy Witch Hat die set
- One sheet 6×6 Simon Says Stamp Black Glitter Cardstock
- One sheet 6×6 Simon Says Stamp Eggplant Glitter Cardstock
- NEW Exclusive Halloween Candy set of 4 stencils
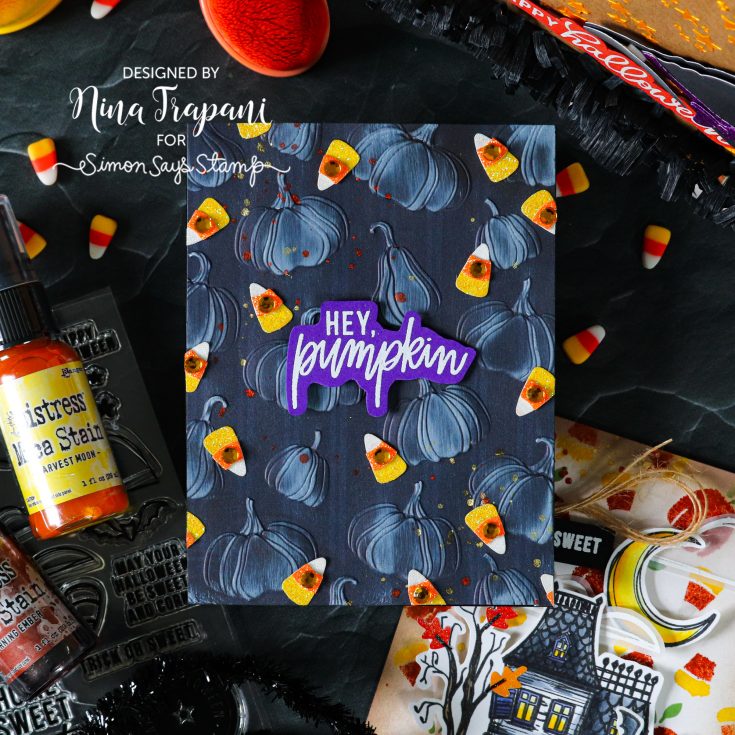
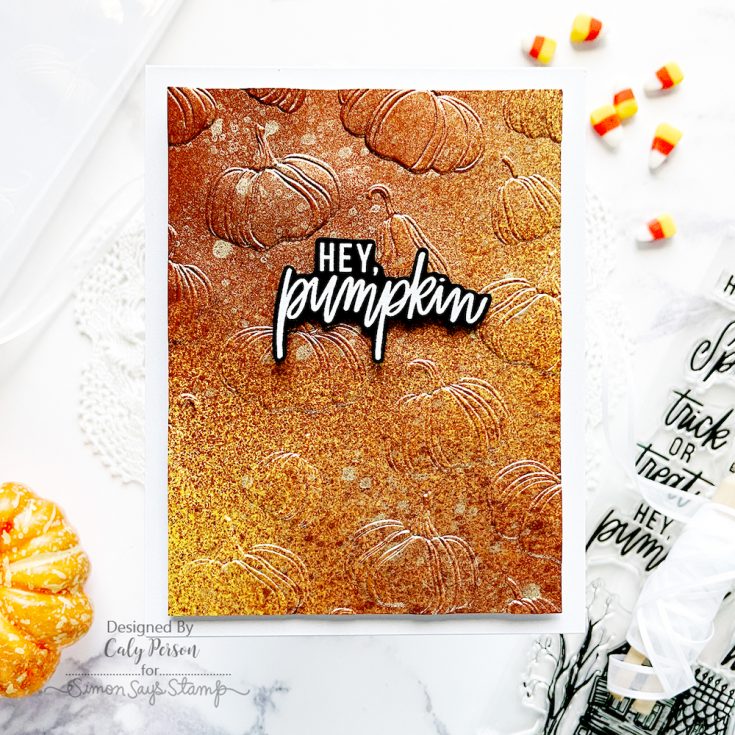
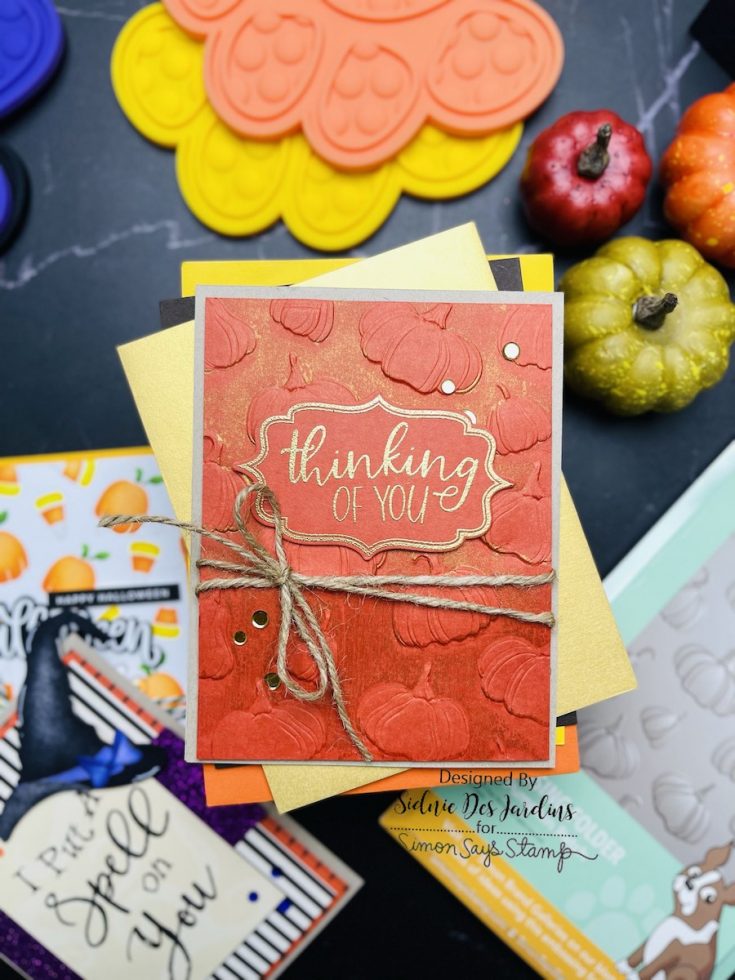
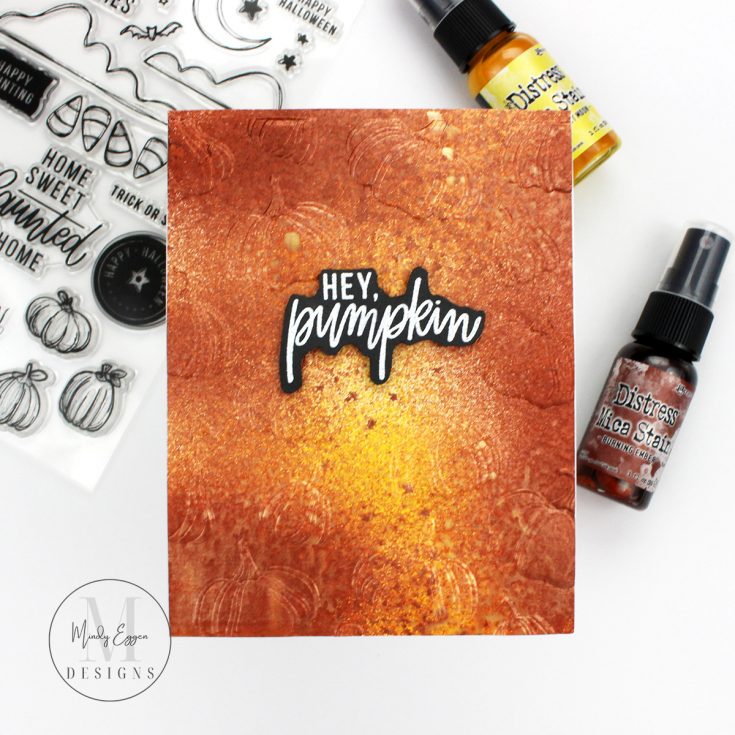
- NEW Exclusive Simon Says Stamp Pumpkin Patch Embossing Folder
- One Bottle of Tim Holtz Ranger Mica Stain in Harvest Moon
- One Bottle of Tim Holtz Ranger Mica Stain in Burnt Ember
- One sheet of Scrapbook Adhesives Foam Squares
- One package of Tim Holtz Idea-ology Halloween Mini Flair
- One package of Tim Holtz Idea-ology Confections Candy Corn
- One package of Tim Holtz Idea-ology Black Tinsel (hint: this threads on the kraft circle tags perfectly!)
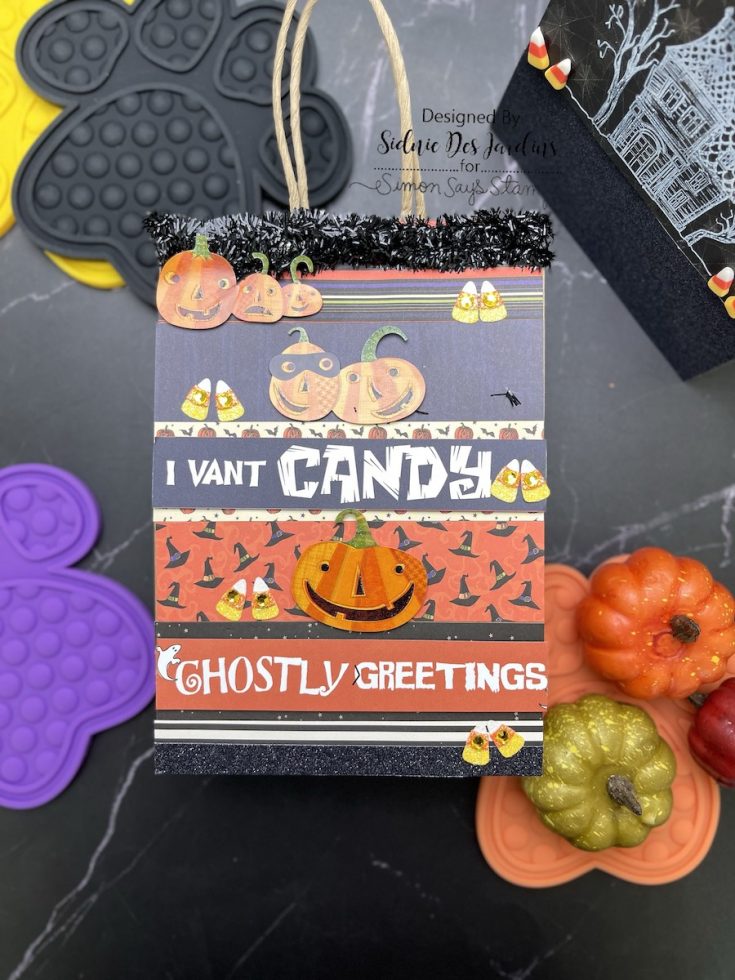
- One package of 20 American Crafts 1.5 inch Kraft circle tags
- One package of Tim Holtz Idea-ology Fringe
- One Simon Says Stamp Ultra Smooth CRAFT GLUE STICK
- One sheet of Pumpkin Patch Stickers
- One sheet of Trick or Treat Stickers
- One sheet of Candy Corn Repeats Stickers
- One sheet each of Simon Says Stamp 100 LB cardstock in the following colors: Royal Purple, Sunshine, Burnt Orange, and Ivory.
- Three Kraft Handled Bags (perfect for trick or treating, luminaries, gifting, and more!)
WATCH THE VIDEO:


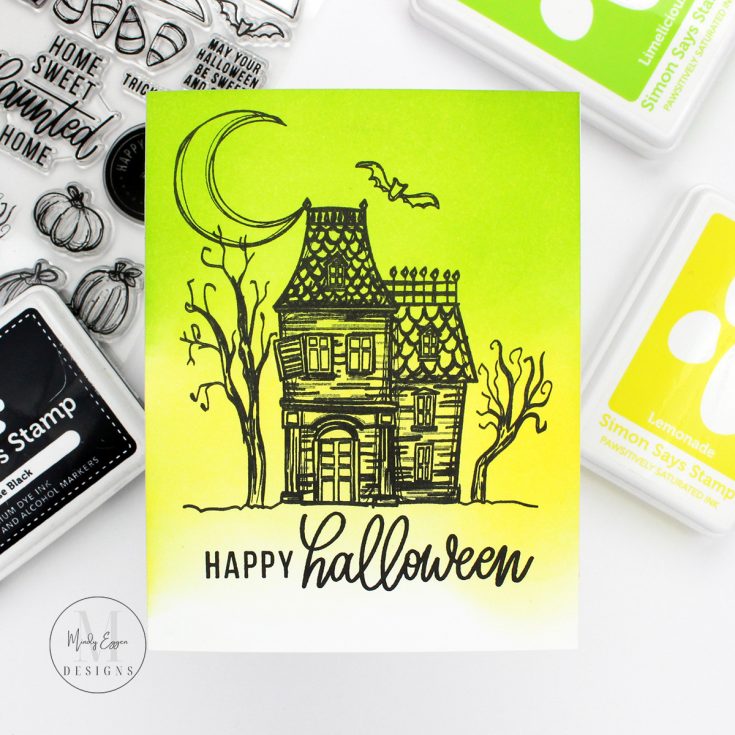


Not a fan of fussy cutting? Grab our Home Sweet Haunted Home coordinating dies! (sold separately)
But wait, there’s MORE!


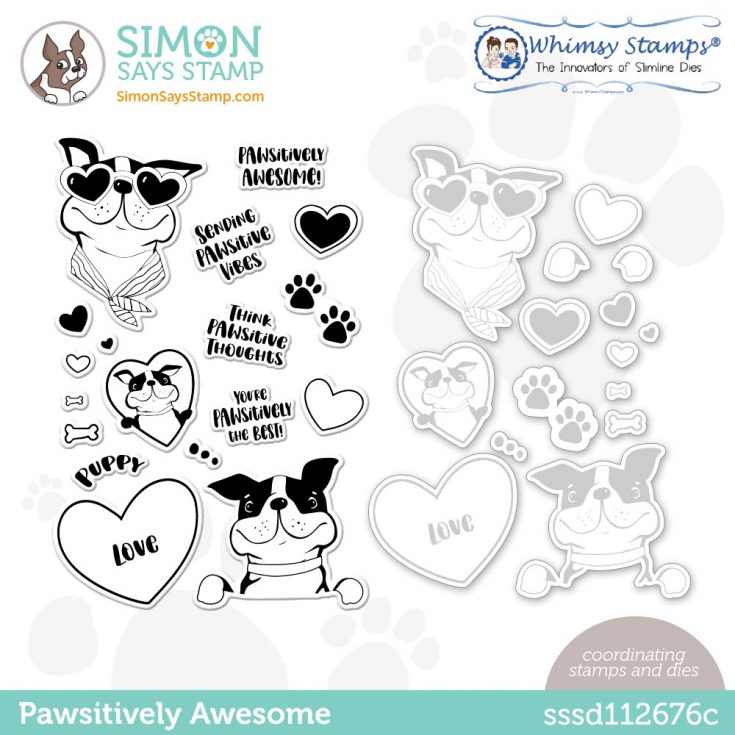
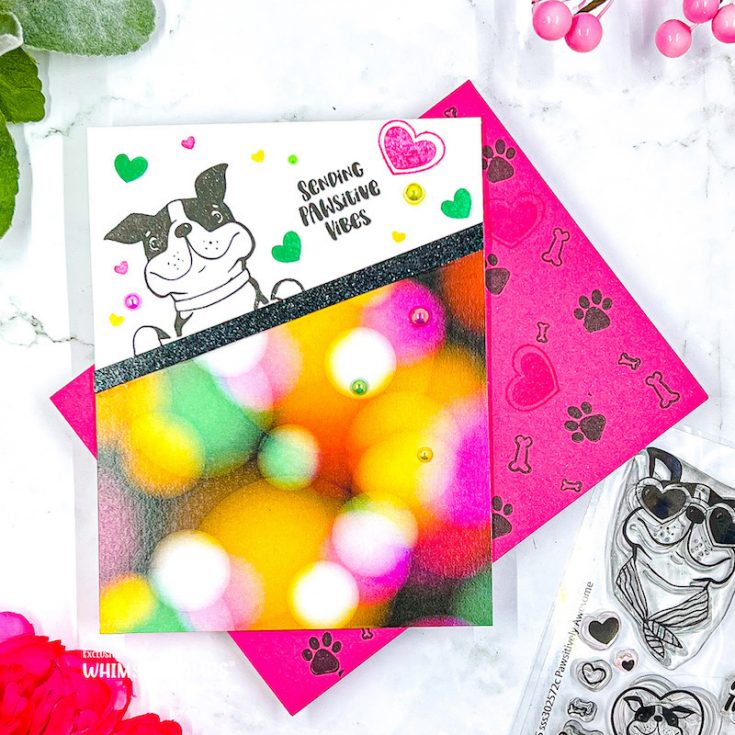
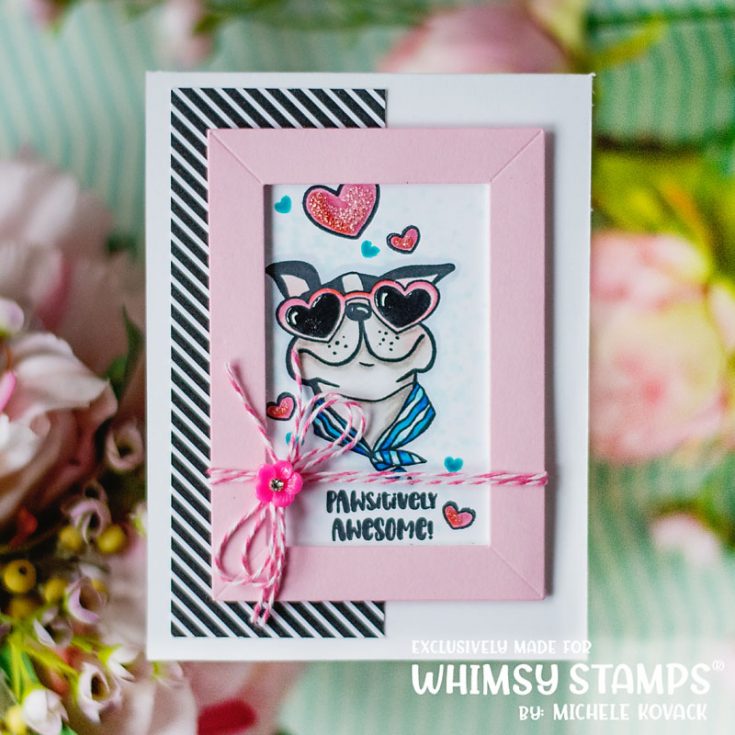
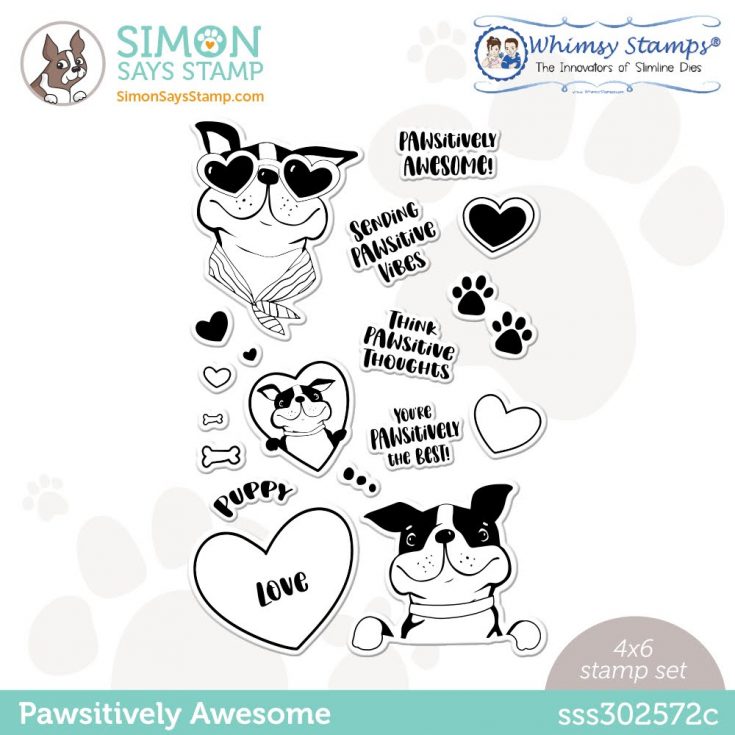
Whimsy Stamps STAMPtember® 2022 Exclusive Collaboration!
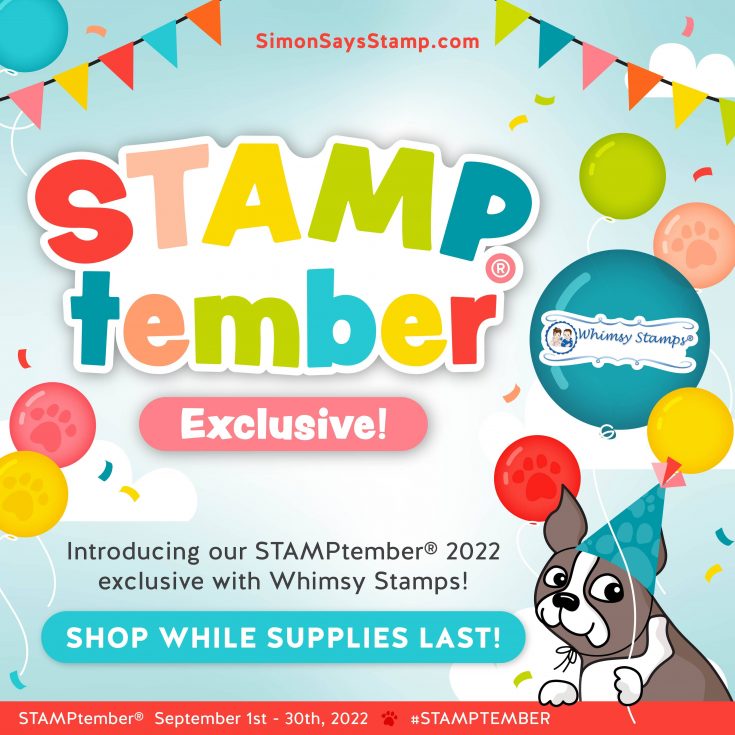

We want to be your ONE-STOP shop for all things, Whimsy Stamps! To see all of the great products that this brand has to offer click or tap HERE!
WATCH THE VIDEO:

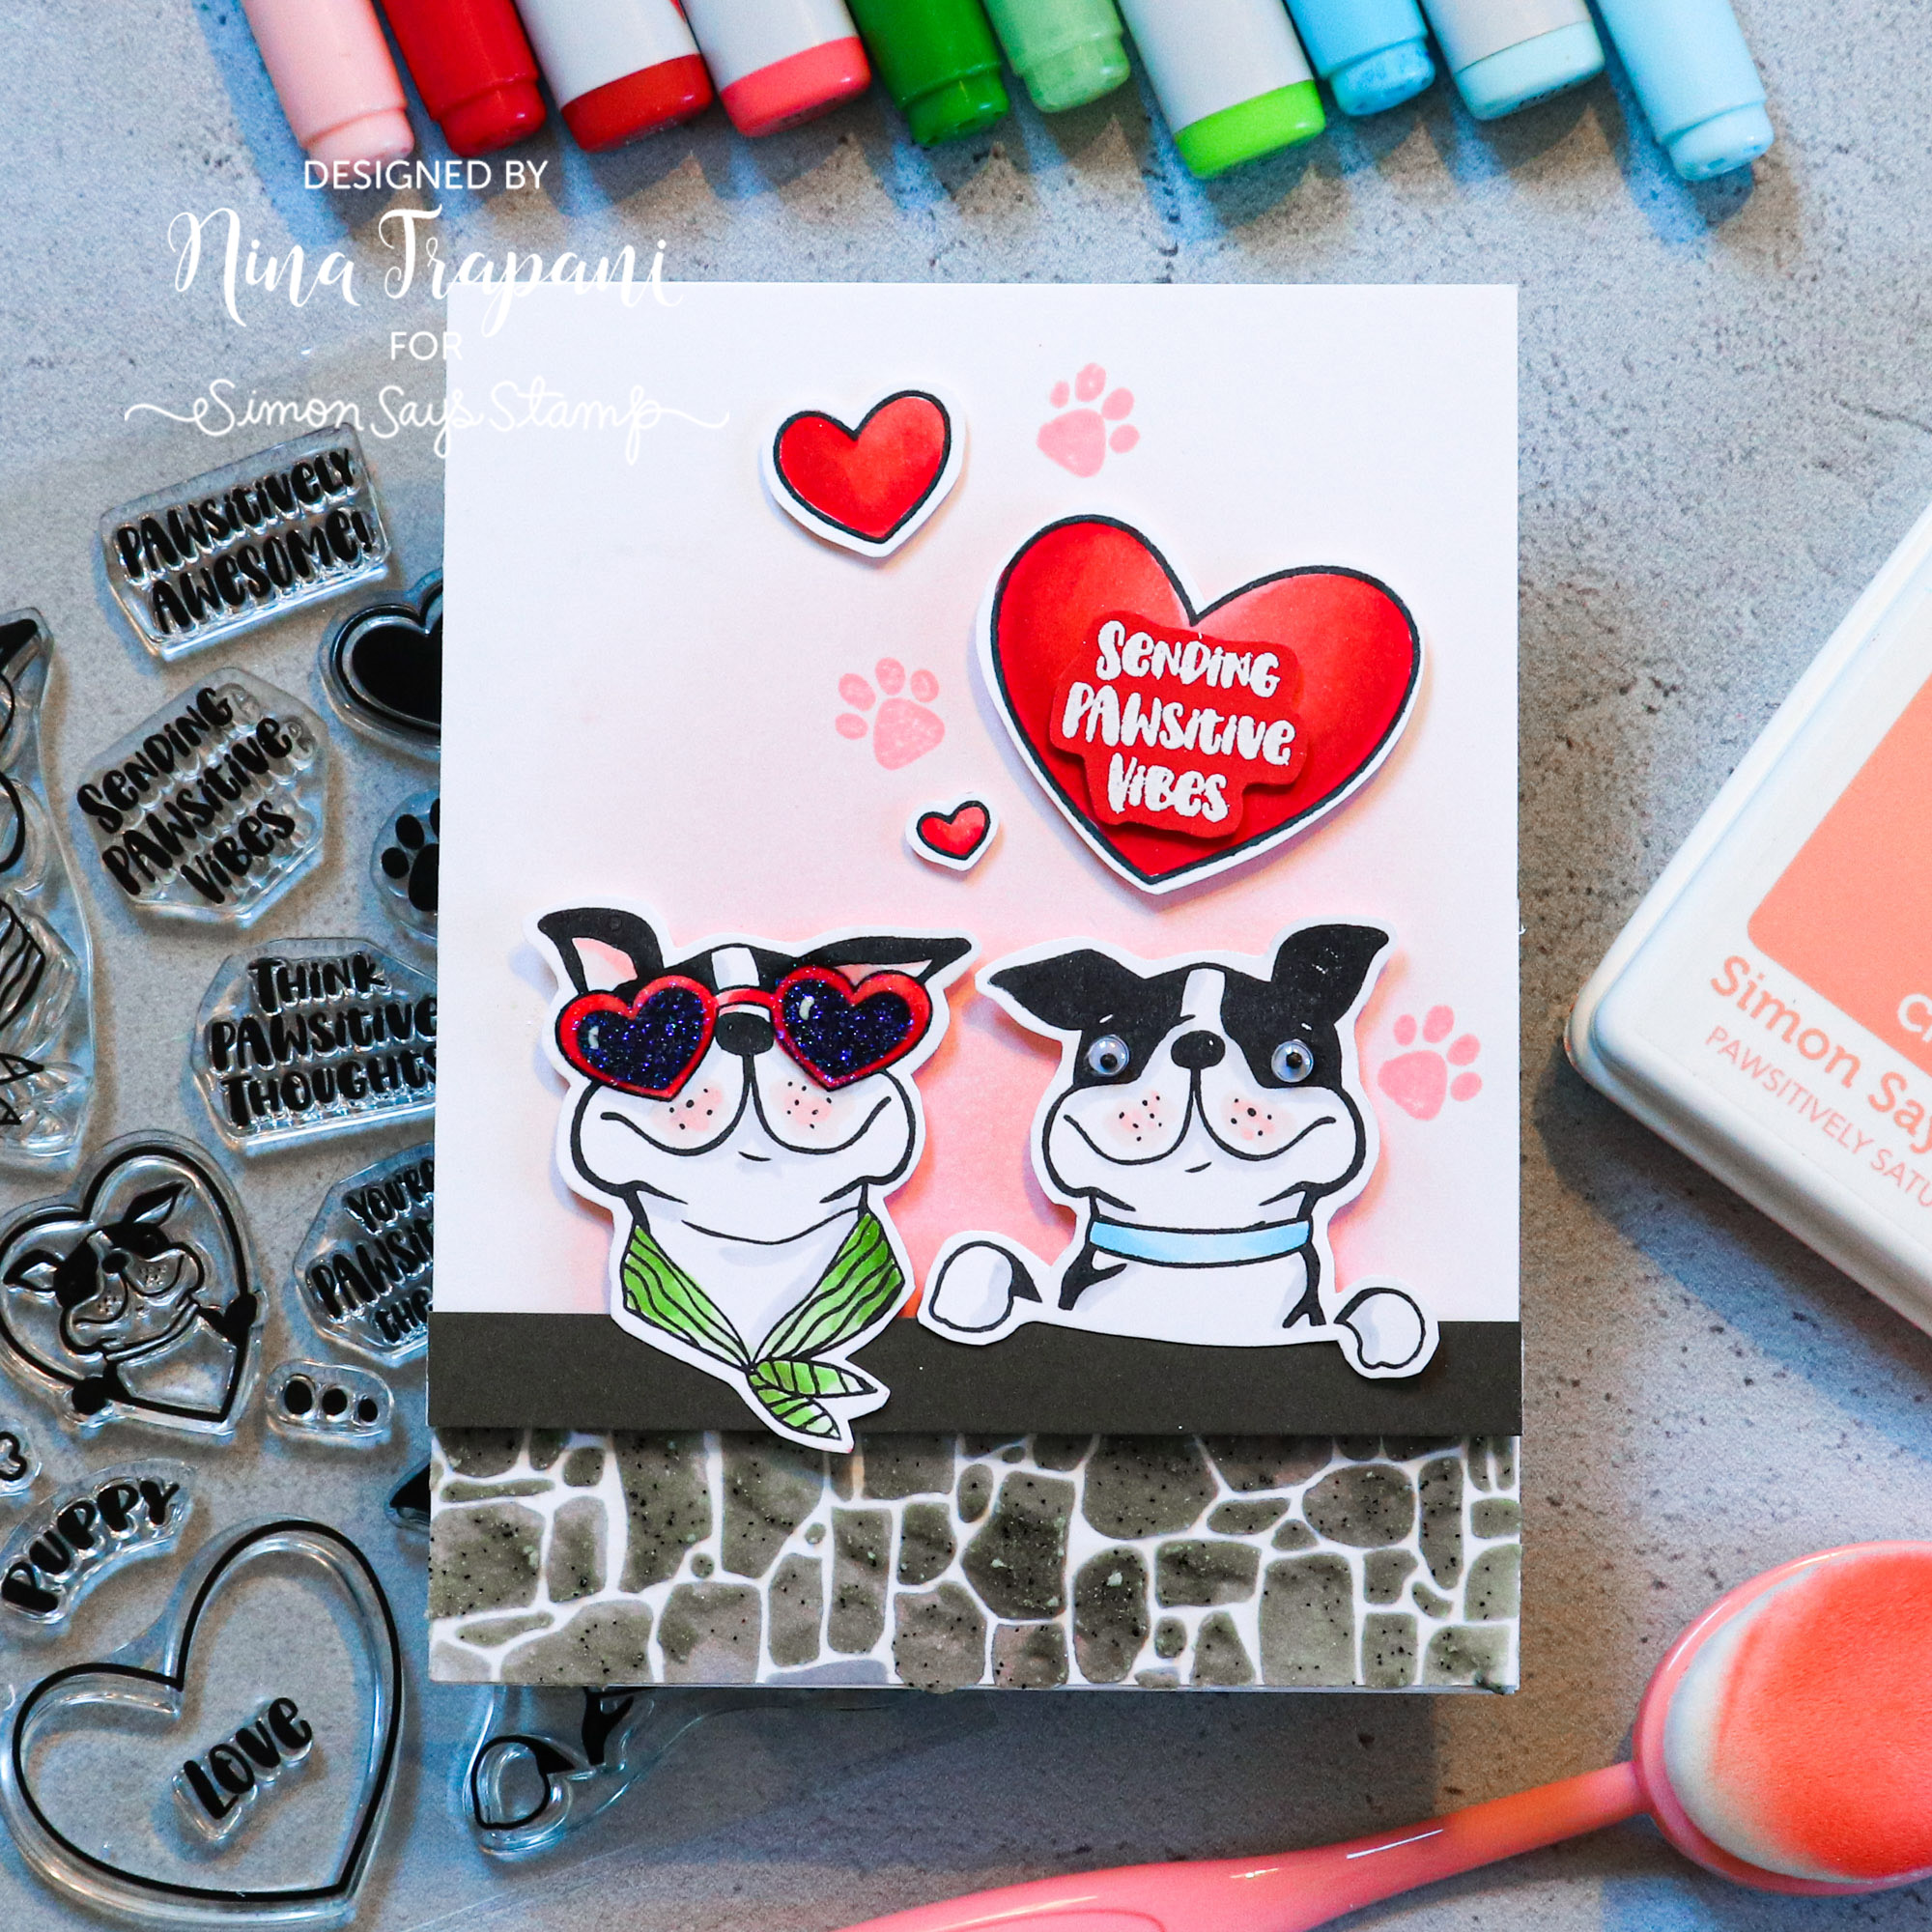
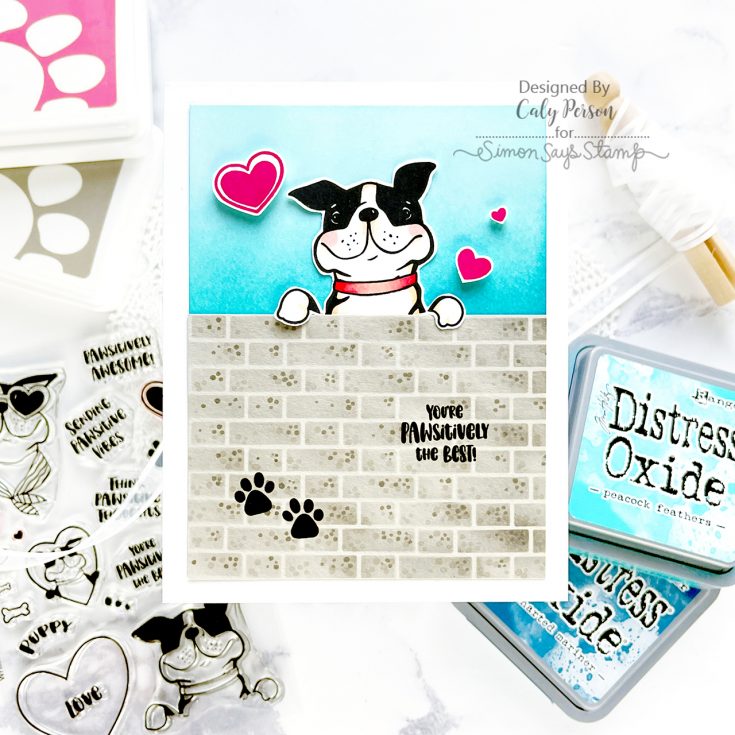
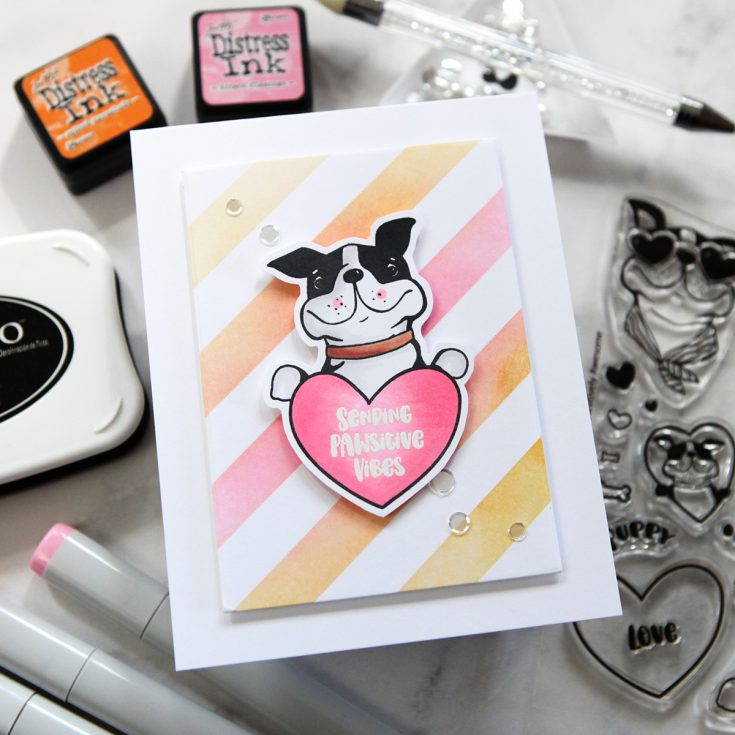

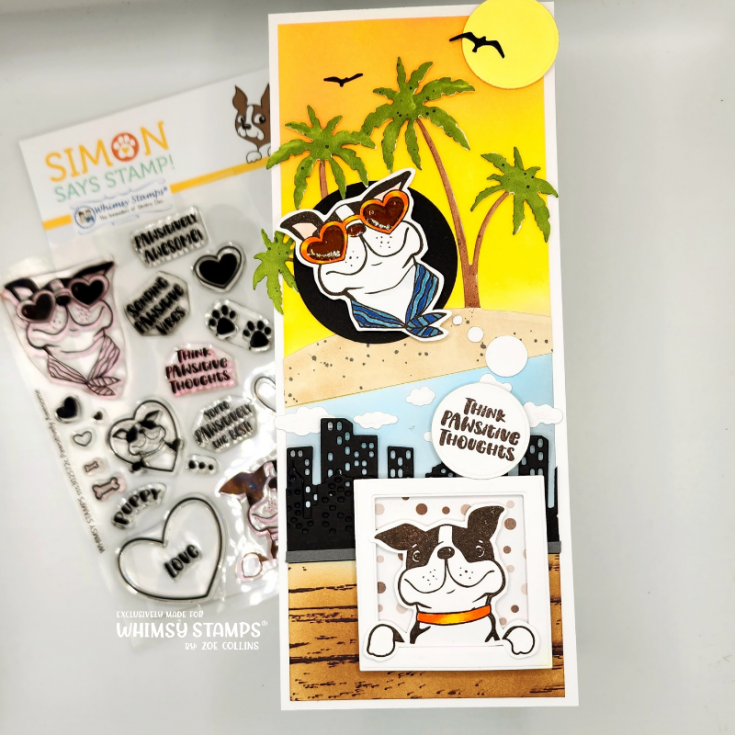
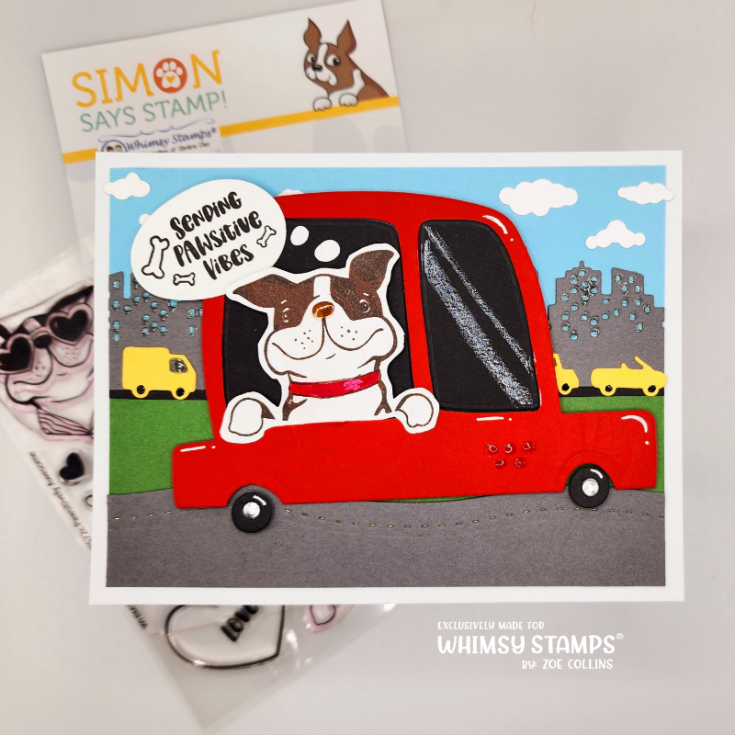
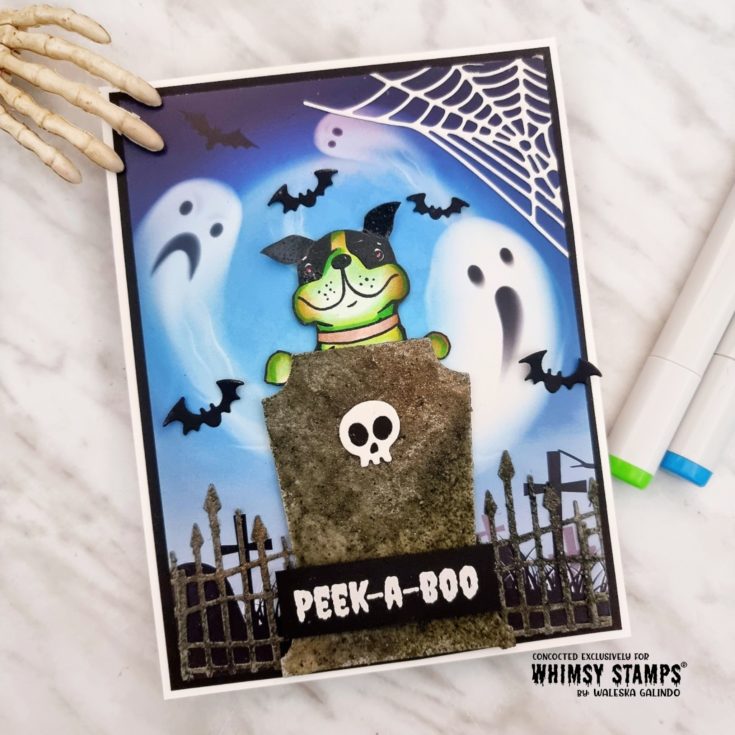
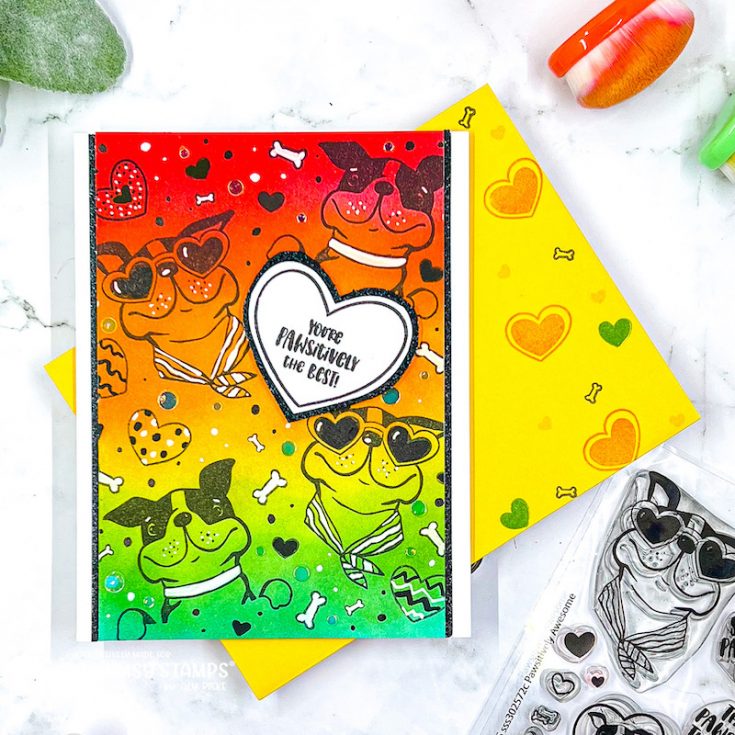
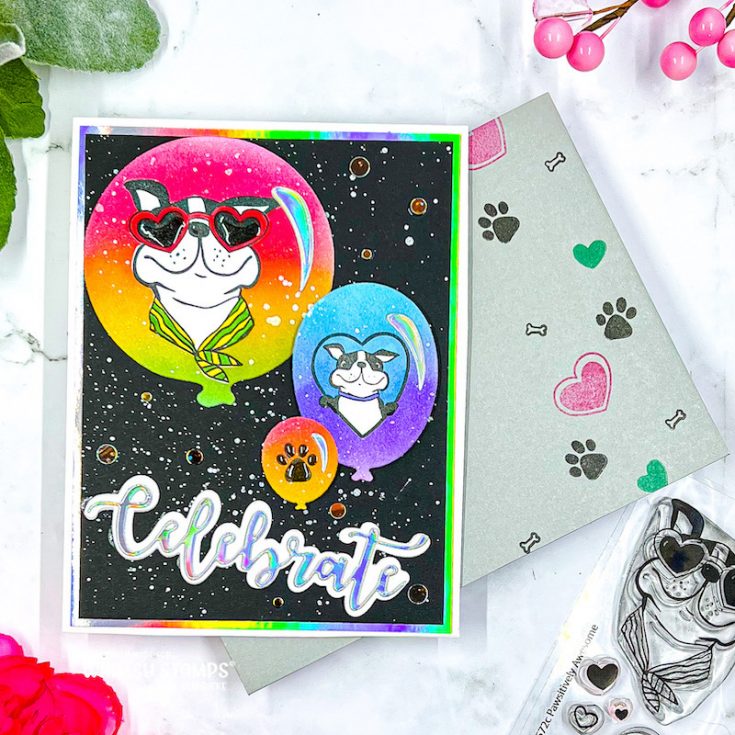
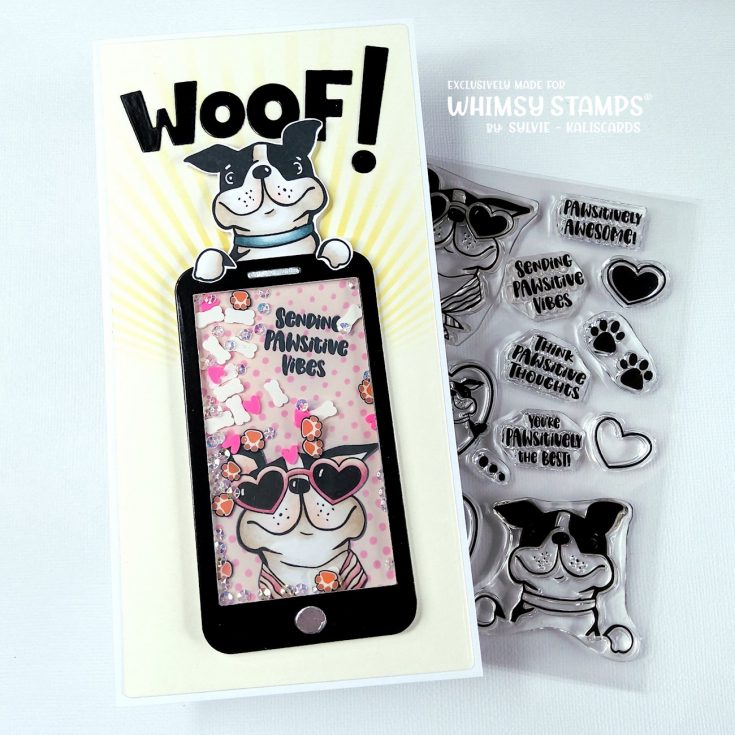
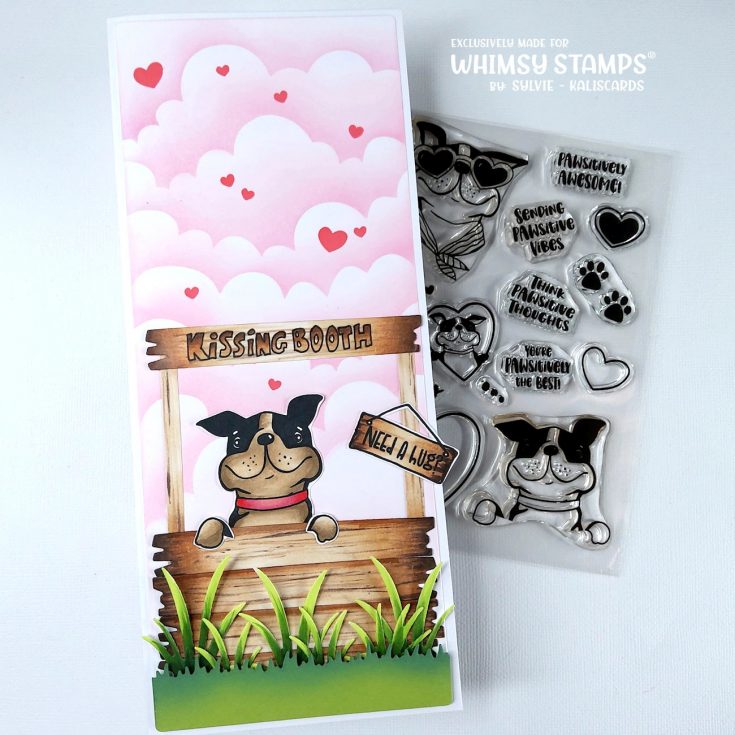
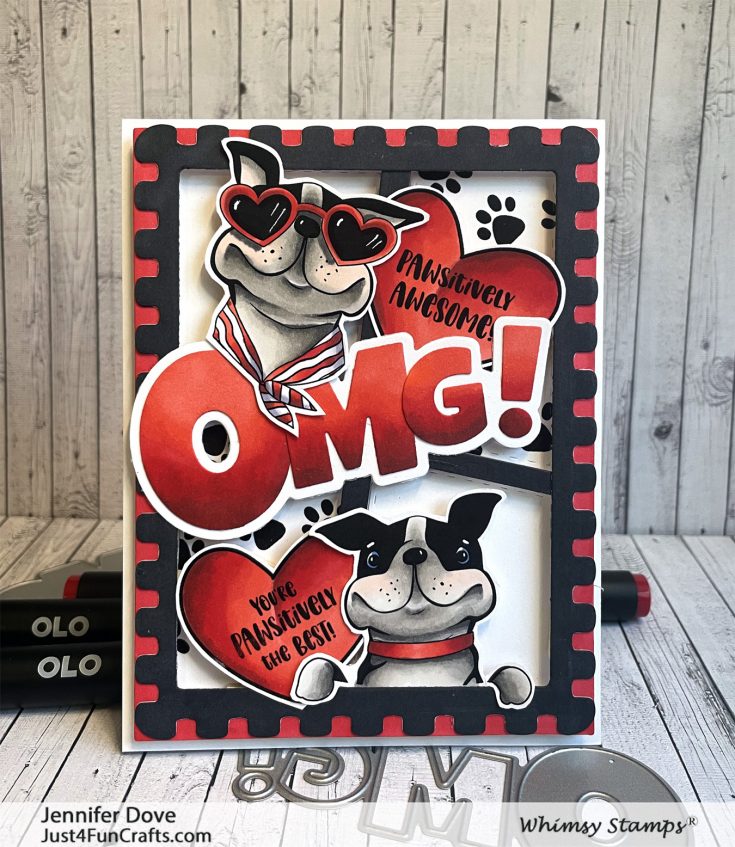
The stand alone stamp set is also available for purchase! While supplies last!
But WAIT, there’s MORE!
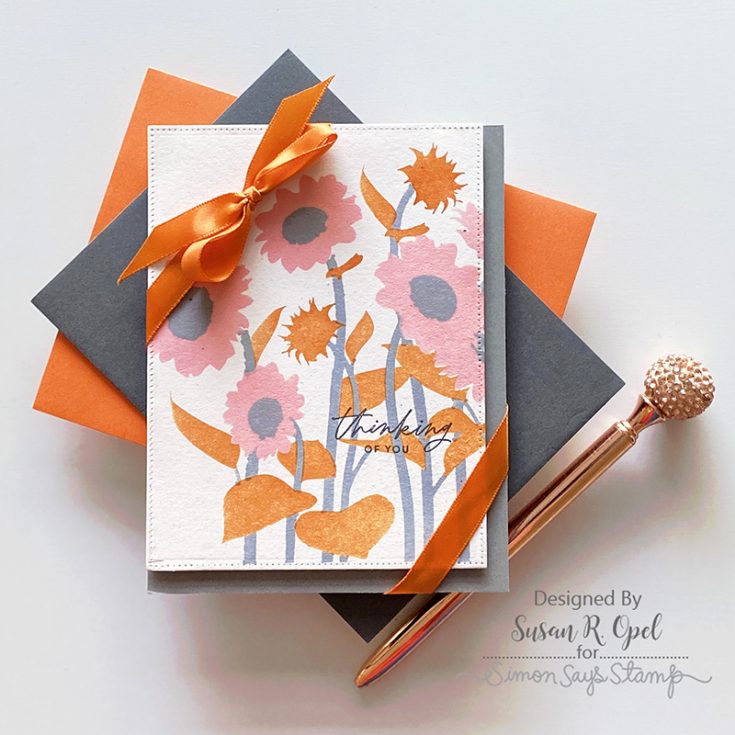
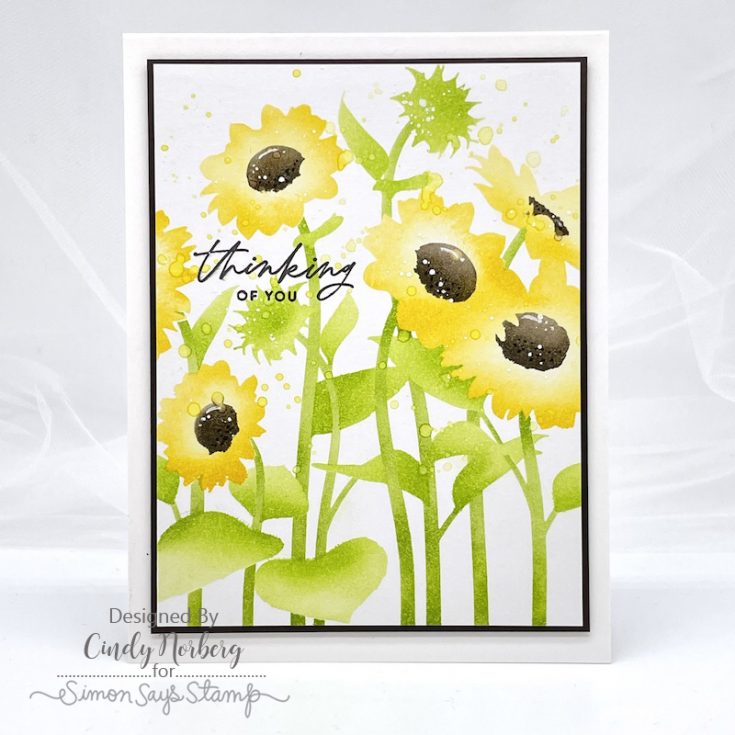
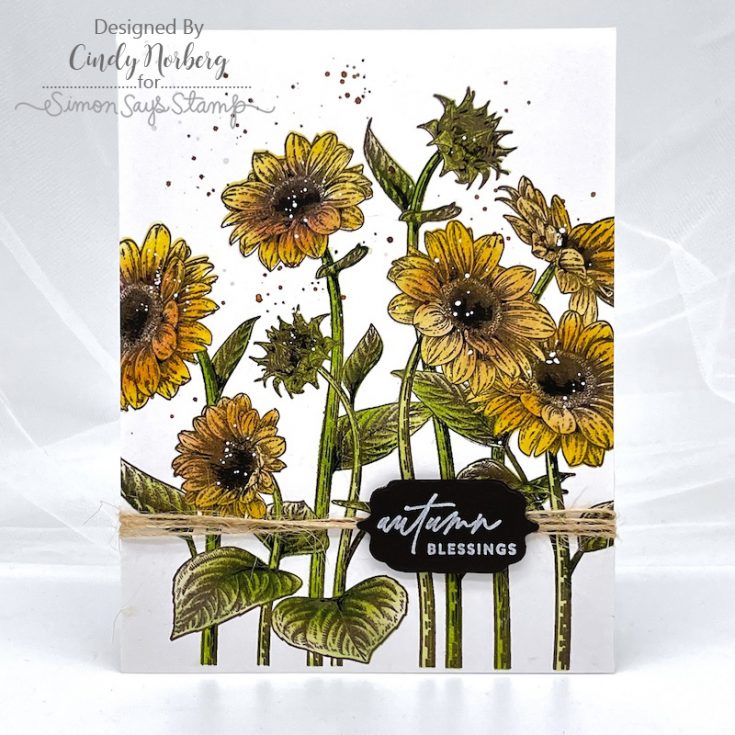
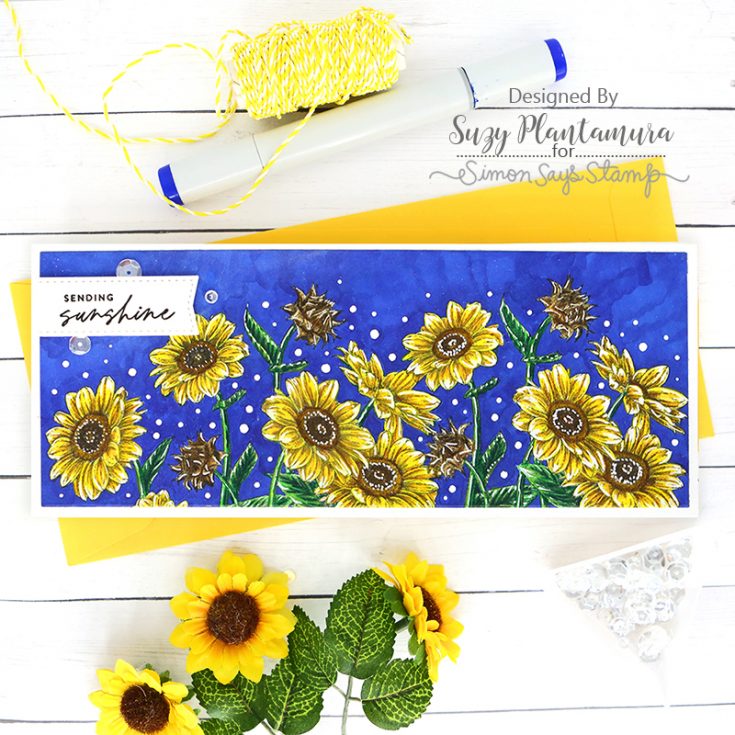
Card Kit Reveal and Inspiration: Sunflowers and Daisies
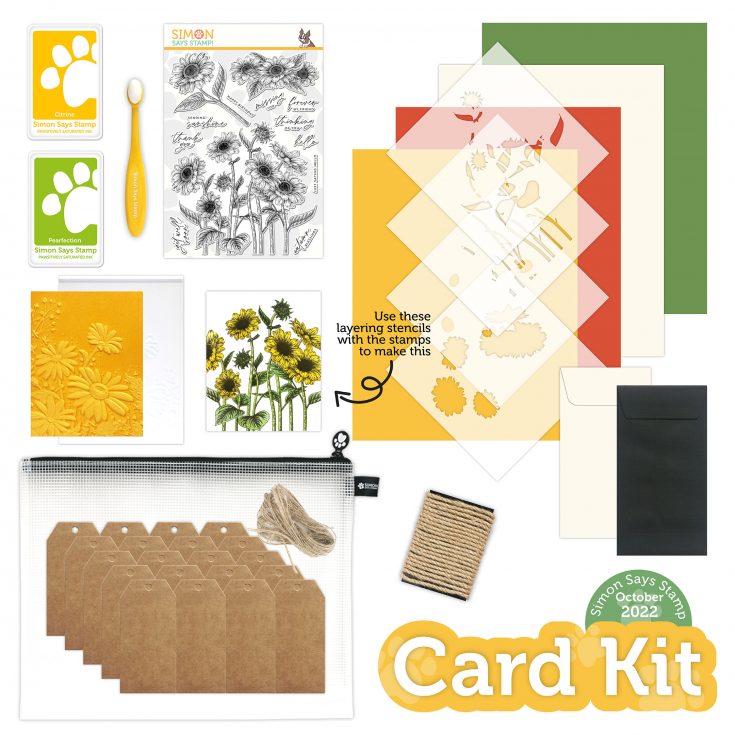
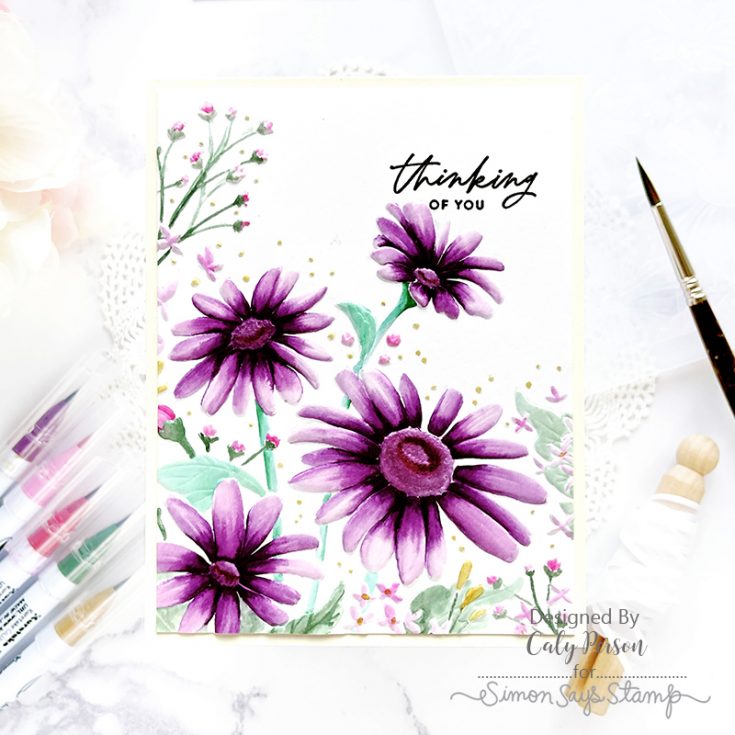
Introducing our October 2022 Card Kit—Sunflowers and Daisies!
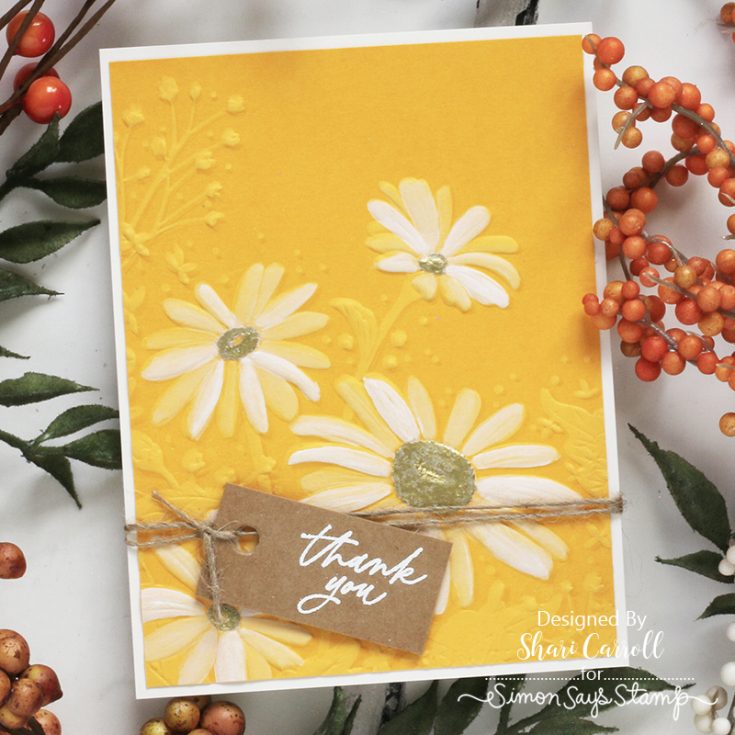
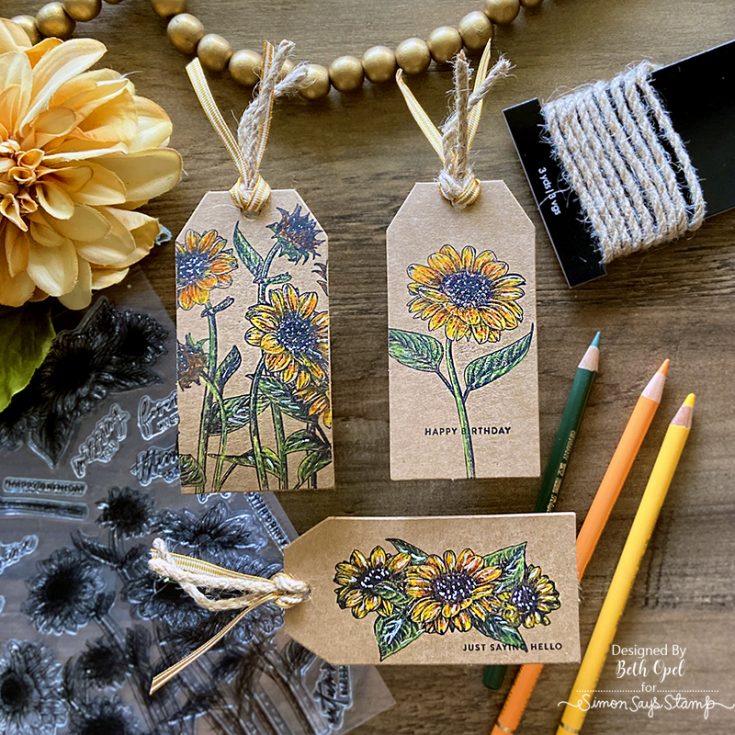
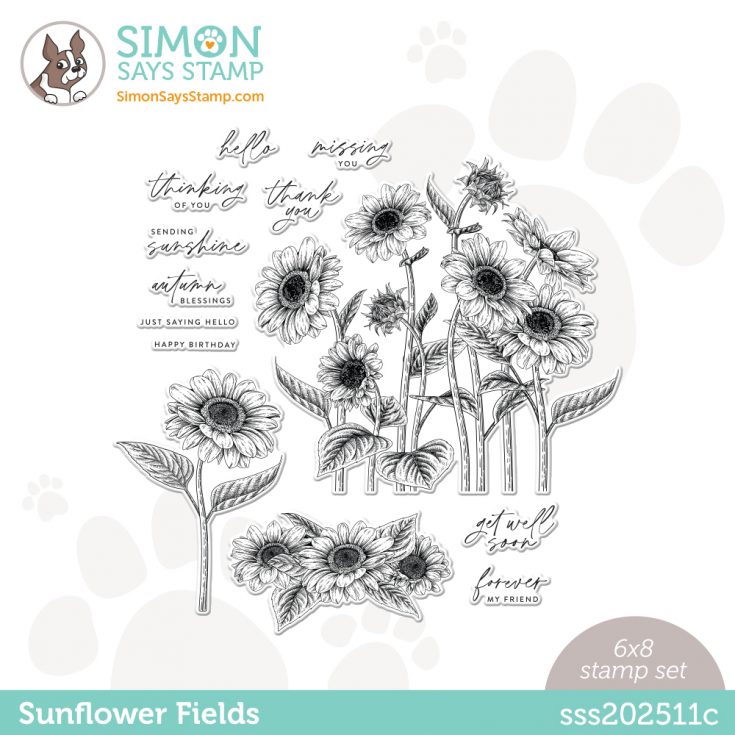
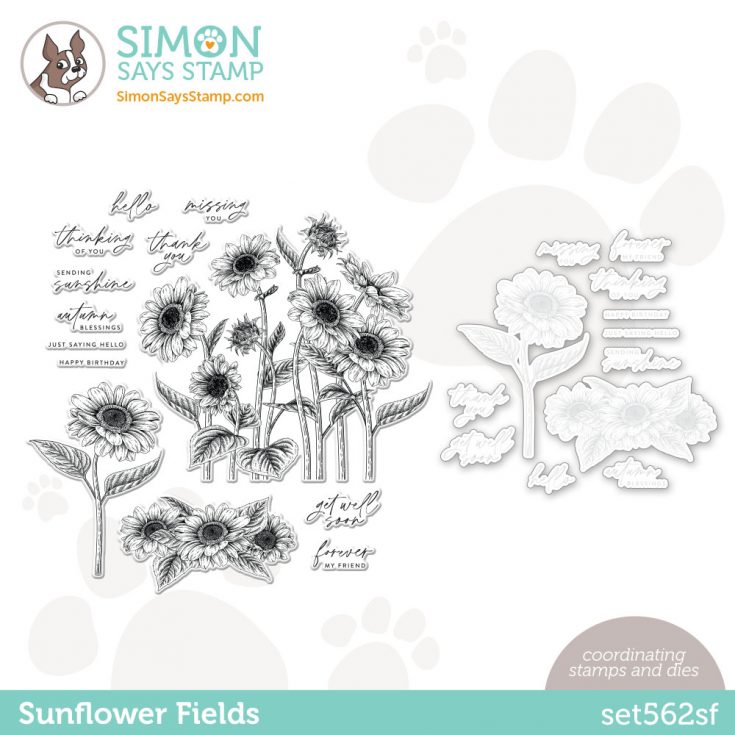
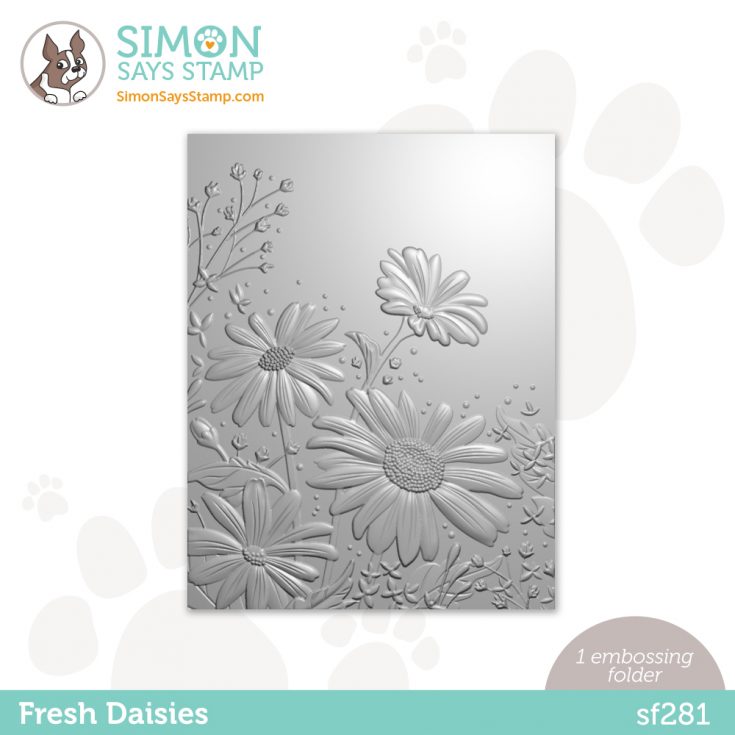
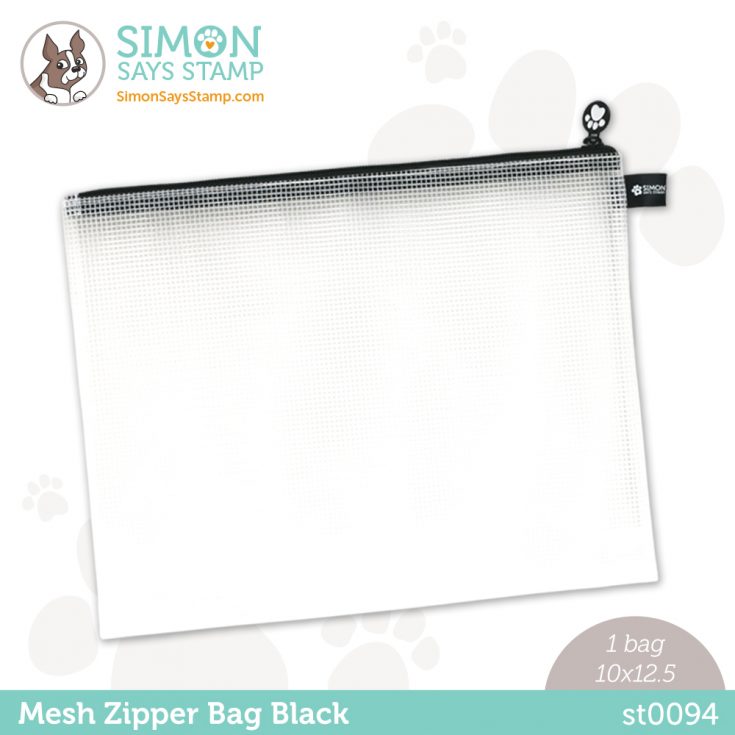
This beautiful kit features FOUR brand new Simon exclusive products: the Sunflower Fields 6×8 stamp set PLUS the Sunflower Fields layering stencils that can color in the largest image from the stamp set! Use the Fresh Daisies embossing folder for gorgeous backgrounds. The contents of the entire kit fit perfectly in our new Black Mesh Zipper Bag!
We’ve also included 2 full-sized Pawsitively Saturated Simon brand inks, a small Simon blending brush, 20 tags with twine, a package of jute rope, 4 sheets of Simon Says Stamp coordinating cardstock, and 2 Simon brand envelopes.
Our Sunflowers and Daisies card kit will give you all the fall crafty feels!
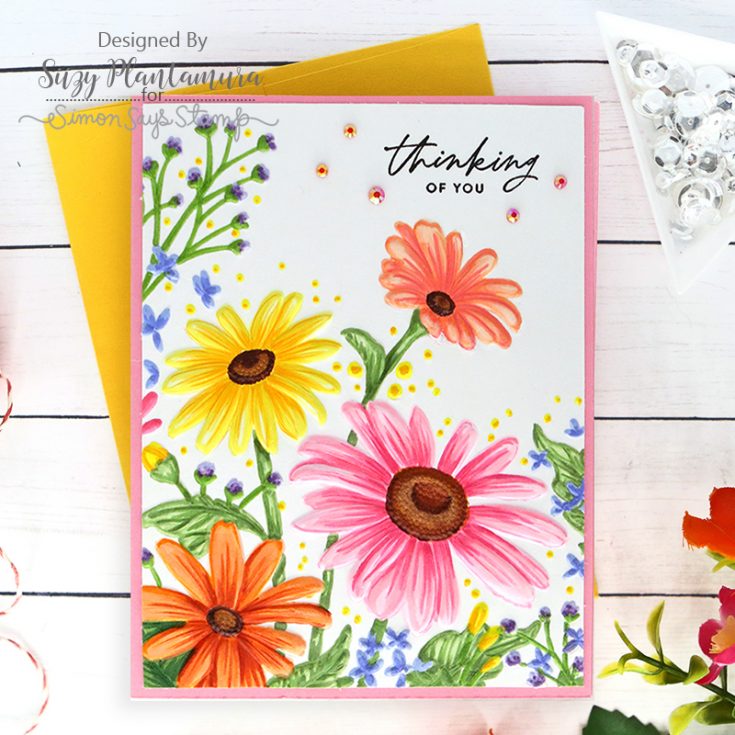
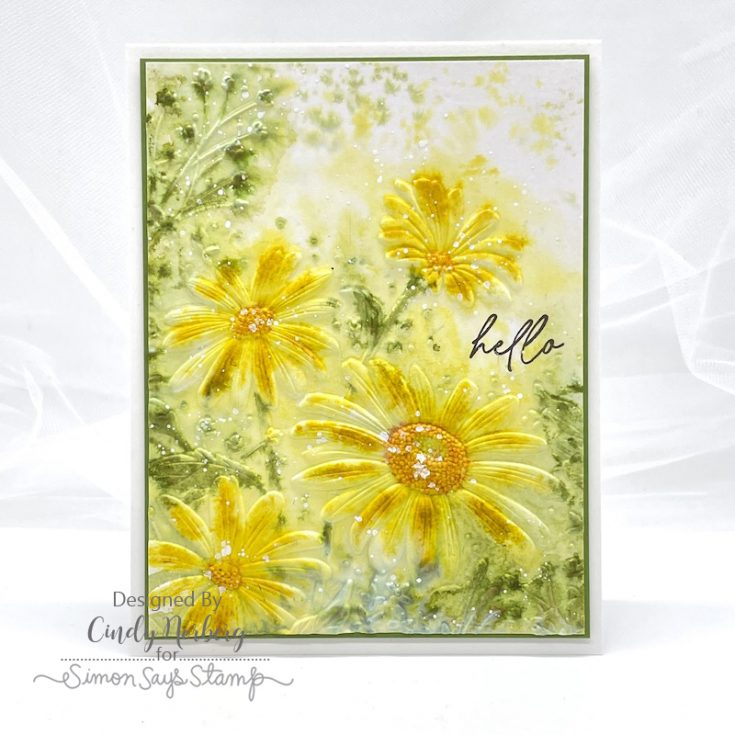
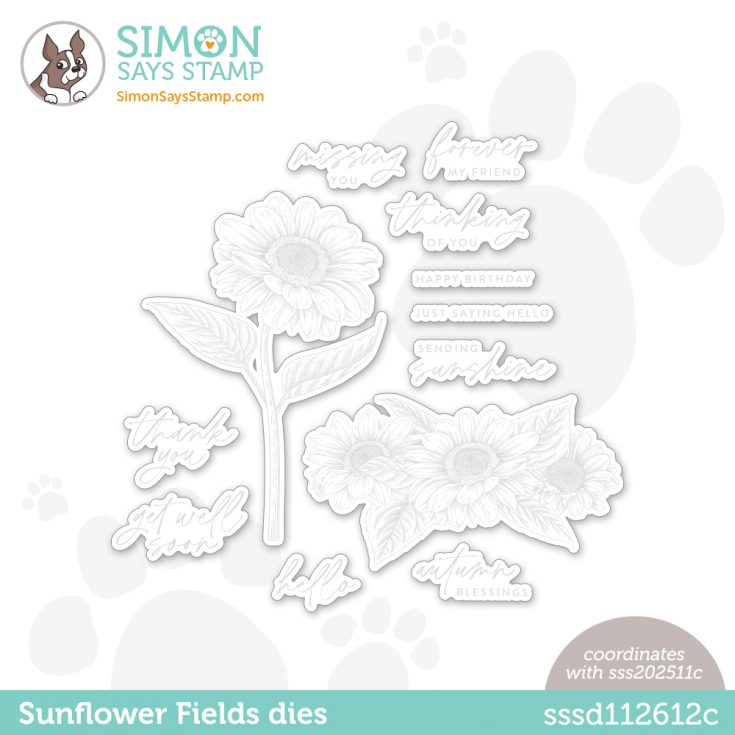
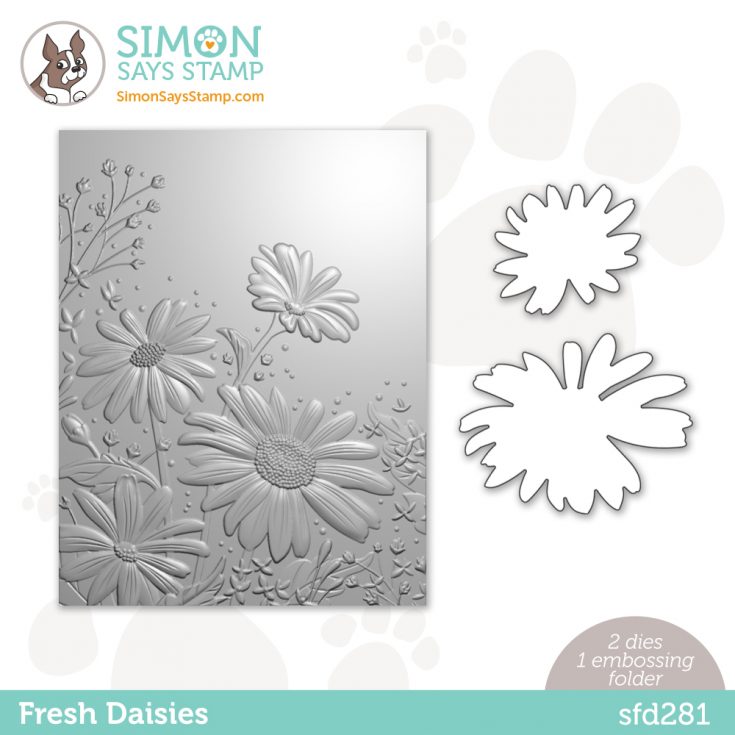
The NEW Sunflower Fields 6×8 stamp set, Sunflower Field 6×6 stencils, Fresh Daisies embossing folder, and Black Mesh Bag are available for individual purchases in our store! We also have some convenient ways to purchase sets and individual dies, including Fresh Daisies embossing folder and dies, Fresh Daisies dies only, Sunflower Fields coordinating dies, and Sunflower Fields stamps and coordinating dies.

Don’t forget! We have LOTS of gorgeous card kit inspiration to access and add to in our Card Kit Galleries!
You can purchase the kit at $39.99 or subscribe to our kit of the month program for just $34.99 (plus S&H) per month to have our kits delivered right to your door each month!
If you are a subscriber who used Paypal to purchase your subscription, please be sure to pay the invoice that we send you within 3 business days. We have a limited number of this card kit in stock and don’t want you to miss out. For easier and quicker monthly processing, please contact us via email or telephone, and we will put your credit card on file as a courtesy for you. Card kits bill and ship anytime between the 16 – 30 of every month.


