Yippee for Yana: Snowflake Edges Reprise

Hi friends! Happy Monday! In the continued spirit of “Christmas in July” I thought it would be fun to re-share this holiday card design by Yana Smakula! Be sure to read on and watch the video for all the details! Enjoy! (Please note; our dear friend Yana is Ukrainian, to show support to our brothers and sisters in Ukraine, please see Yana’s post HERE.)
Hello, crafters, this is Yana Smakula for Simon Says Stamp! Welcome back for another Yippee For Yana video!
In today’s video, I will show you how to combine heat embossing and hot foil stamping. Both of these techniques require heat and one can damage the other if done in the wrong order.
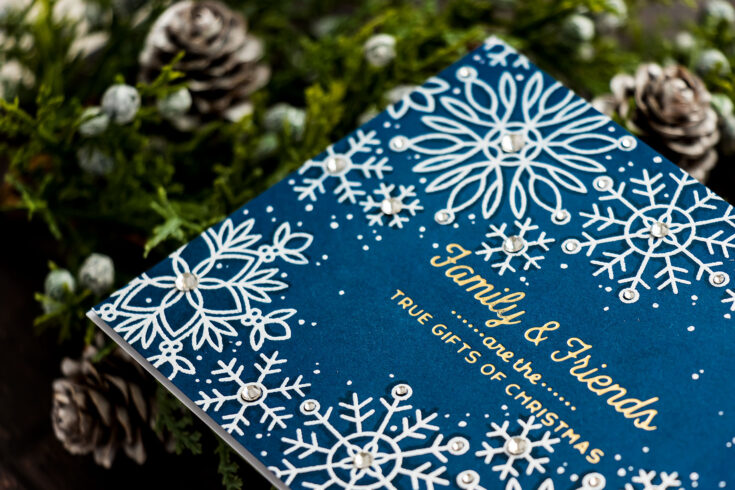
My idea is to foil a sentiment in matte gold foil on a panel of Simon’s Soft Navy cardstock and add the snowflakes from the Snowflake Edges stamp set around the sentiment framing it, in white. Whenever you want to combine heat embossing and hot foiling you have to save the embossing for the last step. The heat from the hot foil machine can re-heat and re-melt the embossing powder messing up your hard work. The heat from the heat gun, on the other hand, will have zero effect on the hot foiling, so it is safe to heat emboss over a foiled panel.
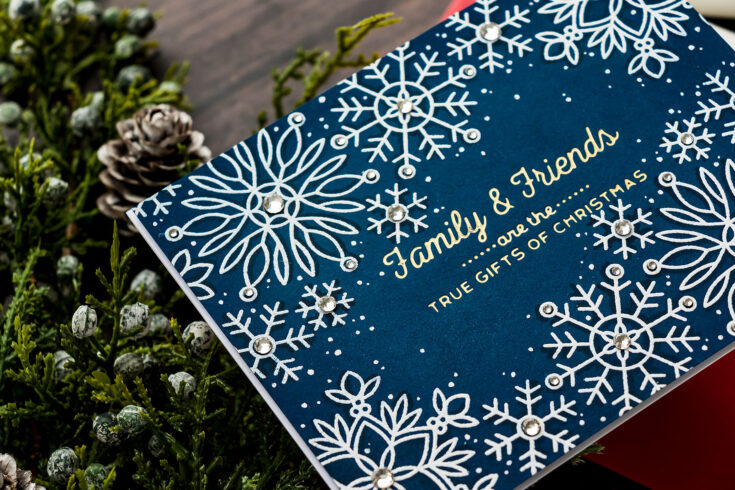
Begin by foiling the sentiment in the center of the panel. If you have trouble foiling on Soft Navy cardstock, be sure to watch my video for tips. Next, heat emboss the Snowflake Edge above and below the sentiment creating a beautiful snowflake background. I embossed mine in Simon’s Fine Detail White embossing powder.
At this point, you could keep your background as is. I like to step things up, so I added some subtle shadows to the snowflakes using a C7 Copic marker. It is quite a tedious process to add all of that shading, but I didn’t mind. What you could also do, is re-stamp the same image over the heat embossing, but offset it slightly – this will give you that pretty drop shadow look. If you stamp it in watermark ink, you’ll get a similar result. The shadow might not look as dark, but that’s definitely another and easier way to achieve this look.
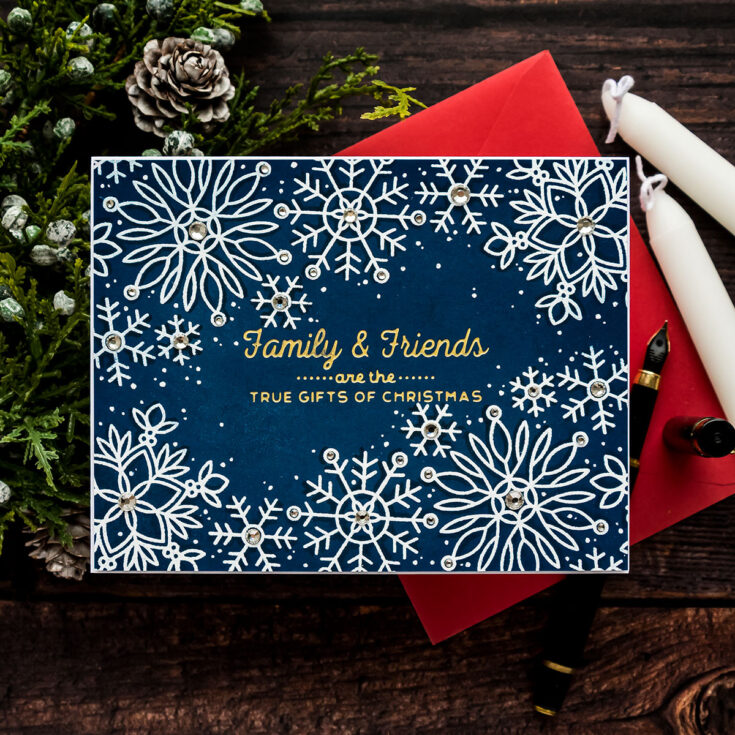
At this point again, you can call your background done, but I wanted to step it up even more. I added some subtle ink blending around the edges darkening them. This helps to direct the eye to the center of the panel. I used Hero Arts Navy ink and Simon’s large ink blending brush and blended this color around the edges.
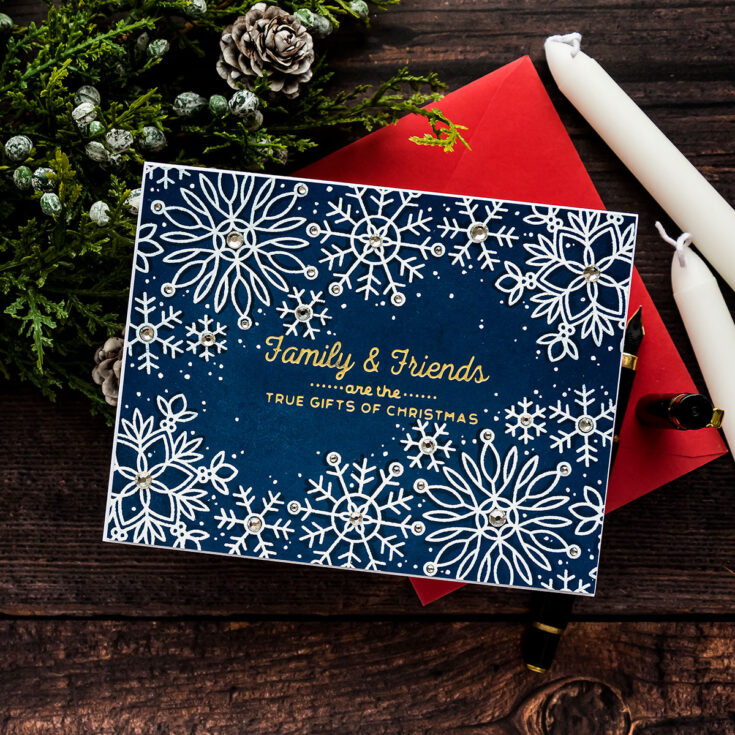
I trimmed this panel down slightly, not too much, just about 1/8” from each side, and foam mounted onto an A2 white top folding card base. This gave me a faint white border around the design. I also embellished each of the snowflakes with gems – I used silver gems from Spellbinders, and lastly, I added lots of little white dots using a white gelly roll pen. I clustered them mostly in between the snowflakes – adding more white to the background of my card. Have fun stamping!
WATCH THE VIDEO:
SUPPLIES:
|


Ways to support Ukraine:
If you are looking for ways to support Ukraine, we encourage you to visit this page on Yana’s blog:

Thanks so much for stopping by, and thanks to Yana for being our guest!
Tim Holtz Sizzix Chapter 3 Inspiration with Shari Carroll
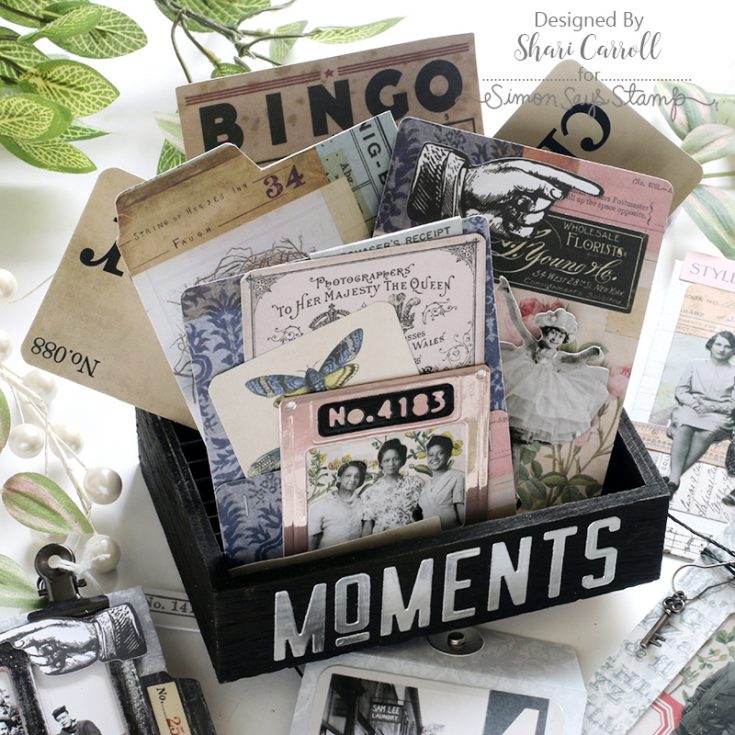
Welcome, everyone! It’s Shari here with some inspiration from the new Tim Holtz Sizzix Chapter 3 release. I had a great time making little pockets and cards to fit into a simply decorated box adorned with die-cut letters.
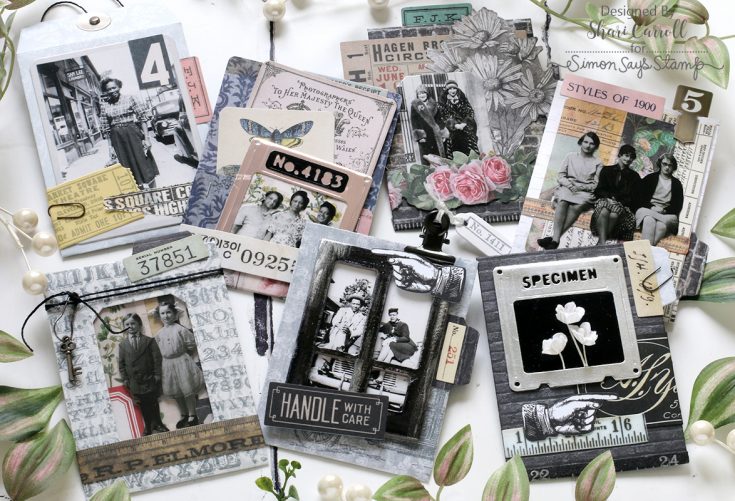
I mixed together some of the dies with papers, ephemera, and trinkets to complete some coin envelopes from the Collector Thinlits set. I’ve created an accordion-style holder for my cards inside a Vignette box by cutting black cardstock to 4 1/4″ x 8 1/2″, scoring it at 1/2″ intervals. I added glue to the base of the box and set the paper in, allowing it to expand.

I hope you enjoy the inspiration and give these amazing sets a try!
SUPPLIES:
|


Dream Big Blog Hop 2!
Hello, friends, and welcome to day two of our Dream Big release blog hops! If you missed yesterday’s hop, be sure to circle back and check it out HERE.
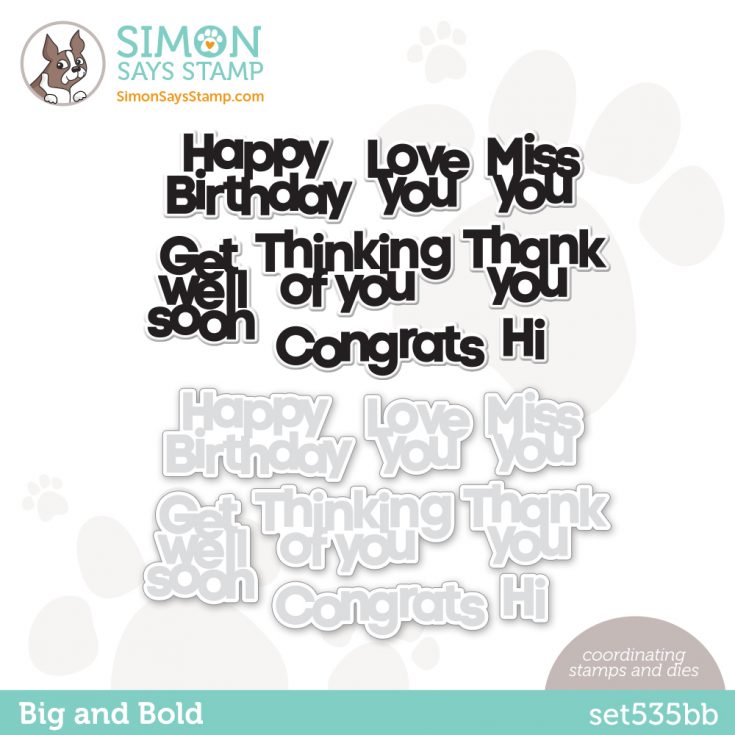
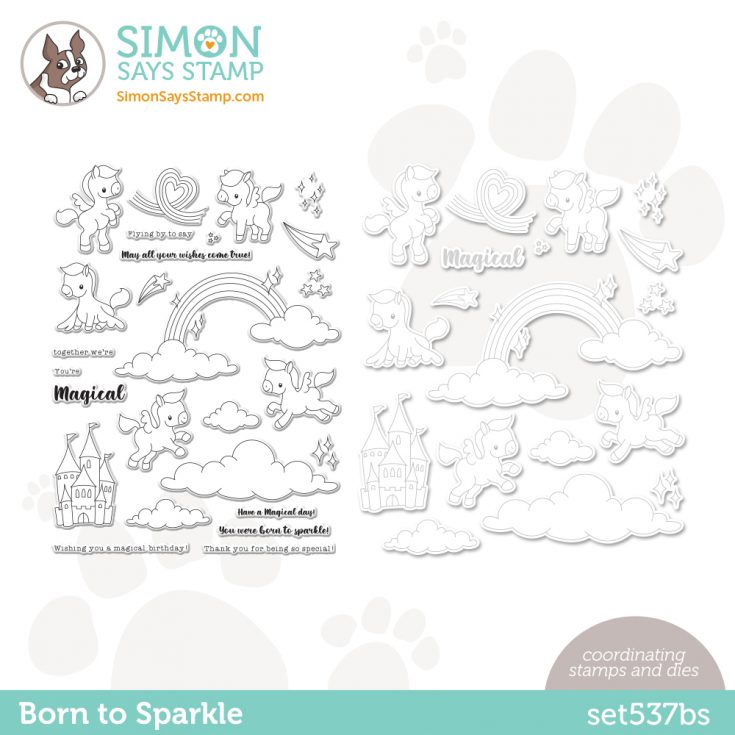
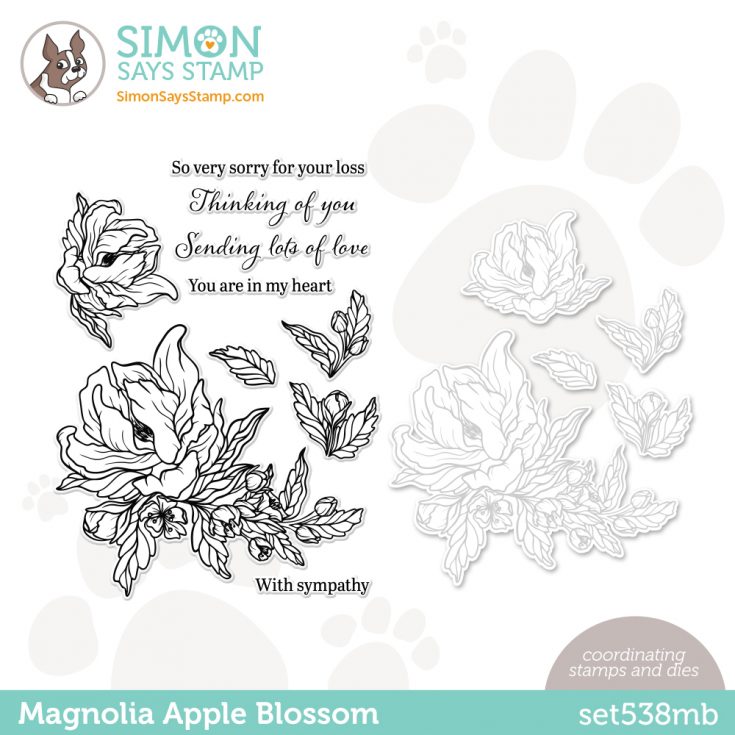
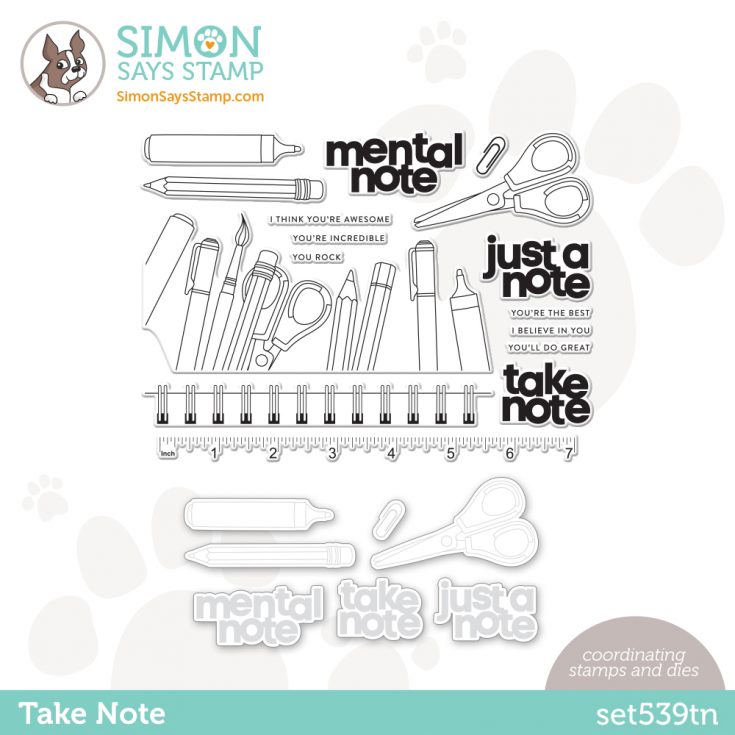
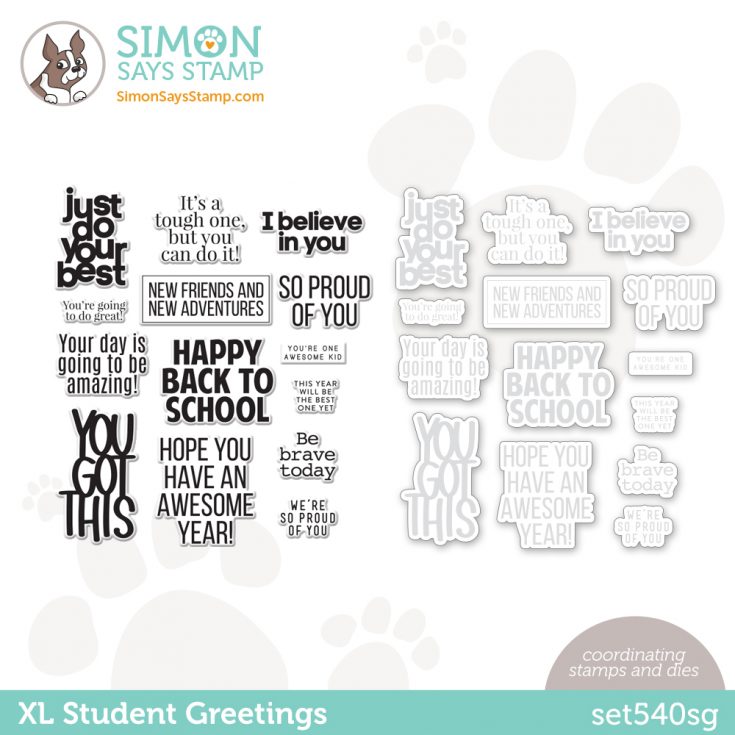
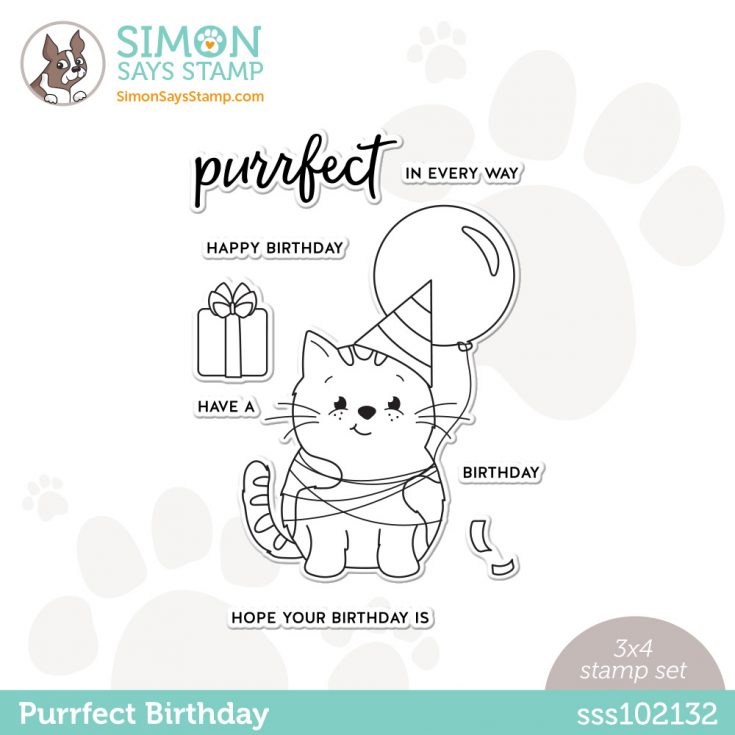
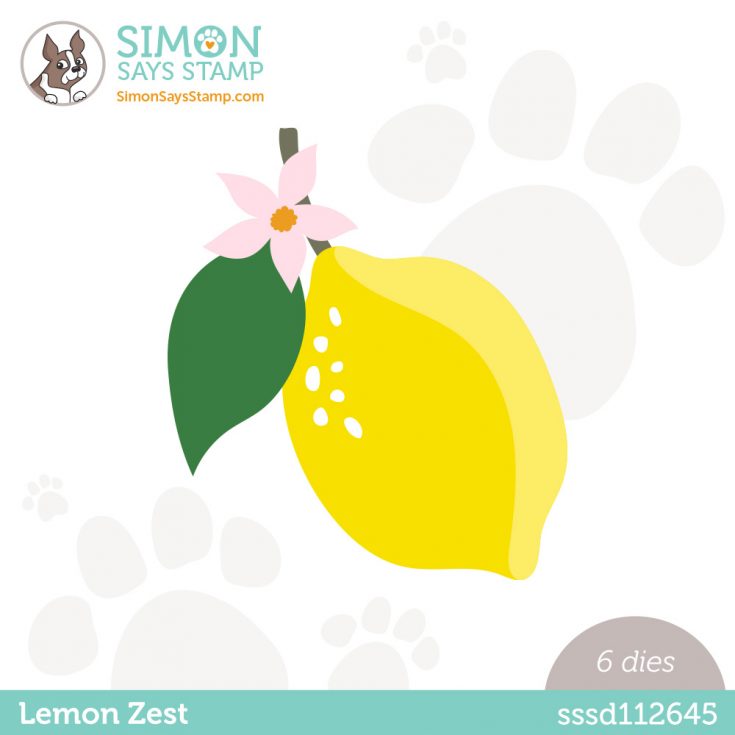
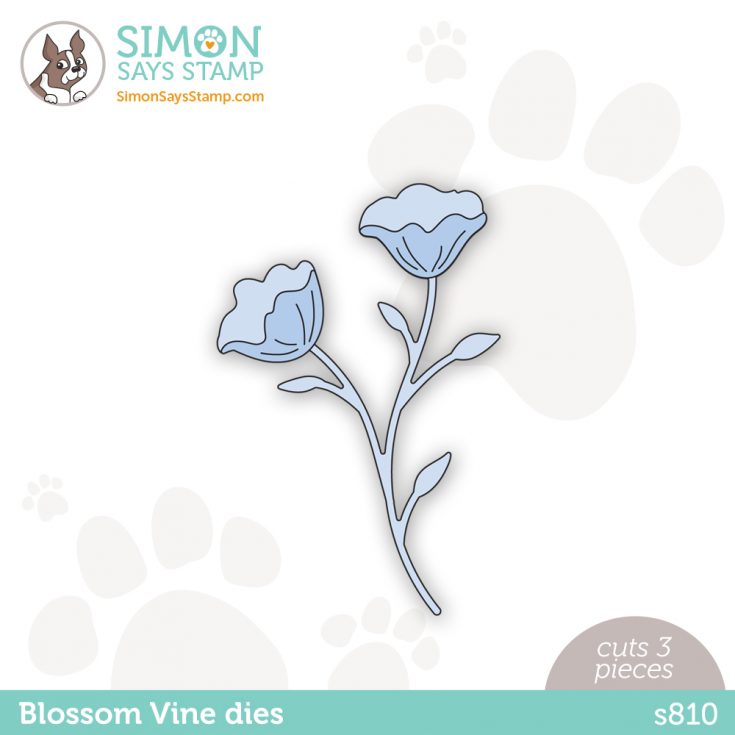
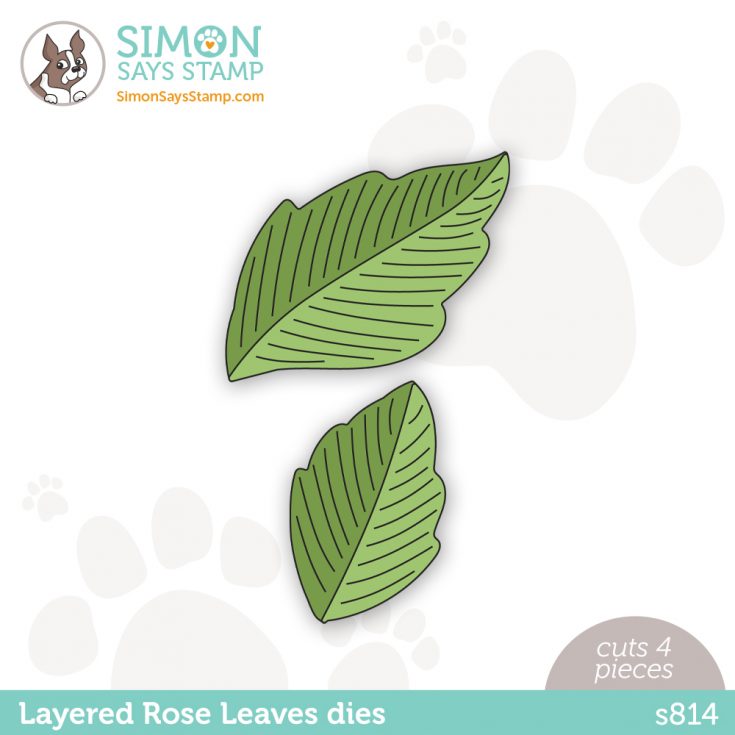
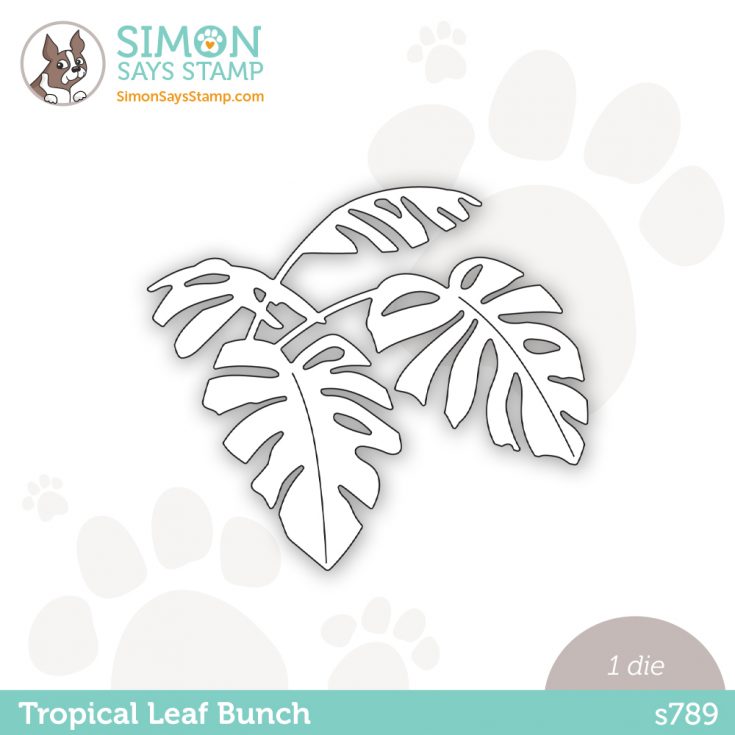
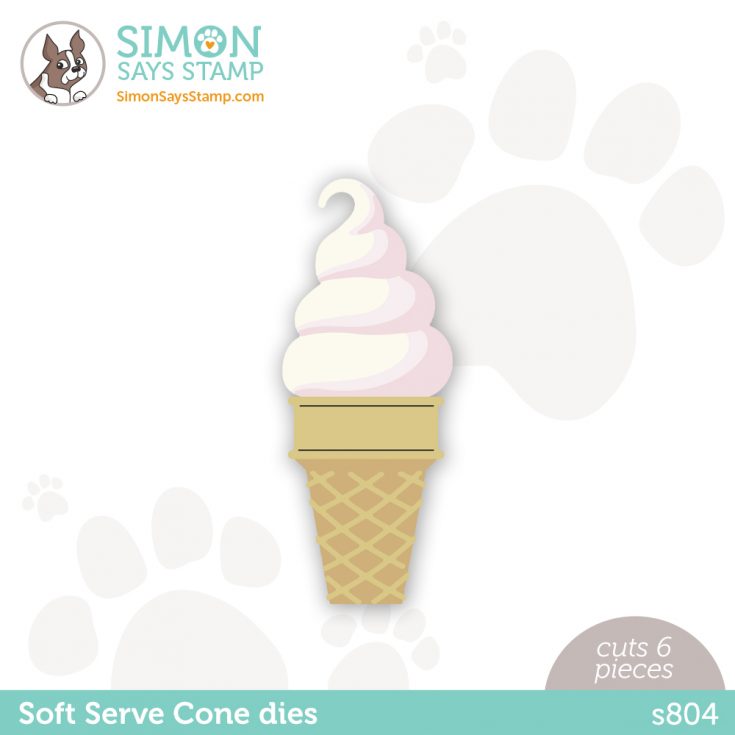
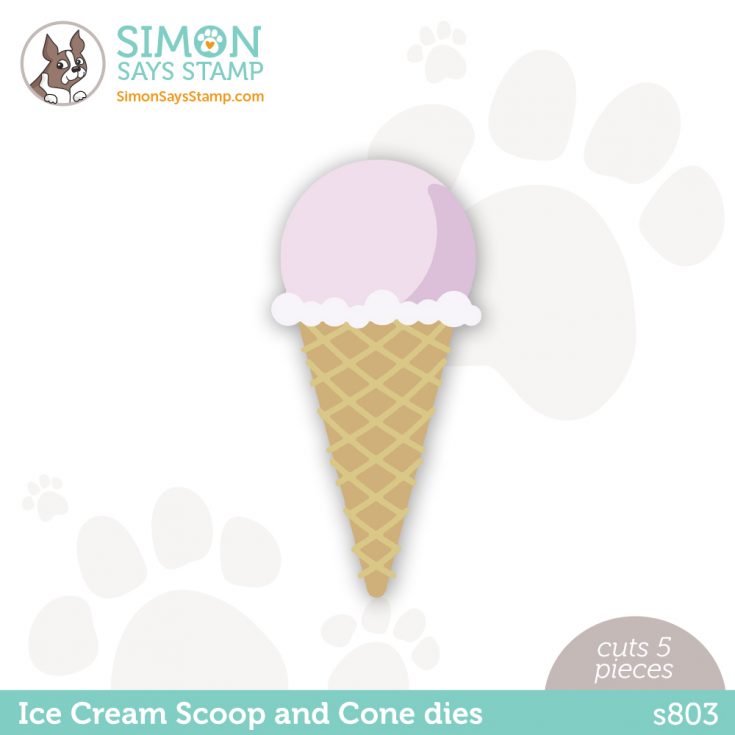
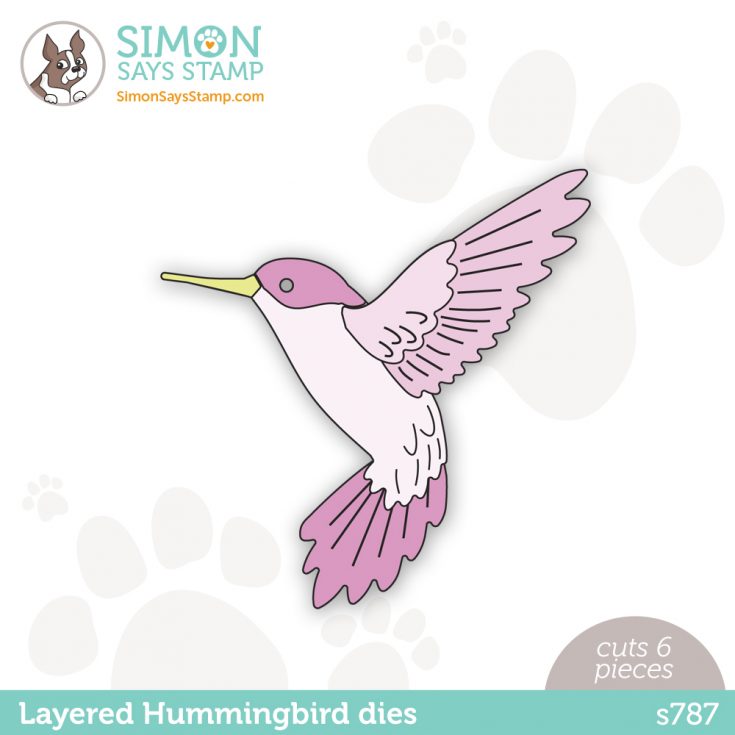
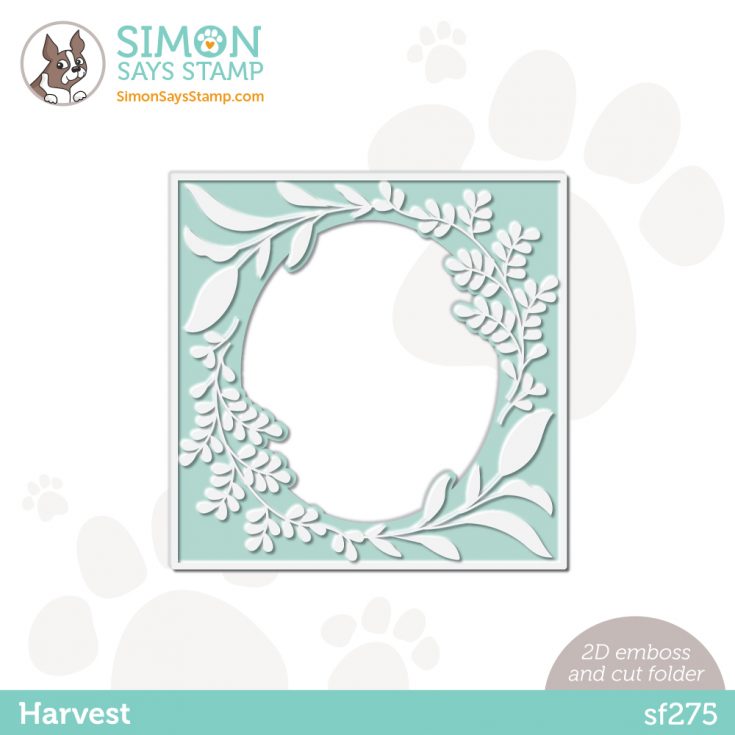
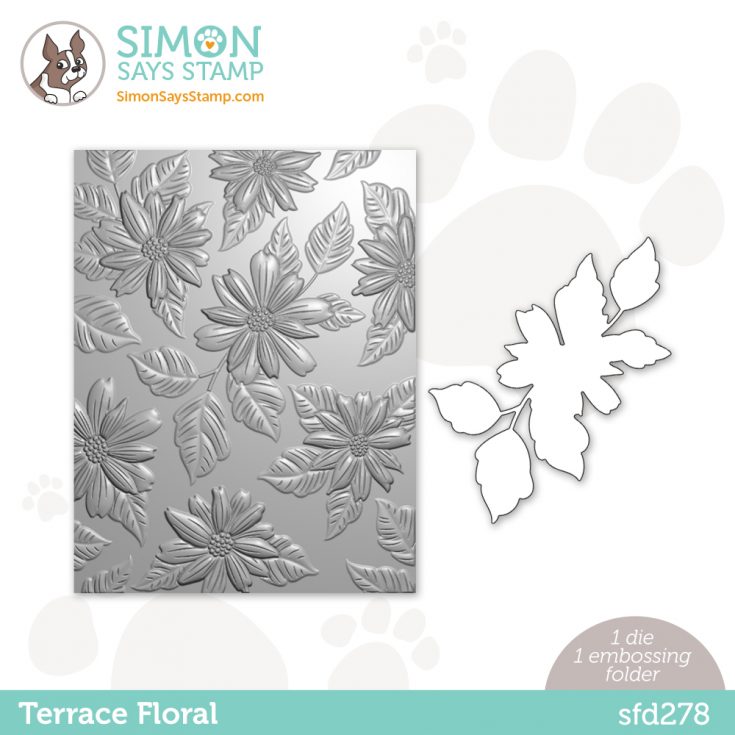
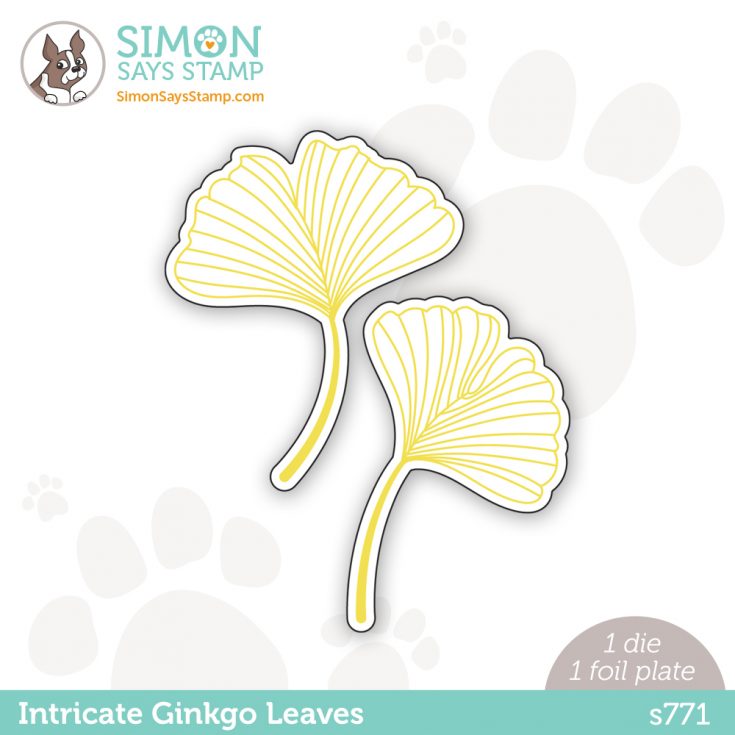
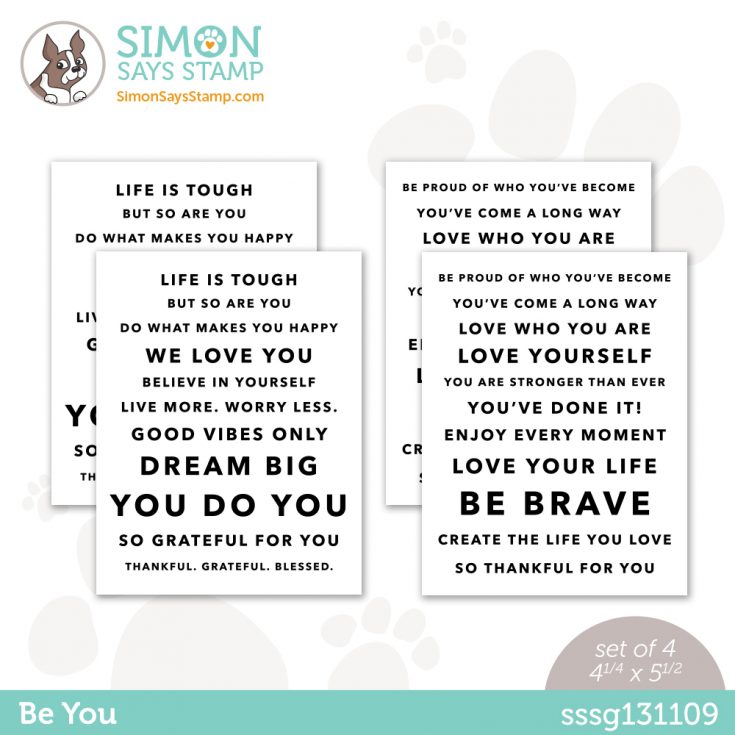
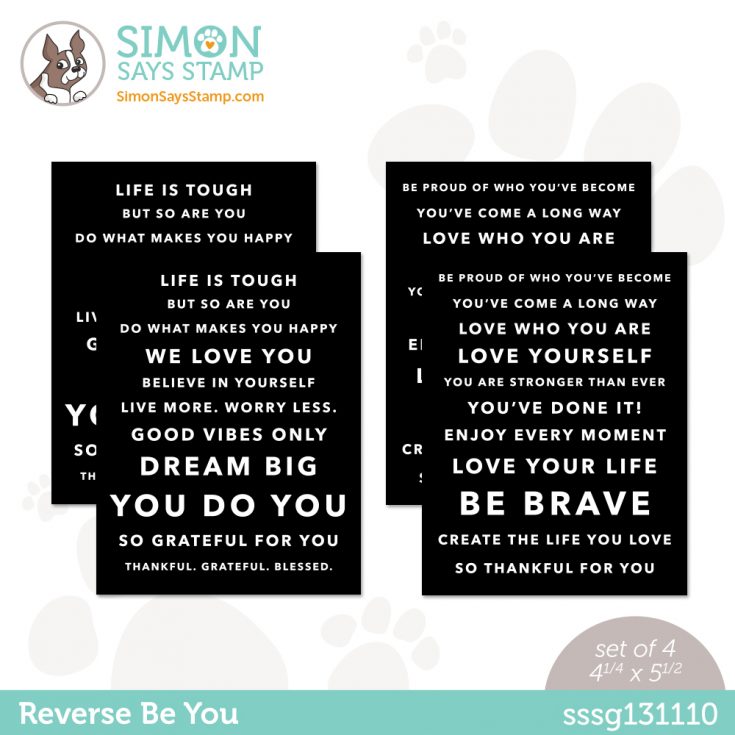
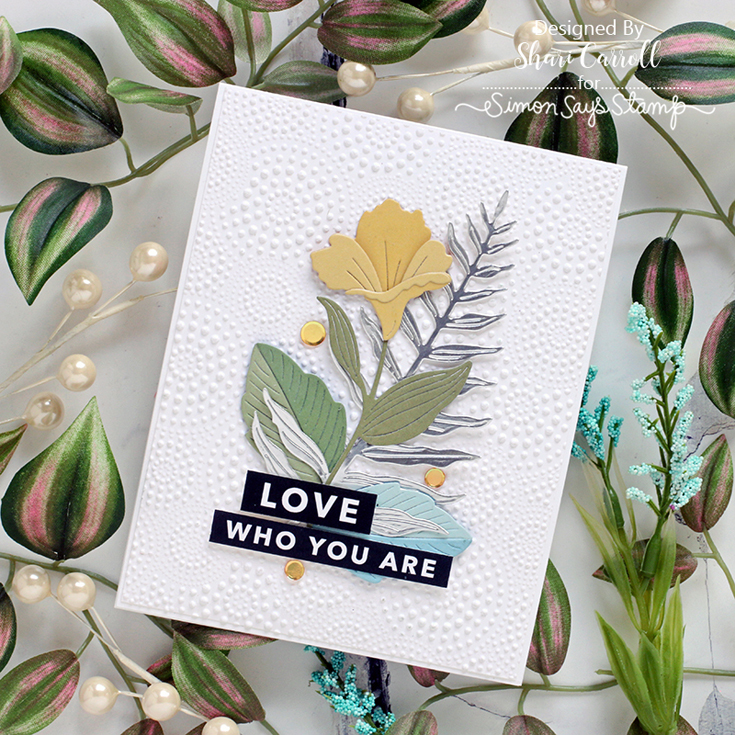
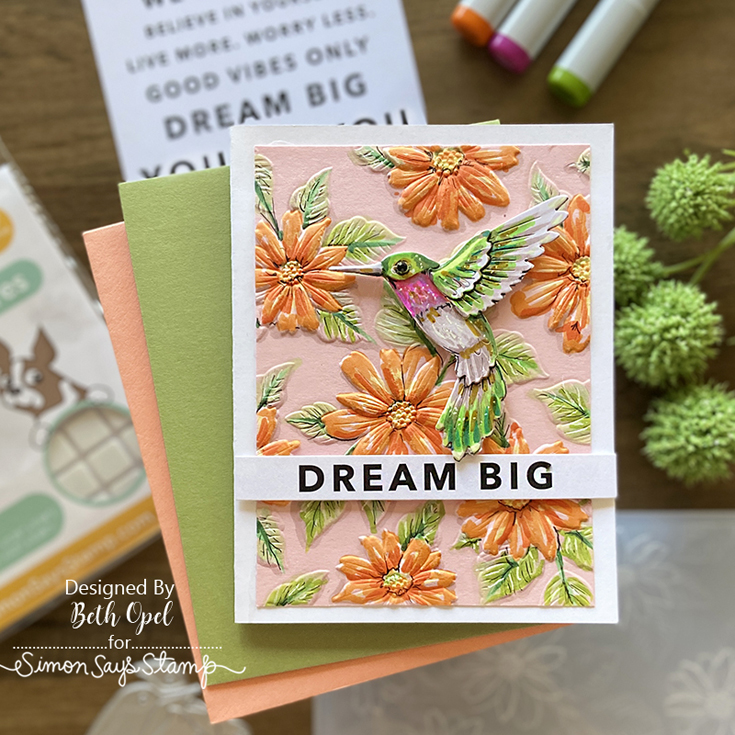
There’s something for everyone in our latest collection, Dream Big! Love nature? Our Magnolia Apple Blossom set, Terrace Floral emboss and cut folder, and Tropical Leaf Bunch and Layered Hummingbird dies will delight you. Get ready for school with Take Note and XL Student Greetings sets and Be You sentiment strips. And if cute is your style, you’ll adore our new Born to Sparkle and Purrfect Birthday stamp sets!
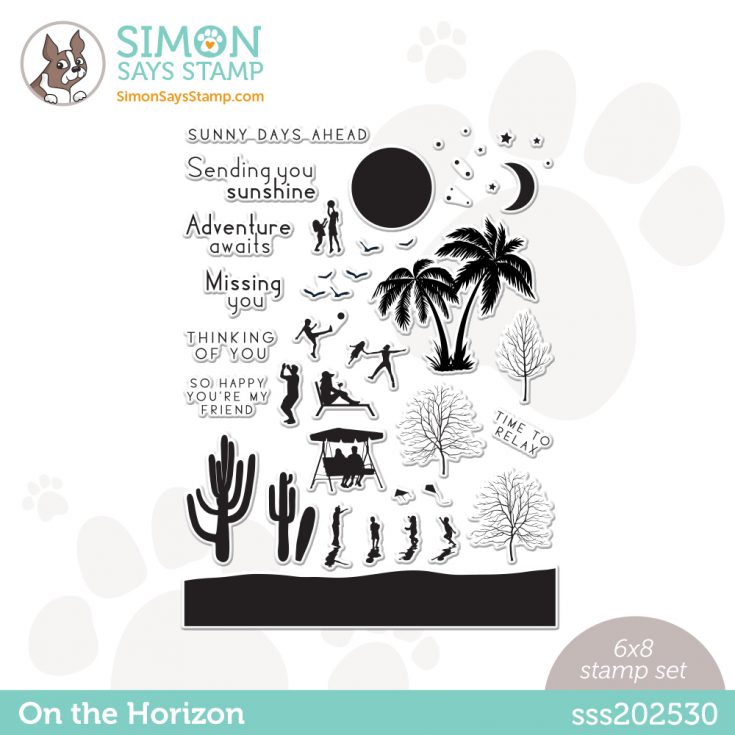
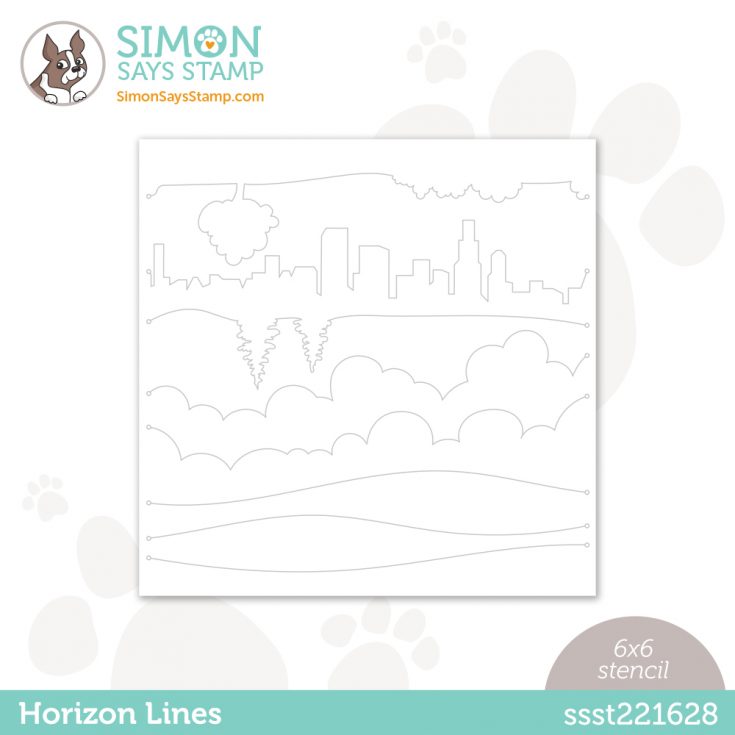
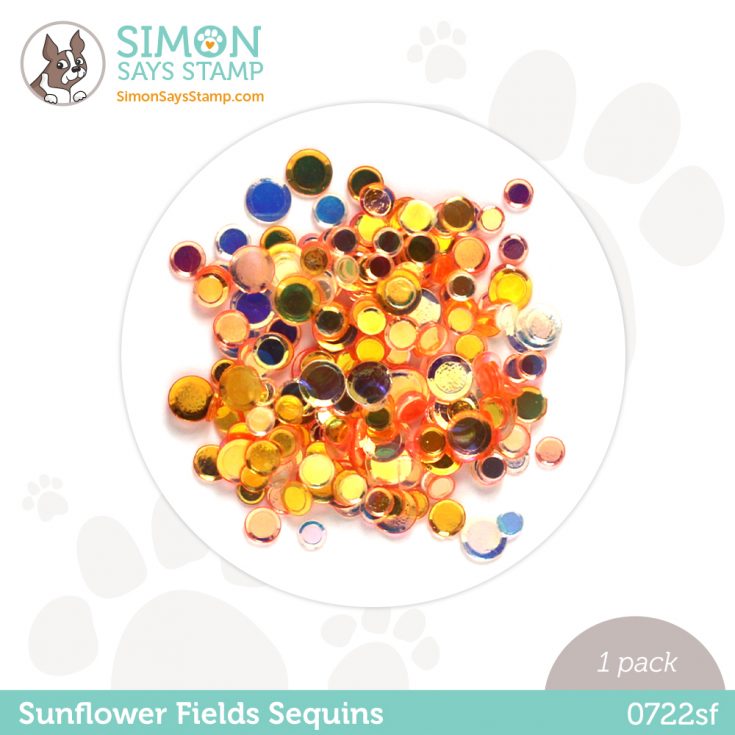
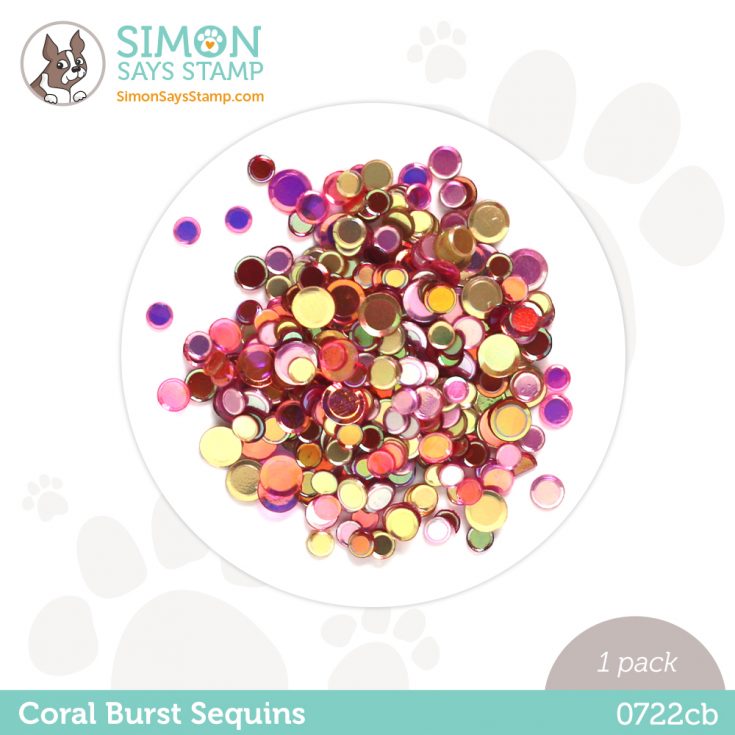
There’s also an innovative stamp set called On the Horizon that coordinates with the Horizon Lines stencil to give you options to create really cool scenes! Plus cling stamps, foil plates, sequins, and awesome new adhesives!
Before we hop, let’s take a look at some fabulous inspiration from Shari Carroll and Beth Opel:
We love our customers! And we love your enthusiasm for our exclusive releases and blog hops. To celebrate, Simon has set aside a free gift just for you! The free gift with any purchase for the this blog hop is the sweet Scripty Big Hugs die! Check out the details on the banner at the top of this post for information about claiming your gift.
Ready for even more Dream Big inspiration? Hop along with these talented designers! You’ll be inspired AND for every comment you leave on each blog, you’ll earn a chance to win a $25 Simon Says Stamp store shopping spree. YAY!
Please share some feedback with these creative artists who work hard to inspire and excite us! Your comments mean so much to them.
- Simon Says Stamp Blog <<YOU ARE HERE!
- Laura Bassen
- Amanda Korotkova
- Jennifer McGuire
- Barbara Tarayao
- Emily Midgett
- Miriam Prantner
- Mindy Eggen
- Heather Hoffman
- Barb Engler
- Jennifer Kotas
- Tina Smith
- Kim Hamilton
Thanks again for joining us today!
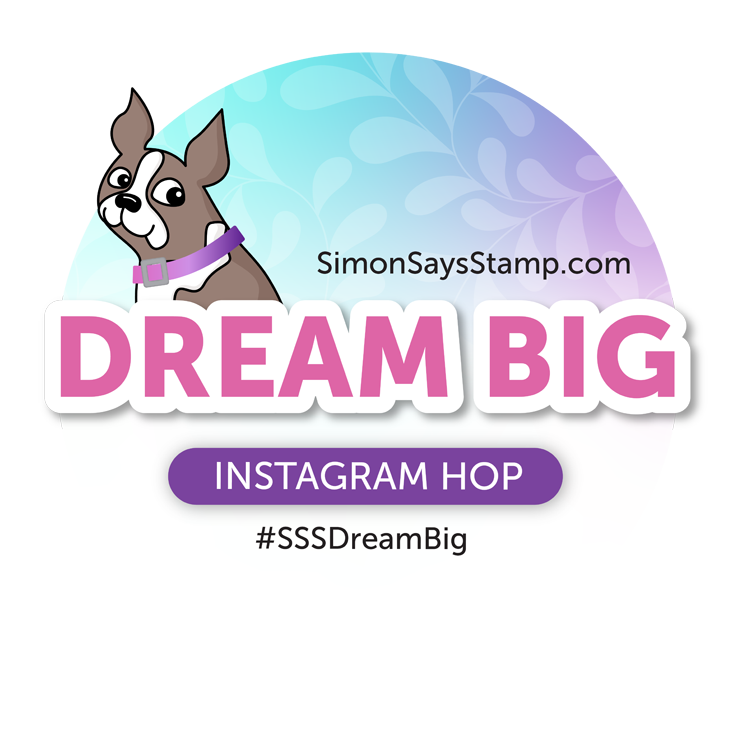
We hope you will join us on Instagram on Thursday, July 28, for an Instagram Hop featuring even more inspiration from our Dream Big release! We are excited to share awesome ideas from several creative minds using these fantastic products.
You’ll love browsing our Dream Big gallery on our blog for loads of additional inspiration, and you can add your projects to these galleries as well!
You can check out the entire Dream Big collection below: