Have You Tried It? Shaped Card with New Tim Holtz Dies!
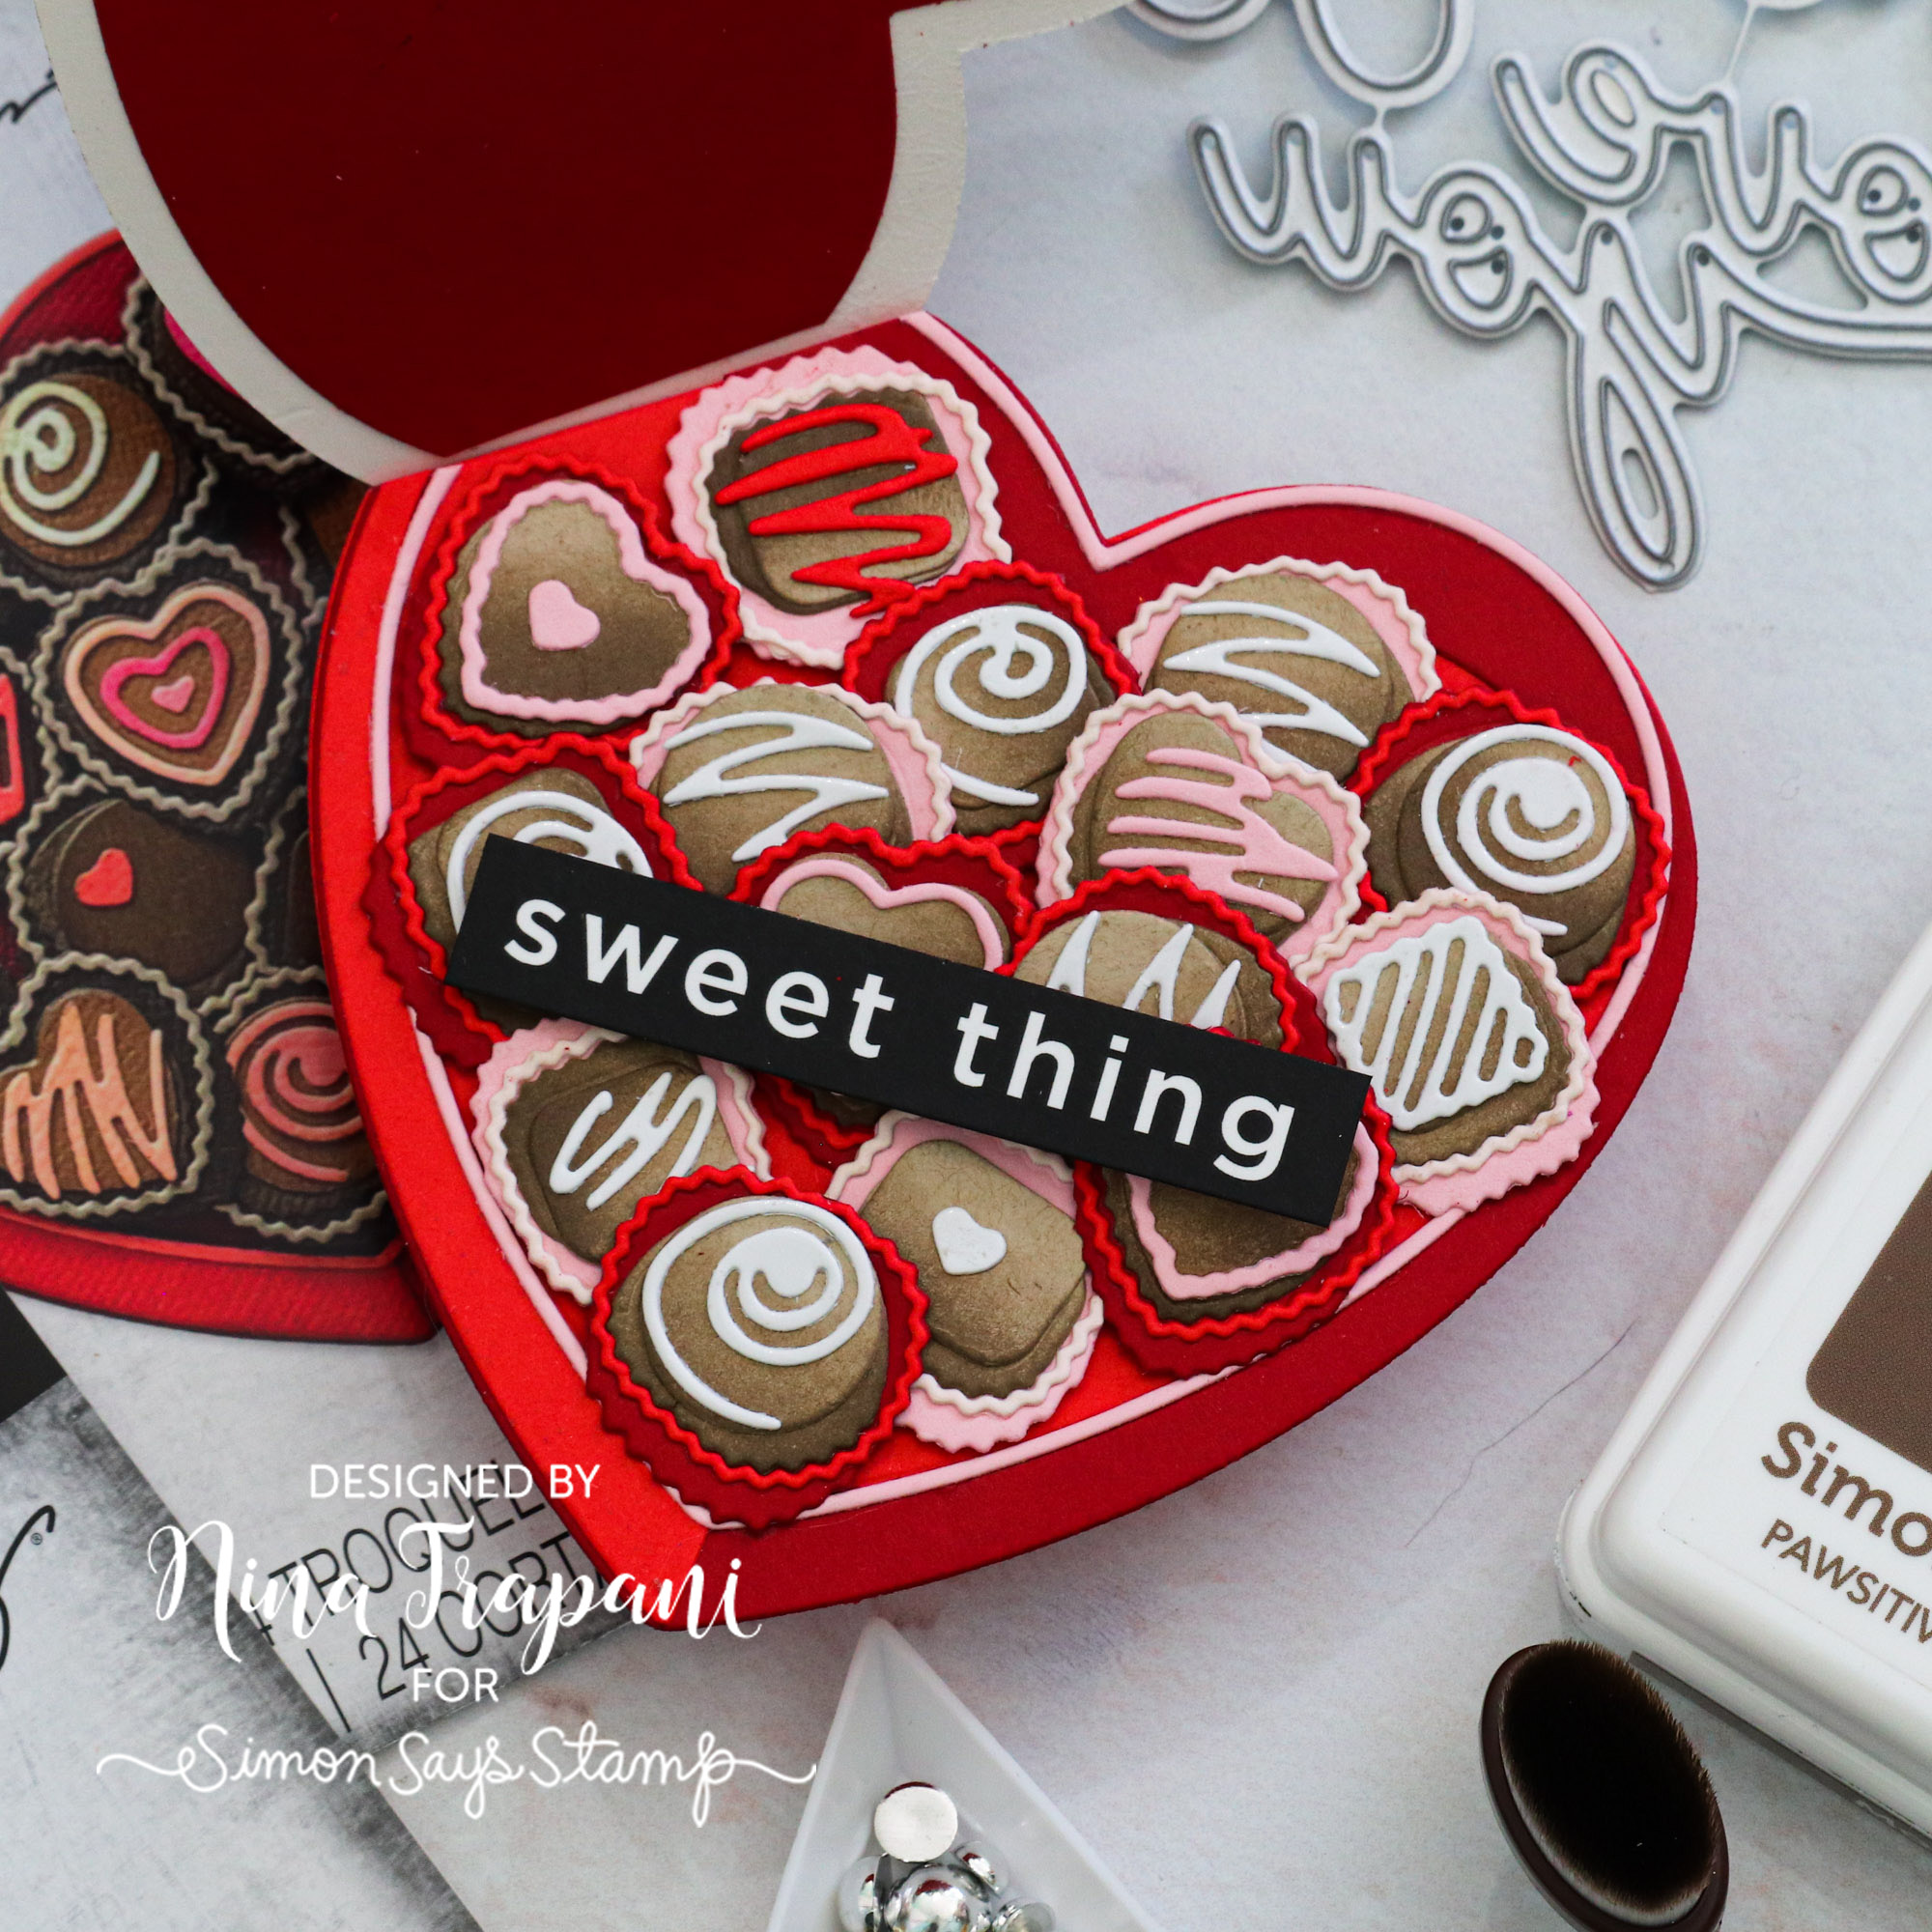
Hello friends, it’s Nina-Marie Trapani here with you! Today I am going to show you how to make a shaped card with Tim Holtz’s new Everyday collection of dies. We’ll specifically be using the True Love Colorize, Gentlemen, and Tailored die sets.
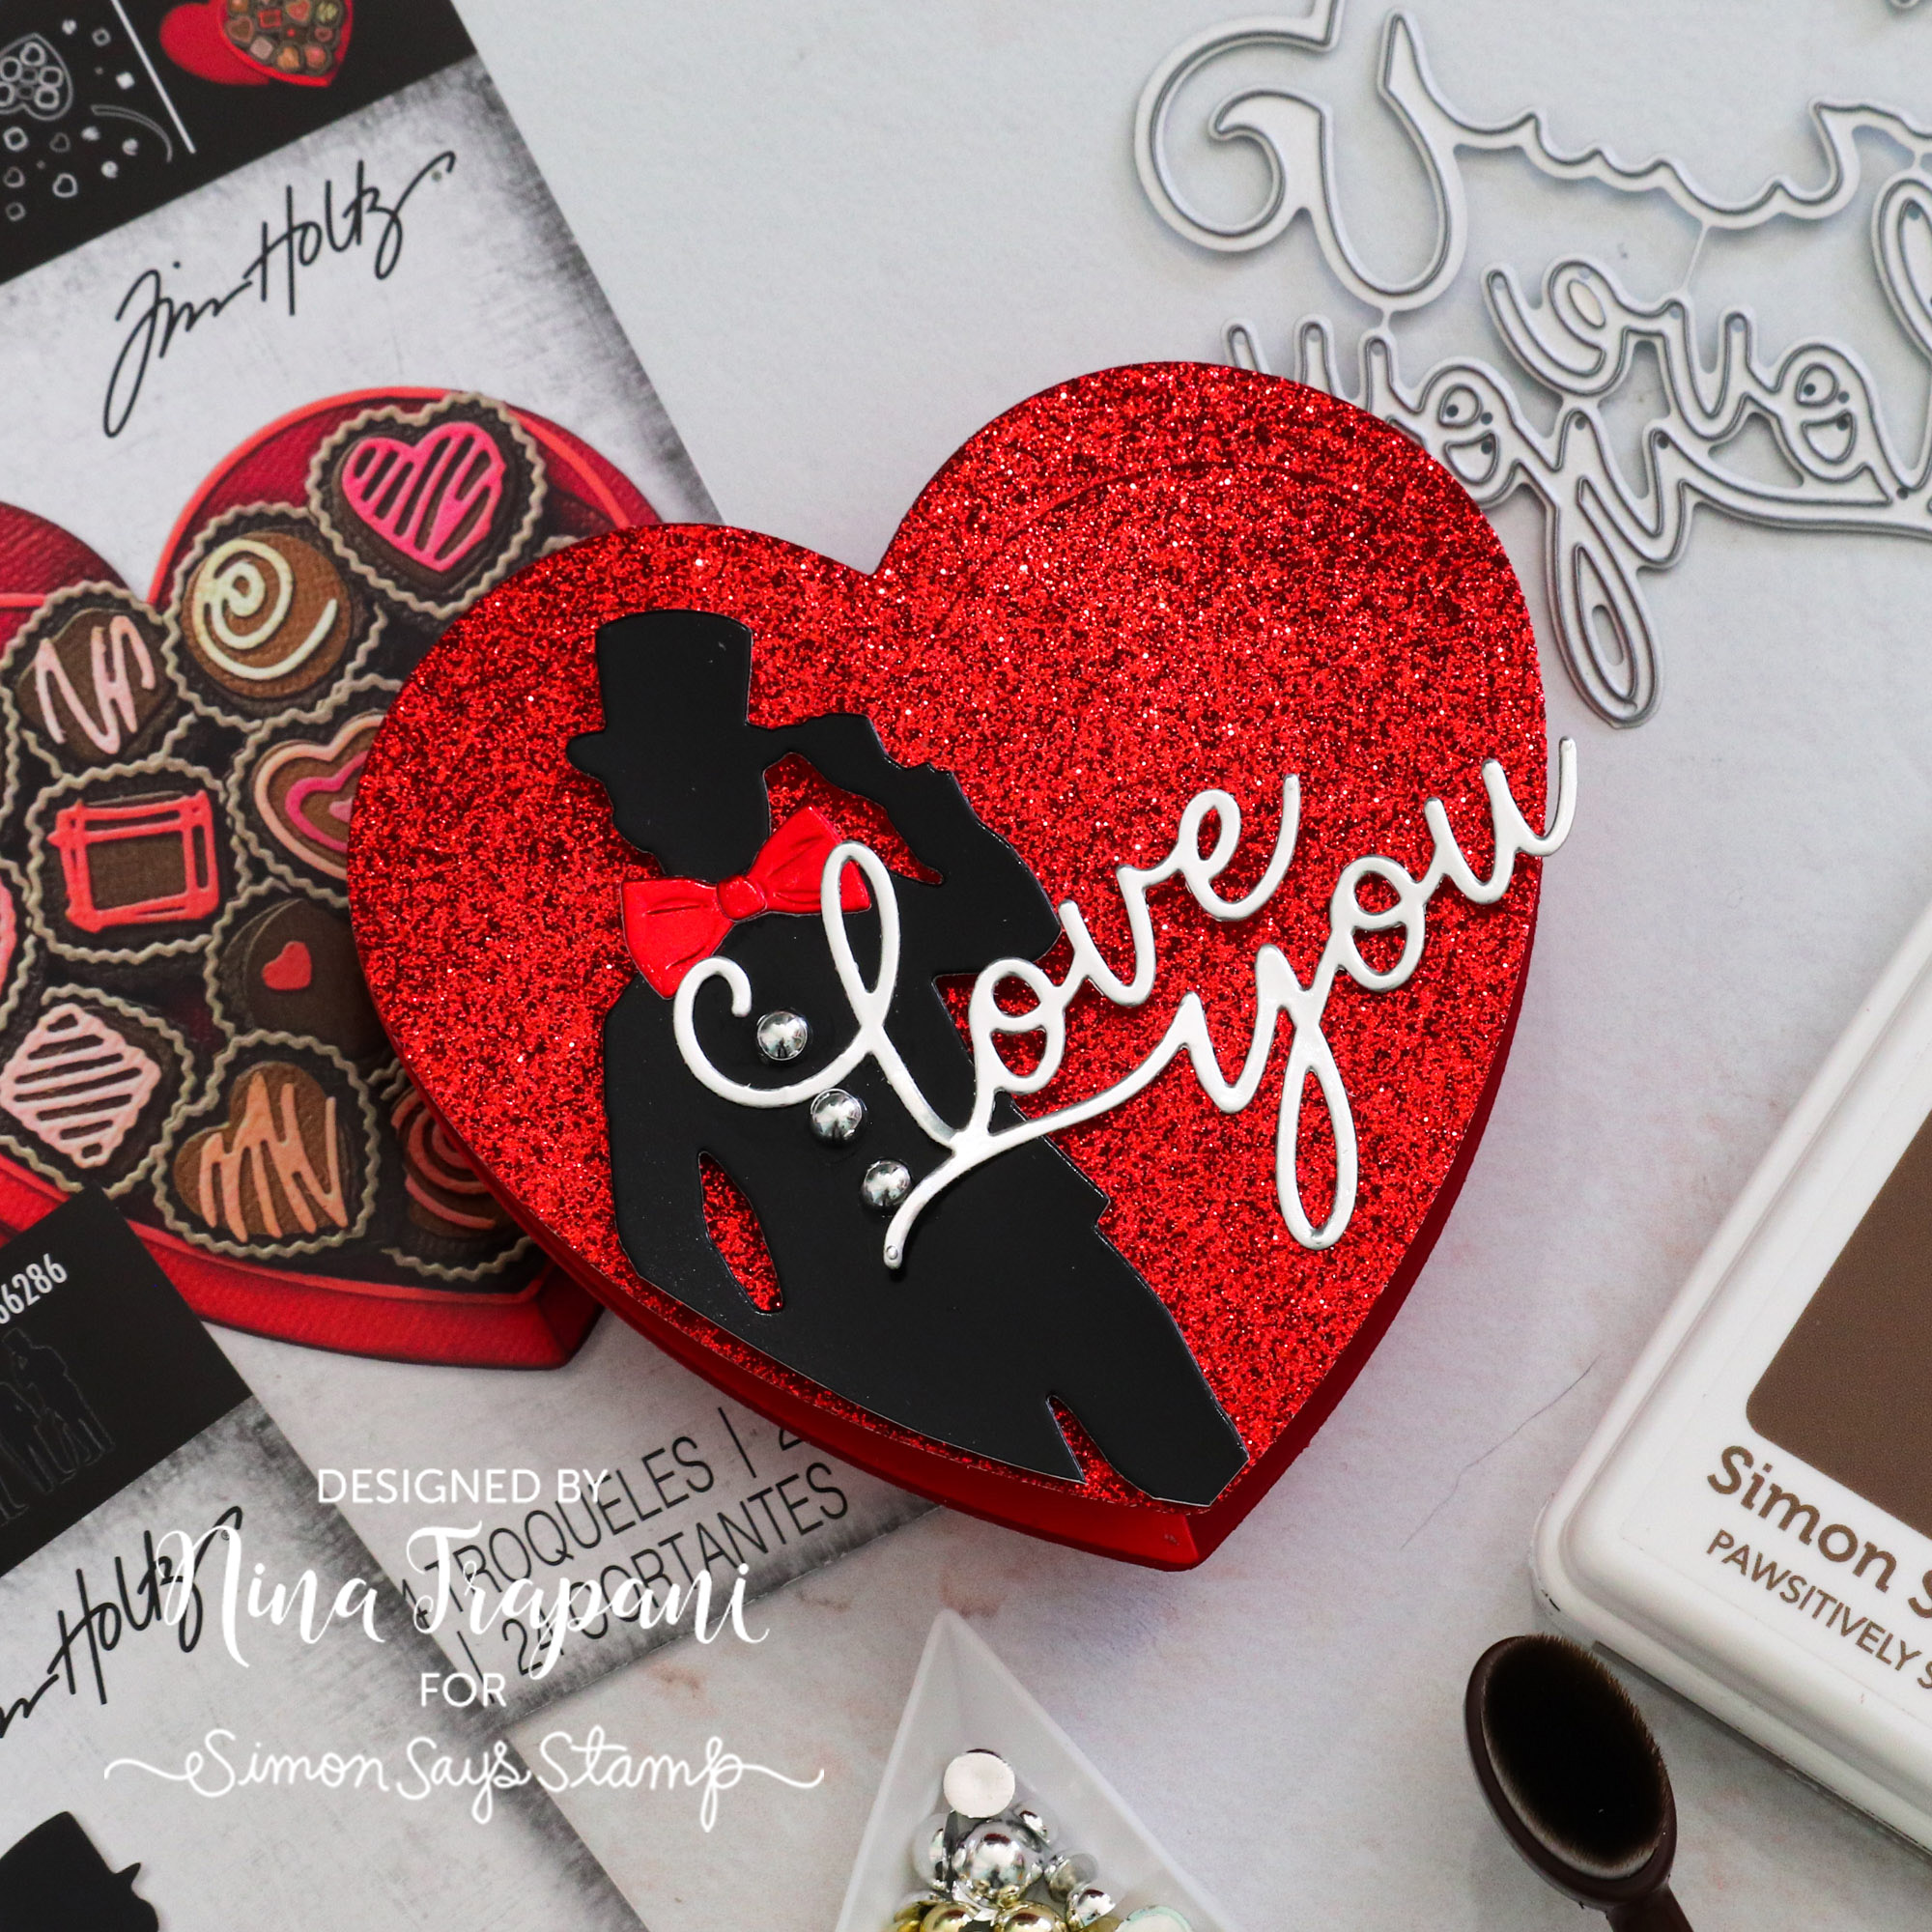
This project is perfect for Valentine’s Day. I love that the box of chocolates is on the inside, which makes for a special surprise for the loved one you send this card to! Be sure to watch the video below to see exactly how I made this sweet card!
WATCH THE VIDEO
SUPPLIES
|


Sparkly Deco Sheet Tim Holtz Blossom Greeting Card!
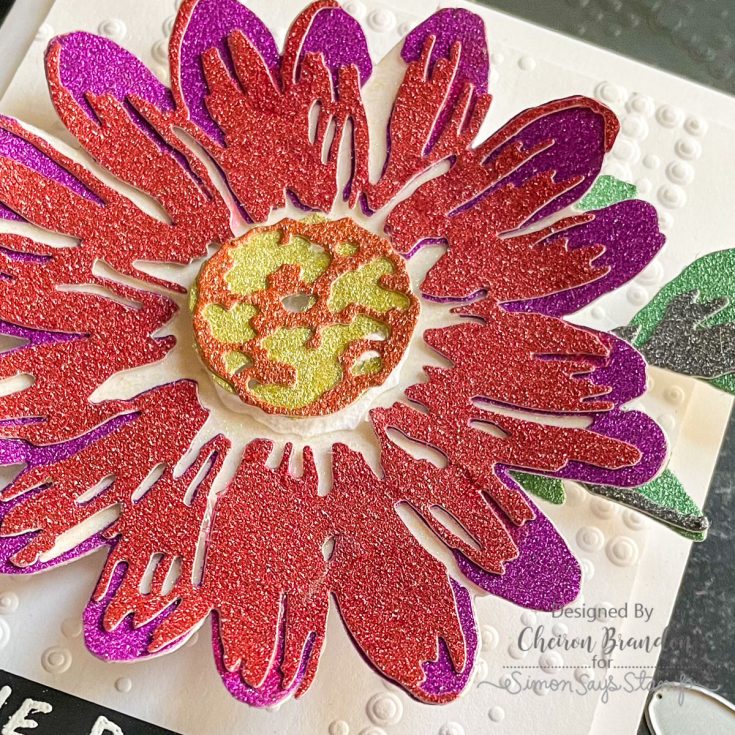
Hi friends! Happy Sunday! Please join me in welcoming back special monthly guest Cheiron Brandon back to the blog for a sparkly and fun card idea that could be used for a plethora of occasions including support, birthday, get well, and MORE with this sparkly bloom at the center! Read on to learn more about how it’s made, and enjoy!
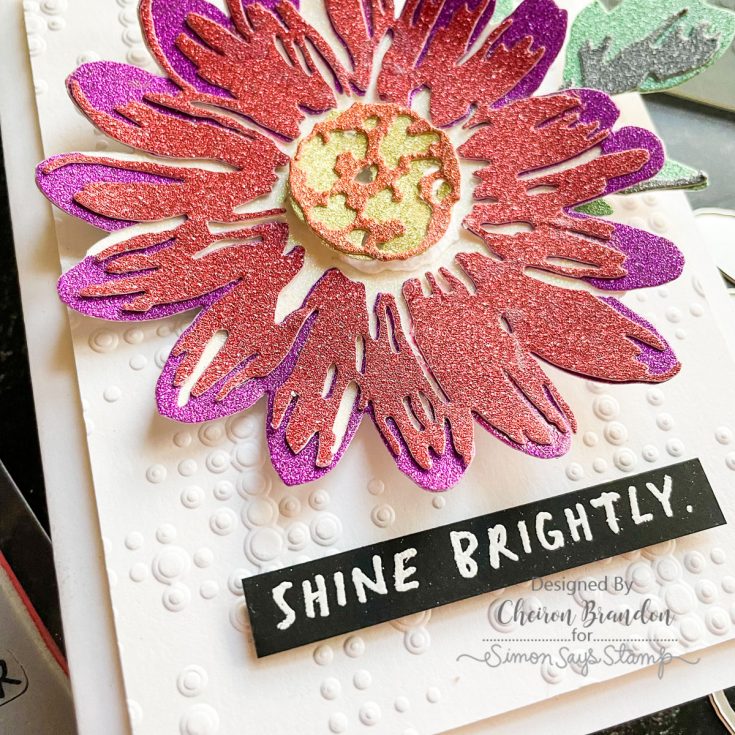
Hello there crafty friends! It’s Cheiron Brandon here and I am thrilled to be back sharing a fun card using Tim Holtz products. I could not wait to try out the new Tim Holtz Sizzix Blossom die…it is such a big and beautiful flower. I wanted to make a clean and simple (but still very special) card for a friend. Since I stocked up on the Seasonal Idea-ology Deco Sheets I wanted to find ways to use them in projects all year long. If you have not used these before, they are gorgeously sparkly adhesive backed sheets, and the glitter does not come off at all. Since the sheets are thin, I like to peel these sheets off and stick them to card stock before die cutting.
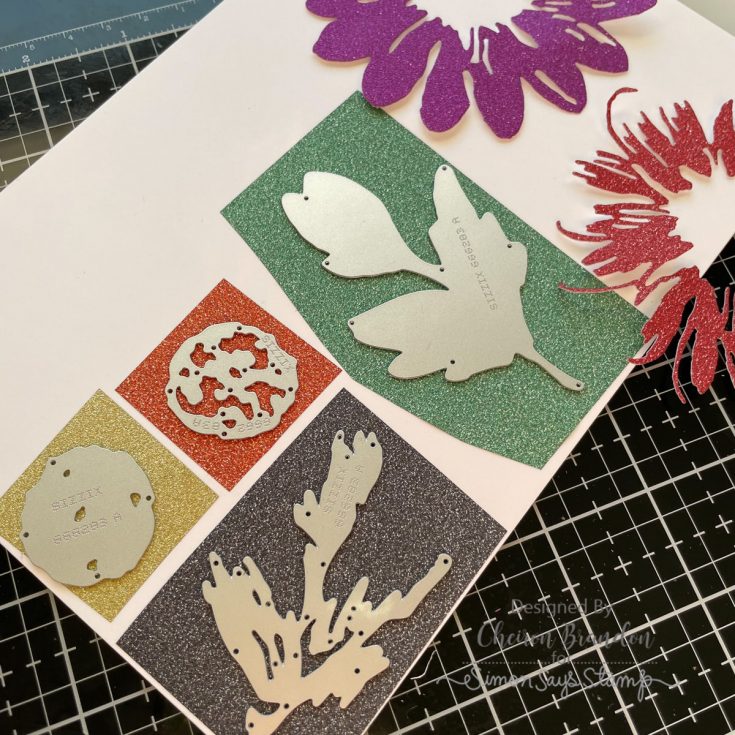
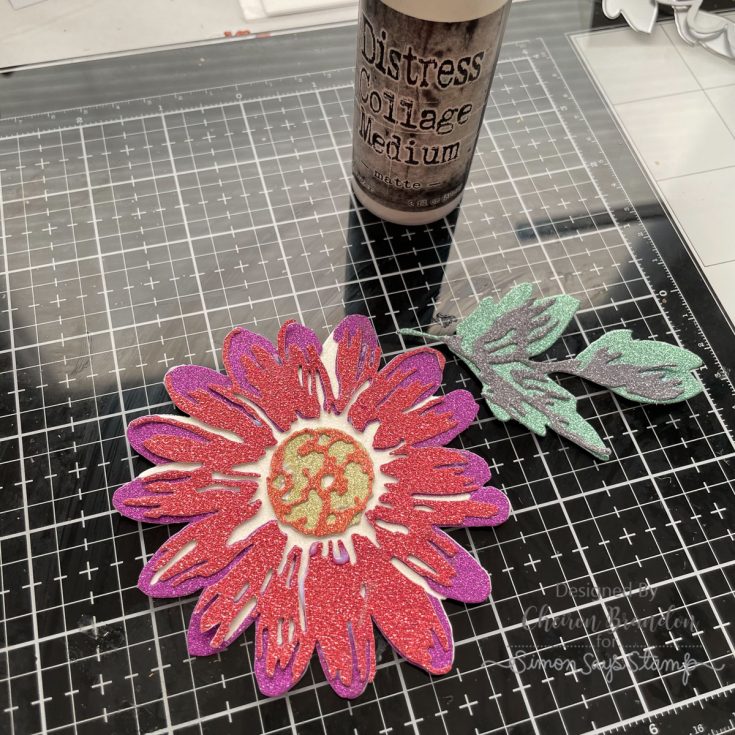
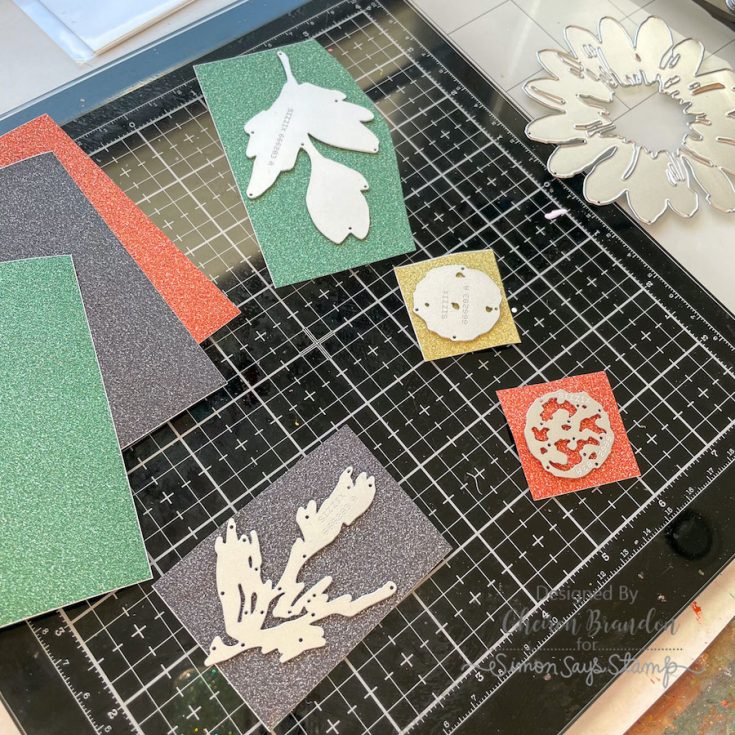
You do not need to use the entire sheet to make your project. I plan out which color I want to use on each of my pieces by laying the dies on top of the sheet and just cutting out the around the die to get the pieces that I need. Then I adhere them to a piece of cardstock for die cutting. I cut the Blossom from red and purple, using the orange and yellow for the center. For the leaf, I used green and black. I adhered the Blossom together using some Distress Collage Medium.
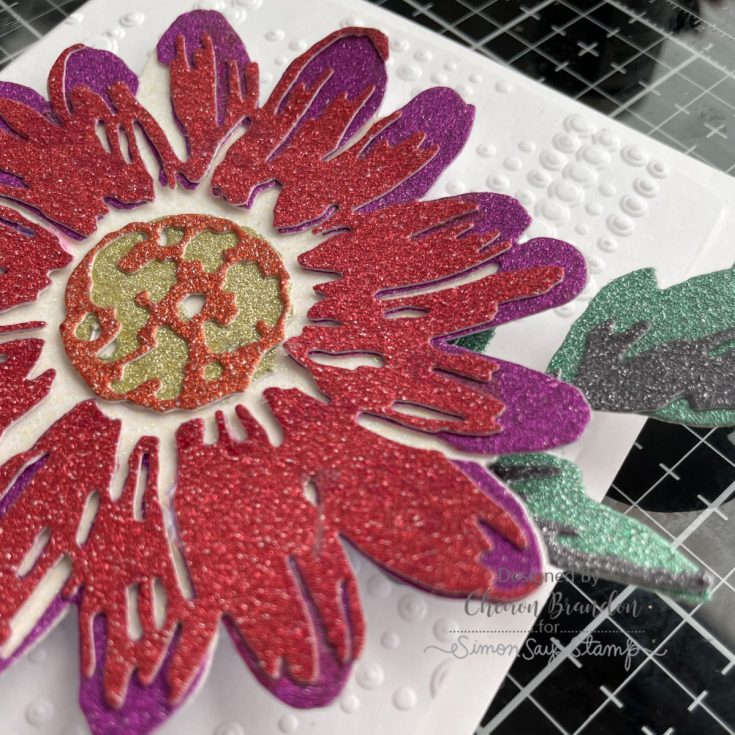
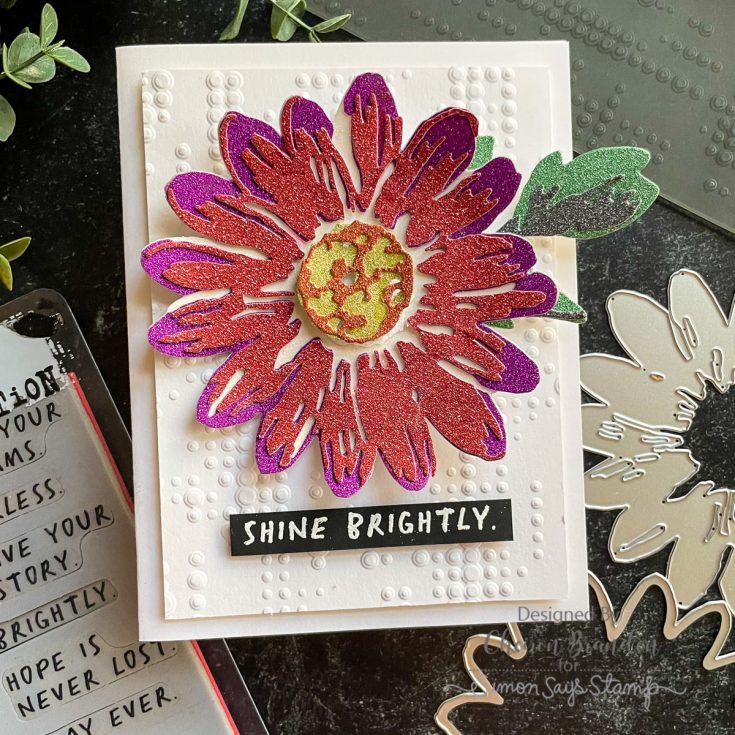
To give the card a bit of texture, I cut a panel of Distress Watercolor cardstock to 3 ¾ x 5 and then embossed it using the new Dotted Multi Level Texture Fades Embossing Folder. I added the panel to a 4 ¼ x 5 ½ card base. Then I adhered the leaves to the panel and adhered the Blossom with some foam adhesive. To keep the card simple, I added a sentiment from the Noteworthy stamp set that was embossed in white on Distress Black Heavy stock to make it pop. I can’t wait to try out other color combos with this die, and to use my Deco Sheets with other die cuts too!
SUPPLIES:
|


Thanks so much for stopping by, and thanks to Cheiron for being our guest!
Happy + Colorful Stamping Miss You Card: Yippee for Yana
Hi friends! Happy Saturday! Please join me in welcoming back special guest Yana Smakula to our blog! (Please note; our dear friend Yana is Ukrainian, to show support to our brothers and sisters in Ukraine, please see Yana’s post HERE.)
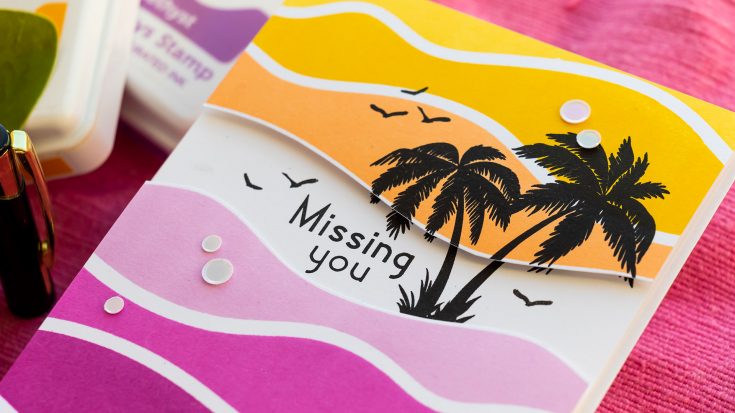
Hello, crafters, this is Yana Smakula for Simon Says stamp! Welcome back for another Yippee For Yana video! In this video, I’m doing some happy colorful stamping to boost my mood and I encourage you to do the same!
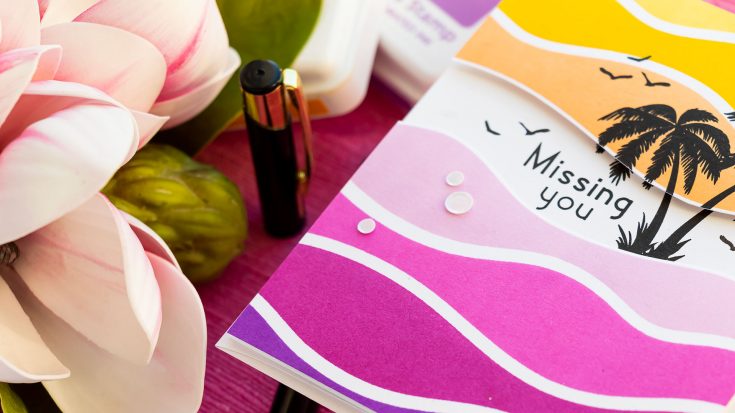
I am using the Waves Builder stamp set to create a colorful background for my card. I love this stamp because each section is separate allowing me to stamp it in a different color of ink without the need to do any masking. Easy-peasy!
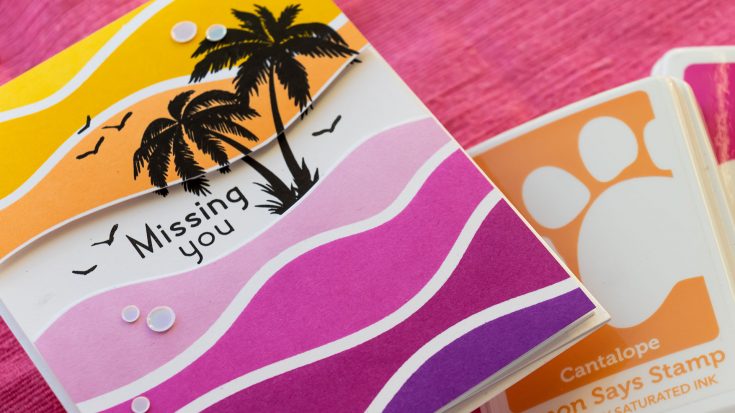
I also have my MISTI stamping tool and a white Simon Says Stamp 130lb cardstock panel, I love this paper for stamping, it is super thick and smooth and always gives me perfect stamped results. I am using a selection of Simon Says Stamp Pawsitively Saturated inks going from purple, to pink, to orange and yellow.
I stamped my colorful background from the bottom up, aligning each section separately and stamping each in its own color of ink: Amethyst, Taffy, Sweets, Bubblegum, Peachy, Cantaloupe, Citrine, and Sunbeam.
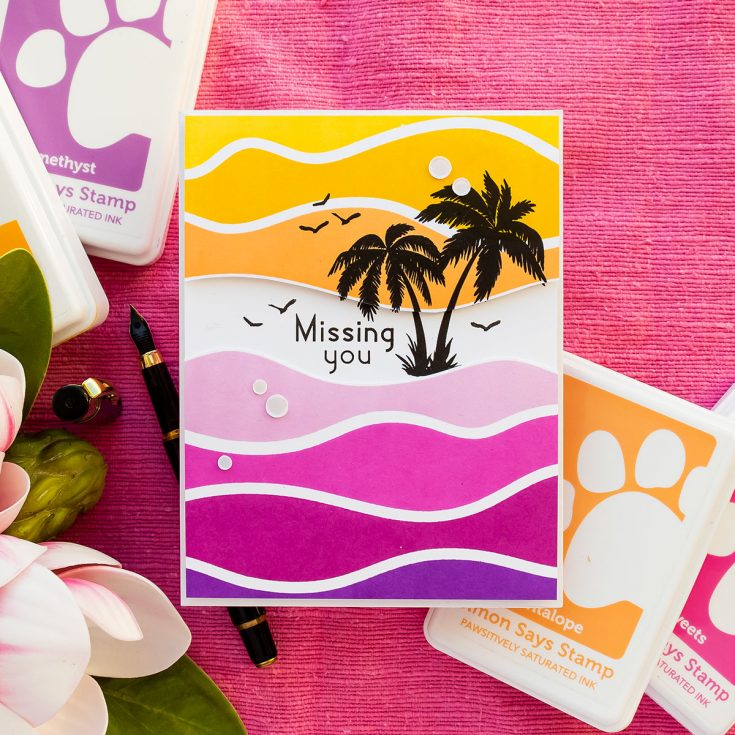
Next, I trimmed the background to 4 1/4 x 5 1/2, and next, I cut a section out using my scissors. Cutting a stamped section out gave me a blank space to do my stamping.
Next, I pulled images from the On The Horizon stamp set and stamped them onto the card base and overlapping the top part of my colorful background.
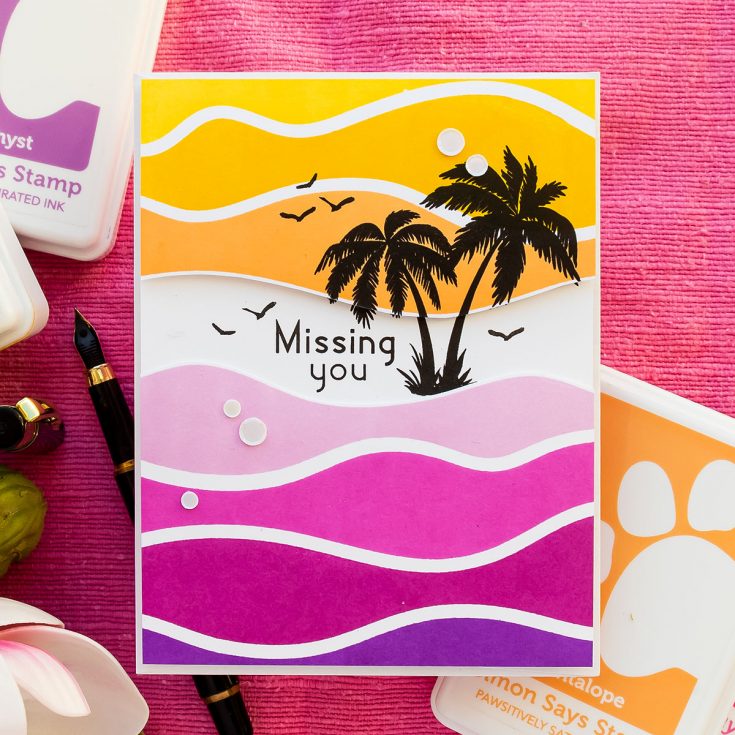
With the stamping done I foam-mounted the stamped colorful panels and embellished my card using white sequins. I opted to go with white sequins here as I already have quite a lot of color on the card.
Have fun stamping!
WATCH THE VIDEO:
SUPPLIES:
|


Ways to support Ukraine:
If you are looking for ways to support Ukraine, we encourage you to visit this page on Yana’s blog:

Thanks so much for stopping by, and thanks to Yana for being our guest!